Introduction
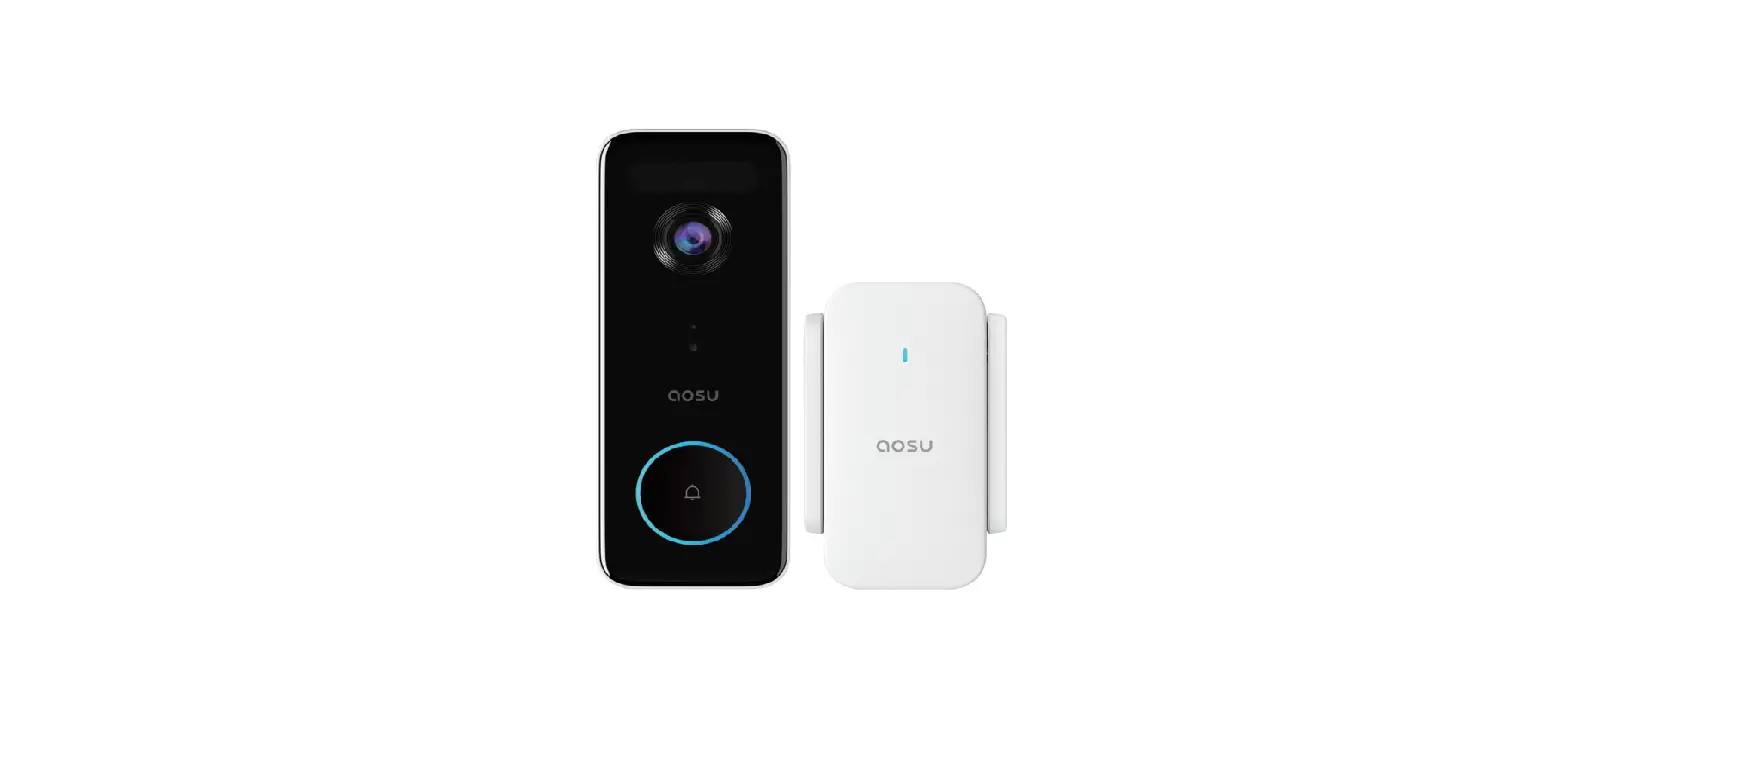
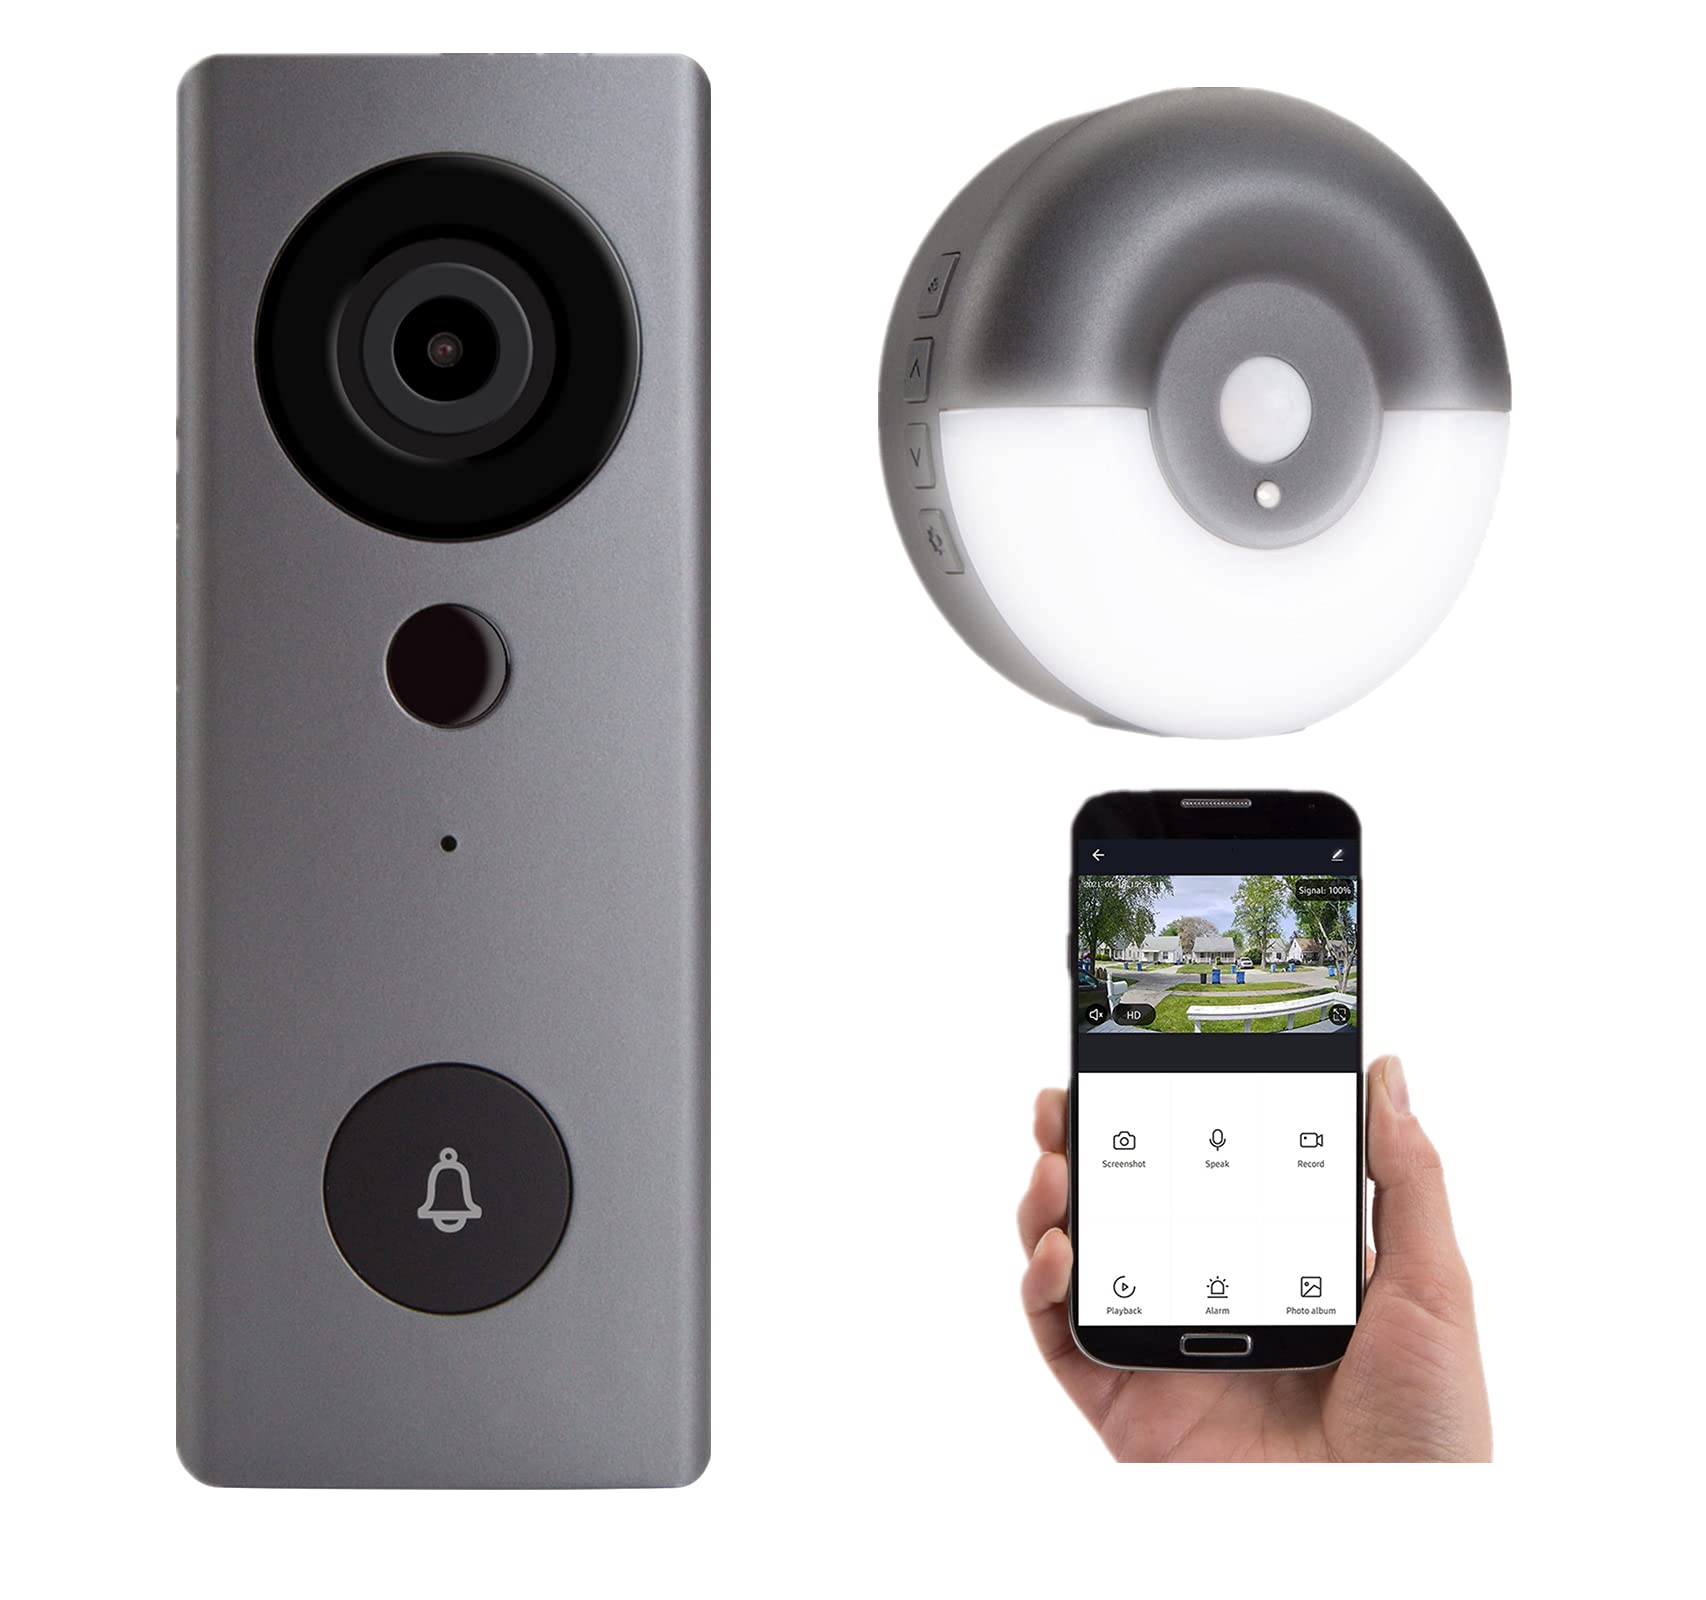
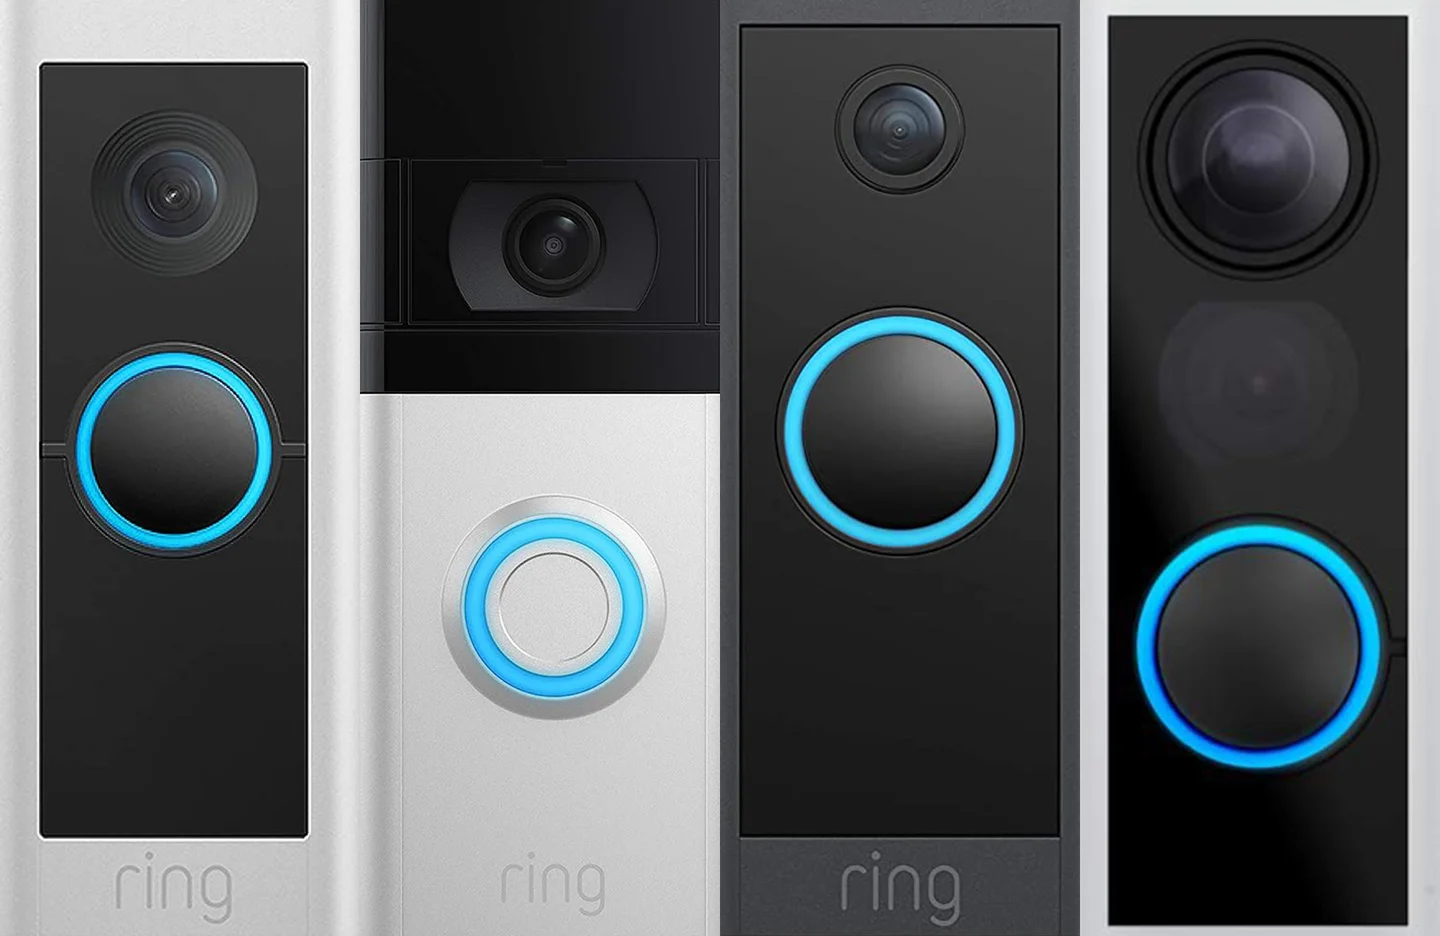
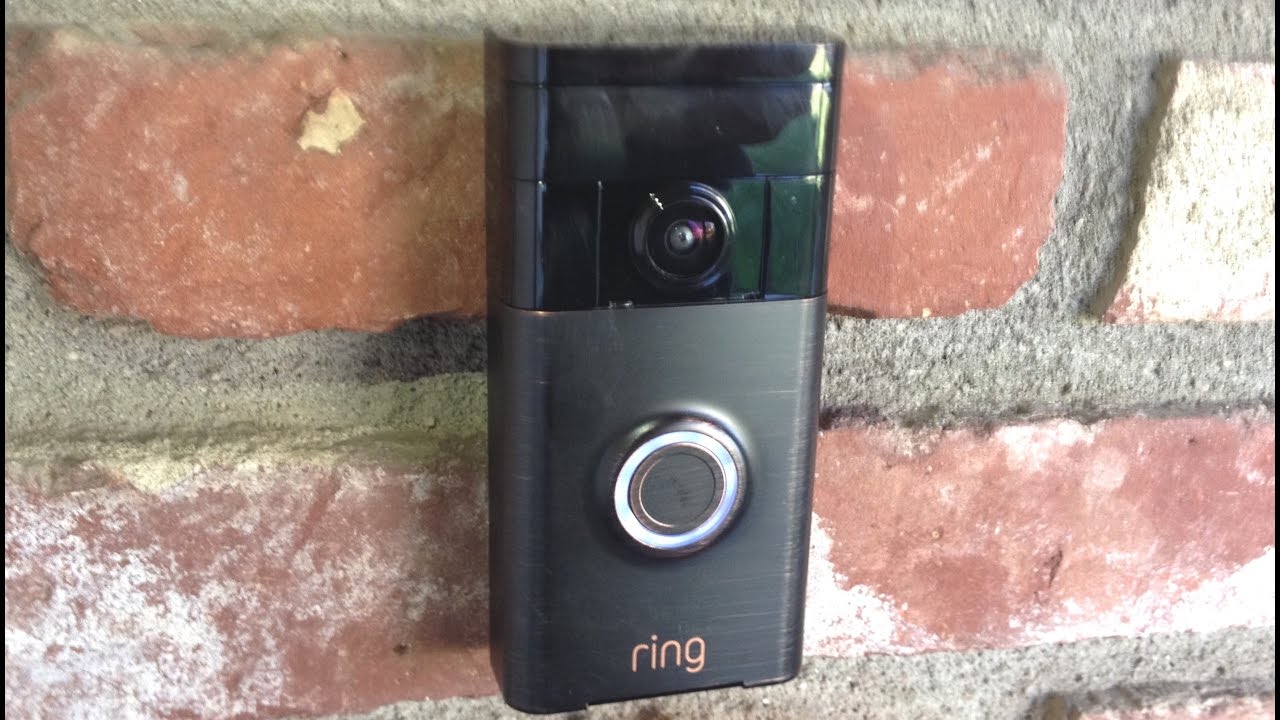
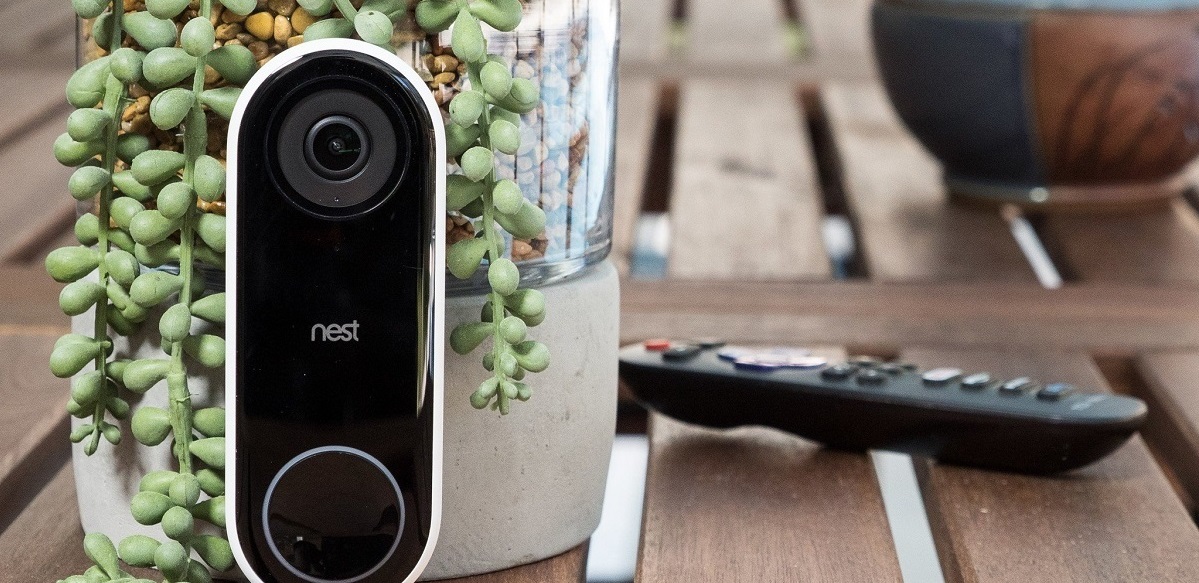
Welcome to the comprehensive guide on how to install the Smartech Video Doorbell. In this article, we will walk you through the step-by-step process of setting up this innovative device that will revolutionize your home security. The Smartech Video Doorbell combines the convenience of a traditional doorbell with advanced features such as two-way audio, motion detection, and real-time video streaming.
With the Smartech Video Doorbell, you will never miss a visitor or a package delivery, even when you’re away from home. Whether you’re at work, on vacation, or simply in another room, you can answer the door from the comfort of your smartphone. This cutting-edge doorbell provides peace of mind and enhances the security of your home.
Before we dive into the installation process, it’s important to ensure that you have all the necessary tools and materials. Proper preparation will make the installation smoother and more efficient. In the next section, we will cover the tools and materials required to install the Smartech Video Doorbell.
Step 1: Gather the necessary tools and materials
Before you begin installing the Smartech Video Doorbell, make sure you have the following tools and materials ready:
- Screwdriver: You will need a Phillips screwdriver to remove the existing doorbell and mount the Smartech Video Doorbell.
- Drill and drill bits: Depending on your door frame material, you may need a drill to create holes for the mounting screws.
- Tape measure: This will help you ensure accurate placement of the doorbell and chime.
- Level: Use a level to ensure that the doorbell is installed straight and level.
- Wire strippers: If necessary, you may need wire strippers to remove the insulation from the existing doorbell wires.
- Wire nuts: These small connectors are used to secure the wires together during the installation process.
- Smartphone or tablet: You will need a smartphone or tablet to download the Smartech app and set up the video doorbell.
- Sturdy ladder or step stool: If your current doorbell is mounted high, you may need a ladder or step stool to reach it.
- Optional: Extension cables or wire extenders: If your existing doorbell wires are not long enough to reach the desired location, you may need extension cables or wire extenders.
Before starting the installation, double-check that you have all the necessary tools and materials. This will ensure a smooth and hassle-free installation process. Once you have gathered everything, you’re ready to proceed to the next step, which involves preparing the doorway area for the installation of the Smartech Video Doorbell.
Step 2: Prepare the doorway area
Before mounting the Smartech Video Doorbell, it’s important to properly prepare the doorway area. Follow these steps to ensure a smooth installation:
- Turn off the power: Locate the circuit breaker or fuse box that controls the power to the doorbell. Switch off the power to avoid any electrical accidents during the installation process.
- Remove the existing doorbell: Use a screwdriver to remove the screws holding the existing doorbell in place. Gently disconnect the wires from the back of the doorbell. Take note of how the wires are connected to ensure correct installation later.
- Clean the mounting surface: Inspect the area where the doorbell will be mounted. Remove any debris, dirt, or loose paint. A clean surface will ensure a secure and stable installation.
- Locate the doorbell chime: The doorbell chime emits the sound when someone rings the doorbell. Find the existing doorbell chime and make sure it is easily accessible. If it is outdated or incompatible with the Smartech Video Doorbell, consider replacing it.
- Check the Wi-Fi signal: Since the Smartech Video Doorbell relies on Wi-Fi connectivity, ensure that your home’s Wi-Fi signal is strong in the area where the doorbell will be installed. If the signal is weak, consider installing a Wi-Fi extender for better coverage.
By following these preparation steps, you will have a clear and safe area to install the Smartech Video Doorbell. With the existing doorbell removed, the mounting surface clean, and the doorbell chime and Wi-Fi signal checked, you are now ready to move on to the next step, which involves mounting the video doorbell itself.
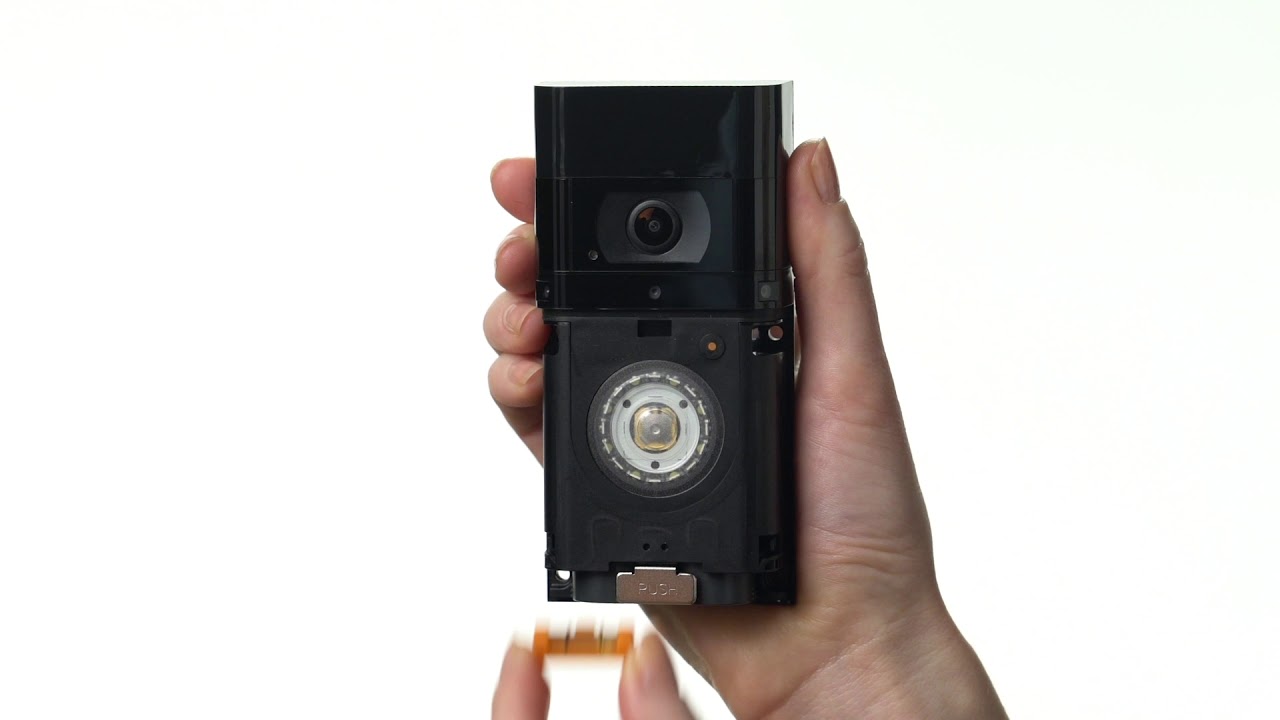
Step 3: Mount the video doorbell
Now that you have prepared the doorway area, it’s time to mount the Smartech Video Doorbell. Follow these steps for a secure and accurate installation:
- Select a suitable location: Choose a location for the video doorbell that provides a clear view of your doorway and surrounding area. Ensure that it is within range of your Wi-Fi signal.
- Position the mounting bracket: Hold the mounting bracket against the wall or door frame at the chosen location. Use a level to make sure it is straight. Mark the screw holes with a pencil. If necessary, use a drill and appropriate drill bit to create pilot holes for the screws.
- Attach the mounting bracket: Secure the mounting bracket to the wall or door frame using the provided screws. Make sure it is firmly in place.
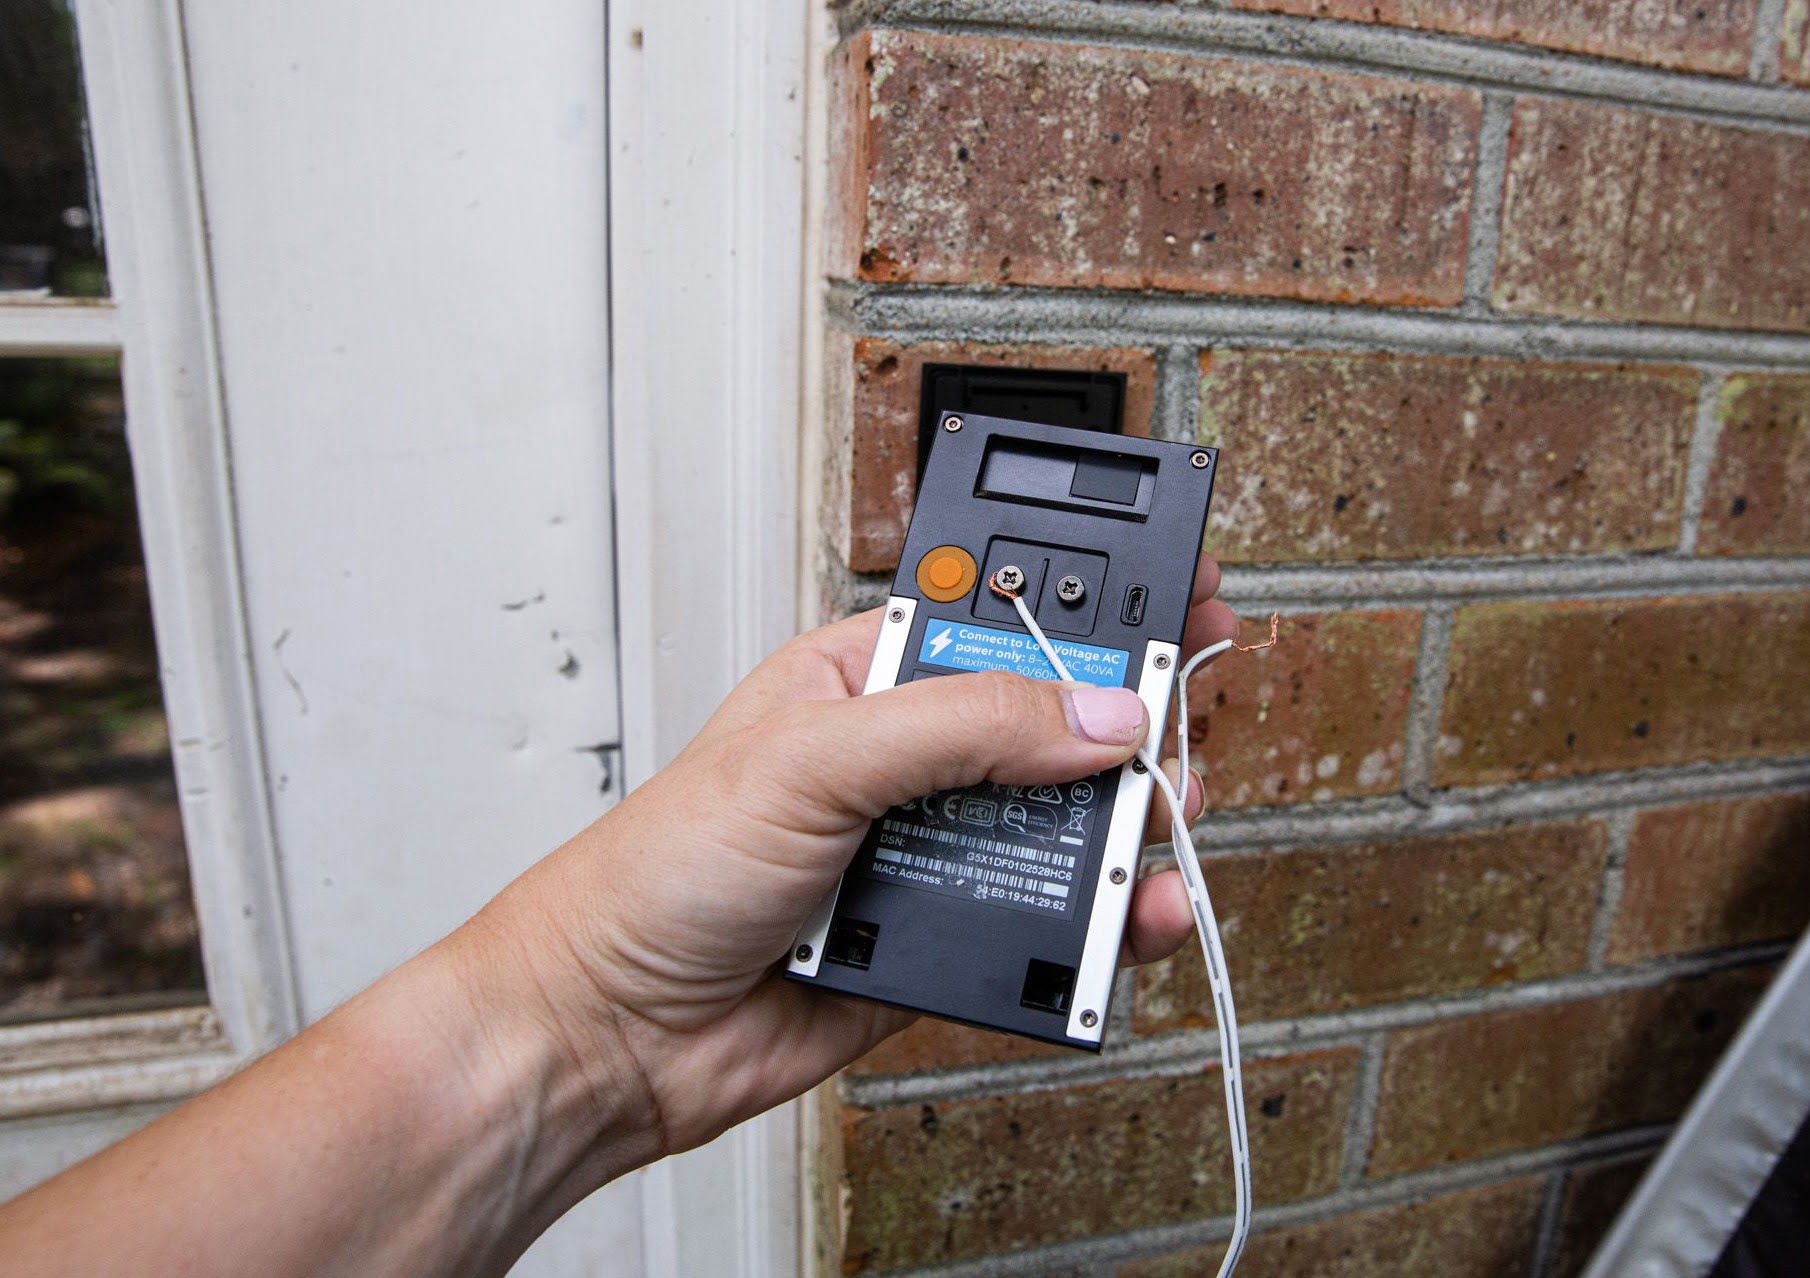
- Connect the wires: Carefully feed the existing doorbell wires through the hole in the center of the mounting bracket. If the wires are not long enough, use wire extenders or extension cables. Attach the wires to the corresponding terminals on the back of the video doorbell. Follow the color coding or labeling on the doorbell for proper connections.
- Secure the video doorbell: Carefully align the video doorbell with the mounting bracket. Gently push it into place, ensuring that the wires are not pinched or damaged. Use the provided screws to fasten the doorbell to the mounting bracket.
Once the Smartech Video Doorbell is securely mounted, check its positioning and alignment. Make any necessary adjustments to ensure the camera captures the desired view. Use the level to ensure it is straight. With the doorbell firmly in place, you’re now ready to move on to the next step, which involves connecting the necessary wires.
Step 4: Connect the necessary wires
With the Smartech Video Doorbell securely mounted, it’s time to connect the necessary wires to power the doorbell and enable its functionality. Follow these steps for a successful wiring connection:
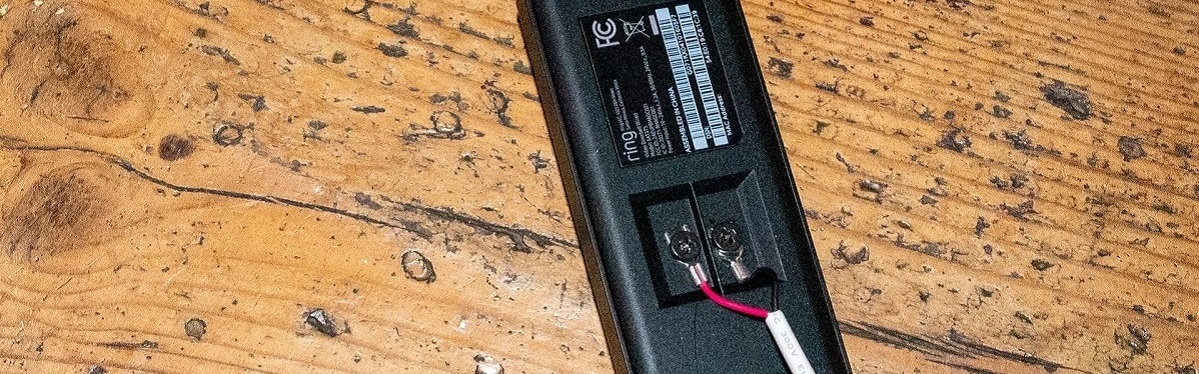
- Identify the existing doorbell wires: Look at the wires that were previously connected to your old doorbell. Typically, there are two wires – one connected to the “Front” terminal and the other to the “Transformer” or “Rear” terminal.
- Strip the wire ends: If the wires have insulation covering the ends, use wire strippers to remove about 1/4 inch (6mm) of insulation from both wires.
- Connect the wires: The Smartech Video Doorbell usually has screw terminals labeled “Front” and “Transformer.” Loosen the screws on these terminals, and insert the corresponding wires into each terminal. Tighten the screws to secure the wires in place.
- Attach the wire nuts: Once the wires are securely connected to the doorbell terminals, twist the corresponding ends of the wires together. Place a wire nut over the twisted connection and twist it clockwise until it’s snug. This will provide a secure and insulated connection.
- Tuck the wires: Carefully tuck the connected wires and wire nuts into the doorbell’s mounting bracket or the hole behind the doorbell. Ensure that the wires are not pinched or obstructed, allowing the doorbell to sit flush against the wall or door frame.
It’s important to double-check the wiring connections to ensure they’re secure and properly inserted into the correct terminals on the video doorbell. Incorrect wiring may result in malfunctioning or non-responsive doorbell features. Once you have successfully connected the necessary wires, you can proceed to the next step, which involves installing the doorbell chime.
Step 5: Install the doorbell chime
Installing the doorbell chime is an essential step in completing the setup of your Smartech Video Doorbell. Follow these steps to ensure a properly functioning chime:
- Locate the doorbell chime: The doorbell chime is usually located inside your home, near the front door or in a central area where it can be heard throughout the house.
- Remove the existing chime (if applicable): If you already have a doorbell chime installed, carefully remove it from the wall or ceiling by unscrewing it using a screwdriver. Disconnect the wires from the chime terminals.
- Prepare the wires: Strip the ends of the doorbell chime wires using wire strippers to expose about 1/4 inch (6mm) of bare wire.
- Connect the wires: Depending on the type of doorbell chime you have, connect the wires to the appropriate terminals. The terminals may be labeled with letters or colors to indicate their function. Refer to the doorbell chime’s instruction manual for specific wiring instructions.
- Mount the new doorbell chime: Position the new doorbell chime against the wall or ceiling where you want it to be installed. Use a level to ensure it is straight. Secure it in place by screwing it back onto the mounting plate.
Once the doorbell chime is securely installed and the wires are properly connected, test the chime functionality by pressing the doorbell button. You should hear a pleasant sound indicating that the doorbell connection is working correctly. If the chime doesn’t sound, double-check the wiring connections and ensure that the power is turned on.
With the doorbell chime successfully installed and functioning, you’re now ready to move on to the next step, which involves downloading and setting up the Smartech app on your smartphone or tablet.
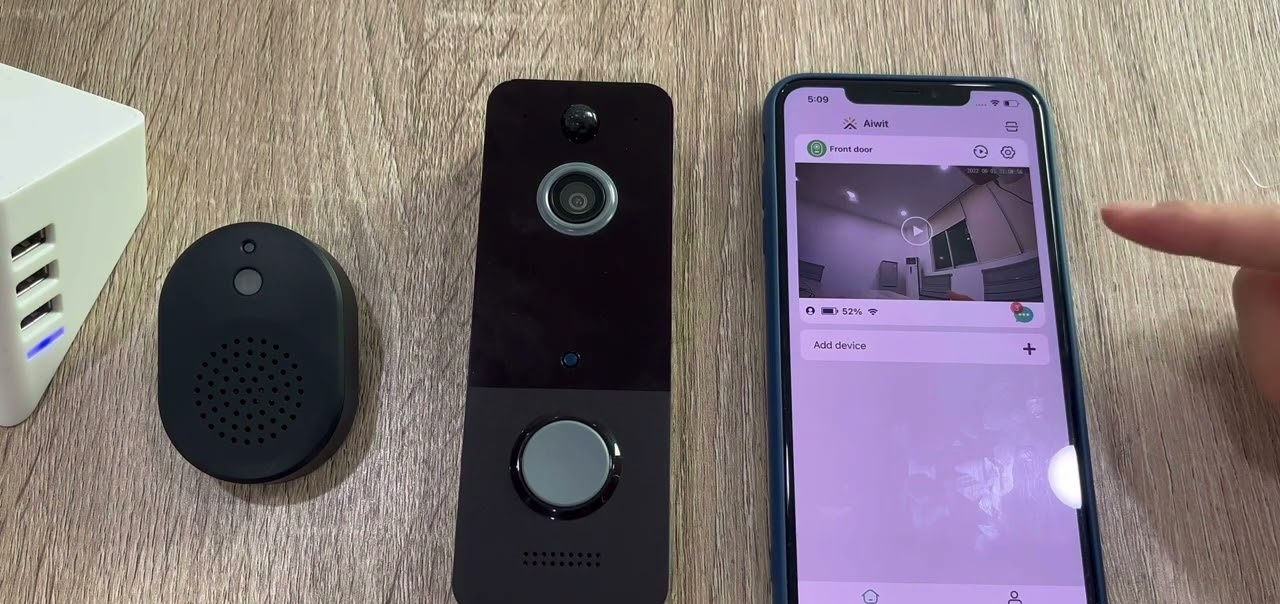
Step 6: Download and set up the Smartech app
To fully utilize the features of your Smartech Video Doorbell, you need to download and set up the Smartech app on your smartphone or tablet. Follow these steps to get started:
- Open your device’s app store: Depending on whether you have an Android or iOS device, open the Google Play Store or App Store, respectively.
- Search for the Smartech app: In the app store’s search bar, type in “Smartech” and look for the official Smartech app. It should have a recognizable logo.
- Install the app: Tap on the app when you find it and click the “Install” button. Wait for the app to download and install onto your device.
- Open the Smartech app: Once the app is installed, locate the Smartech app on your device and tap on it to open it.
- Create an account: When you open the Smartech app for the first time, you may be prompted to create a new account. Follow the on-screen instructions to provide the necessary information and create your account.
- Log in to your account: After creating an account, log in using your credentials. If you already have an account, simply enter your login details.
- Add your Smartech Video Doorbell: Inside the app, there should be an option to add a device. Select the Smartech Video Doorbell from the list of available devices and follow the instructions to pair it with your account.
Once you have successfully downloaded and set up the Smartech app, you will have access to a comprehensive range of customization options for your video doorbell. You’ll be able to adjust settings such as motion detection sensitivity and notification preferences, as well as view live video feeds and recorded footage.
Now that the Smartech app is installed and your video doorbell is connected to your account, you can proceed to the next step, which involves connecting the video doorbell to the app.
Step 7: Connect the video doorbell to the app
Now that you have downloaded and set up the Smartech app, it’s time to connect your Smartech Video Doorbell to the app. Follow these steps to establish the connection:
- Open the Smartech app: Launch the Smartech app on your smartphone or tablet.
- Log in to your account: Enter your login credentials to access your Smartech account.
- Access the device settings: Look for the option to manage or view your devices within the app. This may be located in the main menu, settings, or a dedicated device tab.
- Start the setup process: Choose the option to add or connect a new device. Follow the prompts provided by the app to begin the setup process.
- Scan the QR code: You will likely be asked to scan a QR code located on the back of your Smartech Video Doorbell. Use your device’s camera to scan the code.
- Connect to Wi-Fi: The app will prompt you to connect the video doorbell to your Wi-Fi network. Follow the instructions to enter your network name (SSID) and password. Ensure that you select a network with a strong signal.
- Wait for the connection: After entering your Wi-Fi details, the app will attempt to establish a connection between your Smartech Video Doorbell and your device. This may take a few moments.
- Confirm the successful connection: Once the connection is established, the app will notify you that your video doorbell is now connected. You should be able to access the live video feed and other features of the doorbell through the app.
After successfully connecting your Smartech Video Doorbell to the app, you can explore various settings and customization options. Adjust the motion detection sensitivity, set up activity zones, and configure notifications according to your preferences. Take some time to familiarize yourself with the app’s interface and features to make the most of your Smartech Video Doorbell.
With the video doorbell now connected to the app, you’re ready to move on to the next step, which involves customizing settings and notifications to suit your needs.
Step 8: Customize settings and notifications
Now that you have successfully connected your Smartech Video Doorbell to the app, it’s time to customize the settings and notifications to suit your preferences and needs. Follow these steps to tailor the doorbell’s functionality to your liking:
- Open the Smartech app: Launch the Smartech app on your smartphone or tablet.
- Access the doorbell settings: Locate the settings section within the app specifically dedicated to your Smartech Video Doorbell. This may be under a “Device Settings,” “Doorbell Settings,” or similar option.
- Adjust motion detection settings: Customize the motion detection sensitivity according to your requirements. You can choose to receive alerts for all motion or only specific areas by setting up activity zones.
- Configure notification preferences: Decide how and when you want to receive notifications from the Smartech Video Doorbell. You can configure settings such as sound alerts, vibration, or silent mode.
- Set up recording and storage options: Explore the app’s settings to enable or disable video recording, specify the duration of recordings, and choose where to store the recorded footage (cloud storage or local storage).
- Test and fine-tune settings: Once you have customized the settings, it’s important to test the functionality. Trigger the motion detection or press the doorbell button to simulate real-world scenarios and ensure the settings are working as desired.
- Make adjustments as needed: If you find that the current settings do not meet your expectations, revisit the app’s settings and make any necessary adjustments until you are satisfied with the functionality of your Smartech Video Doorbell.
By customizing the settings and notifications, you can tailor the Smartech Video Doorbell to fit your specific requirements. Whether you want to receive real-time alerts for all motion or only in specific areas, fine-tune the recording options, or adjust the notification settings to your preferences, the Smartech app offers a range of customization options.
Take the time to explore the app and familiarize yourself with all the available settings, ensuring that your Smartech Video Doorbell is optimized to provide the level of security and convenience that you desire.
With the settings and notifications successfully customized, you’re now ready to move on to the final step, which involves testing the functionality of your Smartech Video Doorbell.
Step 9: Test the video doorbell
Now that you have completed the installation and customization process for your Smartech Video Doorbell, it’s important to thoroughly test its functionality to ensure it’s working as expected. Follow these steps to perform a comprehensive test:
- Press the doorbell button: Approach your front door and press the doorbell button to test if the doorbell chime sounds. This ensures that the doorbell button is functioning correctly and that the chime is properly connected.
- Check for live video feed: Open the Smartech app on your smartphone or tablet and verify that you can see a live video feed from your Smartech Video Doorbell. Make sure the camera angle is capturing the desired view of your doorstep.
- Test two-way audio: Use the app to activate the two-way audio feature and speak into your smartphone or tablet. Check if your voice can be heard clearly through the doorbell’s speaker. This enables you to communicate with visitors without physically opening the door.
- Trigger motion detection: Walk in front of the doorbell’s view to trigger the motion detection feature. Verify that you receive a notification on your smartphone or tablet regarding the detected motion. Ensure that the sensitivity settings are properly adjusted to avoid unnecessary alerts.
- Review recorded footage: If you have enabled video recording, check if the Smartech app has successfully captured and stored any recorded footage. Review the recordings to ensure they are of satisfactory quality and that they adequately capture any motion events.
- Test night vision: If your Smartech Video Doorbell is equipped with night vision capabilities, test it by simulating low-light conditions. Verify that the camera can capture clear and detailed footage even in the absence of sufficient external lighting.
Performing these tests will allow you to make any necessary adjustments and ensure that your Smartech Video Doorbell is functioning properly. If you encounter any issues during the testing process, refer to the user manual or contact Smartech customer support for guidance and troubleshooting assistance.
With comprehensive testing complete, you can now enjoy the convenience and enhanced security provided by your Smartech Video Doorbell. Gain peace of mind knowing that you can monitor your doorstep, communicate with visitors, and receive alerts no matter where you are.
Conclusion
Congratulations! You have successfully installed, configured, and tested your Smartech Video Doorbell. By following the step-by-step guide in this article, you have added a valuable and convenient security device to your home. The Smartech Video Doorbell combines cutting-edge technology with user-friendly features to enhance the safety and accessibility of your front door.
Throughout the installation process, you gathered the necessary tools and materials, prepared the doorway area, mounted the video doorbell, connected the wires, installed the doorbell chime, downloaded and set up the Smartech app, connected the video doorbell to the app, customized settings, and tested the functionality. Each step played a crucial role in ensuring a successful installation and optimal performance.
Now that your Smartech Video Doorbell is up and running, take the time to explore the various features and settings available through the Smartech app. Adjust motion detection sensitivity, customize notification preferences, and configure recording options to suit your specific needs and preferences. Familiarize yourself with the app’s interface to make the most of the doorbell’s capabilities.
Remember to regularly test and check the functionality of your Smartech Video Doorbell to ensure it continues to provide reliable security and convenience. Keep the doorbell and its surrounding area clean and free from obstructions for optimal performance.
If you encounter any issues or have further questions during the installation or usage of your Smartech Video Doorbell, consult the user manual or reach out to Smartech customer support for assistance. They will be able to provide guidance and help troubleshoot any problems you may encounter.
Enjoy the peace of mind and added security that your Smartech Video Doorbell brings to your home. Now, you can answer the door from anywhere, keep an eye on your doorstep, and stay connected to your home’s security no matter where you are.