Introduction
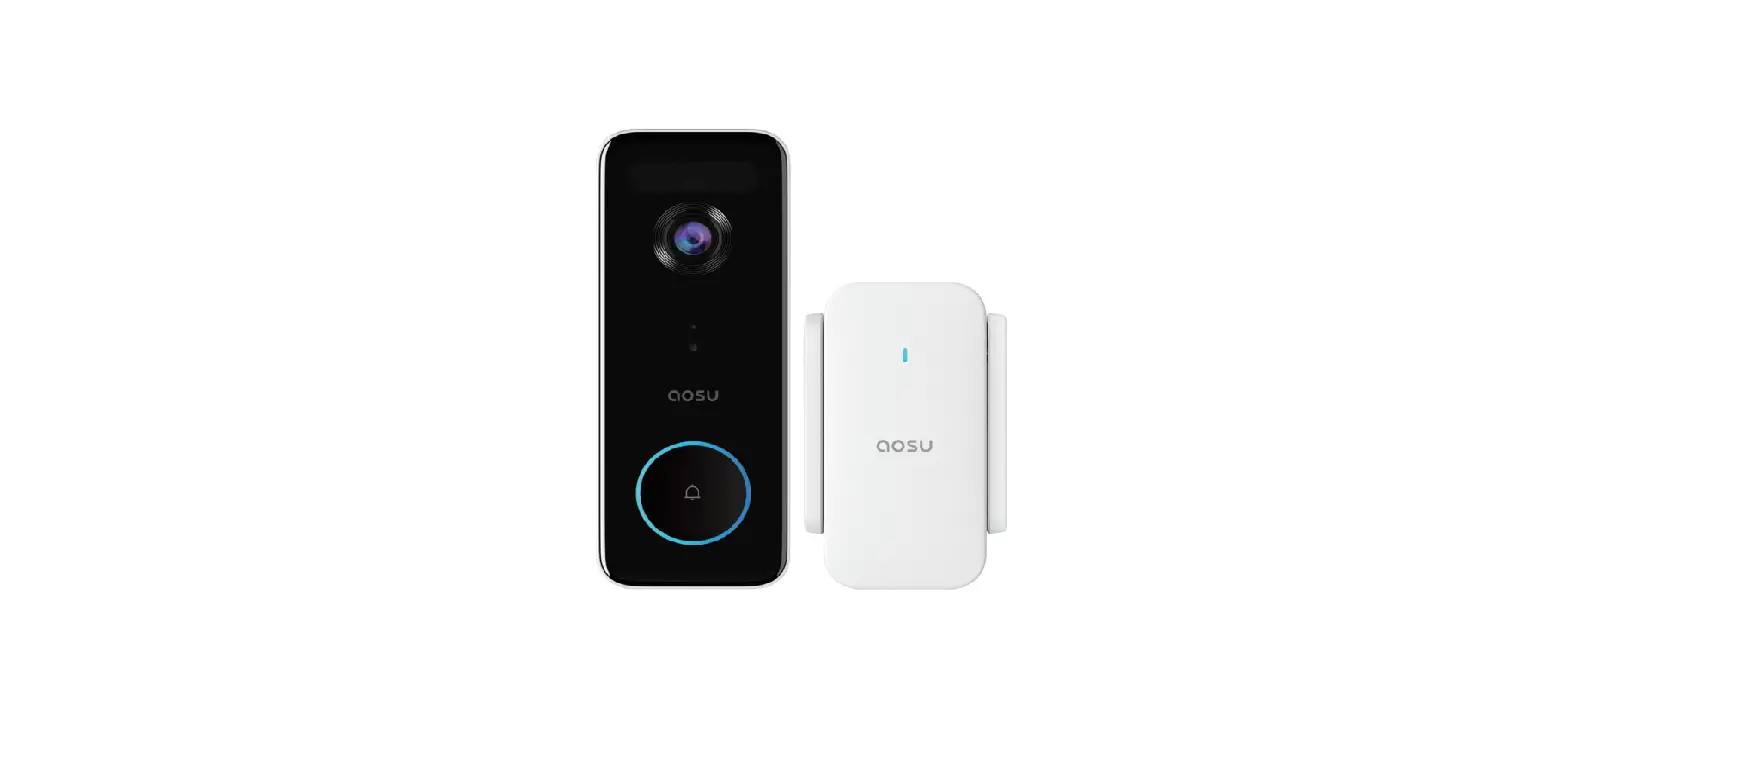
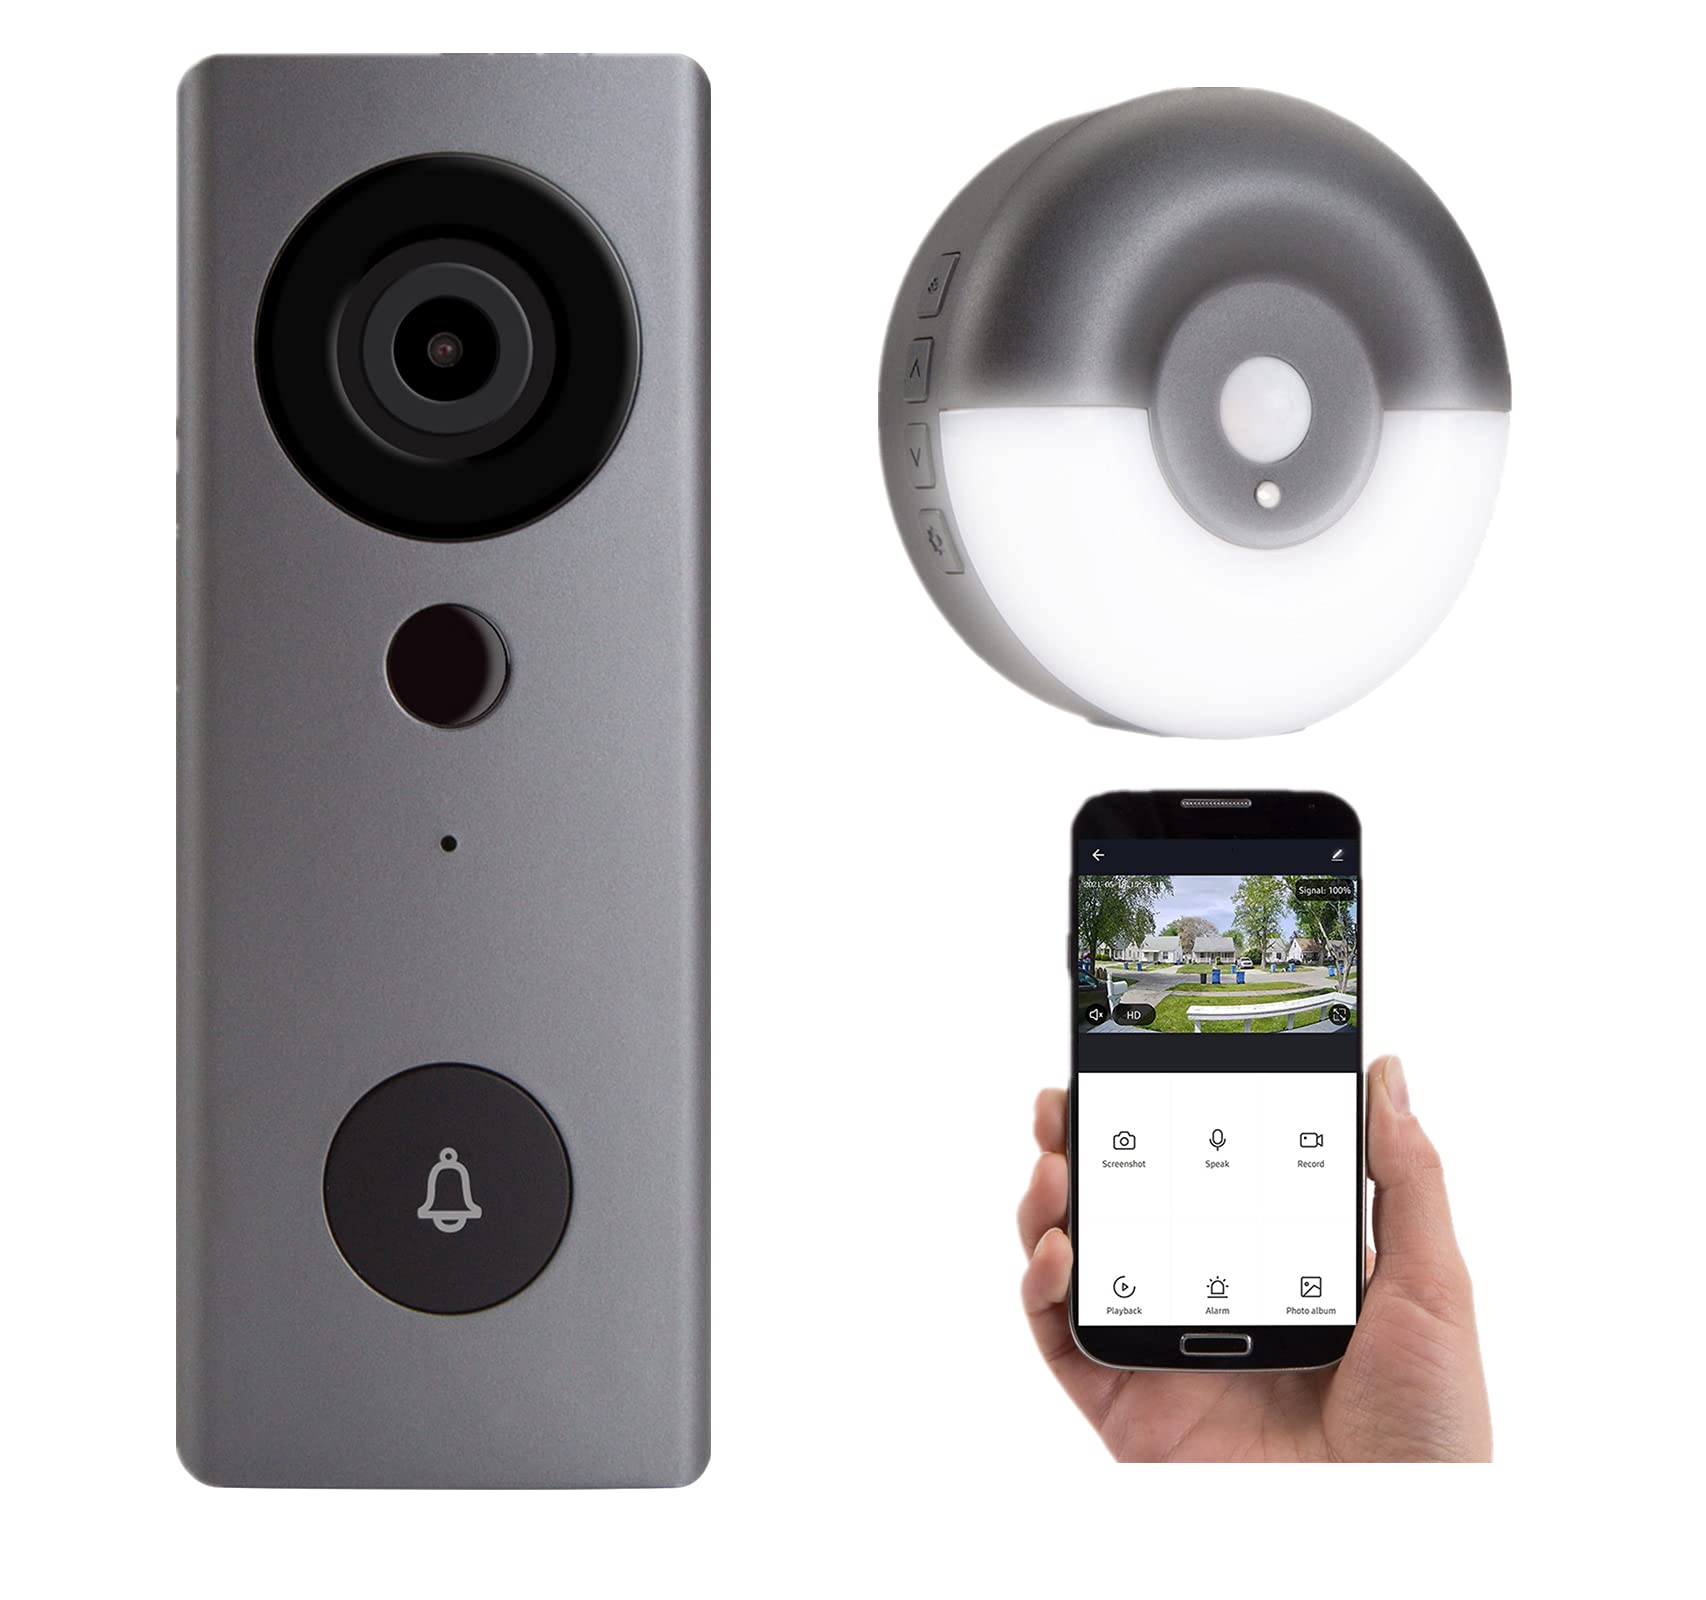
Welcome to the world of smart home security with the Brinks video doorbell! This innovative device allows you to keep an eye on your front door, even when you’re not at home. With its high-definition camera, motion detection, and two-way audio, the Brinks video doorbell provides an enhanced level of security and convenience.
In this guide, we will walk you through the step-by-step process of installing your Brinks video doorbell. Whether you’re a seasoned DIY enthusiast or a beginner, this installation can be easily accomplished with just a few tools and materials. By following these instructions, you’ll have your doorbell up and running in no time.
Before we dive into the installation process, it’s important to note that the Brinks video doorbell requires a Wi-Fi connection and access to a smartphone or tablet. This enables you to receive notifications, view live video feeds, and interact with visitors from anywhere using the Brinks Home app.
Now, let’s get started on installing your Brinks video doorbell and taking your home security to the next level!
Step 1: Gather the Required Tools and Materials
Before you begin installing your Brinks video doorbell, make sure you have all the necessary tools and materials on hand. Having everything ready will ensure a smooth and efficient installation process. Here’s what you’ll need:
- Brinks Video Doorbell Kit: This includes the doorbell unit, mounting bracket, wires, and screws.
- Power Drill and Drill Bits: You’ll need a drill to make holes for mounting the bracket and any necessary wiring.
- Screwdriver: A screwdriver will be used to tighten the screws and secure the doorbell in place.
- Wire Strippers: These will come in handy for removing the insulation from the wires to make proper connections.
- Ladder or Step Stool: Depending on the height of your doorframe, you may need a ladder or step stool to reach the mounting area.
- Wire Connectors: These connectors will be used to secure the wires together to ensure a stable electrical connection.
- Electrical Tape: This will help to protect and insulate the wire connections.
- Wi-Fi-enabled Smartphone or Tablet: You’ll need a device that can connect to the Brinks Home app to configure and control your video doorbell.
Make sure you have all these tools and materials easily accessible before starting the installation process. This will save you time and ensure you have everything you need to complete the installation without interruptions.
Step 2: Choose the Ideal Location for Your Brinks Video Doorbell
Choosing the right location for your Brinks video doorbell is crucial for optimal performance and functionality. Here are a few important factors to consider when selecting the ideal spot:
- Visibility of the Front Door: The primary purpose of the video doorbell is to capture and monitor activity at your front door. Therefore, choose a location that provides an unobstructed view of the entire area.
- Mounting Height: It’s recommended to install the doorbell at a height of 48 to 54 inches above the ground. This height ensures that the camera captures the faces of visitors and minimizes the risk of tampering.
- Existing Doorbell Wiring: If you have an existing doorbell, it may be convenient to install your Brinks video doorbell in the same location. This allows you to utilize the existing wiring for power supply and simplifies the installation process.
- Wi-Fi Signal Strength: Ensure that the selected location has a strong and stable Wi-Fi signal. A weak signal can result in poor video quality and connectivity issues. You can use your smartphone or tablet to check the signal strength at different areas near your door.
- Accessibility for Maintenance: Consider the accessibility of the doorbell for maintenance and future adjustments. You may need to remove the unit or make adjustments to the camera angle, so choose a location that is easily accessible.
Once you have considered these factors, take some time to evaluate different spots around your front door. Consider the layout of your house, the angle of approach for visitors, and any potential obstructions. Pay attention to lighting conditions as well, as a well-lit area can improve the quality of the captured video.
Remember to take measurements and mark the desired installation spot before proceeding to the next step. This will help ensure accurate placement and a hassle-free installation.
Step 3: Prepare Your Doorbell’s Mounting Bracket
Before you can install your Brinks video doorbell, you’ll need to prepare the mounting bracket. Here’s how to do it:
- Remove the Bracket from the Doorbell Kit: Start by locating the mounting bracket included in the Brinks video doorbell kit. Carefully remove it from the packaging, making sure not to misplace any screws or other small components.
- Check for Compatibility: Ensure that the mounting bracket is compatible with your door frame. Most brackets are designed to fit standard door frames, but it’s important to double-check before proceeding.
- Adjust the Positioning: Depending on your door frame and the desired location of your doorbell, you may need to adjust the positioning of the bracket. Some brackets offer angle adjustment options, allowing you to fine-tune the camera’s view.
- Mark the Holes: Once the bracket is in the desired position, use a pencil or marker to mark the locations where you’ll need to drill holes for mounting. Typically, there are two or three holes required to secure the bracket.
- Prepare for Wiring: Before mounting the bracket, make sure to identify the wire entry point. This is where the wires from your Brinks video doorbell will pass through the bracket. Adjust the position of the bracket as necessary to align the wire entry point with your existing wiring or power source.
Once you’ve prepared the mounting bracket, you’re ready to move on to the next step of the installation process. Having the bracket properly positioned and marked will ensure a secure and accurate installation of your Brinks video doorbell.
Step 4: Install the Mounting Bracket on Your Door Frame
Now that you have prepared the mounting bracket for your Brinks video doorbell, it’s time to securely install it on your door frame. Follow these steps to ensure a proper installation:
- Drill Pilot Holes: Using a power drill and the appropriate drill bit, carefully drill pilot holes into the marked spots on your doorframe. Take caution to avoid damaging the door or any electrical wiring or plumbing hidden behind the wall.
- Attach the Mounting Bracket: Line up the holes on the mounting bracket with the pilot holes you just drilled. Securely attach the bracket to the doorframe using the provided screws. Ensure that the bracket is level and tightly fastened to prevent any movement or instability.
- Check the Stability: Once the mounting bracket is attached, gently give it a tug to ensure it is securely fixed. The bracket should not move or wiggle. If it feels loose, tighten the screws further or consider using longer screws for added stability.
- Route the Wires: If you have existing doorbell wiring, carefully route the wires through the wire entry point on the mounting bracket. Make sure the wires are neatly organized and not pinched or strained. This will ensure a clean and professional installation.
By following these steps, you will successfully install the mounting bracket for your Brinks video doorbell. The mounting bracket serves as the foundation for your doorbell unit and ensures its stability and security.
Once the mounting bracket is firmly in place, you can proceed to the next step of connecting the wires to your Brinks video doorbell.
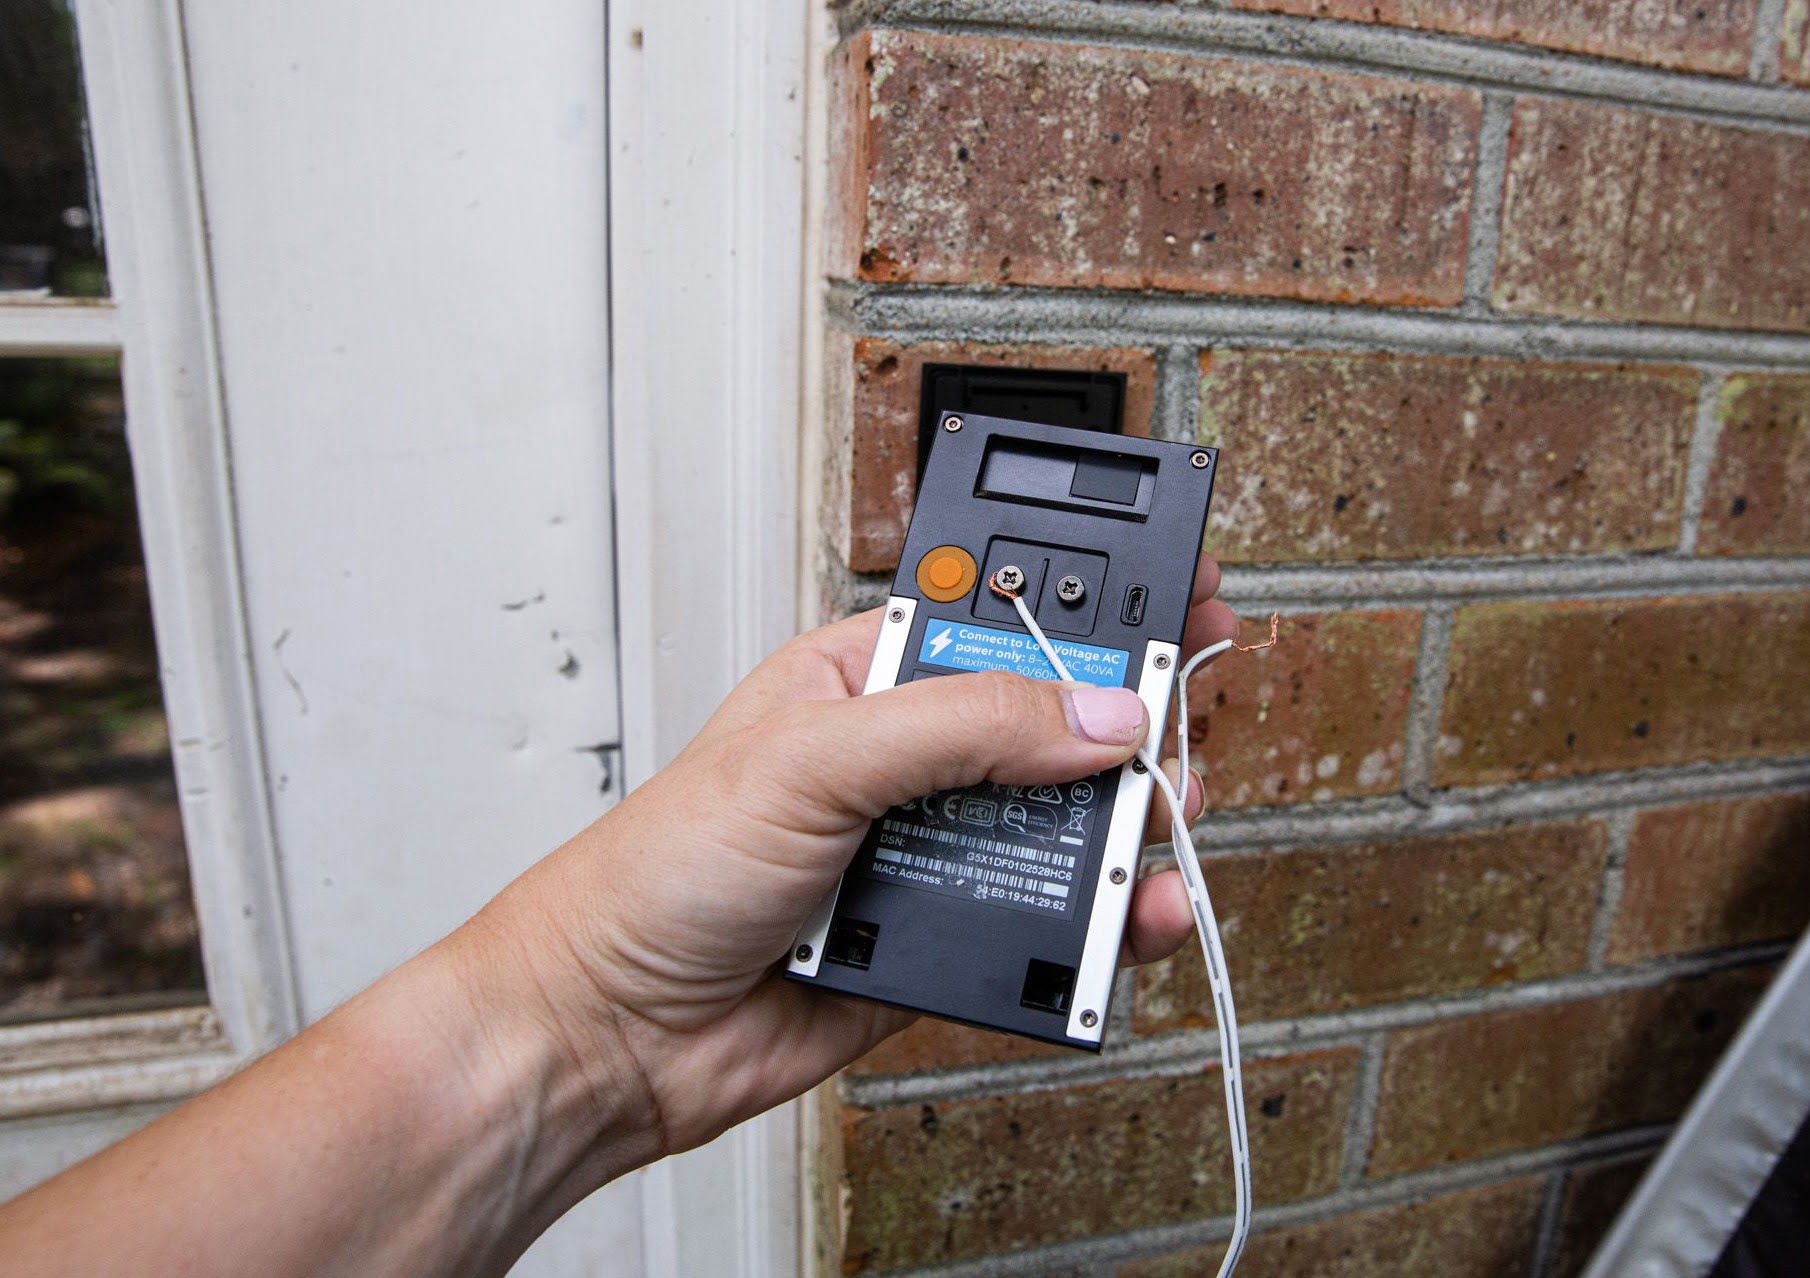
Step 5: Connect the Wires to Your Brinks Video Doorbell
With the mounting bracket securely installed, it’s time to connect the wires from your Brinks video doorbell. Follow these steps to ensure a proper and secure connection:
- Locate the Wires: Locate the wires included in the Brinks video doorbell kit. These wires are typically color-coded, with one wire being red and the other black.
- Prepare the Wires: Use wire strippers to carefully strip off a small portion of the insulation from the ends of the wires. This will expose the copper wiring within.
- Identify the Terminal Screws: On the back of your Brinks video doorbell unit, identify the terminal screws labeled “+” and “-“. The red wire will typically connect to the “+” terminal, while the black wire will connect to the “-” terminal.
- Connect the Wires: Insert the stripped ends of the wires into the corresponding terminal screws. Ensure that the exposed copper wiring is securely connected and tightly screwed in place. This will provide a solid electrical connection.
- Secure the Wires: To ensure a neat and secure installation, use wire connectors to secure the wires together. These connectors will protect the exposed wiring and prevent any accidental disconnections.
- Check the Connections: Once the wires are connected and secured, double-check all the connections to ensure they are properly tightened and insulated. This will prevent any loose connections or exposed wiring.
Once you have followed these steps, the wires from your Brinks video doorbell should be securely connected. This will ensure proper power supply and functionality of your doorbell.
With the wires successfully connected, you’re ready to move on to the next step of attaching the doorbell unit to the mounting bracket.
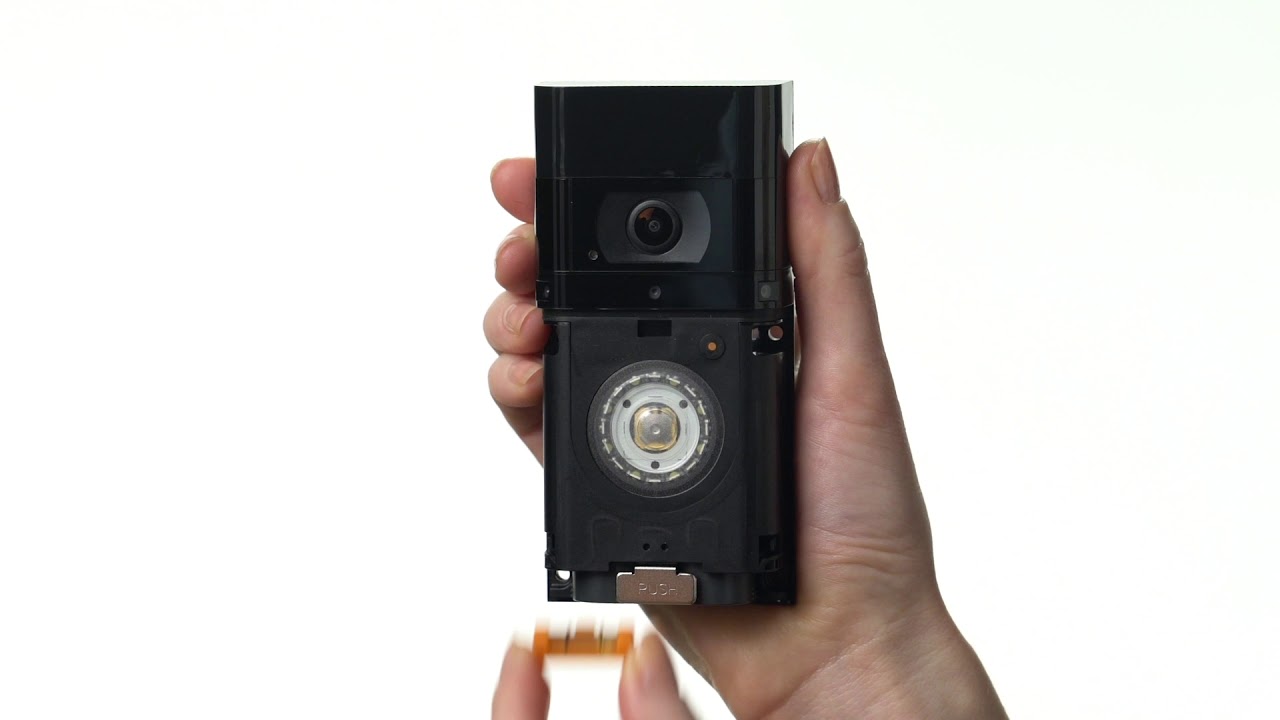
Step 6: Attach the Doorbell to the Mounting Bracket
With the wiring complete, it’s now time to attach the Brinks video doorbell unit to the mounting bracket. Follow these steps to ensure a secure and proper installation:
- Align the Doorbell: Hold the video doorbell unit in your hand, aligning the screw holes on the back of the unit with the corresponding holes on the mounting bracket.
- Insert the Screws: Insert the provided screws through the screw holes on the back of the doorbell and into the pre-drilled holes on the mounting bracket. Use a screwdriver to tighten the screws securely, but be careful not to overtighten and damage the doorbell unit.
- Adjust the Angle: Once the doorbell is securely attached, you can adjust the angle of the camera. Most Brinks video doorbells have a range of motion that allows you to tilt and swivel the camera to your desired viewing position.
- Tighten and Secure: Double-check all the screws to ensure they are tightened securely. This will prevent any potential movement or instability of the doorbell unit.
By following these steps, you will successfully attach the Brinks video doorbell to the mounting bracket. This step completes the physical installation of your doorbell, and now it’s time to move on to the configuration and setup process.
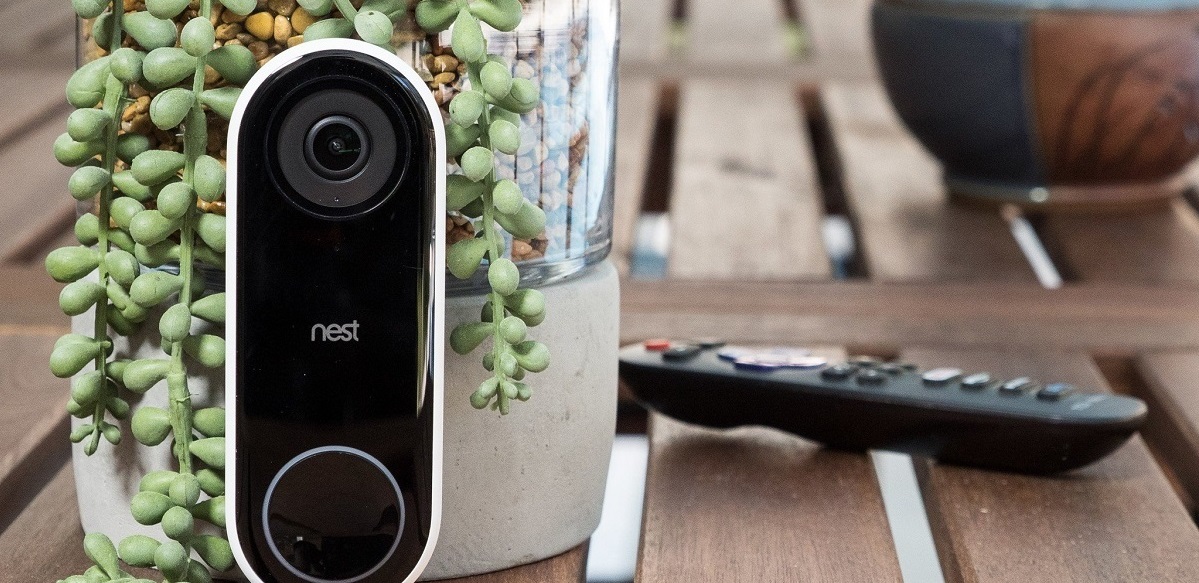
Before moving forward, take a moment to admire the sleek and modern design of your Brinks video doorbell. The doorbell unit not only enhances your home security but also adds a touch of elegance to your front door.
Step 7: Configure and Set up Your Brinks Video Doorbell
Now that your Brinks video doorbell is securely installed, it’s time to configure and set it up to start enjoying its features. Follow these steps to complete the configuration process:
- Download the Brinks Home App: On your Wi-Fi-enabled smartphone or tablet, search for and download the Brinks Home app from the App Store or Google Play Store. This app allows you to control and monitor your video doorbell.
- Create an Account: Open the Brinks Home app and create an account. Follow the on-screen instructions to provide the necessary information and set up your account.
- Add Your Doorbell: Once logged in, follow the app’s instructions to add your Brinks video doorbell to your account. This involves scanning the QR code on the back of the doorbell unit or entering the provided device code.
- Connect to Wi-Fi: The app will guide you through the process of connecting your video doorbell to your home’s Wi-Fi network. Make sure you have the correct Wi-Fi credentials handy.
- Configure Notification Settings: Customize the notification settings in the app according to your preferences. You can choose to receive alerts for motion detection and doorbell button presses, as well as adjust the sensitivity levels.
- Explore Advanced Features: Take some time to explore the additional features offered by the Brinks Home app. These may include two-way audio communication, video recording options, and integration with other smart home devices.
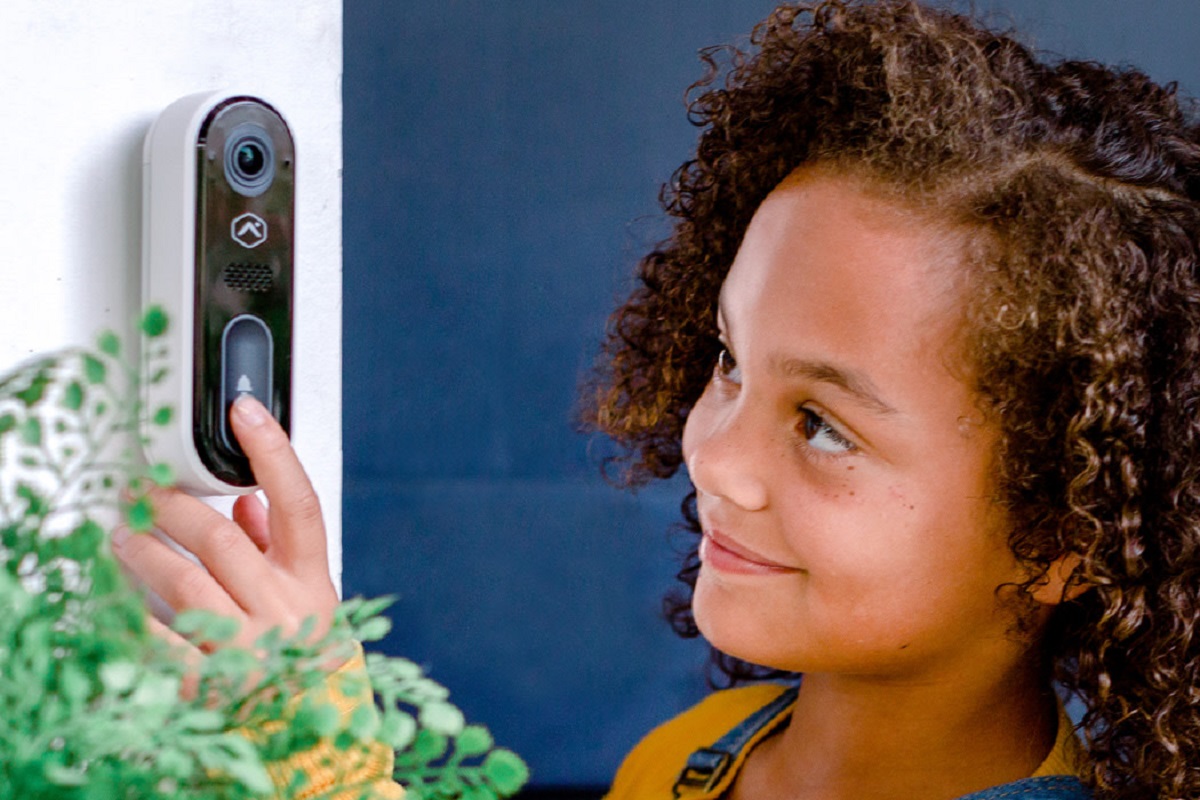
- Test Your Doorbell: Once the configuration is complete, test your Brinks video doorbell by pressing the doorbell button or simulating motion in front of the camera. Ensure that you receive prompt notifications and can view the live video feed in the app.
With these steps completed, your Brinks video doorbell is now fully configured and ready to use. Enjoy the convenience and peace of mind that comes with being able to monitor your front door from anywhere.
Remember to periodically check for firmware updates for your Brinks video doorbell and the Brinks Home app. These updates may bring new features and improvements to enhance your user experience.
Conclusion
Congratulations! You have successfully installed and set up your Brinks video doorbell. With its advanced features, such as high-definition video, motion detection, and two-way audio, you can now enjoy enhanced home security and convenience.
By following the step-by-step installation guide, you ensured that your doorbell is properly mounted, the wires are securely connected, and the doorbell unit is configured to your preferences. This ensures optimal performance and functionality.
Remember to regularly check the Brinks Home app for any updates and take advantage of additional features that may be released by Brinks. This will ensure that you always have the latest enhancements and improvements for your video doorbell.
Now, you can monitor your front door, receive alerts for any activity, and even communicate with visitors, all from the convenience of your smartphone or tablet. Whether you’re at home, at work, or on the go, you can have peace of mind knowing that you have a reliable and advanced security system in place.
We hope this guide has been helpful in assisting you with the installation and setup of your Brinks video doorbell. If you have any further questions or need additional support, refer to the user manual or reach out to Brinks customer support for assistance.
Enjoy the added security, convenience, and peace of mind provided by your Brinks video doorbell!