Introduction
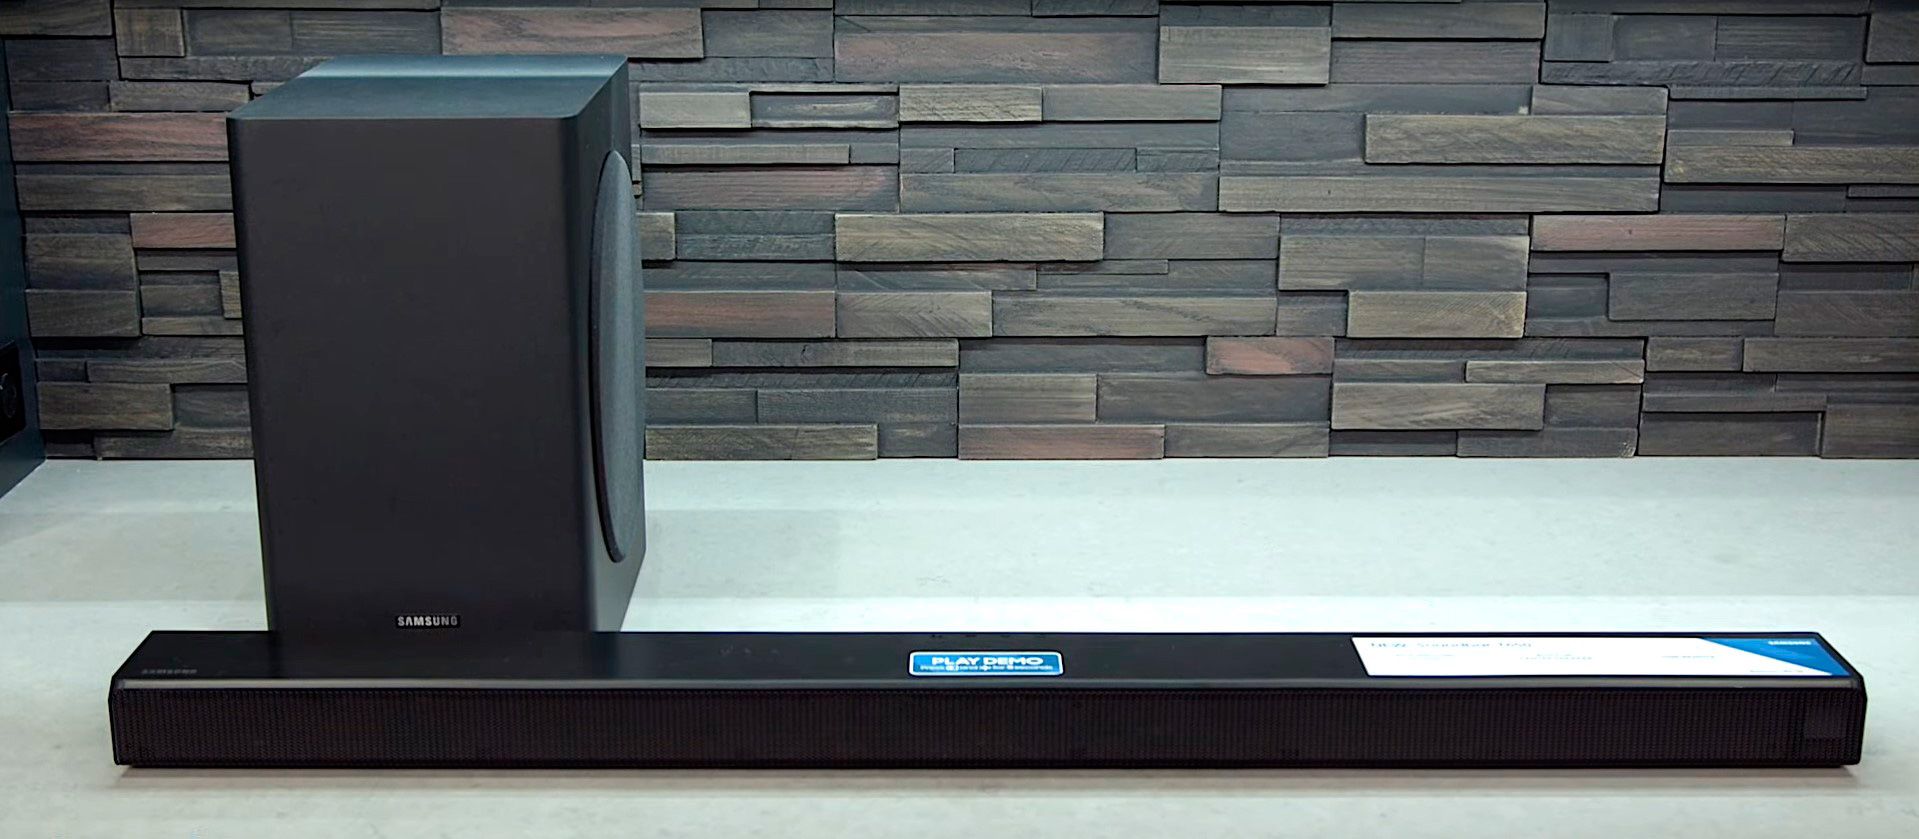
Welcome to the world of immersive audio! If you’re looking to enhance the audio experience of your soundbar, adding a subwoofer can make a world of difference. A subwoofer is designed specifically to reproduce low-frequency sounds and add depth and richness to your music, movies, and games. By connecting a subwoofer to your soundbar, you can achieve a more balanced and dynamic audio setup that will truly immerse you in your entertainment.
In this guide, we will walk you through the step-by-step process of hooking up a subwoofer to your soundbar. Whether you’re a tech-savvy individual or a beginner in the world of audio setups, you’ll find this guide helpful in setting up your subwoofer with ease. We will cover both wired and wireless connections, so no matter what type of subwoofer you have, we’ve got you covered.
Before we dive into the steps, it’s important to gather the necessary equipment. You will need your soundbar, subwoofer, power cables, and any additional cables or adapters depending on the connection method you choose. Make sure to have these items ready before proceeding.
So, let’s get started on the journey to enhancing your audio experience by connecting a subwoofer to your soundbar. Whether you’re a music lover, movie enthusiast, or avid gamer, get ready to feel the power and depth of premium audio right in your own home!
Step 1: Gather the necessary equipment
Before you begin the process of connecting your subwoofer to your soundbar, it’s important to gather all the necessary equipment. Here’s a checklist of what you’ll need:
- A compatible soundbar with an audio output
- A subwoofer
- Power cables for both the soundbar and the subwoofer
- Additional cables or adapters (if required) for the specific connection method you choose
Make sure you have all the items ready and easily accessible. Double-check that your subwoofer is in good working condition and that you have the correct cables or adapters for your desired connection method.
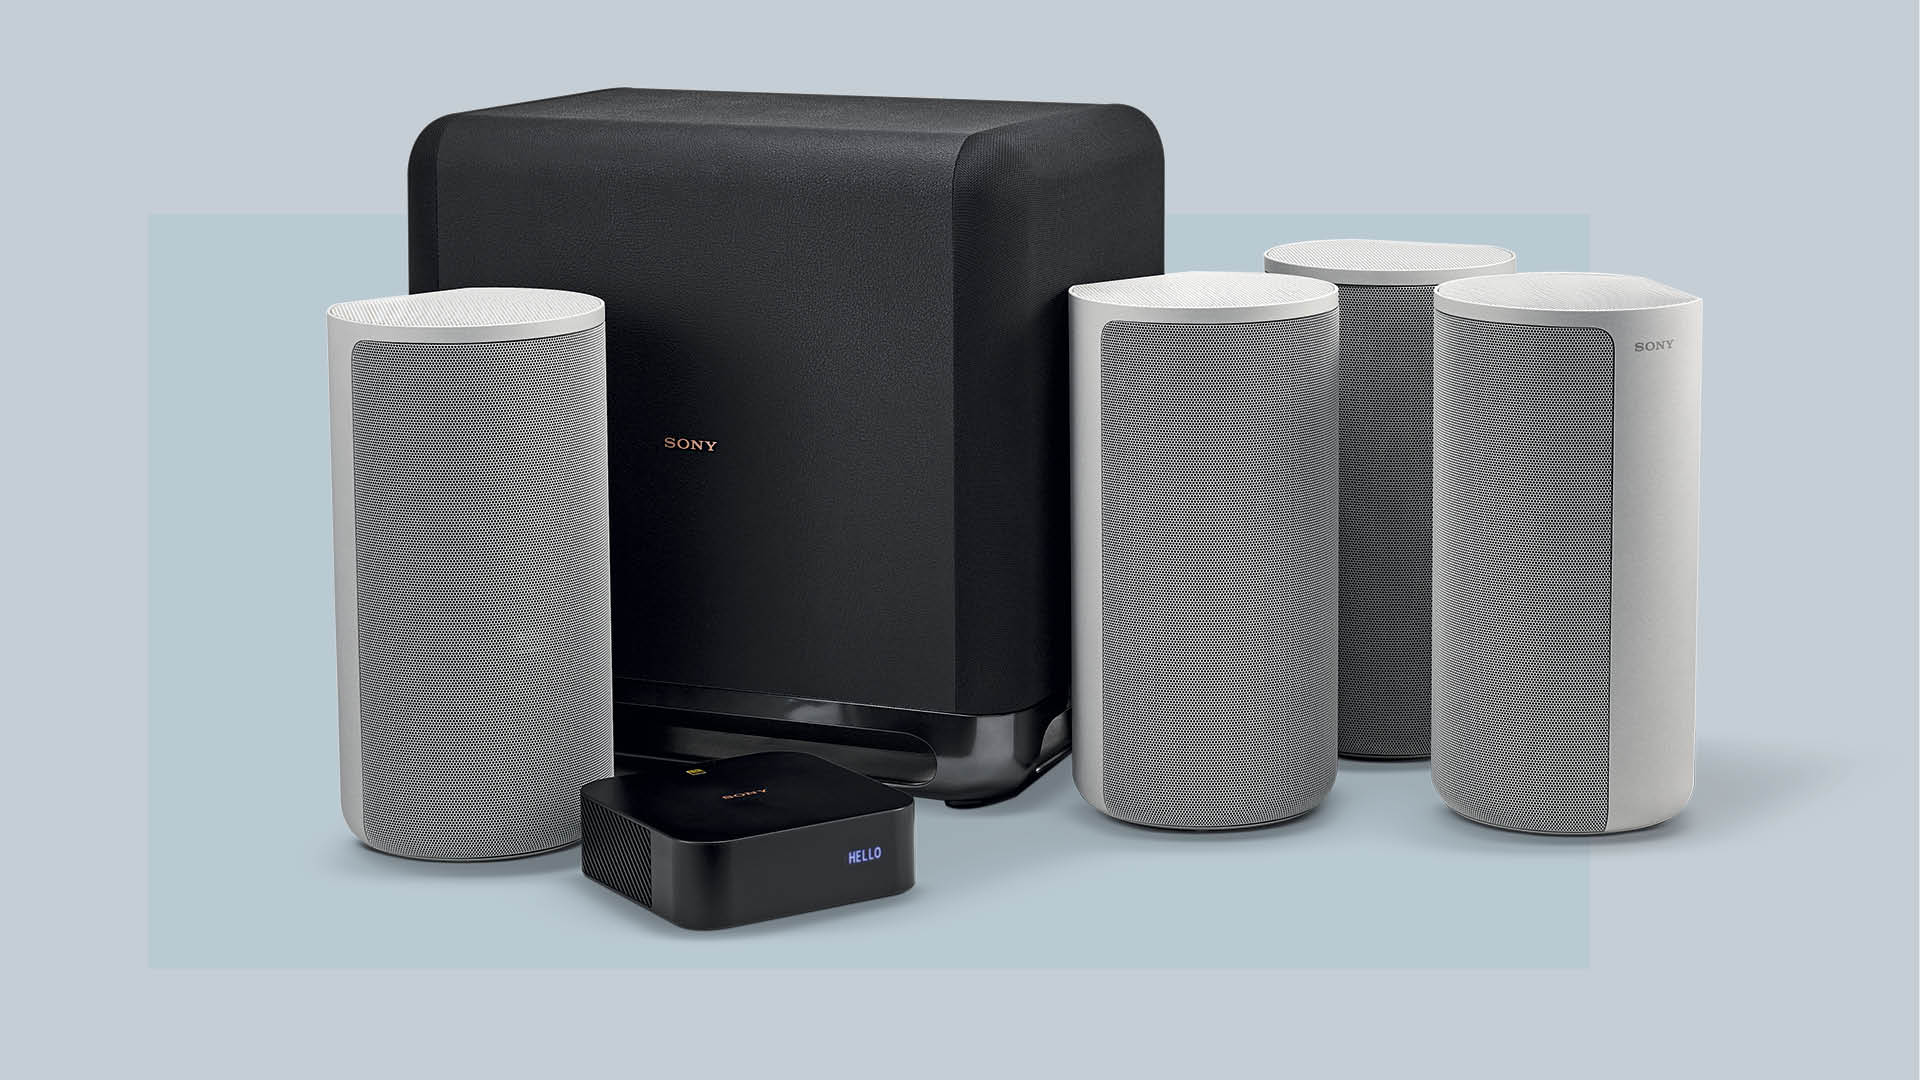
It’s worth noting that some soundbars come with a subwoofer as a package deal. In this case, the subwoofer is usually wirelessly connected to the soundbar. If you have this type of setup, you can skip the following steps and refer to the manufacturer’s instructions to connect the included subwoofer.
Once you have all the necessary equipment, you’re ready to proceed to the next step of locating the audio output on your soundbar. So let’s move on and get closer to enjoying a more immersive audio experience!
Step 2: Locate the audio output on your soundbar
To connect a subwoofer to your soundbar, you need to locate the audio output on your soundbar. The location of the audio output may vary depending on the make and model of your soundbar. Here are a few common places where you might find it:
- On the back panel of the soundbar: Look for a port labeled “Sub Out” or “LFE Out.” This is the dedicated audio output for your subwoofer.
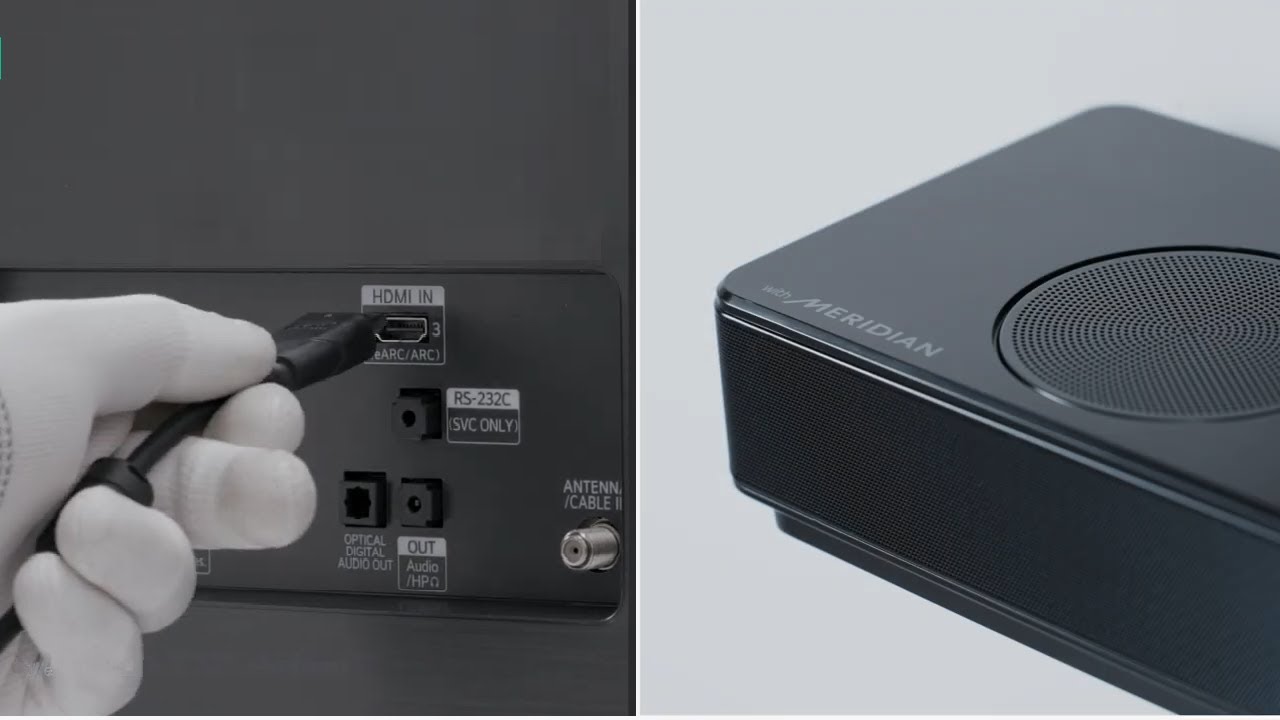
- Alongside the other connectivity ports: It is possible that the audio output is situated alongside other input and output ports such as HDMI, optical, or AUX.
Once you’ve located the audio output, take note of the type of connection it requires. It could be a digital connection like HDMI or optical, or an analog connection like RCA or AUX. This will determine the type of cable you need to connect the subwoofer.
It’s important to consult the user manual of your soundbar if you’re having trouble locating the audio output. The manual will provide detailed information on the specific location and type of audio output for your particular soundbar model.
Now that you’ve found the audio output on your soundbar, you’re one step closer to enjoying enhanced bass and a more immersive audio experience. In the next step, we will discuss the different types of subwoofer connections and guide you through the process of connecting your subwoofer to your soundbar. So let’s move on!
Step 3: Identify the type of subwoofer connection
Before you can connect your subwoofer to your soundbar, it’s essential to identify the type of connection your subwoofer supports. The connection method may vary depending on the make and model of your subwoofer. Here are the two common types of subwoofer connections:
- Wired connection: Some subwoofers require a physical connection to the soundbar using cables. These cables are typically included with the subwoofer and may utilize RCA, AUX, or speaker wire connections.
- Wireless connection: Many modern soundbars and subwoofers offer wireless connectivity options. In this case, the subwoofer communicates with the soundbar wirelessly, eliminating the need for physical cables between the two devices.
It’s important to check the documentation or user manual that came with your subwoofer to determine the specific type of connection it supports. If your subwoofer has wireless capabilities, you may need to follow a different set of instructions provided by the manufacturer’s guidelines to establish the wireless connection.
Identifying the type of subwoofer connection is crucial as it will determine the appropriate method for connecting your subwoofer to your soundbar. In the next steps, we will explore both the wired and wireless connection options in detail, so you can choose the method that best suits your setup and preferences.
Now that you are aware of the different types of subwoofer connections, it’s time to move on to the next step and connect your subwoofer to your soundbar. Whether you’re going for a wired or wireless connection, we’ve got you covered with our step-by-step instructions. Let’s proceed!
Step 4: Connect the subwoofer using a wireless connection
If your subwoofer supports wireless connectivity, you can enjoy the convenience of a cable-free connection. Here’s how you can connect your subwoofer to your soundbar using a wireless connection:
- Check if your soundbar and subwoofer are compatible for wireless connection. Refer to the user manual or manufacturer’s instructions for compatibility details.
- Place your subwoofer in the desired location within range of the soundbar. It’s recommended to position it near the soundbar for optimal performance.
- Power on both the soundbar and the subwoofer. Make sure they are both connected to a power source.
- Access the settings menu on your soundbar. This can usually be done through the remote control or the buttons on the soundbar itself.
- Look for the “Wireless Subwoofer” or similar option in the soundbar’s settings menu. Select it to initiate the wireless pairing process.
- Follow the on-screen instructions or listen for audible cues to pair your subwoofer with the soundbar. This may involve pressing a button on the subwoofer or entering a pairing code.
- Once the pairing process is successful, you should see a confirmation message or indicator light on both the soundbar and the subwoofer.
Congratulations! You have successfully connected your subwoofer to your soundbar using a wireless connection. Make sure to test it out by playing your favorite music, movie, or game to experience the enhanced bass and immersive audio.
Note: Please keep in mind that the specific steps may vary depending on the make and model of your soundbar and subwoofer. Refer to the user manual and manufacturer’s instructions for detailed guidance on the wireless pairing process.
Now that your subwoofer is connected wirelessly to your soundbar, you can enjoy a clutter-free setup and unrestricted placement options for your subwoofer. If a wireless connection was not an option or if you prefer a wired setup, don’t worry – we have you covered in the next step.
Step 5: Connect the subwoofer using a wired connection
If your subwoofer does not support wireless connectivity or if you prefer a more traditional wired setup, you can still connect it to your soundbar using cables. Here’s how you can do it:
- Identify the type of connection your subwoofer requires. It could be RCA, AUX, or speaker wire connections. Ensure you have the appropriate cable for the job.
- Power off both the soundbar and the subwoofer before connecting them.
- Locate the audio output on your soundbar, as discussed in step 2. Connect one end of the cable to the appropriate audio output on the soundbar.
- Connect the other end of the cable to the corresponding input on your subwoofer. Ensure a secure and snug connection.
- Power on both the soundbar and the subwoofer. They should now be connected via the cable.
- Go to the soundbar settings menu and access the audio settings. Look for options related to subwoofer or low-frequency output, and make any necessary adjustments to ensure the subwoofer is working correctly.
- Play some audio content to test the subwoofer. You should now be able to enjoy enhanced bass and a more immersive audio experience.
It’s worth noting that the specific steps may vary depending on the make and model of your soundbar and subwoofer. Refer to the user manual and manufacturer’s instructions for tailored guidance on the wired connection process.
With a wired connection, you can ensure a stable and reliable connection between the soundbar and the subwoofer. Although it may require the use of cables, it can be a great option if you prefer a more traditional setup.
Now that you have successfully connected your subwoofer to your soundbar using a wired connection, you’re just a few steps away from experiencing a more immersive audio experience. Let’s move on to the next step and configure the soundbar subwoofer settings.
Step 6: Configure the soundbar subwoofer settings
After connecting your subwoofer to your soundbar, it’s important to configure the soundbar’s subwoofer settings to optimize the audio performance. Here’s how you can do it:
- Access the settings menu on your soundbar. This can usually be done through the remote control or the buttons on the soundbar itself.
- Find the audio settings or sound options menu. Look for specific settings related to the subwoofer, such as subwoofer level, crossover frequency, or bass adjustment.
- Tweak the subwoofer settings to your preference. You may need to increase or decrease the subwoofer level to achieve the desired bass impact. Adjust the crossover frequency to ensure a seamless blend between the soundbar and subwoofer. Experiment with the bass adjustment to find the right balance for your listening environment.
- Test your audio setup by playing content that features low-frequency sounds, such as music with deep bass or action-packed movie scenes. Fine-tune the subwoofer settings further, if necessary, to achieve the desired audio experience.
It’s worth noting that the specific subwoofer settings and options may vary depending on the make and model of your soundbar. Some soundbars may offer advanced features such as auto-calibration or presets tailored for different genres of content. Explore the user manual or manufacturer’s instructions for detailed guidance on configuring the subwoofer settings.
Once you have optimized the soundbar’s subwoofer settings, sit back, relax, and enjoy the enhanced audio performance. You’ll now be able to experience deep, rumbling bass and a more immersive soundstage that brings your entertainment to life.
Congratulations! You have successfully connected and configured your subwoofer to your soundbar. Whether you chose a wireless or wired connection, you can now enjoy a more dynamic and captivating audio experience.
If you encounter any issues or have specific questions about your soundbar’s subwoofer settings, it’s always a good idea to consult the user manual or reach out to the manufacturer’s support team for further assistance.
Thank you for following this guide, and we hope you enjoy the enhanced audio experience with your newly connected subwoofer and soundbar combination!
Conclusion
By following the steps outlined in this guide, you have successfully learned how to connect a subwoofer to a soundbar. Whether you chose a wireless or wired connection, you can now enjoy an enhanced audio experience with richer, deeper bass and a more immersive soundstage.
Remember, before you begin the process, gather all the necessary equipment, including your soundbar, subwoofer, power cables, and any additional cables or adapters required for your specific setup. Take the time to locate the audio output on your soundbar and identify the type of subwoofer connection.
If your subwoofer supports wireless connectivity, you can enjoy the convenience of a cable-free setup. Follow the steps to pair your subwoofer wirelessly with your soundbar. Alternatively, if a wireless connection is not available or preferred, you can opt for a wired connection using compatible cables.
Once your subwoofer is connected, don’t forget to configure the soundbar’s subwoofer settings. Adjust the subwoofer level, crossover frequency, and bass settings to optimize the audio performance according to your preferences and listening environment.
We hope that this guide has been informative and helpful in assisting you with connecting your subwoofer to your soundbar. Now, sit back, relax, and enjoy a truly immersive audio experience that takes your music, movies, and games to another level.
If you have any further questions or need additional support, consult the user manual or reach out to the manufacturer’s support team for expert guidance tailored to your specific soundbar and subwoofer models.
Thank you for choosing this guide, and we wish you many enjoyable hours of immersive audio with your newly connected subwoofer and soundbar setup.


