Introduction
Introduction
When it comes to creating an immersive home theater experience, an AV receiver plays a pivotal role in delivering high-quality audio. However, achieving the best sound out of an AV receiver involves more than just purchasing the latest model. It requires a comprehensive understanding of speaker selection, placement, receiver setup, sound adjustments, and system calibration. By delving into these essential elements, you can unlock the full potential of your AV receiver and enjoy a truly captivating audio experience.
The process begins with selecting the right speakers, which serve as the primary conduits for delivering sound. Proper speaker placement is equally crucial, as it directly impacts the distribution of audio throughout the room. Once the speakers are in place, configuring the AV receiver settings and adjusting the sound parameters are essential steps in optimizing the audio output. Additionally, calibrating the system ensures that the audio is finely tuned to suit the acoustics of the room and the preferences of the listener.
In this guide, we will explore each of these aspects in detail, providing practical insights and tips to help you maximize the performance of your AV receiver. By following these recommendations, you can elevate your home entertainment experience and revel in the richness of high-fidelity audio. Let's embark on this journey to unleash the full potential of your AV receiver and immerse yourself in a world of captivating sound.
Choosing the Right Speakers
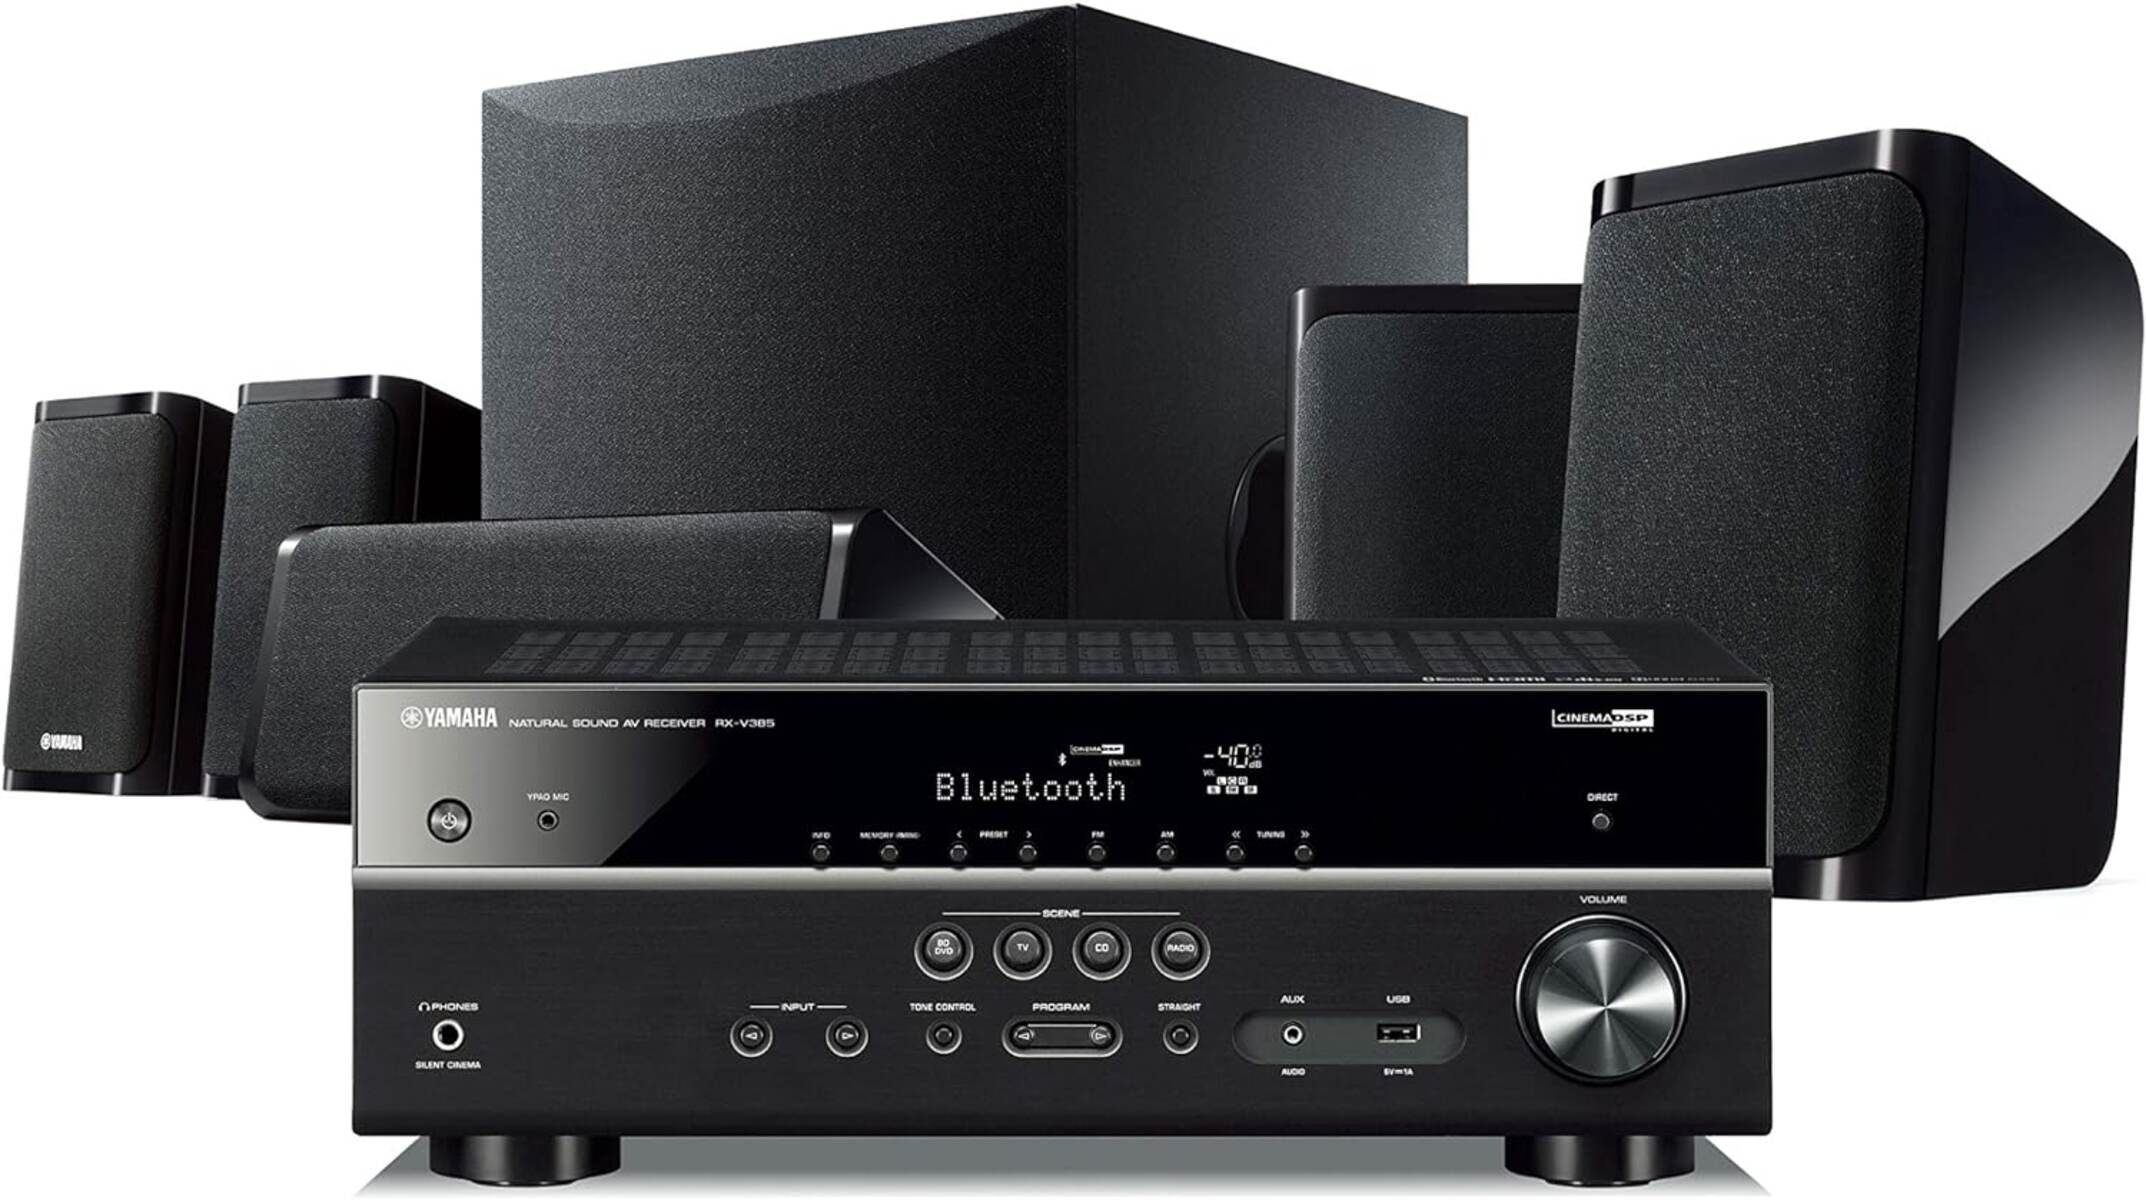
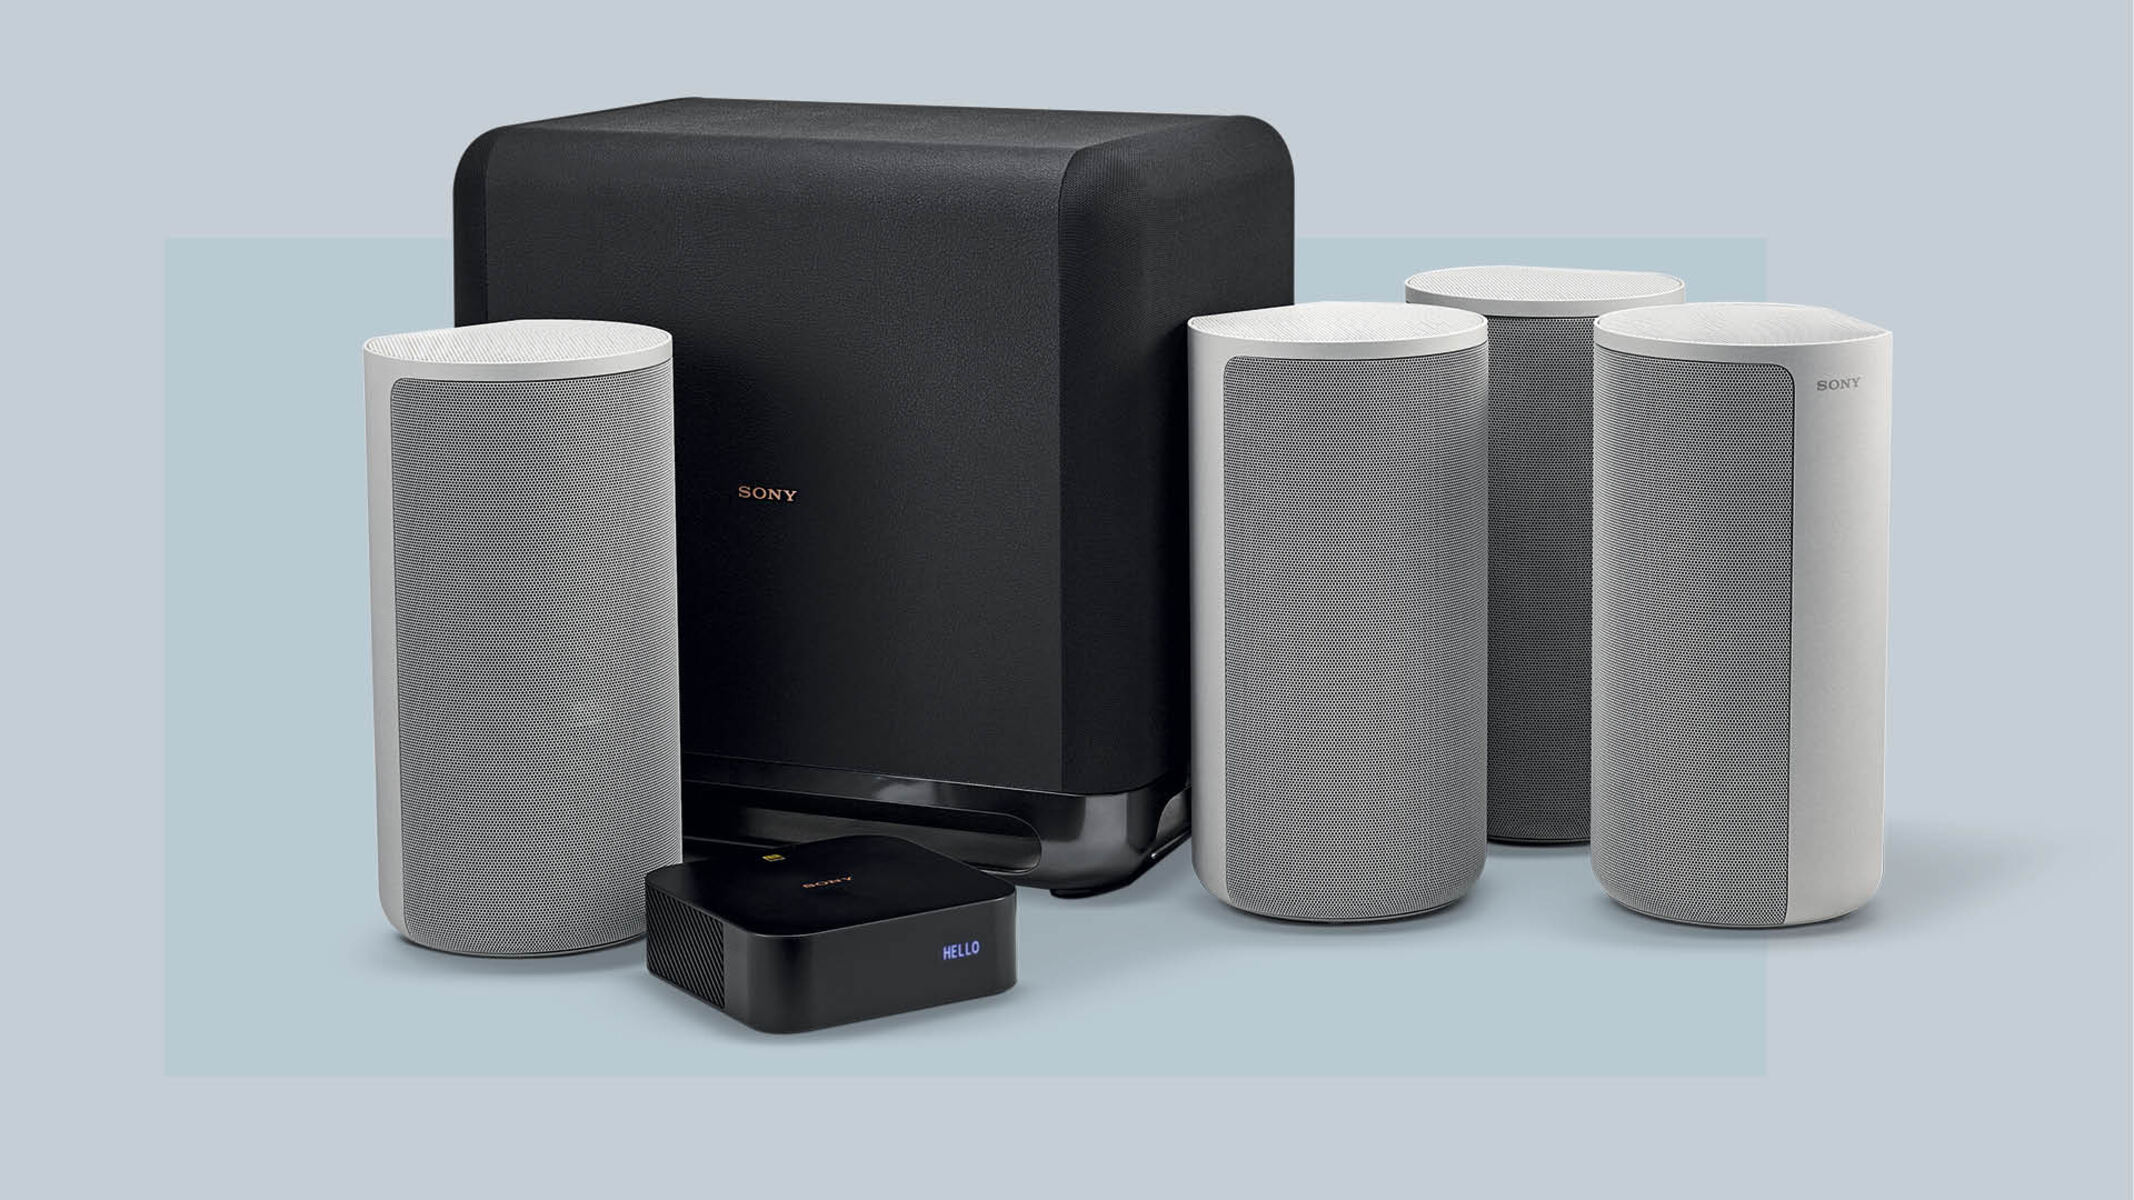
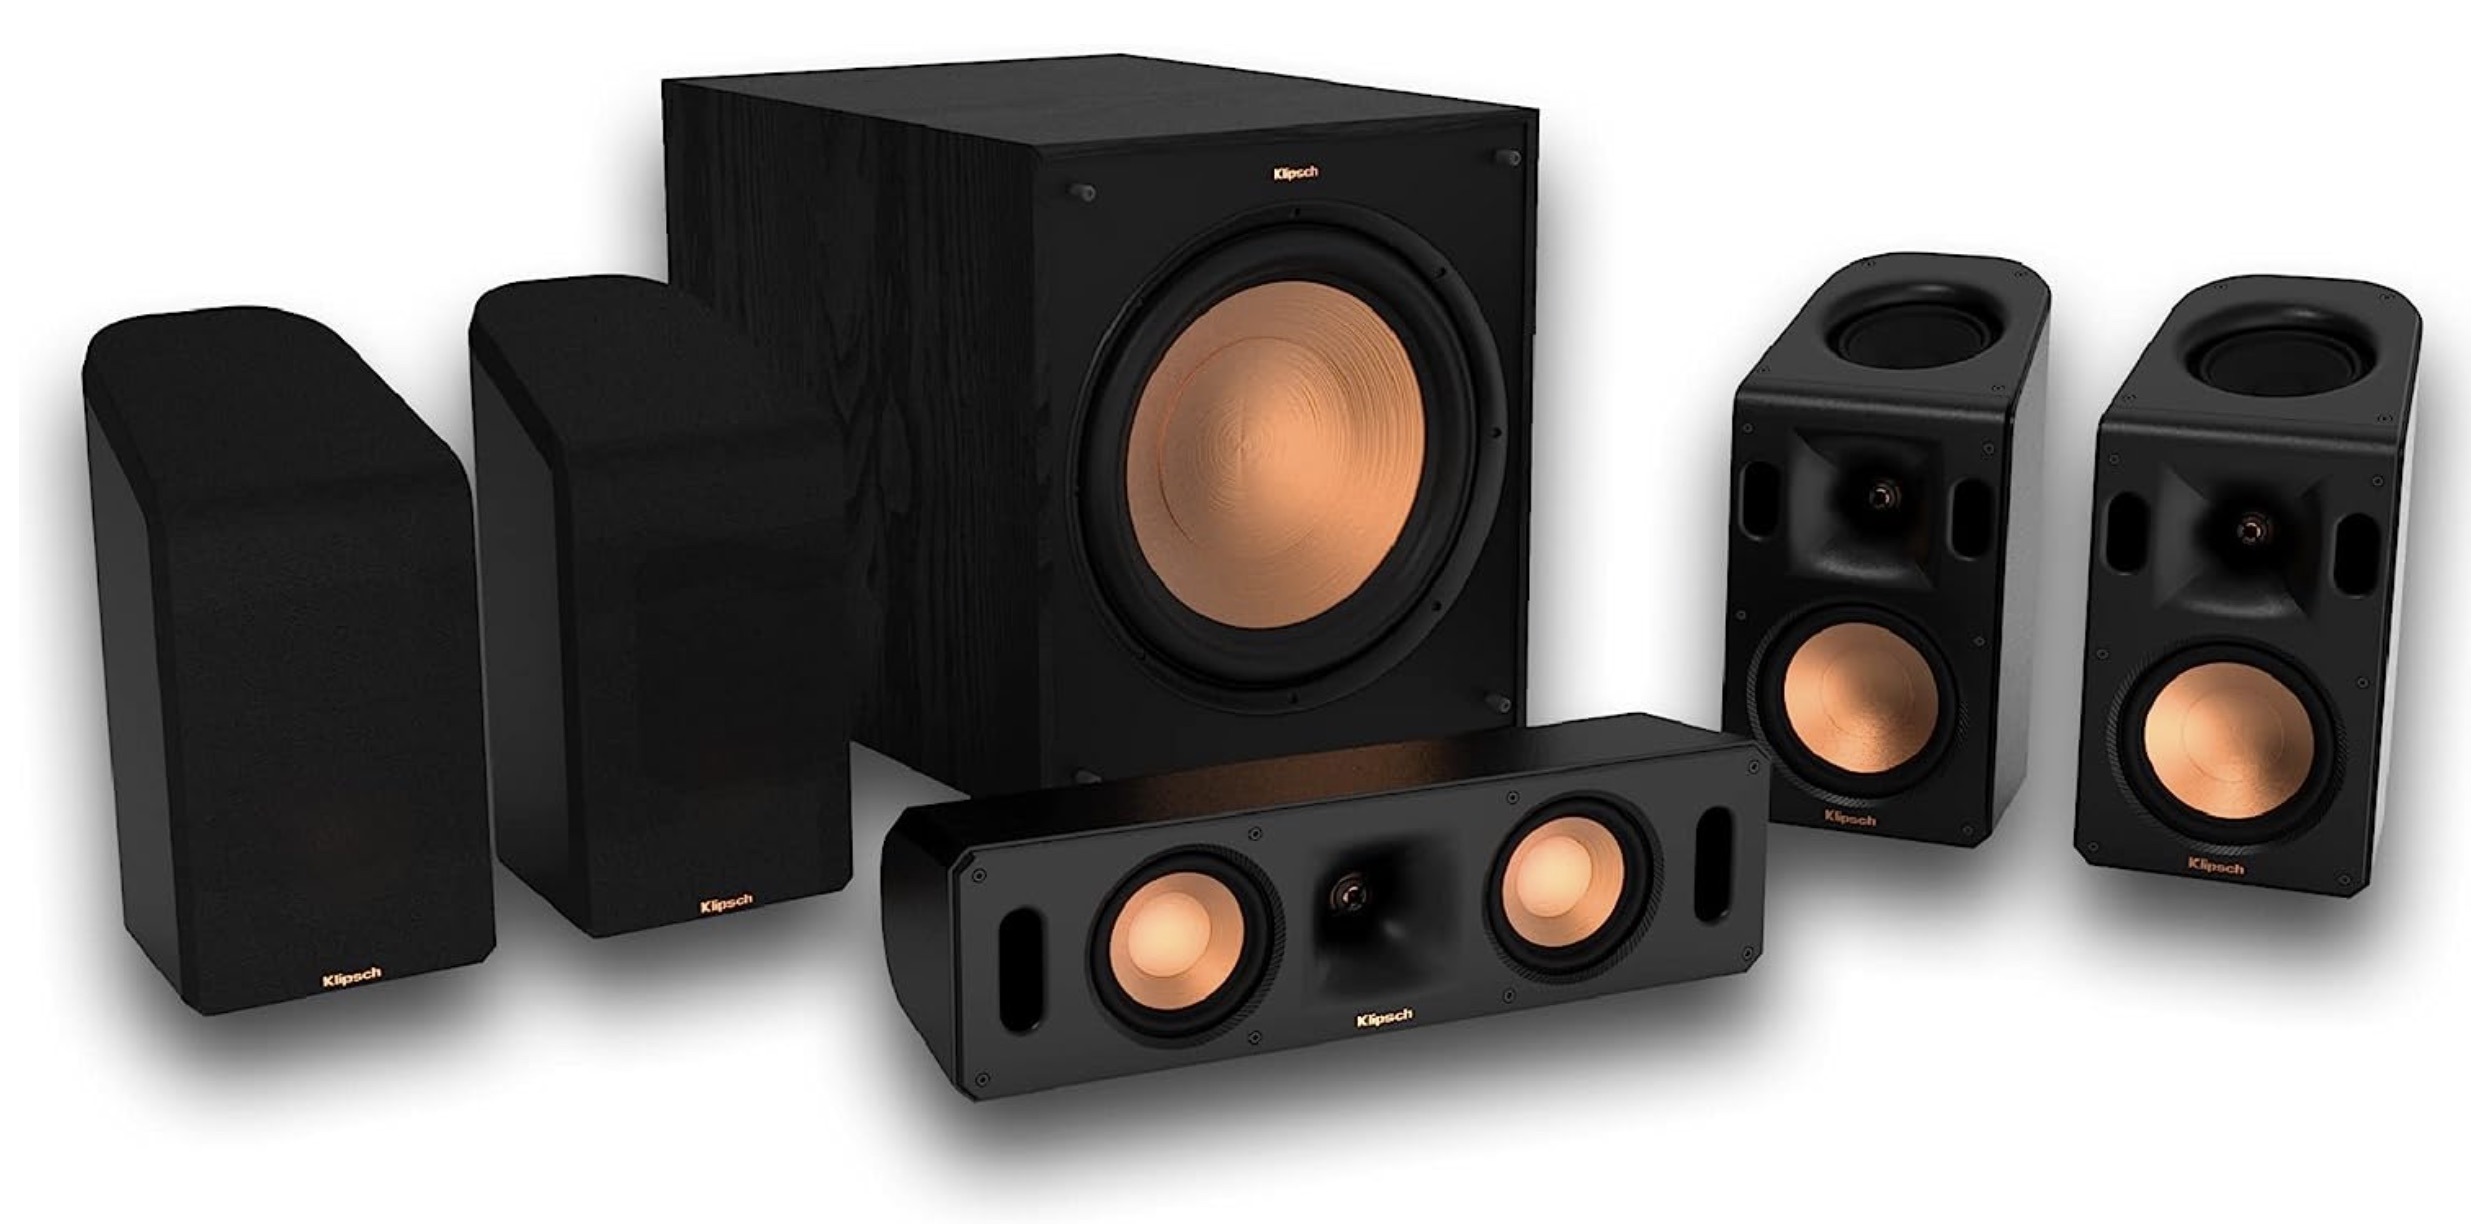
When aiming to extract the best sound from your AV receiver, the first step is to carefully select the right speakers. The speakers are the primary vehicles for delivering audio, and their quality and compatibility significantly impact the overall sound performance.
Consider the following factors when choosing speakers:
- Speaker Type: Determine whether you need floor-standing, bookshelf, or in-wall speakers based on your room size, layout, and personal preferences.
- Compatibility: Ensure that the speakers are compatible with your AV receiver in terms of power handling, impedance, and sensitivity ratings. This compatibility ensures optimal performance and prevents damage to the equipment.
- Sound Quality: Listen to different speaker models to gauge their sound quality and determine which ones best suit your audio preferences. Look for speakers that offer a balanced and accurate sound reproduction across the frequency spectrum.
- Room Acoustics: Consider the acoustics of your room when selecting speakers. If your room has reflective surfaces, speakers with adjustable tweeters or room correction features may be beneficial.
- Budget: Set a budget for your speakers, keeping in mind that higher-quality speakers often yield superior sound but may require a larger investment.
By carefully evaluating these factors, you can choose speakers that complement your AV receiver and contribute to an exceptional audio experience. Once you have selected the speakers, the next step is to ensure their optimal placement within the room to achieve the best sound reproduction.
Proper Speaker Placement
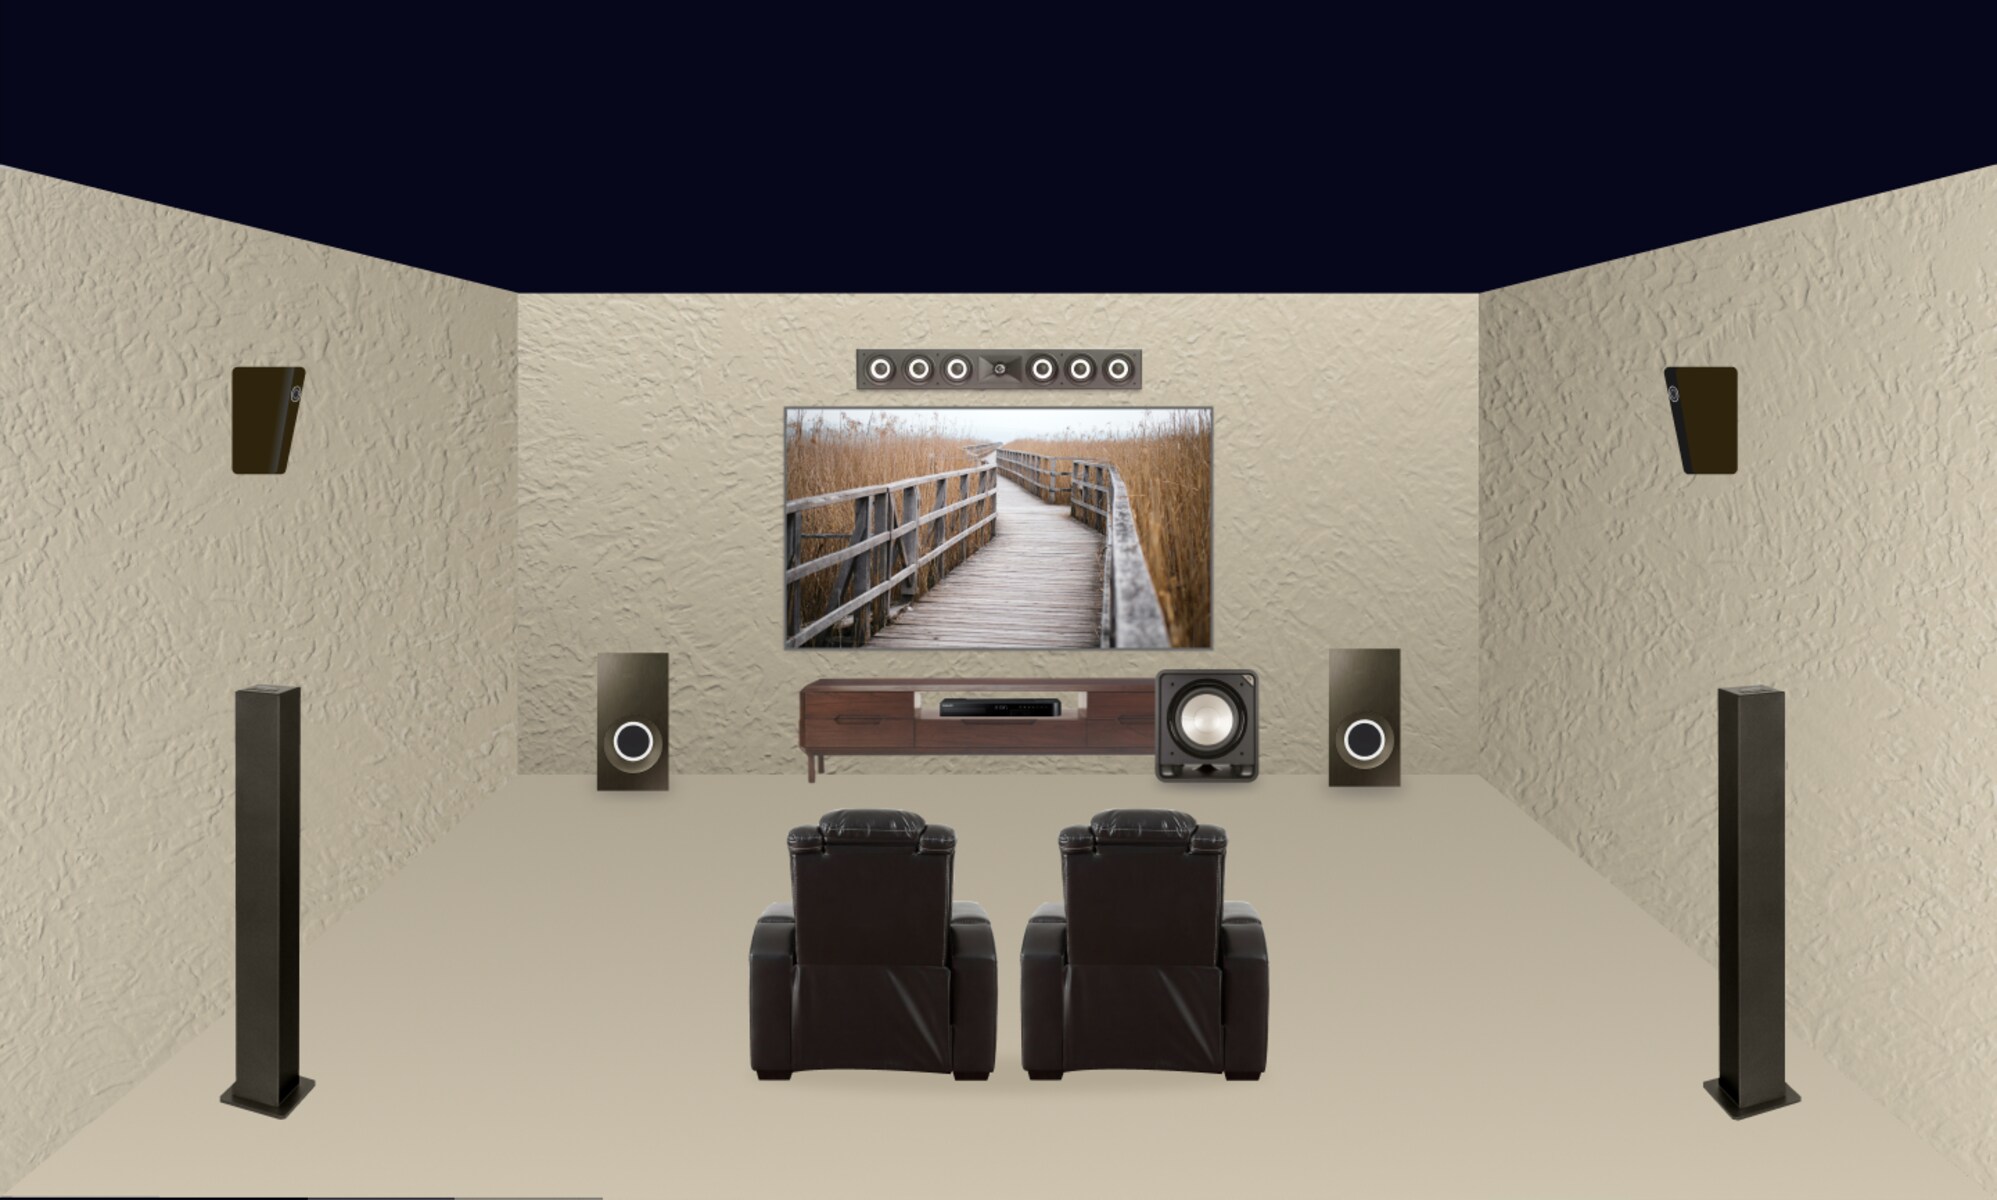
After selecting the right speakers, the next crucial step in optimizing the audio output of your AV receiver is to ensure proper speaker placement. The placement of speakers significantly influences the sound distribution and overall listening experience. Here are essential guidelines for achieving optimal speaker placement:
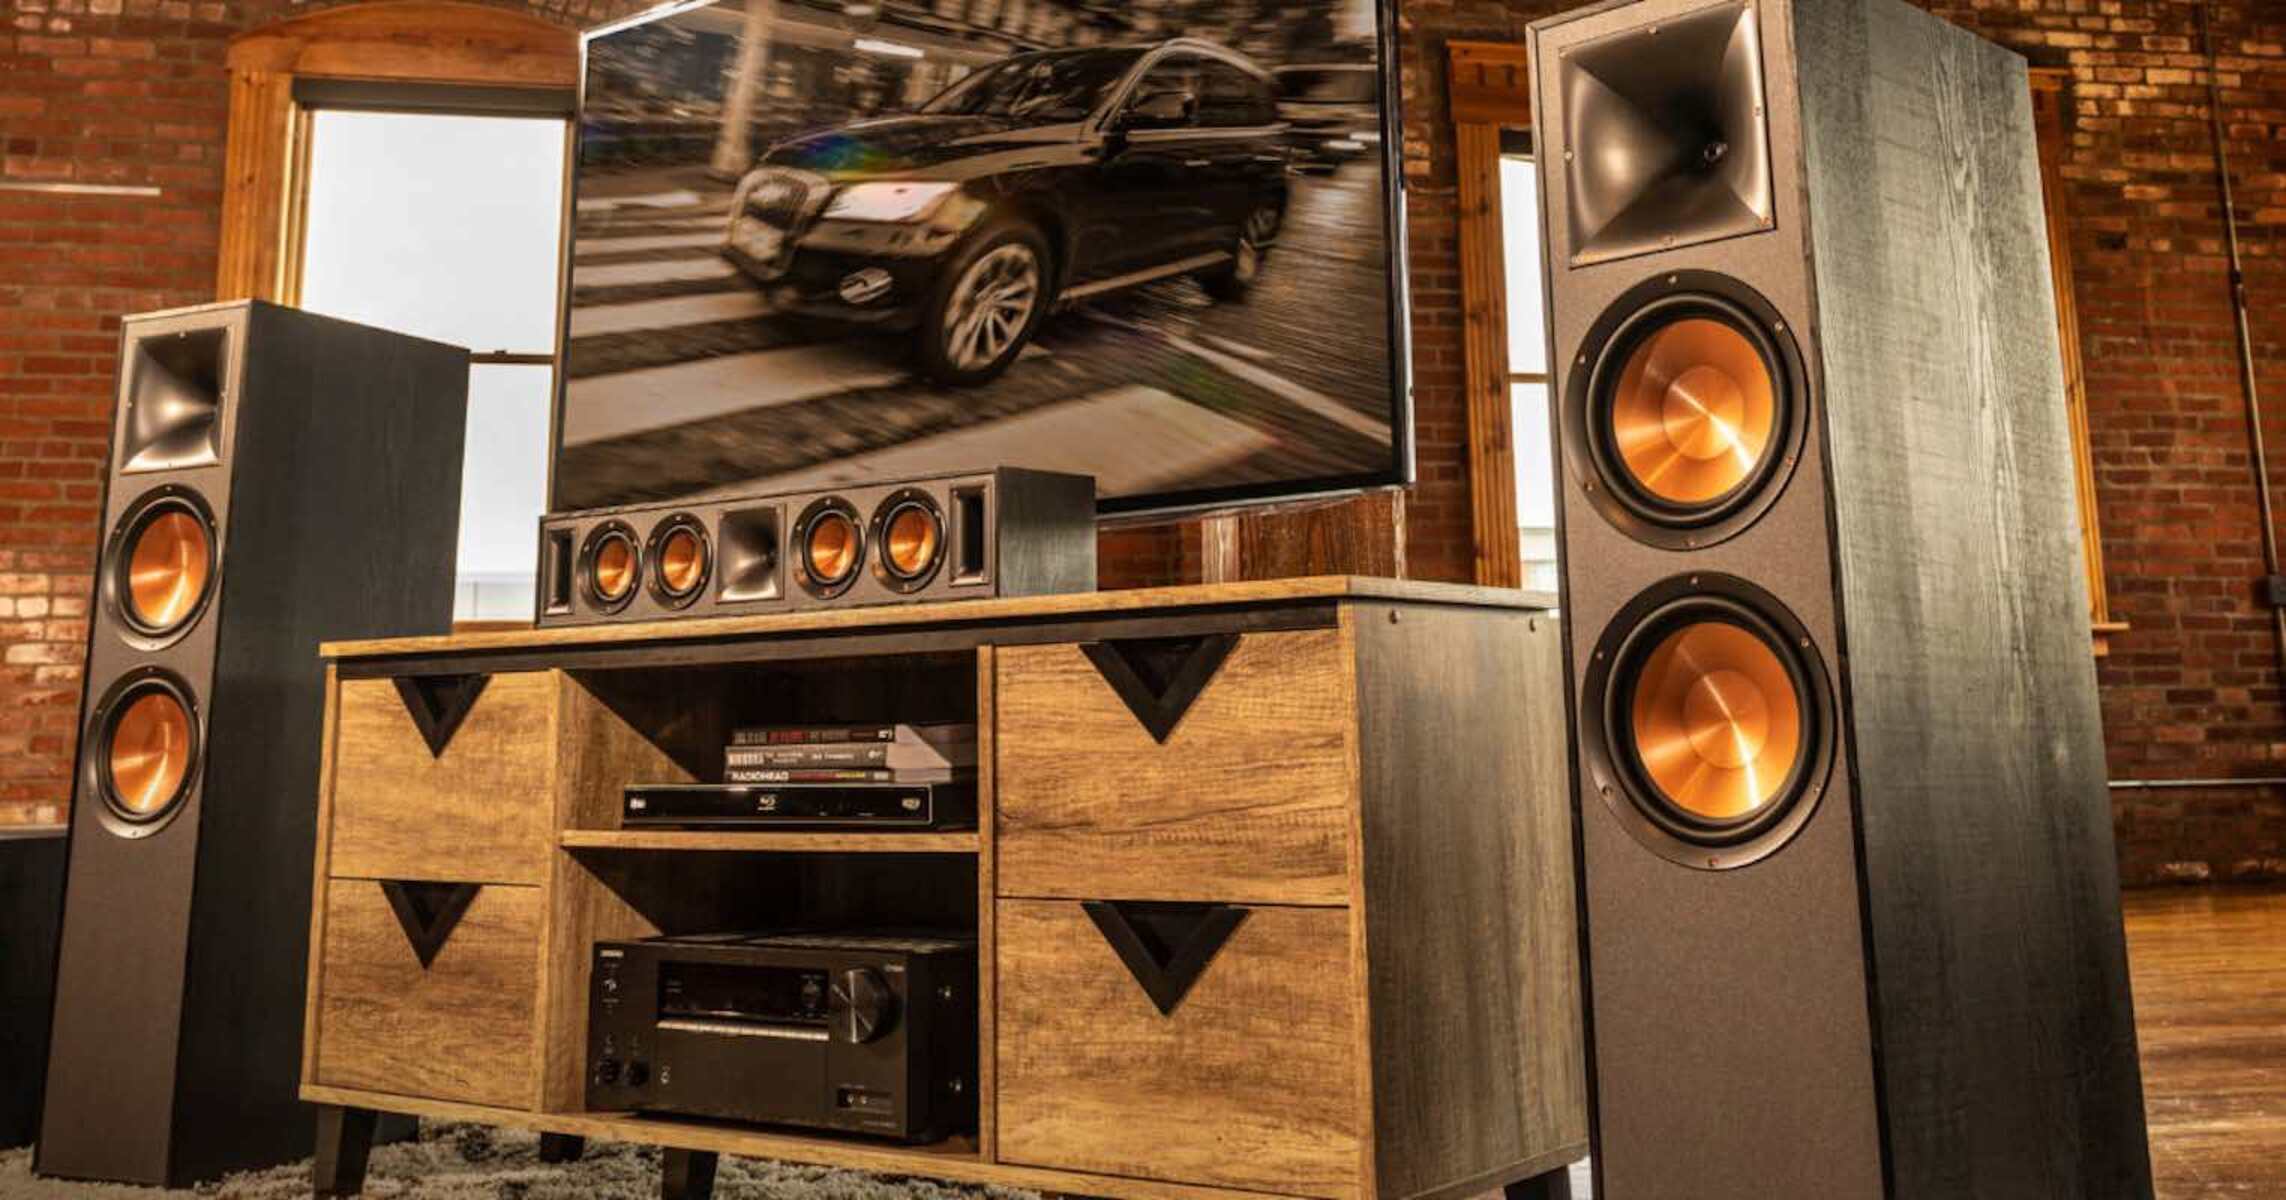
- Front Speakers: Position the front speakers at equal distances from the primary listening area, forming an equilateral triangle with the listener. This setup helps create a balanced soundstage and accurate stereo imaging.
- Center Channel Speaker: If using a center channel speaker for dialogue and vocal reproduction, place it directly above or below the display screen, ensuring that it is at the same height as the front speakers. This arrangement enhances vocal clarity and seamless sound transitions across the front soundstage.
- Surround Speakers: For surround speakers, aim to position them slightly above ear level when seated, ideally at a 110-120 degree angle from the primary listening position. This placement facilitates enveloping sound effects and enhances the sense of immersion during movie playback.
- Subwoofer: Place the subwoofer in a location that minimizes bass peaks and nulls, typically experimenting with different placements to find the spot that yields the most balanced and impactful bass response.
- Room Acoustics: Consider room acoustics and address any acoustic issues, such as excessive reverberation or sound reflections, through the strategic placement of acoustic panels or furniture to enhance the overall sound quality.
By adhering to these placement guidelines and considering the room’s acoustics, you can optimize the spatial distribution of sound and achieve a cohesive, immersive audio experience. With the speakers properly placed, the next step is to configure and set up the AV receiver to ensure it complements the chosen speakers and room layout.
Setting Up the AV Receiver
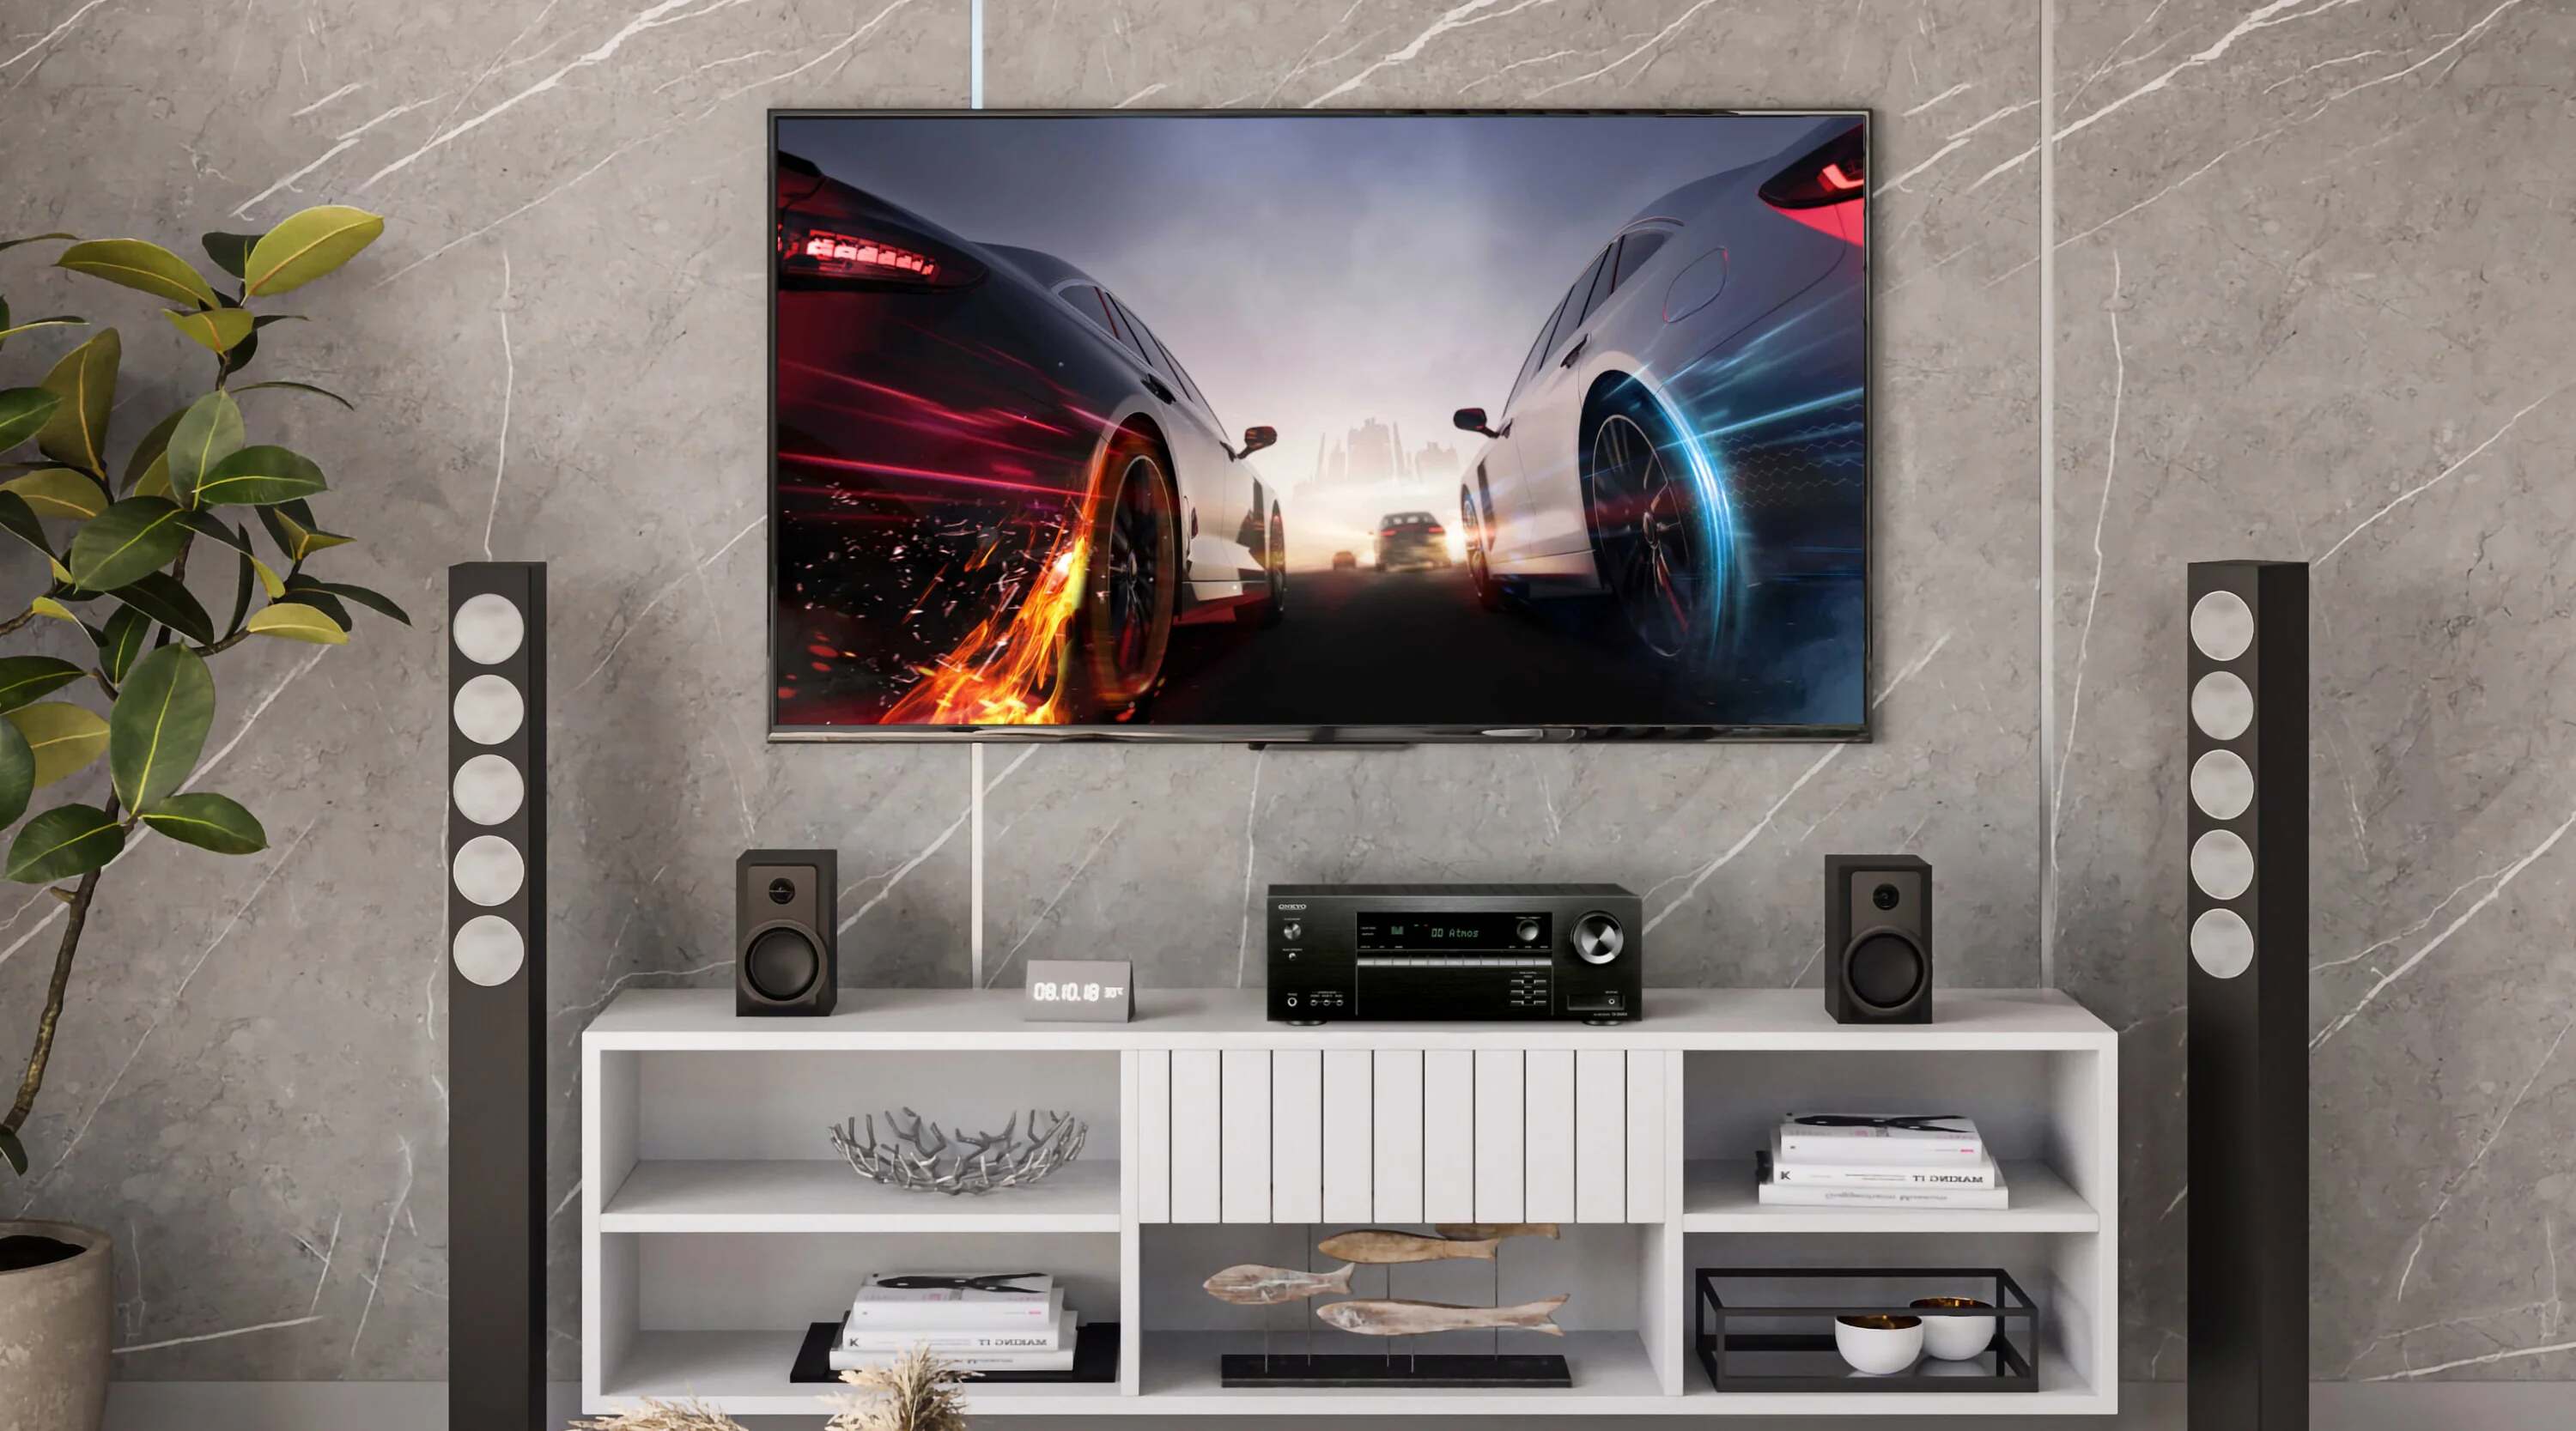
Once you have selected the appropriate speakers and positioned them correctly, the next vital step is to set up the AV receiver to harness the full potential of your audio system. Properly configuring the AV receiver involves several key aspects, each contributing to the overall sound performance:
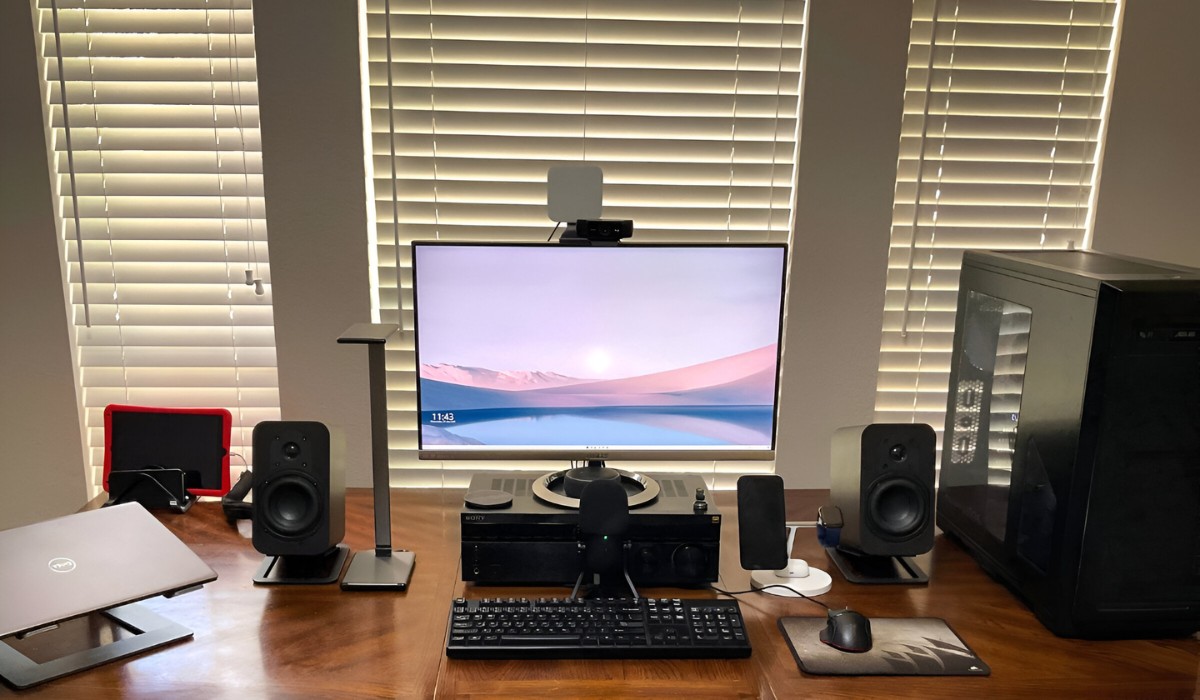
- Connection and Placement: Ensure that the AV receiver is placed in a well-ventilated area and that all connections to the speakers, display, and media sources are secure and properly routed to avoid signal interference or degradation.
- Speaker Configuration: Access the receiver’s setup menu to specify the size, crossover frequency, and quantity of speakers in your system. This step ensures that the receiver optimally directs audio signals to each speaker, taking into account their individual capabilities.
- Room Calibration: Many modern AV receivers offer room calibration systems that use microphones to analyze the room’s acoustics and automatically adjust the audio settings to compensate for any acoustic anomalies. Utilize this feature to achieve an optimal listening environment.
- Input and Output Settings: Configure the input and output settings, including HDMI, audio formats, and video processing, to match the capabilities of your display and media sources. This step ensures seamless signal transmission and compatibility.
- Network and Streaming Setup: If your AV receiver supports network connectivity and streaming services, configure the network settings and account integrations to access online content and enjoy a diverse range of audio sources.
By meticulously setting up the AV receiver and customizing its configurations to align with your speaker system and room acoustics, you can establish a solid foundation for delivering exceptional audio performance. Once the receiver is properly configured, the next phase involves adjusting the sound settings to fine-tune the audio output according to your preferences and the media being enjoyed.
Adjusting the Sound Settings
After setting up the AV receiver and configuring its basic parameters, the next crucial step in optimizing the audio output is adjusting the sound settings to tailor the listening experience to your preferences and the media being enjoyed. This process involves fine-tuning various audio parameters to achieve the desired sound characteristics:
- Volume Level: Adjust the master volume to a comfortable listening level, ensuring that it provides sufficient dynamic range without causing distortion or listener fatigue.
- Channel Levels: Use the receiver’s channel level adjustment feature to balance the volume levels of individual speakers, ensuring a cohesive and immersive soundstage.
- Tone Controls: If your receiver offers bass and treble controls, experiment with these settings to achieve a balanced tonal quality that suits your preferences and the acoustic properties of the room.
- Sound Modes: Explore the available sound modes, such as stereo, surround, or custom EQ presets, to tailor the sound output to different types of media, whether it’s music, movies, or gaming.
- Dynamic Range Compression: Adjust the dynamic range compression settings to regulate the difference between loud and soft sounds, especially useful for late-night viewing or when the audio needs to be more consistent in volume.
- Dialogue Enhancement: If available, utilize dialogue enhancement features to improve the clarity and intelligibility of speech, particularly beneficial for movie dialogues and TV shows.
By meticulously adjusting these sound settings, you can personalize the audio output to suit your preferences, the content being enjoyed, and the acoustic characteristics of the room. Once the sound settings are optimized, the next crucial step is to calibrate the entire audio system to ensure that it performs optimally in your specific listening environment.
Calibrating the System
Calibrating your audio system is a critical step in ensuring that it delivers optimal sound performance tailored to your listening environment. This process involves utilizing the built-in calibration features of your AV receiver to account for room acoustics and speaker characteristics. Here are the essential steps to effectively calibrate your system:
- Room Measurement: Many AV receivers come equipped with an auto-setup feature that uses a supplied microphone to analyze the acoustic properties of the room. Follow the on-screen prompts to position the microphone at the primary listening area and initiate the room measurement process.
- Automated Setup: Once the room measurement is complete, the AV receiver’s automated setup feature calculates the appropriate speaker distances, levels, and delays, ensuring that the audio signals reach each speaker at the correct time and volume level.
- Room Correction: Some AV receivers offer room correction functionality, which utilizes advanced algorithms to compensate for room acoustics and speaker irregularities, resulting in a more accurate and balanced sound reproduction.
- Manual Fine-Tuning: After the automated setup, you may have the option to manually fine-tune the calibration settings, adjusting speaker levels, crossover frequencies, and equalization to further refine the sound output based on your preferences.
- Listening Tests: Conduct listening tests with various types of audio content to evaluate the calibrated sound performance, ensuring that it aligns with your expectations and provides an immersive and accurate audio experience.
By meticulously calibrating your audio system, you can mitigate the impact of room acoustics and speaker variations, resulting in a more precise and faithful sound reproduction that enhances your overall listening enjoyment. Once the system is calibrated, the final step involves testing and fine-tuning the audio settings to ensure that they deliver the best sound quality across different media and listening scenarios.
Testing and Fine-Tuning
After completing the calibration process, the final step in achieving the best sound out of your AV receiver involves thorough testing and fine-tuning of the audio settings. This phase allows you to evaluate the calibrated system’s performance and make specific adjustments to further optimize the sound quality. Here’s how to effectively test and fine-tune your audio system:
- Audio Source Testing: Utilize a variety of audio sources, including music, movies, and games, to assess the system’s performance across different media types. Pay attention to the clarity, tonal balance, and spatial imaging of the sound.
- Bass Management: Evaluate the bass response across different frequencies and volumes, ensuring that the subwoofer integrates seamlessly with the main speakers and delivers impactful yet controlled low-frequency reproduction.
- Dynamic Range: Test the system’s dynamic range by playing content with varying levels of loud and soft sounds, confirming that the receiver accurately reproduces subtle details while handling intense passages with clarity and impact.
- Room Acoustics: Consider the impact of room acoustics on the audio performance and make minor adjustments to the speaker placement or calibration settings if necessary to address any remaining acoustic anomalies.
- Listener Position: Experiment with the primary listening position and assess the sound quality from different locations within the room to ensure that the audio remains consistent and balanced throughout the listening area.
- User Preferences: Fine-tune the sound settings based on your personal preferences, making subtle adjustments to the tone controls, sound modes, and dialogue enhancement features to tailor the audio output to your liking.
By meticulously testing and fine-tuning the audio settings, you can ensure that your AV receiver delivers the best possible sound quality across a range of content and listening scenarios. This iterative process allows you to refine the system’s performance, address any remaining sonic imperfections, and ultimately achieve an immersive and captivating audio experience that complements your home entertainment setup.