Introduction
Connecting a JBL 2.0 Soundbar to your TV can greatly enhance your audio experience, delivering immersive sound quality for movies, music, and more. Whether you’re a tech enthusiast or a casual user, this guide will walk you through the step-by-step process of connecting your JBL 2.0 Soundbar to your TV.
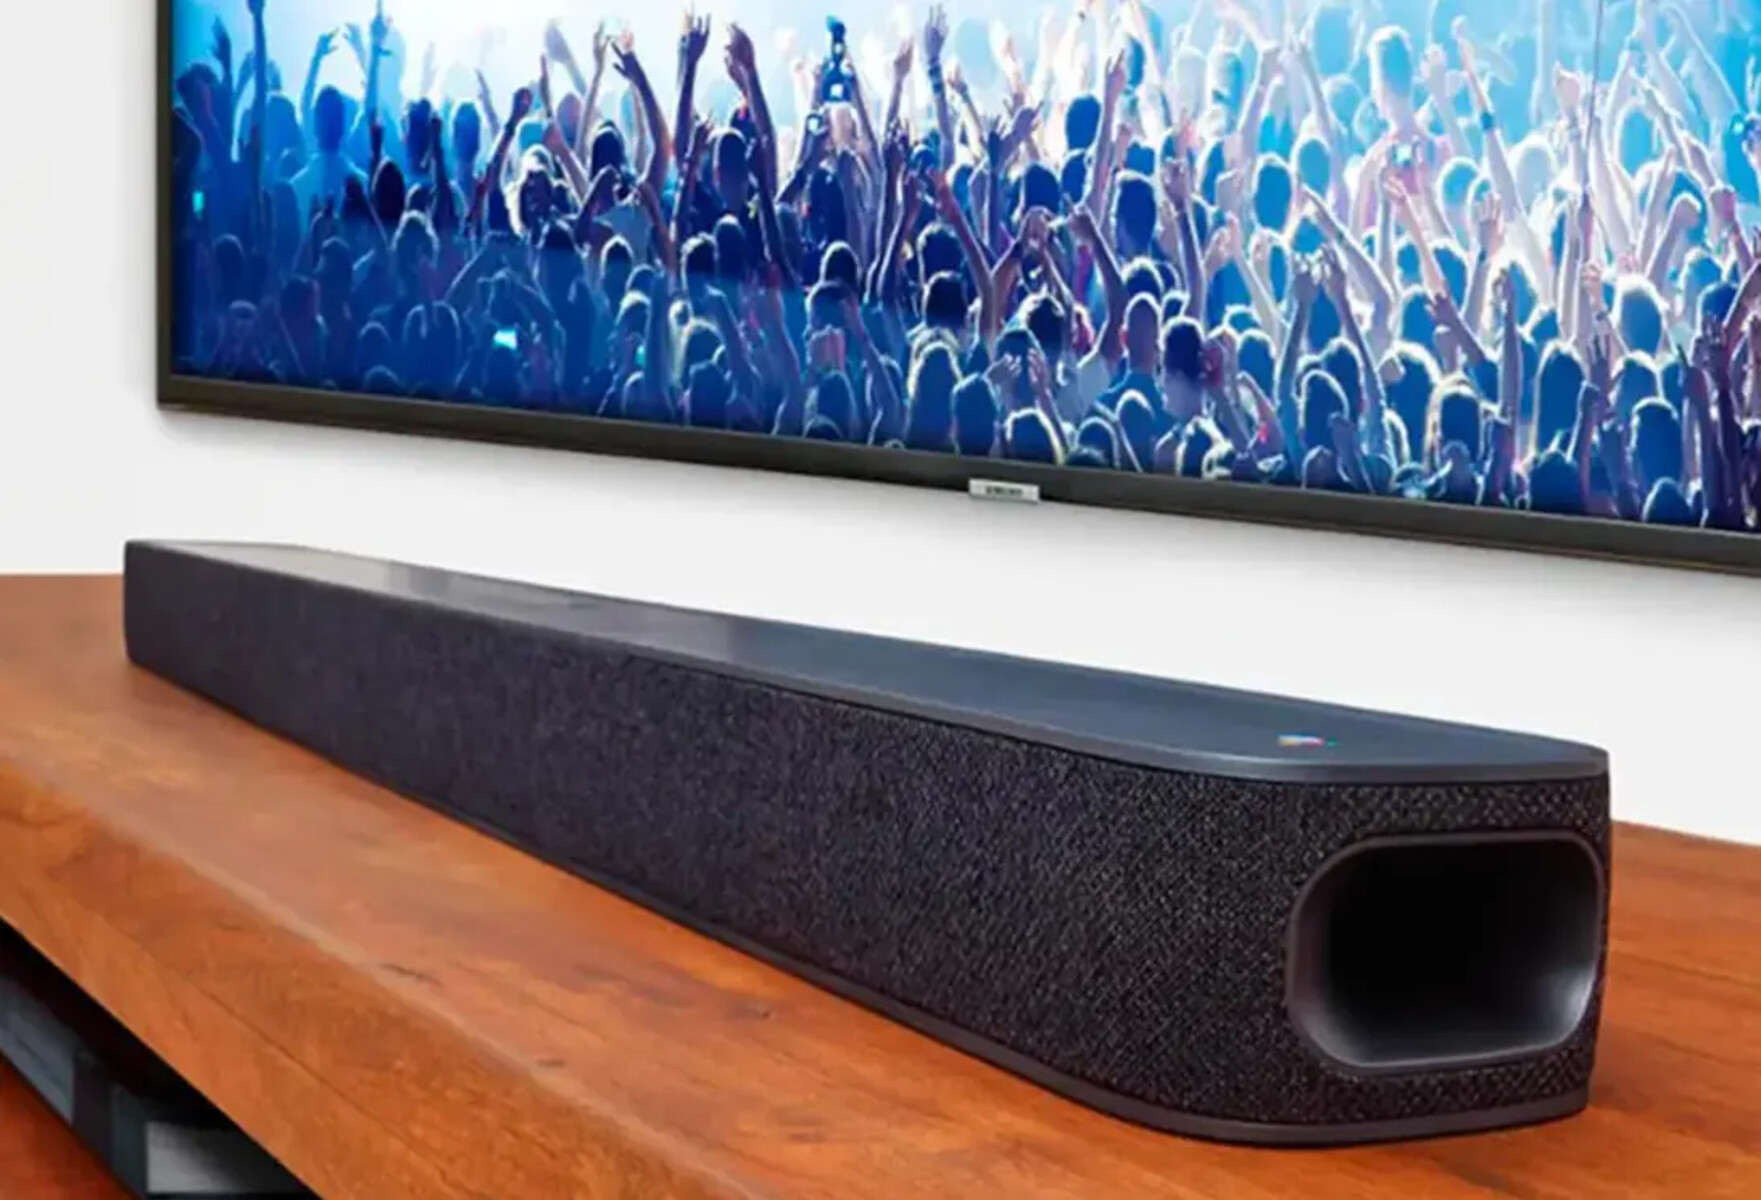
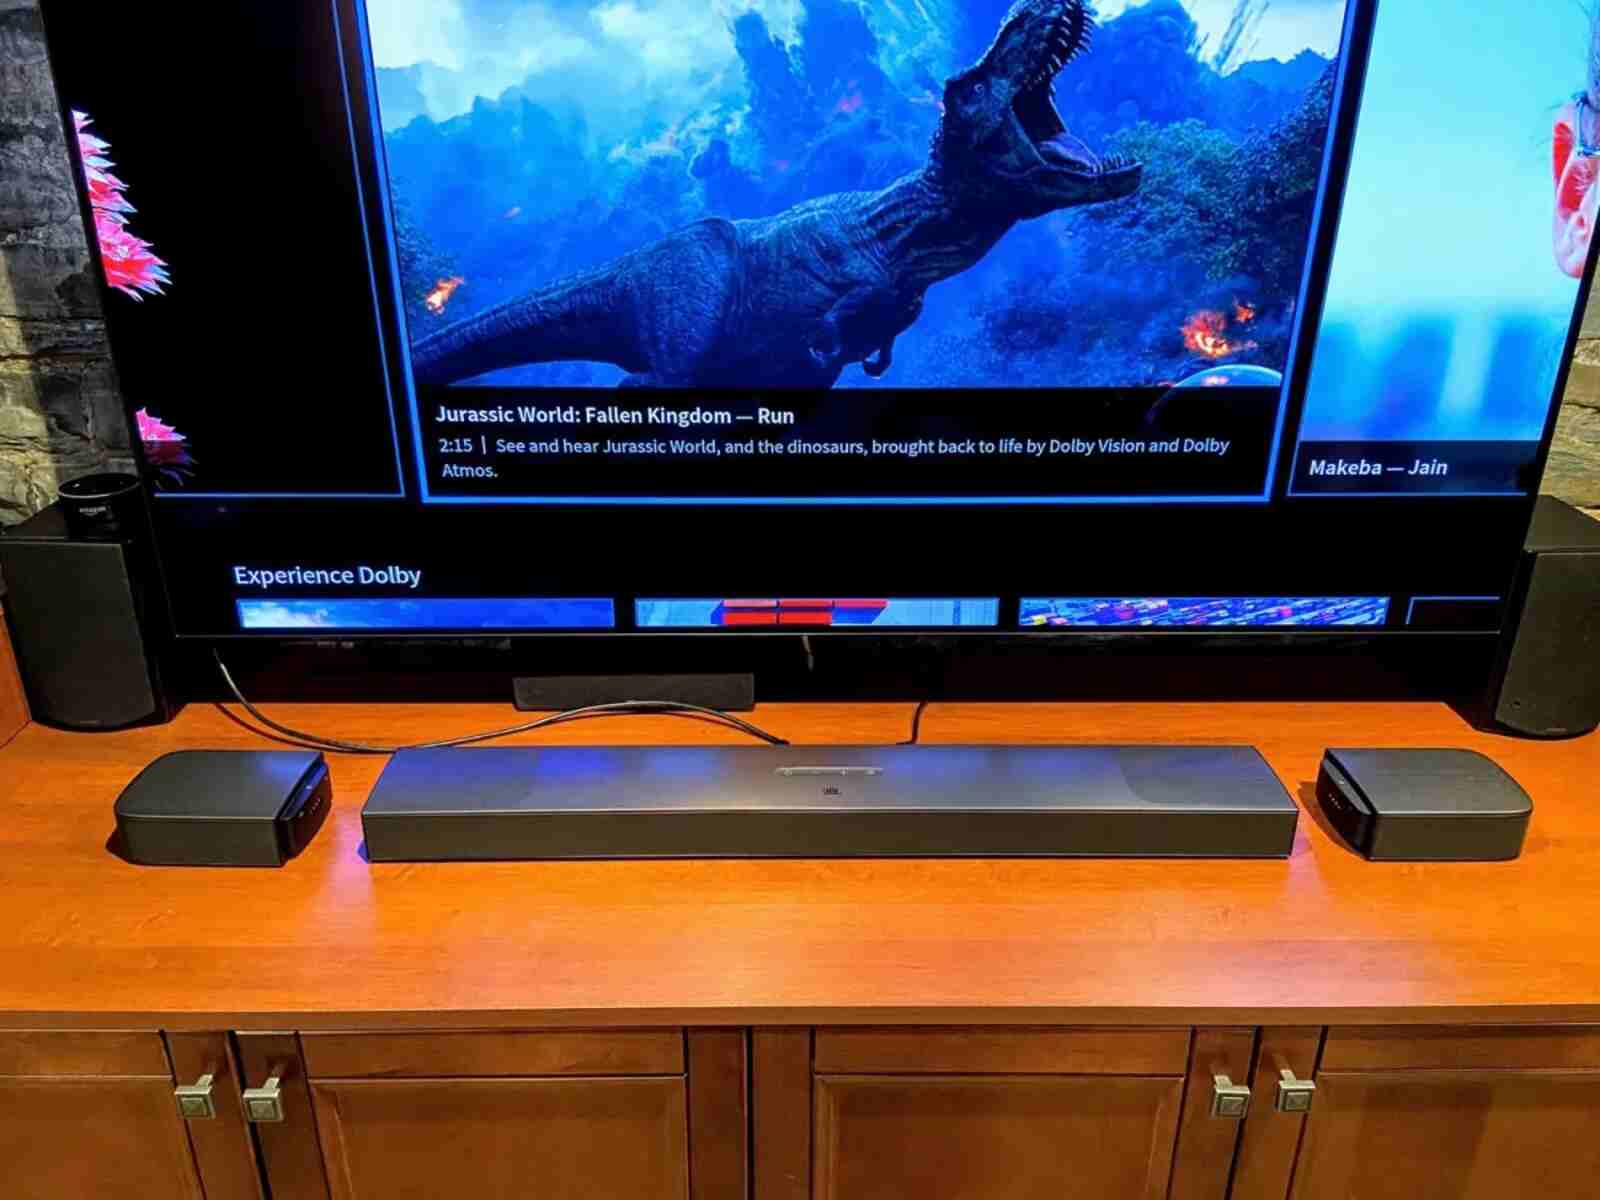
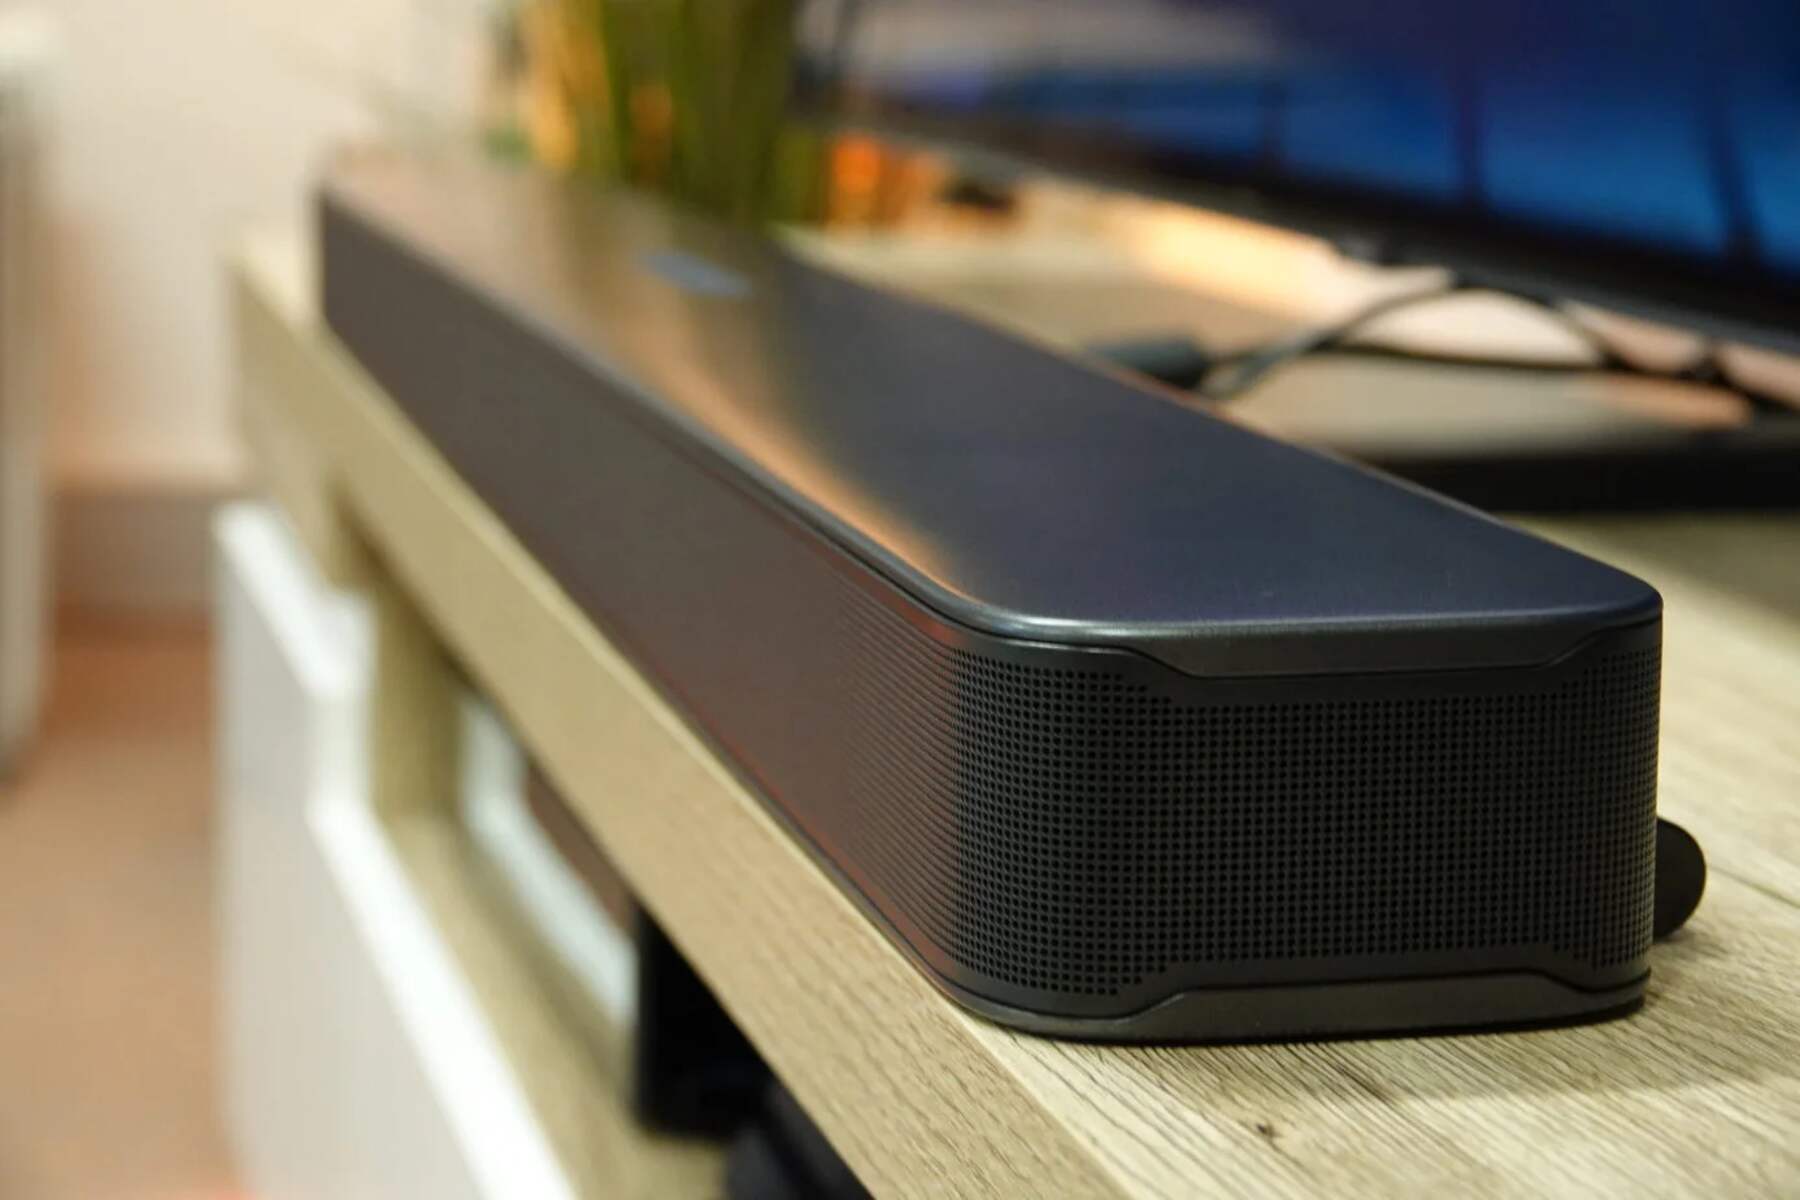
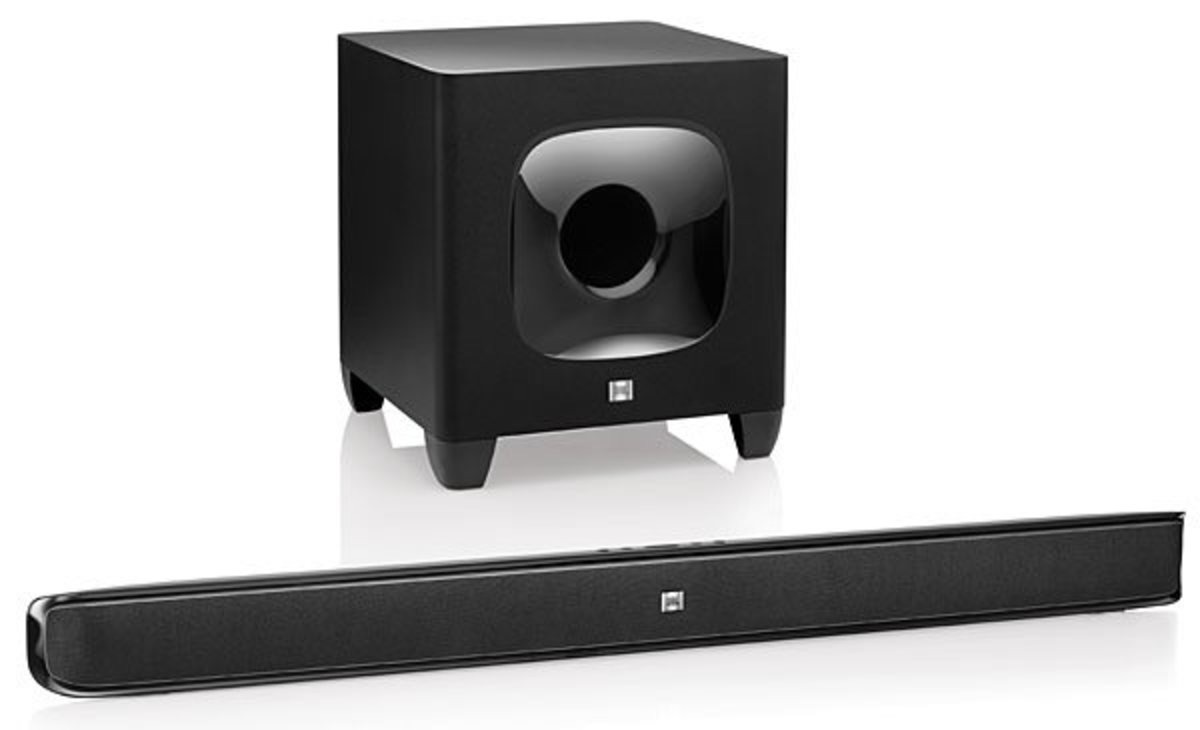
Before we dive into the technical details, let’s first get acquainted with the JBL 2.0 Soundbar. This sleek and compact soundbar is designed to produce powerful audio while maintaining a minimalist aesthetic. With its two speakers and built-in subwoofer, the JBL 2.0 Soundbar is capable of filling your room with rich, clear sound.
Now, let’s explore the steps involved in connecting your JBL 2.0 Soundbar to your TV. But before we begin, make sure you have the necessary equipment and cables ready.
Step 1: Gather the necessary equipment
Before you can start connecting your JBL 2.0 Soundbar to your TV, you’ll need to ensure that you have all the necessary equipment on hand. Here’s what you’ll need:
- JBL 2.0 Soundbar: Of course, you’ll need the JBL 2.0 Soundbar itself. Make sure it is in good working condition and has the required power supply.
- HDMI cable: Most modern TVs and soundbars support HDMI connectivity. An HDMI cable is essential for transmitting both audio and video signals between your TV and soundbar. Ensure you have a high-quality HDMI cable that is long enough to reach between the two devices.
- TV remote: You’ll need the remote that came with your TV to access the settings and make any necessary adjustments.
- User manual: It’s always a good idea to have the user manual for your TV and soundbar handy. This will provide detailed instructions specific to your devices.
Once you have gathered all the necessary equipment, you’ll be ready to proceed with connecting your JBL 2.0 Soundbar to your TV. Now, let’s move on to the next step and check the connections on your TV and soundbar.
Step 2: Check the connections on your TV and soundbar
Before making any physical connections, it’s important to ensure that both your TV and JBL 2.0 Soundbar are powered off. Once they’re turned off, follow these steps to check the connections:
- Examine the ports on your TV: Take a look at the back or side of your TV and identify the available ports. Look for an HDMI port labeled “ARC” (Audio Return Channel) or “HDMI Out.” This port is designed to transmit both audio and video signals to external devices, such as a soundbar.
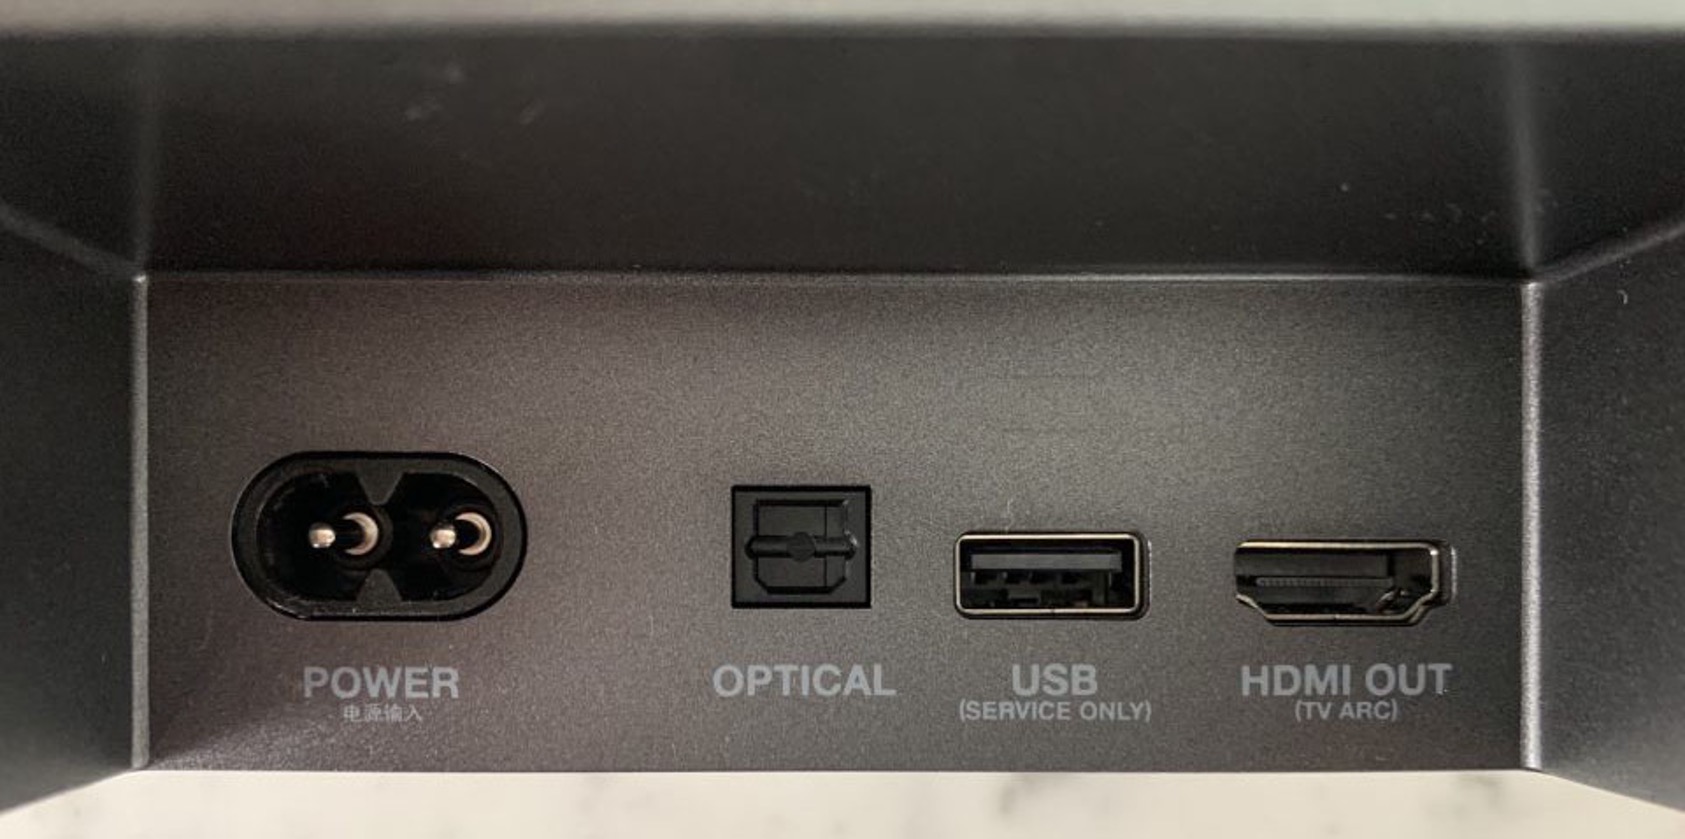
- Inspect the ports on your soundbar: Similarly, inspect the ports on your JBL 2.0 Soundbar. Locate the HDMI input port, usually labeled “HDMI In” or “Audio In,” which will receive the signal from your TV.
- Ensure compatibility: Confirm that both your TV and soundbar support ARC. If your TV or soundbar does not have an ARC-enabled HDMI port, you can still connect them using the optical audio or auxiliary (AUX) ports, but keep in mind that using ARC is the preferred method for achieving the best sound quality.
If your TV and soundbar both have ARC-enabled HDMI ports, you’re ready to proceed with the next step. However, if they don’t have ARC, ensure you have the necessary cables (such as an optical audio cable) to establish the connection between the two devices.
Now that you’ve checked the connections on your TV and soundbar, it’s time to move on to the next step and actually connect them using an HDMI cable.
Step 3: Connect the soundbar to your TV using an HDMI cable
Now that you’ve checked the connections on your TV and JBL 2.0 Soundbar, it’s time to establish the physical connection between the two devices. Follow these steps to connect your soundbar to your TV using an HDMI cable:
- Turn off your TV and soundbar: Before making any connections, ensure that both your TV and soundbar are powered off.
- Plug one end of the HDMI cable: Take one end of the HDMI cable and plug it into the HDMI ARC or HDMI Out port on your TV. The HDMI ARC port is usually marked with an “ARC” label.
- Connect the other end of the HDMI cable: Now, plug the other end of the HDMI cable into the HDMI In or Audio In port on your JBL 2.0 Soundbar. Make sure to firmly insert it to ensure a secure connection.
- Power on your TV and soundbar: After successfully connecting the HDMI cable, power on your TV and soundbar using their respective power buttons or remotes.
Once powered on, your TV should automatically recognize the JBL 2.0 Soundbar as the audio output device. This means that the sound from your TV will now be routed through the soundbar, providing you with enhanced audio quality.
It’s worth noting that some TVs might require you to manually activate the ARC or HDMI-CEC (Consumer Electronics Control) feature in the settings menu. Consult your TV’s user manual to find out how to enable these features if they are not automatically detected.
With the HDMI cable connected, you’re one step away from enjoying the immersive sound of your JBL 2.0 Soundbar. In the next step, we’ll guide you through setting the soundbar as the default audio output on your TV.
Step 4: Set the soundbar as the default audio output on your TV settings
After connecting your JBL 2.0 Soundbar to your TV using an HDMI cable, it’s important to configure your TV settings to ensure that the sound is directed through the soundbar. Here’s how you can set the soundbar as the default audio output on your TV:
- Access the TV settings menu: Using your TV remote, navigate to the settings menu. The specific method for accessing the settings may vary depending on your TV brand and model. Look for the option that allows you to adjust audio settings.
- Select the audio output: Within the audio settings menu, locate the option to select the audio output. This may be labeled as “Sound Output,” “Audio Output,” or something similar. Choose the option that allows you to switch the audio output to an external speaker or audio device.
- Choose the JBL 2.0 Soundbar: Once you have accessed the audio output settings, you should see a list of available audio devices. Look for the JBL 2.0 Soundbar in the list and select it as the default audio output device.
- Save the settings: After selecting the soundbar as the default audio output, save the settings and exit the menu. Your TV is now configured to send audio signals to the JBL 2.0 Soundbar.
By setting the soundbar as the default audio output, any sound produced by your TV will be played through the JBL 2.0 Soundbar, ensuring a superior audio experience. If you encounter any difficulties in finding the appropriate settings or selecting the soundbar, refer to your TV’s user manual for detailed instructions.
Now that you’ve made the necessary adjustments in your TV settings, it’s time to test the connection and make any additional adjustments if needed. This will ensure optimal audio performance from your JBL 2.0 Soundbar.
Step 5: Test the connection and adjust the settings if necessary
With your JBL 2.0 Soundbar connected to your TV and the audio output settings configured, it’s time to test the connection and make any additional adjustments to ensure optimal audio performance. Follow these steps to test the connection and fine-tune the settings if necessary:
- Play audio on your TV: Select a TV show, movie, or any audio content and start playing it on your TV.
- Observe the sound: Pay attention to the sound coming from the JBL 2.0 Soundbar. Ensure that the audio is crystal clear, without any distortion or echoes. If you notice any issues, proceed to the next step.
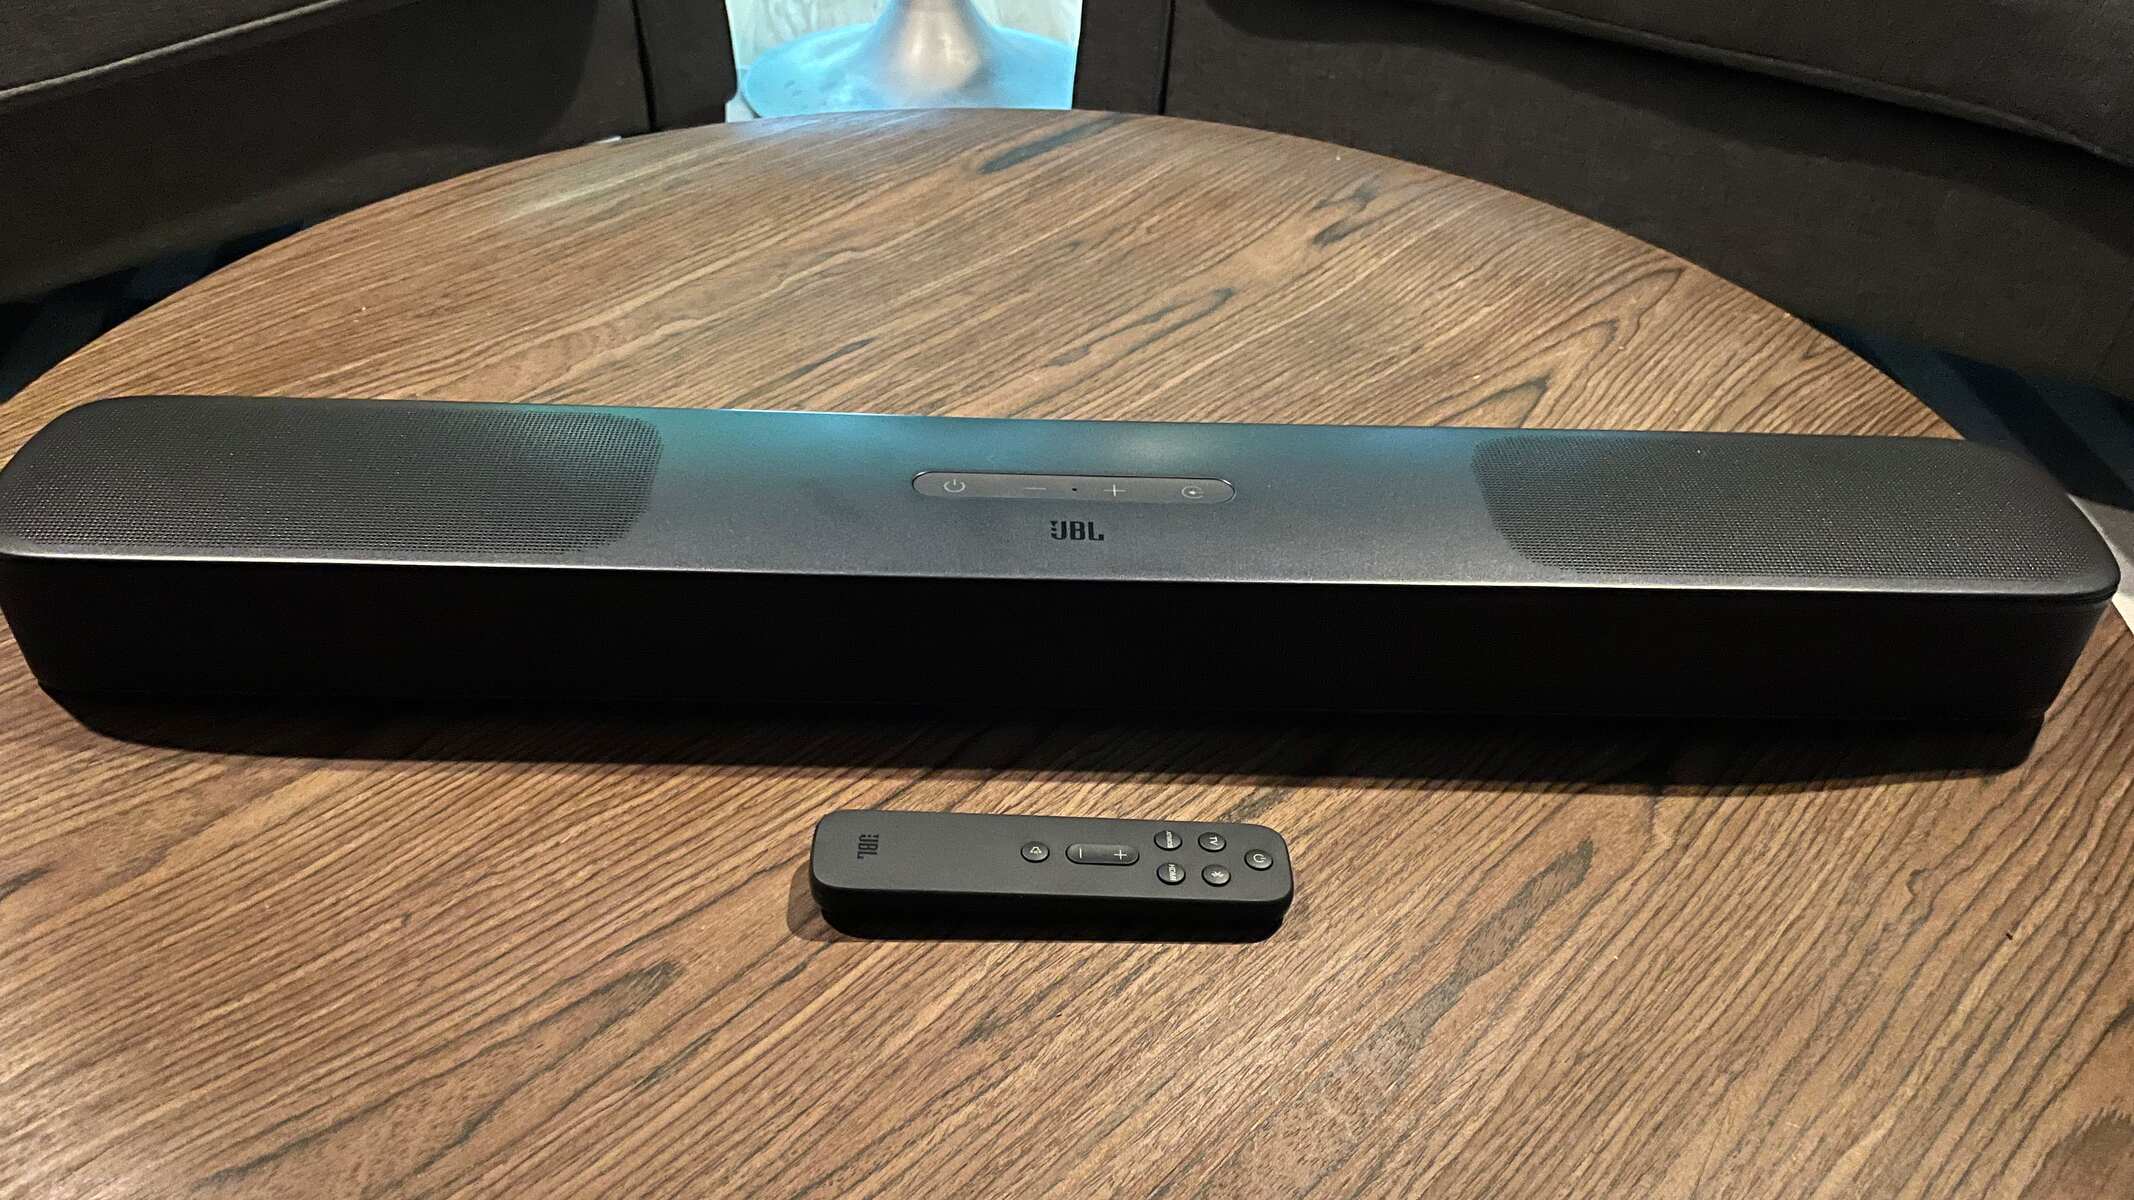
- Access the soundbar settings: Use the remote that came with your JBL 2.0 Soundbar to access its settings. Depending on the model, you may need to press a dedicated button on the remote or navigate through a menu on the soundbar’s display panel.
- Adjust the soundbar settings: Explore the soundbar settings menu and make any necessary adjustments to refine the audio output. You may have options to adjust the bass, treble, surround sound modes, or other sound-enhancing features. Experiment with these settings until you achieve the desired audio quality.
- Test different audio sources: Play audio from different sources, such as streaming services, gaming consoles, or Blu-ray players, to ensure that the JBL 2.0 Soundbar works seamlessly with all of them. This will help you confirm the compatibility and versatility of the soundbar.
Throughout the testing process, pay attention to any changes you make in the settings and how they impact the audio quality. Take the time to find the perfect sound balance that suits your preferences and the content you enjoy.
If you encounter any difficulties or need further guidance on adjusting the settings, refer to the JBL 2.0 Soundbar’s user manual or reach out to JBL’s customer support for assistance.
By testing the connection and adjusting the settings if necessary, you ensure that your JBL 2.0 Soundbar delivers optimal audio performance, elevating your TV viewing experience.
Conclusion
Connecting your JBL 2.0 Soundbar to your TV can transform your audio experience by providing immersive sound quality and enhancing your overall viewing pleasure. By following the steps outlined in this guide, you can easily set up and connect your JBL 2.0 Soundbar to your TV using an HDMI cable.
We started by gathering the necessary equipment, including the JBL 2.0 Soundbar, HDMI cable, TV remote, and user manual. Then, we checked the connections on both the TV and soundbar to ensure compatibility. Next, we connected the soundbar to the TV using the HDMI cable, taking care to securely plug both ends. Afterward, we set the soundbar as the default audio output on the TV settings to direct the audio through the JBL 2.0 Soundbar.
Finally, we tested the connection and made any necessary adjustments to the soundbar settings to fine-tune the audio output. By testing different audio sources and experimenting with the soundbar settings, we ensured optimal audio performance that suits our preferences and content choices.
Remember to consult the user manuals for your specific TV and soundbar models for more detailed instructions on setup and troubleshooting. If you encounter any difficulties, reach out to the manufacturer’s customer support for assistance.
Now that you’ve successfully connected your JBL 2.0 Soundbar to your TV, sit back, relax, and enjoy a truly immersive audio experience that will enhance your favorite movies, shows, and music.