Introduction
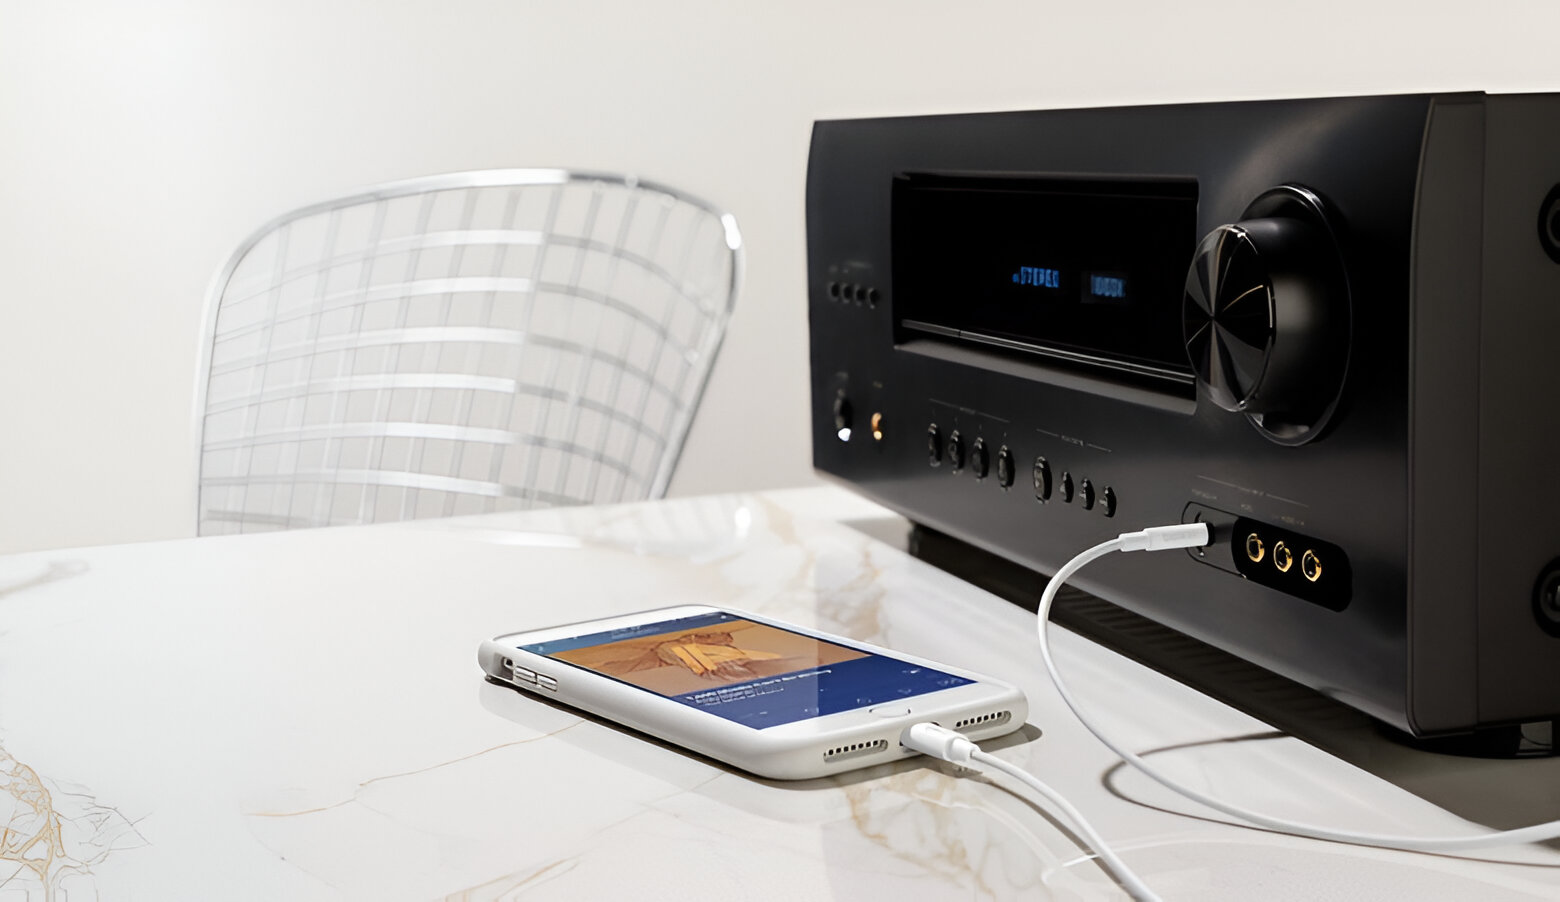
Connecting your iPhone to an AV receiver can significantly enhance your audio and video experience. By utilizing the lightning port on your iPhone, you can seamlessly stream music, watch videos, or even play games on a larger screen with superior sound quality. Whether you're hosting a movie night or simply want to enjoy your favorite playlist with enhanced audio, integrating your iPhone with an AV receiver can elevate your entertainment setup.
In this comprehensive guide, we will walk you through the step-by-step process of connecting your iPhone's lightning port to an AV receiver. By following these instructions, you can unlock the full potential of your iPhone and create a captivating multimedia experience in your home. From checking the compatibility of your AV receiver to selecting the right adapter and establishing the connection, we will cover each essential aspect to ensure a seamless integration.
So, if you're ready to immerse yourself in a world of high-quality audio and video, let's dive into the detailed steps of connecting your iPhone lightning port to an AV receiver. Whether you're a tech enthusiast or a casual user looking to enhance your entertainment setup, this guide will equip you with the knowledge and confidence to effortlessly connect your iPhone to an AV receiver and unlock a new realm of multimedia possibilities.
Step 1: Check the AV Receiver
Before embarking on the process of connecting your iPhone to an AV receiver, it’s crucial to ensure that your AV receiver is compatible with the connection. Start by identifying the input ports available on your AV receiver. Most modern AV receivers are equipped with a variety of input options, including HDMI, optical, and analog audio inputs. Check the specifications of your AV receiver to determine the available input ports and their respective capabilities.
If your AV receiver features an HDMI input, it offers a convenient and high-quality option for connecting your iPhone. HDMI ports support both audio and video signals, allowing for a seamless integration with your iPhone’s lightning port. Additionally, HDMI connections provide superior audio and video transmission, making them an ideal choice for connecting your iPhone to an AV receiver.
Alternatively, if your AV receiver lacks an HDMI input but offers optical or analog audio inputs, you may need to explore adapter options to establish the connection. Optical inputs, commonly known as TOSLINK or SPDIF ports, support digital audio signals and can deliver high-fidelity audio from your iPhone to the AV receiver. Analog audio inputs, such as RCA or 3.5mm jacks, can also be utilized with the appropriate adapters to enable the connection.
Furthermore, consider the specifications of your AV receiver, such as its audio decoding capabilities and supported audio formats. Some AV receivers may support advanced audio formats like Dolby Atmos or DTS:X, providing an immersive audio experience when paired with your iPhone. Understanding the input options and audio capabilities of your AV receiver is essential for determining the most suitable connection method for your specific setup.
By thoroughly examining the input ports and audio features of your AV receiver, you can lay the groundwork for a successful connection with your iPhone. This initial assessment will guide your adapter selection and ensure that you can seamlessly integrate your iPhone with the AV receiver to unlock a captivating audiovisual experience.
Step 2: Get the Right Adapter
Once you have identified the input options and capabilities of your AV receiver, the next crucial step is to select the appropriate adapter that will facilitate the connection between your iPhone’s lightning port and the AV receiver’s input. The choice of adapter will largely depend on the available input ports on your AV receiver and the desired audio and video transmission quality.
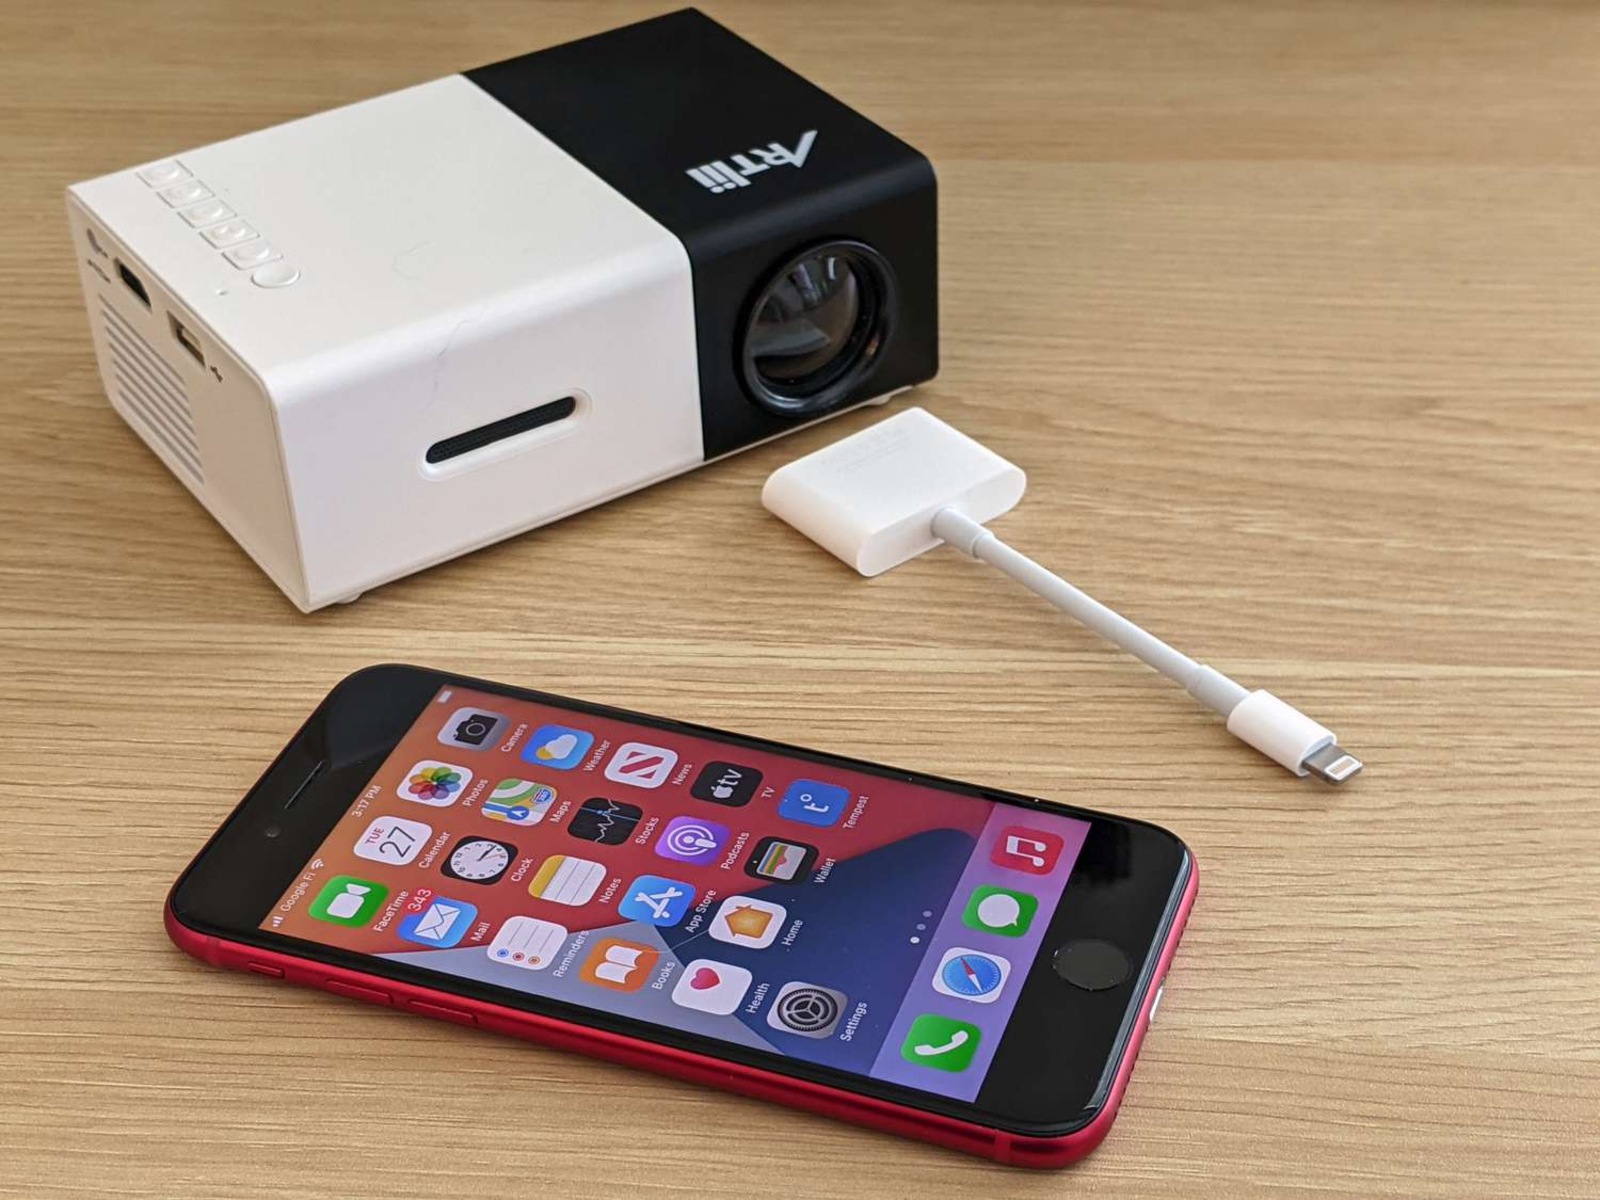
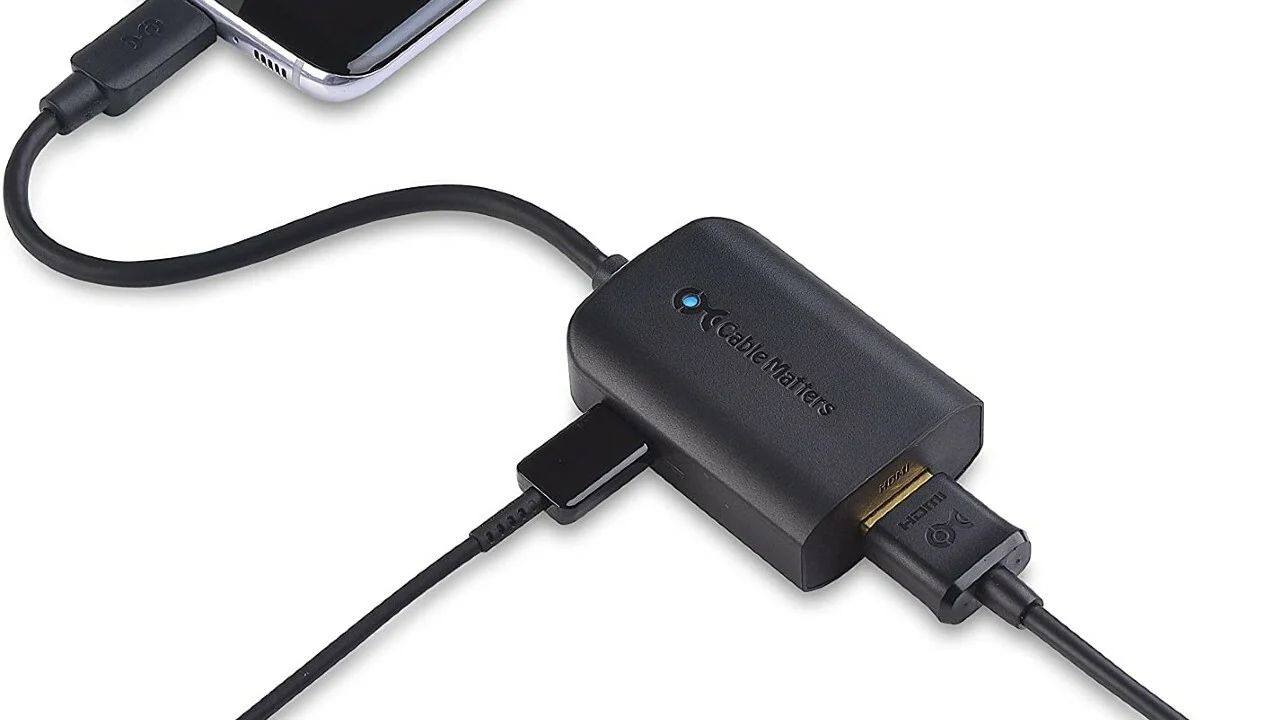
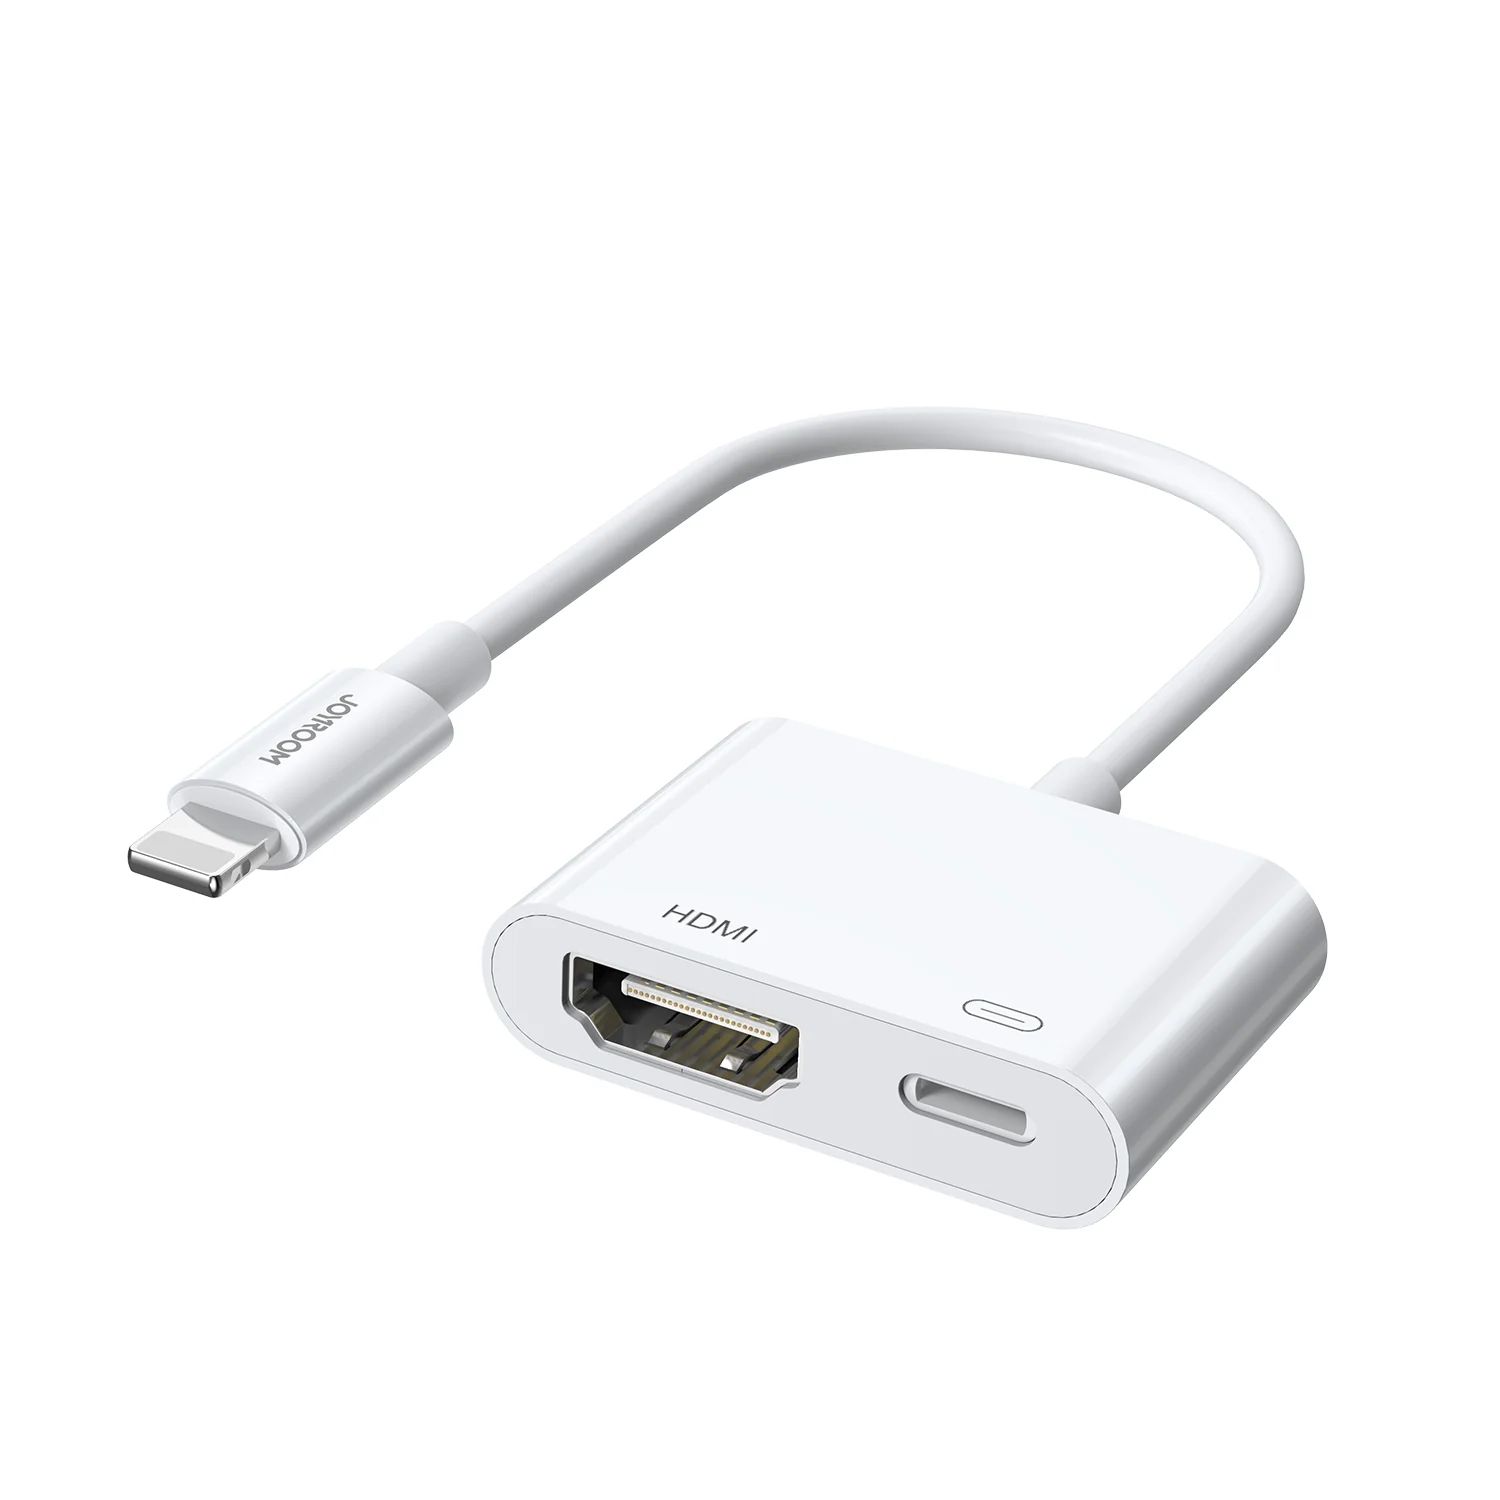
If your AV receiver features an HDMI input, obtaining a lightning to HDMI adapter is the most straightforward and effective solution. These adapters are specifically designed to convert the lightning output from your iPhone into an HDMI signal, allowing for seamless transmission of both audio and video to the AV receiver. Look for MFi (Made for iPhone) certified adapters to ensure compatibility and reliable performance with your iPhone and AV receiver.
For AV receivers equipped with optical or analog audio inputs, the adapter selection process may involve additional considerations. If your AV receiver features an optical input, a lightning to digital AV adapter with an optical audio output can provide a direct and high-fidelity audio connection. These adapters often feature a lightning input, an HDMI output for video transmission, and an optical audio output, enabling a comprehensive audiovisual link between your iPhone and the AV receiver.
When dealing with analog audio inputs on the AV receiver, such as RCA or 3.5mm jacks, a lightning to analog audio adapter becomes essential. These adapters convert the digital audio signal from your iPhone into an analog format compatible with the AV receiver’s input, ensuring seamless audio playback. Additionally, some lightning to analog audio adapters may include video output options, allowing for a complete audiovisual connection to the AV receiver.
It’s important to consider the build quality, compatibility, and supported resolutions of the adapters when making your selection. Opt for reputable brands and ensure that the chosen adapter supports the audio and video formats you intend to transmit to the AV receiver. By obtaining the right adapter tailored to your AV receiver’s input options, you can lay the foundation for a successful and reliable connection between your iPhone and the AV receiver.
Step 3: Connect the Adapter to the AV Receiver
With the appropriate adapter in hand, the next step in the process of connecting your iPhone to an AV receiver involves establishing a secure and seamless connection between the adapter and the input port on the AV receiver. Depending on the type of adapter and the available input options on your AV receiver, the connection process may vary.
If you are using a lightning to HDMI adapter to connect your iPhone to the AV receiver, begin by plugging the HDMI end of the adapter into the HDMI input on the AV receiver. Ensure that the connection is secure to prevent any signal interruptions during audio and video playback. Once the HDMI connection is established, proceed to the next step of connecting your iPhone to the adapter, as outlined in the subsequent section.
For adapters with optical audio outputs, carefully connect the optical cable from the adapter to the optical input on the AV receiver. Optical connections rely on the proper alignment of the cable and input port, so take care to insert the cable securely and align the connector with the receiver’s optical input. This step is crucial in ensuring the transmission of high-fidelity digital audio from your iPhone to the AV receiver.
If you are utilizing a lightning to analog audio adapter, connect the appropriate audio cables from the adapter to the analog audio input on the AV receiver. Whether it’s a set of RCA cables or a 3.5mm audio cable, ensure that the connections are snug and secure to maintain optimal audio quality during playback. Additionally, if the adapter includes video output options, connect the corresponding video cables to the AV receiver to complete the audiovisual link.
Throughout the connection process, it’s essential to refer to the user manual of your AV receiver to identify the specific input ports and recommended connection procedures. Pay attention to any labeling or color-coding of the input ports to ensure accurate and efficient connections. By carefully and methodically connecting the adapter to the AV receiver, you can establish a reliable and stable link that sets the stage for seamless audio and video transmission from your iPhone.
Step 4: Connect the iPhone to the Adapter
After successfully connecting the adapter to the AV receiver, the next pivotal step involves establishing a direct link between your iPhone and the adapter to enable the transmission of audio and video signals. Depending on the type of adapter you have selected, the connection process may vary, but the overall objective remains the same: to seamlessly integrate your iPhone with the AV receiver for an immersive multimedia experience.
If you are using a lightning to HDMI adapter, begin by plugging the lightning connector of the adapter into the lightning port on your iPhone. This secure connection enables the transmission of both audio and video signals from your iPhone to the adapter, which will then relay the signals to the AV receiver via the HDMI cable. Once the lightning connection is established, your iPhone is effectively linked to the adapter, and you are ready to proceed with setting up the AV receiver for audio and video playback.
For adapters with optical audio outputs, the connection process involves plugging the lightning connector into your iPhone and ensuring a secure fit. Once the lightning connection is established, connect the optical cable from the adapter to the AV receiver, completing the audio transmission link. This setup allows for the direct transfer of digital audio signals from your iPhone to the AV receiver, ensuring high-fidelity audio playback for your multimedia content.
When using a lightning to analog audio adapter, the connection process entails plugging the lightning connector into your iPhone, followed by the secure attachment of the analog audio cables to the adapter. By establishing this connection, your iPhone can transmit analog audio signals to the adapter, which then delivers the signals to the AV receiver for seamless playback. If the adapter supports video output, you may also connect the corresponding video cables to your iPhone for comprehensive audiovisual integration.
Throughout the connection process, it’s essential to handle the lightning connector and cables with care to prevent any damage or signal disruptions. Ensure that the connections are secure and firmly in place to maintain a reliable link between your iPhone and the adapter. By successfully connecting your iPhone to the adapter, you are one step closer to experiencing enhanced audio and video playback through your AV receiver.
Step 5: Set Up the AV Receiver
With your iPhone successfully connected to the adapter and the adapter linked to the AV receiver, the next crucial phase involves configuring the AV receiver to optimize the audio and video playback settings. By fine-tuning the receiver’s settings, you can ensure that your multimedia content is presented with the highest quality audio output and optimal visual performance.
Begin by turning on your AV receiver and selecting the input source corresponding to the port to which your adapter is connected. This step ensures that the receiver recognizes the incoming audio and video signals from your iPhone. Depending on the model of your AV receiver, you may need to navigate through the receiver’s menu or use a remote control to select the appropriate input source, such as HDMI, optical, or analog, to match the connection from your iPhone.
Once the input source is selected, proceed to configure the audio settings on the AV receiver to align with your preferences and the capabilities of your audio setup. This may involve adjusting the audio output format, speaker configuration, equalizer settings, and volume levels to achieve the desired audio performance. If your AV receiver supports advanced audio formats such as Dolby Atmos or DTS:X, ensure that these features are enabled to unlock a truly immersive audio experience when playing compatible content from your iPhone.
For video playback, verify that the visual output from your iPhone is being accurately processed and displayed by the AV receiver. Check the video resolution and aspect ratio settings on the receiver to ensure that your multimedia content is presented with the optimal visual quality on the connected display or projector. If your AV receiver offers video processing features such as upscaling or color enhancement, consider adjusting these settings to enhance the visual presentation of your content.
Throughout the setup process, refer to the user manual or on-screen display of your AV receiver for detailed instructions on adjusting the audio and video settings. Take the time to explore the various configuration options available on your receiver to tailor the audio and video playback to your specific preferences and the capabilities of your multimedia setup. By fine-tuning the AV receiver’s settings, you can create an immersive and personalized audiovisual experience that complements the multimedia content streamed from your iPhone.
Step 6: Enjoy Your Audio/Video Content
Now that your iPhone is seamlessly connected to the AV receiver and the receiver’s settings have been optimized, it’s time to immerse yourself in a world of captivating audio and video content. Whether you’re streaming music, watching movies, or playing games, the integration of your iPhone with the AV receiver unlocks a heightened multimedia experience that can be enjoyed to the fullest.
Start by selecting your desired audio or video content on your iPhone, whether it’s a playlist of your favorite songs, a movie, or a visually stunning game. Once the content is queued up on your iPhone, sit back and prepare to be enveloped by the rich audio output emanating from your AV receiver’s speakers. The optimized audio settings and high-fidelity transmission from your iPhone ensure that every note, dialogue, and sound effect is delivered with exceptional clarity and depth, transforming the way you experience audio content.
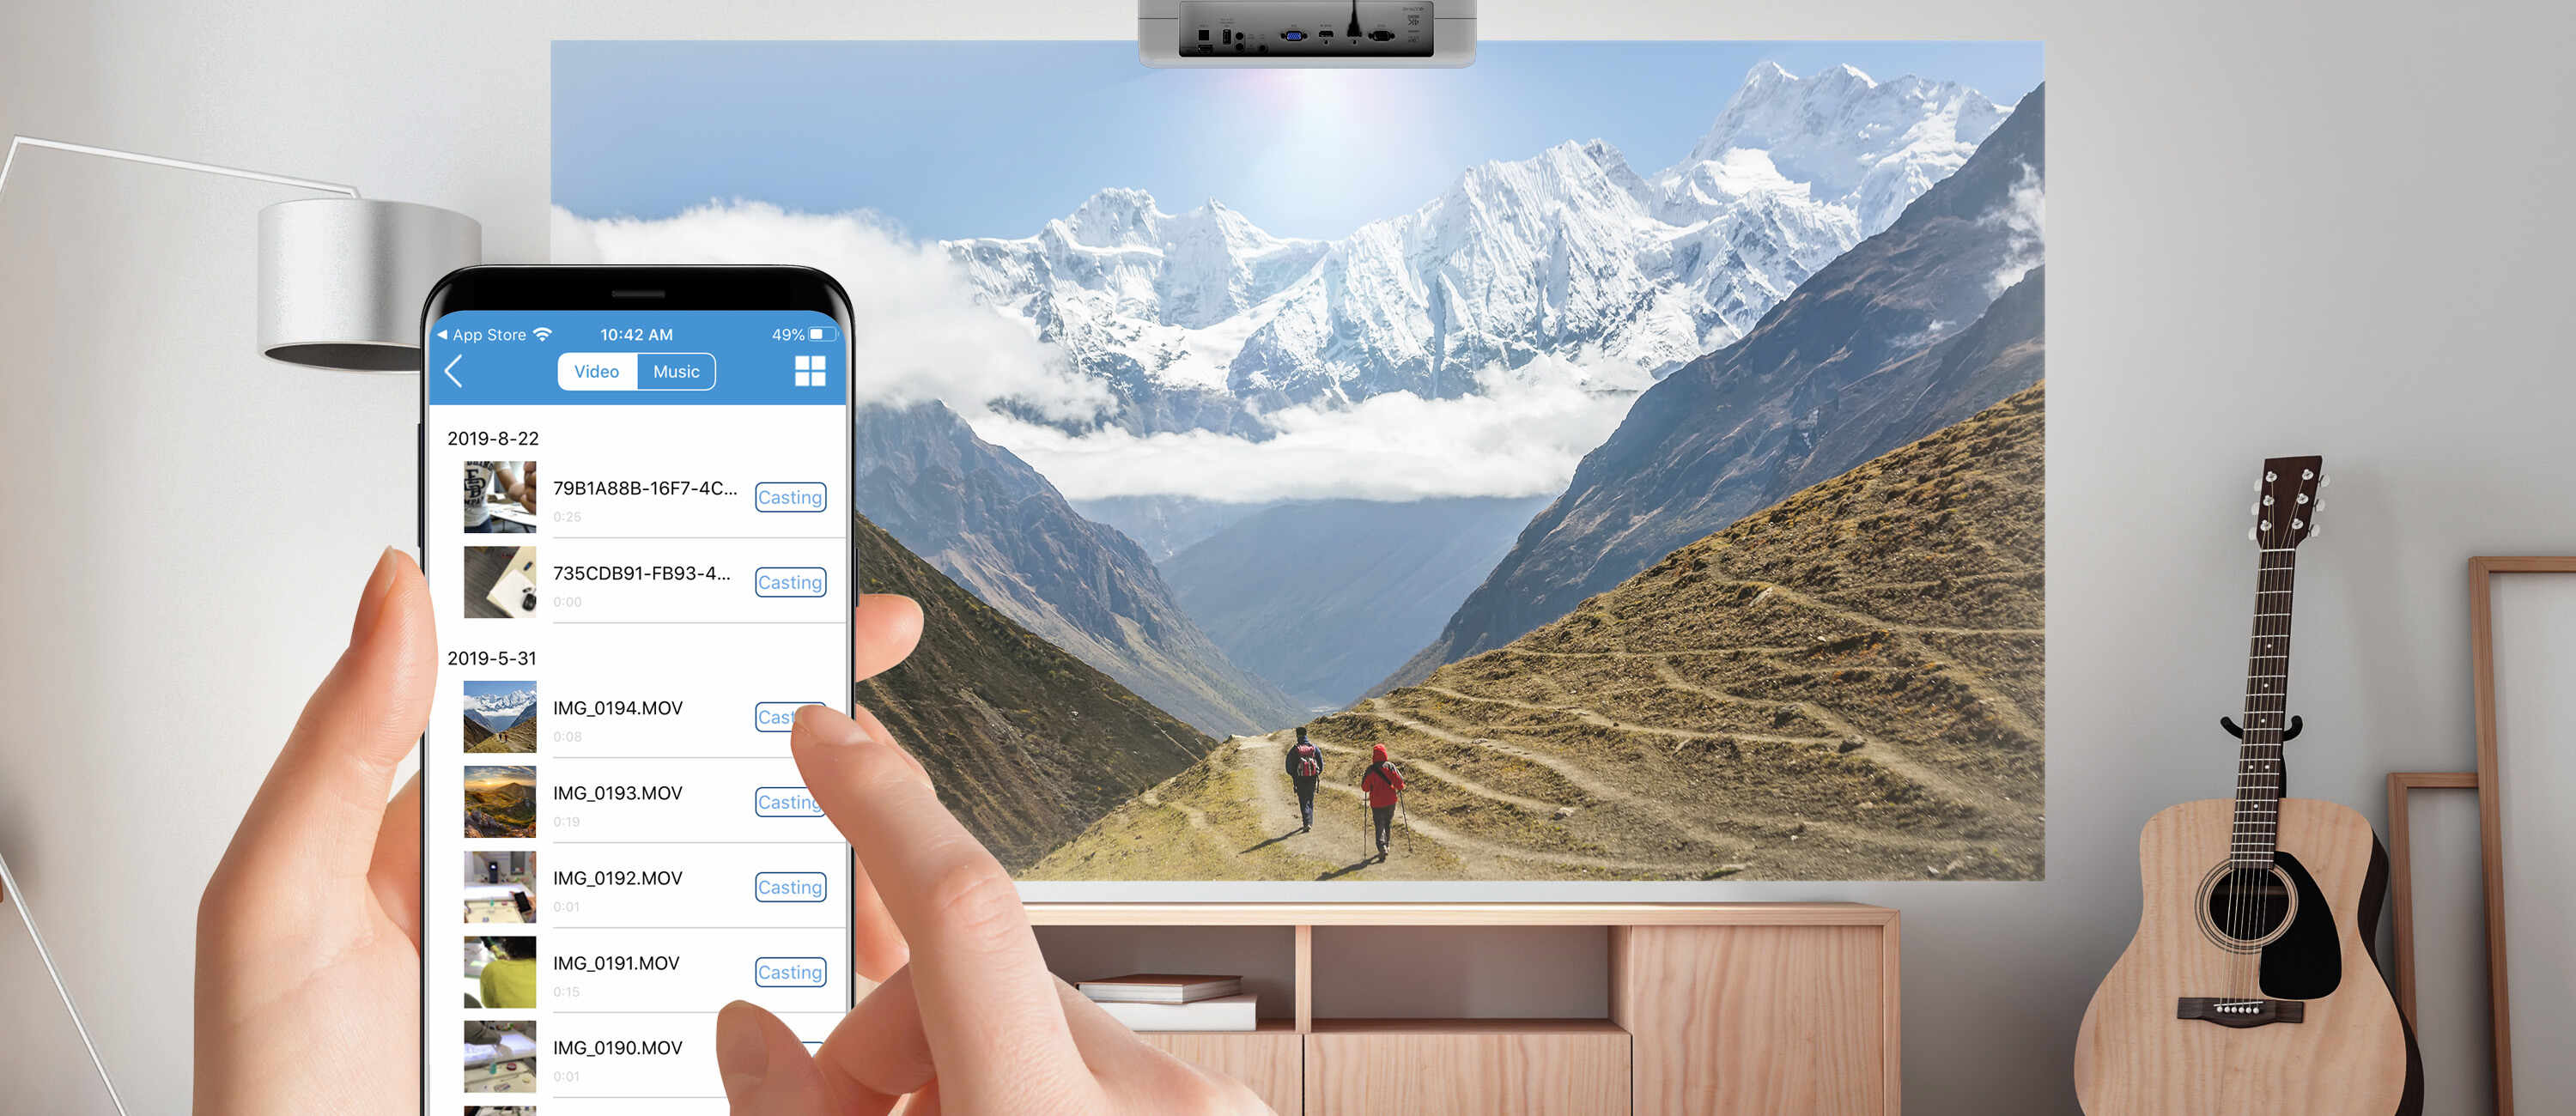
When it comes to video content, the seamless integration between your iPhone and the AV receiver results in a visually striking presentation on the connected display or projector. Whether you’re watching a cinematic masterpiece or immersing yourself in a visually captivating game, the optimized video settings and reliable transmission from your iPhone deliver stunning visuals with enhanced clarity, color accuracy, and seamless motion, elevating your viewing experience to new heights.
As you indulge in your favorite audio and video content, take a moment to appreciate the seamless connection and the immersive multimedia experience that has been made possible by integrating your iPhone with the AV receiver. Whether you’re enjoying a movie night with friends, hosting a music listening session, or simply unwinding with your preferred entertainment, the enhanced audio and video playback create an engaging and memorable experience that resonates with the power of seamless technology integration.
Throughout your audiovisual journey, feel free to explore the full range of capabilities offered by your integrated setup. Experiment with different genres of music, delve into a diverse selection of movies and TV shows, or explore the immersive world of gaming, all while relishing the exceptional audio and video quality facilitated by your iPhone and AV receiver integration.
By following the steps outlined in this guide and embracing the seamless connection between your iPhone and the AV receiver, you have unlocked a realm of possibilities for enjoying audio and video content in a way that transcends traditional boundaries. Embrace the synergy of technology and entertainment as you revel in the immersive audiovisual experience made possible by your integrated multimedia setup.


