Introduction
Welcome to our guide on how to connect a subwoofer to a Polk Soundbar! Subwoofers are an excellent addition to your home audio setup, as they enhance the bass and low-frequency sounds, providing a richer and more immersive listening experience. By connecting a subwoofer to your Polk Soundbar, you can take your movie nights, music sessions, and gaming experiences to a whole new level.
Before we dive into the step-by-step process of connecting a subwoofer to your Polk Soundbar, let’s take a moment to understand why you might want to do so. Subwoofers are specifically designed to reproduce low-frequency audio signals, such as deep bass notes and rumbling thuds in action movies. While most soundbars come with built-in subwoofers, connecting an external subwoofer can significantly enhance the overall audio quality, ensuring a more balanced and powerful sound.
Now, let’s get started with the process of connecting a subwoofer to your Polk Soundbar. Grab your equipment, follow the steps, and let’s bring that booming bass to your sound setup!
Step 1: Gather the necessary equipment
Before you begin setting up your subwoofer with your Polk Soundbar, it’s essential to ensure you have all the required equipment on hand. Here’s a list of what you’ll need:
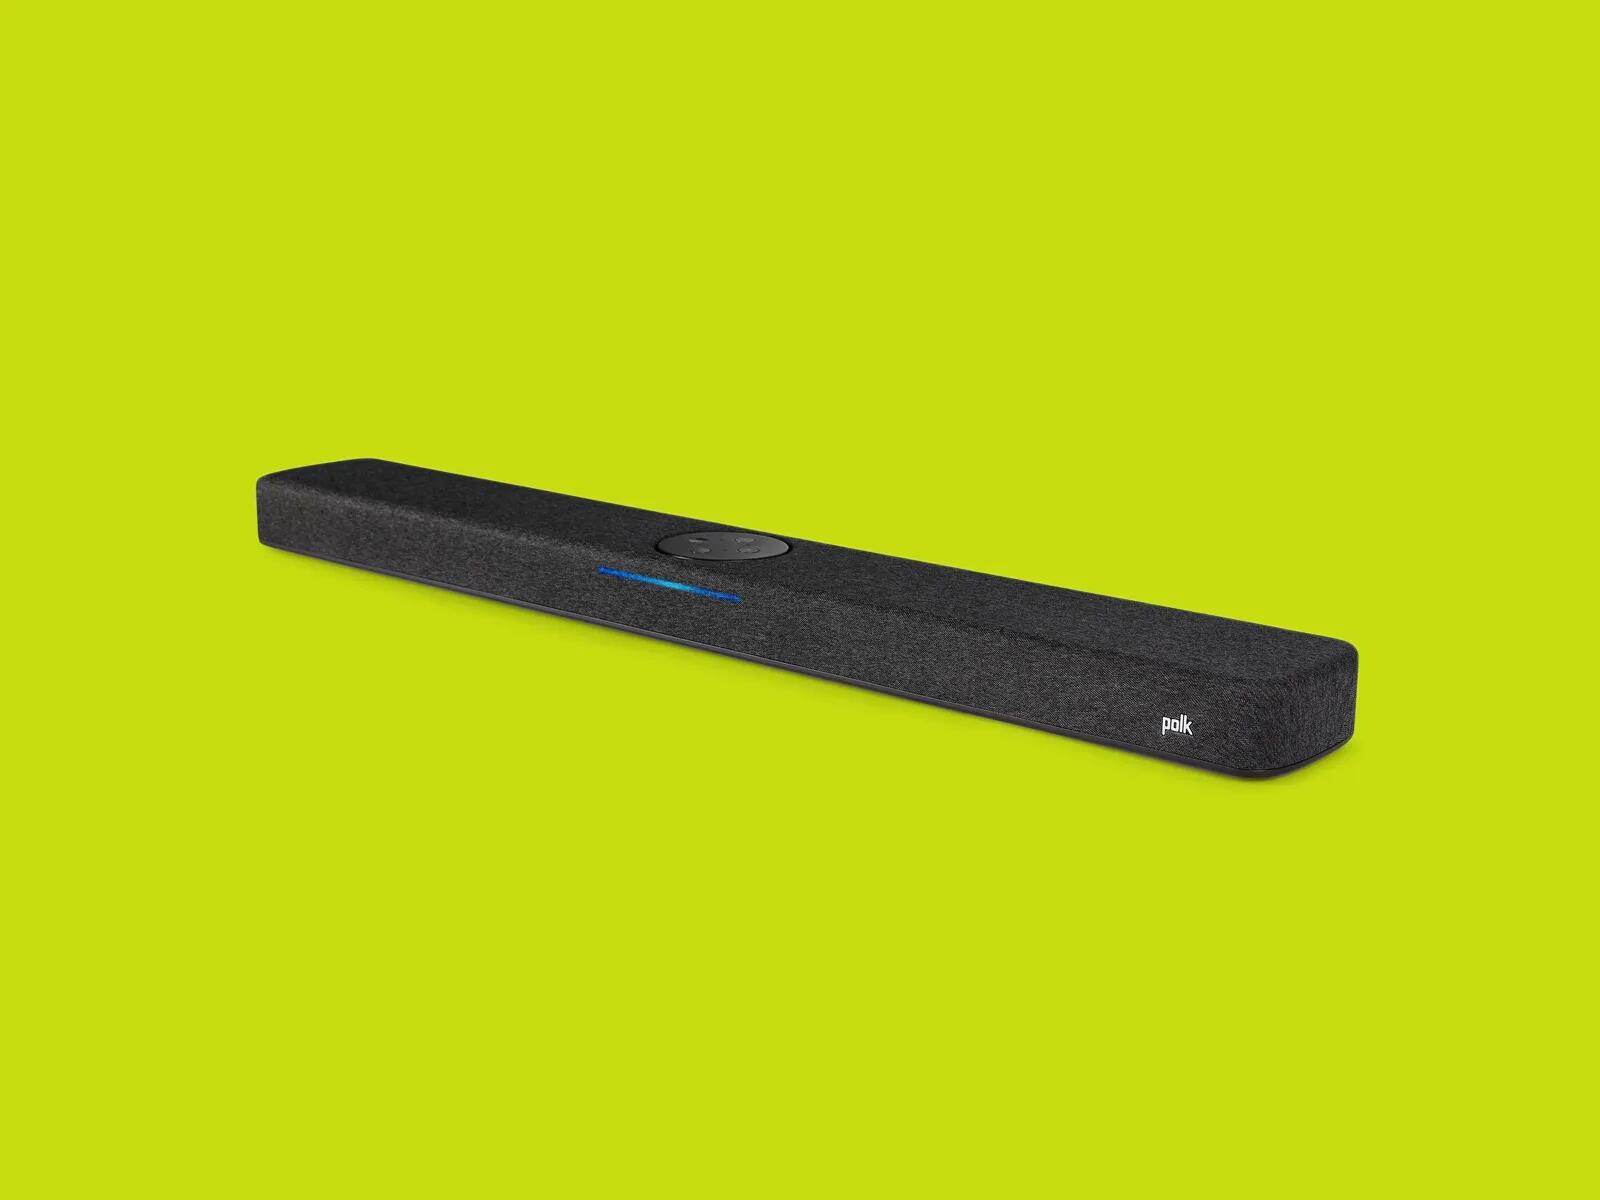
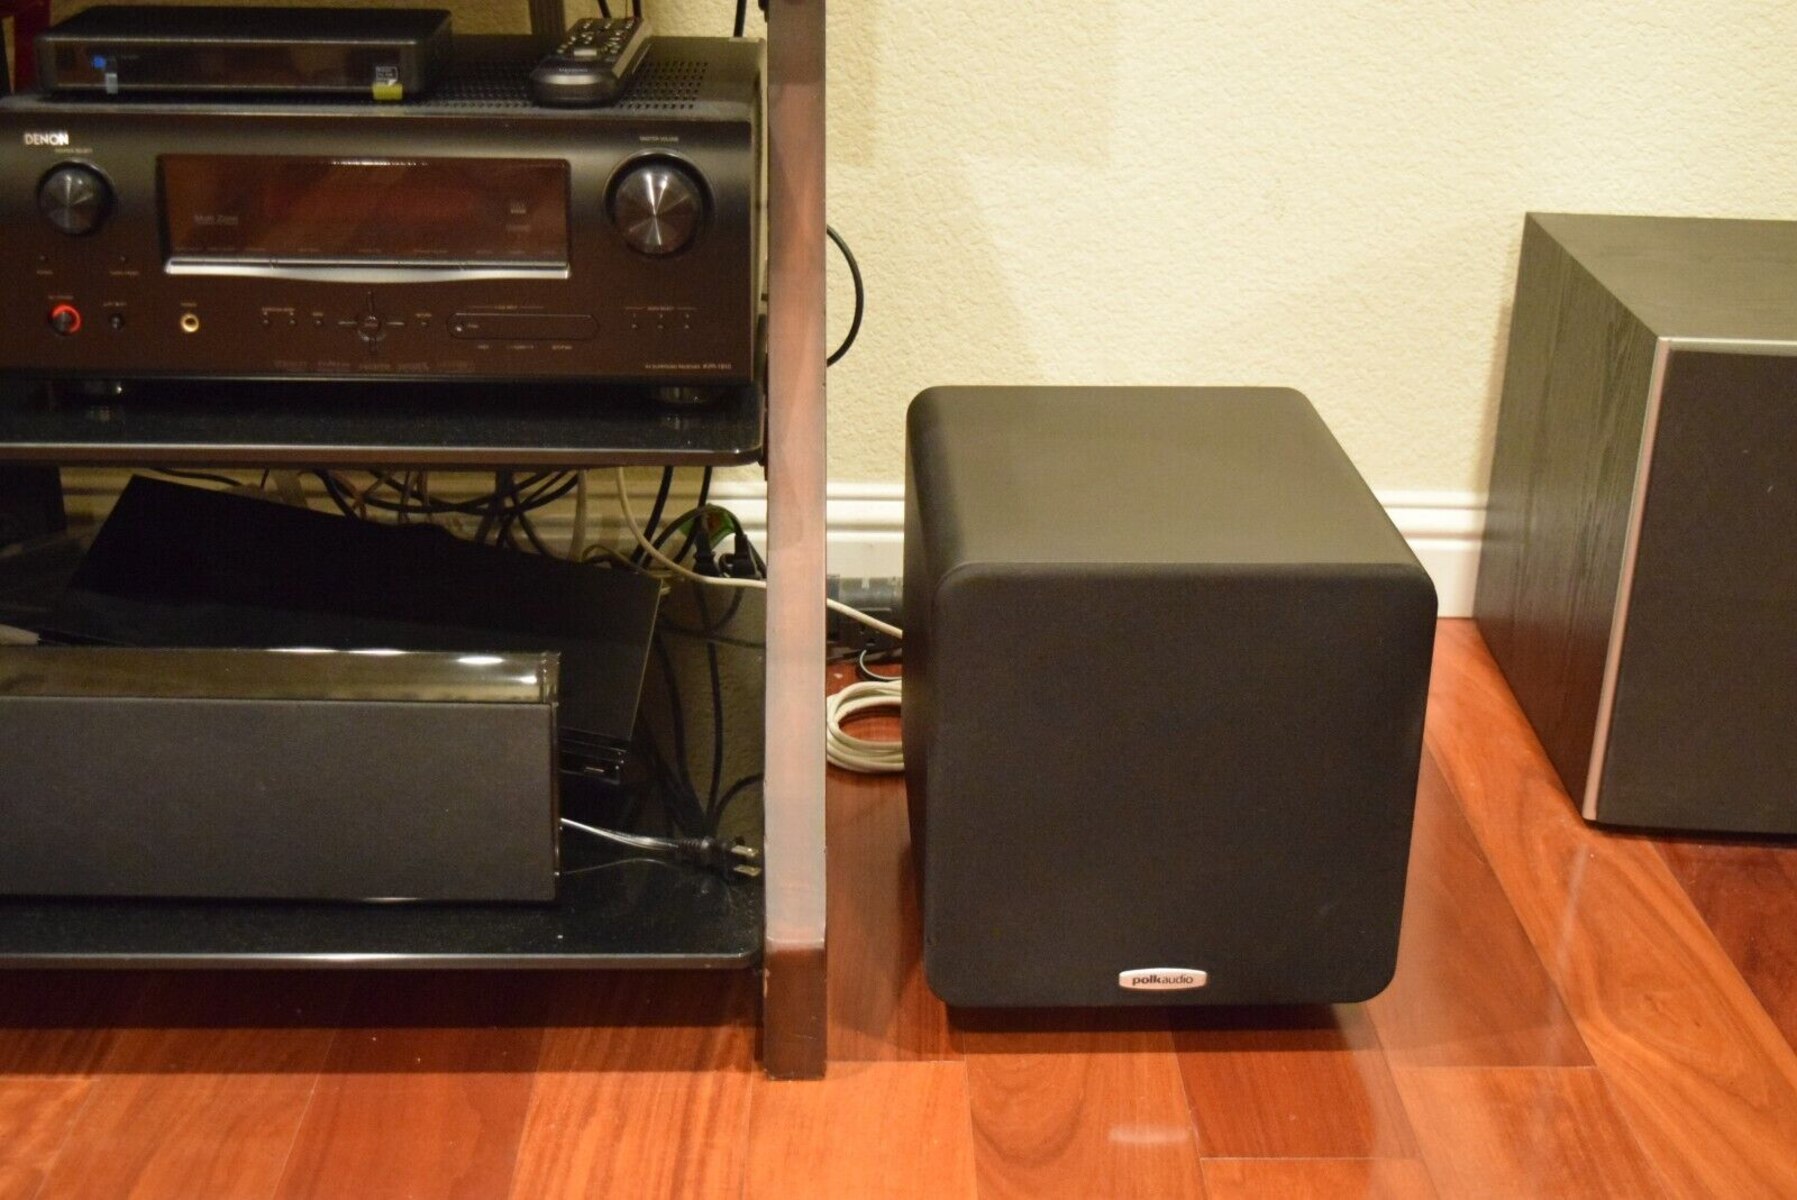
- A subwoofer – Make sure you have a compatible subwoofer that can connect to your Polk Soundbar. You can purchase a subwoofer separately or check if your soundbar package includes one.
- Audio cables – Depending on the inputs and outputs available on your subwoofer and soundbar, you may require either RCA or HDMI cables. Ensure you have the appropriate cables for your specific setup.
- Power cables – Subwoofers typically require an external power source. Make sure you have the necessary power cable for your subwoofer.
- User manuals – Keep the user manuals for both your subwoofer and Polk Soundbar handy. They will provide valuable information on the specific setup and connection requirements.
Once you have gathered all the necessary equipment, double-check that everything is in working condition to ensure a smooth installation process. With the equipment ready, it’s time to move on to the next step: identifying the appropriate ports on the Polk Soundbar.
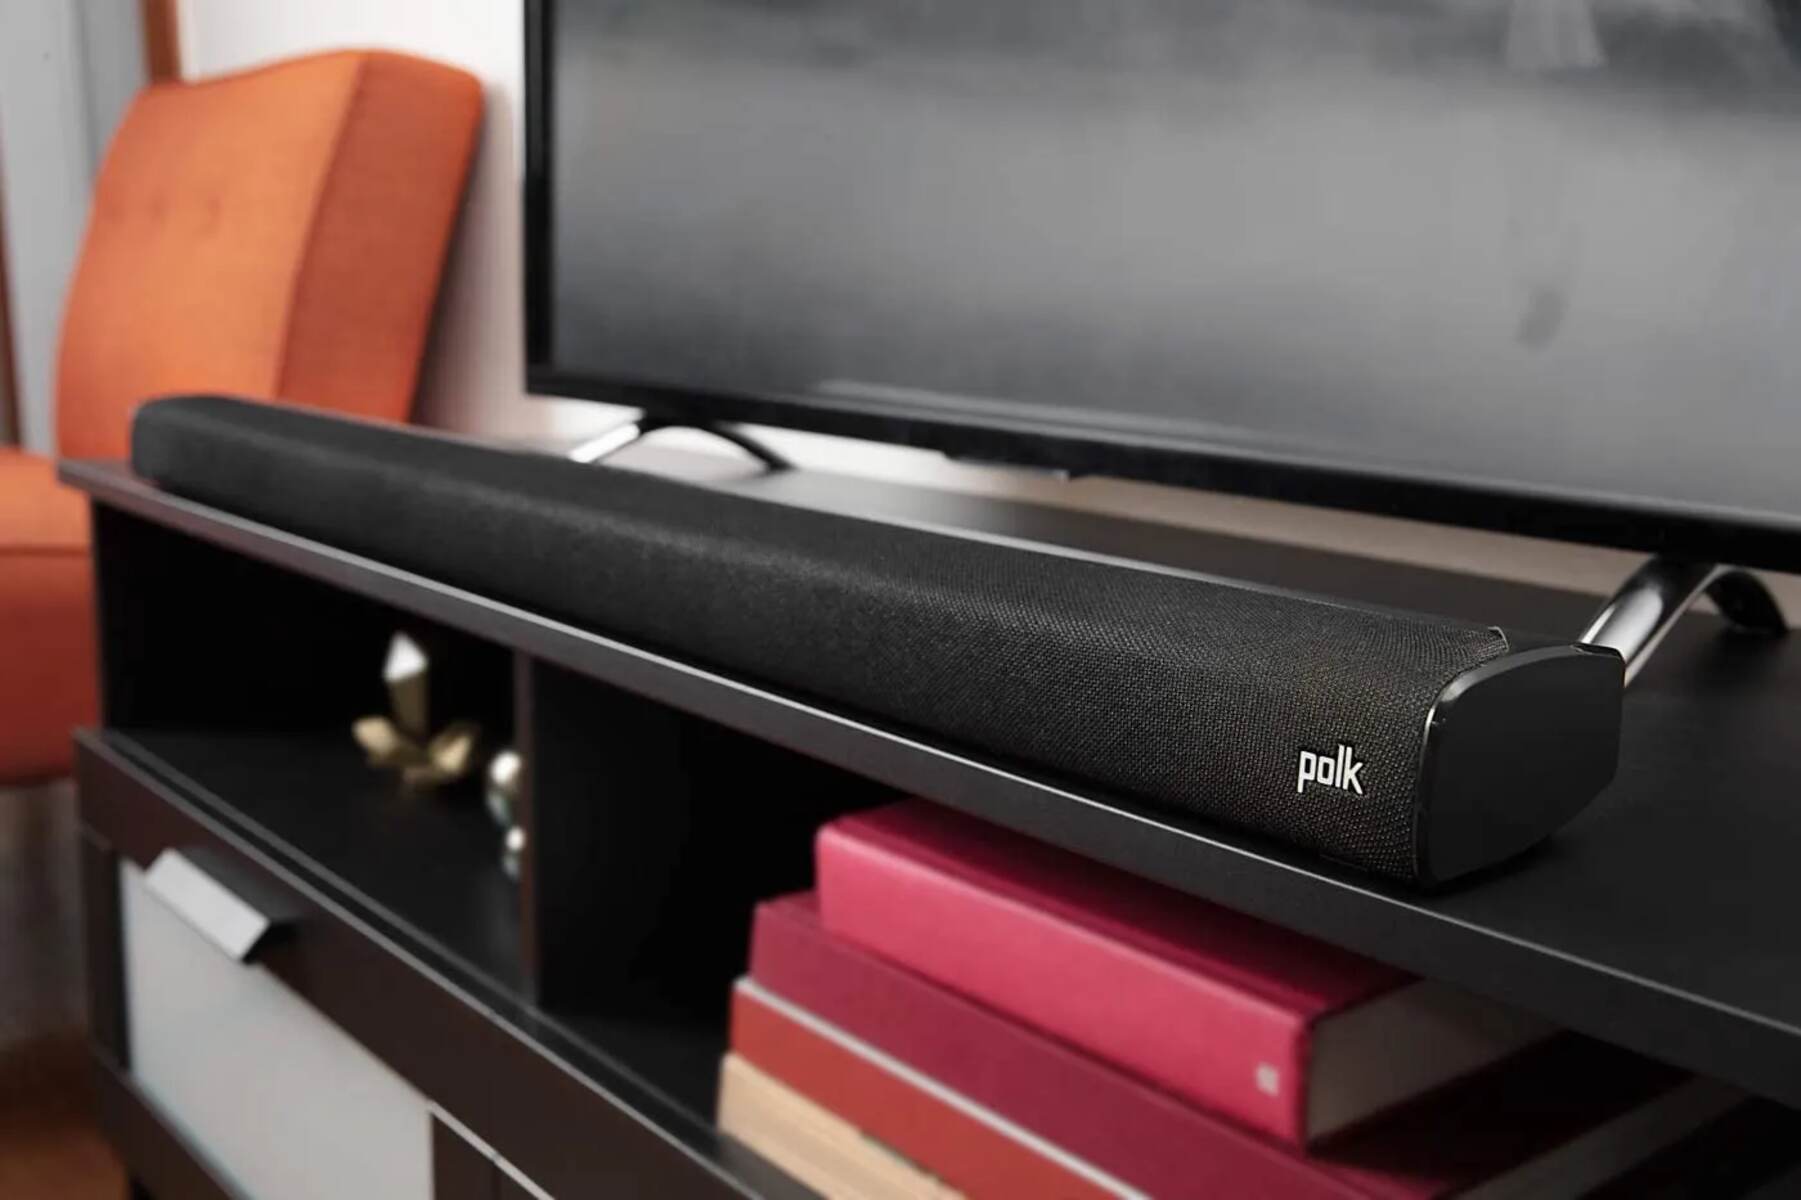
Step 2: Identify the appropriate ports on the Polk Soundbar
Before you can connect your subwoofer to the Polk Soundbar, it’s important to familiarize yourself with the available ports on the soundbar. By identifying the appropriate ports, you can ensure a proper and secure connection.
Start by reviewing the user manual or specifications of your Polk Soundbar to determine the types of ports it has. Commonly, soundbars provide either RCA or HDMI ports for connecting external audio devices such as subwoofers. Look for labels or symbols indicating the specific ports designated for subwoofer connection.
If your Polk Soundbar has an RCA port, it will typically be labeled as “Subwoofer Out” or “LFE Out” (Low-Frequency Effects). Take note of the color-coding on the RCA port, as some soundbars may have multiple outputs to accommodate various audio channels. Match the colors of the RCA cable connectors to the corresponding colors of the ports for a proper connection.
Alternatively, if your Polk Soundbar offers HDMI connectivity, look for an HDMI ARC (Audio Return Channel) or HDMI OUT port. This port allows for audio signals to be sent from the soundbar back to the subwoofer. HDMI connections provide higher audio quality and may offer additional features such as synchronized audio and video playback.
Once you have identified the appropriate ports on your Polk Soundbar, you’re ready to proceed to the next step: setting up the subwoofer.
Step 3: Set up the subwoofer
Now that you have identified the appropriate ports on your Polk Soundbar, it’s time to set up your subwoofer. This step involves finding the ideal location for your subwoofer and making the necessary power connections.
When choosing a location for your subwoofer, consider placing it near the front of the room or close to your soundbar for optimal sound distribution. Avoid corners or enclosed spaces, as they can amplify bass frequencies and create uneven sound. Experiment with different placements to find the spot that produces the best bass response and blends well with your soundbar’s audio output.
Next, locate the power input on your subwoofer and connect the included power cable. Plug the other end into a power outlet or surge protector. Ensure that the power cable is secure and that the subwoofer has a stable power source. Powering on the subwoofer is typically done using a button or switch located on the unit. Refer to the subwoofer’s user manual for detailed instructions on powering it on.
Once your subwoofer is powered on, it’s time to move on to the next step: connecting the subwoofer to the Polk Soundbar.
Step 4: Connect the subwoofer to the Polk Soundbar
With your subwoofer set up and powered on, it’s time to establish a connection between the subwoofer and the Polk Soundbar. The method of connection will depend on the available ports on both devices and the cables you have on hand. Let’s explore two common connection options: RCA and HDMI.
RCA Connection:
If your Polk Soundbar has an RCA subwoofer output, follow these steps:
- Locate the “Subwoofer Out” or “LFE Out” port on your Polk Soundbar.
- Take one end of the RCA cable and plug the red connector into the red port, and the white or black connector into the white or black port, respectively.
- Connect the other end of the RCA cable to the corresponding input on your subwoofer. The ports are usually labeled “Sub In” or “LFE In”. Ensure a secure connection by tightening the connectors.
HDMI Connection:
If your Polk Soundbar and subwoofer both support HDMI connectivity, follow these steps:
- Locate the HDMI ARC or HDMI OUT port on your Polk Soundbar. This port enables audio signals to be sent to the subwoofer.
- Connect one end of an HDMI cable to the HDMI ARC or HDMI OUT port on your Polk Soundbar.
- Connect the other end of the HDMI cable to the HDMI port on your subwoofer labeled “HDMI IN” or “HDMI Input.
Ensure that the connections are secure and properly aligned. Once the subwoofer is connected to the Polk Soundbar, you can proceed to the final step: testing the subwoofer connection.
Step 5: Test the subwoofer connection
After connecting the subwoofer to your Polk Soundbar, it’s crucial to test the connection to ensure everything is functioning correctly. Follow these steps to verify the subwoofer’s integration with your audio setup:
- Turn on your Polk Soundbar and subwoofer if they are not already powered on. Refer to the user manuals for specific instructions on powering on both devices.
- Select a media source (such as a movie or music) that includes significant bass or low-frequency sounds.
- Play the media and pay attention to the sound coming from the subwoofer. You should notice a significant increase in bass and low-end frequencies compared to the soundbar alone.
- Adjust the subwoofer settings, if available, to achieve the desired bass level. Many subwoofers have dedicated controls for volume and frequency response, allowing you to fine-tune the bass according to your preference.
While testing the subwoofer connection, you can also observe how the overall audio output blends between the soundbar and the subwoofer. Ideally, the sound should be well-balanced, without any noticeable gaps or overlapping frequencies.
If you encounter any issues during the testing process, refer to the user manuals for troubleshooting guidance. Common issues could include loose connections, incorrect settings, or incompatible devices. By taking the necessary steps to diagnose and resolve any issues, you can ensure optimal performance from your subwoofer and Polk Soundbar.
Once you have successfully tested the subwoofer connection and are satisfied with the sound quality, you can now sit back, relax, and enjoy your favorite movies, music, and games with enhanced bass and immersive audio.
Conclusion
Congratulations! You have successfully connected a subwoofer to your Polk Soundbar, elevating your audio experience to new heights. By following the steps outlined in this guide, you have enhanced the bass response and added depth to your sound setup.
Remember, a subwoofer helps reproduce low-frequency audio signals, providing a fuller and more immersive sound. It brings movies to life with powerful explosions and deep rumbling effects, enriches music with punchy basslines, and enhances the overall audio experience in gaming.
Throughout the process, you first gathered the necessary equipment, ensuring you had everything needed to set up the subwoofer. Then, you identified the appropriate ports on the Polk Soundbar, ensuring a proper and secure connection. Next, you set up the subwoofer in an ideal location and made the necessary power connections. Following that, you connected the subwoofer to the Polk Soundbar, using either an RCA or HDMI connection method. Finally, you tested the subwoofer connection by playing bass-heavy media and adjusting the settings to achieve the desired audio quality.
Now, sit back, relax, and enjoy the enhanced audio experience that your subwoofer and Polk Soundbar combination provides. Whether you’re watching movies, listening to music, or immersing yourself in a thrilling gaming session, the deep and rich bass will create a more immersive and enjoyable experience.
Should you encounter any issues during the process or experience difficulties with the sound output, consult the user manuals for troubleshooting guidance or seek assistance from customer support.
Thank you for following this guide. We hope it has been helpful in connecting your subwoofer to your Polk Soundbar. Enjoy your newfound audio experience!