Introduction
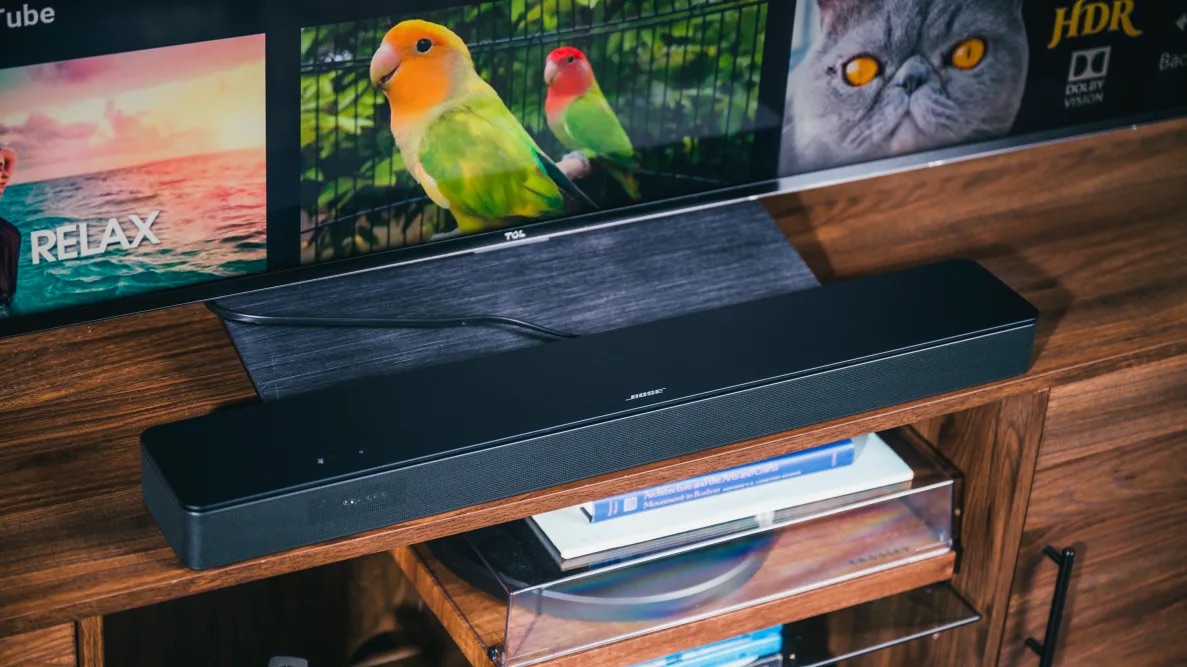
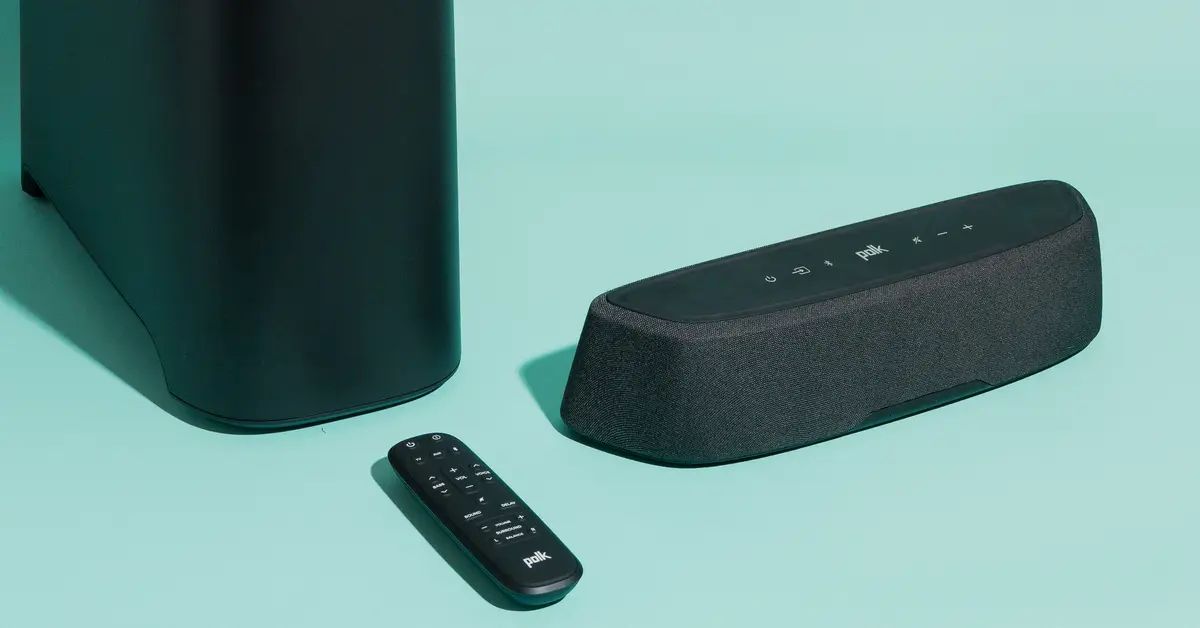
A soundbar is a popular audio device used to enhance the sound quality of a TV. It is an excellent choice for those who want to experience immersive audio without investing in a full-fledged surround sound system. Soundbars come in various shapes and sizes, offering impressive audio performance and easy setup.
When it comes to connecting a soundbar to a TV, there are multiple options available, including HDMI, optical cable, and Bluetooth. In this article, we will guide you through the process of connecting a soundbar to your TV using an optical cable.
Optical cables, also known as TOSLINK or SPDIF cables, transmit audio signals through light pulses. They offer high-quality digital audio transmission and are compatible with most modern TVs and soundbars.
By following the steps outlined in this guide, you will be able to enjoy enhanced audio from your TV through the connected soundbar. So, let’s dive in and learn how to connect a soundbar to your TV using an optical cable!
Understanding Soundbars and Optical Cable
Before we proceed with the steps to connect a soundbar to your TV using an optical cable, it’s essential to understand the basics of soundbars and optical cables.
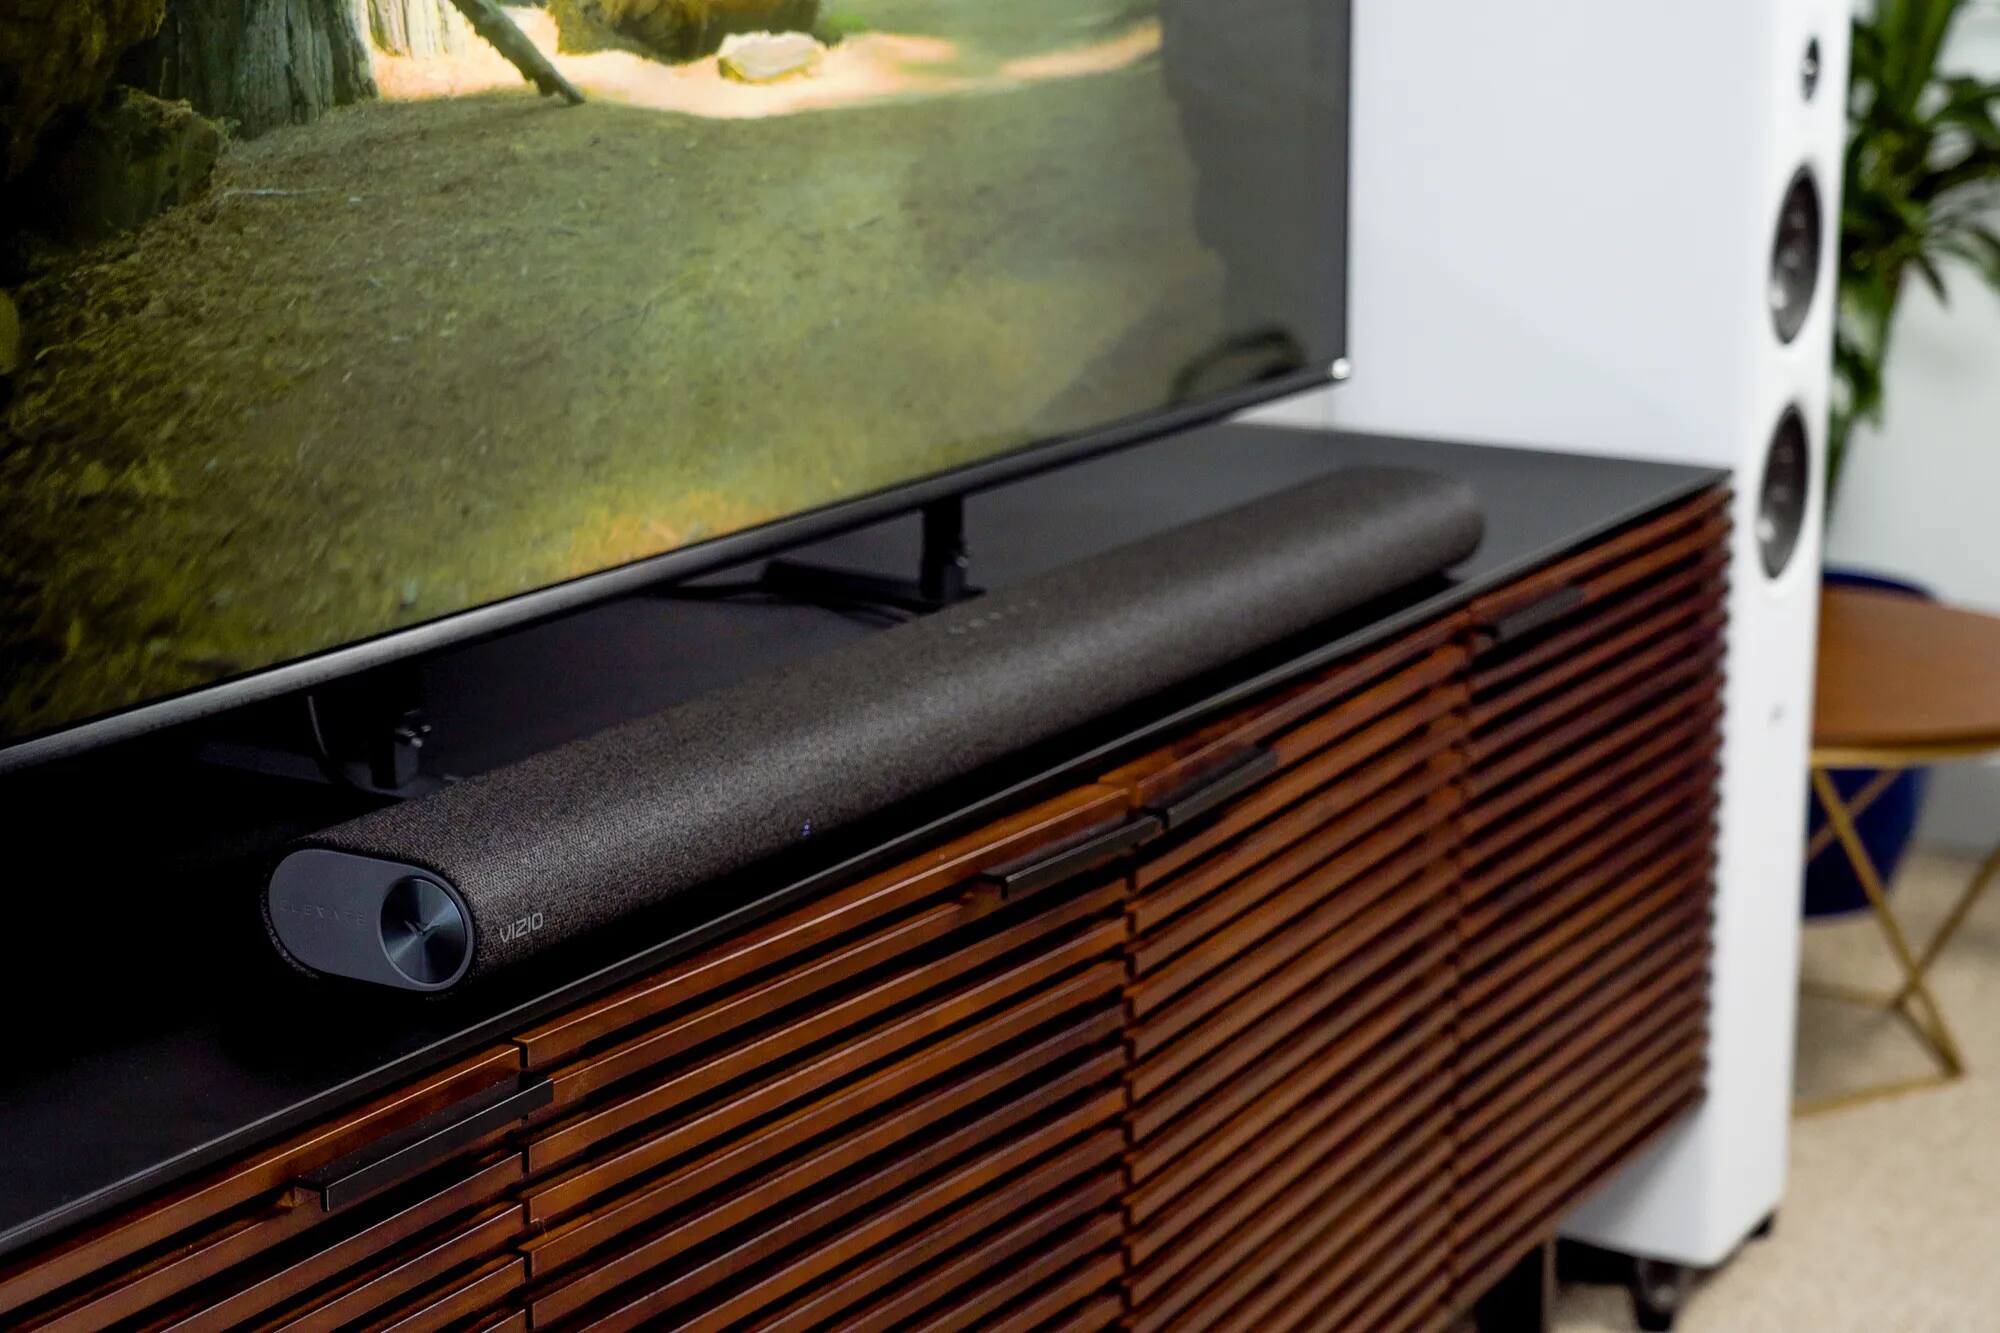
A soundbar is a slim, elongated speaker system that is typically placed below or above the TV. It consists of multiple built-in speakers to provide a better audio experience compared to the TV’s built-in speakers. Soundbars are designed to enhance the sound quality by producing clear dialogues, immersive surround sound, and deep bass.
On the other hand, an optical cable, also known as a Toslink cable or SPDIF cable, is an audio cable that uses optical signals to transmit digital audio from the source to the destination. It employs fiber optic technology to convert electrical signals into light pulses, ensuring high-quality sound transmission without any interference.
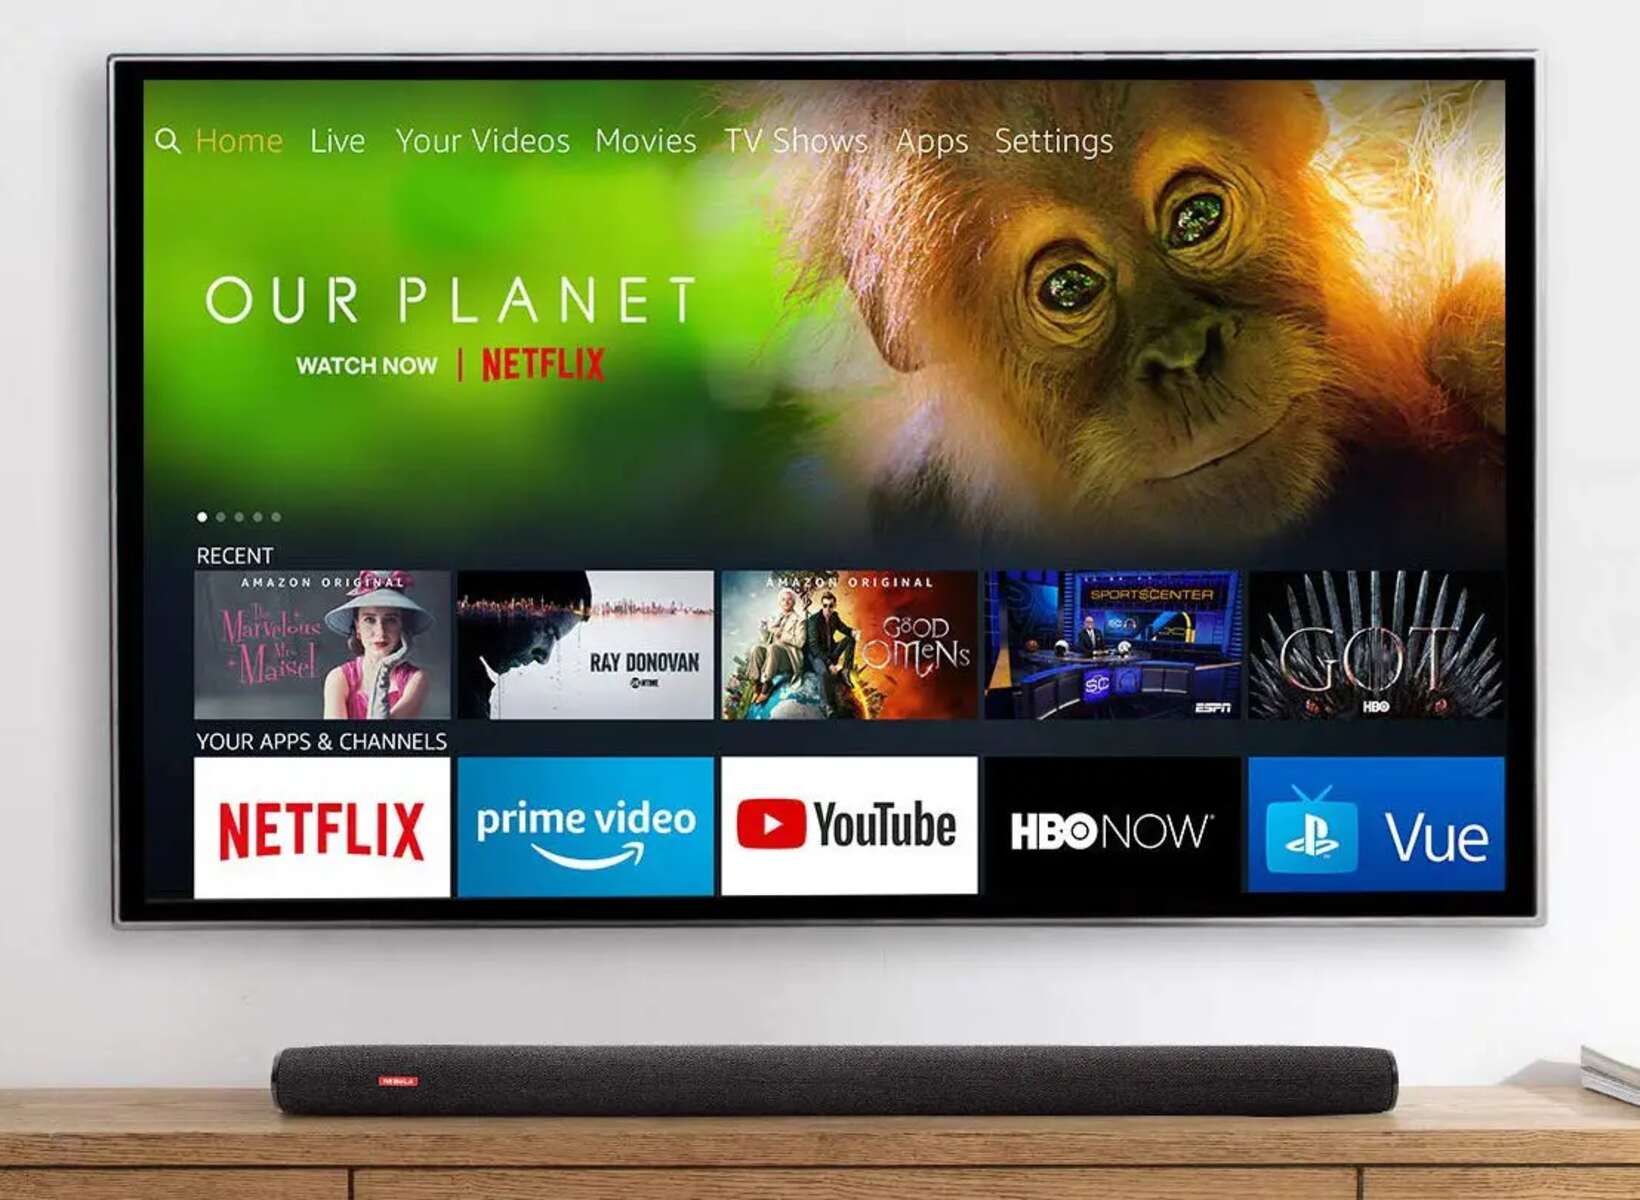
Soundbars and optical cables offer a convenient and straightforward way to enhance your audio experience. The optical cable connects the TV’s audio output to the soundbar’s optical input, allowing you to enjoy crisp and immersive sound while watching movies, TV shows, or playing games.
One of the advantages of using an optical cable is its compatibility with most modern TVs and soundbars. However, before you begin the connection process, it’s essential to check if your TV and soundbar have the necessary optical ports.
Now that you have a basic understanding of soundbars and optical cables, let’s move on to the step-by-step process of connecting a soundbar to your TV using an optical cable.
Step 1: Checking Compatibility
Before you begin connecting your soundbar to your TV using an optical cable, it’s crucial to ensure that both devices are compatible with this type of connection. Here are a few steps to check compatibility:
- Review the specifications of your TV and soundbar: Check the user manuals or visit the manufacturer’s website to verify if your TV and soundbar have optical inputs and outputs, respectively. Look for terms like “digital audio out” on your TV and “optical in” on your soundbar.
- Confirm the audio format support: Make sure that both your TV and soundbar support the same audio formats. This information can usually be found in the user manual or specifications sheet. Common audio formats include PCM (Pulse Code Modulation) and Dolby Digital.
- Verify the optical cable compatibility: Optical cables come in different variants, such as TOSLINK, mini-TOSLINK, and ADAT. Ensure that the optical cable you have is compatible with your TV’s optical output and the soundbar’s optical input.
By confirming the compatibility between your TV and soundbar, you can ensure a seamless connection and optimal audio performance. If any of the devices are not compatible or lack the necessary optical ports, you may need to consider alternative connection options or purchase additional adapters.
Once you have verified the compatibility of your TV and soundbar, you can proceed to the next step: locating the optical audio out port on your TV.
Step 2: Locate Optical Audio Out Port on Your TV
In this step, we will guide you through the process of locating the optical audio out port on your TV. Follow these steps:
- Refer to the user manual: The user manual or specifications guide that came with your TV will often have a diagram or explanation of the ports and their locations. Look for any reference to an optical audio out port.
- Inspect the back or side panel of the TV: Examine the back or side panel of your TV for any labeled audio output ports. The optical audio out port is typically labeled as “Digital Audio Out,” “Optical Out,” or “TOSLINK Out.”
- Check for a protective cover: Some TVs may have a protective cover over the optical audio out port. If you find one, gently remove it to reveal the port.
- Take note of the port location: Once you have located the optical audio out port, make a mental note or take a picture to remember its exact location. This will come in handy when connecting the optical cable later.
Keep in mind that the location and labeling of the optical audio out port may vary depending on the TV model and manufacturer. If you have difficulty locating the port, consult the user manual or visit the manufacturer’s website for further assistance.
Once you have successfully located the optical audio out port on your TV, you are ready to proceed to the next step: connecting the optical cable.
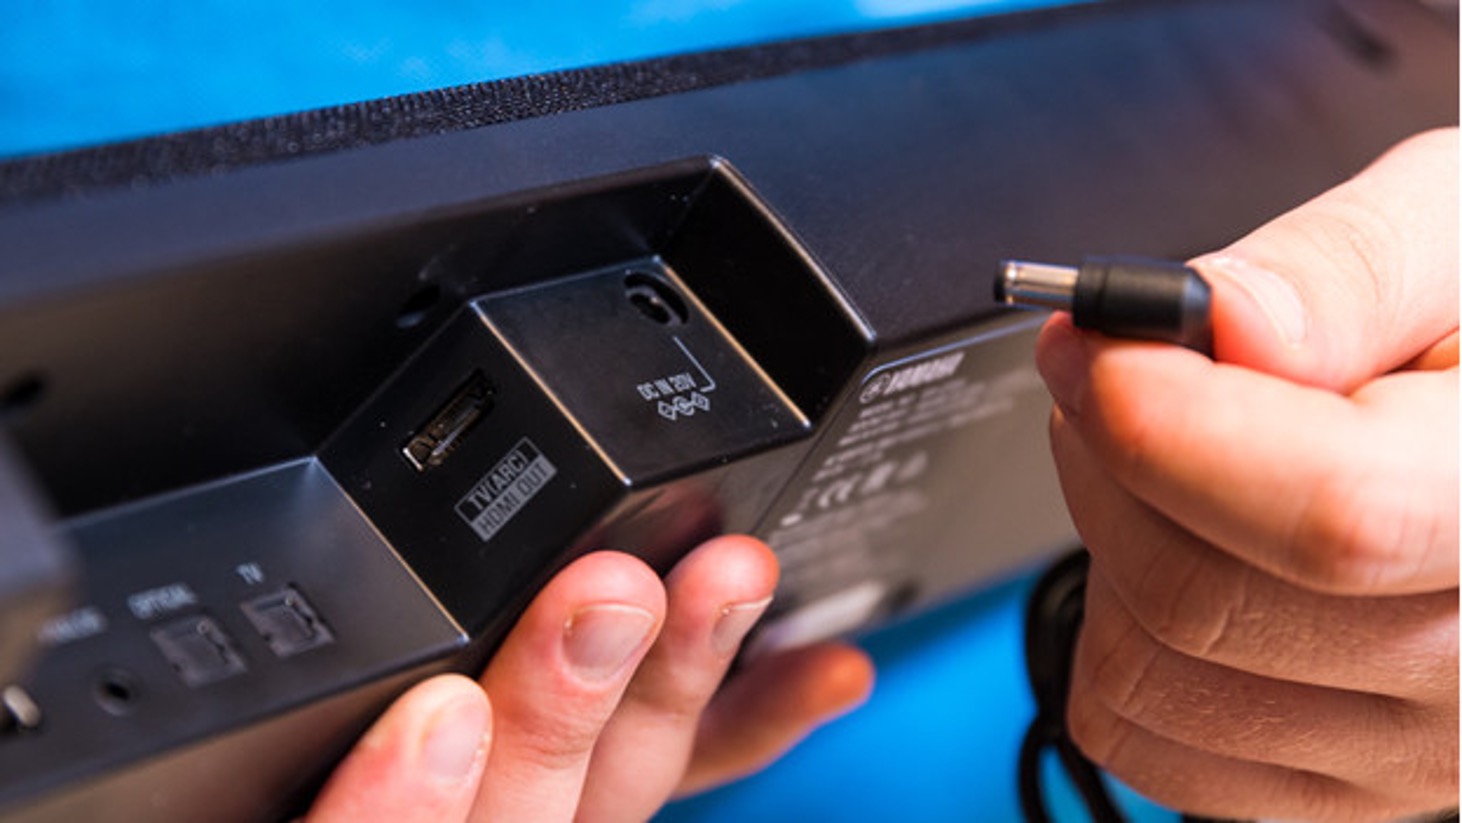
Step 3: Connect the Optical Cable to the TV
Now that you have located the optical audio out port on your TV, it’s time to connect the optical cable. Follow these steps:
- Ensure both devices are turned off: Before making any connections, ensure that both your TV and soundbar are turned off to prevent any potential damage.
- Insert one end of the optical cable: Take one end of the optical cable and gently insert it into the optical audio out port on the back or side of your TV. Make sure it fits snugly and securely.
- Secure the connection: Once the cable is inserted, tighten the connector by gently rotating it clockwise until it is firmly in place. This will ensure a stable and reliable connection.
- Route the cable: Carefully route the optical cable to the area where your soundbar is placed. Avoid bending or pinching the cable excessively to prevent any damage to the optical fibers inside.
- Leave the other end of the optical cable disconnected for now: We will connect it to the soundbar in the next step.
It’s important to note that optical cables are not reversible, meaning you need to make sure you insert the correct end into the TV’s optical audio out port. The connector should fit smoothly and securely. If you encounter any resistance or have difficulty inserting the cable, double-check the orientation and try again.
Once the optical cable is successfully connected to your TV, you are ready to move on to the next step: connecting the optical cable to the soundbar.
Step 4: Connect the Optical Cable to the Soundbar
With the optical cable successfully connected to your TV, it’s time to connect the other end of the cable to your soundbar. Follow these steps:
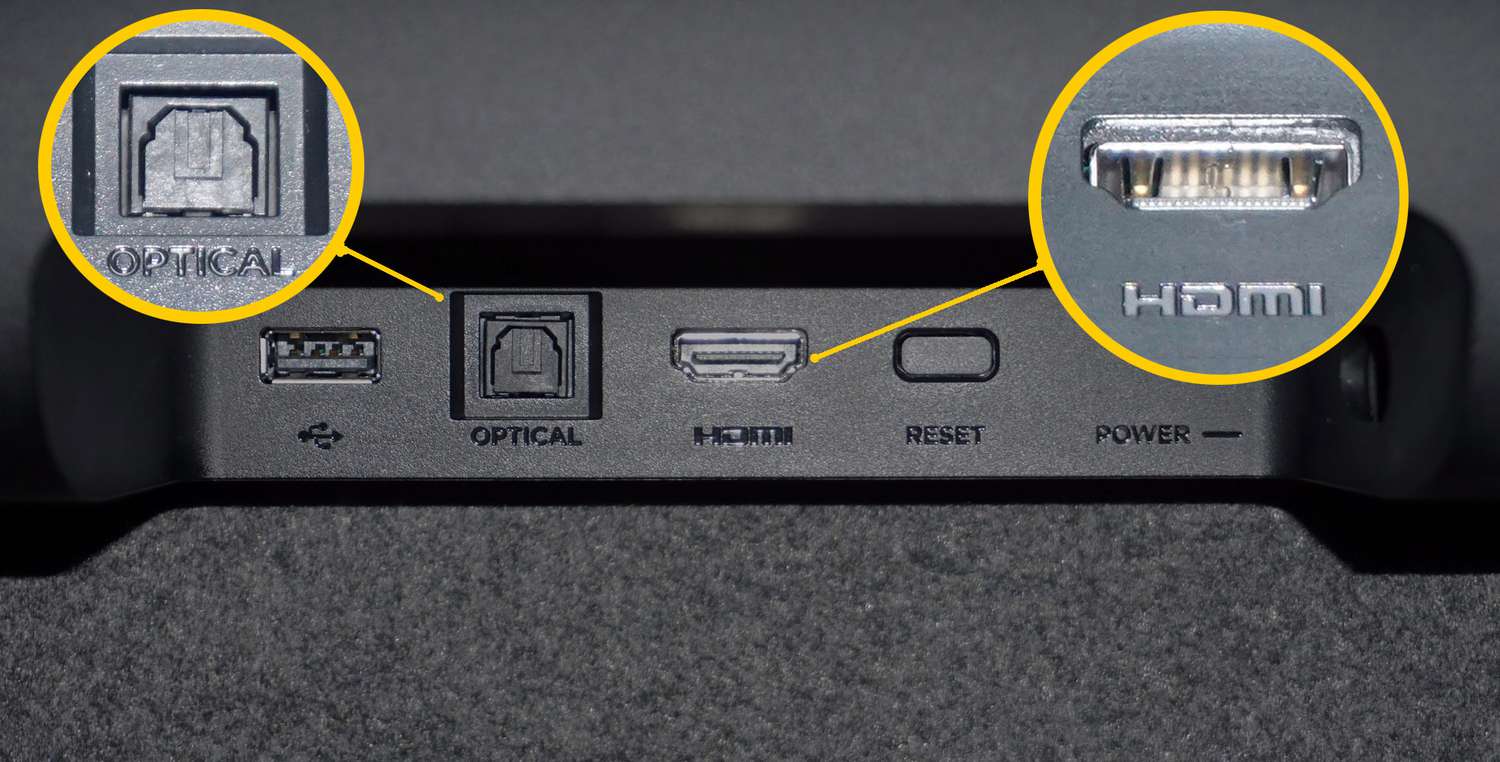
- Locate the optical audio in port on your soundbar: Refer to the user manual or inspect the back or side panel of your soundbar to find the optical audio in port. It is typically labeled as “Digital Audio In,” “Optical In,” or “TOSLINK In.”
- Insert the other end of the optical cable: Take the other end of the optical cable and gently insert it into the optical audio in port on your soundbar. Ensure that it fits securely.
- Tighten the connector: Once the cable is inserted, rotate the connector clockwise to secure it in place. Make sure it is firmly connected to avoid any audio interruptions.
- Switch on both devices: Power on both your TV and soundbar. Make sure the soundbar is set to the appropriate input source to receive the audio signal from the TV.
It’s important to note that some soundbars may have multiple input options, including HDMI and Bluetooth. Ensure that your soundbar is set to receive audio through the optical input source.
Once the optical cable is connected to both your TV and soundbar, you have completed the major steps of the setup process. However, to ensure optimal audio performance, there are a few additional steps you should take, including adjusting the TV settings and testing the connection.
Proceed to the next steps to fine-tune the setup and ensure you can enjoy the enhanced audio experience provided by your soundbar.
Step 5: Adjusting TV Settings
After connecting the optical cable to both your TV and soundbar, it’s important to adjust the TV settings to ensure proper audio output. Follow these steps to adjust the TV settings:
- Access the TV settings menu: Using the remote control, navigate to the settings menu of your TV. The exact process may vary depending on the brand and model of your TV.
- Locate the audio settings: Within the settings menu, look for the audio or sound settings. This is where you can make adjustments related to audio output.
- Select the audio output source: In the audio settings, find the option to select the audio output source. Choose the optical or digital audio output as the preferred option.
- Configure audio format and settings: Depending on your TV, you may have further options to configure the audio format and settings. Select the appropriate format, such as PCM or Dolby Digital, based on the capabilities of your soundbar.
- Make desired adjustments: If available, you can make adjustments to the audio settings, such as equalizer settings or surround sound options, to tailor the audio output to your preferences.
- Save and exit the settings menu: Once you have made the desired adjustments, save the settings and exit the menu.
It’s important to note that the exact steps and terminology for adjusting TV settings may vary depending on your TV’s brand and model. Refer to the user manual or seek assistance from the manufacturer’s website for specific instructions related to your TV.
By correctly adjusting the TV settings, you can ensure that the audio signals from your TV are properly transmitted through the optical cable to your soundbar, resulting in an optimal audio experience.
With the TV settings adjusted, you’re ready to move on to the final step: testing the connection to ensure everything is working smoothly.
Step 6: Test the Connection
After connecting the optical cable and adjusting the TV settings, it’s time to test the connection between your TV and soundbar. Follow these steps to ensure everything is working smoothly:
- Play audio from the TV: Turn on your TV and play any audio content, such as a TV show, movie, or music. Make sure the volume is audible and at a reasonable level.
- Listen for audio from the soundbar: As the audio plays from the TV, listen for the sound coming from your soundbar. If everything is connected properly, you should hear the audio playing through the soundbar instead of the TV’s built-in speakers.
- Check for audio synchronization: Pay attention to the audio synchronization between the video on the TV and the sound from the soundbar. Ensure that the audio is properly synced with the visuals on the screen. If there is any noticeable delay or out-of-sync audio, you may need to adjust the settings on the soundbar or TV to fix the issue.
- Test volume control: Use the TV remote or soundbar remote to adjust the volume. Verify that the volume control affects the sound output of the soundbar. If the volume doesn’t change or if it affects the TV speakers instead, you may need to revisit the TV settings and double-check the audio output source.
During the testing phase, make sure to listen for any distortions, buzzing sounds, or audio dropouts. If you encounter any issues, double-check all connections and settings, ensuring they are properly configured and secure.
If everything sounds good and the connection is working as expected, congratulations! You have successfully connected your soundbar to your TV using an optical cable.
If you encounter any difficulties or issues during the testing phase, consult the user manuals for your TV and soundbar or seek assistance from the manufacturer’s support resources.
Now that you have tested the connection and confirmed the audio is coming from the soundbar, sit back, relax, and enjoy an enhanced audio experience while watching your favorite movies, TV shows, or playing games.
Conclusion
Connecting a soundbar to your TV using an optical cable is a relatively straightforward process that can greatly enhance your audio experience. By following the step-by-step guide outlined in this article, you can enjoy immersive and high-quality sound while watching your favorite content.
Understanding the compatibility between your TV and soundbar, locating the optical audio out port on your TV, and properly connecting the optical cable are crucial initial steps. Adjusting the TV settings to ensure proper audio output and testing the connection help fine-tune the setup and ensure optimal performance.
Remember to check the compatibility between your TV and soundbar before starting the process to avoid any issues with the connection. Take your time to locate the optical audio out port on your TV and ensure a secure connection with the optical cable.
Additionally, adjusting the audio settings on your TV and thoroughly testing the connection will help you achieve the best audio experience possible. Listen for any distortions, ensure proper audio synchronization, and verify that volume control is working as intended.
By successfully connecting your soundbar to your TV using an optical cable, you can elevate the audio quality of your entertainment setup. Sit back, relax, and enjoy the immersive sound as you indulge in movies, TV shows, or gaming experiences.
Remember that each TV and soundbar may have specific requirements and settings, so always refer to the user manuals for specific instructions and troubleshooting steps. If you encounter any difficulties, consult the manufacturer’s support resources for assistance.
Now, go ahead and enjoy the enhanced audio experience that your soundbar brings to your TV setup!