Introduction
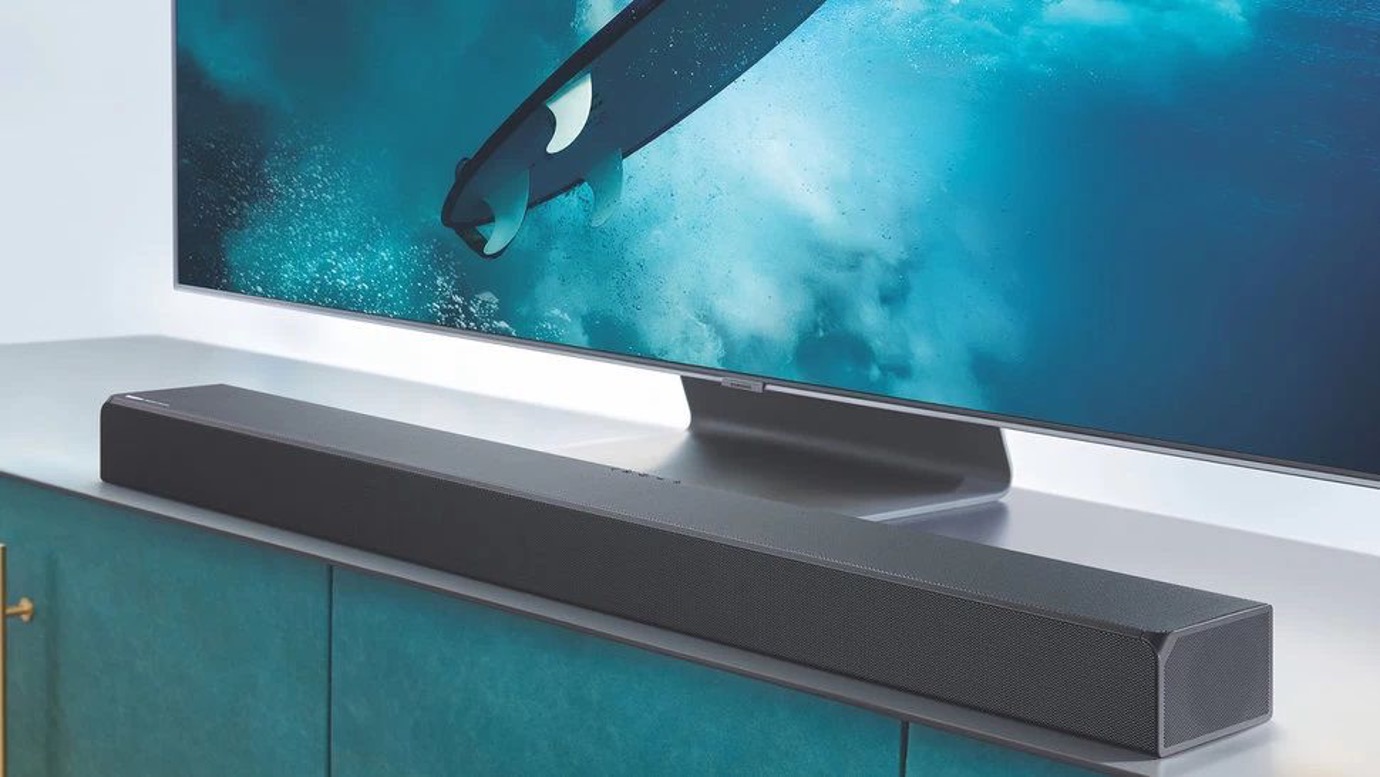
When it comes to enjoying a truly immersive home theatre experience, a soundbar can make all the difference. And if you own a Samsung TV, connecting it to a soundbar is a breeze. Whether you’re a movie buff, a gamer, or simply love to listen to music, having a soundbar can greatly enhance the audio quality and take your entertainment to the next level.
Samsung TVs are known for their superior picture quality, but sometimes the built-in speakers might not deliver the best audio experience. That’s where a soundbar comes in. It provides high-quality sound reproduction, better bass response, and a wider soundstage, making sure you don’t miss out on any of the subtle details or thrilling action.
If you’re ready to unleash the full potential of your Samsung TV by connecting it to a soundbar, you’ve come to the right place. In this guide, we will walk you through the steps to connect your Samsung TV to a soundbar, ensuring that you get the best audio experience possible.
Before we dive into the details, it’s important to note that the steps for connecting a soundbar to a Samsung TV may slightly vary depending on the model and year of manufacture. However, the basic principles remain the same, and we’ll provide you with the general instructions that should work for most Samsung TVs and soundbars.
So, without further ado, let’s get started with the simple and straightforward process of connecting your Samsung TV to a soundbar!
Step 1: Check Soundbar Compatibility
Before you begin the process of connecting your Samsung TV to a soundbar, it’s crucial to ensure that the soundbar and the TV are compatible with each other. Here are a few things to consider:
- Check the connectivity options: Look for the available audio output ports on your Samsung TV. The most common options include HDMI ARC (Audio Return Channel) and optical audio output. Make sure your soundbar has the corresponding input ports to match.
- Check the HDMI ARC support: If your TV and soundbar both have HDMI ARC, it’s recommended to use this connection method as it simplifies the setup and allows you to control the soundbar with your TV remote. HDMI ARC is usually labeled on the HDMI port of the TV.
- Ensure compatibility with your TV model: Some soundbars are specifically designed to pair seamlessly with certain Samsung TV models. Check the manufacturer’s website or the soundbar’s user manual to confirm compatibility with your TV model.
If your TV and soundbar are compatible, you can proceed with the following steps to connect them. If not, you may need to explore alternative connection methods such as using an optical cable or a Bluetooth connection.
Now that you have verified the compatibility between your Samsung TV and soundbar, it’s time to move on to the next step: setting up the soundbar.
Step 2: Set Up the Soundbar
Once you’ve confirmed the compatibility between your Samsung TV and soundbar, the next step is to set up the soundbar. Follow these steps to get your soundbar ready for the connection:
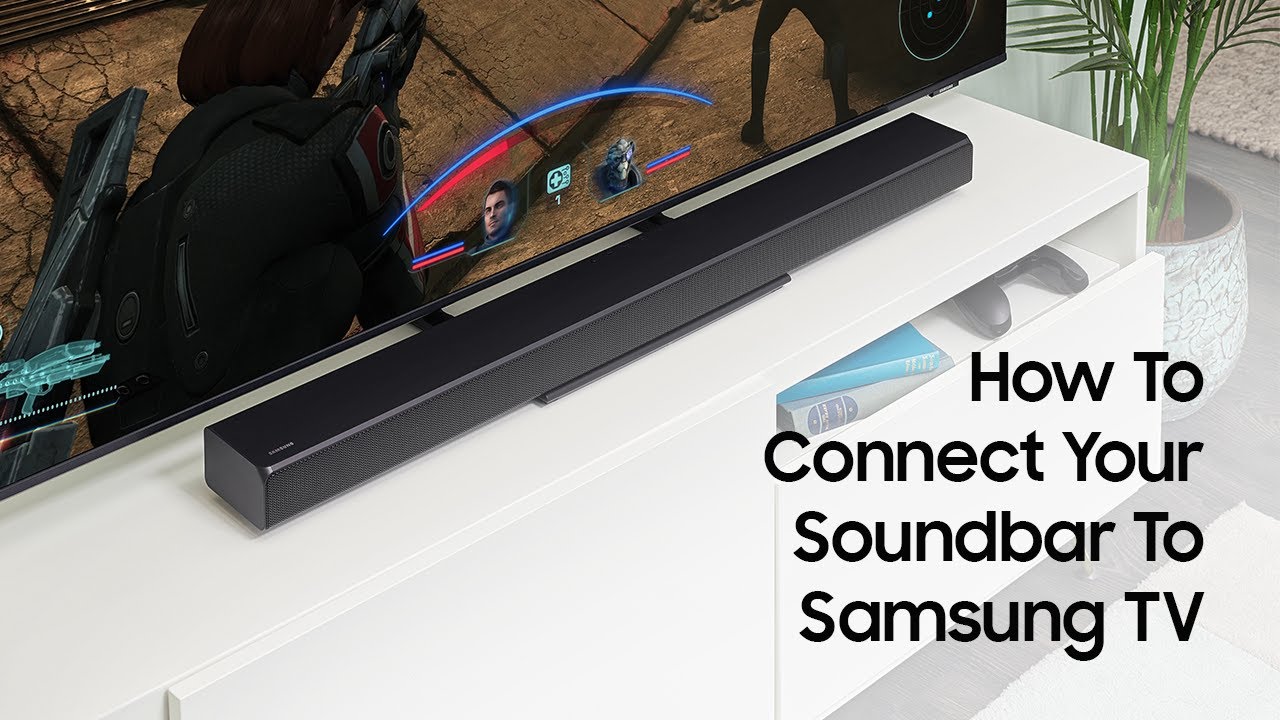
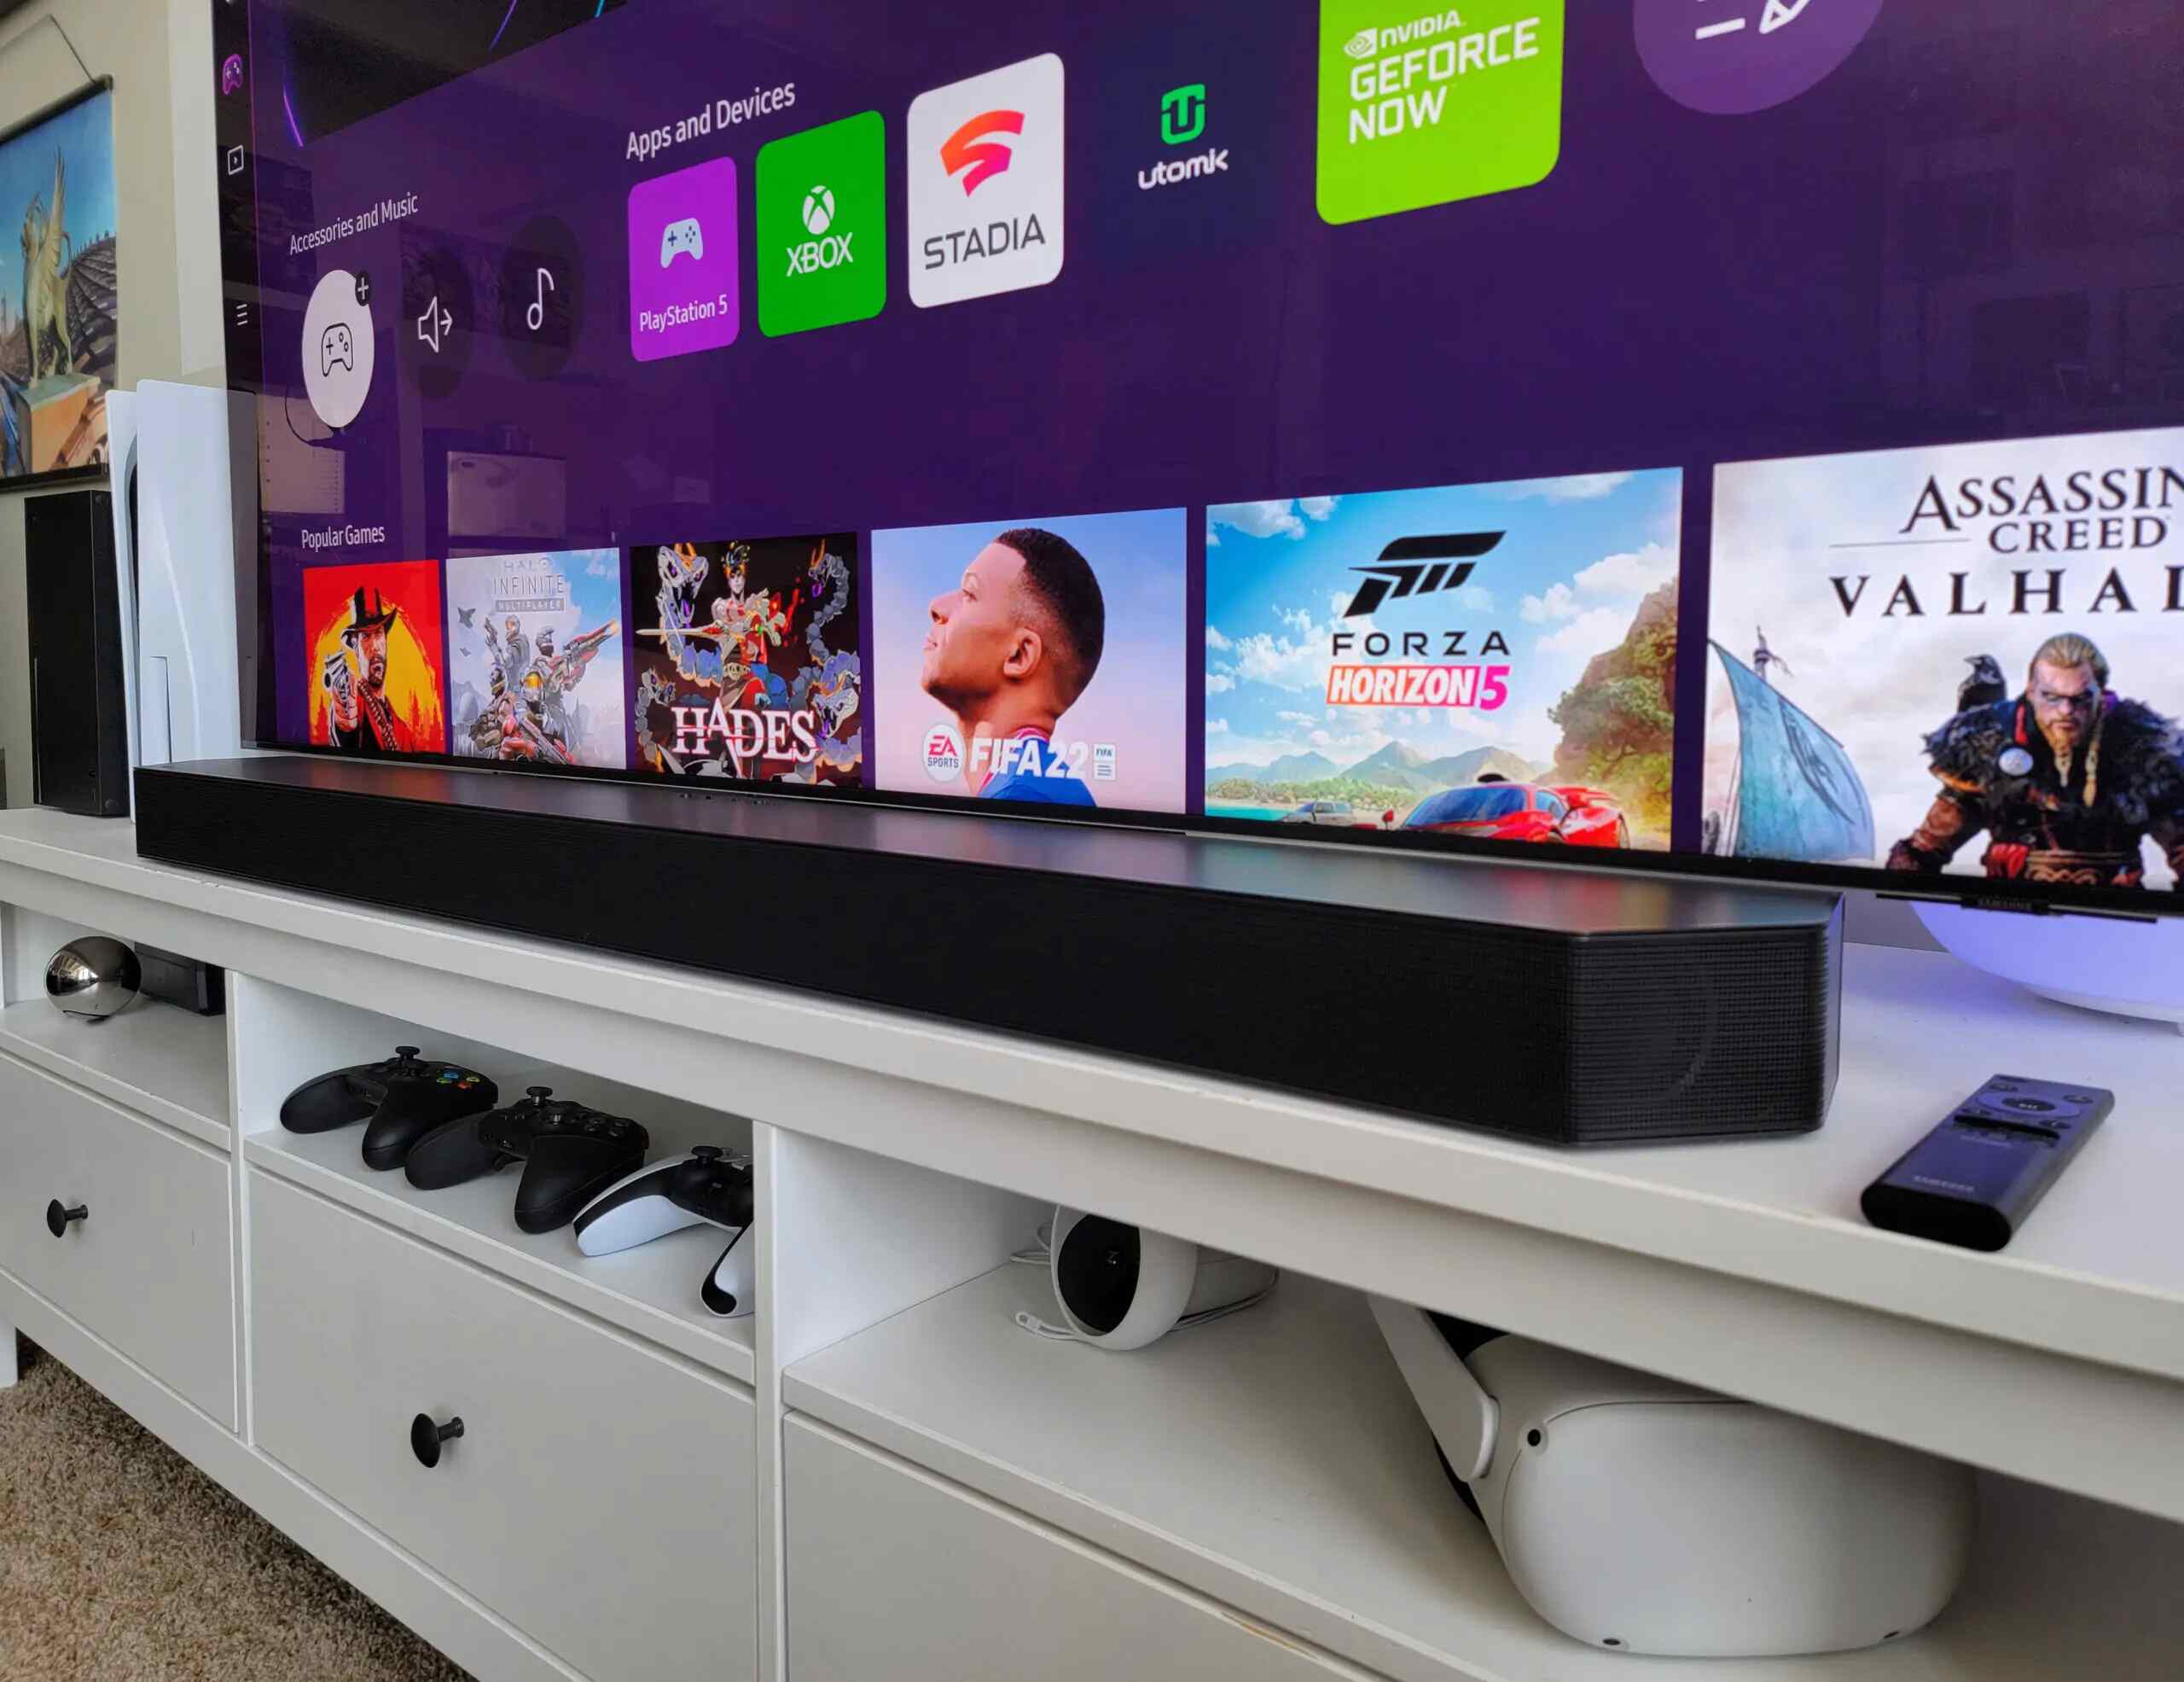
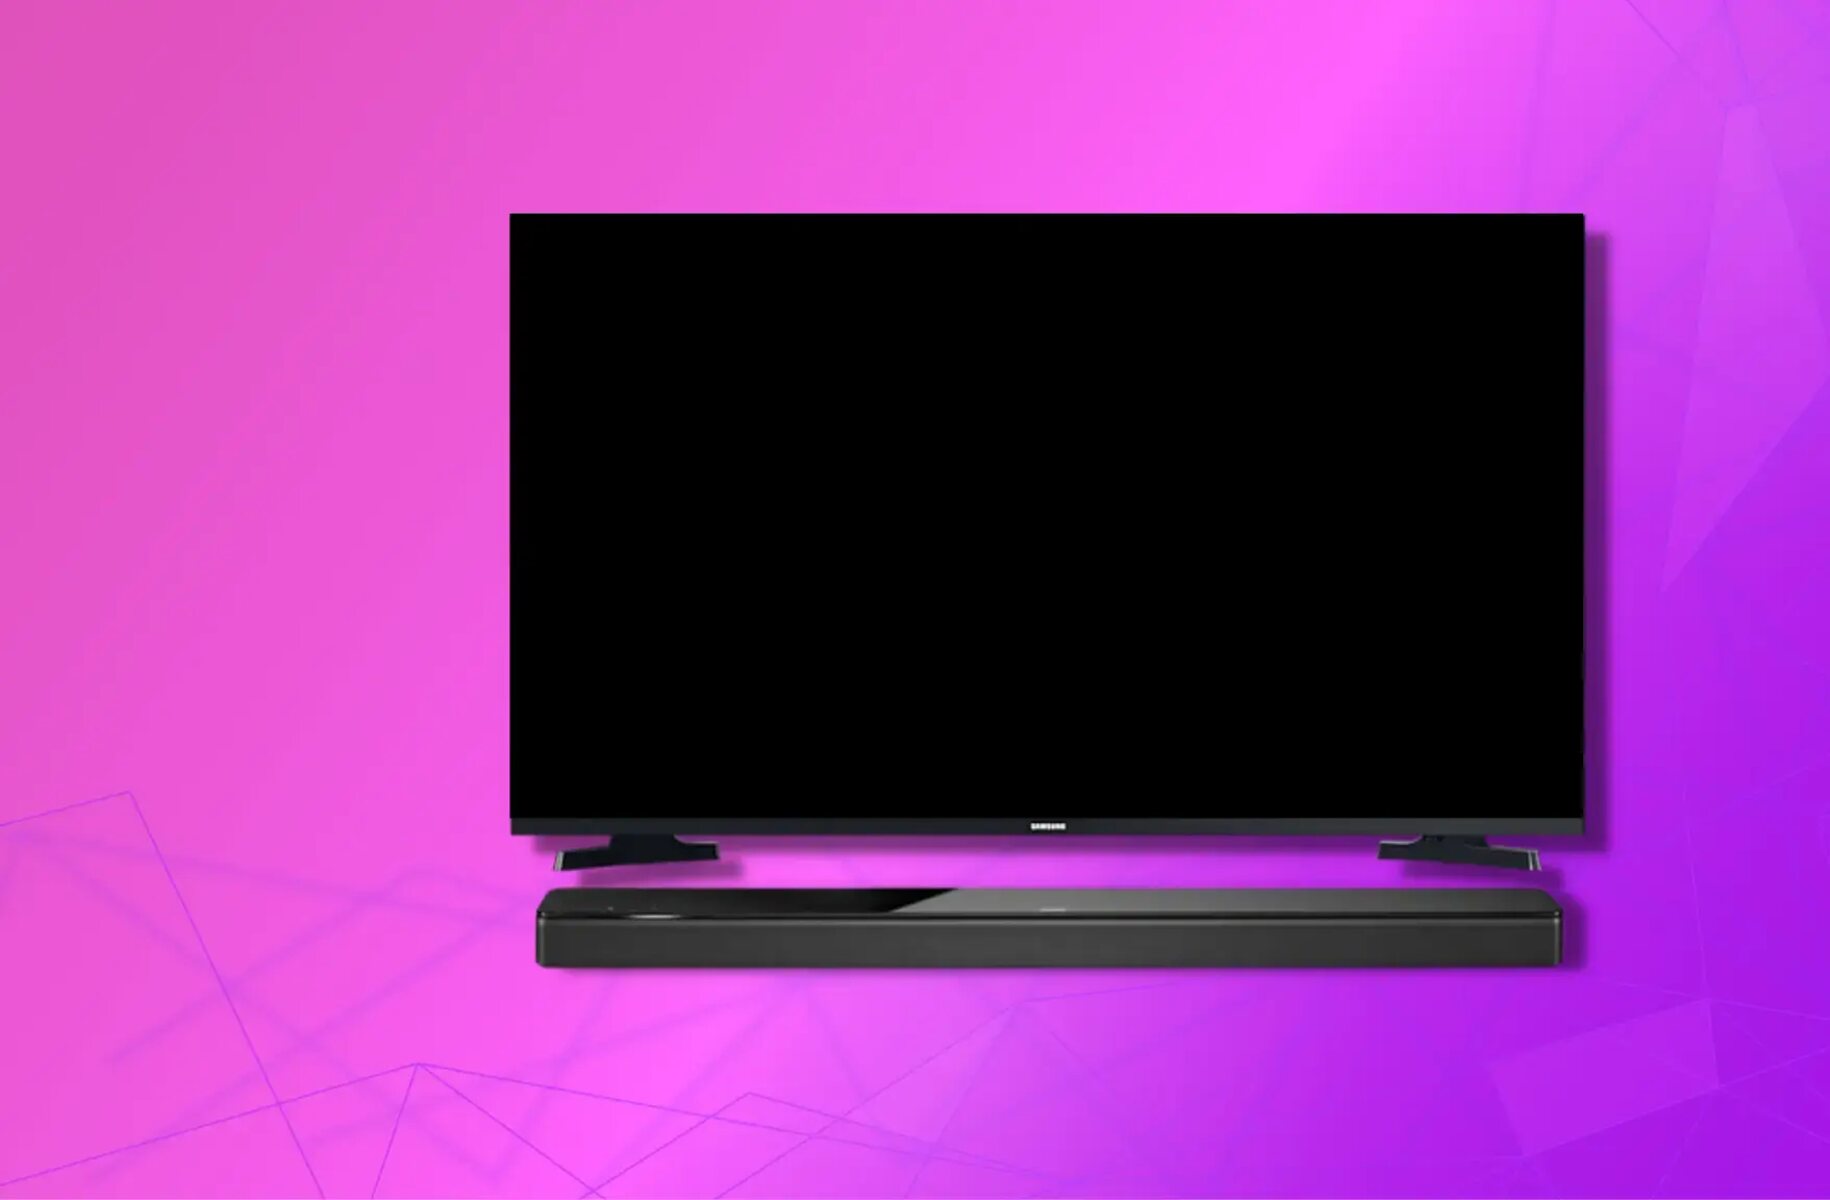
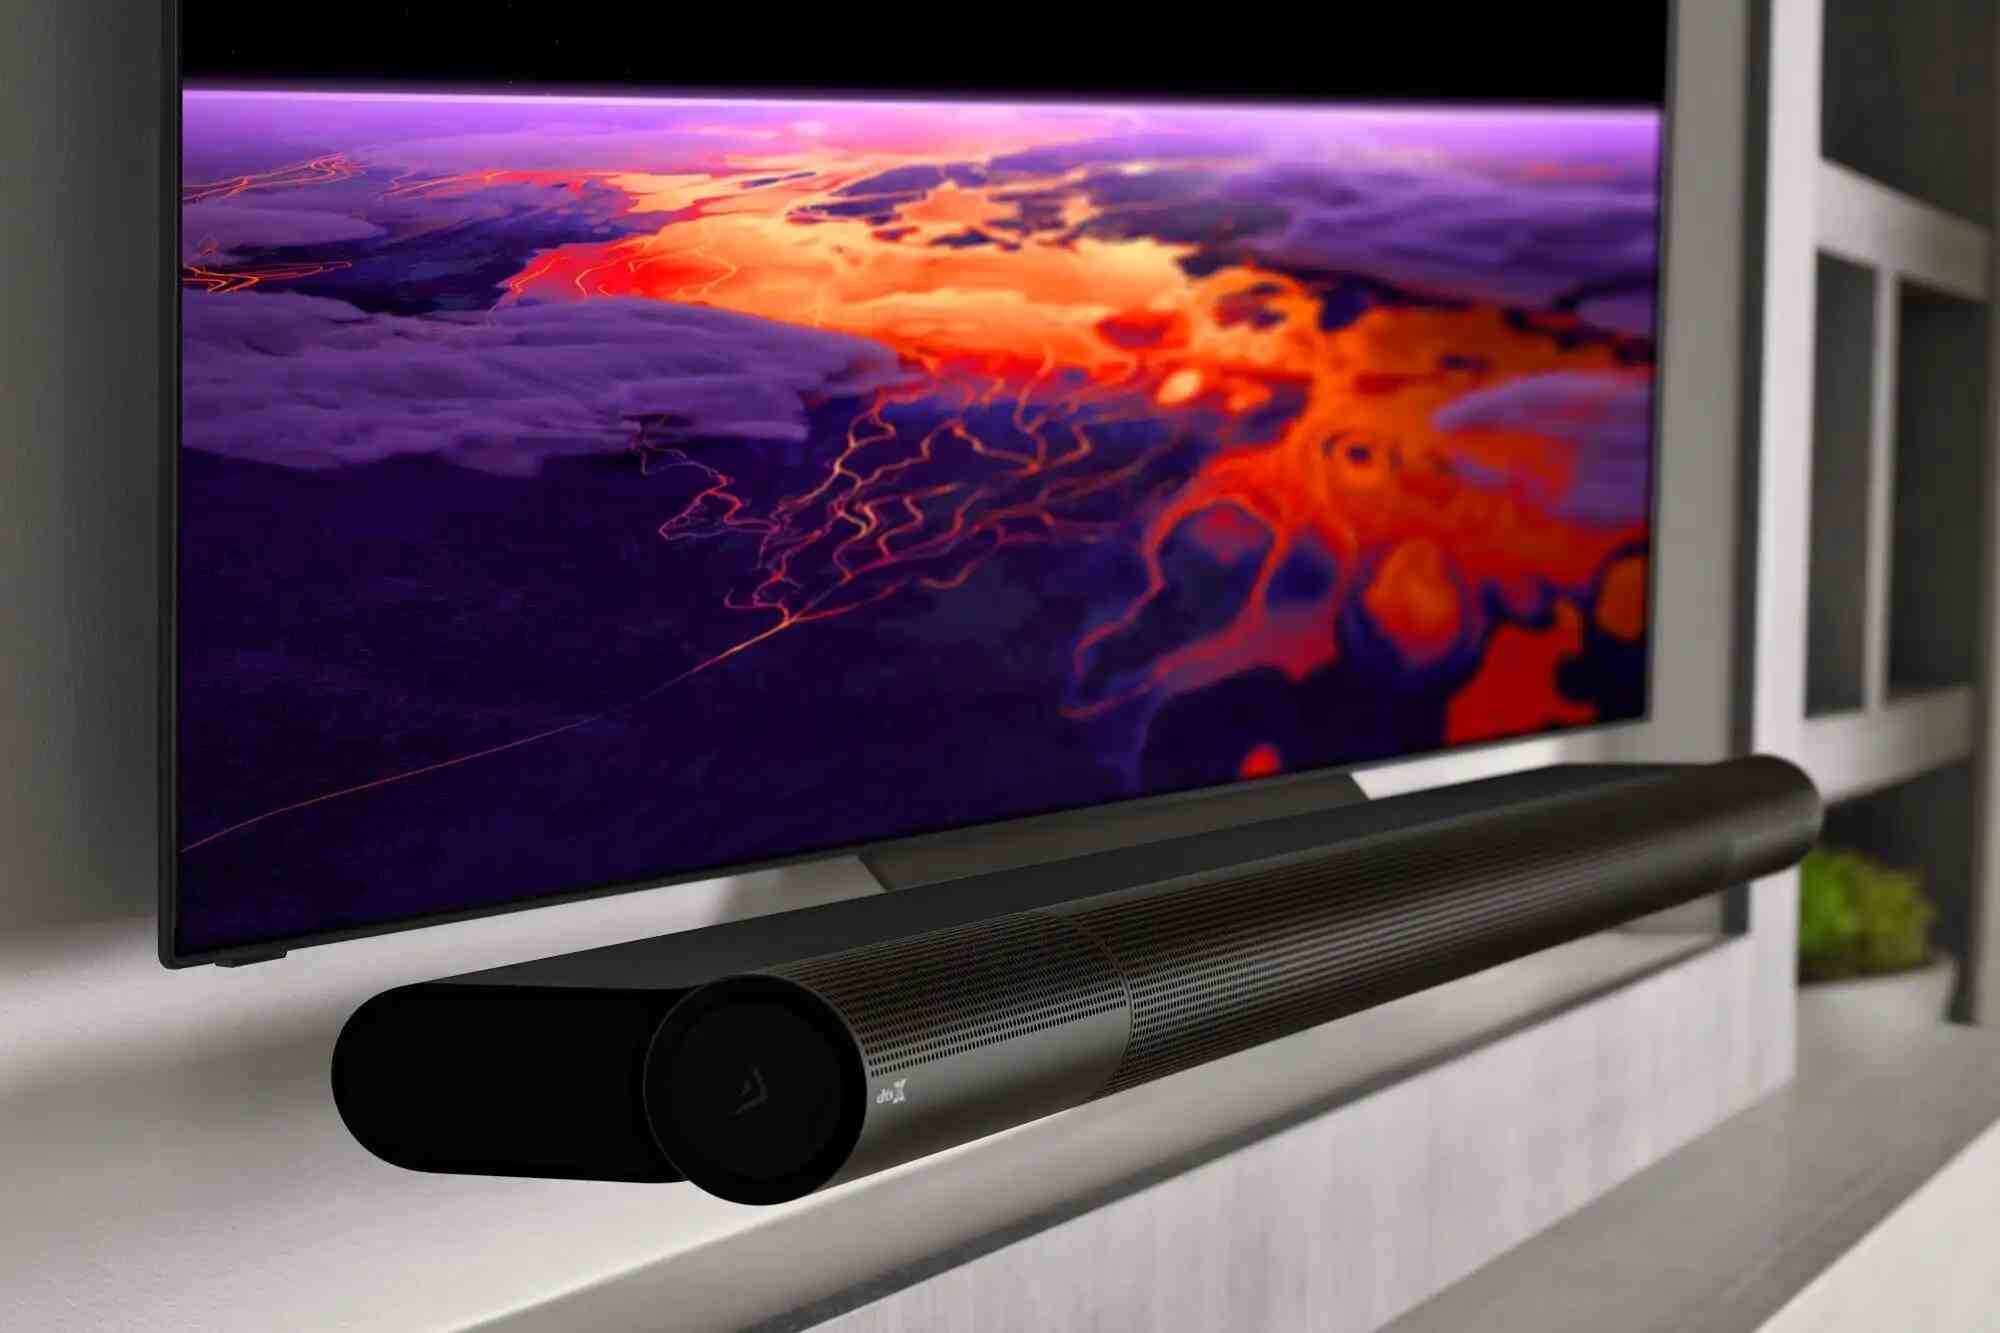
- Unbox and position the soundbar: Carefully unbox the soundbar and find a suitable spot for it. Ideally, the soundbar should be placed directly below or above the TV, centered with the screen, for the best audio dispersion.
- Connect the power cord: Plug one end of the power cord into the soundbar and the other end into an electrical outlet. Ensure that the power cord is securely connected.
- Power on the soundbar: Press the power button on the soundbar (or on the remote control) to turn it on. You may see some indicator lights or a display panel lighting up to indicate that the soundbar is powered on.
- Wireless soundbar setup (if applicable): If your soundbar supports a wireless connection, you’ll need to perform the setup process as outlined in the soundbar’s user manual. This typically involves connecting the soundbar to your home Wi-Fi network and using a mobile app to control and configure the settings.
- Wired soundbar setup: If your soundbar requires a wired connection, ensure that the necessary cables are securely connected to the appropriate ports on the soundbar. Refer to the soundbar’s user manual for specific instructions on the connectivity options.
- Set the soundbar to the desired audio input: If your soundbar has multiple input options (e.g., HDMI, optical, Bluetooth), select the audio input that you’ll be using to connect it to your Samsung TV. Most soundbars have an input selection button on the soundbar itself or on the remote control to switch between different inputs.
Once you have completed the setup process, your soundbar is now ready to be connected to your Samsung TV. In the next step, we will cover the different methods to connect the soundbar to the TV using HDMI or optical cable.
Step 3: Connect the Soundbar to the TV using HDMI
To establish a high-quality audio connection between your Samsung TV and soundbar, utilizing HDMI ARC (Audio Return Channel) is a popular and convenient option. Follow these steps to connect your soundbar to the TV using HDMI:
- Locate the HDMI ARC port: Examine the back of your Samsung TV to identify the HDMI ARC port. It is usually labeled as “HDMI ARC” or “ARC”. Make sure to use the HDMI port specifically designated for ARC, as other HDMI ports may not support the audio return channel function.
- Connect the HDMI cable: Take one end of the HDMI cable and insert it into the HDMI ARC port on the TV. Then, connect the other end into the HDMI ARC input on the soundbar.
- Enable HDMI ARC on the TV: Turn on your Samsung TV and access the settings menu. Navigate to the audio settings or sound settings section and look for the option to enable HDMI ARC. Enable this setting to activate the audio return channel function.
- Enable HDMI CEC (Consumer Electronics Control): It is recommended to enable HDMI CEC on both your TV and soundbar. HDMI CEC allows you to control multiple devices using a single remote control. Check your TV and soundbar’s user manuals for instructions on how to enable HDMI CEC, as the process may vary depending on the models.
- Test the connection: After making the HDMI ARC connection and enabling the appropriate settings on your TV and soundbar, you should now hear the soundbar’s audio output when you play content on your Samsung TV. You can also test the HDMI ARC functionality by adjusting the volume using your TV remote to see if it controls the soundbar’s volume.
Connecting your Samsung TV to a soundbar using HDMI ARC simplifies the setup process and allows for audio control through a single remote. However, if your TV does not support HDMI ARC or if you prefer an alternative connection method, you can connect the soundbar to the TV using an optical cable, which we’ll cover in the next step.
Step 4: Connect the Soundbar to the TV using Optical Cable
If your Samsung TV does not have an HDMI ARC port or if you prefer to use an alternative connection method, you can connect your soundbar to the TV using an optical cable. Here’s how:
- Locate the optical audio output: Look for the optical audio output port on the back of your Samsung TV. It is usually labeled as “OPTICAL” or “S/PDIF”. Take note of its location for the next step.
- Connect the optical cable: Take one end of the optical cable and insert it into the optical audio output port on the TV. Then, connect the other end into the corresponding port on the soundbar.
- Select the optical input on the soundbar: On the soundbar or its remote control, select the optical input option. This allows the soundbar to receive audio signals from the TV through the optical cable.
- Disable TV speakers: To ensure that the audio is properly routed to the soundbar, you may need to disable the TV’s built-in speakers. Refer to your TV’s user manual to learn how to disable the speakers and redirect the audio output to the soundbar.
- Test the connection: Play a video or audio content on your Samsung TV and check if the sound is coming through the soundbar. Adjust the volume using the soundbar’s remote control to ensure that the audio is properly controlled.
The optical connection provides a reliable and efficient option for connecting your soundbar to the TV. Though it may not offer the same level of convenience as HDMI ARC in terms of controlling the soundbar with the TV remote, it still delivers high-quality audio performance.
Now that you have successfully connected your soundbar to the TV using either HDMI ARC or an optical cable, it’s time to move on to the next step: adjusting the audio settings to optimize the sound output.
Step 5: Adjust the Audio Settings
After connecting the soundbar to your Samsung TV, it’s important to fine-tune the audio settings to ensure the best sound quality. Here are some adjustments you can make:
- Select the sound mode: Most soundbars offer different sound modes to optimize the audio output for specific content, such as movies, music, or dialogue. Experiment with different sound modes to find the one that suits your preferences and enhances your viewing experience.
- Adjust the equalizer settings: Many soundbars allow you to customize the sound by adjusting the equalizer settings. You can tweak the bass, treble, and other frequency levels to achieve the desired sound balance. Refer to your soundbar’s user manual for instructions on accessing and adjusting the equalizer settings.
- Activate virtual surround sound: If your soundbar supports virtual surround sound technology, enable this feature to create a more immersive audio experience. It simulates a surround sound effect, adding depth and spaciousness to the soundstage.
- Enable dialogue enhancement: To improve the clarity of dialogue, some soundbars come with a dialogue enhancement feature. This can be particularly helpful when watching movies or TV shows where dialogue is crucial.
- Adjust the volume synchronization: In some cases, you may notice a delay between the audio and video when using a soundbar. Look for the audio delay or lip-sync settings in your TV’s audio menu and adjust it until the audio syncs perfectly with the video.
Remember to explore the advanced audio settings of both your TV and soundbar to take full advantage of the available sound-enhancing features. Additionally, feel free to experiment with different settings and fine-tune them according to your personal preferences and the type of content you are watching.
Now that you have adjusted the audio settings, it’s time for the final step: testing the soundbar to ensure it is functioning properly.
Step 6: Test the Soundbar
After connecting and configuring your soundbar, it’s crucial to test its functionality to ensure that it is working as expected. Here’s how you can test the soundbar:
- Play different types of audio: Test the soundbar by playing various types of audio content, such as movies, music, or TV shows. This will help you evaluate the sound quality and determine if the soundbar is delivering an enhanced audio experience.
- Check channel balance: Verify that the sound is properly balanced across all channels. This is especially important for soundbars with multiple speakers, as each should contribute to the overall audio experience without any distortion or imbalance.
- Adjust volume levels: Test the volume levels by gradually increasing and decreasing the volume. Make sure you’re able to achieve both comfortable listening levels and louder volumes without any distortion or unwanted noise.
- Verify audio synchronization: Pay attention to the synchronization between the audio and video. Ensure that the dialogue, sound effects, and music are in perfect sync with the on-screen action.
- Test remote control compatibility: Experiment with using your TV’s remote control to adjust the soundbar’s volume and control other settings. Verify that the remote control commands are successfully transmitted to the soundbar and that you can conveniently operate it without any issues.
- Consider additional features: If your soundbar comes with extra features such as Bluetooth connectivity, Wi-Fi streaming, or voice control, test these functions as well to ensure they are functioning correctly.
By thoroughly testing your soundbar, you can identify any potential issues early on and make necessary adjustments. If you encounter any problems, refer to the user manual or contact the manufacturer’s customer support for troubleshooting assistance.
With the successful completion of these steps, you have now connected, configured, and tested your Samsung TV with a soundbar, allowing you to enjoy a superior audio experience while watching your favorite movies, shows, or sporting events.
Conclusion
Congratulations! You have successfully connected your Samsung TV to a soundbar, enhancing your entertainment experience with immersive and high-quality audio. By following the steps outlined in this guide, you ensured compatibility between your TV and soundbar, set up the soundbar correctly, and established the connection using either HDMI ARC or an optical cable.
Remember to adjust the audio settings to optimize the sound output, taking advantage of features such as different sound modes, equalizer settings, and virtual surround sound. Test the functionality of your soundbar by playing various types of audio content and verifying the channel balance, audio synchronization, and remote control compatibility.
If you encounter any issues during the connection or setup process, consult the user manuals for your Samsung TV and soundbar, or reach out to the manufacturer’s customer support for assistance.
Now that your Samsung TV and soundbar are seamlessly connected, sit back, relax, and enjoy a cinema-like audio experience right in the comfort of your own home. Whether you’re engrossed in a gripping movie, grooving to your favorite tunes, or deeply engaged in a gaming session, the enhanced audio from your soundbar will elevate your entertainment journey to new heights.
Experience the power of crystal-clear sound, immersive surround effects, and rich bass that will transport you into the heart of the action. Get ready to rediscover your favorite movies, shows, and music with a sound quality that truly brings them to life.
Now, grab some popcorn, find your favorite spot on the couch, and immerse yourself in the captivating audio experience provided by your Samsung TV and soundbar duo. Enjoy!


