Introduction
Welcome to the world of soundbars and microphones! If you are looking to enhance your audio experience and take your entertainment or professional presentations to the next level, connecting a microphone to a soundbar can provide you with the perfect solution. Whether you want to belt out your favorite tunes karaoke-style or deliver a powerful speech with crystal-clear audio, this guide will help you navigate the process and get you ready to connect a microphone to your soundbar.
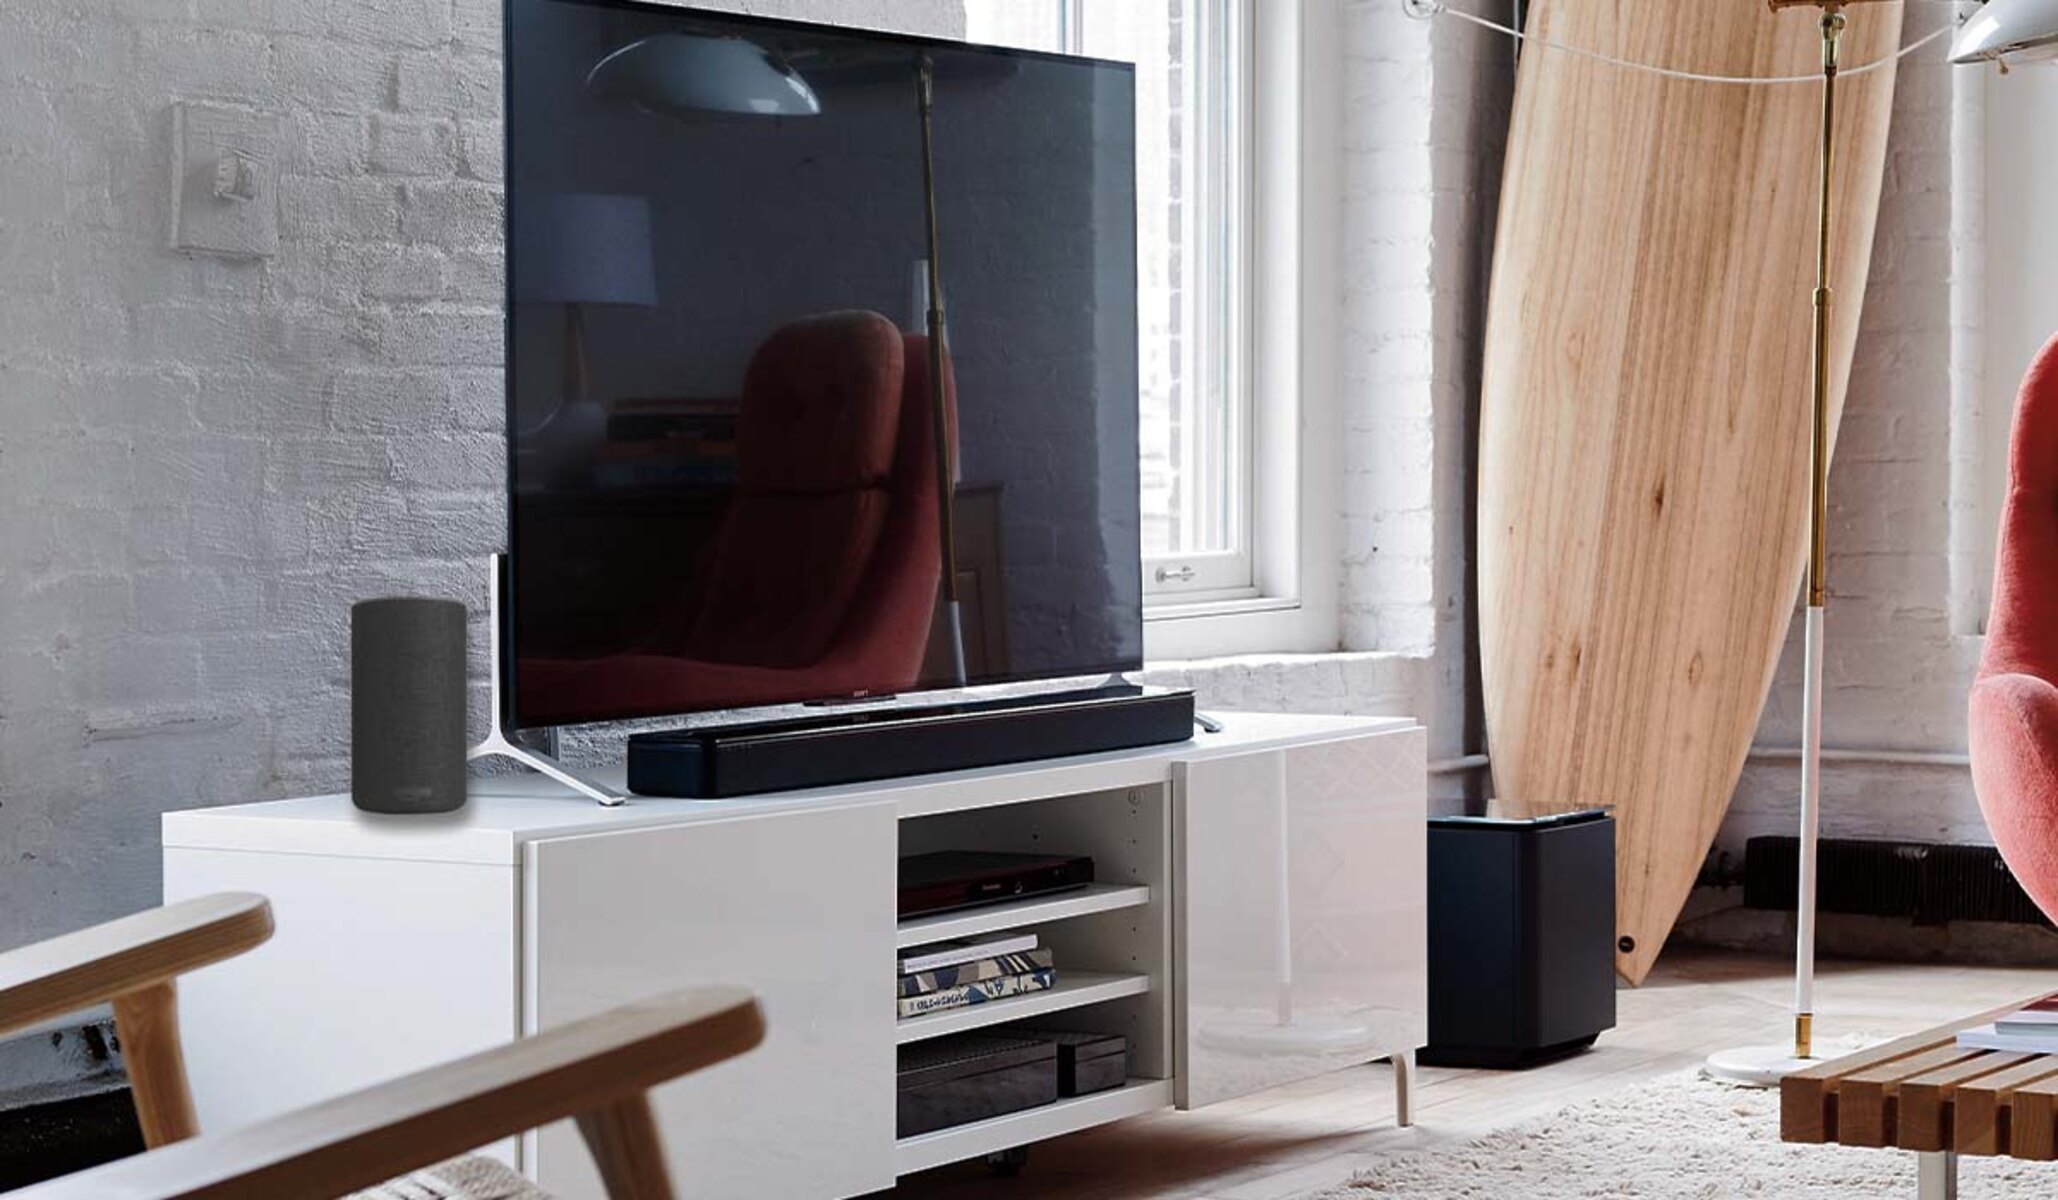
Soundbars have become increasingly popular in recent years due to their sleek design, space-saving capabilities, and impressive sound quality. These slim, elongated speaker systems are specifically designed to enhance audio output from TVs, computers, or audio devices. With their built-in speakers and amplifiers, soundbars can produce immersive sound that greatly improves the overall audio experience for movies, music, and other multimedia content.
On the other hand, microphones are essential for capturing and amplifying audio. Whether you are a professional public speaker, vocalist, or just someone who enjoys singing your heart out, connecting a microphone to a soundbar allows you to take advantage of its superior audio quality and amplification capabilities.
In this comprehensive guide, we will delve into the different types of soundbars and microphones, discuss their compatibility, and provide step-by-step instructions on how to connect both wired and wireless microphones to your soundbar. We will also explore how to adjust the sound settings to optimize the microphone input and provide troubleshooting tips for any issues you may encounter along the way.
Get ready to elevate your audio game as we dive into the world of connecting microphones to soundbars. Let’s explore the possibilities and make your audio experience truly remarkable!
Understanding Soundbars and Microphones
Before we jump into the process of connecting a microphone to a soundbar, let’s first understand the basics of soundbars and microphones.
A soundbar is a slim and compact speaker system designed to enhance audio output from various devices, such as televisions, computers, or even mobile devices. Unlike traditional speakers that take up a significant amount of space, soundbars are sleek and can easily be mounted on a wall or placed underneath your television. They typically consist of multiple speakers and amplifiers that work together to produce high-quality audio.
The main advantage of a soundbar is its ability to create a virtual surround sound effect, providing an immersive audio experience without the need for additional speakers placed around the room. This makes it a popular choice for home theaters or simple setups where space is limited.
On the other hand, a microphone is a device used to capture sound and convert it into an electrical signal. Microphones are commonly used in various scenarios, from live performances and public speaking engagements to recording studios and video conferences. They come in different types, including dynamic microphones, condenser microphones, and lavalier microphones, each with its own unique characteristics and purposes.
Microphones are important for amplifying sound and ensuring clear audio reproduction. They allow you to be heard clearly, whether you are singing, presenting, or engaging in any type of audio recording. By connecting a microphone to a soundbar, you can take advantage of the soundbar’s superior audio capabilities and achieve professional-grade audio quality.
Understanding the components and functions of soundbars and microphones is crucial before attempting to connect them. By having a grasp of how these devices work, you will be better equipped to troubleshoot any potential issues and optimize your audio setup.
In the next sections, we will explore the different types of soundbars and microphones, their compatibility with each other, and provide step-by-step instructions on how to connect them. So, let’s delve into the world of soundbars and microphones and unlock the full potential of your audio experience!
Types of Soundbars and Microphones
When it comes to soundbars, there are several different types available in the market. Understanding these variations will help you choose the right one for your specific audio needs.
1. Single Speaker Soundbar: This is the most basic type of soundbar, consisting of a single speaker unit. While these soundbars provide an improvement in audio quality compared to built-in TV speakers, they typically lack the immersive surround sound experience of more advanced models.
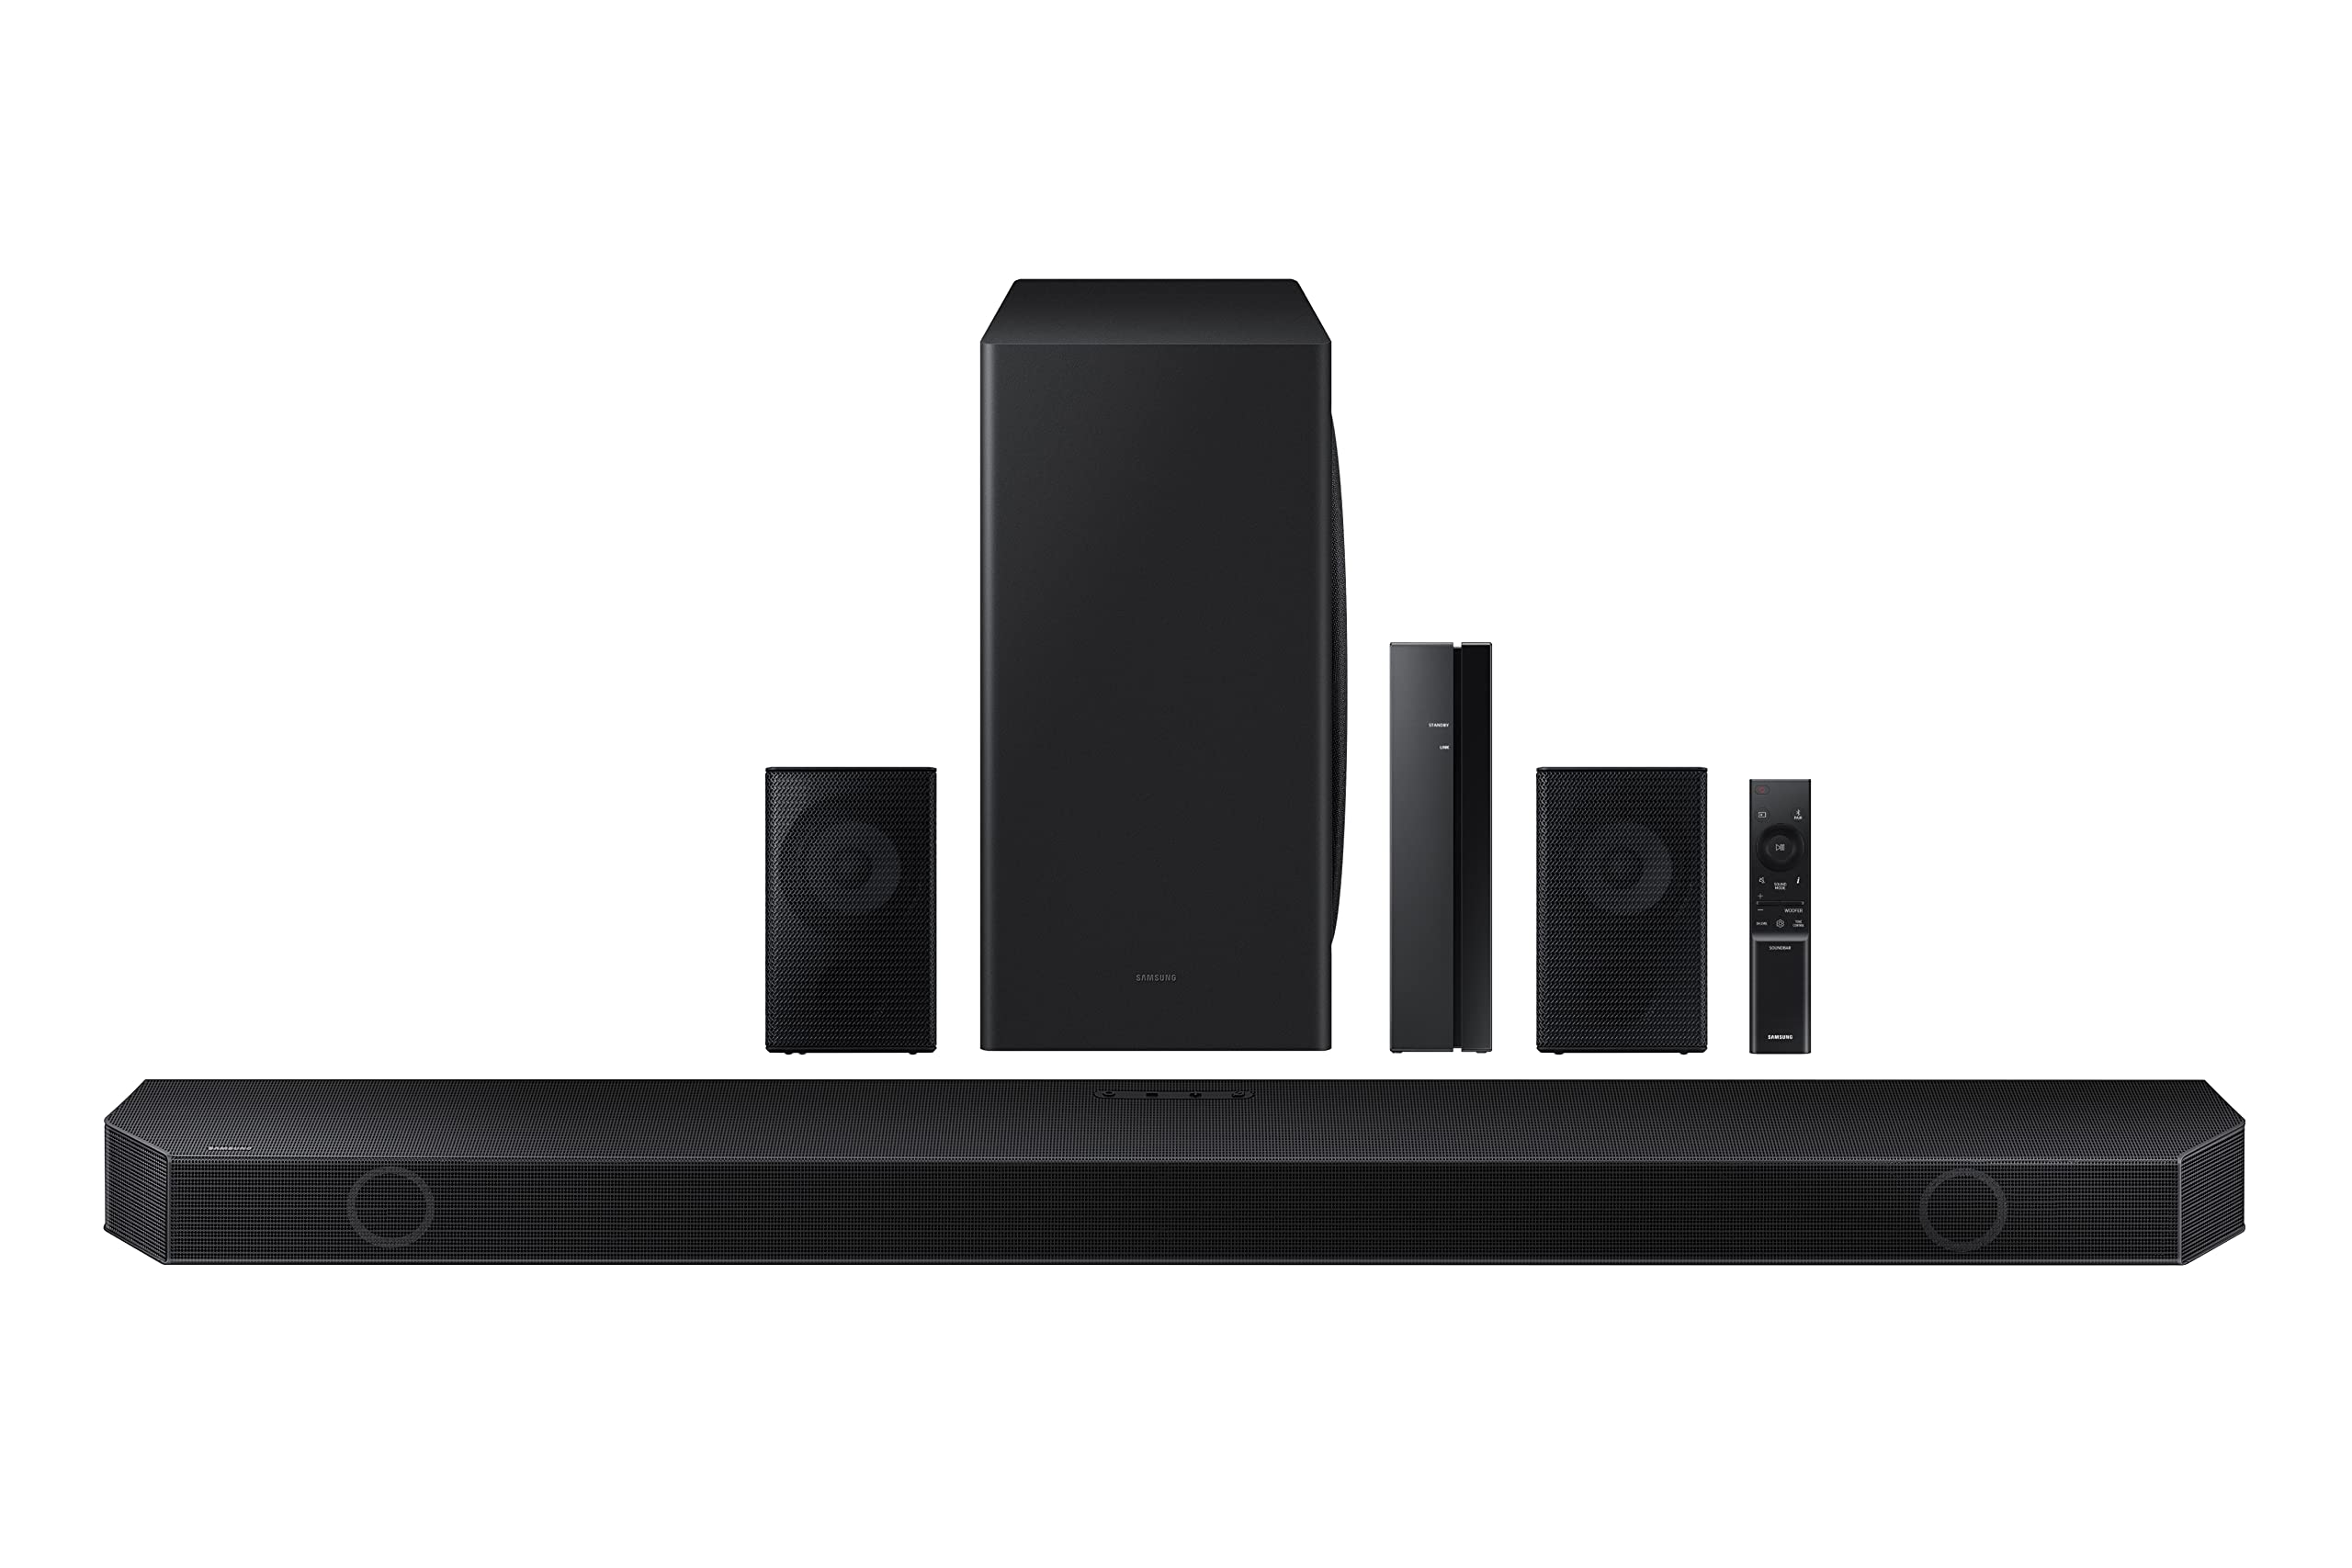
2. Multi-Channel Soundbar: These soundbars utilize multiple speakers and amplifiers to deliver a more immersive audio experience. They can reproduce surround sound effects and create a wider soundstage. Some models even come with separate subwoofers for enhanced bass response.
3. Soundbar with Built-in Subwoofer: This type of soundbar incorporates a subwoofer within the same unit, eliminating the need for a separate subwoofer. These soundbars offer powerful bass performance without the additional clutter of an external subwoofer.
4. Soundbar with Dolby Atmos: Dolby Atmos is an advanced audio technology that adds an extra dimension to the sound experience by creating a three-dimensional audio environment. Soundbars with Dolby Atmos capability have upward-firing speakers to deliver overhead sound effects, providing a truly immersive audio experience.
Just like soundbars, microphones also come in different types, each suited for specific applications:
1. Dynamic Microphones: These microphones are sturdy and durable, making them ideal for live performances and outdoor use. They can handle high sound pressure levels and are less sensitive to ambient noise, making them suitable for stage performances and recording loud instruments.
2. Condenser Microphones: Condenser microphones are more sensitive and accurate in capturing sound. They are commonly used in studio recordings, podcasts, and professional vocal performances. They require an external power source, such as batteries or phantom power, to operate.
3. Lavalier Microphones: Lavalier microphones, also known as lapel microphones, are small and portable. They are commonly used in presentations, interviews, and video recordings where the microphone needs to be discreetly attached to the speaker’s clothing.
Understanding the different types of soundbars and microphones will help you make informed decisions when selecting the right combination for your specific needs. In the following sections, we will explore the compatibility of microphones with soundbars and guide you through the process of connecting them.
Compatibility of Microphones with Soundbars
Before connecting a microphone to your soundbar, it’s important to ensure compatibility between the two devices. While most soundbars have a designated audio input for connecting external audio sources, not all soundbars support microphone input. Therefore, it’s crucial to check the specifications of your soundbar to determine if it has a microphone input or if it can support microphone connectivity through other methods.
First, look for a dedicated microphone input on the soundbar. This is typically denoted by an icon that resembles a microphone or a labeled “MIC” input. If your soundbar has this input, it means it is designed to accept microphone signals directly.
If your soundbar doesn’t have a dedicated microphone input, check if it has alternative inputs such as an auxiliary (AUX) or line-in port. In this case, you can connect the microphone to the soundbar using an appropriate audio adapter or cable. Make sure to select a cable that matches the output of your microphone (such as XLR, 3.5mm, or 6.35mm) and the input of your soundbar.
Another factor to consider is whether your microphone requires phantom power. Condenser microphones, in particular, require phantom power to operate. In such cases, you need to ensure that the soundbar can provide phantom power through one of its inputs or that you have an external power source, such as an audio interface or mixer, to supply phantom power to the microphone.
Additionally, it’s essential to consider the microphone sensitivity and gain control of the soundbar. Microphones have different sensitivity levels, and the soundbar should be able to adjust the microphone input sensitivity accordingly. Some soundbars have built-in gain control that allows you to increase or decrease the input volume of the microphone. Adjusting this parameter can prevent distortion or low volume issues when using a microphone with your soundbar.
Lastly, take note of any other specific requirements or recommendations mentioned in the user manual of your soundbar and microphone. The manufacturer’s instructions can provide additional insight into the compatibility and recommended settings for optimal microphone performance with your soundbar.
By ensuring compatibility between your microphone and soundbar, you can eliminate potential connection issues and ensure a seamless audio experience. In the next sections, we will provide step-by-step instructions on how to connect both wired and wireless microphones to your soundbar, allowing you to enjoy enhanced audio performance for a variety of applications.
Connecting a Wired Microphone to a Soundbar
If you have a wired microphone and want to connect it to your soundbar, follow these steps:
- Check the available inputs on your soundbar: Look for a dedicated microphone input or an auxiliary (AUX) or line-in port that can be used for connecting external audio sources.
- Choose the appropriate cable: Depending on the output of your microphone, select the appropriate cable to connect it to the soundbar. Common cable options include XLR, 3.5mm, or 6.35mm connectors. Ensure that the cable is long enough to reach from the microphone to the soundbar.
- Plug in the microphone: Connect one end of the cable to the microphone’s output and the other end to the soundbar’s microphone input or auxiliary port.
- Adjust microphone sensitivity: If your soundbar has adjustable microphone sensitivity or gain control, set it to an appropriate level that ensures clear audio without distortion. Consult the soundbar’s user manual for instructions on adjusting the microphone settings.
- Test the microphone: Once the microphone is connected, perform a quick test to ensure the soundbar is picking up the audio signal properly. Speak or sing into the microphone and check if the sound is being amplified through the soundbar’s speakers.
- Make further adjustments if necessary: If you encounter any issues, such as low volume or distortion, try adjusting the microphone sensitivity or gain control on the soundbar. You may also need to adjust the microphone’s volume or settings if available.
It’s important to note that some soundbars may have specific requirements or limitations when it comes to connecting a microphone. Refer to the user manual or manufacturer’s instructions for any additional steps or recommendations specific to your soundbar model.
By following these steps, you can successfully connect a wired microphone to your soundbar and enjoy amplified audio for your voice, vocals, or presentations. In the next section, we will explore the process of connecting a wireless microphone to a soundbar, providing you with even more flexibility and convenience for your audio setup.
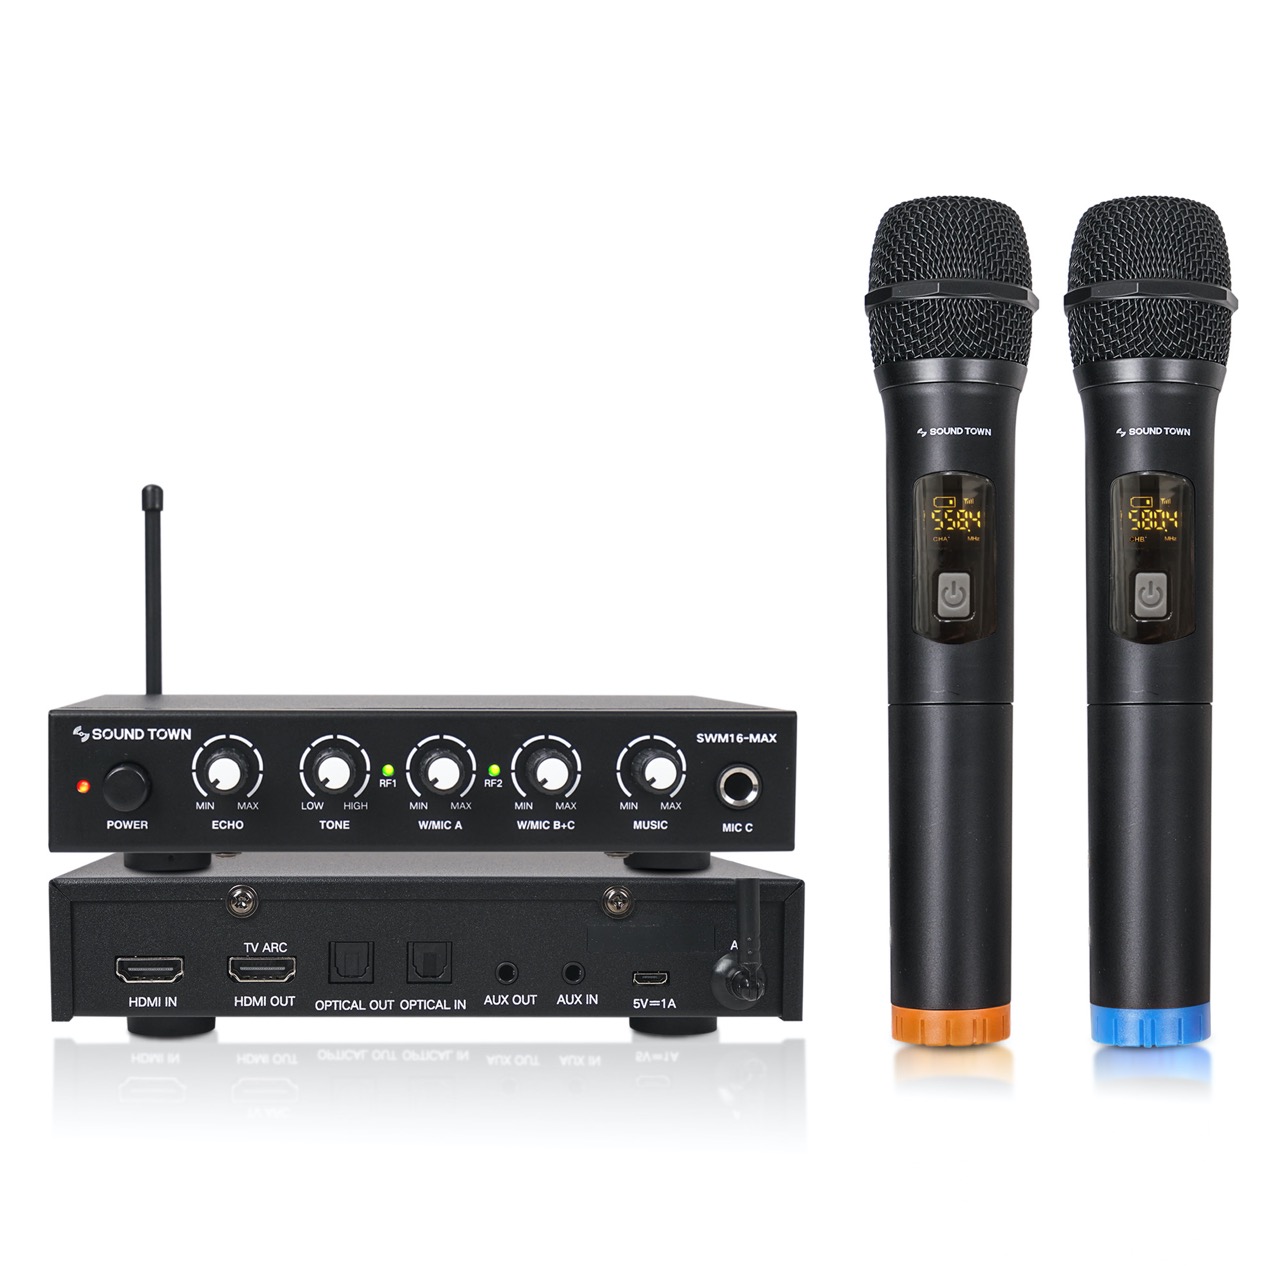
Connecting a Wireless Microphone to a Soundbar
If you have a wireless microphone and want to connect it to your soundbar, follow these steps:
- Ensure compatibility: Check if your soundbar has Bluetooth capabilities or supports wireless microphone connectivity. If your soundbar does not have built-in Bluetooth, you may need to use a separate Bluetooth adapter or receiver that is compatible with your soundbar.
- Prepare the wireless microphone: Make sure your wireless microphone has fresh batteries or is fully charged. Refer to the microphone’s user manual for instructions on how to pair it with a Bluetooth device.
- Put the soundbar in pairing mode: Activate the Bluetooth pairing mode on your soundbar. This process varies depending on the soundbar model but typically involves pressing a dedicated Bluetooth pairing button or accessing the Bluetooth settings menu.
- Pair the microphone and soundbar: Once the soundbar is in pairing mode, initiate the pairing process on your wireless microphone. This usually involves holding down a specific button or following the instructions provided in the microphone’s user manual.
- Confirm the successful pairing: After the pairing process, your wireless microphone should be successfully connected to the soundbar. Check the soundbar’s display or LED indicators to verify the connection status. Some soundbars may also provide audio confirmation or a pairing notification sound when the connection is established.
- Test the microphone: Speak or sing into the wireless microphone and check if the sound is being transmitted wirelessly to the soundbar and amplified through its speakers. Adjust the microphone volume if needed.
- Make further adjustments if necessary: If you experience any interference or audio quality issues, try moving closer to the soundbar or ensuring there are no obstructions between the microphone and the soundbar. Adjust the soundbar settings or microphone settings, if available, to improve the audio quality.
It’s important to note that the Bluetooth range and connection stability may vary depending on the specific soundbar and wireless microphone models used. If you encounter any issues during the pairing or usage process, refer to the user manuals of both the soundbar and microphone for troubleshooting guidance.
By following these steps, you can easily connect a wireless microphone to your soundbar, freeing yourself from the constraints of cables and enjoying the convenience of wireless audio transmission. In the next section, we will explore how to adjust the sound settings to optimize the microphone input on your soundbar.
Adjusting Sound Settings for Microphone Input
Once you have successfully connected a microphone to your soundbar, it’s important to optimize the sound settings to achieve the best audio quality. Here are a few adjustments you can make:
- Microphone Sensitivity: If your soundbar has adjustable microphone sensitivity or gain control, experiment with different settings to find the ideal balance. Increasing the sensitivity or gain can amplify lower input levels, while decreasing it can prevent distortion from higher input levels. Test the microphone and adjust the sensitivity accordingly for clear and balanced audio.
- Equalizer Settings: Some soundbars offer equalizer presets or manual EQ adjustments. Check if your soundbar has these features and experiment with different EQ settings to enhance the microphone’s audio output. You can try boosting the mid-range frequencies for clearer vocals or adjusting the bass and treble levels to suit your preference.
- Echo or Reverb: If you want to add depth or ambiance to your microphone audio, some soundbars provide echo or reverb effects. These effects simulate different acoustic environments and can enhance the overall sound. Experiment with the level of echo or reverb to achieve the desired effect – whether it’s a subtle room ambiance or a dramatic concert-like reverb.
- Audio Mixing: Depending on your soundbar’s capabilities, you may be able to adjust the volume and balance between the microphone input and other audio sources. This is especially useful if you’re using the soundbar for multiple purposes, such as watching TV or playing music along with the microphone input. Adjust the mixing levels to achieve the desired balance between the microphone and other audio sources.
It’s essential to note that not all soundbars provide the same sound settings and customization options. Refer to your soundbar’s user manual or consult the manufacturer’s website for specific instructions on adjusting sound settings and using additional audio features.
Remember to perform sound tests after making any adjustments to ensure optimal audio quality and avoid any distortion or unwanted audio artifacts. It’s also beneficial to seek feedback from others or record yourself to evaluate the microphone’s performance with the adjusted settings.
By fine-tuning the sound settings on your soundbar, you can optimize the microphone input and achieve clear, balanced, and professional-grade audio output. In the next section, we will provide troubleshooting tips for any potential microphone connection issues you may encounter.
Troubleshooting Tips for Microphone Connection Issues
While connecting a microphone to a soundbar is usually a straightforward process, you may encounter some common issues. Here are some troubleshooting tips to help resolve microphone connection problems:
- Check the connections: Ensure that all cable connections between the microphone and the soundbar are secure. Sometimes, loose connections can result in no audio or intermittent sound. Disconnect and reconnect the cables, ensuring they are properly seated.
- Confirm compatibility: Double-check the compatibility between your microphone and soundbar. Ensure that the soundbar supports microphone input or wireless microphone connectivity. Refer to the user manuals of both devices to verify compatibility and any specific requirements.
- Verify power source: If you are using a battery-powered microphone, make sure the batteries are properly inserted and fully charged. If you have a condenser microphone that requires phantom power, ensure that the soundbar or an external audio interface can supply the necessary power.
- Adjust microphone volume controls: In some cases, the microphone volume may be too low or muted. Use the controls on the microphone itself to adjust the input level or unmute the microphone if necessary. Verify that the microphone’s volume controls are properly adjusted.
- Update firmware: Check if there are any available firmware updates for your soundbar. Manufacturers often release firmware updates to address compatibility issues and improve overall performance. Visit the manufacturer’s website or consult the user manual for instructions on updating the firmware.
- Test with another microphone or soundbar: If possible, try using a different microphone or soundbar to isolate the issue. This can help determine if the problem lies with the specific device or the connection itself.
- Reset the soundbar: If all else fails, try performing a factory reset on your soundbar. Consult the user manual or manufacturer’s website for instructions on resetting the device. A reset can often resolve software or configuration-related issues.
If none of these troubleshooting steps resolve the microphone connection issue, it may be necessary to reach out to the manufacturer’s support team for further assistance. They can provide more specific guidance based on your soundbar and microphone models.
Remember, patience and persistence are key when troubleshooting any audio equipment. By following these troubleshooting tips, you can overcome common microphone connection problems and enjoy seamless audio performance with your soundbar.
Conclusion
Connecting a microphone to a soundbar opens up a whole new world of audio possibilities, whether you’re a music lover, performer, or presenter. By understanding the different types of soundbars and microphones, checking their compatibility, and following the appropriate connection steps, you can achieve enhanced audio quality and amplification for your voice or instrument.
Whether you opt for a wired microphone or a wireless one, the process of connecting it to your soundbar is relatively straightforward. Adjusting the sound settings, including microphone sensitivity, equalizer settings, and audio mixing, allows you to fine-tune the microphone input and optimize the audio output to suit your preferences.
Should you encounter any microphone connection issues, the troubleshooting tips provided can help identify and resolve the problem. Checking connections, confirming compatibility, verifying power sources, and updating firmware are all steps that can help address common obstacles.
Remember, each soundbar and microphone may have unique features and requirements, so always refer to the user manuals or manufacturer’s instructions for specific guidance.
So, whether you’re hosting a karaoke night, delivering a powerful speech, or simply improving your audio experience, connecting a microphone to a soundbar is an excellent way to elevate your sound quality and bring your audio to life.
Take your time, experiment with different settings, and enjoy the immersive and crystal-clear audio that comes with connecting a microphone to your soundbar!