Introduction
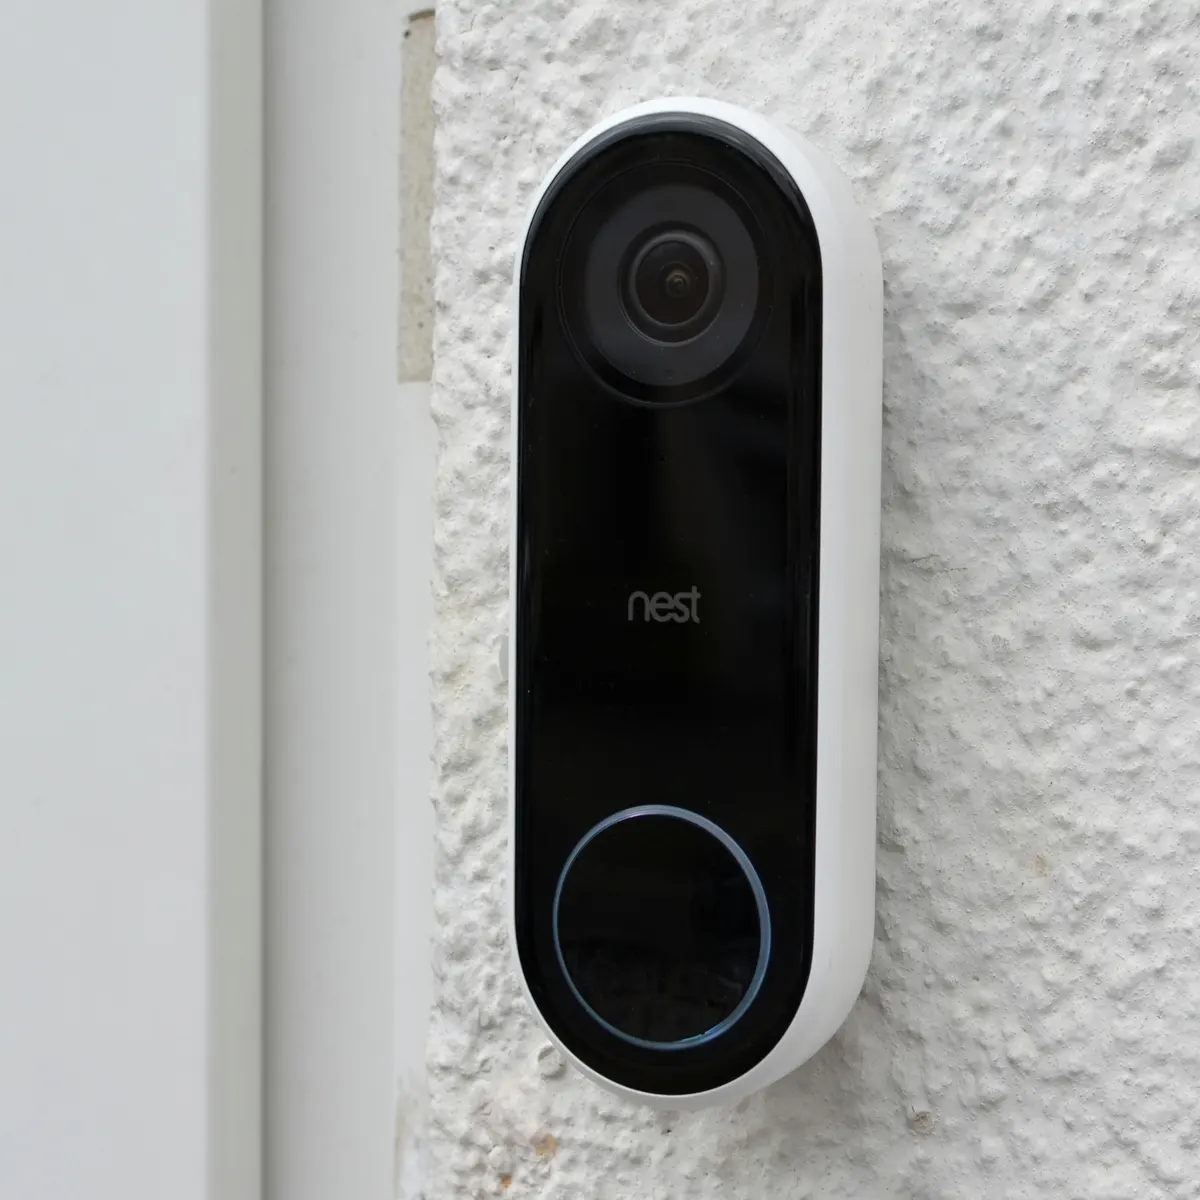
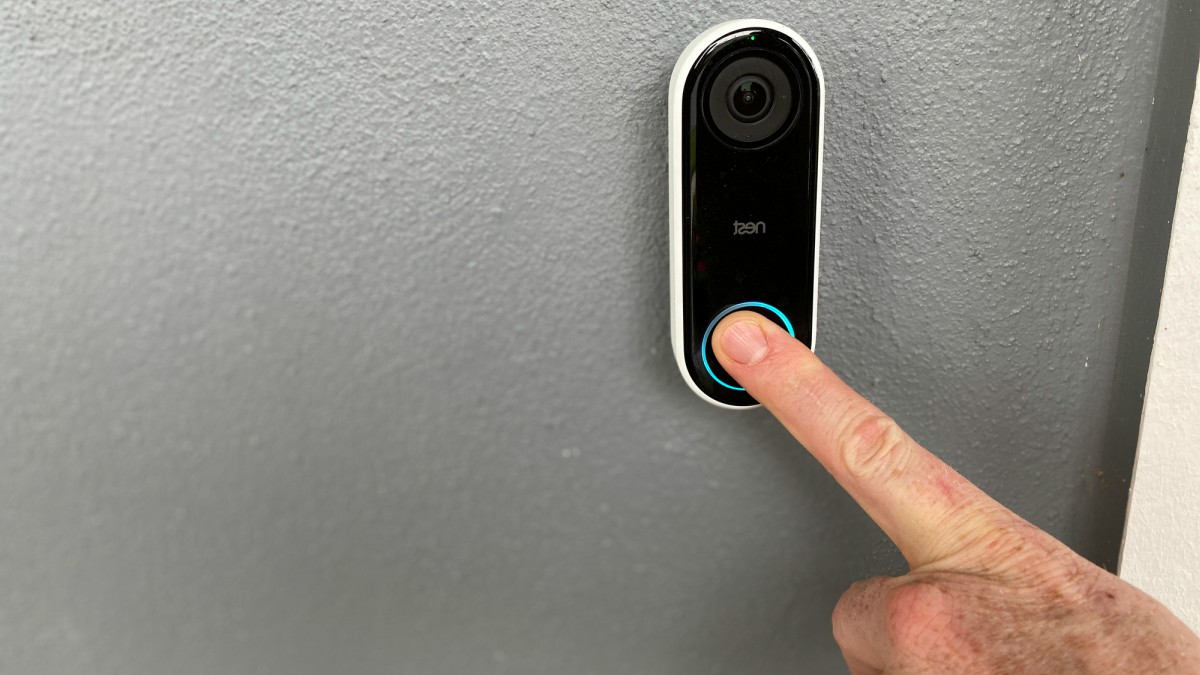
When it comes to home security and convenience, Nest Video Doorbell has become a popular choice for many homeowners. This innovative device allows you to see and communicate with anyone who approaches your front door, whether you’re at home or away. However, one question that often arises is how high up should a Nest Video Doorbell be mounted?
Choosing the right height for your Nest Video Doorbell is crucial for optimal performance and functionality. Placing it too low may result in limited field of view, while mounting it too high can make it difficult to identify visitors or capture clear video footage. In this article, we’ll explore the factors to consider when deciding how high up to put a Nest Video Doorbell and provide some tips for proper installation.
So, whether you’re a first-time Nest Video Doorbell user or considering relocating your existing unit, read on to find out the ideal placement height and learn some useful mounting options to ensure your Nest Video Doorbell works effectively.
Factors to consider when deciding how high up to put a Nest Video Doorbell
Before deciding on the height to mount your Nest Video Doorbell, there are several important factors to take into consideration. These factors will help you determine the ideal placement that ensures maximum visibility and functionality. Here are the key factors to consider:
- Field of view: The field of view refers to the area that the Nest Video Doorbell can capture. It’s important to mount the device at a height that allows for a wide and clear view of the area in front of your door. You want to make sure it captures visitors’ faces and any potential activities near your entrance.
- Accessibility: Consider the height that will allow you to easily access the doorbell for pressing the button or adjusting the settings. The device should be at a convenient height for anyone in your household, including children or individuals with mobility limitations.
- Deterrence: A visible Nest Video Doorbell acts as a deterrent for potential burglars or trespassers. The height at which you mount it can play a role in its visibility and effectiveness in deterring unwanted activities.
- Wiring and power: If you’re replacing an existing doorbell, you’ll need to consider the wiring and power source. Ensure that the height you choose allows for easy connection to the existing wiring or power supply.
- Obstructions: Take note of any potential obstructions that may hinder the device’s view, such as tree branches, plants, or architectural features. Mounting it at a suitable height will prevent these obstructions from obstructing the camera’s line of sight.
- Aesthetics: While functionality is key, you may also want to consider the aesthetic aspect. Mounting the device at a height that balances both functionality and visual appeal can enhance the overall look of your front entrance.
Considering these factors will help you determine the most suitable height for your Nest Video Doorbell. Keep reading to find out the ideal placement height that meets these criteria and ensures optimal performance.
Ideal placement height for a Nest Video Doorbell
When it comes to the ideal placement height for a Nest Video Doorbell, the goal is to achieve a balance between capturing a wide field of view and maintaining accessibility. Based on various factors, including the device’s specifications and common recommendations, a height range of 48 to 56 inches (approximately 120 to 140 centimeters) from the ground is generally considered optimal.
This height range ensures that the camera captures a good view of visitors’ faces and any activities near your front door. It also allows for easy accessibility, allowing you to press the button and interact with visitors comfortably. In households with individuals of varying heights, it’s advisable to choose a height that accommodates the shortest member so that everyone can reach the doorbell conveniently.
Mounting the Nest Video Doorbell within this height range also helps significantly reduce the chances of tampering or theft, as it may be out of reach for vandals or potential intruders. Additionally, placing the device at a height that is eye level or slightly above provides the best angle for capturing clear video footage, ensuring that faces and details are captured accurately.
However, it’s important to note that the ideal placement height may vary depending on individual circumstances and preferences. Some homeowners may choose to mount the device slightly higher to gain a broader view, while others may opt for a lower position for better accessibility. Ultimately, it’s essential to consider the factors mentioned earlier and make an informed decision based on your specific needs.
By selecting the ideal placement height for your Nest Video Doorbell, you can maximize its functionality and ensure that it serves its intended purpose effectively.
Mounting options for a Nest Video Doorbell
When it comes to mounting a Nest Video Doorbell, there are a few options available depending on the specific requirements of your home. Here are the common mounting options:
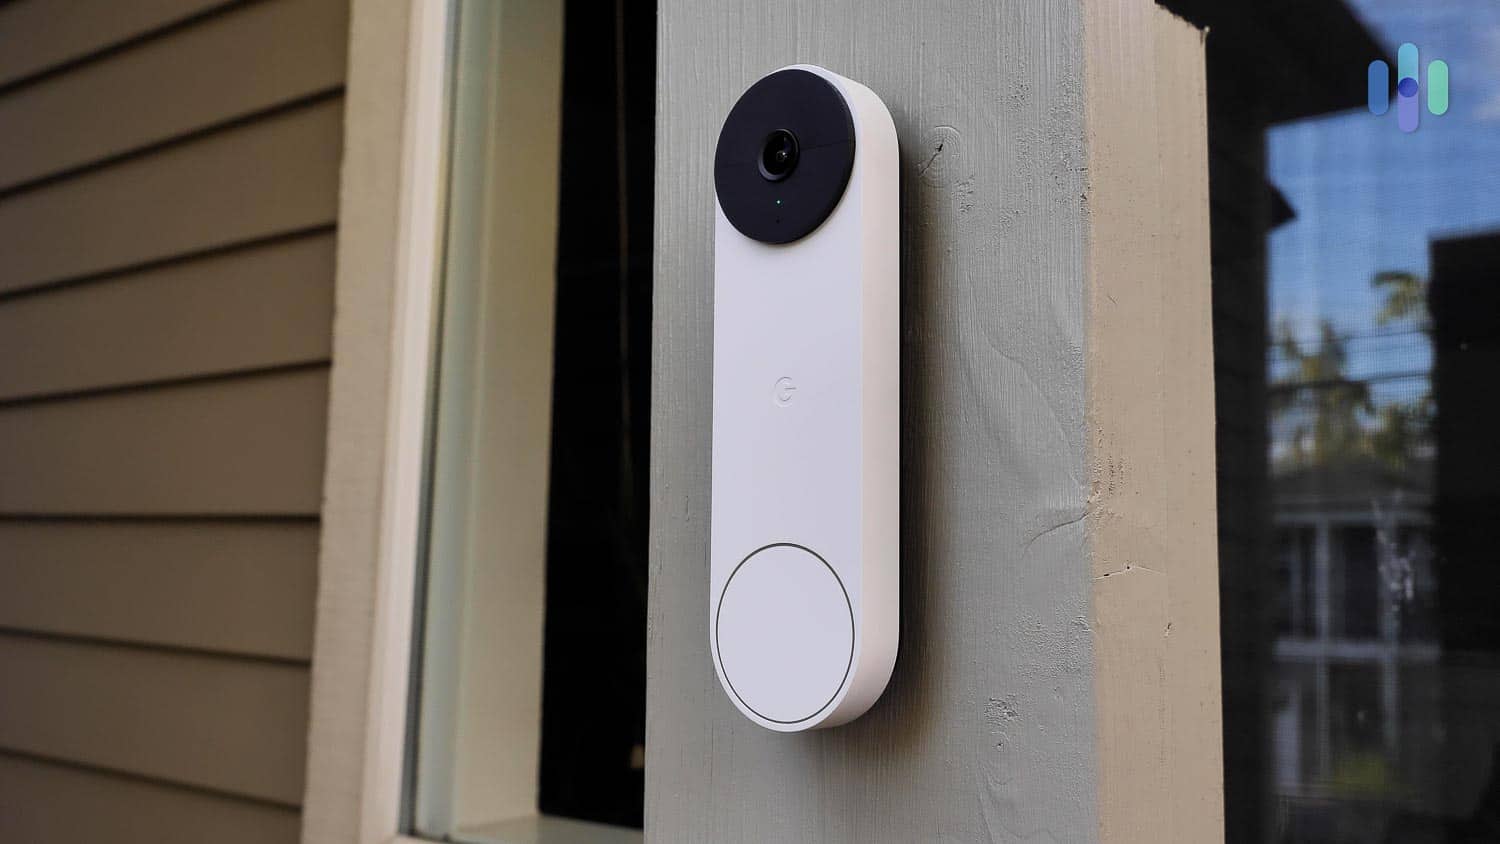
- Direct wall mount: The most common method is to mount the Nest Video Doorbell directly onto the wall, adjacent to your front door. This provides a stable and secure installation, ensuring that the device stays in place. Make sure to use the provided mounting bracket and screws to securely attach the doorbell to the wall.
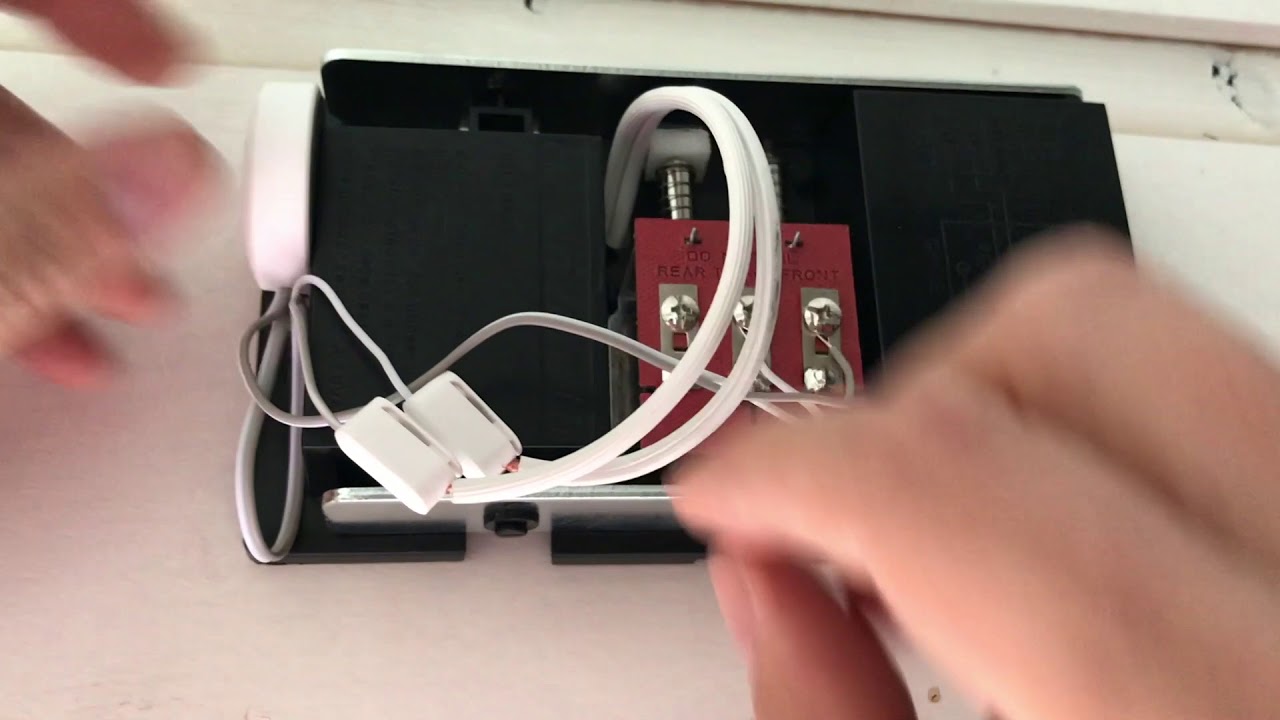
- Existing doorbell wiring: If you have an existing wired doorbell, you can utilize the existing wiring to power your Nest Video Doorbell. This eliminates the need for battery replacement and provides a continuous power source. Simply connect the wires from your doorbell to the corresponding terminals on the Nest Video Doorbell.
- Plug-in adapter: For homes without existing doorbell wiring or for those who prefer a simpler installation, Nest offers a plug-in adapter. This option allows you to power your Nest Video Doorbell by plugging it into a nearby electrical outlet. It’s a convenient solution that ensures continuous power without the need for wiring.
- Wireless installation: If you prefer a more flexible installation, Nest Video Doorbell also supports wireless options. With this method, you can mount the device anywhere within range of your Wi-Fi network. This option is particularly useful if you need to place the doorbell in a specific location that does not have direct access to wiring or power outlets.
Regardless of the mounting option you choose, it’s important to ensure that the Nest Video Doorbell is securely attached. Verify that the device is level and tightly fastened to the mounting bracket or wall, using the provided screws or adhesive strips, depending on your chosen installation method. This will minimize the chances of tampering or accidental removal.
Consider the specific features and compatibility of your Nest Video Doorbell model to determine the most suitable mounting option for your home. Consulting the device’s user manual or seeking professional advice can also provide additional guidance.
By exploring the various mounting options, you can find the best solution that meets your specific needs and ensures a successful and secure installation of your Nest Video Doorbell.
Tips for properly installing a Nest Video Doorbell at the right height
Installing your Nest Video Doorbell at the right height is essential to ensure optimal performance. Here are some helpful tips to guide you in the installation process:
- Measure and mark: Before drilling any holes or mounting the device, take measurements to determine the ideal height for your Nest Video Doorbell. Use a measuring tape to find the desired height range (48 to 56 inches) from the ground and mark the spot with a pencil or tape.
- Consider the viewing angle: Ensure that the camera of the Nest Video Doorbell is tilted slightly downward when installed. This angle helps capture clear and detailed video footage of visitors’ faces and activities near the front door.
- Test the field of view: Before finalizing the installation, test the device’s field of view by using the Nest app on your smartphone or tablet. This will help you confirm that the camera captures the desired area and that no obstructions are hindering the view.
- Secure the mounting bracket: If you’re using a mounting bracket, make sure it is securely attached to the wall or door frame. Use the provided screws or adhesive strips and ensure that the bracket is leveled and aligned with the marked spot for proper installation.
- Connect the wiring: If you are utilizing existing doorbell wiring, follow the provided instructions to connect the wires from your doorbell to the appropriate terminals on the Nest Video Doorbell. Double-check the connections to ensure they are secure and properly aligned.
- Choose the right mounting option: Select the most suitable mounting option based on your specific requirements and the layout of your home. Consider factors such as the availability of wiring, power outlets, and Wi-Fi coverage to make an informed decision.
- Test functionality: Once the installation is complete, test the functionality of your Nest Video Doorbell. Check if the live video feed is clear, the two-way communication works properly, and all settings and notifications are functioning as expected.
Following these tips will help you install your Nest Video Doorbell at the right height and ensure that it operates effectively. Remember, if you have any doubts or concerns during the installation process, consulting the device’s user manual or seeking professional assistance is always a good idea.
Conclusion
Choosing the right height for your Nest Video Doorbell is crucial for optimal performance and functionality. By considering factors such as the field of view, accessibility, deterrence, wiring, obstructions, and aesthetics, you can determine the best placement for your device. Mounting the Nest Video Doorbell at a height range of 48 to 56 inches ensures a clear view of visitors’ faces while maintaining accessibility for all members of your household.
When it comes to installation, you have various mounting options available, including direct wall mount, using existing doorbell wiring, plug-in adapter, or wireless installation. Selecting the appropriate mounting option based on your home’s wiring and power sources will ensure a secure and reliable installation.
To properly install your Nest Video Doorbell at the right height, follow the tips mentioned, such as measuring, considering the viewing angle, testing the field of view, securing the mounting bracket, connecting the wiring correctly, and testing the device’s functionality. These steps will help guarantee a successful installation and optimal performance.
Remember, every home may have unique requirements and preferences, so it’s important to assess your specific situation and make informed decisions based on the available options and guidelines provided. If you encounter any challenges during the installation process, don’t hesitate to seek assistance from the Nest support team or consult a professional for further guidance.
With the Nest Video Doorbell installed at the right height, you can enhance your home security, convenience, and peace of mind. Say goodbye to missed deliveries and unexpected visitors as you have a clear view of who’s at your front door, whether you’re at home or away.


