Introduction
Welcome to the world of immersive audio with the Camden Acoustic C-420 Surround Sound System. If you’re looking to enhance your home entertainment experience and enjoy cinema-quality sound in the comfort of your own living room, you’ve come to the right place. In this guide, we will walk you through the setup process for the Camden Acoustic C-420, ensuring that you get the most out of your new surround sound system.
With the Camden Acoustic C-420, you can elevate your movie nights, gaming sessions, and music listening to a whole new level. Whether you’re a film enthusiast who craves lifelike audio effects, a gamer seeking a more immersive experience, or a music lover who wants to feel like you’re at a live concert, this surround sound system has got you covered.
But before we dive into the setup process, let’s briefly discuss the benefits of a surround sound system. Unlike traditional stereo speakers, surround sound systems utilize multiple speakers strategically placed around the room to create a three-dimensional audio experience. This setup allows you to hear sounds coming from all directions, making you feel like you’re right in the middle of the action.
One of the key components of the Camden Acoustic C-420 is the receiver, which serves as the central hub for your audio setup. It receives audio signals from your audio sources, such as your TV, Blu-ray player, or gaming console, and distributes them to the speakers. The receiver also allows you to adjust various audio settings to customize the sound output to your liking.
Now that we’ve covered the basics, let’s move on to unboxing and checking the contents of the Camden Acoustic C-420 Surround Sound System to ensure that everything you need is included and in perfect condition.
Unboxing and Checking the Contents
When you first receive your Camden Acoustic C-420 Surround Sound System, it’s an exciting moment. Before you dive into setting it up, it’s important to unbox the package and verify that all the necessary components are included. Here’s a step-by-step guide on unboxing and checking the contents:
- Start by carefully opening the box, taking care not to damage any of the contents inside.
- Once the box is open, remove the packaging materials, such as foam or bubble wrap, to reveal the individual components.
- Inspect the list of contents provided by the manufacturer, usually included on the top of the box or in the user manual. Make sure all the items mentioned are present.
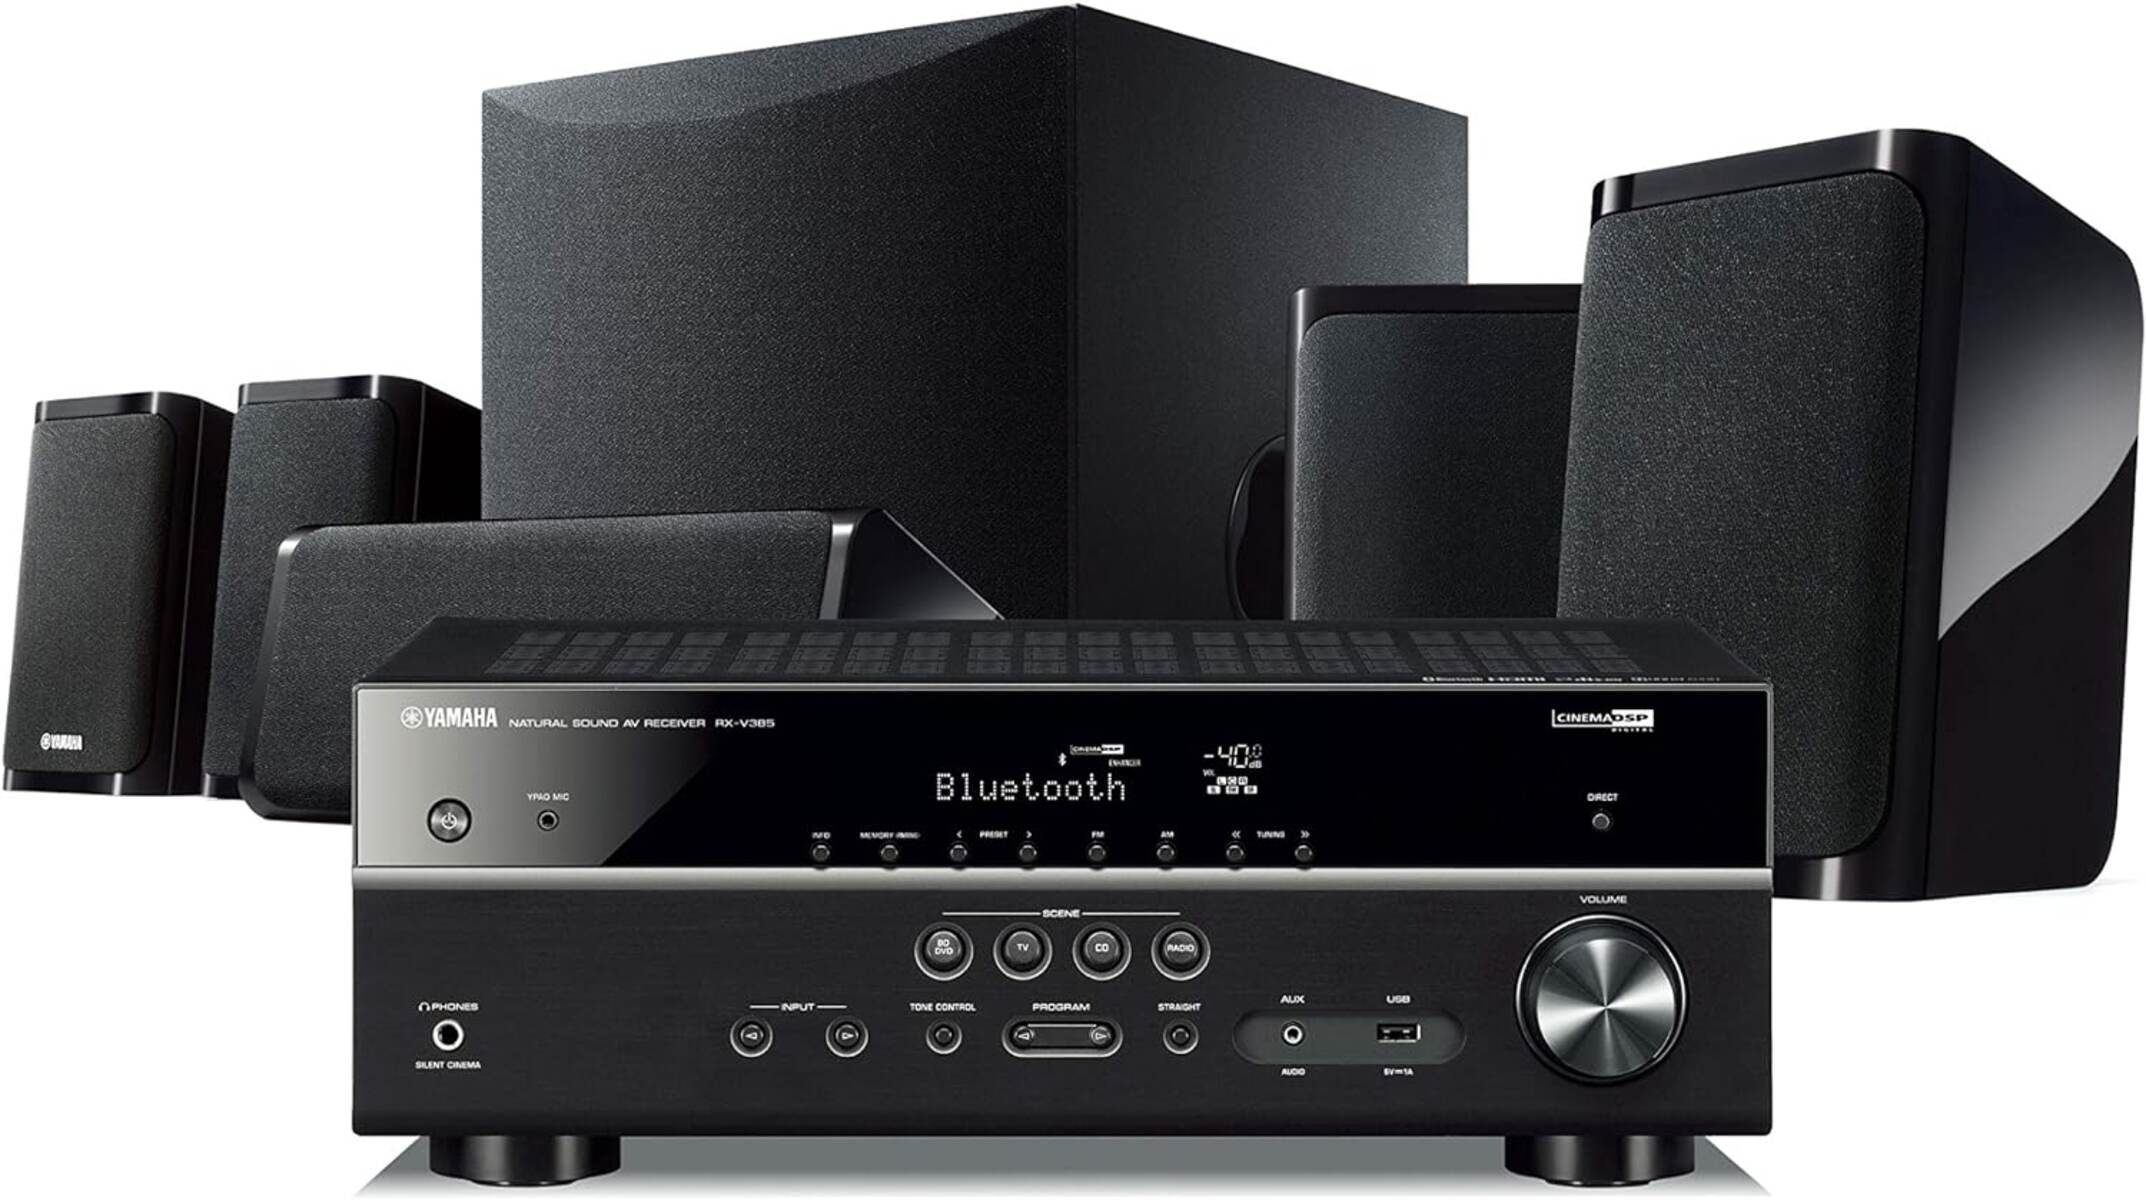
- Take out the main components of the surround sound system, including the speakers, subwoofer, receiver, and any cables or accessories.
- Inspect each item for any signs of damage. Ensure that there are no dents, scratches, or loose parts. If you notice any issues, contact the manufacturer or retailer for assistance.
- Count the number of speakers and ensure that you have the correct quantity according to the product specifications. Some packages may include additional speakers for a more advanced setup.
- Check the cables and connectors to ensure they are in good condition and free from any defects. Look out for frayed wires or bent connectors that may affect the audio quality.
- Verify that all the necessary accessories are included, such as remote controls, batteries, mounting brackets, and user manuals. These items will come in handy during the setup process.
- After confirming that all the components are present and in good condition, set them aside in a safe and organized manner.
Unboxing and checking the contents of your Camden Acoustic C-420 Surround Sound System is an essential step to ensure that you have everything you need for a successful setup. By meticulously inspecting each item, you can address any issues or missing components before proceeding further.
Now that you have unboxed and checked the contents, it’s time to move on to the next step: connecting the speakers to your surround sound system.
Connecting the Speakers
Now that you have unboxed your Camden Acoustic C-420 Surround Sound System and confirmed that all the components are intact, it’s time to connect the speakers. Follow these steps to ensure a seamless setup:
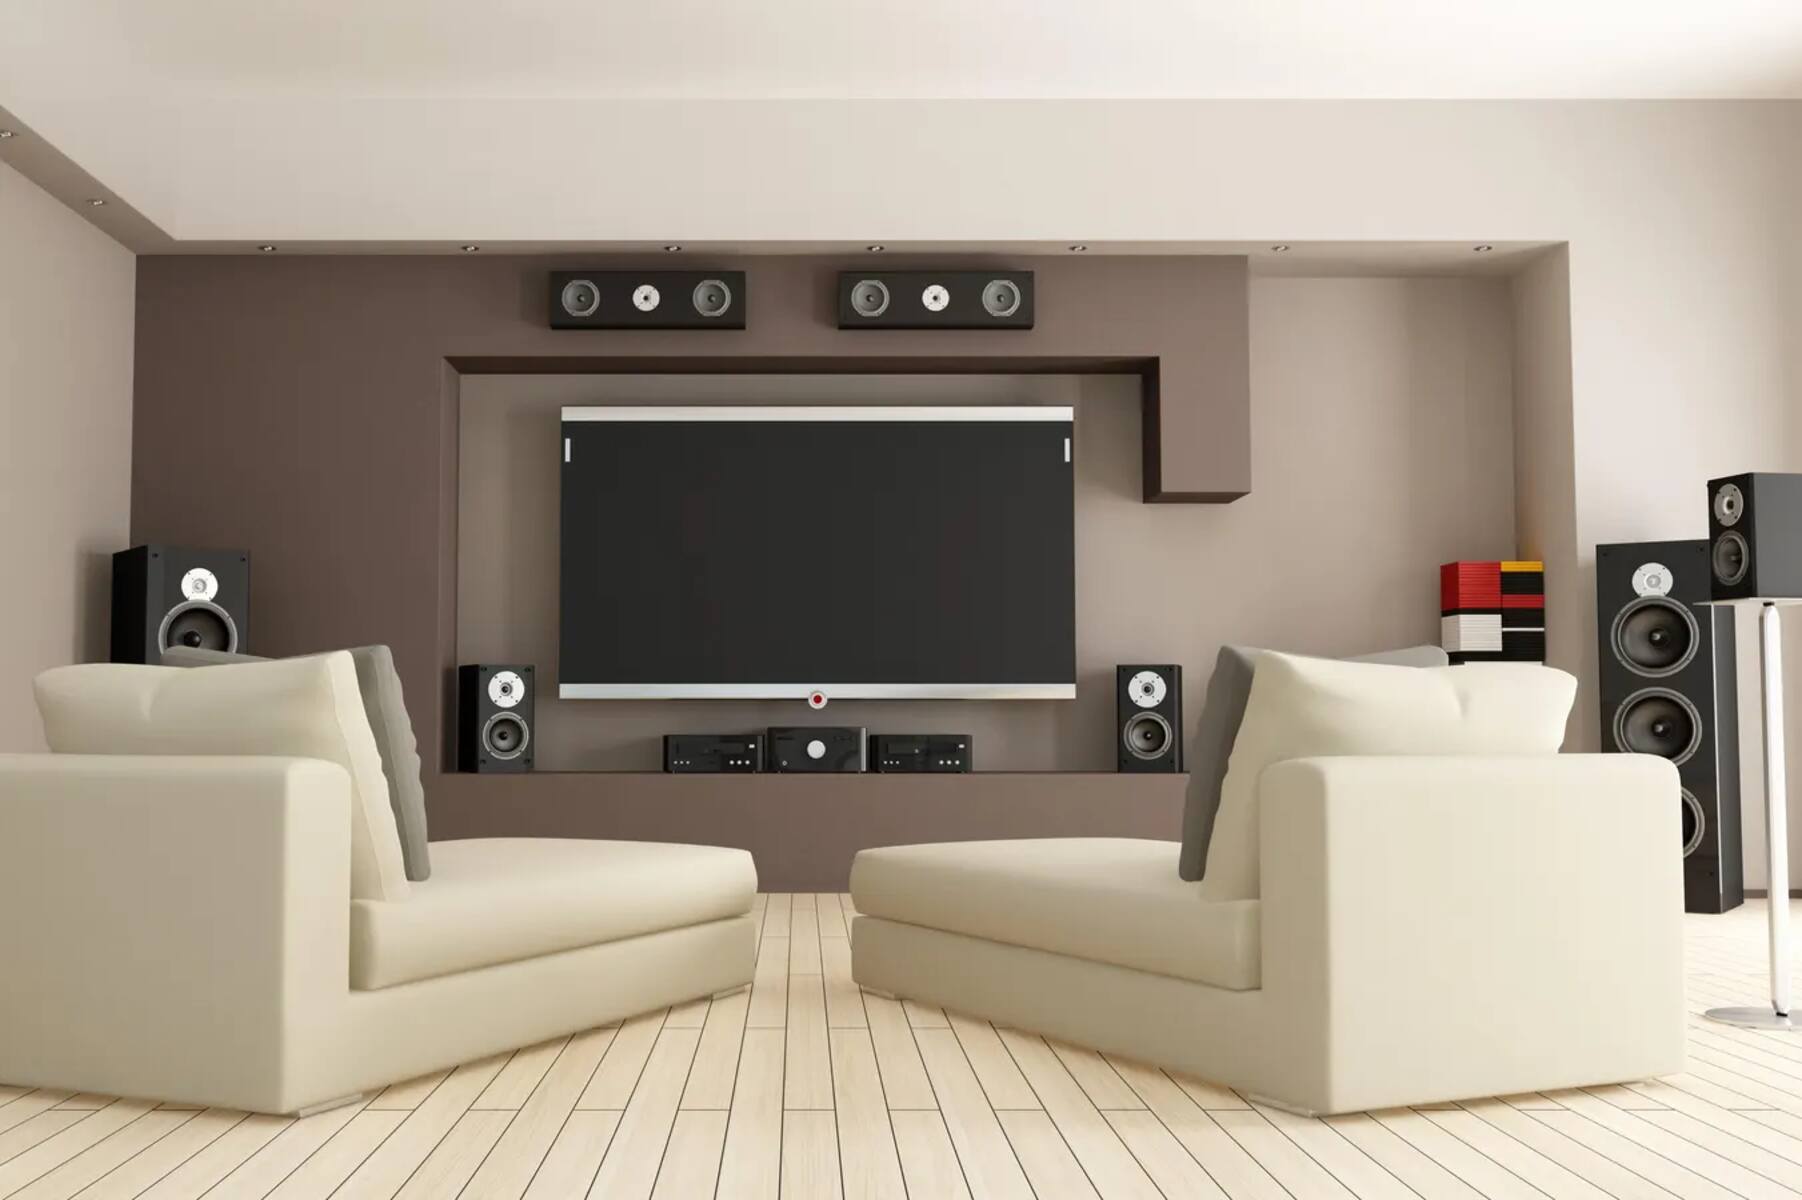
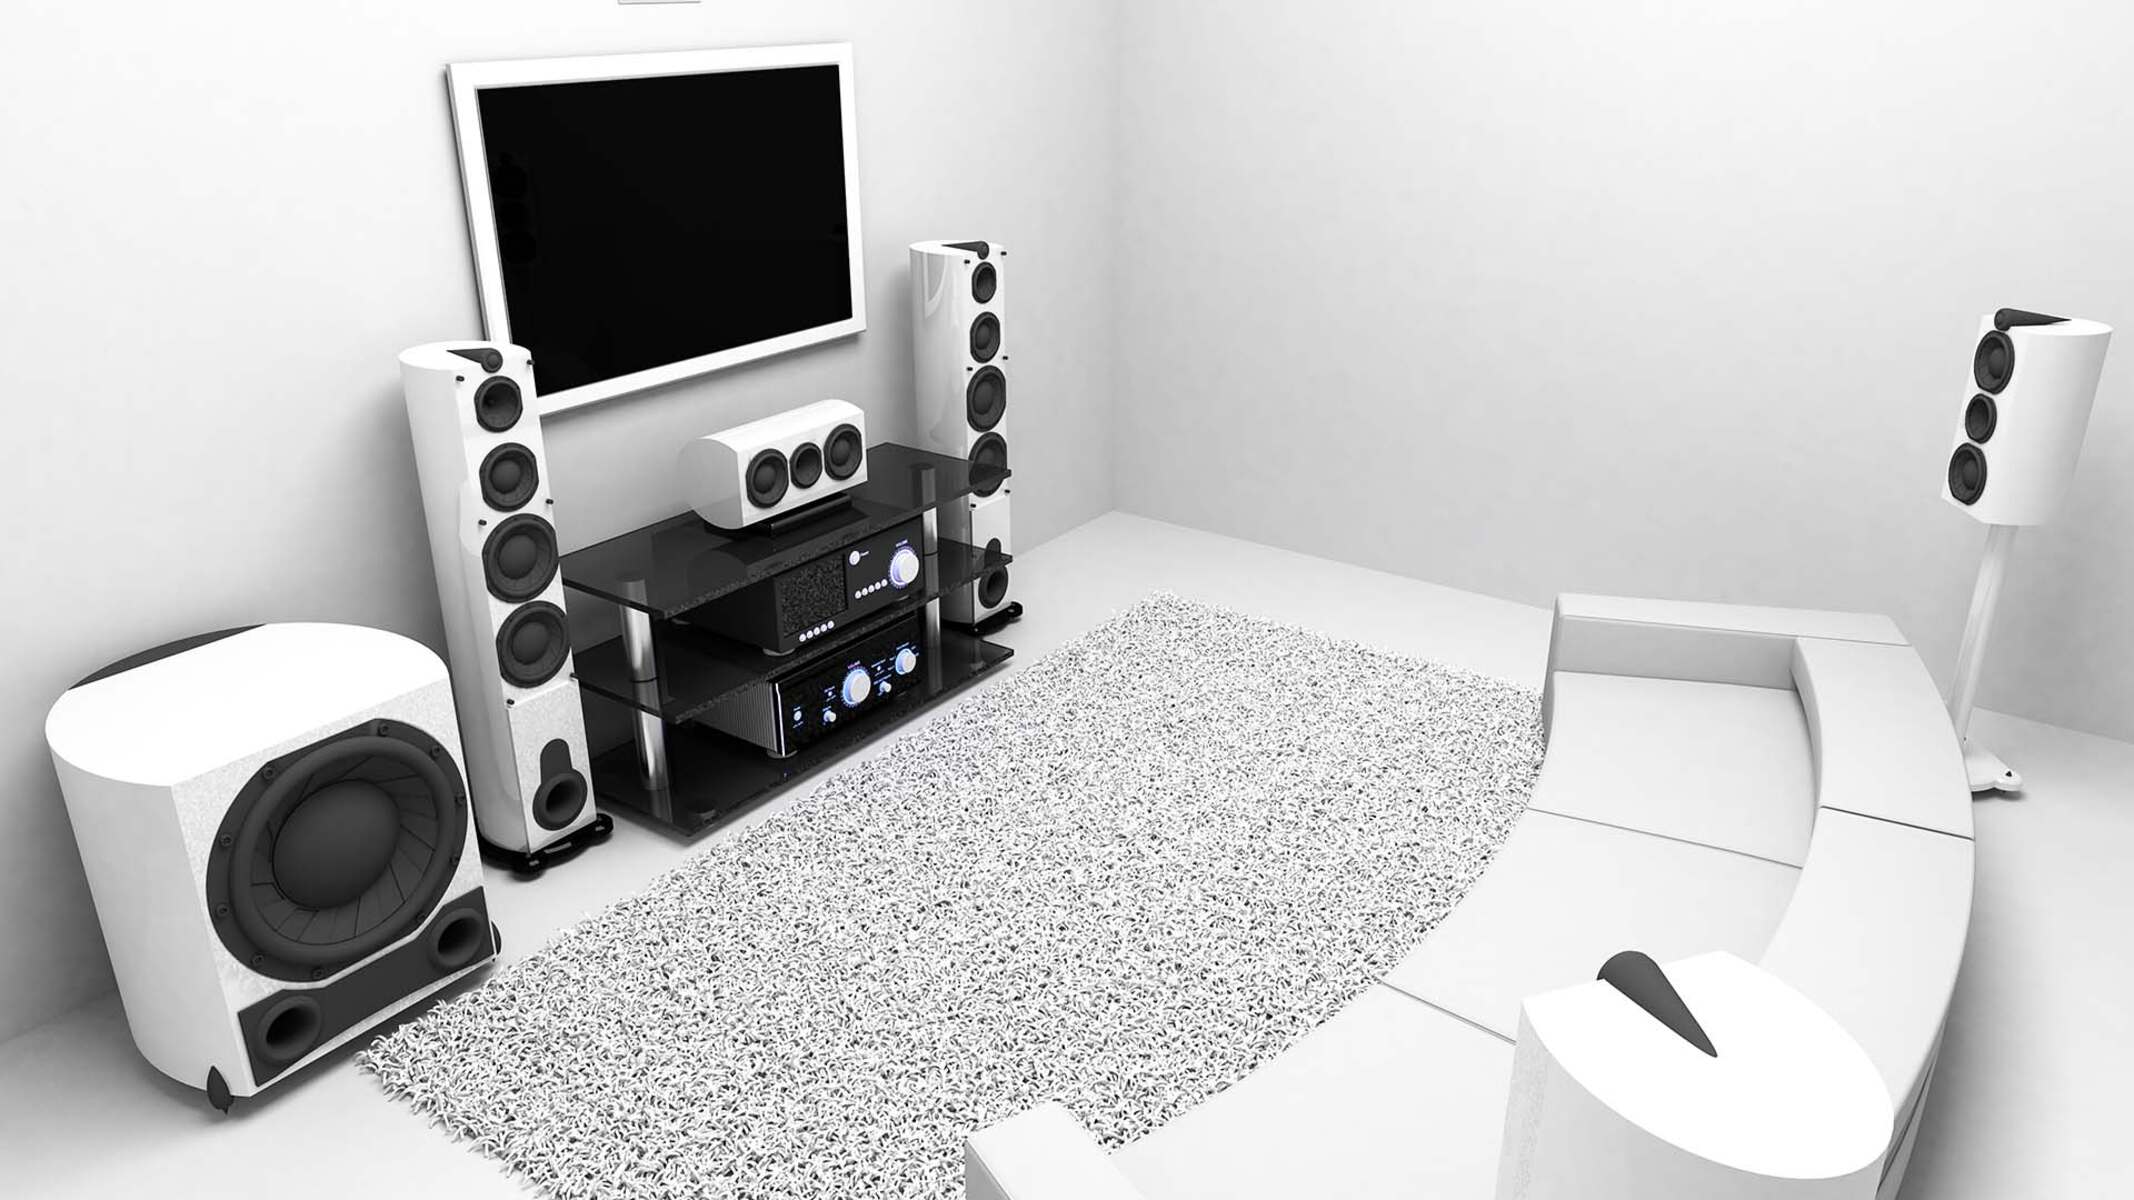
- Identify the speakers by their labels. Most surround sound systems come with front, center, and rear speakers. The front speakers provide the main audio output, while the center speaker enhances dialogue clarity, and the rear speakers create a surround sound effect.
- Place the front speakers on either side of your TV or entertainment center. Ideally, they should be at ear level to optimize sound projection.
- Set up the center speaker directly below or above your TV, facing the listening area. This positioning will ensure that dialogue is clear and distinct in movies and TV shows.
- Position the rear speakers behind your listening area, facing inward. Ideally, they should be at ear level or slightly above to enhance the surround sound experience.
- Once you have decided on the placement, connect each speaker to the corresponding ports on the back of the receiver. Most speakers are color-coded to match the appropriate channel on the receiver.
- Ensure that the speaker wires are securely fastened to the receiver and speakers. If the speakers have banana plug connectors, attach them to the corresponding speaker terminals on the receiver for a secure and reliable connection.
- Repeat this process for each speaker, checking that the wires are properly connected and secured.
- When all the speakers are connected, tidy up the wires to minimize clutter and tripping hazards. You can use cable ties or cable management solutions to keep the wires organized and out of sight.
By following these steps, you can successfully connect your speakers to the Camden Acoustic C-420 Surround Sound System. It’s important to note that the specific connections may vary depending on the model and brand, so refer to the user manual for detailed instructions if needed.
Now that your speakers are connected, let’s move on to the next section: connecting the subwoofer to add depth and richness to your audio experience.
Connecting the Subwoofer
Adding a subwoofer to your Camden Acoustic C-420 Surround Sound System is essential for experiencing deep, powerful bass in your audio. Follow these simple steps to connect the subwoofer:
- Locate the subwoofer output on the back of the receiver. It is usually labeled as “Sub Out” or “LFE Out.”
- Connect one end of an audio cable (typically an RCA cable) to the subwoofer output on the receiver.
- Locate the input port on the back of the subwoofer. It is usually labeled as “Sub In” or “LFE In.”
- Connect the other end of the audio cable to the corresponding input port on the subwoofer.
- Ensure that the cable is securely connected to both the receiver and the subwoofer to avoid any audio interruptions.
- Plug in the subwoofer’s power cable into a power outlet.
- Power on the subwoofer and make any necessary adjustments to the volume or bass settings according to your preferences.
Once you have successfully connected the subwoofer, it will complement the sound produced by the other speakers, adding depth and impact to your audio experience. The subwoofer is responsible for reproducing low-frequency sounds, such as explosions in movies or the deep rumble of a bass guitar.
It’s important to experiment with the subwoofer settings to find the right balance for your listening environment. You may need to adjust the volume level or use the crossover controls on the receiver to ensure a seamless blend between the subwoofer and the other speakers.
By following these steps, you can connect the subwoofer to your Camden Acoustic C-420 Surround Sound System and enjoy a more immersive audio experience. Now that your subwoofer is set up, let’s move on to the next section: setting up the receiver.
Setting up the Receiver
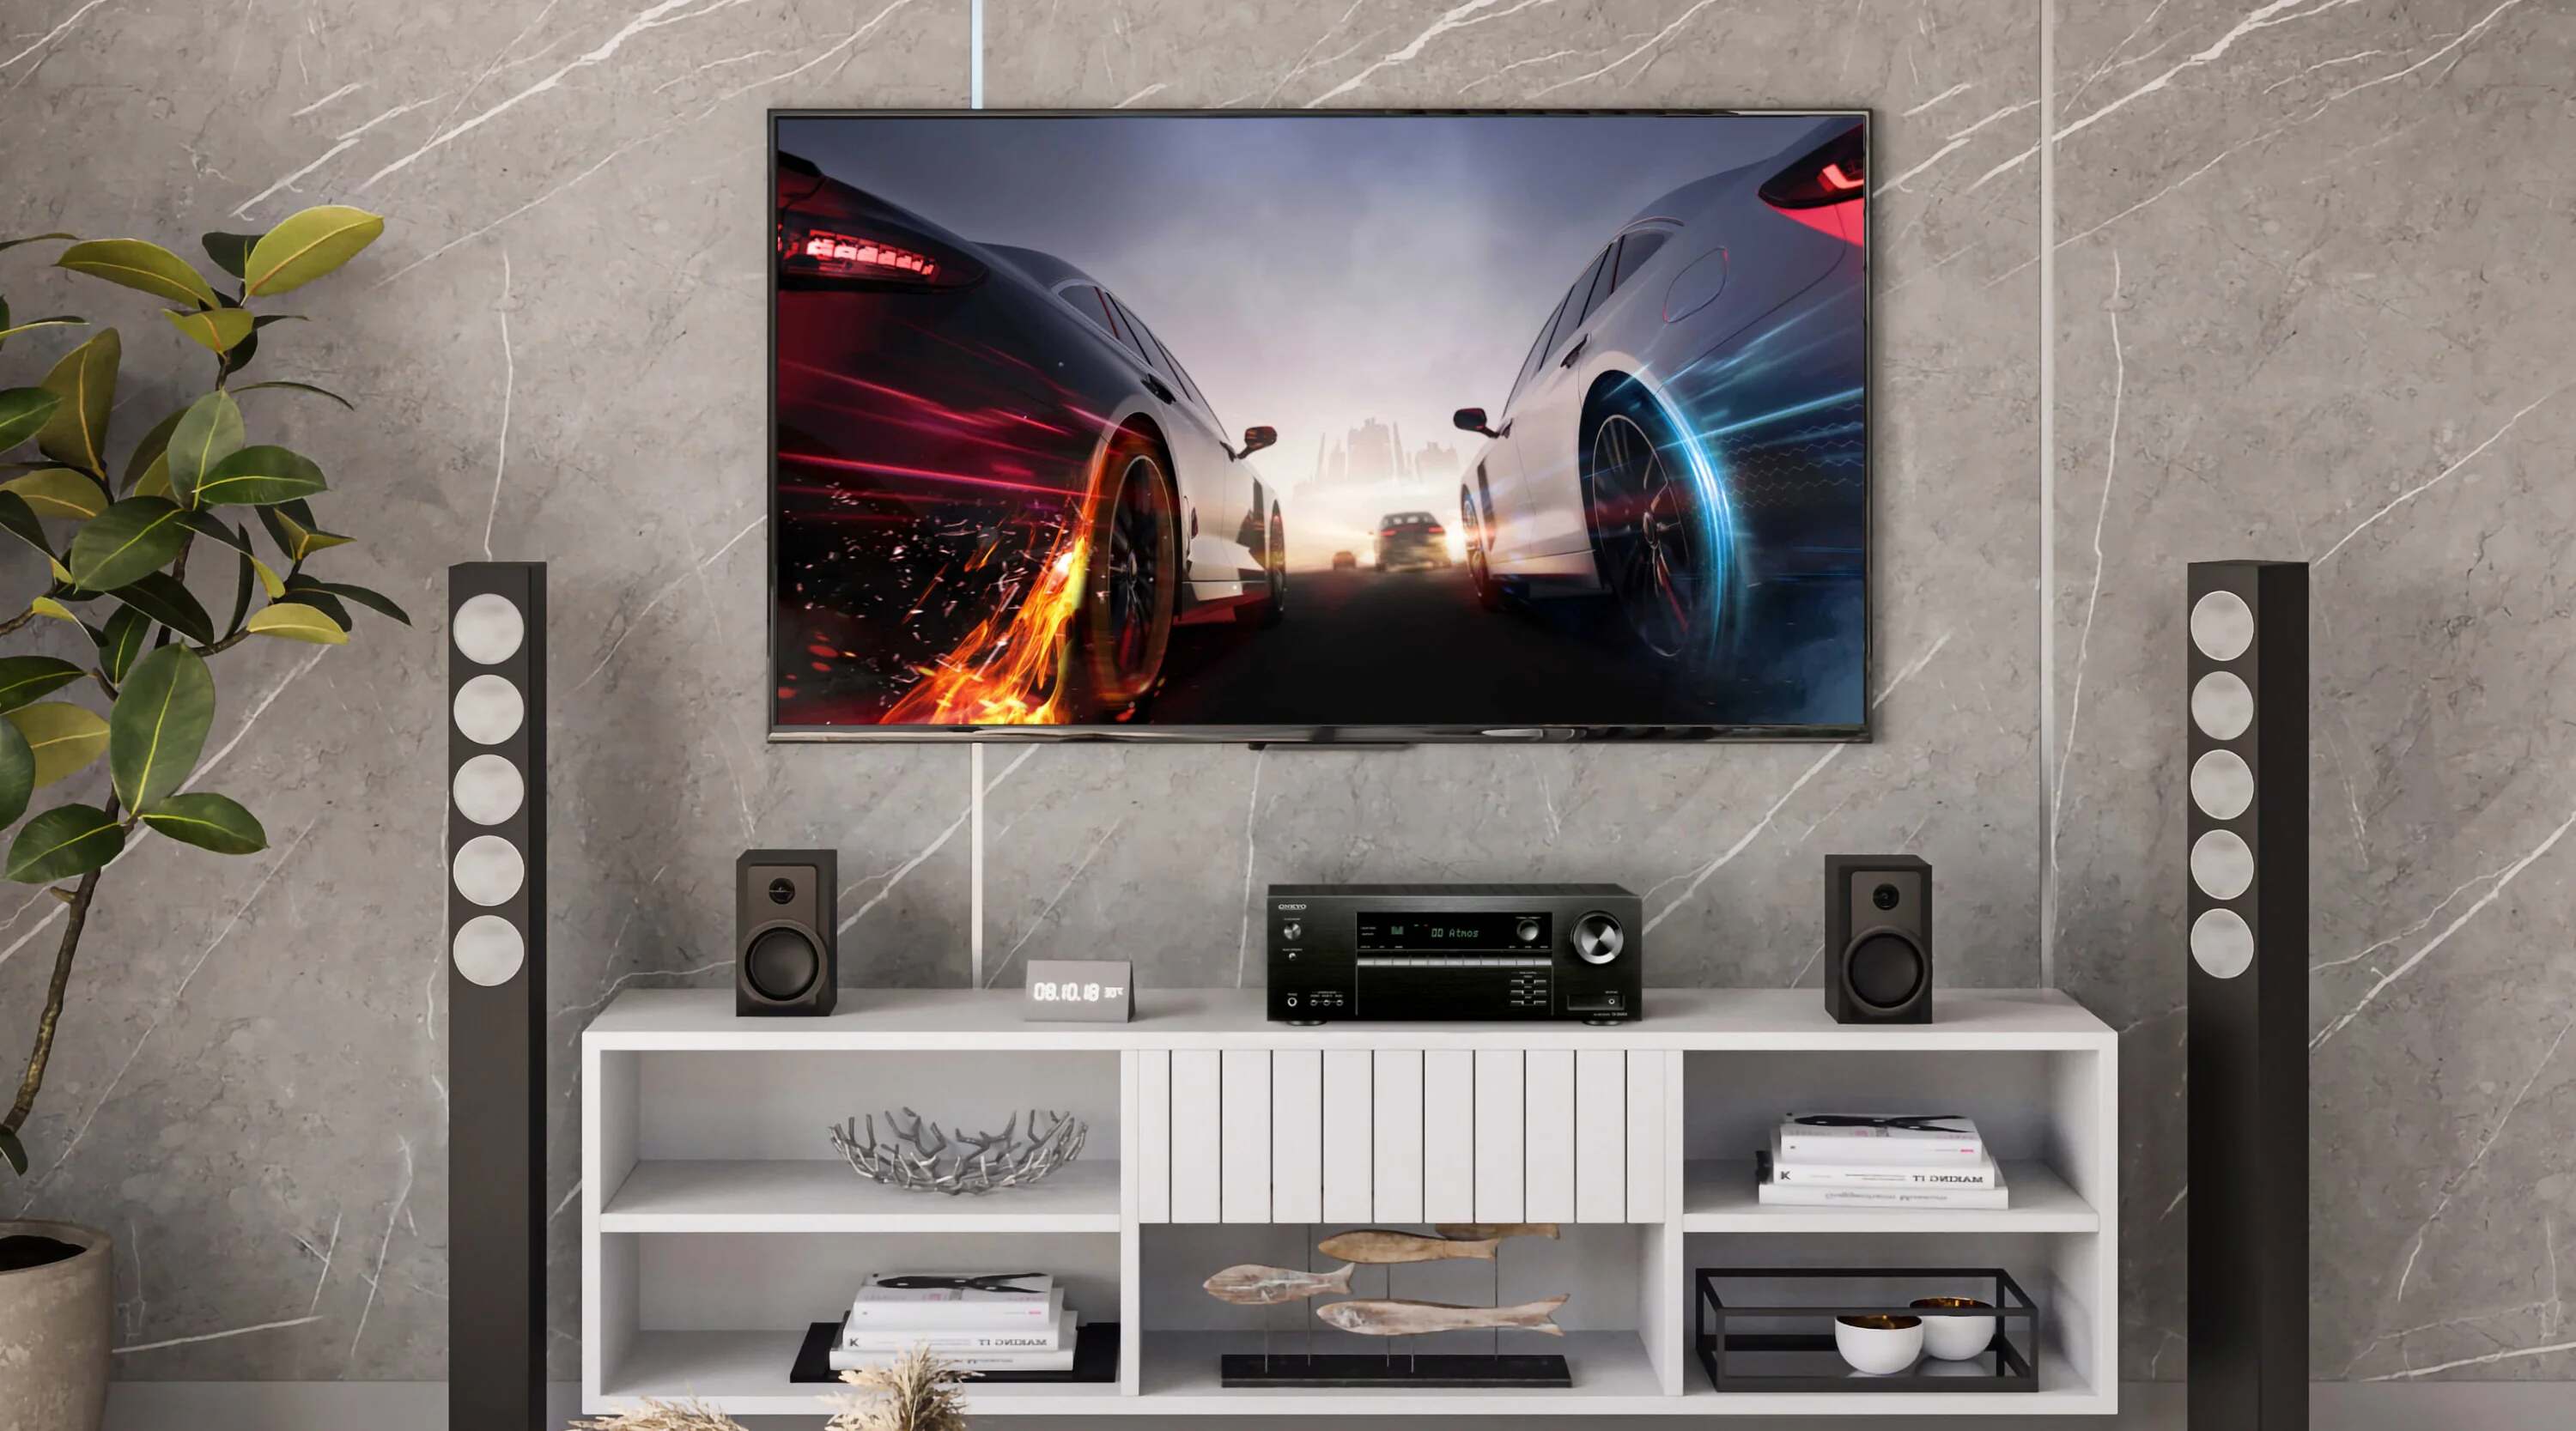
The receiver acts as the central hub of your Camden Acoustic C-420 Surround Sound System, allowing you to control and optimize the audio output. Follow these steps to set up the receiver:
- Place the receiver in a well-ventilated area, away from direct sunlight and heat sources.
- Connect the receiver to a power outlet using the provided power cable.
- Connect your audio sources, such as your TV or Blu-ray player, to the receiver. Use HDMI cables for the best audio and video quality.
- If your audio sources do not support HDMI, you can use alternative connections such as optical or coaxial cables.
- Connect any additional devices, such as a gaming console or streaming device, to the available ports on the back of the receiver.
- Consult the receiver’s user manual to determine the appropriate audio settings for your setup. This may include adjusting the speaker size, crossover frequency, or audio decoding formats.
- Configure the receiver’s audio output settings based on your preferences and the capabilities of your speakers. This may include selecting modes like stereo, surround sound, or virtual sound enhancements.
- Take note of the receiver’s remote control and familiarize yourself with its functions. This will allow you to easily control your audio system from a distance.
- Double-check all the connections to ensure they are secure and properly plugged in. This will help avoid any audio or video issues during playback.
Setting up the receiver is vital to ensuring optimal performance and functionality of your Camden Acoustic C-420 Surround Sound System. By correctly connecting your audio sources and configuring the audio settings, you can enjoy a personalized audio experience that suits your preferences and room setup.
Now that the receiver is properly set up, let’s move on to the next section: connecting your audio sources to start enjoying the surround sound system.
Connecting to Audio Sources
With your Camden Acoustic C-420 Surround Sound System and receiver properly set up, it’s time to connect your audio sources to start enjoying the immersive sound. Follow these steps to connect your audio sources:
- Identify the audio output ports on your audio sources, such as your TV, Blu-ray player, gaming console, or music player.
- Connect an appropriate cable (HDMI, optical, RCA, etc.) from the audio output ports of your audio sources to the corresponding input ports on the receiver. HDMI cables are recommended for the best audio and video quality.
- If your audio source does not support HDMI, use alternative cables such as optical or RCA to establish the connection.
- Ensure that the cables are securely plugged into both the audio sources and the corresponding input ports on the receiver.
- If you have multiple audio sources, you can connect them to different input ports on the receiver and switch between them using the receiver’s input selector.
- Once all the connections are made, power on your audio sources and the receiver.
- Select the appropriate input source on the receiver to match the audio source you want to use, such as “TV” for your television or “BD/DVD” for your Blu-ray player.
- Adjust the volume on the receiver to a comfortable level and use the receiver’s remote control to control the volume and other audio settings.
By connecting your audio sources to the receiver, you can enjoy high-quality audio output through your Camden Acoustic C-420 Surround Sound System. Whether you’re watching a movie, playing a game, or listening to music, the surround sound system will elevate your audio experience to a new level of immersion.
Remember to refer to the user manuals of your audio sources and the receiver for specific instructions and compatibility details. Also, make sure to check the audio output settings on your audio sources to ensure they are set to “bitstream” or “Dolby Digital” for optimal surround sound performance.
Now that your audio sources are connected, it’s time to fine-tune the audio settings on the receiver to achieve the desired sound output. We will explore this further in the next section.
Adjusting Audio Settings
Now that your Camden Acoustic C-420 Surround Sound System is connected to your audio sources, it’s time to fine-tune the audio settings on the receiver to achieve the desired sound output. Follow these steps to adjust the audio settings:
- Access the settings menu on your receiver. This is typically done by pressing the “Menu” or “Settings” button on the receiver’s remote control.
- Navigate through the settings menu using the arrow keys on the remote control or receiver’s front panel display.
- Look for audio settings such as “Sound Mode,” “Equalizer,” or “Audio Adjustments.”
- Depending on your preferences, you can choose different sound modes, such as “Cinema,” “Music,” or “Game,” to enhance the audio for specific content.
- If available, adjust the equalizer settings to fine-tune the audio frequencies. This allows you to emphasize certain frequencies like bass or treble according to your personal preference.
- Explore other audio adjustments, such as dynamic range compression or dialogue enhancements, to optimize the sound based on the content you’re listening to.
- Make incremental adjustments and test the audio output by playing different types of content, such as movies, music, or games.
- Take note of the changes you make and how they impact your listening experience. This will help you find the perfect audio settings for your preferences.
- Remember that everyone’s audio preferences are different, so adjust the settings to your liking and in line with the acoustics of your room.
By adjusting the audio settings on your receiver, you can customize the sound output to suit your personal preferences and optimize the listening experience. Experiment with different settings and modes to find the perfect balance of clarity, depth, and richness in the audio.
Keep in mind that the specific audio settings may vary depending on your receiver model. Consult the receiver’s user manual for detailed information on the available options and how to navigate through the settings menu.
Now that you have fine-tuned the audio settings, it’s time to put your Camden Acoustic C-420 Surround Sound System to the test. Let’s move on to the next section to learn how to test the surround sound system and ensure everything is working correctly.
Testing the Surround Sound System
After setting up and adjusting the audio settings on your Camden Acoustic C-420 Surround Sound System, it’s important to test the system to ensure that everything is working as expected. Follow these steps to test the surround sound system:
- Choose a source that supports surround sound, such as a movie with a 5.1 or 7.1 audio track.
- Play the selected content on your audio source, ensuring that the audio output is set to the appropriate surround sound format.
- Listen carefully to the audio coming from each speaker. Pay attention to the positioning of sounds and how they move from one speaker to another.
- Test the front speakers by listening for clear and balanced sound coming from the left and right channels. Dialogue and musical instruments should be centered and well-defined.
- Assess the center speaker performance by listening to dialogue. It should be clear, distinct, and localized in the center of the soundstage.
- Evaluate the surround speakers by focusing on sounds that are meant to come from behind or to the sides of the listening area. Sounds should be immersive and help create a realistic surround sound experience.
- Pay attention to the subwoofer’s performance by listening for deep, impactful bass during action scenes or music tracks that have low-frequency elements.
- Make note of any issues, such as audio dropouts, unbalanced sound, or distortion. These issues may signal a problem with the connections, settings, or speaker configuration.
- Use the receiver’s remote control to adjust the volume and make sure that all speakers are evenly balanced. The sound should be consistent and surround you from the appropriate directions.
- Test different content, such as music, video games, and TV shows, to experience the versatility and dynamic range of your surround sound system.
By testing your Camden Acoustic C-420 Surround Sound System, you can ensure that each speaker is functioning correctly and delivering the desired audio experience. If you encounter any issues, refer to the troubleshooting section or consult the user manual to resolve the problem.
Remember that the quality of the audio source also plays a significant role in the overall sound experience. Ensure that the content you’re testing is of high quality and has appropriate surround sound encoding.
Now that you have tested the surround sound system and verified that it’s working as expected, you can sit back, relax, and enjoy the immersive audio experience that the Camden Acoustic C-420 has to offer.
Troubleshooting Tips
While setting up and testing your Camden Acoustic C-420 Surround Sound System, you may encounter some common issues that can be easily resolved. Here are a few troubleshooting tips to help you address any problems:
- Check the connections: Ensure that all cables and connections are secure and properly plugged in. Loose or faulty connections can cause audio dropouts or distorted sound.
- Verify the speaker setup: Double-check that each speaker is connected to the correct channel on the receiver and positioned correctly. Improper speaker placement can affect the sound quality and surround effect.
- Re-calibrate the system: Most receivers have an auto-calibration feature that can optimize the speaker levels and distances automatically. Run the calibration process again to ensure the audio is balanced and properly adjusted.
- Update the firmware: Check if there are any firmware updates available for your receiver. Updating the firmware can resolve software-related issues and improve overall system performance.
- Adjust audio settings: Experiment with different audio settings on the receiver to find the best balance for your preferences. Fine-tuning the equalizer, crossover frequency, or surround mode can significantly improve the sound quality.
- Check audio sources: Make sure the audio sources are set to output surround sound and have the appropriate audio format selected. Some devices may default to stereo, so adjust the settings accordingly.
- Isolate the issue: If only one speaker is not working, switch it with a known working speaker to determine if the problem lies with the speaker or the receiver. This will help you identify the faulty component.
- Consider room acoustics: The layout and acoustic properties of your room can affect the sound quality. Experiment with room treatments like acoustic panels or furniture placement to enhance the listening experience.
- Factory reset: If all else fails, consider performing a factory reset on your receiver. This will revert the settings back to their original state and can often resolve stubborn issues.
- Consult the user manual: If you’re unable to resolve the problem, refer to the user manual provided with your Camden Acoustic C-420 Surround Sound System. It contains specific troubleshooting steps and may address common issues.
Remember that troubleshooting steps may vary depending on the specific model and brand of your surround sound system. If you’re still facing issues, it’s advisable to reach out to the manufacturer’s customer support for further assistance.
By following these troubleshooting tips, you can address common problems and ensure that your Camden Acoustic C-420 Surround Sound System is performing optimally, delivering an immersive audio experience for your movies, games, and music.
Conclusion
Congratulations! You have successfully set up and configured your Camden Acoustic C-420 Surround Sound System. By following the steps outlined in this guide, you have transformed your home entertainment experience into a captivating journey filled with immersive audio.
We started by unboxing and checking the contents of the package, making sure that all the necessary components were present and in good condition. Then, we moved on to connecting the speakers, ensuring that they were properly placed and securely connected to the receiver. The subwoofer was added to provide that deep, resonant bass that adds a whole new dimension to your audio.
Your receiver served as the control center, allowing you to connect your audio sources and make adjustments to the audio settings. We walked you through the process of connecting your audio sources, adjusting the audio settings, and testing the surround sound system to ensure everything was working as expected.
If you encountered any issues along the way, we provided troubleshooting tips to help you overcome those challenges and optimize the performance of your surround sound system.
Now, you can sit back, relax, and immerse yourself in the incredible audio experience that the Camden Acoustic C-420 offers. Whether you’re enjoying a movie, playing a game, or listening to music, the surround sound system will transport you into a world of sound like never before.
Remember, every room setup and personal preference is unique, so don’t hesitate to experiment with different placements, settings, and audio sources to find the perfect balance and tailor the audio experience to your liking.
Thank you for choosing the Camden Acoustic C-420 Surround Sound System. We hope this guide has been helpful in setting up and optimizing your surround sound system to deliver outstanding audio performance. Now, it’s time to sit back, hit play, and enjoy an immersive audio adventure like no other.