Introduction
Are you tired of running out of storage space on your devices? Do you want a centralized storage solution that can be accessed by all your devices on your home network? If so, Network Attached Storage (NAS) might be the perfect solution for you. In this guide, we will walk you through the process of setting up Network Attached Storage over a Linksys EA6350 router, providing you with a convenient and efficient way to store, access, and share your files across multiple devices.
Network Attached Storage, commonly known as NAS, is a dedicated file storage device that provides local network access to a group of users for storing and retrieving data from a centralized location. NAS devices are equipped with multiple hard drives, allowing for greater storage capacity and data redundancy through RAID configurations. These devices offer a wide range of features, including automatic backups, media streaming, remote access, and file synchronization, making them an ideal solution for both personal and business use.
When it comes to choosing the right NAS device for your needs, there are several factors to consider. Storage capacity, data protection features, processor speed, and expandability options are all important aspects to evaluate. Additionally, compatibility with your existing network infrastructure, such as your router, is crucial to ensure seamless integration and optimal performance.
The Linksys EA6350 router is a popular choice for home networking, offering reliable wireless connectivity and advanced features to support various devices and applications. Setting up a NAS device over the Linksys EA6350 router requires a systematic approach to ensure proper configuration and connectivity. By following the steps outlined in this guide, you can effectively establish a network-attached storage solution that meets your storage and accessibility requirements.
In the following sections, we will delve into the process of selecting the right NAS device, setting up the Linksys EA6350 router, connecting the NAS device to the router, configuring the NAS device, and accessing your NAS over the network. By the end of this guide, you will have the knowledge and confidence to create your own centralized storage solution using Network Attached Storage and the Linksys EA6350 router. Let's get started!
What is Network Attached Storage (NAS)?
Network Attached Storage (NAS) is a specialized file storage device that operates as a central data hub within a local network environment. Unlike traditional external hard drives or cloud storage services, NAS systems provide dedicated, high-capacity storage that can be accessed by multiple users and devices simultaneously. These devices are designed to offer seamless file sharing, data backup, media streaming, and remote accessibility, making them a versatile solution for both personal and business use.
One of the key advantages of NAS is its ability to consolidate and organize data in a single, easily accessible location. By utilizing multiple hard drives configured in RAID (Redundant Array of Independent Disks) setups, NAS devices can offer data redundancy and protection against drive failures, ensuring the integrity and availability of stored information. This feature is particularly valuable for safeguarding critical data and maintaining continuous access to files.
Moreover, NAS devices are equipped with powerful processors and operating systems tailored for managing and serving files over a network. These systems often include built-in applications for automatic backups, file synchronization, media serving, and remote access, providing users with a comprehensive set of tools to manage their digital content effectively. Additionally, some NAS models offer expandable storage options, allowing users to scale their storage capacity as their needs grow.
From a user perspective, NAS devices present a user-friendly interface for managing files and accessing various services, making them accessible to individuals with varying technical expertise. By connecting to a local network, NAS devices can be accessed by computers, smartphones, tablets, and other network-enabled devices, enabling seamless file sharing and synchronization across different platforms.
Overall, Network Attached Storage serves as a centralized repository for storing, managing, and sharing digital content within a networked environment. Its robust feature set, data protection capabilities, and accessibility make it an invaluable asset for individuals and organizations seeking a reliable and efficient storage solution.
Choosing the Right NAS Device
When selecting a Network Attached Storage (NAS) device, it’s essential to consider several key factors to ensure that the chosen device aligns with your specific storage and accessibility requirements. Understanding these considerations will guide you in making an informed decision and ultimately lead to a seamless integration of the NAS device into your network environment.
Storage Capacity: Assess your current and future storage needs to determine the appropriate capacity for the NAS device. Consider factors such as the size of your data, the number of users accessing the NAS, and potential data growth over time. NAS devices typically support multiple hard drives, allowing for scalability and increased storage capacity as needed.
Data Protection Features: Data integrity is crucial, so opt for a NAS device with robust data protection features, such as RAID configurations and automatic backup capabilities. RAID setups provide redundancy and protection against drive failures, ensuring that your data remains accessible even in the event of hardware issues.
Processor Speed and Memory: The performance of a NAS device is influenced by its processor speed and available memory. Devices with faster processors and ample memory can handle concurrent file access, media streaming, and other resource-intensive tasks more efficiently, resulting in a smoother user experience.
Expandability Options: Choose a NAS device that offers expandable storage options, such as additional drive bays or compatibility with external storage expansion units. This flexibility allows you to scale your storage capacity as your needs evolve, without the need to replace the entire NAS device.
Compatibility with Existing Network Infrastructure: Ensure that the NAS device is compatible with your router and other network components. Compatibility issues can lead to connectivity issues and reduced performance, so verifying compatibility is essential for seamless integration.
Operating System and Applications: Evaluate the operating system and built-in applications offered by the NAS device. A user-friendly interface and a diverse set of applications for file management, backup, media streaming, and remote access can greatly enhance the overall usability and functionality of the NAS device.
By carefully considering these factors, you can select a NAS device that not only meets your current storage needs but also provides the scalability and features required to adapt to future demands. The right NAS device will serve as a reliable and efficient storage solution, enhancing your ability to manage and access your digital content seamlessly within your network environment.
Setting Up the Linksys EA6350 Router
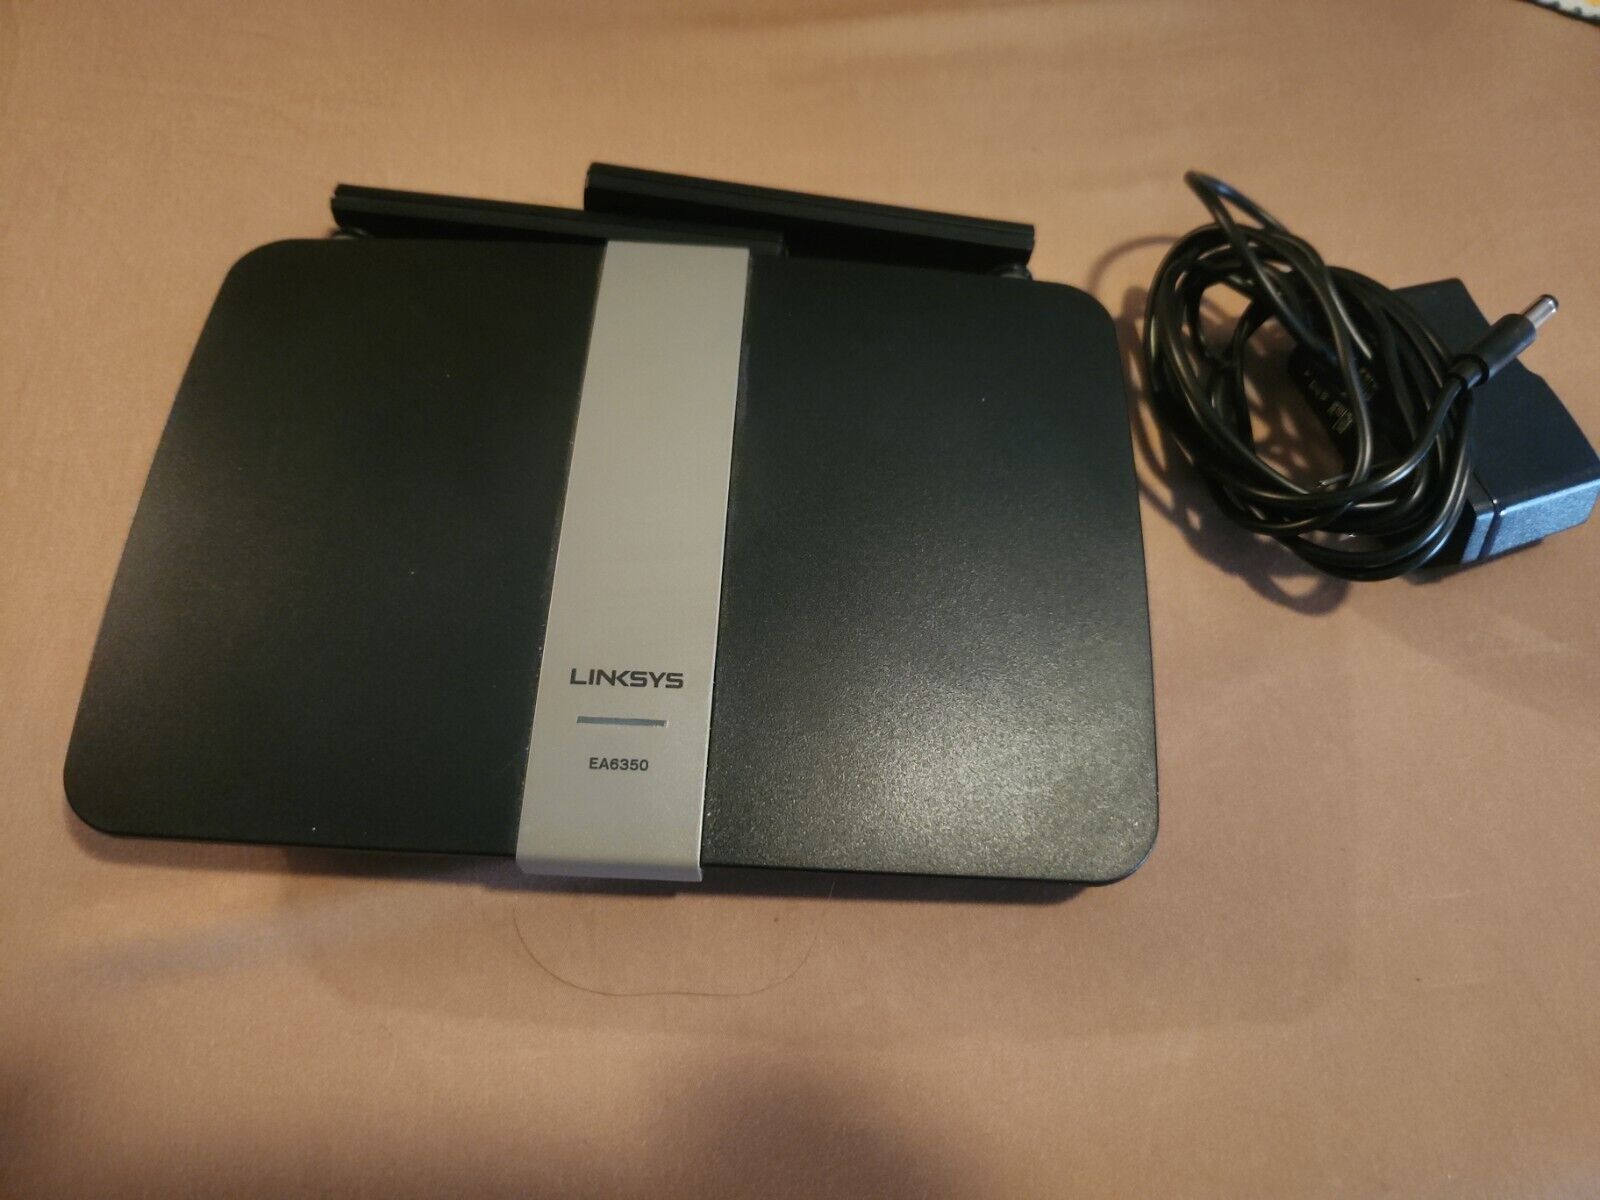
Before integrating a Network Attached Storage (NAS) device into your network, it’s crucial to ensure that your router is properly configured to support the seamless operation of the NAS. The Linksys EA6350 router offers advanced features and reliable wireless connectivity, making it an excellent choice for home networking. To set up the Linksys EA6350 router, follow these essential steps:
1. Unbox and Connect: Unbox the Linksys EA6350 router and connect it to a power source. Use the provided Ethernet cable to establish a connection between the router and your internet modem. Ensure that the router’s power and internet indicators are illuminated, indicating a successful connection.
2. Access the Router’s Web-Based Setup Page: Open a web browser on a computer or mobile device connected to the router’s network. Enter “http://192.168.1.1” in the browser’s address bar to access the router’s web-based setup page. You will be prompted to enter the router’s login credentials, which are typically set to the default values printed on the router’s label.
3. Configure Basic Settings: Once logged into the router’s setup page, you can configure basic settings such as the network name (SSID) and password for your wireless network. Create a strong and unique password to secure your wireless network from unauthorized access.
4. Update Firmware: Check for firmware updates for the Linksys EA6350 router and install any available updates. Keeping the router’s firmware up to date ensures optimal performance, security, and compatibility with network devices, including the NAS device.
5. Enable Guest Access (Optional): If desired, you can enable guest access on the router to provide visitors with limited access to your network without compromising the security of your primary network.
6. Configure Port Forwarding (If Required): If you intend to access your NAS device remotely over the internet, you may need to configure port forwarding on the router to direct incoming traffic to the NAS device. Consult the NAS device’s documentation for specific port forwarding requirements.
By following these steps, you can successfully set up the Linksys EA6350 router, ensuring that it is ready to support the integration of a NAS device into your network environment. The properly configured router will facilitate seamless communication and data transfer between the NAS device and the connected devices within your network.
Connecting the NAS Device to the Router
Once the Linksys EA6350 router is set up, the next crucial step is to establish a physical and logical connection between the Network Attached Storage (NAS) device and the router. This connection enables the NAS device to communicate with other devices on the network, facilitating seamless file sharing, data backup, and remote accessibility. Follow these steps to connect the NAS device to the router:
1. Locate an Available Ethernet Port: Identify an available Ethernet port on the back of the Linksys EA6350 router. These ports are typically labeled as LAN or Ethernet ports and are used to establish wired connections between network devices.
2. Connect the NAS Device: Use an Ethernet cable to connect one end to the Ethernet port on the NAS device and the other end to an available Ethernet port on the Linksys EA6350 router. Ensure that the connection is secure and that the Ethernet cable is not damaged or frayed.
3. Power On the NAS Device: Plug the NAS device into a power source and power it on. The device should boot up and establish a network connection through the Ethernet cable connected to the router.
4. Verify Connection Status: Access the router’s web-based setup page to verify the status of the connected devices. The NAS device should appear in the list of connected devices, indicating a successful physical connection between the NAS and the router.
5. Configure Network Settings (If Necessary): Depending on the NAS device’s configuration, you may need to adjust network settings to ensure proper communication with the router and other devices on the network. Refer to the NAS device’s documentation for guidance on network configuration.
6. Test Connectivity: Verify that the NAS device is accessible from a connected computer or device within the network. Attempt to access the NAS device’s web interface or shared folders to confirm that the connection is functioning as expected.
By completing these steps, you establish a direct connection between the NAS device and the Linksys EA6350 router, enabling seamless data transfer and accessibility within your network environment. The properly connected NAS device can now leverage the robust features of the router to provide efficient and reliable storage and file sharing capabilities to all connected devices.
Configuring the NAS Device
Once the Network Attached Storage (NAS) device is physically connected to the Linksys EA6350 router, the next step involves configuring the NAS device to optimize its functionality and ensure seamless integration with your network. The configuration process may vary depending on the specific NAS model, but the following general steps can guide you through the initial setup and configuration:
1. Access the NAS Web Interface: Using a web browser on a connected device within the network, enter the IP address of the NAS device in the browser’s address bar. This will typically lead you to the web-based interface of the NAS, where you can log in using the default credentials provided by the manufacturer.
2. Initialize the NAS: If the NAS device is new or has not been previously configured, you may be prompted to initialize the device and set up administrative credentials, including a secure username and password. It is essential to create strong login credentials to secure access to the NAS device.
3. Configure Storage Settings: Set up the storage configuration on the NAS device, including creating storage volumes, defining RAID levels (if applicable), and allocating storage space for different purposes such as data storage, backups, and media sharing.
4. Set Up User Accounts and Permissions: Create user accounts with specific access permissions to regulate file access and ensure data security. Assign appropriate user privileges for file sharing, data management, and administrative tasks based on your network’s requirements.
5. Enable Network Services: Activate network services such as file sharing protocols (e.g., SMB, AFP, NFS), media streaming, and remote access features to facilitate seamless data access and sharing across devices within the network and beyond.
6. Configure Backup and Synchronization: Set up automated backup schedules and synchronization tasks to safeguard critical data and ensure consistency across multiple devices. Utilize the NAS device’s backup applications to create redundant copies of important files and folders.
7. Update Firmware and Applications: Check for firmware updates and application enhancements for the NAS device. Keeping the device’s firmware and applications up to date is crucial for security, performance, and compatibility with network components, including the Linksys EA6350 router.
By following these steps and customizing the configuration settings to suit your specific requirements, you can effectively set up and configure the NAS device to deliver optimal storage, data management, and accessibility within your network environment. The properly configured NAS device, in conjunction with the Linksys EA6350 router, will provide a robust and reliable platform for storing, accessing, and sharing digital content across your connected devices.
Accessing Your NAS Over the Network
Once the Network Attached Storage (NAS) device is connected to the Linksys EA6350 router and properly configured, you can access the stored data and services over the network from various devices. This accessibility allows for seamless file sharing, media streaming, data backup, and remote access. Here are the essential steps to access your NAS over the network:
1. Locate the NAS on the Network: Using a computer or device connected to the same network as the NAS, open the file explorer or network browser to locate the NAS device. The NAS may appear under the network or storage sections, depending on the operating system and network configuration.
2. Access Shared Folders and Files: Once the NAS device is located, you can access shared folders and files stored on the NAS. Depending on the NAS configuration, you may be prompted to enter login credentials to access specific folders based on user permissions.
3. Map Network Drives (Optional): To simplify access to the NAS, consider mapping network drives on your computer. This allows you to assign drive letters to specific folders on the NAS, making it easier to access and manage files as if they were stored locally on your device.
4. Set Up Media Streaming: If the NAS device supports media streaming, you can access and stream multimedia content, such as music, videos, and photos, directly from the NAS to compatible devices within the network. This feature enhances entertainment options and simplifies media sharing across devices.
5. Configure Remote Access (If Desired): To access the NAS device remotely over the internet, configure remote access settings on the NAS and the router. This allows you to securely access your NAS and its contents from outside your local network, providing flexibility and convenience for accessing data while on the go.
6. Utilize Mobile Apps (If Available): Many NAS manufacturers offer mobile applications that enable easy access to the NAS and its contents from smartphones and tablets. These apps provide a user-friendly interface for managing files, streaming media, and performing backup and synchronization tasks on the go.
By following these steps, you can effectively access and utilize the NAS device over the network, leveraging its storage and sharing capabilities to streamline data management and accessibility across your connected devices. The seamless integration of the NAS with the Linksys EA6350 router ensures that you can efficiently store, retrieve, and share your digital content within your home network environment.
Conclusion
Setting up Network Attached Storage (NAS) over a Linksys EA6350 router provides a convenient and efficient solution for centralized data storage, accessibility, and sharing within a networked environment. By carefully selecting the right NAS device, configuring the router, and establishing a seamless connection between the NAS and the router, users can create a robust platform for managing digital content across multiple devices.
Network Attached Storage serves as a dedicated file storage solution that offers advanced features, including data protection, media streaming, remote access, and automated backups. The Linksys EA6350 router, known for its reliable wireless connectivity and advanced capabilities, complements the NAS device by providing a stable and high-speed network environment for seamless data transfer and accessibility.
By understanding the process of selecting the right NAS device based on storage capacity, data protection features, expandability, and compatibility with the existing network infrastructure, users can make informed decisions that align with their storage needs and future scalability requirements.
Setting up the Linksys EA6350 router involves configuring basic settings, updating firmware, and enabling essential features such as guest access and port forwarding, ensuring that the router is optimized to support the integration of the NAS device into the network environment.
Connecting the NAS device to the router and configuring its settings, including storage allocation, user permissions, and network services, establishes a robust foundation for efficient data management and accessibility within the network.
Accessing the NAS over the network enables users to seamlessly share files, stream media, and perform data backup and synchronization tasks, enhancing the overall usability and functionality of the NAS device within the networked environment.
In conclusion, the integration of Network Attached Storage over a Linksys EA6350 router offers a comprehensive and user-friendly solution for managing digital content across a network, providing a centralized and accessible platform for storing, sharing, and securing data within a connected environment. By following the outlined steps and considerations, users can establish a reliable and efficient network-attached storage solution that meets their storage and accessibility needs.