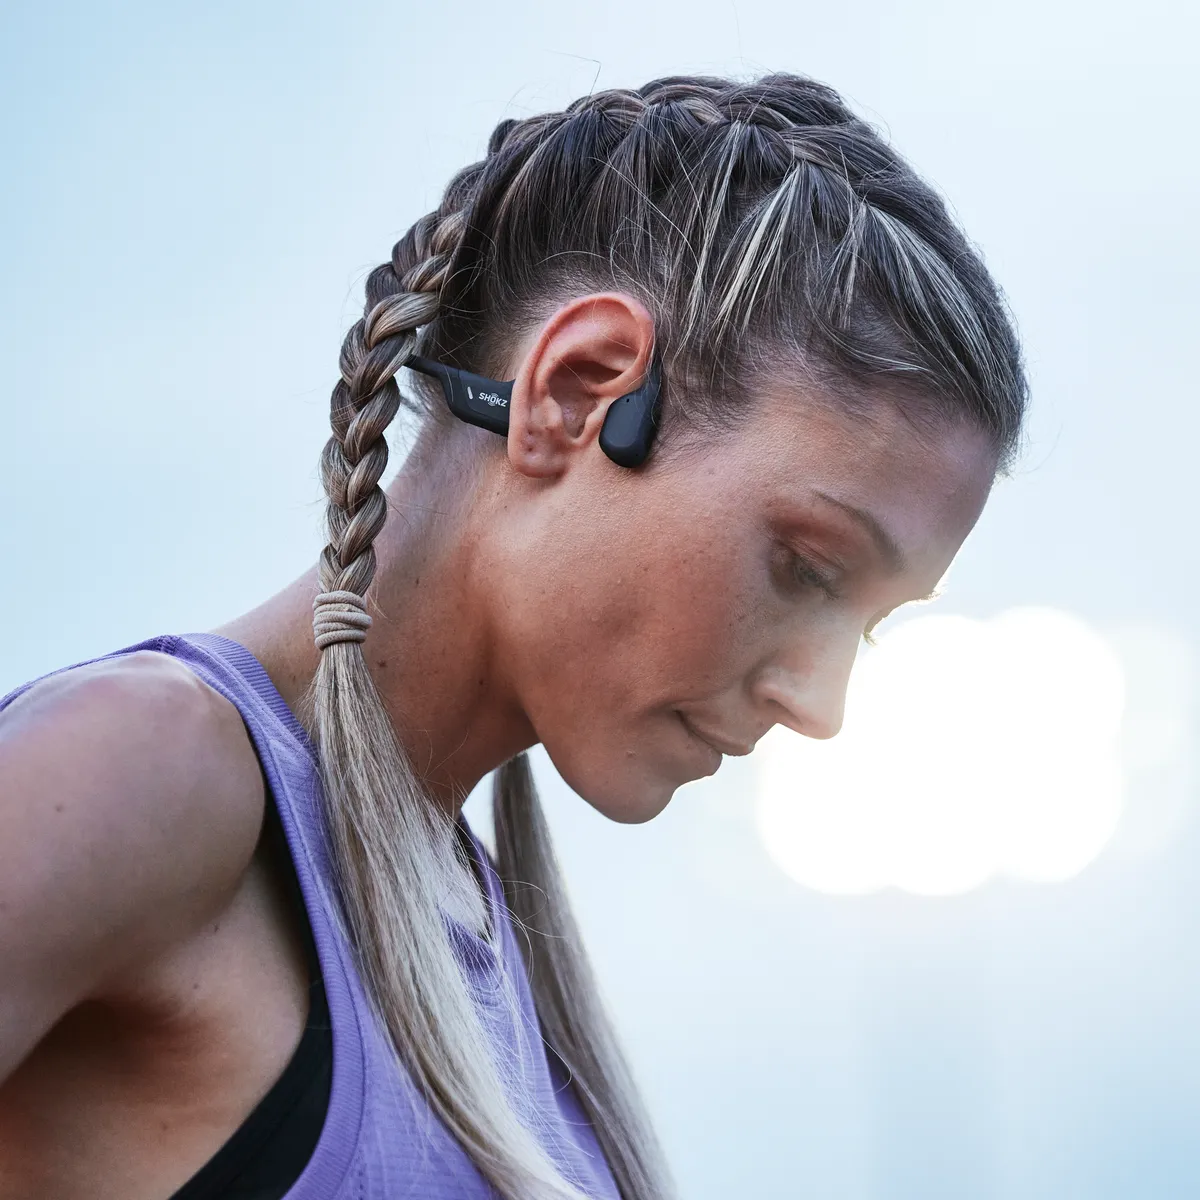
Introduction
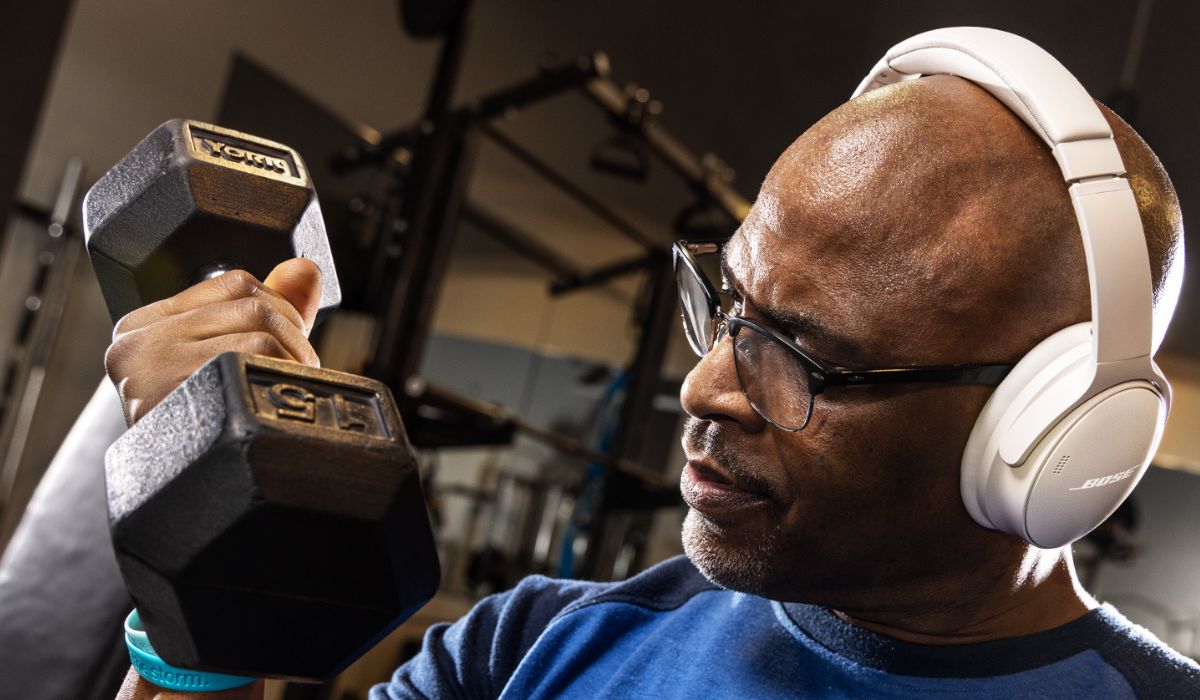
After an intense workout session, your over-ear headphones may be in need of a thorough cleaning. Sweat, dirt, and bacteria can accumulate on the earpads, headband, and other surfaces, affecting both hygiene and sound quality. Proper maintenance not only ensures a longer lifespan for your headphones but also contributes to a more comfortable and enjoyable listening experience.
In this guide, we will walk you through the steps to effectively clean your over-ear headphones after a workout. By following these simple yet essential cleaning techniques, you can maintain the hygiene and performance of your headphones, allowing you to continue enjoying your favorite music or podcasts with clarity and comfort.
Whether you prefer the immersive sound of over-ear headphones during your intense gym sessions or rely on them for outdoor workouts, it's crucial to keep them clean and well-maintained. With the right approach, you can easily remove sweat, grime, and bacteria, ensuring that your headphones remain in top condition for years to come.
Now, let's delve into the step-by-step process of cleaning your over-ear headphones to keep them fresh, hygienic, and ready for your next workout.
Step 1: Remove Earpads and Wipe Down
The first step in cleaning your over-ear headphones after a workout is to carefully remove the earpads. Depending on the headphone model, the earpads may be detachable or secured with a twist-lock mechanism. Gently detach the earpads, taking care not to damage the attachment points or the padding underneath.
Once the earpads are removed, use a soft, lint-free cloth lightly dampened with a mild cleaning solution to wipe down the earcup surfaces. Be cautious not to saturate the cloth or allow moisture to seep into the internal components of the headphones. Thoroughly clean the areas around the earpad attachment points to remove any accumulated sweat or debris.
Next, inspect the removed earpads for any visible dirt, sweat, or residue. If the earpads are made of leather or faux leather, use a leather cleaner or a mild soap solution to gently wipe the surface, removing any grime or sweat marks. For fabric or velour earpads, a fabric cleaner or a mixture of mild detergent and water can be used to spot-clean any visible stains.
By removing the earpads and wiping down the earcup surfaces, you can effectively eliminate sweat and dirt that may have accumulated during your workout, ensuring that your headphones remain clean and free from odor-causing bacteria.
With the earpads removed and the earcup surfaces wiped down, you are now ready to proceed to the next step in cleaning your over-ear headphones.
Step 2: Clean the Headband
After addressing the earpads, it’s essential to focus on cleaning the headband of your over-ear headphones. The headband, often in direct contact with your scalp and hair, can accumulate sweat, oil, and dirt during workouts. To begin, use a soft, dry cloth to gently wipe down the headband, removing any surface dust or debris.
If your headphones feature a leather or faux leather headband, it’s advisable to use a specialized leather cleaner or a mild soap solution to clean the surface. Apply the cleaner to a soft cloth and gently wipe the headband, paying attention to any areas with visible sweat or grime. For fabric or mesh headbands, a fabric cleaner or a mixture of mild detergent and water can be used to spot-clean any stains or residue.
For stubborn stains or areas with hardened sweat residue, a soft-bristled brush can be employed to gently agitate the surface while cleaning. Be cautious not to use excessive force, as this can damage the headband material. Additionally, avoid saturating the headband with excessive moisture, as this can seep into the internal components of the headphones.
Once the headband is thoroughly cleaned, use a dry cloth to remove any excess moisture and allow the headband to air dry completely before reattaching the earpads. Properly cleaning the headband ensures that your headphones remain hygienic and free from sweat and dirt buildup, contributing to a more comfortable and pleasant wearing experience.
With the headband cleaned and dried, you can now proceed to the next step in the process of effectively cleaning your over-ear headphones after a workout.
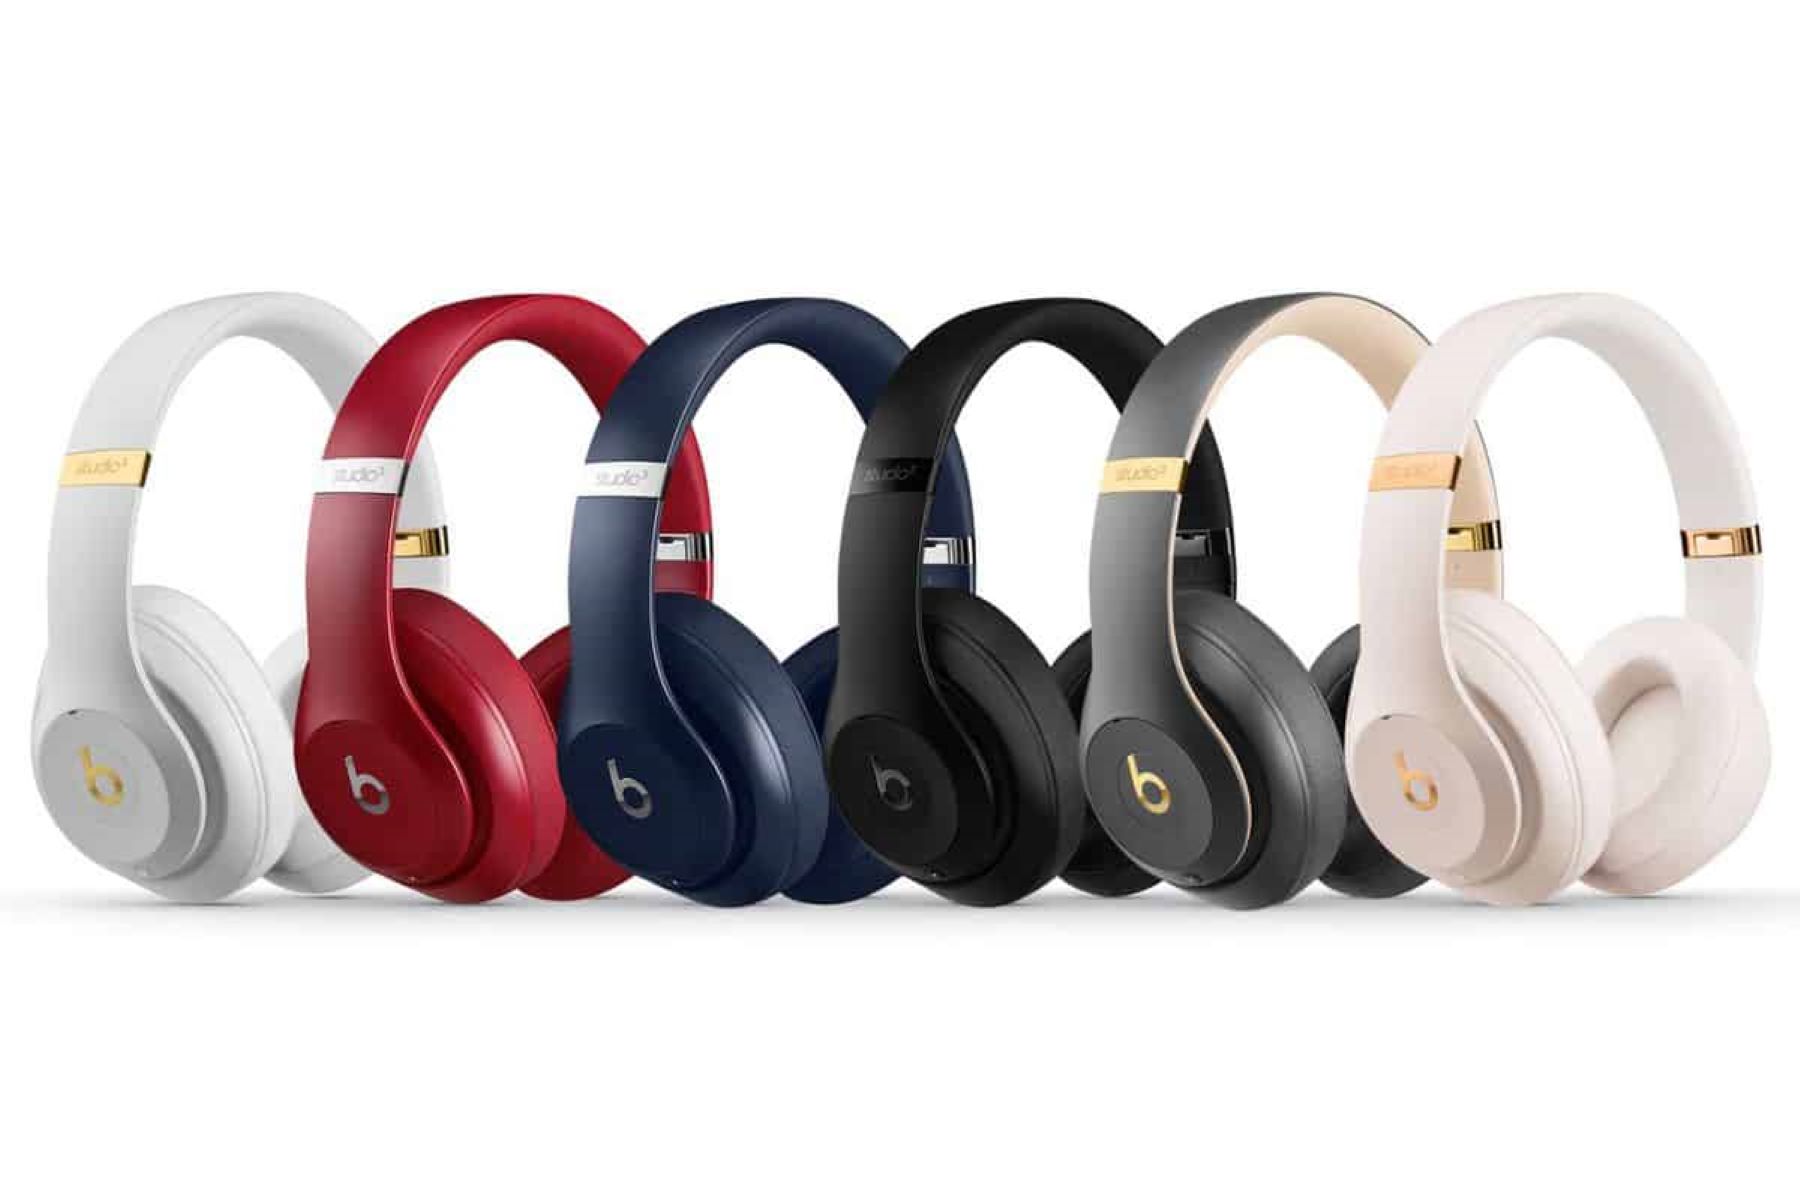
Step 3: Clean the Earpads
As a crucial component of over-ear headphones, the earpads require thorough cleaning to maintain hygiene and comfort. Depending on the material of the earpads, specific cleaning methods can be employed to effectively remove sweat, dirt, and bacteria.
If the earpads are made of leather or faux leather, begin by using a specialized leather cleaner or a mild soap solution to clean the surface. Gently wipe the earpads with the cleaning solution, paying attention to any areas with visible sweat or grime. Avoid excessive moisture and ensure that the earpads are not saturated during the cleaning process.
For fabric or velour earpads, a fabric cleaner or a mixture of mild detergent and water can be used to spot-clean any visible stains or residue. Use a soft cloth to gently clean the earpads, taking care not to overly saturate the material. If the earpads are removable, it may be beneficial to hand wash them with a mild detergent solution, ensuring thorough rinsing and careful drying before reattaching them to the headphones.
When cleaning the earpads, it’s essential to pay attention to the seams and edges where sweat and dirt may accumulate. A soft-bristled brush can be utilized to gently agitate these areas, effectively dislodging any debris or residue. After cleaning, use a dry cloth to remove excess moisture and allow the earpads to air dry completely before reattaching them to the headphones.
Properly cleaning the earpads not only ensures hygiene but also contributes to the longevity of the headphone padding and the overall comfort of the listening experience. By addressing the earpads with the appropriate cleaning methods, you can maintain a clean and comfortable surface for extended use.
With the earpads cleaned and dried, you are now ready to proceed to the next step in the process of effectively cleaning your over-ear headphones after a workout.
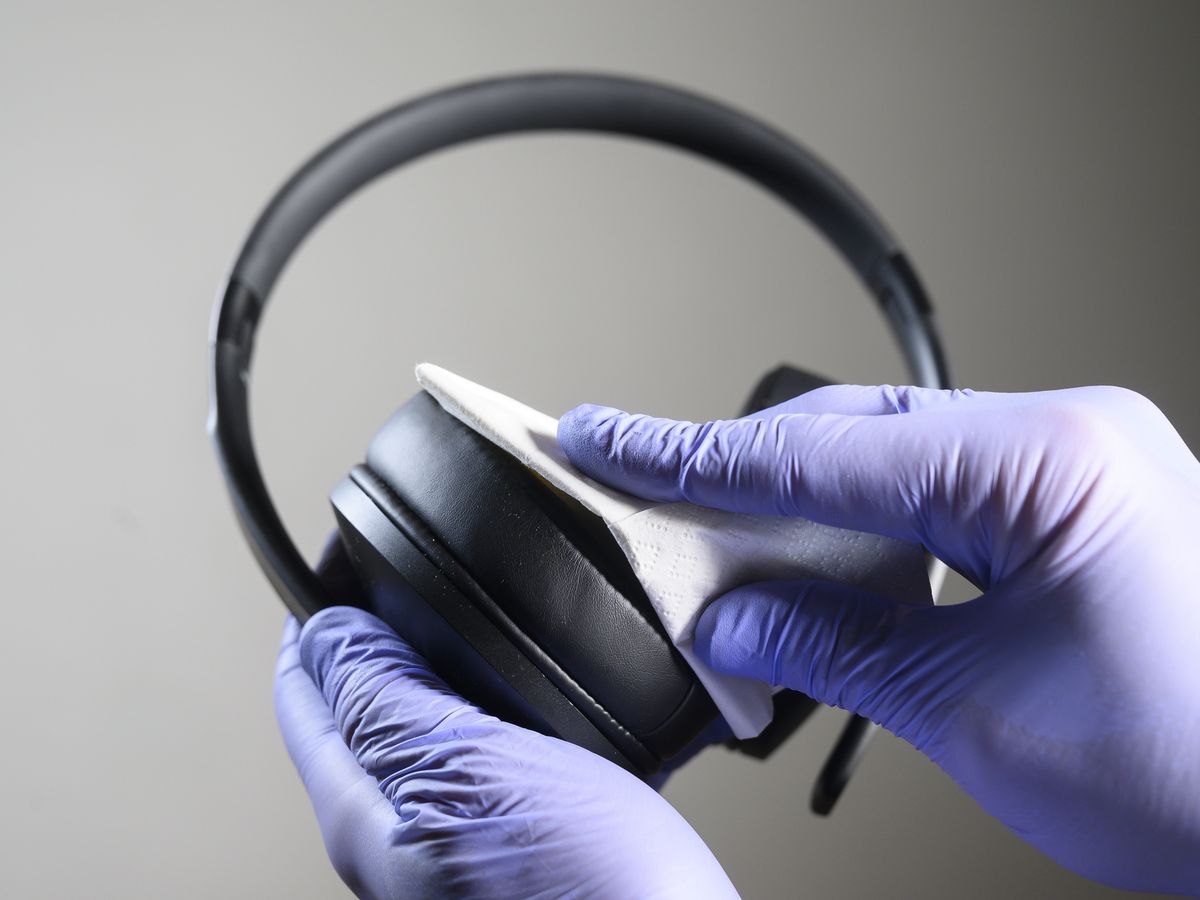
Step 4: Sanitize the Headphones
Sanitizing your over-ear headphones after cleaning is a crucial step in ensuring that they remain free from harmful bacteria and germs, especially after intense workout sessions. To effectively sanitize the headphones, a gentle yet potent cleaning solution can be utilized to disinfect the surfaces and eliminate any lingering bacteria.
One effective method of sanitizing is to use a mixture of isopropyl alcohol and water. Dilute the isopropyl alcohol with water, creating a solution that is gentle on the headphone surfaces while effectively disinfecting them. Dampen a soft, lint-free cloth with the alcohol solution and gently wipe down the earcup surfaces, headband, and any other areas that come into contact with the skin during use.
It’s important to avoid using excessive moisture during the sanitization process, as this can potentially damage the internal components of the headphones. Additionally, ensure that the alcohol solution does not come into contact with sensitive electronic parts, such as the drivers or the wiring inside the earcups.
For leather or faux leather surfaces, it’s advisable to spot-test the alcohol solution on a small, inconspicuous area to ensure that it does not cause discoloration or damage. Similarly, fabric or mesh surfaces should be gently sanitized with the alcohol solution, taking care not to oversaturate the material.
By effectively sanitizing your over-ear headphones, you can eliminate bacteria and germs, contributing to a cleaner and more hygienic listening experience. Regular sanitization after workouts can help prevent the buildup of odor-causing bacteria and maintain the overall cleanliness of your headphones.
With the headphones effectively sanitized, you are now prepared to move on to the next step in the process of cleaning your over-ear headphones after a workout.
Step 5: Let the Headphones Air Dry
After the thorough cleaning and sanitization process, allowing your over-ear headphones to air dry is essential to ensure that all moisture evaporates, leaving them completely dry and ready for use. Properly drying the headphones helps prevent the risk of moisture-related damage and ensures that they remain in optimal condition for future workouts and listening sessions.
To begin the drying process, gently shake the headphones to remove any excess moisture from the surfaces. Use a soft, absorbent cloth to carefully blot any remaining moisture from the earcup surfaces, headband, and earpad attachment points. Avoid rubbing the surfaces vigorously, as this can potentially damage the materials or push moisture into internal components.
Once excess moisture has been removed, place the headphones in a well-ventilated area at room temperature. Avoid exposing them to direct sunlight, heat sources, or excessive humidity, as these conditions can adversely affect the headphone materials and internal components. Allowing the headphones to air dry naturally helps ensure that any residual moisture evaporates without causing damage.
If the earpads were removed for cleaning, ensure that they are also thoroughly dried before reattaching them to the headphones. Additionally, if any cleaning solution or sanitizer was used, it’s crucial to allow the headphones to dry completely to prevent potential chemical residue from affecting the surfaces or internal components.
Properly drying the headphones after cleaning and sanitization is a critical step in maintaining their longevity and performance. By allowing them to air dry thoroughly, you can ensure that they are free from moisture and ready for use, providing a clean and comfortable listening experience.
With the headphones effectively air-dried, you have successfully completed the process of cleaning your over-ear headphones after a workout, ensuring that they remain hygienic, well-maintained, and ready for your next session.
Conclusion
By following the step-by-step cleaning process outlined in this guide, you have effectively maintained the hygiene and performance of your over-ear headphones after a workout. Regular cleaning and maintenance not only contribute to a more pleasant and comfortable listening experience but also extend the lifespan of your headphones.
Removing the earpads and wiping down the earcup surfaces, cleaning the headband, and addressing the earpads with appropriate cleaning methods are essential steps in eliminating sweat, dirt, and bacteria that may accumulate during workouts. Additionally, sanitizing the headphones with a gentle cleaning solution helps to disinfect the surfaces, ensuring a hygienic listening experience.
Allowing the headphones to air dry thoroughly after the cleaning process is crucial to prevent moisture-related damage and ensure that they are ready for future use. Proper drying helps maintain the integrity of the headphone materials and internal components, contributing to their longevity and performance.
By incorporating these cleaning techniques into your headphone maintenance routine, you can enjoy a consistently clean, comfortable, and hygienic listening experience. Whether you use your headphones for intense workouts or outdoor activities, regular cleaning and maintenance are key to preserving their quality and ensuring that they remain in optimal condition.
Remember to incorporate these cleaning steps into your regular headphone care routine, especially after intense workouts or prolonged use. By doing so, you can continue to enjoy your favorite music, podcasts, and audio content with clarity, comfort, and peace of mind, knowing that your headphones are well-maintained and hygienic.
With your over-ear headphones now clean, sanitized, and thoroughly dried, they are ready to deliver an exceptional listening experience, free from the distractions of sweat, dirt, or bacteria. By investing a little time and effort into their maintenance, you can ensure that your headphones continue to provide high-quality sound and comfort for years to come.