Introduction
So, you've got your hands on a pair of Skullcandy over-ear headphones, and you're ready to immerse yourself in your favorite tunes or podcasts. These stylish and high-quality headphones are designed to deliver an exceptional audio experience, whether you're at home, on the go, or at the gym. However, before you can start enjoying your music, you need to know how to connect your Skullcandy over-ear headphones properly.
In this comprehensive guide, we'll walk you through the essential steps to set up and use your Skullcandy over-ear headphones. From unboxing the headphones to troubleshooting common issues, we've got you covered. By the end of this guide, you'll be ready to pair your headphones with your preferred devices and start enjoying crystal-clear sound and deep bass.
Whether you're a tech-savvy audiophile or a casual music enthusiast, this guide is designed to be user-friendly and easy to follow. We'll provide clear, step-by-step instructions to ensure that you can make the most of your Skullcandy over-ear headphones without any hassle. So, grab your headphones, and let's dive into the exciting world of high-quality audio and seamless connectivity.
Now, let's embark on this journey together and unlock the full potential of your Skullcandy over-ear headphones. It's time to elevate your listening experience and enjoy music the way it's meant to be heard. Let's get started!
Step 1: Unboxing and Checking the Contents
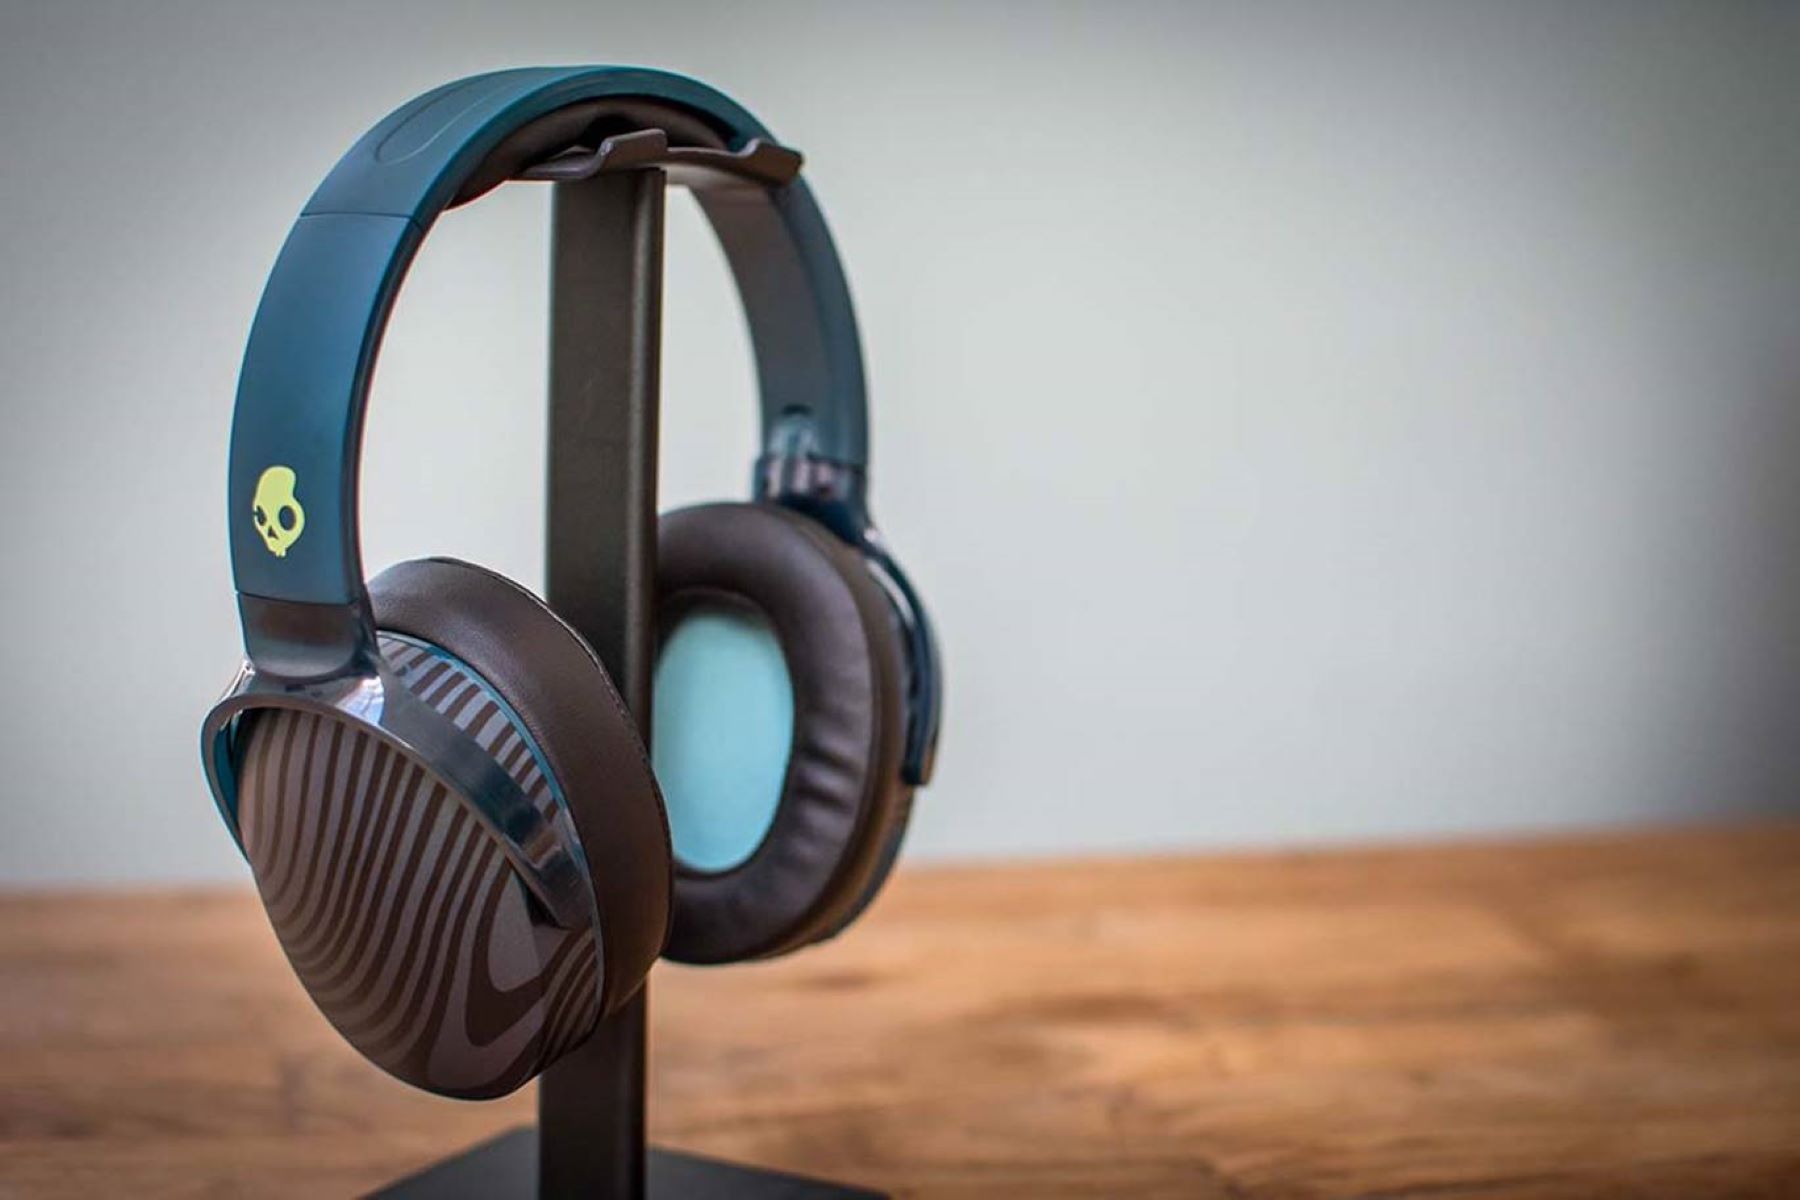
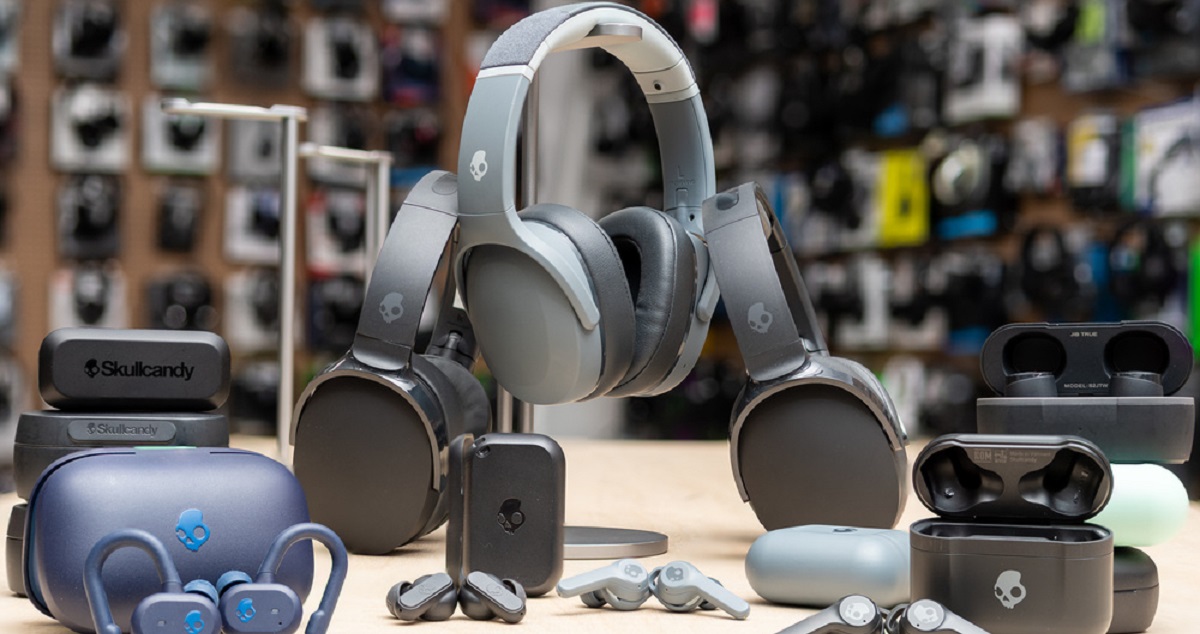
Before you can begin using your Skullcandy over-ear headphones, it’s essential to unbox them carefully and ensure that all the necessary components are included. Here’s a step-by-step guide to unboxing your new headphones and checking the contents:
- Inspect the Packaging: Start by examining the packaging of the Skullcandy over-ear headphones. Look for any signs of damage or tampering during transit. If the packaging appears to be in good condition, proceed to open the box.
- Open the Box: Gently open the box containing the headphones, taking care not to damage any of the contents inside. You may find that the box is designed to open easily, allowing you to access the headphones and accessories without difficulty.
- Check the Contents: Once the box is open, carefully remove the Skullcandy over-ear headphones and any accompanying accessories. Common accessories may include a charging cable, auxiliary cable, user manual, and carrying pouch. Ensure that all the expected items are present and in good condition.
- Inspect the Headphones: Take a close look at the headphones themselves. Check for any visible signs of damage or defects. Pay attention to the ear cushions, headband, and overall construction of the headphones to ensure that they are free from any manufacturing flaws.
- Review the Documentation: If your headphones come with a user manual or quick start guide, take a moment to review the provided documentation. The user manual may contain important information about charging, pairing, and using the headphones effectively.
By following these steps, you can ensure that your Skullcandy over-ear headphones are in optimal condition and ready to be set up for use. Unboxing the headphones carefully and checking the contents will help you identify any issues early on and facilitate a smooth setup process.
Step 2: Charging the Headphones
After unboxing your Skullcandy over-ear headphones, the next crucial step is to ensure they are adequately charged before use. Here’s a detailed guide on how to charge your headphones:
- Locate the Charging Port: Examine the headphones to locate the charging port. It is typically located on one of the ear cups. Once you have identified the charging port, you can proceed to the next step.
- Use the Provided Cable: Skullcandy over-ear headphones usually come with a USB charging cable. Use this cable to connect the headphones to a power source, such as a USB port on a computer, a wall adapter, or a portable power bank.
- Charging Indicator: When the headphones are connected to a power source, a charging indicator light may illuminate to indicate that the charging process has begun. This light may be located near the charging port or on the ear cups. It’s essential to allow the headphones to charge fully before using them for the first time.
- Charging Time: The charging time for Skullcandy over-ear headphones can vary depending on the model and battery capacity. Refer to the user manual or product specifications to determine the approximate charging time required for a full charge.
- Unplug and Store: Once the headphones are fully charged, unplug the charging cable and store it safely for future use. Your Skullcandy over-ear headphones are now ready to be paired with your preferred devices for an exceptional audio experience.
By following these steps, you can ensure that your Skullcandy over-ear headphones are charged and ready to deliver immersive sound quality for extended listening sessions. Properly charging the headphones is essential for maximizing their performance and longevity.
Step 3: Pairing the Headphones with a Device
Pairing your Skullcandy over-ear headphones with a compatible device is a straightforward process that allows you to enjoy wireless audio playback. Follow these steps to pair your headphones with a device:
- Power On the Headphones: Press and hold the power button on the headphones to turn them on. You may hear an audible indicator that the headphones are powered up and ready for pairing.
- Enable Bluetooth on the Device: Ensure that the Bluetooth function on your smartphone, tablet, computer, or other compatible device is activated. This allows the device to discover and connect to nearby Bluetooth accessories, including your Skullcandy headphones.
- Enter Pairing Mode: Most Skullcandy headphones have a dedicated pairing mode that can be activated by pressing and holding the Bluetooth or pairing button. Refer to the user manual for specific instructions on how to initiate pairing mode for your headphones.
- Select the Headphones: On your device, navigate to the Bluetooth settings and scan for available devices. Look for the name of your Skullcandy headphones in the list of discovered devices and select them to initiate the pairing process.
- Complete the Pairing Process: Once you have selected your headphones on the device, the pairing process will begin. Follow any on-screen prompts to confirm the pairing request and establish a secure Bluetooth connection between the device and the headphones.
- Confirmation and Audio Playback: Upon successful pairing, you should receive a confirmation message on your device, indicating that the Skullcandy headphones are now connected. You can now enjoy wireless audio playback through your headphones.
By following these steps, you can seamlessly pair your Skullcandy over-ear headphones with your preferred device, whether it’s a smartphone, tablet, laptop, or another Bluetooth-enabled gadget. Once paired, you can experience the freedom of wireless audio and enjoy your favorite music, podcasts, and more without being tethered by cables.
Step 4: Using the Controls
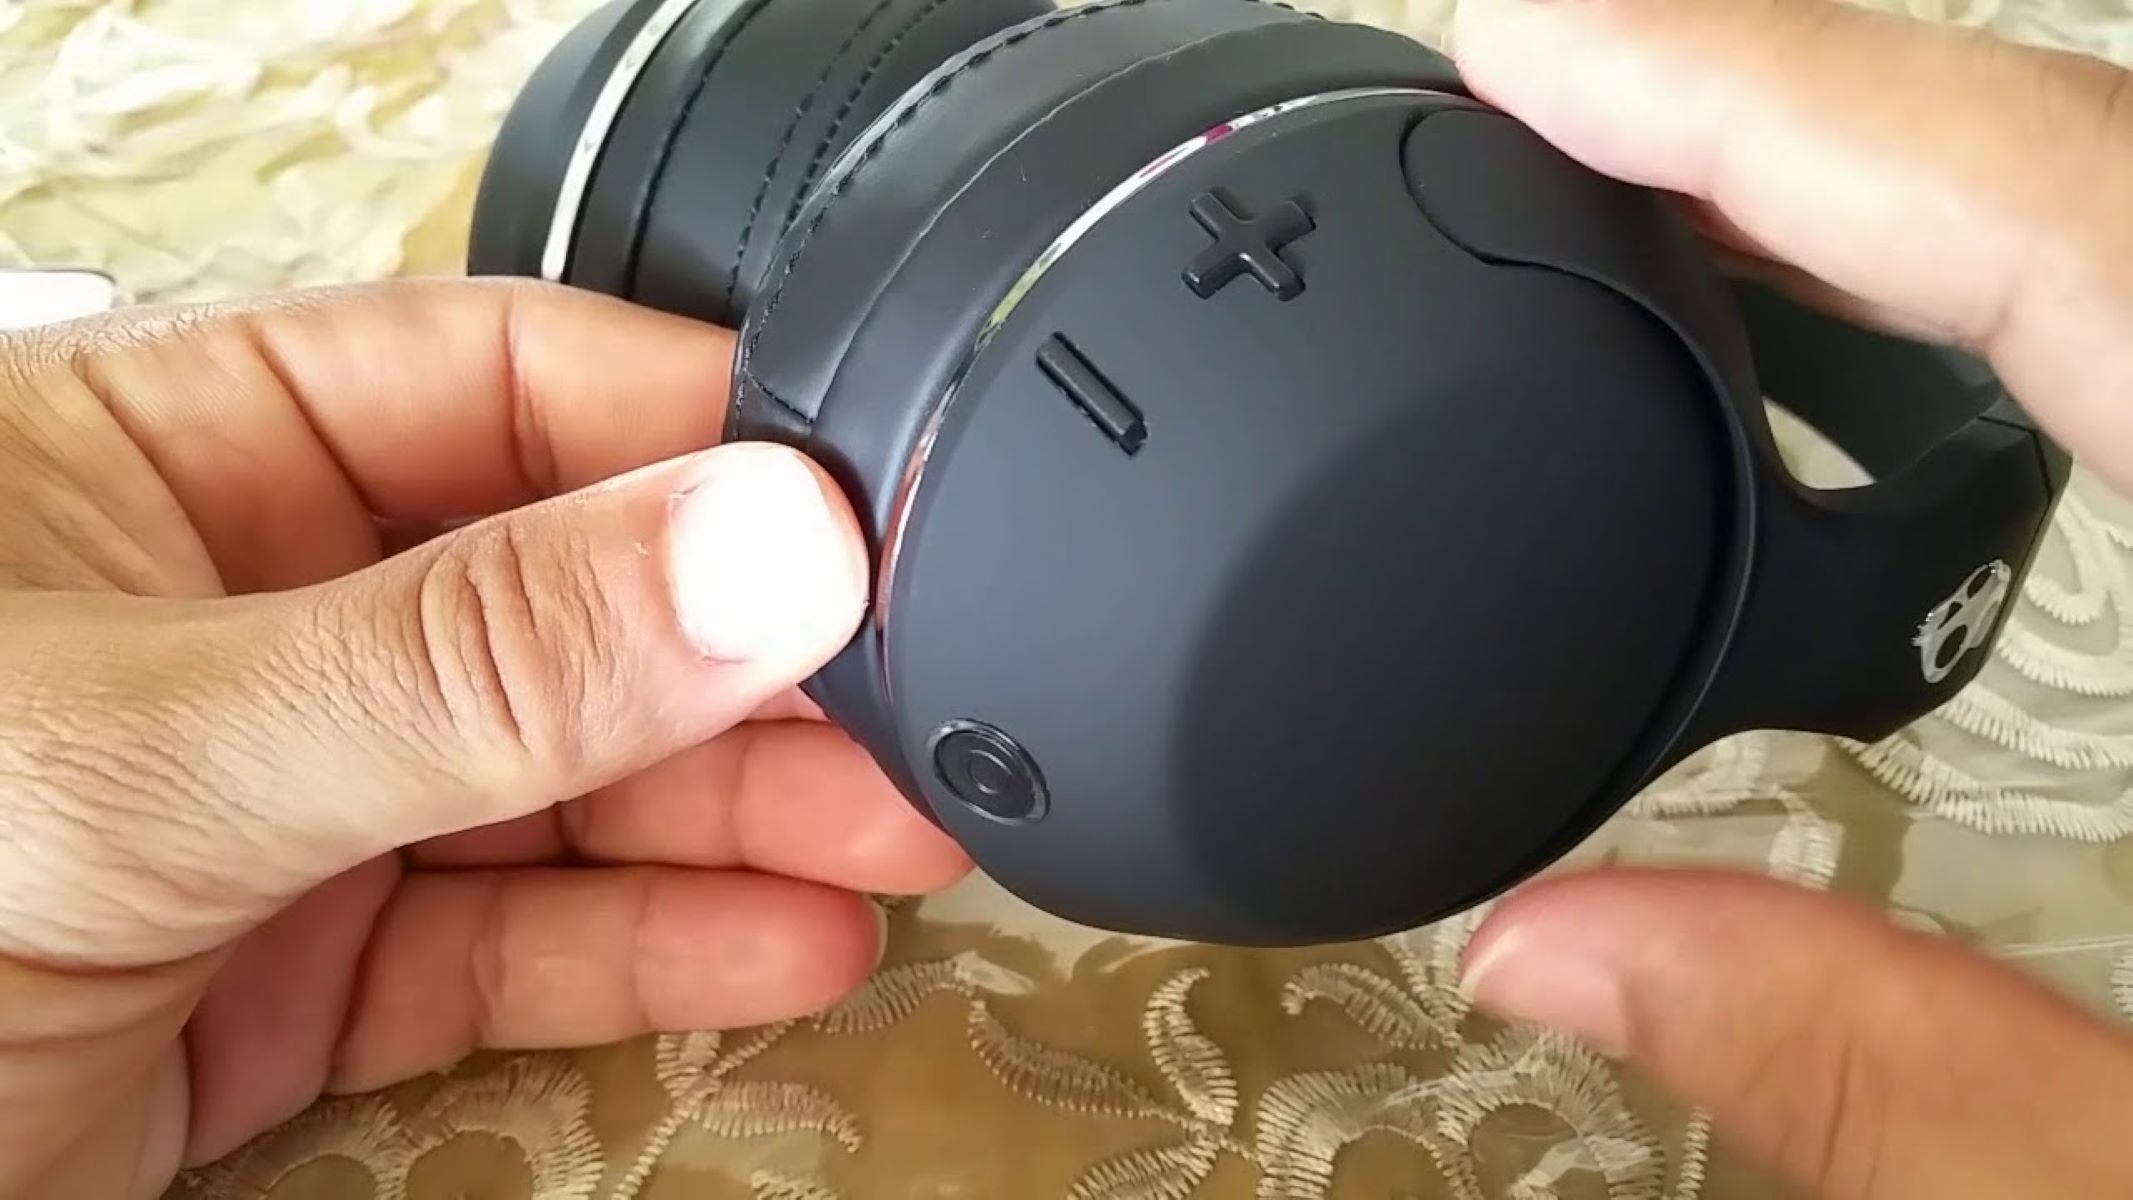
Understanding how to use the controls on your Skullcandy over-ear headphones is essential for navigating playback, adjusting volume, and managing calls seamlessly. Here’s a guide to help you familiarize yourself with the controls:
- Power On/Off: The power button is typically used to turn the headphones on and off. Press and hold the power button for a few seconds to power the headphones on, and do the same to power them off when not in use.
- Volume Adjustment: Most Skullcandy headphones feature volume control buttons that allow you to increase or decrease the audio level directly from the headphones. Familiarize yourself with the location of these buttons and their functions for effortless volume adjustment.
- Playback Controls: Depending on the model, your headphones may include playback controls such as play/pause, track skip, and track navigation buttons. These controls enable you to manage your music playback without reaching for your connected device.
- Answer/End Calls: If your headphones have a built-in microphone for hands-free calling, there will be a designated button for answering and ending calls. This feature allows you to manage incoming and outgoing calls without removing your device from your pocket or bag.
- Auxiliary Input: Some Skullcandy headphones offer the option to connect an auxiliary audio cable for wired playback. Locate the auxiliary input port on the headphones and use it to connect to non-Bluetooth devices, such as older audio sources or devices without Bluetooth capability.
- Voice Assistant Activation: Many modern headphones include a dedicated button for activating voice assistants such as Siri, Google Assistant, or Alexa. This feature allows you to access voice commands and perform various tasks hands-free using your connected device’s voice assistant.
By familiarizing yourself with the controls and functions of your Skullcandy over-ear headphones, you can optimize your listening experience and take advantage of the convenient features offered by the headphones. Whether it’s adjusting the volume, managing calls, or accessing voice assistants, the intuitive controls make it easy to stay connected and immersed in your audio content.
Step 5: Troubleshooting Common Issues
Encountering occasional issues with your Skullcandy over-ear headphones is not uncommon, but knowing how to troubleshoot and resolve these issues can save you time and frustration. Here are some common problems and their solutions:
- Bluetooth Connection Problems: If you experience difficulty connecting your headphones to a Bluetooth device, ensure that the headphones are in pairing mode and that the device’s Bluetooth function is enabled. Additionally, try moving the device closer to the headphones to establish a stable connection.
- Audio Quality Issues: If you notice distorted or low-quality audio playback, check the wireless signal strength and the battery level of the headphones. Interference from other electronic devices and low battery power can impact audio quality. Ensure that the headphones are fully charged for optimal performance.
- Unresponsive Controls: In the event that the headphone controls are unresponsive, perform a reset by powering the headphones off and on again. Additionally, make sure that the controls are not obstructed by debris or dirt, as this can impede their functionality.
- Charging Problems: If the headphones fail to charge or hold a charge, verify that the charging cable and power source are functioning correctly. Clean the charging port on the headphones and ensure a secure connection with the charging cable to address any charging issues.
- Audio Dropouts or Interruptions: If you experience audio dropouts or interruptions during wireless playback, try moving the connected device closer to the headphones to minimize signal interference. Additionally, ensure that there are no obstructions or wireless interference between the device and the headphones.
- Muffled Sound or Imbalanced Audio: Should you notice muffled sound or imbalanced audio between the left and right channels, check the ear cushions for debris or blockages. Clean the ear cushions and ensure a proper fit to maintain optimal sound quality.
By addressing these common issues proactively, you can troubleshoot and resolve potential challenges with your Skullcandy over-ear headphones, ensuring a seamless and enjoyable listening experience. Understanding how to troubleshoot these issues empowers you to maximize the performance and functionality of your headphones.
Conclusion
Congratulations! You have successfully navigated the setup and usage of your Skullcandy over-ear headphones. By following the steps outlined in this guide, you have unboxed your headphones, ensured they are properly charged, paired them with your preferred device, familiarized yourself with the controls, and learned how to troubleshoot common issues. As a result, you are now equipped to enjoy an immersive and seamless audio experience with your Skullcandy headphones.
These stylish and high-performance headphones are designed to deliver exceptional sound quality, whether you’re listening to music, engaging in phone calls, or accessing voice assistants. The intuitive controls, wireless connectivity, and comfortable design make the Skullcandy over-ear headphones a versatile and indispensable accessory for your audio needs.
As you embark on your journey with your Skullcandy over-ear headphones, remember to take advantage of the convenience and freedom they offer. Whether you’re unwinding with your favorite playlist, staying focused during workouts, or immersing yourself in a podcast, your headphones are your gateway to a world of captivating audio content.
Should you encounter any challenges along the way, refer back to this guide for troubleshooting tips and helpful insights. By staying informed and proactive, you can ensure that your experience with your Skullcandy over-ear headphones remains consistently enjoyable and hassle-free.
Now, it’s time to put on your headphones, select your favorite tracks, and let the music transport you to new realms of sonic bliss. Embrace the power of premium audio and elevate your listening adventures with your Skullcandy over-ear headphones. Get ready to immerse yourself in a world of sound, where every note and beat comes to life in stunning clarity and depth.