Introduction
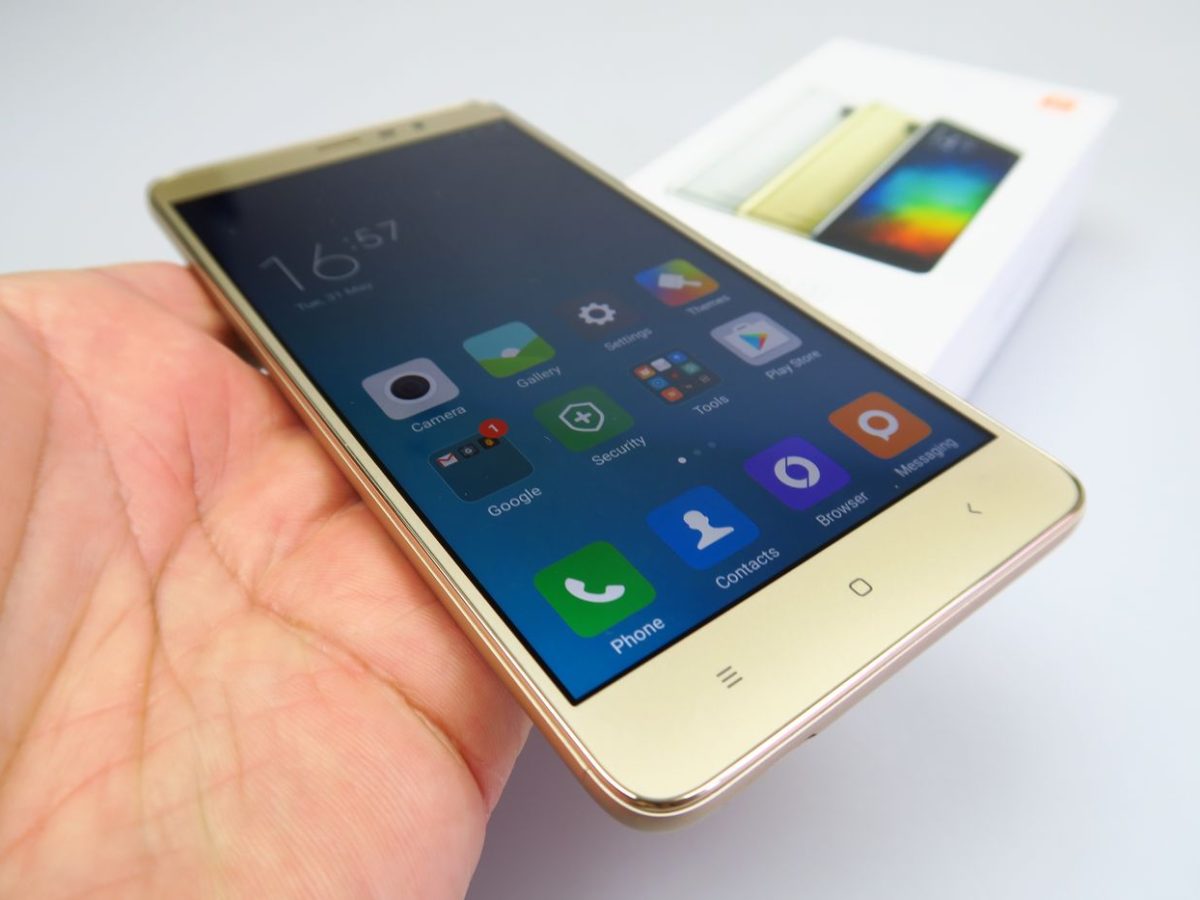
The Xiaomi Redmi Note 3 Pro is a popular and feature-rich smartphone that has garnered a strong following among tech enthusiasts and everyday users alike. Its impressive performance, sleek design, and affordable price point make it a compelling choice for those seeking a reliable mobile device. However, to fully harness the potential of this smartphone, it's crucial to ensure that the necessary drivers are properly installed on your Windows computer.
In this comprehensive guide, we will walk you through the detailed steps for installing the Xiaomi Redmi Note 3 Pro USB driver on your Windows system. By following these instructions, you will be able to establish a seamless connection between your Redmi Note 3 Pro and your computer, enabling smooth data transfer, firmware updates, and various other essential functions.
Whether you are a seasoned tech aficionado or a novice user, this guide is designed to provide clear and concise instructions, ensuring that you can complete the driver installation process with confidence. With the right drivers in place, you can unlock the full potential of your Xiaomi Redmi Note 3 Pro and enjoy a seamless and efficient user experience.
Now, let's delve into the step-by-step process of downloading and installing the USB driver for the Xiaomi Redmi Note 3 Pro on your Windows computer. By the end of this guide, you will have the necessary knowledge and tools to establish a stable and reliable connection between your smartphone and your Windows system, empowering you to make the most of your device's capabilities.
Step 1: Downloading the Xiaomi Redmi Note 3 Pro USB Driver
To begin the process of installing the USB driver for your Xiaomi Redmi Note 3 Pro on your Windows computer, the first step is to download the necessary driver software. This crucial component serves as the bridge between your smartphone and your computer, facilitating seamless communication and data transfer.
-
Navigate to the Official Xiaomi Website: Start by visiting the official Xiaomi website to access the most reliable and up-to-date USB driver for the Redmi Note 3 Pro. The official website is the safest source for obtaining the correct driver, ensuring compatibility and reliability.
-
Locate the Support or Downloads Section: Once on the Xiaomi website, navigate to the support or downloads section. Here, you can find a dedicated area for drivers and software related to the Redmi Note 3 Pro. Look for the specific USB driver designed for Windows operating systems.
-
Select the Correct Driver Version: It's essential to select the appropriate driver version that corresponds to your Windows operating system. Whether you are using Windows 7, 8, 10, or any other version, ensure that you download the corresponding driver to guarantee seamless compatibility.
-
Initiate the Download: Once you have located the correct USB driver for the Redmi Note 3 Pro and verified its compatibility with your Windows system, initiate the download process. Depending on the website's interface, you may encounter a direct download link or a button to commence the download.
-
Verify the Downloaded File: After the download is complete, it's prudent to verify the integrity of the downloaded file. Check the file size and compare it with the official specifications provided on the Xiaomi website to ensure that the file has been downloaded in its entirety without any corruption.
By following these detailed steps, you can successfully download the official USB driver for the Xiaomi Redmi Note 3 Pro, laying the groundwork for the subsequent installation process. With the driver file securely downloaded to your computer, you are now ready to proceed to the next step of installing the USB driver on your Windows system.
Step 2: Installing the USB Driver on Windows
With the official Xiaomi Redmi Note 3 Pro USB driver successfully downloaded to your Windows computer, the next crucial step is to proceed with the installation process. This step is essential for establishing a seamless and stable connection between your smartphone and your Windows system, enabling various functionalities such as file transfers, firmware updates, and more. Follow the detailed instructions below to ensure a smooth and successful installation of the USB driver.
-
Locate the Downloaded Driver File: Begin by locating the downloaded USB driver file on your computer. Depending on your browser settings, the file may be found in the default download location or the directory you specified during the download process. It's essential to have the file readily accessible for the installation steps.
-
Extract the Driver Package (if applicable): In some cases, the downloaded driver file may be compressed into a ZIP or RAR archive to minimize file size. If this is the case, use a file extraction utility such as WinRAR or 7-Zip to extract the contents of the driver package to a convenient location on your computer. This will reveal the necessary files and setup executable required for the installation.
-
Initiate the Installation Process: Double-click on the setup executable file to initiate the installation process. This action will launch the driver installation wizard, guiding you through the necessary steps to install the USB driver on your Windows system. Follow the on-screen prompts to proceed with the installation.
-
Review and Accept the License Agreement: During the installation process, you may encounter a license agreement or terms of use for the USB driver software. Carefully review the terms and conditions, and if you agree, proceed to accept the license agreement to continue with the installation.
-
Follow the On-Screen Instructions: The installation wizard will present a series of on-screen instructions to guide you through the installation process. These instructions may include specifying the installation directory, confirming the installation settings, and initiating the driver installation. Follow each step attentively to ensure a successful installation.
-
Complete the Installation: Once the installation process is initiated, the driver files will be copied to the appropriate system directories, and any necessary configurations will be applied. Upon successful completion, you will receive a confirmation message indicating that the USB driver has been installed on your Windows system.
By meticulously following these steps, you can effectively install the USB driver for the Xiaomi Redmi Note 3 Pro on your Windows computer. With the driver installation completed, you are now equipped to establish a reliable and efficient connection between your smartphone and your Windows system, unlocking a myriad of capabilities and functionalities for an enhanced user experience.
Step 3: Verifying the Driver Installation
After successfully installing the USB driver for your Xiaomi Redmi Note 3 Pro on your Windows computer, it is imperative to verify the installation to ensure that the driver has been integrated into the system as intended. This crucial step allows you to confirm that the driver is functioning correctly and is ready to facilitate seamless communication between your smartphone and your Windows system. Follow the detailed instructions below to verify the driver installation with confidence.
-
Connect Your Redmi Note 3 Pro: Begin by connecting your Xiaomi Redmi Note 3 Pro to your Windows computer using a compatible USB cable. Ensure that the connection is secure and that your smartphone is powered on. Once connected, your computer should recognize the device and attempt to establish a connection.
-
Access Device Manager: To verify the driver installation, navigate to the Device Manager on your Windows computer. You can access the Device Manager by right-clicking on the Start button and selecting "Device Manager" from the context menu. Alternatively, you can search for "Device Manager" in the Windows search bar and launch the application.
-
Locate Your Redmi Note 3 Pro: In the Device Manager window, look for the "Portable Devices" or "Other devices" category. Your connected Redmi Note 3 Pro should be listed under one of these categories. If the USB driver has been successfully installed, your smartphone will be recognized by its model name, indicating that the driver installation was successful.
-
Check for Driver Status: Double-click on the Redmi Note 3 Pro entry to view its properties. Within the device properties window, navigate to the "Driver" tab. Here, you can verify the status of the installed driver. If the driver is functioning correctly, the status will indicate that the device is working properly, and the driver details will be displayed.
-
Confirm Driver Details: Take a moment to review the driver details to ensure that the correct driver version and provider are listed. This information confirms that the official USB driver for the Redmi Note 3 Pro has been successfully integrated into your Windows system.
By meticulously following these steps, you can effectively verify the installation of the USB driver for your Xiaomi Redmi Note 3 Pro on your Windows computer. Upon confirming the successful installation and recognition of your smartphone in the Device Manager, you can proceed with confidence, knowing that your Redmi Note 3 Pro is ready to seamlessly communicate with your Windows system, enabling a wide range of functionalities and interactions.
Conclusion
In conclusion, the successful installation of the USB driver for the Xiaomi Redmi Note 3 Pro on your Windows computer marks a significant milestone in ensuring a seamless and efficient connection between your smartphone and your PC. By meticulously following the detailed steps outlined in this guide, you have equipped yourself with the essential knowledge and tools to establish a reliable link that unlocks a myriad of capabilities and functionalities.
With the USB driver in place, you can now engage in effortless data transfers between your Redmi Note 3 Pro and your Windows system, facilitating the seamless exchange of photos, videos, documents, and other essential files. Furthermore, the installed driver enables the smooth execution of firmware updates, ensuring that your smartphone remains up-to-date with the latest enhancements and security patches.
Beyond file transfers and firmware updates, the established connection empowers you to leverage various software tools for device management, backup, and synchronization. Whether you are organizing your media library, creating backups of important data, or managing your device's content, the installed USB driver serves as the cornerstone for these essential operations.
Moreover, the successful integration of the USB driver paves the way for streamlined access to your Redmi Note 3 Pro's internal storage, enabling seamless exploration and management of files and folders directly from your Windows computer. This seamless integration enhances your overall user experience, allowing you to effortlessly organize, transfer, and manage your smartphone's content with ease.
By verifying the driver installation through the Device Manager, you have confirmed that the USB driver is functioning as intended, providing a solid foundation for reliable communication and interaction between your Redmi Note 3 Pro and your Windows system. This verification instills confidence in the stability and performance of the driver, ensuring that you can rely on it for consistent and efficient operation.
In essence, the successful installation and verification of the USB driver for the Xiaomi Redmi Note 3 Pro on your Windows computer position you to fully harness the potential of your smartphone, enabling a seamless and productive user experience. With a stable and reliable connection established, you are well-equipped to explore the diverse capabilities of your Redmi Note 3 Pro, leveraging its features to their fullest extent.
In conclusion, the completion of the driver installation process signifies a pivotal achievement, setting the stage for a harmonious and productive synergy between your Xiaomi Redmi Note 3 Pro and your Windows system. Armed with a solid foundation of connectivity, you are poised to embark on a seamless and enriching journey with your smartphone, empowered by the capabilities and functionalities unlocked through the successful installation of the USB driver.


