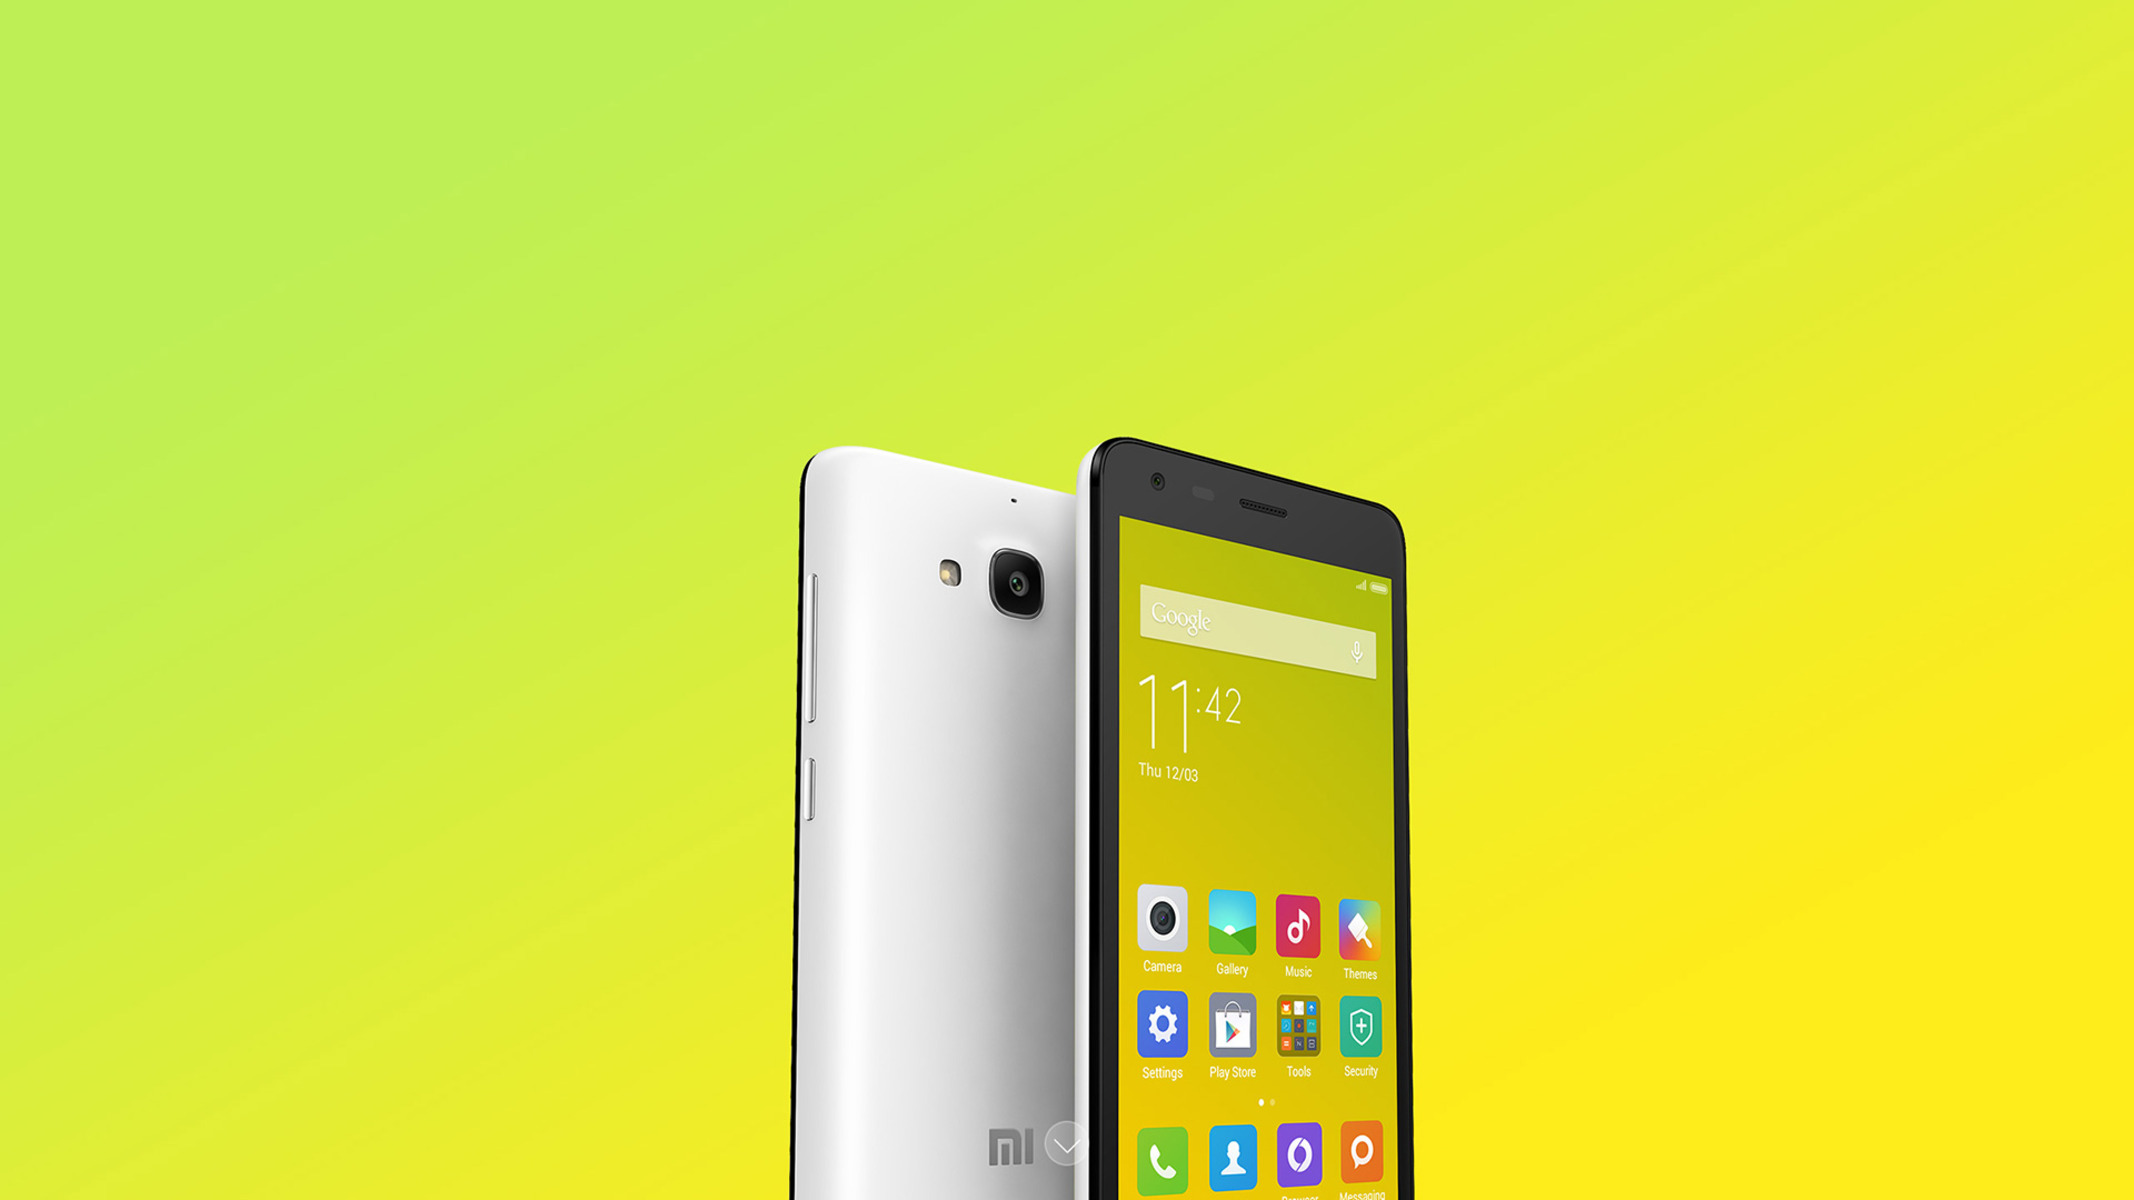
Introduction
Flashing a ROM on your Xiaomi Redmi 2 can breathe new life into your device, offering enhanced performance, updated features, and a fresh user experience. Whether you're seeking improved battery life, a revamped interface, or access to the latest Android version, flashing a custom ROM can unlock a world of possibilities for your smartphone.
In this comprehensive guide, we will walk you through the step-by-step process of flashing a ROM on your Xiaomi Redmi 2. From backing up your data to unlocking the bootloader and installing TWRP recovery, each stage is crucial to ensure a smooth and successful ROM flashing experience.
By following this guide, you will gain a deeper understanding of the ROM flashing process and the tools involved. Additionally, you will have the opportunity to explore the vibrant world of custom ROMs, each offering a unique blend of features and optimizations tailored to suit your preferences.
So, if you're ready to embark on a journey of customization and optimization for your Xiaomi Redmi 2, let's dive into the step-by-step process of flashing a ROM and unleash the full potential of your device.
Step 1: Backup Your Data
Before embarking on the exhilarating journey of flashing a new ROM on your Xiaomi Redmi 2, it's crucial to safeguard your precious data. A comprehensive backup ensures that your photos, videos, contacts, and important files remain secure throughout the ROM flashing process. Here's a detailed guide on how to backup your data effectively:
1.1. Utilize Cloud Services
Take advantage of cloud services such as Google Drive, Dropbox, or Xiaomi's Mi Cloud to seamlessly store your data in a secure online environment. These platforms offer effortless synchronization, allowing you to access your files from any device with an internet connection.
1.2. Transfer Files to a Computer
Connect your Xiaomi Redmi 2 to a computer using a USB cable and transfer your files to a designated folder. This method provides an additional layer of protection for your data, ensuring that it remains accessible even if unforeseen circumstances arise during the ROM flashing process.
1.3. Use Built-in Backup Features
Leverage the built-in backup features of your Xiaomi Redmi 2, which may include options to backup your contacts, messages, and settings. These native tools streamline the backup process, allowing you to safeguard essential data with minimal effort.
1.4. Consider Third-Party Backup Apps
Explore the wide array of third-party backup apps available on the Google Play Store, such as Titanium Backup or Helium. These apps offer advanced backup capabilities, allowing you to create a comprehensive backup of your apps, app data, and system settings.
By diligently backing up your data using these methods, you can embark on the ROM flashing journey with confidence, knowing that your valuable information is securely preserved. This proactive approach ensures that your treasured photos, important documents, and essential contacts remain intact, ready to be seamlessly restored once the ROM flashing process is complete.
Step 2: Download the Necessary Files
To embark on the exhilarating journey of flashing a new ROM on your Xiaomi Redmi 2, it's essential to gather the necessary files and tools that will pave the way for a seamless and successful ROM flashing experience. By acquiring the required files, you will lay a solid foundation for the subsequent stages of the ROM flashing process, ensuring that you have all the essential components at your fingertips. Here's a detailed breakdown of the crucial files you need to download:
2.1. Custom ROM
Begin by selecting a custom ROM that aligns with your preferences and requirements. Whether you're drawn to a ROM renowned for its performance optimizations, feature-rich interface, or the latest Android version, the custom ROM serves as the cornerstone of your device's transformation. Visit reputable custom ROM repositories such as XDA Developers or official ROM websites to explore the diverse array of options available for your Xiaomi Redmi 2.
2.2. GApps (Google Apps)
In tandem with the custom ROM, you'll need to download the corresponding GApps package to integrate essential Google services and applications into your new ROM. The GApps package ensures seamless access to the Google Play Store, Gmail, Google Maps, and other core Google services, enriching your user experience with a comprehensive suite of functionalities.
2.3. USB Drivers
Ensure that you have the appropriate USB drivers installed on your computer to facilitate a stable and reliable connection with your Xiaomi Redmi 2. These drivers enable seamless communication between your device and the computer, allowing for efficient data transfer and device recognition during the ROM flashing process.
2.4. ADB and Fastboot Tools
Download the ADB (Android Debug Bridge) and Fastboot tools to establish a bridge of communication between your computer and Xiaomi Redmi 2. These tools enable crucial functionalities such as unlocking the bootloader, installing TWRP recovery, and executing commands during the ROM flashing process.
2.5. TWRP Recovery Image
Acquire the TWRP (Team Win Recovery Project) recovery image tailored for your Xiaomi Redmi 2 model. TWRP recovery serves as a pivotal tool for flashing the custom ROM and GApps, as well as creating and restoring backups. The TWRP recovery image empowers you with the flexibility to navigate through the ROM flashing process with confidence and precision.
By meticulously downloading these essential files, you will fortify your ROM flashing endeavor with the fundamental components required to embark on a transformative journey for your Xiaomi Redmi 2. Each file plays a distinct role in shaping the ROM flashing process, culminating in a rejuvenated device brimming with new features and optimizations.
Step 3: Unlock Bootloader
Unlocking the bootloader of your Xiaomi Redmi 2 is a pivotal step that lays the groundwork for the seamless installation of a custom ROM and TWRP recovery. By unlocking the bootloader, you gain the freedom to delve into the realm of customization, enabling the installation of custom firmware and the execution of advanced modifications on your device. This process, however, requires careful attention and adherence to specific guidelines to ensure a smooth transition towards unlocking the bootloader.
3.1. Enable Developer Options
Before initiating the bootloader unlocking process, it's essential to enable the Developer Options on your Xiaomi Redmi 2. This can be achieved by navigating to the "Settings" menu, selecting "About Phone," and tapping the "Build Number" seven times. Once the Developer Options are activated, you gain access to a plethora of advanced settings and functionalities, including the crucial "OEM unlocking" option.
3.2. Enable OEM Unlocking
Within the Developer Options menu, locate the "OEM unlocking" toggle and enable it to grant permission for unlocking the bootloader. This pivotal step ensures that your Xiaomi Redmi 2 is primed for the bootloader unlocking process, laying the foundation for the subsequent stages of custom ROM installation and system modifications.
3.3. Boot into Fastboot Mode
With the Developer Options configured and OEM unlocking enabled, it's time to boot your Xiaomi Redmi 2 into Fastboot mode. This can be accomplished by powering off the device, then simultaneously pressing the "Volume Down" and "Power" buttons until the Fastboot logo appears. Once in Fastboot mode, your device is prepared to undergo the bootloader unlocking procedure.
3.4. Connect to Computer and Execute Unlock Command
Connect your Xiaomi Redmi 2 to the computer using a USB cable and launch the command prompt or terminal window. Execute the following command to initiate the bootloader unlocking process:
bash
fastboot oem unlock
This command prompts your device to unlock the bootloader, paving the way for the installation of custom ROMs and the utilization of TWRP recovery.
3.5. Confirm Bootloader Unlocking
Upon executing the unlock command, your Xiaomi Redmi 2 will display a prompt seeking confirmation for the bootloader unlocking process. Use the volume keys to navigate and the power button to confirm the action. Once confirmed, the bootloader unlocking process will commence, granting you the freedom to embark on a transformative journey of ROM customization and optimization.
By meticulously following these steps, you will successfully unlock the bootloader of your Xiaomi Redmi 2, unlocking a world of possibilities for custom ROM installation and advanced system modifications. This pivotal milestone sets the stage for the subsequent stages of the ROM flashing process, empowering you to unleash the full potential of your device with confidence and precision.
Step 4: Install TWRP Recovery
Installing TWRP (Team Win Recovery Project) recovery on your Xiaomi Redmi 2 is a crucial step that empowers you with the flexibility to seamlessly flash custom ROMs, create backups, and execute advanced system modifications. TWRP recovery serves as a versatile tool that enhances the overall functionality and customization potential of your device, providing a user-friendly interface and a myriad of powerful features.
4.1. Download the TWRP Recovery Image
Commence the TWRP installation process by acquiring the TWRP recovery image tailored for your specific Xiaomi Redmi 2 model. Visit the official TWRP website or reputable custom ROM repositories to download the compatible TWRP recovery image, ensuring that it aligns with your device's model number and variant. This meticulous selection guarantees a seamless integration of TWRP recovery with your Xiaomi Redmi 2, setting the stage for a streamlined ROM flashing experience.
4.2. Enable USB Debugging and OEM Unlocking
Before proceeding with the TWRP installation, ensure that USB debugging is enabled on your Xiaomi Redmi 2. Navigate to the Developer Options within the device's settings and activate USB debugging to facilitate a stable connection between your device and the computer. Additionally, confirm that OEM unlocking remains enabled, as it is essential for the seamless integration of TWRP recovery with your device.
4.3. Boot into Fastboot Mode
With USB debugging and OEM unlocking enabled, boot your Xiaomi Redmi 2 into Fastboot mode to initiate the TWRP recovery installation process. Power off the device, then simultaneously press the "Volume Down" and "Power" buttons until the Fastboot logo appears, indicating that your device is prepared for the subsequent steps of the TWRP installation.
4.4. Connect to Computer and Execute TWRP Installation Command
Connect your Xiaomi Redmi 2 to the computer using a USB cable and launch the command prompt or terminal window. Execute the following command to install TWRP recovery on your device:
bash
fastboot flash recovery <twrp_recovery_image_filename.img>
Replace <twrp_recovery_image_filename.img> with the actual filename of the downloaded TWRP recovery image. This command initiates the seamless integration of TWRP recovery with your Xiaomi Redmi 2, unlocking a wealth of advanced functionalities and customization options.
4.5. Reboot into TWRP Recovery
Upon successful execution of the TWRP installation command, reboot your Xiaomi Redmi 2 into TWRP recovery mode to verify the successful installation. This can be achieved by selecting the "Recovery" option from the Fastboot mode or by executing the following command:
bash
fastboot boot <twrp_recovery_image_filename.img>
By diligently following these steps, you will successfully install TWRP recovery on your Xiaomi Redmi 2, paving the way for a transformative ROM flashing experience and advanced system customization. TWRP recovery serves as a powerful gateway to unleash the full potential of your device, offering a wealth of features and functionalities to elevate your user experience to new heights.
Step 5: Flashing the ROM
Flashing the ROM is the pivotal stage in the exhilarating journey of customizing and optimizing your Xiaomi Redmi 2. This transformative process involves seamlessly installing the selected custom ROM, infusing your device with a fresh interface, enhanced performance, and a myriad of features tailored to your preferences. By meticulously following the steps outlined below, you will embark on a seamless ROM flashing experience, unlocking the full potential of your Xiaomi Redmi 2 with precision and confidence.
5.1. Transfer ROM and GApps to Device
Commence the ROM flashing process by transferring the downloaded custom ROM and GApps packages to your Xiaomi Redmi 2. Connect your device to the computer using a USB cable and transfer the ROM and GApps files to the internal storage or SD card, ensuring easy accessibility during the subsequent stages of the ROM flashing.
5.2. Boot into TWRP Recovery
Power off your Xiaomi Redmi 2 and boot into TWRP recovery mode by simultaneously pressing the "Volume Up" and "Power" buttons until the TWRP recovery interface appears. TWRP recovery serves as the gateway to seamlessly flash the custom ROM and GApps, offering a user-friendly interface and a myriad of powerful functionalities to streamline the ROM flashing process.
5.3. Wipe Data and Cache
Within the TWRP recovery interface, navigate to the "Wipe" section and perform a factory reset to clear the device's data and cache. This crucial step ensures a clean slate for the installation of the custom ROM, preventing potential conflicts and ensuring a smooth transition towards a rejuvenated device.
5.4. Flash Custom ROM
Navigate to the "Install" section within TWRP recovery and select the custom ROM file transferred to your Xiaomi Redmi 2. Swipe to confirm the flash, initiating the seamless installation of the custom ROM. This process infuses your device with the selected ROM, ushering in a new era of customization and optimization tailored to your preferences.
5.5. Flash GApps
Following the successful installation of the custom ROM, return to the "Install" section within TWRP recovery and select the GApps package transferred to your device. Swipe to confirm the flash, seamlessly integrating essential Google services and applications into your new ROM. This step ensures comprehensive access to the Google Play Store, Gmail, and other core Google services, enriching your user experience with a suite of functionalities.
5.6. Reboot System
Once the custom ROM and GApps have been successfully flashed, navigate to the "Reboot" section within TWRP recovery and select "System" to reboot your Xiaomi Redmi 2. This initiates the transition to your newly installed custom ROM, unveiling a refreshed interface, enhanced performance, and a wealth of features tailored to your preferences.
By meticulously following these steps, you will seamlessly flash a custom ROM on your Xiaomi Redmi 2, unlocking a world of customization and optimization. This transformative process empowers you to tailor your device to suit your preferences, infusing it with a fresh interface and a myriad of features, elevating your user experience to new heights.
Step 6: Reboot and Enjoy Your New ROM
With the custom ROM successfully flashed onto your Xiaomi Redmi 2, it's time to embark on a captivating journey of discovery and exploration as you immerse yourself in the revitalized user experience. The culmination of the ROM flashing process marks the beginning of a new chapter for your device, brimming with enhanced performance, fresh features, and a personalized interface tailored to your preferences.
As you reboot your Xiaomi Redmi 2, you'll be greeted by the invigorating sight of the new ROM coming to life, ushering in a wave of excitement and anticipation. The device springs to action, unveiling a revamped interface adorned with the unique characteristics of the custom ROM you've chosen. Each swipe and tap unveils a world of possibilities, inviting you to explore the intricacies of the new ROM and uncover its array of features and optimizations.
The seamless integration of the custom ROM infuses your device with a renewed sense of vitality, breathing new life into its capabilities and functionalities. Whether you're drawn to the performance enhancements, the refined visual elements, or the innovative features embedded within the custom ROM, each interaction with your Xiaomi Redmi 2 becomes a testament to the transformative power of ROM customization.
As you navigate through the familiar yet reinvigorated landscape of your device, you'll discover a wealth of optimizations and enhancements that cater to your unique preferences. From streamlined user interfaces to advanced customization options, the new ROM empowers you to tailor your device to suit your individual needs, fostering a sense of ownership and personalization that resonates with your digital lifestyle.
With the successful reboot into your new ROM, you're poised to embark on a journey of discovery, uncovering the nuances and intricacies of the customizations and optimizations that define your revitalized Xiaomi Redmi 2. Each interaction with your device becomes an opportunity to delve into the depths of its newfound capabilities, embracing the tailored experience that reflects your preferences and aspirations.
As you revel in the seamless transition to your new ROM, you're poised to savor the fruits of your meticulous customization efforts, basking in the delight of a device that resonates with your unique digital identity. The journey of ROM flashing culminates in the joy of experiencing a device that embodies your preferences, aspirations, and individuality, elevating your user experience to new heights.
In essence, the reboot into your new ROM marks the beginning of a captivating adventure, inviting you to explore, customize, and savor the personalized experience that awaits within the vibrant landscape of your Xiaomi Redmi 2.