Introduction
Welcome to the comprehensive guide on replacing the charging port of the Redmi 3S. Mobile devices have become an integral part of our daily lives, serving as our communication hub, entertainment source, and productivity tool. However, with frequent use, the charging port of our devices can undergo wear and tear, leading to connectivity issues and hindering the charging process. In this guide, we will walk you through the step-by-step process of replacing the charging port on the Redmi 3S, allowing you to restore the functionality of your device and continue enjoying its features without interruptions.
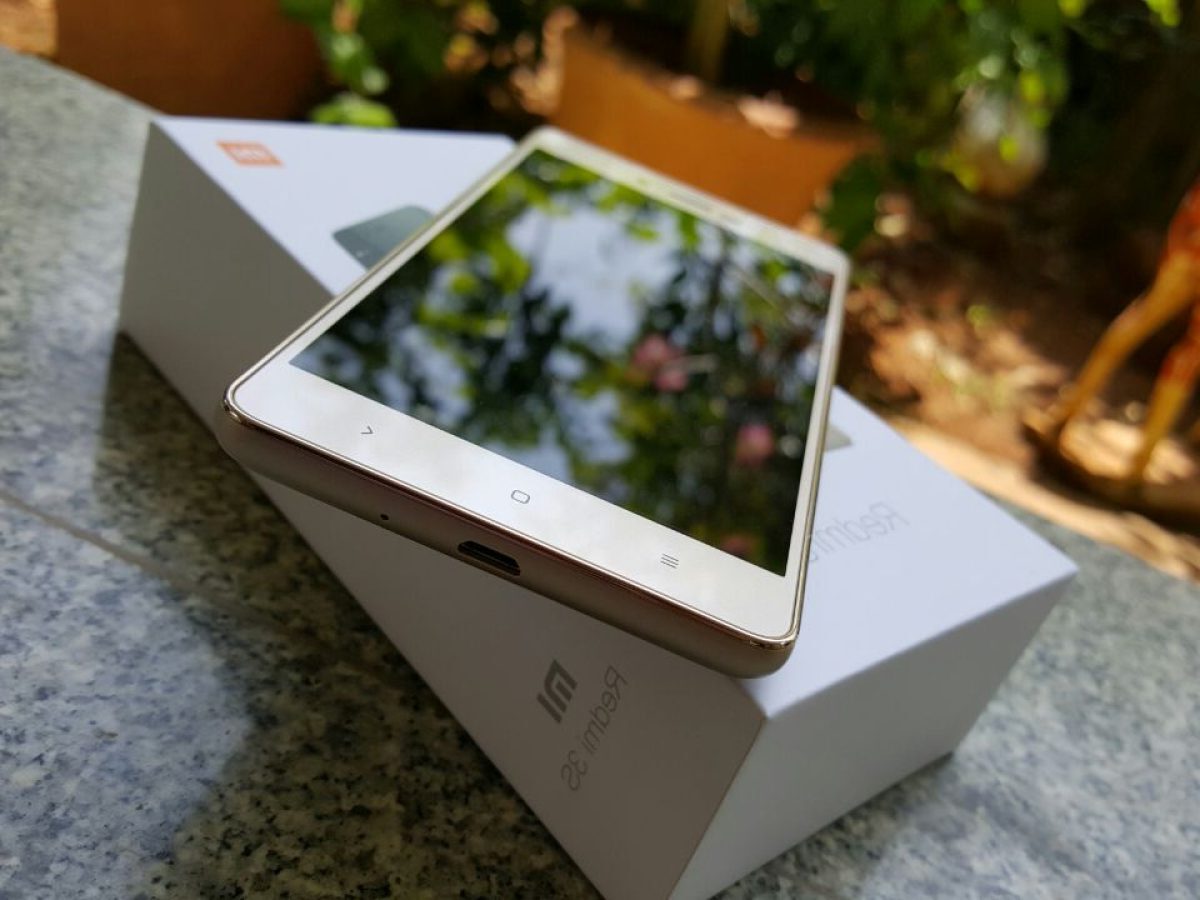
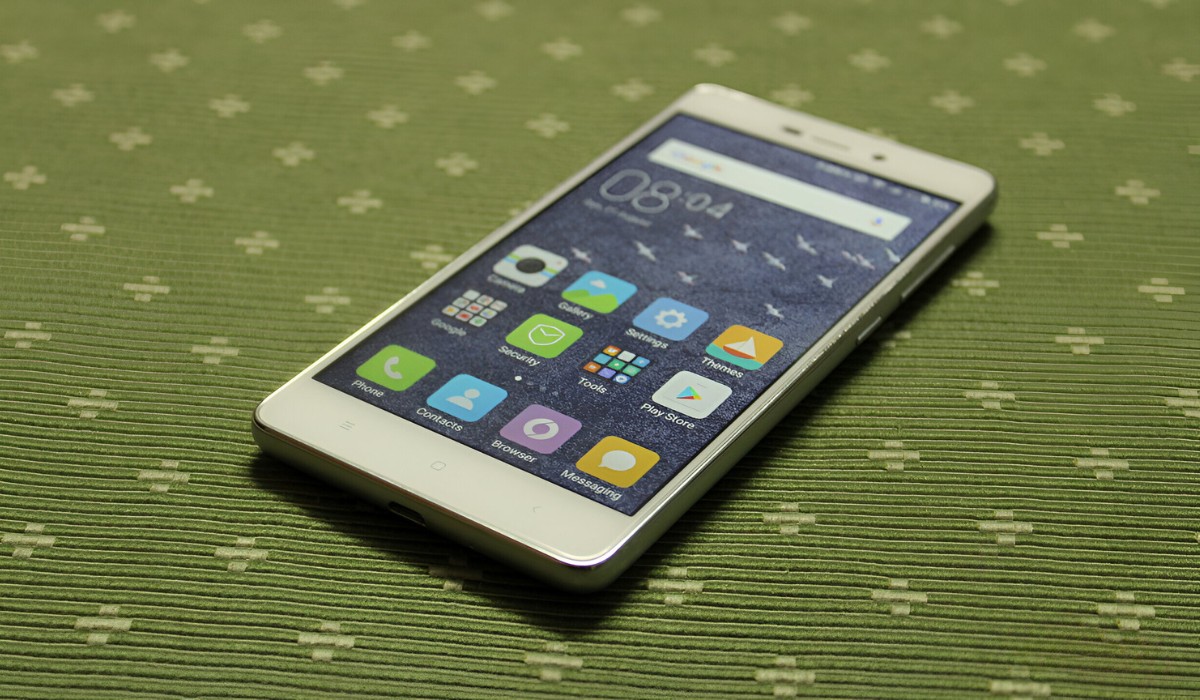
The Redmi 3S, known for its sleek design and reliable performance, is a popular choice among smartphone users. However, like any electronic device, it is susceptible to charging port issues over time. Whether you are experiencing difficulty in establishing a stable connection for charging or encountering intermittent charging problems, replacing the charging port can provide a cost-effective solution to address these issues.
By following the instructions outlined in this guide, you will gain the knowledge and confidence to disassemble your Redmi 3S, remove the old charging port, install a new one, and reassemble the device, ensuring that it functions seamlessly once again. This process not only saves you the expense of purchasing a new device but also empowers you to take control of maintaining and repairing your valuable gadgets.
Before embarking on this repair journey, it's essential to gather the necessary tools and materials to ensure a smooth and efficient process. With the right equipment and a clear understanding of the steps involved, you can successfully replace the charging port of your Redmi 3S, prolonging the lifespan of your device and minimizing the inconvenience caused by charging-related issues.
Now, let's delve into the details of the tools and materials required for this repair, followed by a systematic walkthrough of the disassembly, replacement, and reassembly process. Get ready to revive the charging functionality of your Redmi 3S and rediscover the convenience of a fully operational mobile device.
Tools and Materials Needed
Before initiating the process of replacing the charging port on your Redmi 3S, it's crucial to gather the essential tools and materials to facilitate a seamless repair experience. By ensuring that you have the following items at your disposal, you can proceed with confidence and efficiency, setting the stage for a successful charging port replacement.
Tools:
-
Screwdriver Set: A precision screwdriver set with various interchangeable heads is indispensable for disassembling the Redmi 3S. The set should include Phillips, flathead, and Torx screwdriver heads to accommodate different types of screws used in the device's assembly.
-
Opening Tools: Plastic or nylon spudgers and a suction cup are invaluable for prying open the device without causing damage to the exterior or internal components. These tools provide the necessary leverage to separate the housing and access the internal circuitry.
-
Tweezers: Fine-pointed tweezers aid in handling small components and delicate connectors within the device. They are essential for disconnecting cables and maneuvering intricate parts during the disassembly and reassembly process.
-
Prying Tool: A plastic prying tool or guitar pick assists in gently separating the device's components, such as the back cover and internal modules, without causing scratches or dents.
-
Heat Gun or Hair Dryer: To soften adhesive securing components, a heat gun or hair dryer can be used to apply gentle heat, facilitating the removal of certain parts without causing damage.
-
Anti-Static Wrist Strap: To prevent electrostatic discharge (ESD) from damaging sensitive electronic components, an anti-static wrist strap is recommended to ground yourself and minimize the risk of static electricity buildup during the repair.
Materials:
-
Replacement Charging Port: Acquire a compatible replacement charging port specifically designed for the Redmi 3S. Ensure that the new charging port aligns with the device's model and specifications to guarantee a proper fit and functionality.
-
Adhesive Strips: Double-sided adhesive strips or adhesive glue dots are essential for reattaching components, such as the back cover, in a secure and stable manner after the repair is completed.
-
Cleaning Solution: Isopropyl alcohol and lint-free microfiber cloths are essential for cleaning the internal components and connectors, removing any dust, debris, or residue that may impede the proper functioning of the device.
By assembling these tools and materials, you are equipped to embark on the journey of replacing the charging port on your Redmi 3S with confidence and precision. With the necessary resources at your disposal, you can proceed to the next steps of disassembling the device and initiating the replacement process, ultimately restoring the charging functionality of your device.
Step 1: Disassembling the Redmi 3S
Disassembling the Redmi 3S is a critical initial step in the process of replacing the charging port. Before commencing the disassembly, ensure that the device is powered off to prevent any potential electrical hazards during the repair. Once the necessary precautions are taken, follow the detailed steps below to disassemble the Redmi 3S methodically:
-
Remove the SIM Card Tray: Begin by ejecting the SIM card tray using a SIM eject tool or a paperclip. This allows for unobstructed access to the device's internal components.
-
Unscrew the Rear Housing: Utilize the appropriate screwdriver head to carefully remove the screws securing the rear housing of the Redmi 3S. Keep the screws organized and set them aside for reassembly.
-
Separate the Rear Cover: With the screws removed, gently pry the rear cover from the device using a plastic prying tool or a nylon spudger. Exercise caution to avoid damaging the housing or the internal components.
-
Disconnect the Battery: After gaining access to the internal components, locate the battery connector and carefully disconnect it from the motherboard to prevent any power supply to the device during the repair process.
-
Detach Additional Components: Identify and detach any additional components, such as the camera module, motherboard, and other interconnected parts, as necessary to access the charging port assembly.
-
Release Adhesive Bonds: In some cases, adhesive may secure certain components in place. Use a heat gun or hair dryer to apply gentle heat to soften the adhesive, facilitating the separation of components without causing damage.
-
Handle Components with Care: Throughout the disassembly process, handle the internal components with precision and care, ensuring that delicate cables and connectors are disconnected gently to avoid any damage.
By meticulously following these steps, you can effectively disassemble the Redmi 3S, gaining access to the internal components and preparing the device for the subsequent steps of replacing the charging port. With the disassembly completed, you are now ready to proceed to the next phase of removing the old charging port from the Redmi 3S, bringing you closer to restoring the device's charging functionality.
Step 2: Removing the Old Charging Port
With the Redmi 3S successfully disassembled, the next crucial step involves the meticulous removal of the old charging port from the device. The charging port, responsible for facilitating the connection between the device and the charging cable, is integral to the charging process. Over time, factors such as dust accumulation, moisture exposure, or physical damage can lead to the deterioration of the charging port, necessitating its replacement. By following the detailed steps outlined below, you can effectively remove the old charging port from the Redmi 3S, paving the way for the installation of a new, fully functional charging port.
-
Identify the Charging Port Assembly: Locate the existing charging port assembly within the disassembled Redmi 3S. The charging port is typically situated at the lower section of the device, integrated into the internal framework. Take note of its positioning and the connecting cables to prepare for its removal.
-
Disconnect the Charging Port Cable: Carefully disconnect the cable attached to the old charging port from the device's motherboard. Exercise precision and gentleness to avoid damaging the cable or the motherboard's connectors. Utilize fine-pointed tweezers if necessary to delicately release the cable from its connector.
-
Remove Securing Components: Assess the securing components, such as screws or adhesive, that hold the charging port in place. Utilize the appropriate screwdriver head to remove any screws fastening the charging port assembly. In the case of adhesive bonds, apply gentle heat using a heat gun or hair dryer to soften the adhesive, facilitating the separation of the charging port from the device's framework.
-
Extract the Charging Port: With the securing components removed, carefully extract the old charging port from its position within the device. Exercise caution to avoid causing damage to the surrounding components or cables. If the charging port is lodged firmly, employ a prying tool or nylon spudger to gently dislodge it from the housing.
-
Inspect for Residue and Debris: Upon removing the old charging port, inspect the surrounding area for any residual adhesive, debris, or dust. Thoroughly clean the area using a lint-free microfiber cloth and isopropyl alcohol to ensure a pristine surface for the installation of the new charging port.
By meticulously executing these steps, you can effectively remove the old charging port from the Redmi 3S, preparing the device for the subsequent installation of the new charging port. With the old charging port successfully extracted, you are now poised to embark on the pivotal phase of installing the replacement charging port, rejuvenating the device's charging functionality.
Step 3: Installing the New Charging Port
With the old charging port successfully removed from the Redmi 3S, the installation of the new charging port marks a pivotal phase in the repair process. The new charging port, specifically designed for the Redmi 3S, presents an opportunity to restore the device's charging functionality and ensure seamless connectivity with charging cables. By meticulously following the detailed steps outlined below, you can effectively install the new charging port, setting the stage for the rejuvenation of your device's charging capabilities.
-
Prepare the New Charging Port: Prior to installation, carefully inspect the new charging port to ensure its compatibility with the Redmi 3S. Verify that the connector and dimensions align with the device's specifications, guaranteeing a proper fit and functionality. Additionally, assess the condition of the connecting cable to confirm its integrity and readiness for installation.
-
Positioning the New Charging Port: Align the new charging port with the designated slot within the device's framework, ensuring that it sits securely and uniformly in place. Take note of the orientation and positioning of the charging port to facilitate a seamless connection with the device's internal circuitry.
-
Secure the Charging Port: If the new charging port requires securing components, such as screws or adhesive, carefully fasten it in place to ensure stability and reliability. Utilize the appropriate screwdriver head to secure any screws, applying the necessary torque without over-tightening. In the case of adhesive, affix the charging port with precision, ensuring a firm and durable bond with the device's housing.
-
Connect the Charging Port Cable: Gently connect the cable from the new charging port to the device's motherboard, ensuring a secure and snug fit. Exercise caution and precision to avoid damaging the cable or the motherboard's connectors during the connection process. Utilize fine-pointed tweezers if necessary to delicately guide the cable into its designated connector.
-
Test the Connectivity: After installing the new charging port, conduct a preliminary connectivity test to verify its functionality. Power on the device and connect a compatible charging cable to the newly installed port, ensuring that the device recognizes the connection and initiates the charging process. Confirm that the charging indicator responds appropriately, indicating a successful connection.
By meticulously executing these steps, you can effectively install the new charging port in the Redmi 3S, positioning the device for the restoration of its charging capabilities. With the new charging port seamlessly integrated into the device, you are now prepared to proceed to the final phase of reassembling the Redmi 3S, culminating in the comprehensive restoration of its functionality.
Step 4: Reassembling the Redmi 3S
Reassembling the Redmi 3S is the final crucial step in the comprehensive process of replacing the charging port. This phase involves meticulously restoring the device to its original state, ensuring that all internal components are securely reattached and the housing is seamlessly reassembled. By following the detailed steps outlined below, you can effectively reassemble the Redmi 3S, culminating in the comprehensive restoration of its functionality.
-
Positioning Internal Components: Begin by carefully positioning the internal components, such as the motherboard, camera module, and any additional detached parts, back into their designated slots within the device's framework. Ensure that each component aligns accurately and securely with the housing, preparing for the subsequent reassembly steps.
-
Reconnecting Cables and Connectors: Delicately reconnect the cables and connectors that were detached during the disassembly process. Exercise precision and care to ensure that each cable is securely fastened to its respective connector, minimizing the risk of connectivity issues or component malfunctions.
-
Securing Components and Screws: If any securing components, such as screws or adhesive, were removed during the disassembly, meticulously reattach them to secure the internal components in place. Utilize the appropriate screwdriver head to fasten the screws, applying the necessary torque without over-tightening. Ensure that adhesive bonds are reestablished with precision, providing stability to the reassembled components.
-
Reattaching the Rear Cover: Carefully position the rear cover onto the device, aligning it with the housing and ensuring a snug fit. Gently press along the edges to secure the rear cover in place, verifying that it sits uniformly and securely without any gaps or misalignments.
-
Inserting Screws and SIM Card Tray: Utilize the appropriate screws to fasten the rear cover securely to the device's framework. Ensure that each screw is aligned with its designated slot and tightened appropriately to maintain the integrity of the reassembled housing. Additionally, insert the SIM card tray back into its slot, facilitating the device's connectivity functionality.
-
Final Inspection and Testing: Conduct a comprehensive visual inspection of the reassembled Redmi 3S, verifying that all components are securely in place and the housing is free from any gaps or misalignments. Power on the device and conduct a functional test, ensuring that the device boots up successfully and that the charging port recognizes and facilitates charging with a compatible cable.
By meticulously executing these steps, you can effectively reassemble the Redmi 3S, culminating in the comprehensive restoration of its functionality. With the device successfully reassembled, you can now revel in the seamless charging capabilities and renewed operational efficiency of your Redmi 3S, empowered by the successful replacement of its charging port.
Conclusion
In conclusion, the process of replacing the charging port on the Redmi 3S encompasses a meticulous journey of disassembly, removal of the old charging port, installation of a new charging port, and the comprehensive reassembly of the device. By embarking on this repair endeavor, you have not only revitalized the charging functionality of your Redmi 3S but also gained valuable insights into the intricate components and assembly of your device.
The successful replacement of the charging port empowers you to extend the lifespan of your Redmi 3S, minimizing the need for costly replacements and ensuring continued enjoyment of its features. Moreover, the hands-on experience of disassembling and reassembling the device fosters a deeper understanding of its internal mechanisms, instilling a sense of confidence and self-reliance in maintaining and repairing your valuable gadgets.
As you reflect on the journey from encountering charging issues to successfully rejuvenating your Redmi 3S, it becomes evident that the fusion of determination, precision, and knowledge has led to a tangible outcome. The seamless integration of the new charging port not only resolves the existing charging concerns but also sets the stage for uninterrupted usage and enhanced reliability of your device.
Furthermore, the skills acquired through this repair process transcend the immediate repair task, equipping you with a deeper appreciation for the intricacies of mobile device maintenance. The ability to navigate the internal components, handle delicate connectors, and execute a methodical repair process underscores your capacity to engage with technology in a meaningful and impactful manner.
In essence, the journey of replacing the charging port on the Redmi 3S transcends the restoration of a single component; it symbolizes a testament to your resourcefulness, adaptability, and commitment to preserving the functionality of your cherished device. As you witness the seamless charging capabilities of your Redmi 3S, may this experience serve as a reminder of your capability to overcome technical challenges and embrace the rewarding journey of device maintenance and repair.