Introduction
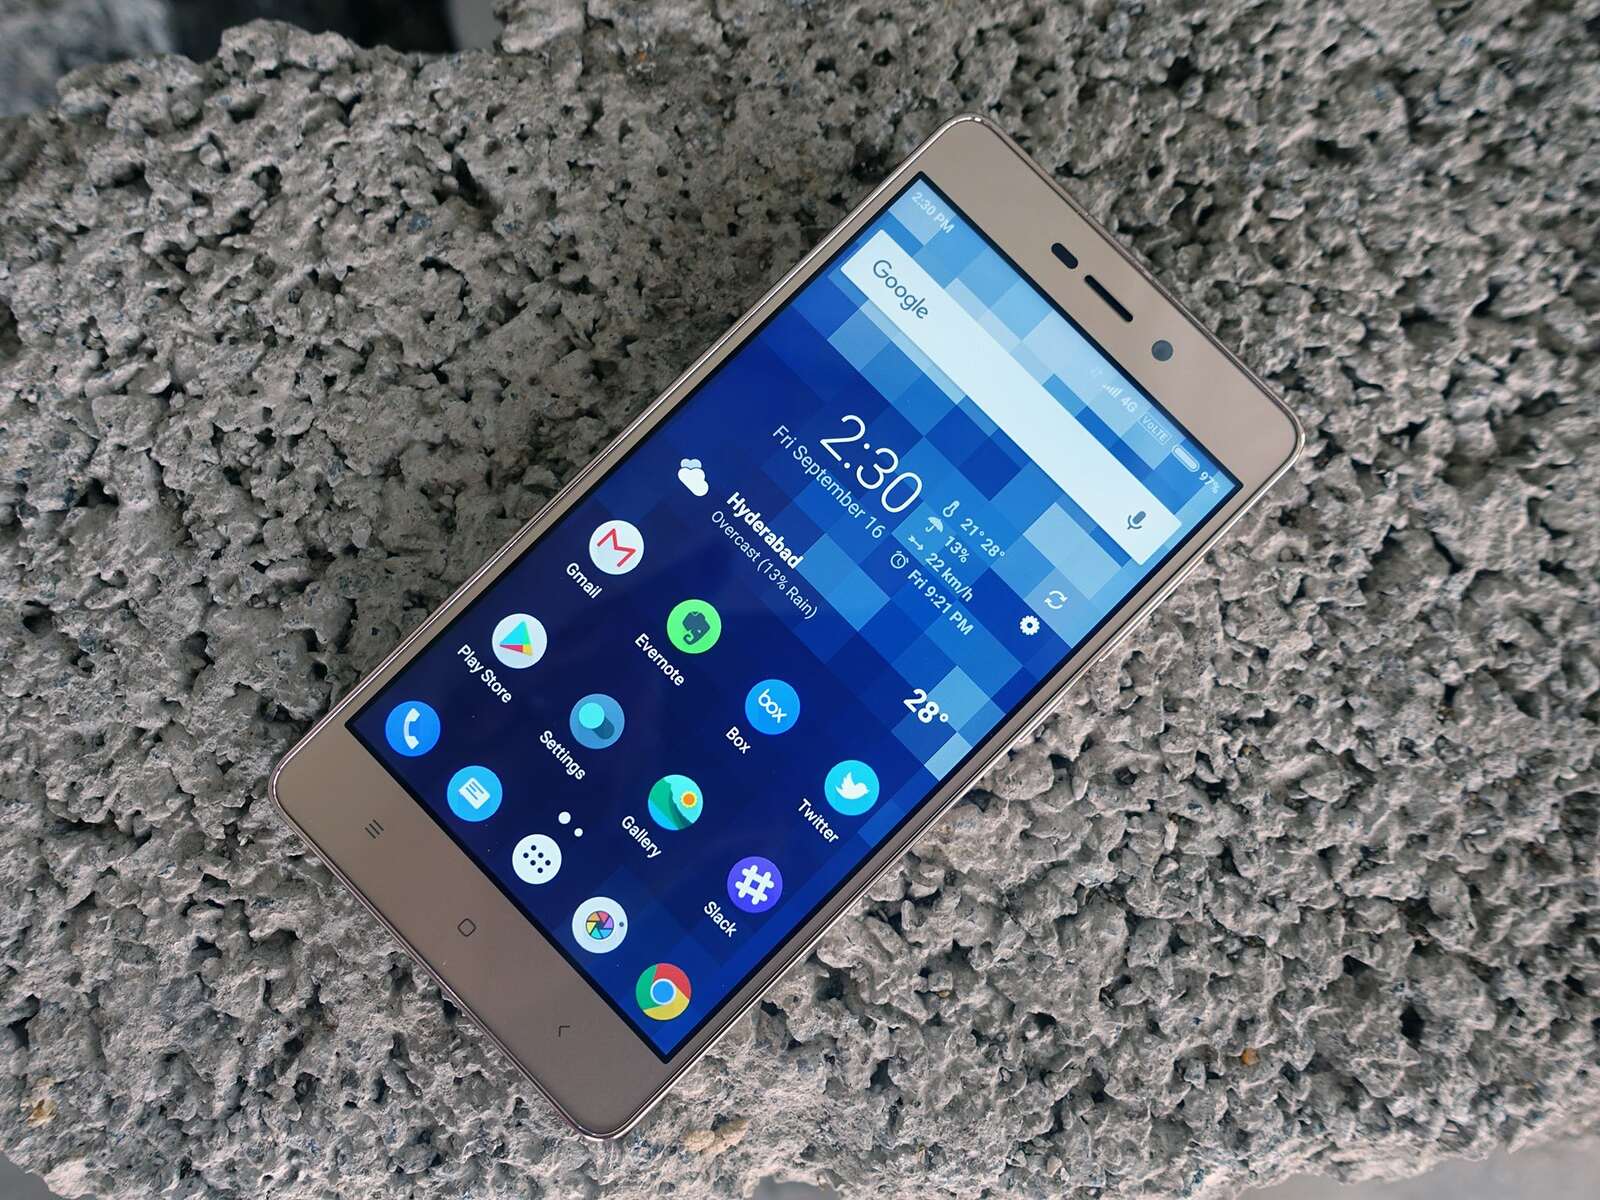
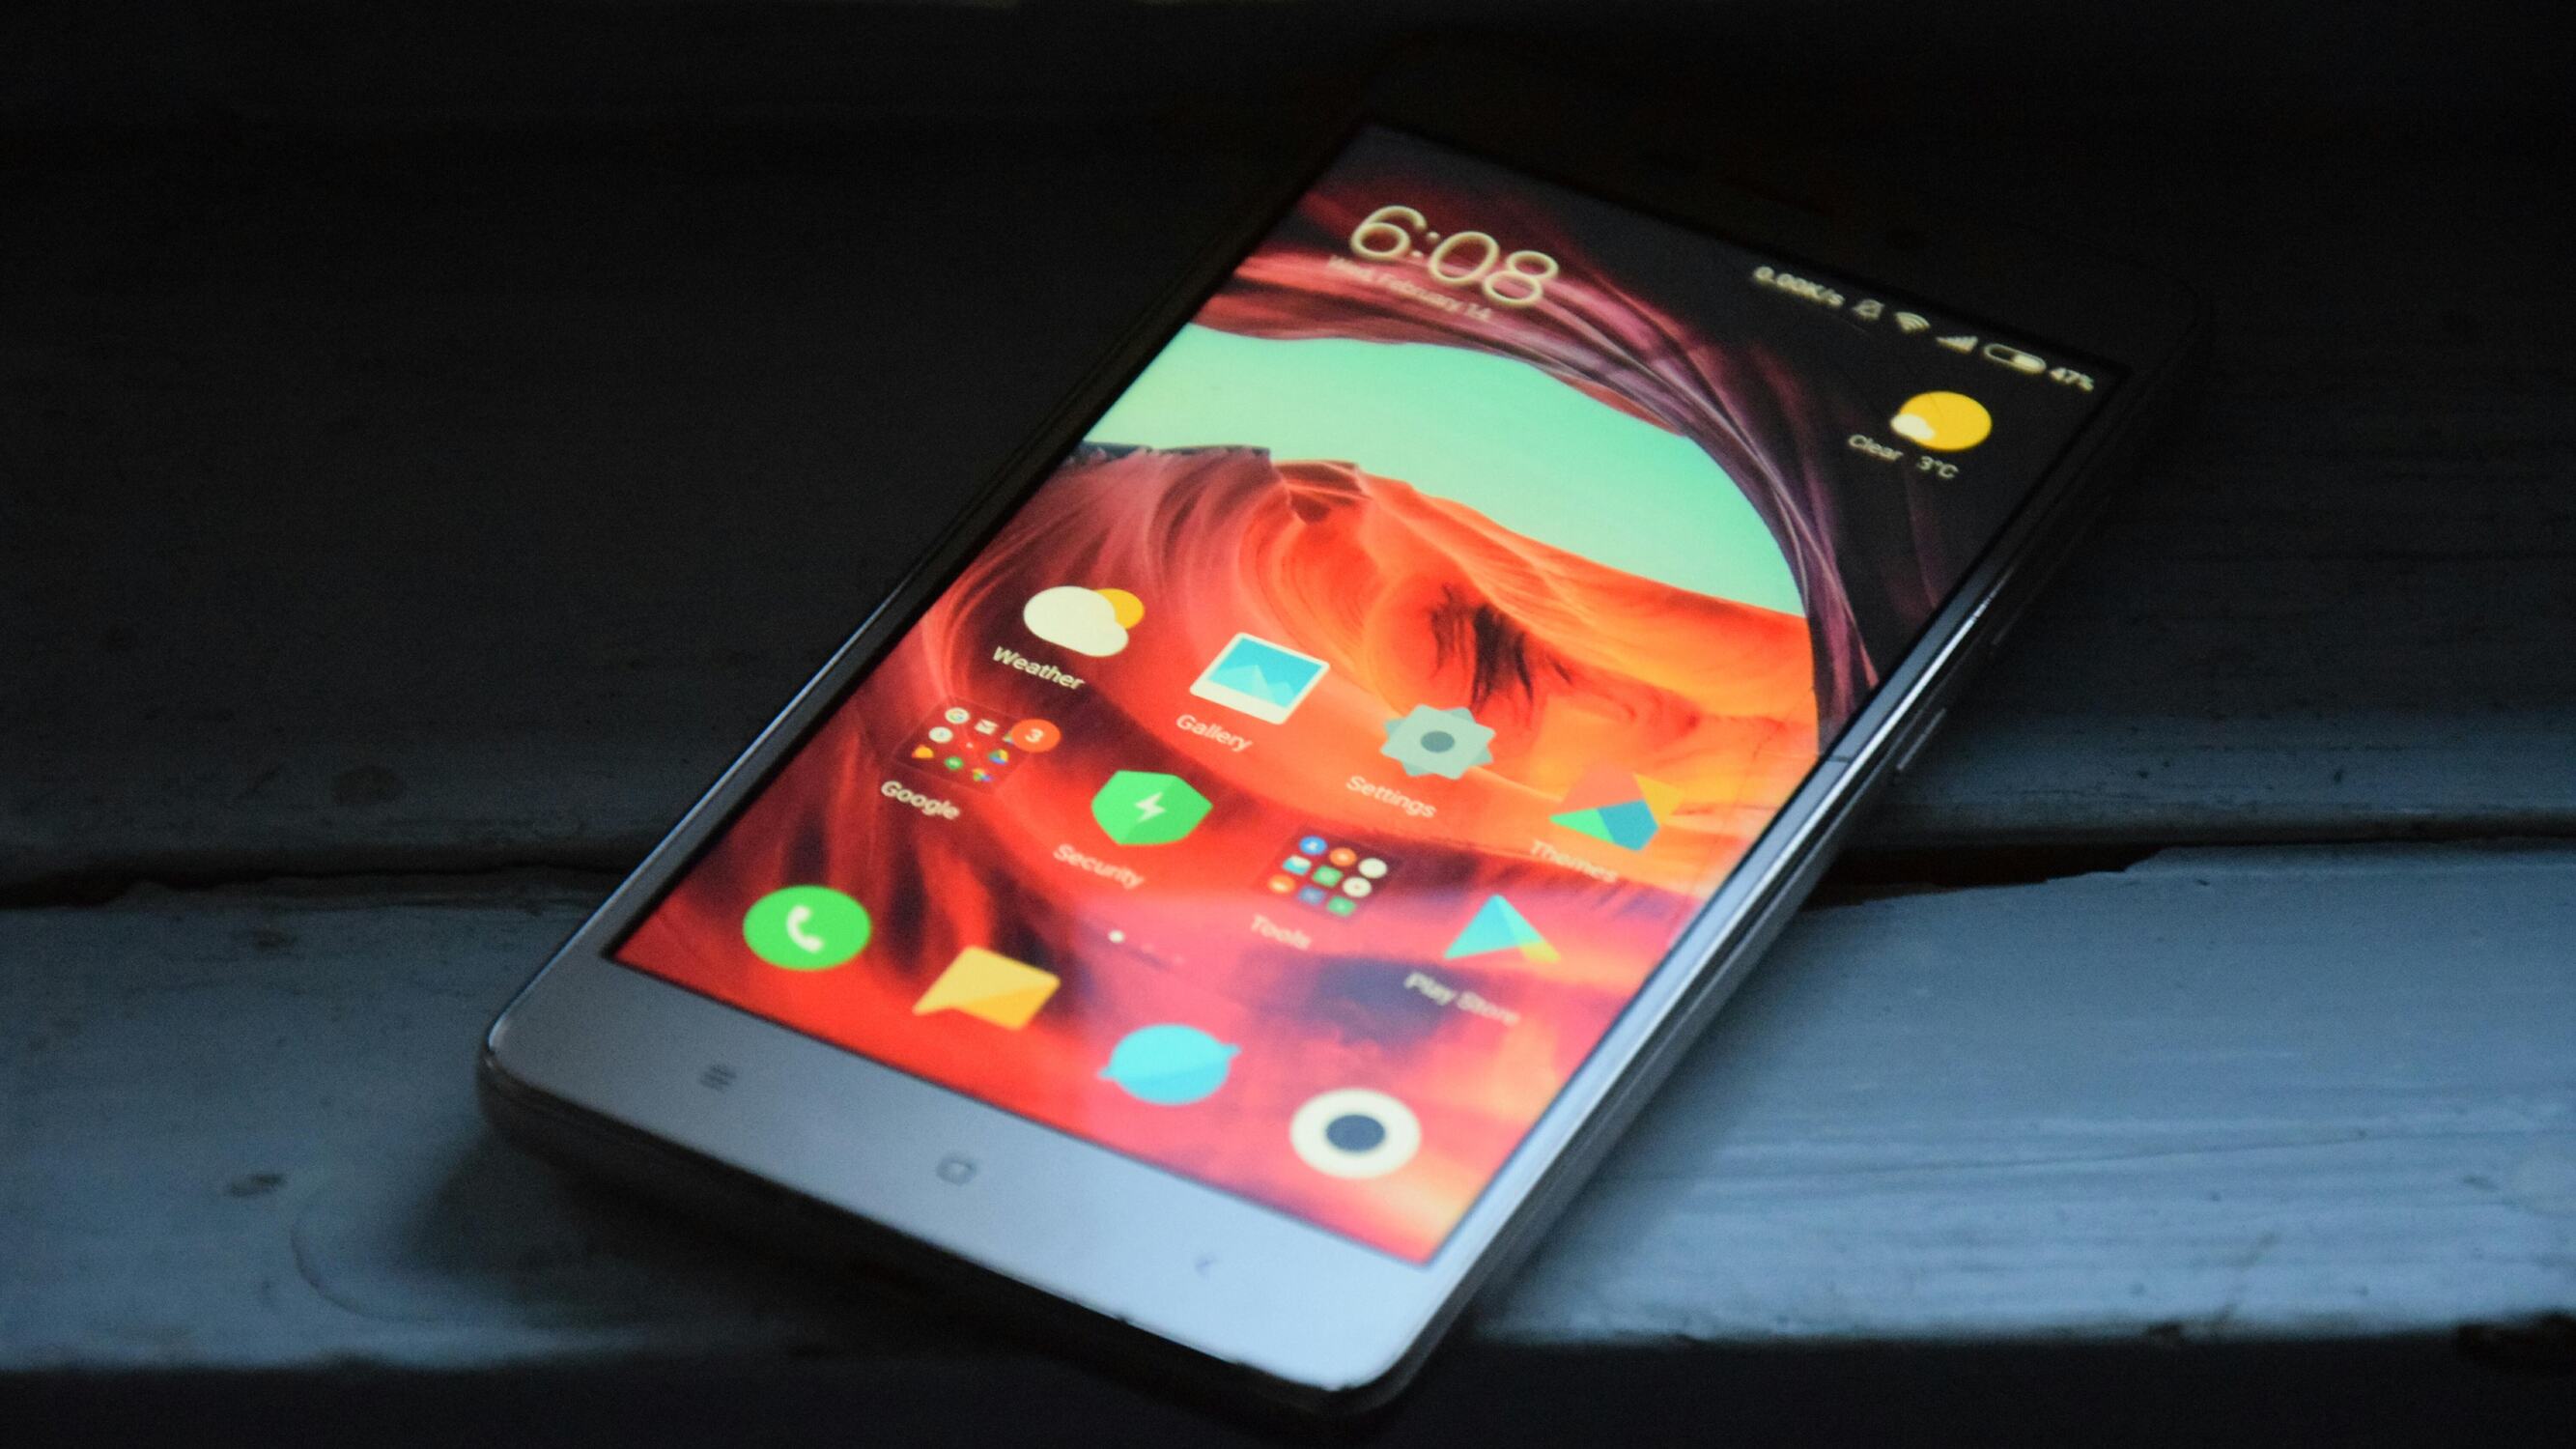
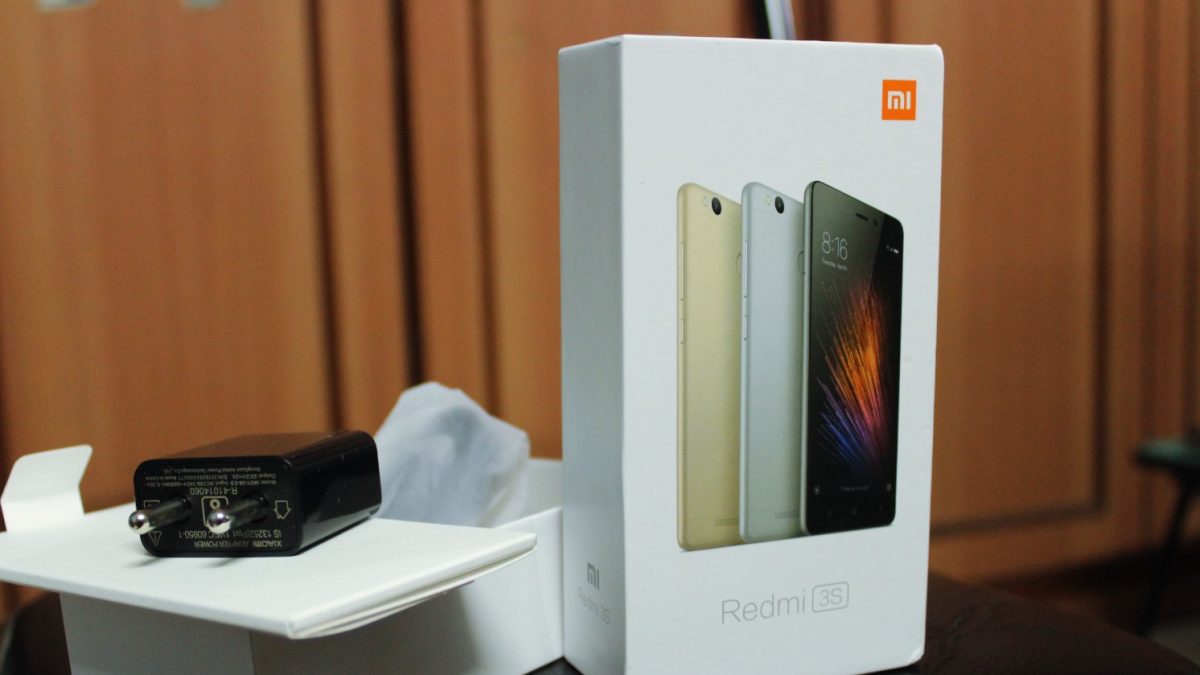
The Redmi 3S is a popular and reliable mobile device that has gained a loyal following due to its impressive features and sleek design. However, like any electronic device, there may come a time when you need to access the internal components, such as the battery or SIM card slot. In such cases, knowing how to safely remove the back panel of the Redmi 3S is essential.
In this comprehensive guide, we will walk you through the step-by-step process of accessing the back panel of the Redmi 3S. Whether you're looking to replace the battery, insert a new SIM card, or simply explore the internal components out of curiosity, this guide will equip you with the knowledge and confidence to do so effectively and safely.
By following the instructions provided in this guide, you will gain a deeper understanding of the internal structure of your Redmi 3S and be able to perform necessary maintenance or upgrades with ease. So, without further ado, let's dive into the process of accessing the back panel of the Redmi 3S.
Step 1: Gather Necessary Tools
Before embarking on the process of accessing the back panel of your Redmi 3S, it's crucial to gather the necessary tools to ensure a smooth and hassle-free experience. Having the right tools at your disposal will not only make the task easier but also minimize the risk of damaging the device. Here's a comprehensive list of tools you'll need:
-
Screwdriver Set: The Redmi 3S back panel is secured in place by small screws. Therefore, a precision screwdriver set with interchangeable heads is essential for removing these screws without causing any damage to the device's exterior.
-
Plastic Opening Tools: To pry open the back panel without scratching or denting the device, plastic opening tools are indispensable. These tools are designed to safely separate the clips holding the back panel in place, allowing for a smooth and damage-free removal process.
-
Anti-Static Wrist Strap (Optional): While not mandatory, an anti-static wrist strap can be beneficial, especially if you're planning to delve deeper into the internal components of the Redmi 3S. This strap helps dissipate any static electricity from your body, minimizing the risk of damaging sensitive electronic parts.
-
Clean Workspace: Creating a clean and well-lit workspace is essential for this task. Ensure that you have a flat and stable surface to work on, preferably with ample lighting to clearly see the components and screws.
By ensuring that you have all the necessary tools at your disposal, you'll be well-prepared to proceed with confidence to the next step of powering off the Redmi 3S and initiating the back panel removal process. With the right tools and a methodical approach, you'll be on your way to accessing the internal components of your Redmi 3S in no time.
Step 2: Power Off the Redmi 3S
Before proceeding with the back panel removal process, it is crucial to power off the Redmi 3S to ensure the safety of both the device and the individual performing the task. Powering off the device eliminates the risk of electrical shock and minimizes the likelihood of accidental damage during the panel removal process.
To power off the Redmi 3S, follow these simple steps:
-
Locate the Power Button: The power button is typically located on the right-hand side or the top of the device, depending on the model. It is usually distinguished by a small icon resembling a power symbol.
-
Press and Hold the Power Button: Press and hold the power button until the power-off menu appears on the screen. This menu will typically include options such as "Power Off," "Restart," or "Emergency Mode."
-
Select "Power Off": Once the power-off menu is displayed, tap on the "Power Off" option to initiate the shutdown process. This action will prompt the device to begin powering down, and the screen will eventually turn off, indicating that the Redmi 3S is successfully powered off.
-
Verify Power-Off Status: After the screen has turned off, it is advisable to wait for a few seconds to ensure that the device has completely powered down. This step is essential to prevent any residual electrical activity within the device.
By following these steps, you can safely power off your Redmi 3S in preparation for the back panel removal process. Ensuring that the device is powered off mitigates the risk of electrical hazards and allows for a smooth and secure experience when accessing the internal components. With the Redmi 3S powered off, you are now ready to proceed to the next step of locating and removing the screws securing the back panel.
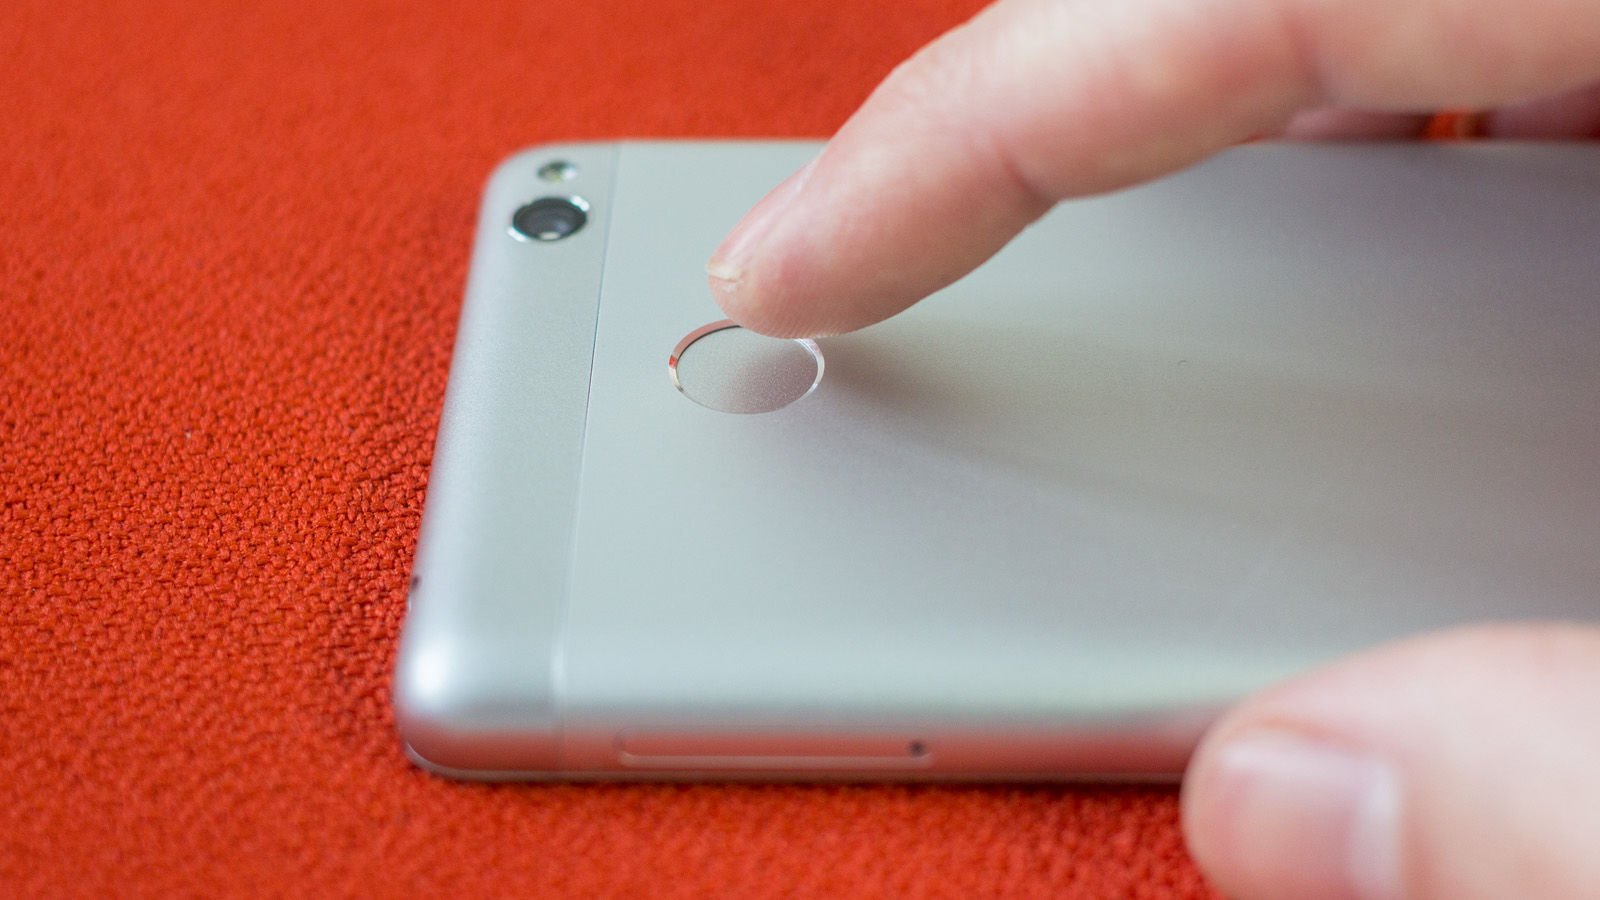
Step 3: Locate the Screws
Once the Redmi 3S is powered off, the next step in accessing the back panel is to locate the screws that secure it in place. The back panel of the Redmi 3S is typically held in position by a series of small screws, which need to be carefully removed to gain access to the internal components. To locate these screws, follow these steps:
-
Examine the Perimeter: Carefully inspect the edges of the Redmi 3S to identify the locations of the screws. In most cases, the screws are positioned along the perimeter of the device, often concealed beneath small rubber or plastic covers. These covers may need to be gently pried open to reveal the screws underneath.
-
Refer to the User Manual: If you encounter difficulty locating the screws, referring to the user manual can provide valuable insights. The user manual typically includes detailed diagrams or instructions on disassembling the device, including the specific locations of the screws securing the back panel.
-
Use Magnification if Necessary: In some instances, the screws may be extremely small and intricately positioned. Utilizing a magnifying glass or a smartphone camera with zoom capabilities can aid in identifying and locating these tiny screws with precision.
-
Exercise Patience and Caution: It's important to approach this step with patience and caution, as the screws are delicate and essential for securing the back panel. Avoid applying excessive force or using tools that are not designed for precision work, as this can lead to damage to the screws or the device itself.
By carefully locating and identifying the screws that secure the back panel of the Redmi 3S, you are setting the stage for the subsequent step of removing these screws to facilitate the safe and controlled removal of the back panel. With the screws identified, you are now prepared to proceed to the next step of removing them to access the internal components of the Redmi 3S.
Step 4: Remove the Screws
With the screws securing the back panel of the Redmi 3S identified, the next crucial step is to carefully remove them to facilitate the safe and controlled removal of the panel. This process requires precision and attention to detail to avoid damaging the screws or the device itself. Here's a detailed guide on how to effectively remove the screws:
-
Select the Correct Screwdriver Head: Utilize the appropriate screwdriver head from your precision screwdriver set that fits the screws securing the back panel. Using the wrong size or type of screwdriver head can lead to stripping the screws, making them difficult to remove and potentially causing damage to the device.
-
Apply Gentle and Even Pressure: Insert the screwdriver into the head of the first screw and apply gentle, even pressure in a counterclockwise direction to loosen the screw. It's crucial to maintain a steady hand and avoid applying excessive force, as doing so can result in the screwdriver slipping and damaging the screw head.
-
Keep Track of Removed Screws: As each screw is loosened, carefully place it in a designated container or a secure location to prevent misplacement. Keeping the screws organized and accounted for will streamline the reassembly process and minimize the risk of losing any components.
-
Inspect for Hidden Screws: Some devices may have hidden screws beneath adhesive covers or labels. Thoroughly inspect the back panel and, if necessary, gently peel back any covers or labels to reveal and remove any additional screws securing the panel.
-
Exercise Caution with Tight Screws: If any screws are particularly tight or resistant to loosening, avoid using excessive force. Instead, apply a small amount of lubricant, such as isopropyl alcohol, to the screw and allow it to penetrate for a few minutes before attempting to loosen it again.
-
Verify All Screws Are Removed: Once all the screws have been successfully removed, gently shake the device to ensure that no loose screws remain inside. It's essential to confirm that all screws have been accounted for before proceeding to the next step.
By meticulously following these steps, you can effectively remove the screws securing the back panel of the Redmi 3S, paving the way for the subsequent process of prying open the panel to access the internal components. With the screws safely removed, you are now prepared to proceed to the next step of prying open the back panel with precision and care.
Step 5: Pry Open the Back Panel
With the screws successfully removed, the next critical step in accessing the internal components of the Redmi 3S is to carefully pry open the back panel. This process requires precision, patience, and the use of appropriate tools to avoid damaging the device's exterior. Here's a detailed guide on how to effectively pry open the back panel:
-
Utilize Plastic Opening Tools: Begin by selecting the plastic opening tools from your toolkit. These tools are designed to safely separate the clips holding the back panel in place without causing scratches or dents. Insert the edge of the plastic opening tool between the back panel and the main body of the device, ensuring a firm but gentle grip.
-
Apply Even Pressure: With the plastic opening tool in position, apply even pressure to gradually pry open the back panel. It's essential to work methodically around the perimeter of the device, gently releasing the clips securing the panel. Avoid exerting excessive force in one area, as this can lead to uneven pressure distribution and potential damage to the panel or the device's internal components.
-
Exercise Caution Near Ports and Openings: As you progress in prying open the back panel, exercise caution when reaching areas around ports, buttons, or openings. These areas may have additional securing mechanisms or delicate components that require careful maneuvering. Take your time and ensure that the panel is being released evenly without placing undue stress on any specific area.
-
Utilize Multiple Tools if Necessary: In instances where the back panel is particularly secure, it may be beneficial to utilize multiple plastic opening tools simultaneously. This approach allows for a more controlled and distributed application of force, minimizing the risk of damage to the panel or the device.
-
Verify Complete Release: As the back panel begins to loosen, periodically verify that all clips are being released evenly. Gently wiggle the panel to ascertain that it is detaching uniformly from the device's body. If any resistance is encountered, reassess the area and adjust the positioning of the plastic opening tools as needed.
By meticulously following these steps, you can effectively pry open the back panel of the Redmi 3S, gaining access to the internal components without causing any damage to the device's exterior. With the back panel successfully opened, you are now prepared to proceed to the next step of accessing the internal components and performing any necessary maintenance or upgrades with confidence and precision.
Step 6: Access the Internal Components
With the back panel of the Redmi 3S successfully opened, you have gained access to the internal components of the device, providing a firsthand view of its intricate hardware. This step marks a pivotal moment, as it allows you to explore and interact with the internal elements, such as the battery, SIM card slot, and other essential parts. Here's a detailed exploration of accessing the internal components:
Battery Inspection and Replacement
Upon accessing the internal components, one of the primary elements to inspect is the battery. The battery of the Redmi 3S is a vital component that powers the device, and its condition can significantly impact the overall performance. By carefully examining the battery, you can assess its health, including its capacity and physical condition. Should the need arise, this is also the opportune time to replace the battery with a new one, ensuring prolonged usage and optimal functionality.
SIM Card and MicroSD Slot Examination
Another crucial aspect of accessing the internal components is examining the SIM card and MicroSD slot. These slots play a pivotal role in the device's connectivity and storage capabilities. By inspecting these components, you can ensure that they are free from debris or damage, guaranteeing seamless functionality. Additionally, if you intend to insert or replace the SIM card or MicroSD card, this step provides the perfect opportunity to do so with ease and precision.
Internal Circuitry and Connectors
Delving deeper into the internal components grants insight into the intricate circuitry and connectors that form the backbone of the Redmi 3S. Carefully inspecting these elements allows you to ensure that all connections are secure and free from any signs of corrosion or damage. This step is particularly crucial for maintaining the device's reliability and stability, as it enables you to address any potential issues related to the internal circuitry.
Dust and Debris Removal
Accessing the internal components also presents the opportunity to perform essential maintenance, such as removing accumulated dust and debris. Over time, electronic devices can attract dust particles, which may hinder performance and lead to overheating. By meticulously cleaning the internal components, including the fan and other critical areas, you can optimize the device's airflow and thermal management, promoting longevity and efficient operation.
Component Reassembly Considerations
As you explore the internal components, it's essential to keep track of the disassembled parts and screws, ensuring that they are organized and readily accessible for reassembly. Methodically documenting the disassembly process can streamline the reassembly phase, minimizing the risk of misplacing components and simplifying the overall task. Additionally, exercising caution and precision during the reassembly process is paramount to ensure that all components are securely and correctly positioned, maintaining the device's integrity.
By thoroughly accessing the internal components of the Redmi 3S, you gain valuable insights into its inner workings and can perform essential maintenance and upgrades with confidence and precision. This step equips you with the knowledge and capability to address various aspects of the device's internal components, promoting its longevity and optimal performance.
Step 7: Reassemble the Redmi 3S
After successfully accessing the internal components of the Redmi 3S and performing any necessary maintenance or upgrades, the final step is to reassemble the device with precision and care. The reassembly process is crucial to ensure that all components are securely and correctly positioned, restoring the device to its original state of functionality and aesthetic appeal.
Here's a detailed guide on how to effectively reassemble the Redmi 3S:
-
Organize Disassembled Components: Begin by organizing the disassembled components, including the back panel, screws, and any internal elements that were temporarily removed. Keeping these components organized and readily accessible streamlines the reassembly process and minimizes the risk of misplacing essential parts.
-
Inspect and Clean Components: Before reassembling the device, take the opportunity to inspect and clean the internal components. Ensure that all connectors are free from debris or damage, and carefully remove any accumulated dust or particles. This step contributes to the device's overall functionality and longevity.
-
Align and Secure Internal Components: When repositioning the internal components, such as the battery and circuitry, ensure that they are aligned correctly and securely seated in their respective positions. Exercise caution to avoid applying excessive force, as this can lead to damage or misalignment.
-
Secure the Back Panel: With the internal components in place, carefully position the back panel over the device's body, aligning it with precision. Apply gentle pressure to secure the panel, ensuring that all clips and edges are properly engaged. Take care to avoid forcing the panel into place, as this can result in damage to the clips or the device's exterior.
-
Reinsert and Tighten Screws: Using the appropriate screwdriver head, reinsert the screws into their designated positions on the back panel. Apply even pressure to tighten the screws, ensuring that they are secure without being overly tightened. This step is essential for maintaining the structural integrity of the device.
-
Verify Functionality: Once the reassembly is complete, power on the Redmi 3S to verify its functionality. Ensure that all buttons, ports, and features are operational, and that the device powers on without any issues. This step validates the successful reassembly and functionality of the device.
By meticulously following these steps, you can effectively reassemble the Redmi 3S, restoring it to its original state of functionality and appearance. The reassembly process, when executed with precision and care, ensures that the device remains reliable and visually appealing, reflecting the successful completion of the back panel access and maintenance or upgrade tasks.