Introduction
The Xiaomi Redmi Note 3 is a versatile and powerful mobile device that has garnered a loyal following among tech enthusiasts and everyday users alike. With its impressive features and customizable options, the Redmi Note 3 offers a unique and personalized user experience. In this comprehensive guide, we will delve into the intricacies of unlocking the device's full potential, from unlocking the bootloader to installing custom ROMs. By understanding the step-by-step process of customizing the Redmi Note 3, users can elevate their mobile experience to new heights.
The journey to unlocking the secrets of the Xiaomi Redmi Note 3 begins with a fundamental understanding of its capabilities and the possibilities that lie within. As we embark on this exploration, we will uncover the methods and tools required to unleash the device's true potential. Whether you are a tech-savvy individual seeking to push the boundaries of customization or a casual user looking to enhance your device's performance, this guide will equip you with the knowledge and resources to transform your Redmi Note 3 into a personalized powerhouse.
Throughout this guide, we will navigate through the intricacies of unlocking the bootloader, installing custom recovery, rooting the device, and installing custom ROMs. Each step in this process is integral to customizing the Redmi Note 3 according to individual preferences and requirements. By following the detailed instructions and insights provided, users can gain a deeper understanding of the device's inner workings and harness its full potential.
The Xiaomi Redmi Note 3 is not just a smartphone; it is a canvas waiting to be painted with personalized features and functionalities. Whether you aspire to optimize performance, customize the user interface, or explore the latest Android updates, this guide will serve as your roadmap to unlocking the hidden capabilities of the Redmi Note 3. Join us on this transformative journey as we unravel the secrets and possibilities that await within the Xiaomi Redmi Note 3.
Understanding the Xiaomi Redmi Note 3
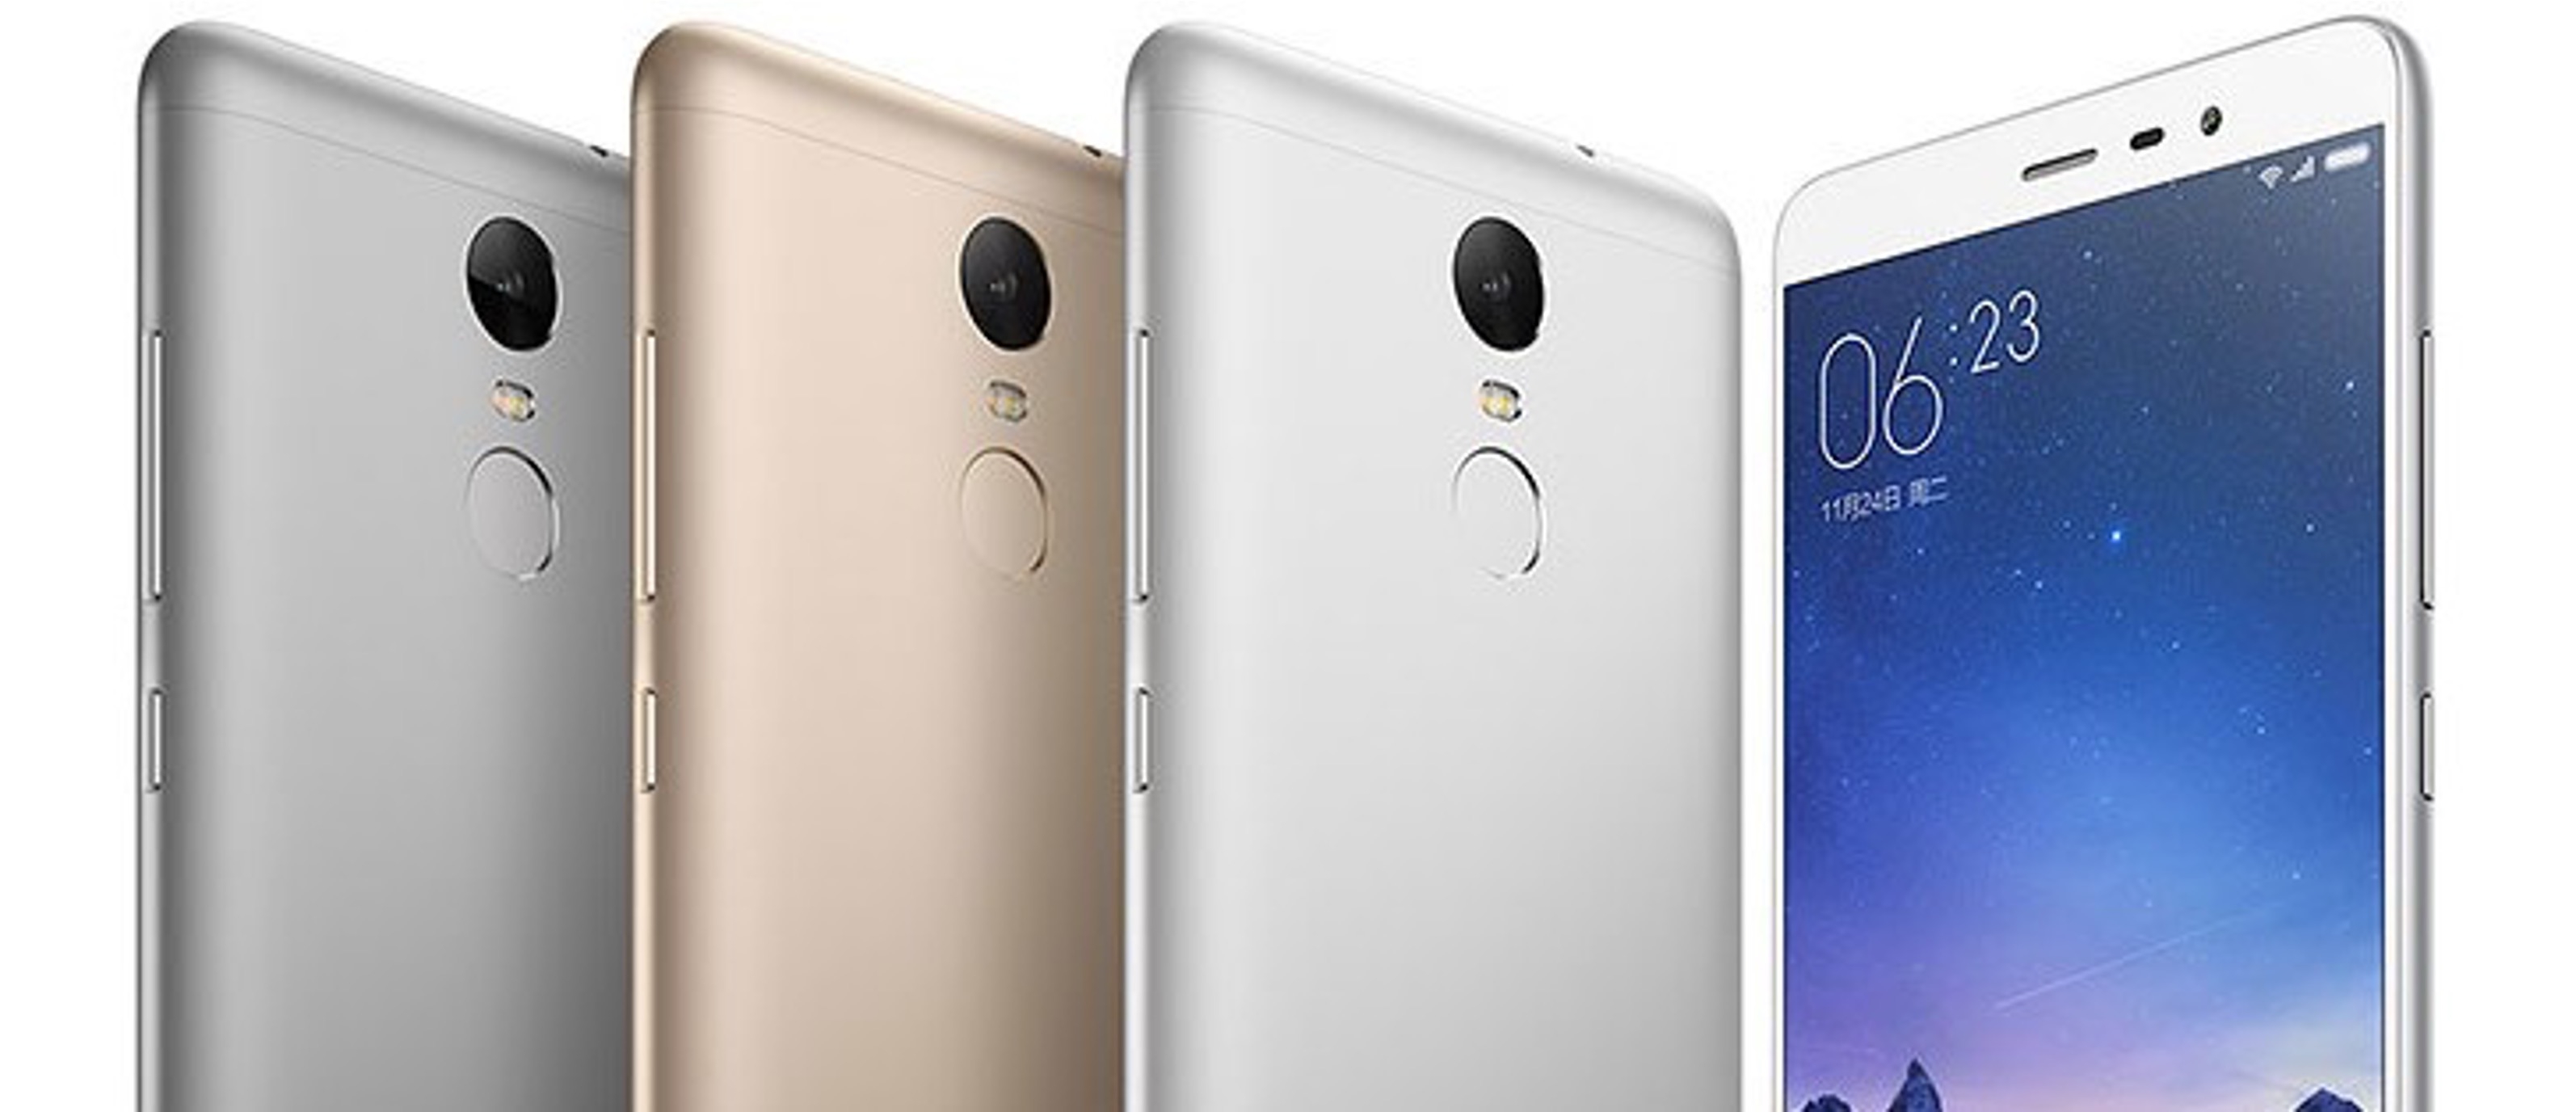
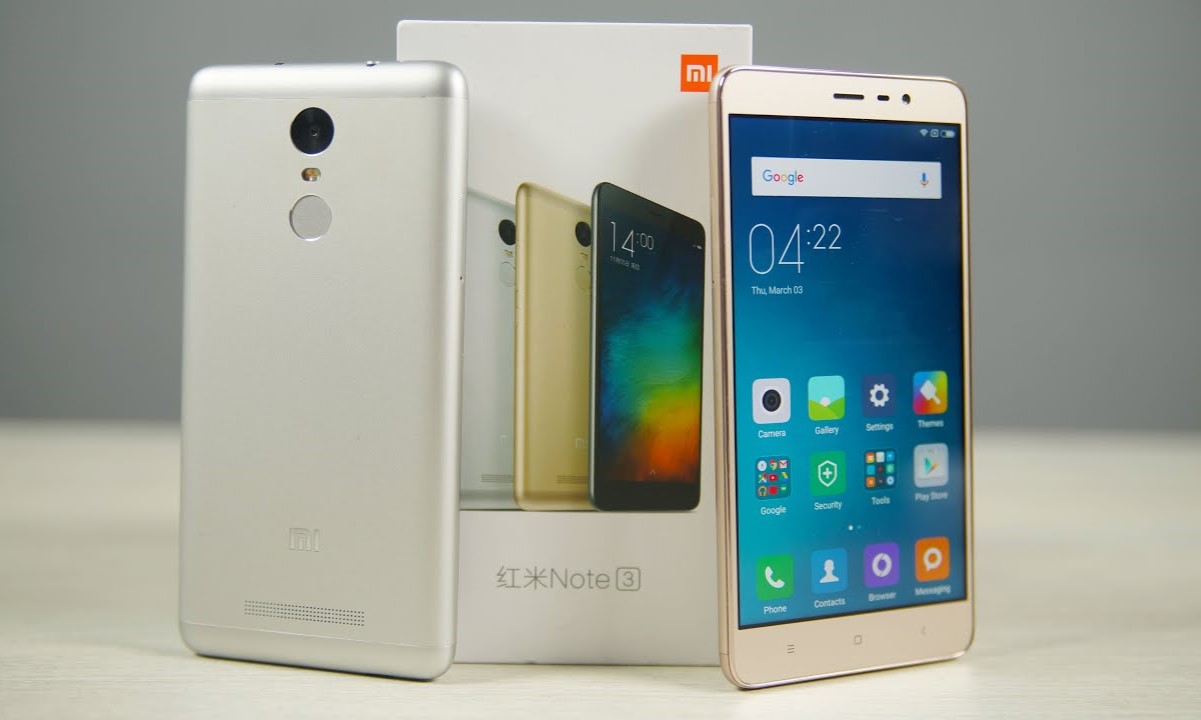
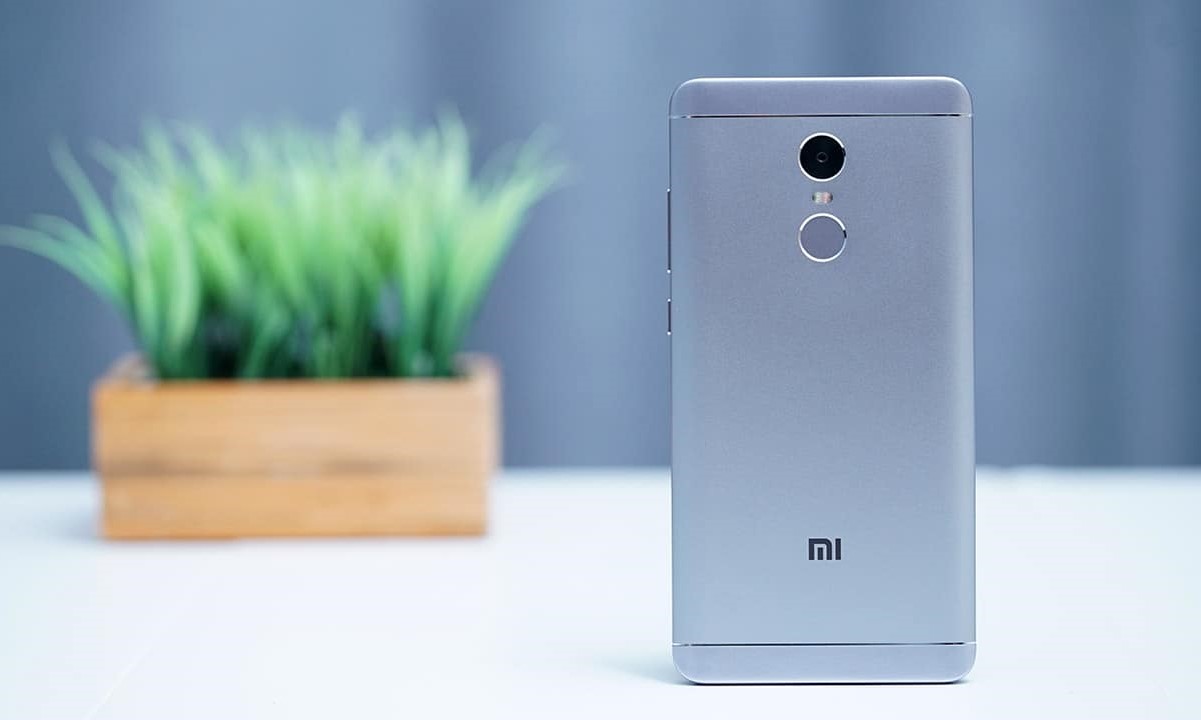
The Xiaomi Redmi Note 3, released in 2016, quickly gained popularity for its exceptional features and affordable price point. This device boasts a 5.5-inch full-HD display, providing users with a vibrant and immersive visual experience. Powered by the Qualcomm Snapdragon 650 processor, the Redmi Note 3 delivers impressive performance, making it suitable for multitasking, gaming, and multimedia consumption.
Equipped with a 16-megapixel rear camera and a 5-megapixel front camera, the Redmi Note 3 captures stunning photos and videos, allowing users to preserve their most cherished moments with clarity and detail. Additionally, the device offers expandable storage, enabling users to store a vast library of media, apps, and files without constraints.
The Redmi Note 3's robust 4050mAh battery ensures extended usage without frequent recharging, making it an ideal companion for individuals with active lifestyles. Furthermore, the device features a fingerprint sensor, providing convenient and secure access to the device and sensitive information.
Running on MIUI, Xiaomi's custom Android-based operating system, the Redmi Note 3 offers a seamless and intuitive user interface, complemented by a myriad of customization options. Users can personalize their device with themes, wallpapers, and various settings to tailor the user experience to their preferences.
In terms of connectivity, the Redmi Note 3 supports 4G LTE, Wi-Fi, Bluetooth, and GPS, ensuring reliable and fast connections for communication, navigation, and entertainment purposes. The device's sleek and ergonomic design, coupled with its robust build quality, exemplifies Xiaomi's commitment to delivering a premium user experience at an accessible price point.
The Xiaomi Redmi Note 3 embodies a harmonious blend of performance, functionality, and affordability, making it a compelling choice for users seeking a feature-rich and customizable mobile device. With its impressive specifications and versatile capabilities, the Redmi Note 3 serves as a canvas for users to explore and unleash their creativity, productivity, and entertainment needs.
As we delve deeper into the customization process, it is essential to recognize the Redmi Note 3's hardware and software attributes, as they form the foundation for unlocking its full potential. By understanding the device's capabilities and intricacies, users can make informed decisions when customizing and optimizing their Redmi Note 3 to suit their unique preferences and requirements.
Unlocking the Bootloader
Unlocking the bootloader is a crucial initial step in customizing the Xiaomi Redmi Note 3, as it grants users the freedom to install custom recovery and root the device, paving the way for advanced customization. However, it is important to note that unlocking the bootloader may void the device's warranty and could potentially lead to data loss if not executed carefully. Therefore, it is imperative to proceed with caution and follow the instructions meticulously.
To initiate the bootloader unlocking process, users must first enable Developer Options on their Redmi Note 3 by navigating to Settings, About Phone, and tapping on the MIUI version multiple times until the message "You are now a developer" appears. Subsequently, users can access Developer Options in the Settings menu and enable OEM unlocking and USB debugging.
Once these prerequisites are met, users can proceed to the official Xiaomi Mi Unlock Tool website to download the Mi Unlock software. After installing the Mi Unlock Tool on a computer, users must log in with their Mi account and follow the on-screen instructions to request bootloader unlocking for the Redmi Note 3. It is important to note that this process may take several days, as Xiaomi typically requires a waiting period before granting bootloader unlocking permissions.
Upon receiving approval for bootloader unlocking, users can proceed to the next steps, which involve connecting the Redmi Note 3 to the computer in fastboot mode and using the Mi Unlock Tool to unlock the bootloader. This process involves carefully following the on-screen instructions to execute the unlocking procedure, which may include data wiping to ensure a clean transition to an unlocked bootloader state.
It is crucial to emphasize that unlocking the bootloader is a technical process that requires careful attention to detail and adherence to the provided instructions. Users should back up their important data and proceed with caution, as any errors during the bootloader unlocking process could potentially lead to adverse consequences.
By successfully unlocking the bootloader of the Xiaomi Redmi Note 3, users gain the ability to explore advanced customization options, such as installing custom recovery and rooting the device. This pivotal step sets the stage for a transformative journey into the realm of personalized customization, enabling users to unleash the full potential of their Redmi Note 3 and tailor it to their unique preferences and requirements.
Installing Custom Recovery
Installing a custom recovery on the Xiaomi Redmi Note 3 is a fundamental aspect of customizing the device and unlocking its full potential. A custom recovery, such as TWRP (Team Win Recovery Project), provides users with advanced functionalities and the ability to perform various tasks that are not possible with the stock recovery. These tasks include flashing custom ROMs, creating and restoring backups, and clearing the device's cache and data.
The process of installing a custom recovery on the Redmi Note 3 involves several steps, each of which is essential for ensuring a seamless and successful installation. Before proceeding, it is crucial to ensure that the bootloader of the device has been unlocked, as this is a prerequisite for installing custom recovery.
To begin, users must download the appropriate TWRP recovery image for the Redmi Note 3 from the official TWRP website or a trusted source. It is essential to verify the compatibility and authenticity of the recovery image to avoid potential issues during the installation process.
Once the TWRP recovery image is obtained, users can proceed to boot their Redmi Note 3 into fastboot mode by powering off the device and then pressing the volume down and power buttons simultaneously. In fastboot mode, users can connect the device to a computer using a USB cable.
With the device in fastboot mode and connected to the computer, users can open a command prompt or terminal window on the computer and navigate to the directory where the TWRP recovery image is located. From there, users can execute the command to flash the TWRP recovery image to the Redmi Note 3.
After the flashing process is completed, users can reboot the device into recovery mode to verify the successful installation of TWRP. In recovery mode, users can explore the various options and functionalities offered by TWRP, such as creating a full backup of the device, flashing custom ROMs, and performing system maintenance tasks.
Installing a custom recovery on the Xiaomi Redmi Note 3 empowers users to delve into the realm of advanced customization and optimization. With TWRP installed, users can explore a myriad of possibilities to personalize their device, enhance its performance, and stay up to date with the latest custom ROMs and modifications.
By following the detailed steps and precautions associated with installing a custom recovery, users can elevate their Redmi Note 3 experience to new heights, embracing the freedom and flexibility that comes with customizing their device according to their unique preferences and requirements.
Rooting the Device
Rooting the Xiaomi Redmi Note 3 is a transformative process that grants users elevated control and access to the device's operating system. By obtaining root access, users can delve into the inner workings of the device, enabling advanced customization, performance optimization, and the installation of powerful applications that harness the full potential of the hardware.
Before embarking on the rooting process, it is essential to understand the implications and potential risks associated with rooting a device. Rooting the Redmi Note 3 may void the device's warranty and could potentially lead to security vulnerabilities if not executed with caution. However, for users seeking to unlock the device's true capabilities and explore advanced customization options, rooting is a gateway to a world of possibilities.
To initiate the rooting process, users must first ensure that the bootloader of the Redmi Note 3 has been unlocked, as this is a prerequisite for rooting the device. Once the bootloader is unlocked, users can proceed to download the appropriate rooting tool, such as Magisk, which provides a reliable and versatile method for rooting Android devices.
After downloading the Magisk rooting tool, users can transfer the installation package to the Redmi Note 3's internal storage or SD card. Subsequently, users can boot the device into custom recovery, such as TWRP, which was installed in the previous step, and navigate to the option to install the Magisk rooting package.
Upon selecting the Magisk installation package, users can proceed with the rooting process, following the on-screen instructions provided by the custom recovery. The installation typically involves flashing the Magisk package, after which users can reboot the device to complete the rooting process.
Once the Redmi Note 3 is successfully rooted, users gain access to a plethora of advanced customization options and powerful root-enabled applications. With root access, users can fine-tune the device's performance, remove bloatware, and explore a wide range of root-specific applications and modifications that enhance the overall user experience.
It is crucial to approach the rooting process with careful consideration and awareness of the potential implications. By understanding the risks and benefits associated with rooting, users can make informed decisions and leverage root access to tailor their Redmi Note 3 to their unique preferences and requirements.
Rooting the Xiaomi Redmi Note 3 is a pivotal step in the journey of unlocking the device's full potential, empowering users to explore the depths of customization and optimization while embracing the freedom and flexibility that comes with root access.
Installing Custom ROMs
Installing custom ROMs on the Xiaomi Redmi Note 3 presents an exciting opportunity to elevate the device's functionality, performance, and user experience. Custom ROMs, which are customized versions of the Android operating system, offer users a diverse array of features, optimizations, and visual enhancements that go beyond what is typically offered by the stock firmware.
The process of installing custom ROMs on the Redmi Note 3 involves several essential steps, each contributing to a seamless and successful transition to a customized firmware. Before proceeding with the installation, it is imperative to ensure that the device's bootloader has been unlocked and a custom recovery, such as TWRP, has been installed, as these prerequisites form the foundation for flashing custom ROMs.
To begin, users must select a reputable and compatible custom ROM for the Redmi Note 3 from trusted sources or dedicated forums. It is crucial to verify the compatibility and authenticity of the custom ROM to ensure a smooth installation process and optimal performance post-installation.
Once the desired custom ROM is obtained, users can transfer the ROM file to the device's internal storage or SD card, enabling easy access during the installation process. Subsequently, users can boot the Redmi Note 3 into custom recovery, such as TWRP, and navigate to the option to install the custom ROM.
Upon selecting the custom ROM installation option, users can proceed with the flashing process, following the on-screen instructions provided by the custom recovery. The installation typically involves wiping the device's system, cache, and data partitions to ensure a clean transition to the custom ROM.
After the custom ROM is successfully flashed, users can reboot the device to experience the new firmware. Custom ROMs often introduce a plethora of customization options, performance enhancements, and visual modifications, allowing users to tailor their Redmi Note 3 to their unique preferences and requirements.
Installing custom ROMs on the Xiaomi Redmi Note 3 unlocks a world of possibilities, enabling users to explore diverse iterations of the Android operating system, each offering a distinct set of features and optimizations. Whether users seek enhanced performance, unique visual elements, or the latest Android updates, custom ROMs provide a platform for personalization and innovation, elevating the Redmi Note 3 to new heights of customization and functionality.
Conclusion
In conclusion, the Xiaomi Redmi Note 3 stands as a testament to the potential for customization and personalization within the realm of mobile devices. Throughout this comprehensive guide, we have navigated through the intricate process of unlocking the device's full potential, from unlocking the bootloader to installing custom ROMs. By understanding the step-by-step procedures and prerequisites for customization, users can embark on a transformative journey to tailor their Redmi Note 3 according to their unique preferences and requirements.
The journey of unlocking the secrets of the Xiaomi Redmi Note 3 begins with a fundamental understanding of its capabilities and the possibilities that lie within. As we have explored the device's robust specifications, versatile features, and customizable options, it becomes evident that the Redmi Note 3 serves as a canvas for users to express their creativity, productivity, and entertainment needs.
Unlocking the bootloader of the Redmi Note 3 serves as a pivotal step in the customization process, granting users the freedom to explore advanced customization options, such as installing custom recovery and rooting the device. This foundational step sets the stage for a transformative journey into the realm of personalized customization, enabling users to unleash the full potential of their Redmi Note 3.
Installing custom recovery and rooting the device further empowers users to delve into the inner workings of the Redmi Note 3, enabling advanced customization, performance optimization, and the installation of powerful applications that harness the full potential of the hardware. These processes provide users with elevated control and access to the device's operating system, unlocking a world of possibilities for personalization and innovation.
Finally, the installation of custom ROMs presents an exciting opportunity to elevate the device's functionality, performance, and user experience. Custom ROMs offer users a diverse array of features, optimizations, and visual enhancements, allowing them to tailor their Redmi Note 3 to their unique preferences and requirements.
In essence, the Xiaomi Redmi Note 3 transcends the boundaries of a conventional smartphone, offering users the opportunity to transform it into a personalized powerhouse. By following the detailed instructions and insights provided in this guide, users can unlock the hidden capabilities of the Redmi Note 3 and embark on a journey of exploration, innovation, and personalization within the realm of mobile devices.