Introduction
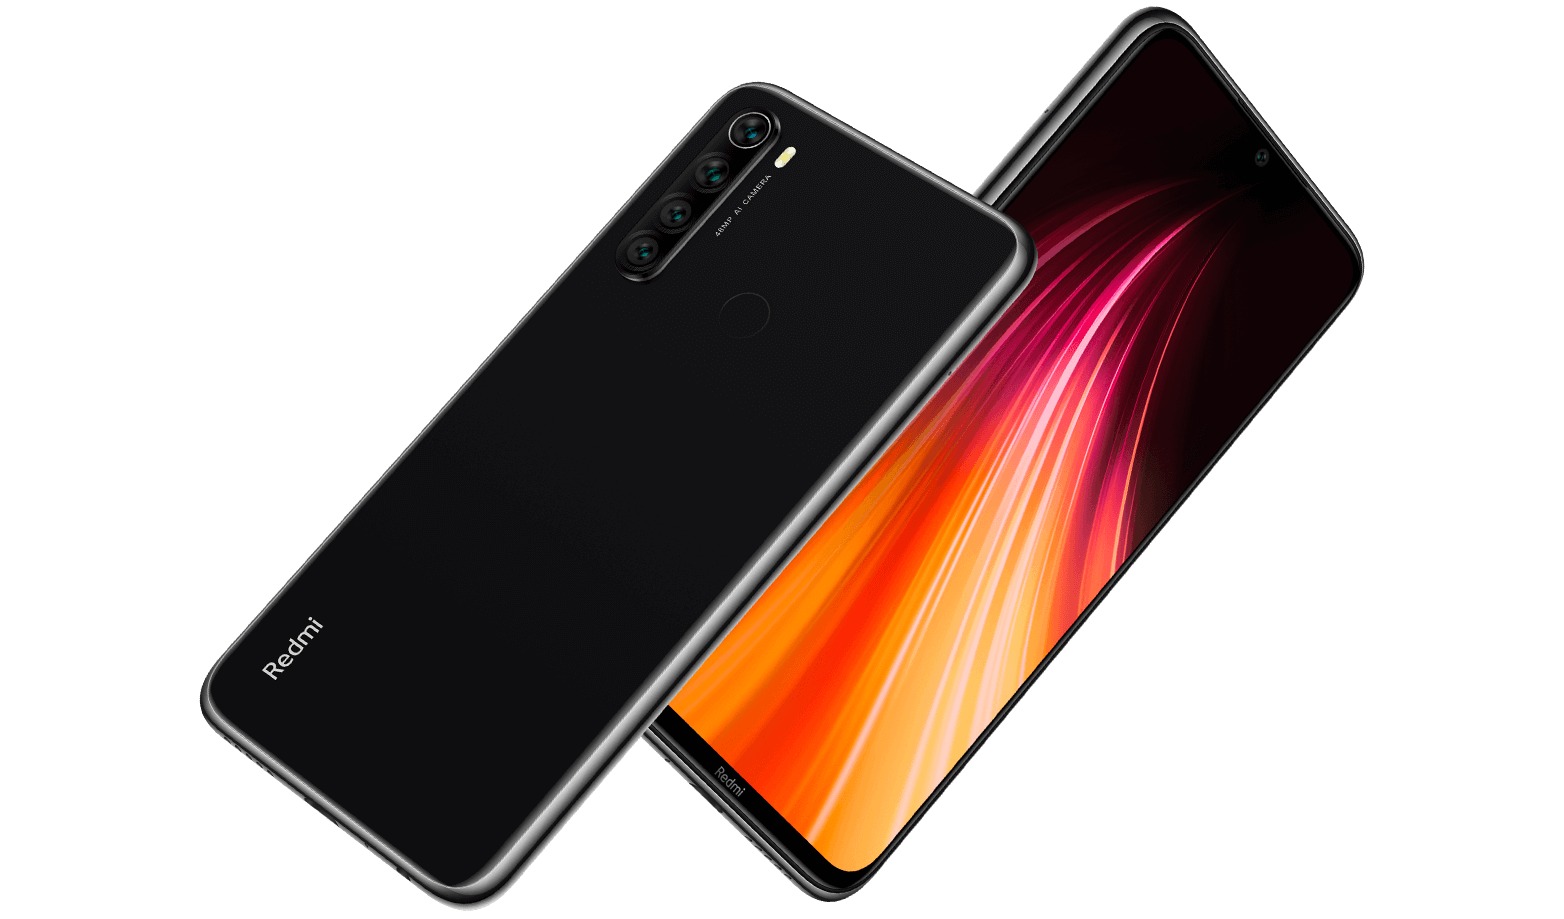
Are you ready to unlock the full potential of your Xiaomi Redmi 8? Rooting your device can open up a world of possibilities, allowing you to customize your phone, access hidden features, and optimize performance. However, it's essential to approach this process with caution and a clear understanding of the steps involved. In this comprehensive guide, we will walk you through the step-by-step process of rooting your Xiaomi Redmi 8, empowering you to take control of your device and elevate your mobile experience.
Rooting your Xiaomi Redmi 8 involves unlocking the bootloader, installing TWRP recovery, and utilizing Magisk to gain root access. Each step is crucial and requires careful attention to detail to ensure a successful outcome. By following this guide, you will gain a deeper understanding of the rooting process and the tools involved, empowering you to make informed decisions and customize your device according to your preferences.
Throughout this guide, we will provide clear instructions, tips, and insights to simplify the rooting process and address common challenges that users may encounter. Whether you're a tech enthusiast looking to explore advanced customization options or simply seeking to optimize your device's performance, rooting your Xiaomi Redmi 8 can unlock a new level of functionality and personalization.
So, if you're ready to embark on this exciting journey of device customization and optimization, let's dive into the step-by-step process of rooting your Xiaomi Redmi 8. Get ready to unleash the full potential of your device and elevate your mobile experience to new heights.
Step 1: Unlock the Bootloader
Unlocking the bootloader is the first crucial step in the process of rooting your Xiaomi Redmi 8. The bootloader acts as a security feature that restricts the device from booting into unauthorized software. By unlocking the bootloader, you gain the ability to install custom recovery and root your device, opening up a world of customization and optimization options.
Before proceeding, it's important to note that unlocking the bootloader will erase all data on your device. Therefore, it's essential to back up your important files, photos, and documents to prevent any loss during the process. Once you've safeguarded your data, you can proceed with the following steps to unlock the bootloader of your Xiaomi Redmi 8:
-
Enable Developer Options: Go to the "Settings" menu on your device, scroll down to "About Phone," and tap on "MIUI Version" seven times. This will enable Developer Options on your device.
-
Enable OEM Unlocking: In the "Developer Options" menu, locate the "OEM unlocking" option and enable it. This step is crucial as it allows the bootloader to be unlocked.
-
Enable USB Debugging: While still in the "Developer Options" menu, enable "USB debugging." This will allow your device to communicate with the computer when the bootloader unlocking process is initiated.
-
Power Off the Device: Turn off your Xiaomi Redmi 8 to prepare for the next steps.
-
Boot into Fastboot Mode: Press and hold the "Volume Down" and "Power" buttons simultaneously until the Fastboot logo appears on the screen. This indicates that your device is in Fastboot mode and ready for the bootloader unlocking process.
-
Connect to Computer: Using a USB cable, connect your Xiaomi Redmi 8 to your computer.
-
Unlock the Bootloader: On your computer, open the command prompt or terminal and enter the command to unlock the bootloader. The specific command may vary based on your computer's operating system and the tools you are using. Follow the on-screen instructions to complete the bootloader unlocking process.
Once the bootloader is successfully unlocked, your Xiaomi Redmi 8 will reboot, and you will have cleared the first hurdle on the path to rooting your device. With the bootloader unlocked, you are now ready to proceed to the next step of installing TWRP recovery, bringing you one step closer to gaining root access and unlocking the full potential of your device.
Step 2: Install TWRP Recovery
After successfully unlocking the bootloader of your Xiaomi Redmi 8, the next pivotal step in the rooting process is to install TWRP (Team Win Recovery Project) recovery. TWRP is a custom recovery that offers a range of advanced features, including the ability to flash custom ROMs, create and restore backups, and manage system-level functions. By installing TWRP recovery on your device, you gain a powerful tool that serves as a gateway to further customization and optimization options.
Here's a detailed guide on how to install TWRP recovery on your Xiaomi Redmi 8:
-
Download TWRP Image: Begin by downloading the TWRP recovery image specifically designed for the Xiaomi Redmi 8. Ensure that you obtain the correct TWRP image to match your device model and variant.
-
Enable USB Debugging: Similar to the previous step, navigate to the "Developer Options" menu on your device and enable "USB debugging." This will facilitate the communication between your device and the computer during the TWRP installation process.
-
Connect to Computer: Using a USB cable, connect your Xiaomi Redmi 8 to your computer, ensuring a stable and secure connection.
-
Open Command Prompt or Terminal: On your computer, open the command prompt (Windows) or terminal (macOS or Linux) and navigate to the directory where the TWRP image file is located.
-
Boot into Fastboot Mode: Once again, boot your Xiaomi Redmi 8 into Fastboot mode by pressing and holding the "Volume Down" and "Power" buttons simultaneously until the Fastboot logo appears on the screen.
-
Flash TWRP Image: In the command prompt or terminal, enter the command to flash the TWRP recovery image to your device. The specific command may vary based on your computer's operating system and the location of the TWRP image file. Follow the on-screen instructions to complete the flashing process.
-
Reboot into TWRP Recovery: After successfully flashing the TWRP image, reboot your Xiaomi Redmi 8 into TWRP recovery mode. This can typically be done by entering a specific key combination or using the "adb reboot recovery" command in the command prompt or terminal.
Once you have successfully installed TWRP recovery on your Xiaomi Redmi 8, you have laid the groundwork for the final steps of rooting your device. TWRP recovery provides a robust platform for managing and customizing your device, setting the stage for the next phase of the rooting process: downloading and installing Magisk to gain root access. With TWRP recovery in place, you are one step closer to unlocking the full potential of your Xiaomi Redmi 8 and experiencing a new level of device customization and optimization.
Step 3: Download and Install Magisk
With TWRP recovery successfully installed on your Xiaomi Redmi 8, the next critical step in the rooting process is to download and install Magisk. Magisk is a powerful and versatile tool that allows you to gain root access on your device while maintaining system integrity. Unlike traditional rooting methods, Magisk employs a systemless approach, enabling you to enjoy the benefits of root access without compromising the device's security or triggering safety net checks.
Here's a detailed guide on how to download and install Magisk on your Xiaomi Redmi 8:
-
Download Magisk Manager: Begin by downloading the Magisk Manager APK file from a trusted source. Magisk Manager is the companion app for Magisk, providing a user-friendly interface to manage root access and modules on your device.
-
Transfer Magisk Manager APK: Once the Magisk Manager APK file is downloaded, transfer it to your Xiaomi Redmi 8. You can do this by connecting your device to your computer via USB and copying the APK file to a location that is easily accessible on your device.
-
Enable Unknown Sources: Before installing the Magisk Manager APK, ensure that your device allows installations from unknown sources. To do this, navigate to the "Settings" menu, select "Security," and enable the "Unknown Sources" option. This allows you to install apps from sources other than the Google Play Store.
-
Install Magisk Manager: Using a file manager app on your Xiaomi Redmi 8, navigate to the location where the Magisk Manager APK file is stored. Tap on the APK file to initiate the installation process, and follow the on-screen instructions to complete the installation of Magisk Manager.
-
Download Magisk ZIP: After installing Magisk Manager, open the app and navigate to the "Downloads" section. From here, download the latest Magisk ZIP file, which contains the necessary files to gain root access on your device.
-
Flash Magisk ZIP in TWRP: Reboot your Xiaomi Redmi 8 into TWRP recovery mode. Once in TWRP, select the "Install" option and navigate to the location where the Magisk ZIP file was downloaded. Select the Magisk ZIP file and swipe to flash it. This process installs Magisk and grants root access to your device.
-
Reboot and Verify: After flashing Magisk, reboot your device. Once your Xiaomi Redmi 8 has restarted, open the Magisk Manager app to verify that root access has been successfully granted. You can also explore the various modules and customization options available through Magisk Manager to further enhance your device's capabilities.
By following these steps, you have successfully downloaded and installed Magisk on your Xiaomi Redmi 8, gaining root access and unlocking a new realm of customization and optimization possibilities. With Magisk in place, you can now explore a wide range of root-enabled apps, custom ROMs, and system modifications, allowing you to tailor your device to your preferences and elevate your mobile experience to new heights.
Step 4: Root Xiaomi Redmi 8
Congratulations on reaching the final step in the rooting process for your Xiaomi Redmi 8. Rooting your device empowers you with elevated control and customization options, allowing you to optimize performance and access advanced features. In this step, we will delve into the process of rooting your Xiaomi Redmi 8 using the Magisk tool, which you have successfully installed in the previous step.
Here's a detailed guide on how to root your Xiaomi Redmi 8 using Magisk:
-
Open Magisk Manager: Launch the Magisk Manager app on your device. This serves as the central hub for managing root access and modules.
-
Check Root Status: Within the Magisk Manager app, you can verify the root status of your device. If Magisk has been successfully installed and root access has been granted, the app will indicate that your device is rooted.
-
Explore Root Options: Magisk Manager provides a range of options for managing root access, including the ability to grant or deny root permissions to specific apps. You can customize the root settings based on your preferences and security considerations.
-
Install Root-Enabled Apps: With root access now available on your Xiaomi Redmi 8, you can explore and install root-enabled apps from the Google Play Store or other sources. These apps offer advanced functionality and customization options that are not accessible on non-rooted devices.
-
Manage Magisk Modules: Magisk Manager allows you to explore and install various modules that enhance the capabilities of your rooted device. These modules can range from performance optimizations to system-level customizations, providing a wealth of options to tailor your device to your preferences.
-
Enjoy Root Benefits: With your Xiaomi Redmi 8 successfully rooted, you can now enjoy the benefits of enhanced control and customization. This includes the ability to modify system settings, install custom ROMs, and optimize performance to suit your specific usage patterns.
By following these steps, you have successfully rooted your Xiaomi Redmi 8 using Magisk, unlocking a new realm of possibilities for customizing and optimizing your device. Rooting your device opens up a world of advanced features and customization options, allowing you to tailor your mobile experience to your preferences and make the most of your Xiaomi Redmi 8.
With your device now rooted, you have gained the knowledge and skills to navigate the rooting process effectively, empowering you to make informed decisions about customizing and optimizing your device in the future. Embrace the newfound potential of your rooted Xiaomi Redmi 8 and explore the myriad of possibilities that await you in the world of rooted Android devices.
Conclusion
Congratulations on successfully rooting your Xiaomi Redmi 8! By following this comprehensive guide, you have gained valuable insights into the intricate process of unlocking the bootloader, installing TWRP recovery, and utilizing Magisk to gain root access. Rooting your device represents a significant milestone in your journey toward device customization and optimization, empowering you to explore a myriad of advanced features and customization options.
As you reflect on the steps you've taken to root your Xiaomi Redmi 8, it's important to recognize the newfound potential that now resides within your device. Root access opens the door to a wealth of possibilities, allowing you to fine-tune system settings, install custom ROMs, and leverage root-enabled apps to enhance your mobile experience. With this enhanced control and flexibility, you have the opportunity to tailor your device to your preferences and make the most of its capabilities.
Furthermore, the skills and knowledge you've acquired throughout this rooting process have equipped you to make informed decisions about managing and customizing your device in the future. Whether it's exploring advanced customization options, optimizing performance, or delving into the world of Magisk modules, you now possess the foundational understanding to navigate the realm of rooted Android devices with confidence.
It's important to approach rooted devices with a sense of responsibility and awareness of the potential risks involved. With great power comes great responsibility, and it's crucial to exercise caution when making system-level modifications or installing third-party software. By maintaining a balance between exploration and prudence, you can maximize the benefits of root access while safeguarding the stability and security of your device.
As you embark on this new chapter with a rooted Xiaomi Redmi 8, consider the endless possibilities that await you. From customizing the user interface to optimizing battery performance and exploring innovative features, your rooted device is a canvas for personalization and innovation. Embrace this newfound freedom and let your creativity guide you as you uncover the full potential of your device.
Rooting your Xiaomi Redmi 8 is not just about gaining access to advanced features; it's about embarking on a journey of discovery and empowerment. With your device now rooted, you have the opportunity to shape your mobile experience according to your unique preferences and aspirations. Embrace this opportunity, and let your rooted Xiaomi Redmi 8 become a reflection of your individuality and ingenuity in the world of mobile technology.