Introduction
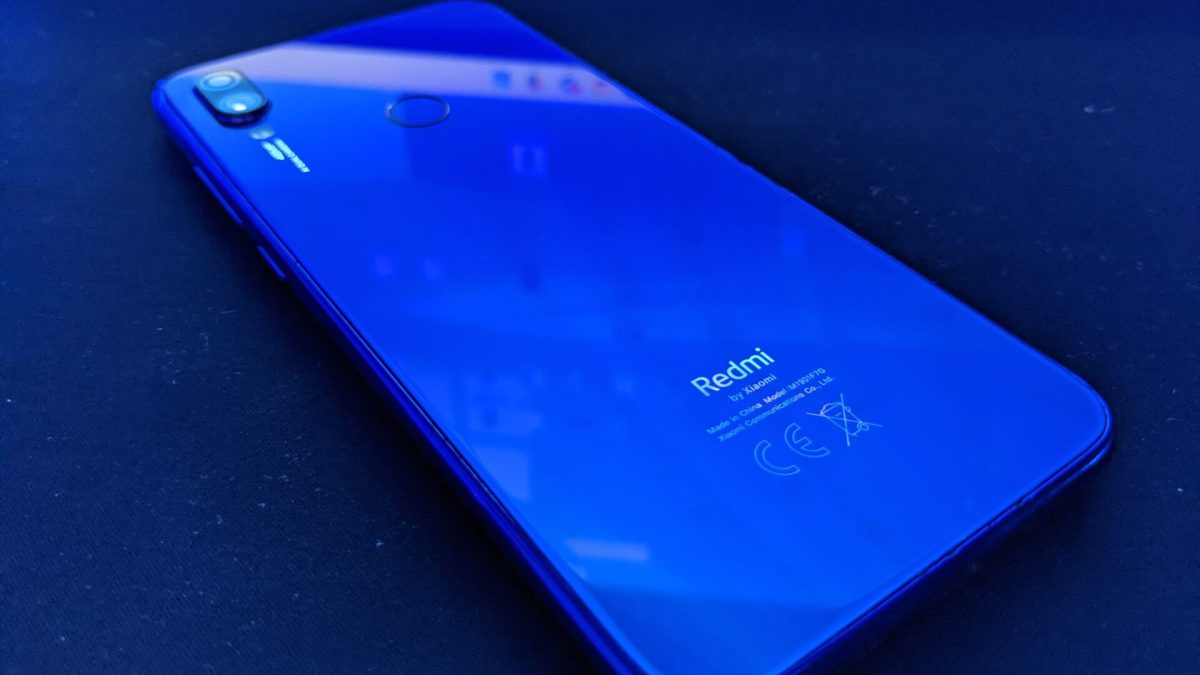
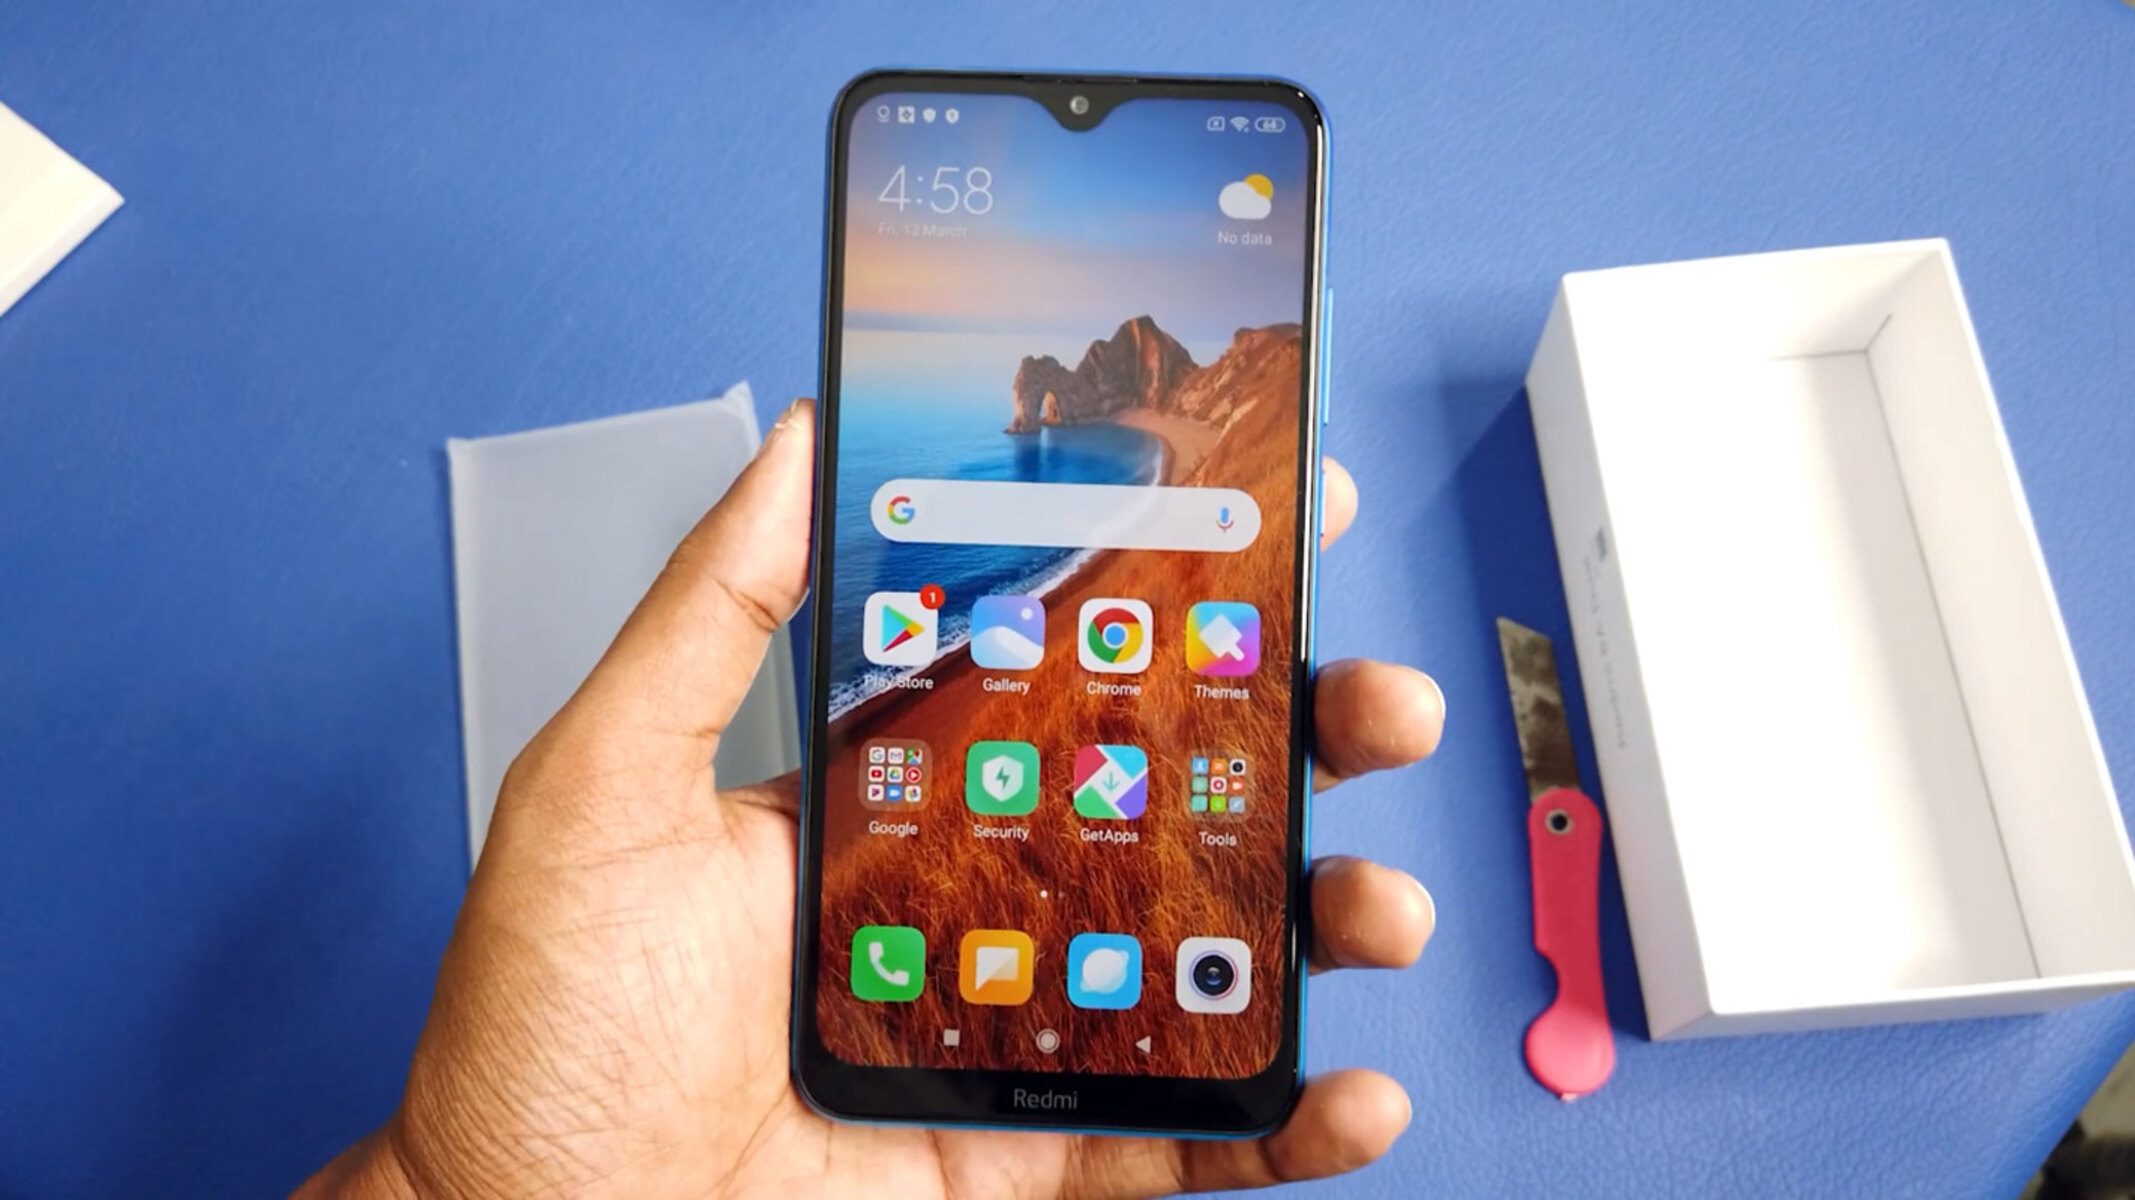
The Redmi Note 7 is a popular smartphone known for its impressive features and performance. However, many users seek to unlock its full potential by rooting the device. Rooting allows users to gain privileged control over the Android operating system, enabling them to customize the device, install specialized apps, and optimize performance. This comprehensive tutorial will guide you through the process of rooting your Redmi Note 7, unlocking the bootloader, installing TWRP recovery, and even exploring the world of custom ROMs.
Rooting your device is a significant decision that offers both advantages and risks. By gaining root access, you can customize your device to suit your preferences, remove bloatware, and improve battery life. However, it's essential to understand that rooting can void your warranty and potentially expose your device to security risks if not done carefully. Therefore, it's crucial to follow the steps outlined in this tutorial meticulously to ensure a successful and safe rooting process.
In the following sections, we will delve into the necessary preparations, including backing up your data and enabling developer options on your Redmi Note 7. We will then guide you through the process of unlocking the bootloader, a crucial step in gaining root access. Subsequently, we will explore the installation of TWRP recovery, a powerful tool that allows for advanced customization and system modifications. Finally, we will walk you through the process of rooting your Redmi Note 7, empowering you to take full control of your device's capabilities.
As we embark on this rooting journey, it's important to approach the process with patience and attention to detail. Rooting your Redmi Note 7 opens up a world of possibilities, from customizing the user interface to enhancing performance and battery life. By following this comprehensive tutorial, you will gain the knowledge and confidence to unlock the full potential of your Redmi Note 7, empowering you to personalize and optimize your smartphone experience.
Preparing Your Device
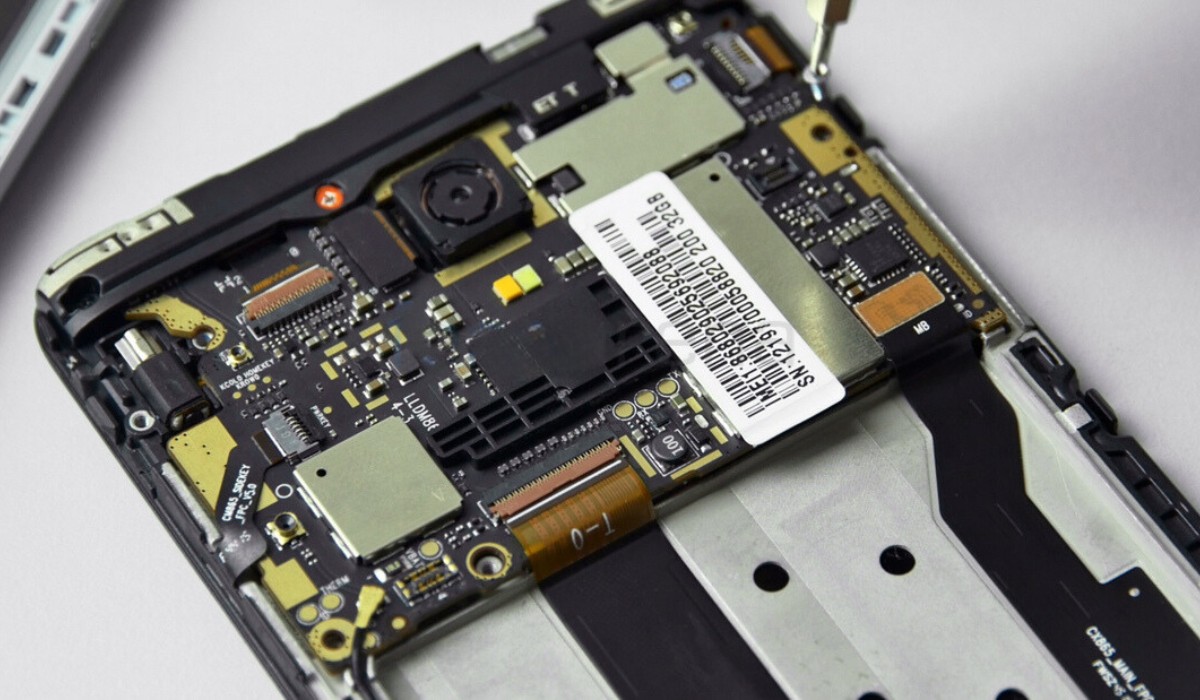
Before embarking on the journey of rooting your Redmi Note 7, it's crucial to adequately prepare your device and ensure that you have the necessary tools and information at your disposal. This preparation phase is essential for safeguarding your data, understanding the risks involved, and setting the stage for a smooth and successful rooting process.
Backing Up Your Data
The first step in preparing your device for rooting is to back up all essential data. This includes contacts, photos, videos, documents, and any other files that hold significance to you. While the rooting process itself does not necessarily erase your data, there is always a risk of data loss during system modifications. By creating a comprehensive backup of your data, you can safeguard against any unforeseen complications and ensure that your valuable information remains secure.
Enabling Developer Options
To proceed with the rooting process, you'll need to enable the developer options on your Redmi Note 7. This can be done by navigating to the device's settings, selecting "About Phone," and tapping the "MIUI version" multiple times until you see a message confirming that developer options have been enabled. Once developer options are accessible, you can customize various system settings and enable USB debugging, a crucial feature for interacting with your device via a computer during the rooting process.
Understanding the Risks
Rooting your device carries inherent risks, including the potential voiding of your device's warranty and the possibility of bricking your device if the process is not executed correctly. It's essential to weigh these risks carefully and understand the implications of gaining root access. By acknowledging the risks involved, you can approach the rooting process with a clear understanding of the potential outcomes and take the necessary precautions to mitigate any adverse effects.
Researching the Process
Before proceeding with rooting your Redmi Note 7, it's advisable to conduct thorough research on the specific steps and requirements for your device model. This includes familiarizing yourself with the terminology, understanding the role of tools such as TWRP recovery, and identifying reputable sources for rooting guides and resources. By arming yourself with knowledge and understanding the intricacies of the rooting process, you can approach the endeavor with confidence and clarity.
By diligently preparing your device for the rooting process, you lay a solid foundation for a successful and rewarding experience. The steps outlined above are crucial for safeguarding your data, enabling essential developer options, understanding the risks involved, and conducting thorough research. With your device adequately prepared, you are now ready to embark on the next steps of unlocking the bootloader and gaining root access to your Redmi Note 7.
Unlocking the Bootloader
Unlocking the bootloader is a pivotal step in gaining root access to your Redmi Note 7. The bootloader serves as a security feature that prevents unauthorized system modifications. By unlocking the bootloader, you gain the ability to install custom recovery and root your device, opening the door to a world of customization and optimization.
Before proceeding, it's essential to understand that unlocking the bootloader will reset your device to factory settings, erasing all data in the process. Therefore, it's crucial to ensure that you have backed up all essential data as outlined in the previous section.
To initiate the bootloader unlocking process, you will need to obtain an unlock code from Xiaomi's official website. This code is unique to your device and is necessary for unlocking the bootloader. Once you have obtained the unlock code, follow these steps to unlock the bootloader of your Redmi Note 7:
-
Enable Developer Options: If you haven't already done so, navigate to the device's settings, select "About Phone," and tap the "MIUI version" multiple times to enable developer options.
-
Enable OEM Unlocking: Within the developer options, enable the "OEM unlocking" feature. This allows the bootloader to be unlocked.
-
Enable USB Debugging: Also within the developer options, enable USB debugging. This will allow your computer to communicate with your device during the bootloader unlocking process.
-
Power Off the Device: Power off your Redmi Note 7 and boot it into fastboot mode by holding the power and volume down buttons simultaneously.
-
Connect to Computer: Connect your device to your computer using a USB cable.
-
Open Command Prompt or Terminal: On your computer, open a command prompt (Windows) or terminal (Mac or Linux) and navigate to the directory where the ADB and Fastboot tools are located.
-
Enter Unlock Code: In the command prompt or terminal, enter the following command, replacing [UNLOCK CODE] with the unique code obtained from Xiaomi's official website:
fastboot oem unlock [UNLOCK CODE]
-
Confirm Unlocking: Follow the on-screen instructions to confirm the bootloader unlocking process on your device.
Once the process is complete, your Redmi Note 7's bootloader will be successfully unlocked, paving the way for the next steps in the rooting process. It's important to note that unlocking the bootloader may void your device's warranty, so proceed with caution and full awareness of the implications.
By successfully unlocking the bootloader of your Redmi Note 7, you have taken a significant step towards gaining root access and unlocking the full potential of your device. With the bootloader now unlocked, you are ready to proceed to the next phase of installing TWRP recovery, a powerful tool that will further empower you to customize and optimize your Redmi Note 7 to your preferences.
Installing TWRP Recovery
Installing TWRP (Team Win Recovery Project) recovery on your Redmi Note 7 is a crucial step in the rooting process, as it provides a powerful interface for performing advanced system operations and customizing your device. TWRP recovery allows you to create and restore backups, flash custom ROMs, and apply various system modifications that are not possible with the stock recovery.
Before proceeding with the installation of TWRP recovery, ensure that you have unlocked the bootloader of your Redmi Note 7, as this is a prerequisite for installing custom recovery. Once the bootloader is unlocked, follow these steps to install TWRP recovery on your device:
-
Download TWRP Image: Visit the official TWRP website or a trusted source to download the TWRP recovery image specifically designed for the Redmi Note 7. Ensure that you download the correct version to avoid compatibility issues.
-
Enable USB Debugging: Connect your Redmi Note 7 to your computer and enable USB debugging in the developer options of your device settings. This allows your computer to communicate with your device during the installation process.
-
Open Command Prompt or Terminal: On your computer, navigate to the directory where the ADB and Fastboot tools are located. Open a command prompt (Windows) or terminal (Mac or Linux) in this directory.
-
Boot into Fastboot Mode: Power off your Redmi Note 7 and boot it into fastboot mode by holding the power and volume down buttons simultaneously.
-
Flash TWRP Recovery: In the command prompt or terminal, enter the following command to flash the TWRP recovery image onto your device:
fastboot flash recovery [TWRP FILENAME].img
Replace [TWRP FILENAME] with the actual filename of the TWRP recovery image you downloaded.
-
Reboot into TWRP: Once the flashing process is complete, reboot your device into TWRP recovery by using the volume and power buttons or by entering the following command in the command prompt or terminal:
fastboot boot [TWRP FILENAME].img
-
Verify TWRP Installation: Your Redmi Note 7 should now boot into TWRP recovery. Verify that the installation was successful by navigating the TWRP interface and ensuring that all functions are operational.
By successfully installing TWRP recovery on your Redmi Note 7, you have equipped your device with a powerful tool for customizing and optimizing its performance. TWRP recovery opens up a world of possibilities, allowing you to take full control of your device and explore the realm of custom ROMs, system tweaks, and advanced backups. With TWRP recovery in place, you are now prepared to proceed to the next phase of rooting your Redmi Note 7 and unlocking its true potential.
Rooting Your Redmi Note 7
Rooting your Redmi Note 7 is a significant step that empowers you to unlock the full potential of your device, allowing for advanced customization, improved performance, and access to a wide range of powerful root-only apps. By gaining root access, you can delve into the inner workings of the Android operating system, enabling you to make profound changes that are not possible on a stock, unrooted device.
Before proceeding with the rooting process, it's crucial to ensure that you have completed the necessary preparations, including backing up your data, enabling developer options, and unlocking the bootloader as outlined in the previous sections. Once these prerequisites are in place, you can proceed with the following steps to root your Redmi Note 7:
-
Download Rooting Tools: Begin by downloading the necessary rooting tools, such as Magisk, which is a popular and reliable tool for rooting Android devices. Ensure that you download the correct version of Magisk compatible with your Redmi Note 7 model.
-
Transfer Files: Transfer the downloaded Magisk file to your device's internal storage or SD card, making it easily accessible for the rooting process.
-
Boot into TWRP Recovery: Power off your Redmi Note 7 and boot it into TWRP recovery mode by holding the power and volume up buttons simultaneously. This will allow you to access the TWRP recovery interface, where you can perform advanced system operations.
-
Install Magisk: In the TWRP recovery interface, navigate to the "Install" option and select the Magisk file that you transferred to your device. Swipe to confirm the flash, initiating the installation of Magisk and the rooting process.
-
Reboot System: Once the installation is complete, reboot your device. Your Redmi Note 7 is now rooted, granting you privileged access to the Android system and the ability to make deep customizations and optimizations.
By successfully rooting your Redmi Note 7, you have unlocked a new realm of possibilities, allowing you to personalize your device to your preferences, remove bloatware, improve battery life, and explore a vast array of root-specific apps and modifications. It's important to approach root access with caution and responsibility, as making incorrect changes to system files can potentially lead to adverse effects on the device's stability and security.
With your Redmi Note 7 now rooted, you are poised to explore the world of custom ROMs, which offer unique features, performance enhancements, and a distinct user experience. Custom ROMs provide an avenue for further personalization and optimization, allowing you to tailor your device to your exact specifications and preferences.
Rooting your Redmi Note 7 is a transformative process that empowers you to take control of your device's capabilities, opening up a world of customization and innovation. With root access and the potential for custom ROMs, your Redmi Note 7 becomes a canvas for your creativity and a platform for exploring the limitless possibilities of the Android ecosystem.
Installing Custom ROMs
Installing custom ROMs on your Redmi Note 7 offers a transformative experience, allowing you to venture beyond the confines of the stock operating system and explore a diverse array of features, optimizations, and visual enhancements. Custom ROMs are aftermarket firmware that provides a unique take on the Android operating system, often delivering performance improvements, additional customization options, and the latest Android updates for devices that may no longer receive official support.
Before proceeding with the installation of a custom ROM, it's essential to research and select a reputable custom ROM that aligns with your preferences and requirements. Ensure that the custom ROM is compatible with your Redmi Note 7 model and offers the features and optimizations you seek. Once you have identified a suitable custom ROM, follow these steps to install it on your device:
-
Backup Your Data: Before proceeding with the installation, it's crucial to create a comprehensive backup of your device's data. This includes contacts, photos, videos, and any other files that hold significance to you. While the installation process itself may not necessarily erase your data, it's always prudent to safeguard against any unforeseen complications.
-
Download the Custom ROM: Visit the official website or a trusted source for the custom ROM you have selected. Download the appropriate version of the custom ROM designed for your Redmi Note 7, ensuring that you have the necessary files ready for the installation process.
-
Transfer Files: Transfer the downloaded custom ROM file to your device's internal storage or SD card, making it easily accessible for the installation process.
-
Boot into TWRP Recovery: Power off your Redmi Note 7 and boot it into TWRP recovery mode by holding the power and volume up buttons simultaneously. This will allow you to access the TWRP recovery interface, where you can perform advanced system operations.
-
Wipe Data and Cache: In the TWRP recovery interface, navigate to the "Wipe" option and perform a factory reset to clear the device's data and cache. This step ensures a clean slate for the installation of the custom ROM.
-
Install the Custom ROM: In the TWRP recovery interface, navigate to the "Install" option and select the custom ROM file that you transferred to your device. Swipe to confirm the flash, initiating the installation of the custom ROM.
-
Install GApps (Optional): If the custom ROM does not include Google Apps (GApps), you may need to install them separately. This can be done by selecting the appropriate GApps package in the TWRP recovery interface and flashing it after the custom ROM installation.
-
Reboot System: Once the installation is complete, reboot your device. Your Redmi Note 7 will now boot into the newly installed custom ROM, offering a fresh and personalized user experience tailored to the features and optimizations provided by the custom firmware.
By successfully installing a custom ROM on your Redmi Note 7, you have unlocked a realm of customization and innovation, allowing you to tailor your device to your exact specifications and preferences. Custom ROMs offer a unique opportunity to explore new features, interface enhancements, and performance optimizations, providing a distinct user experience that goes beyond the limitations of the stock operating system.
With a custom ROM in place, your Redmi Note 7 becomes a canvas for your creativity, enabling you to delve into a world of customization and innovation that reflects your individuality and preferences. Whether you seek performance enhancements, visual modifications, or the latest Android updates, custom ROMs offer a platform for personalizing and optimizing your device to align with your unique vision of the ideal smartphone experience.
Conclusion
In conclusion, the journey of rooting your Redmi Note 7 has been a transformative experience, empowering you to unlock the full potential of your device and explore a realm of customization and innovation. By following the comprehensive tutorial, you have gained valuable insights into the intricacies of preparing your device, unlocking the bootloader, installing TWRP recovery, rooting your device, and venturing into the world of custom ROMs. Each step has been a gateway to new possibilities, allowing you to personalize and optimize your Redmi Note 7 to align with your unique preferences and requirements.
As you reflect on the rooting process, it's essential to acknowledge the newfound capabilities and responsibilities that come with gaining root access. Rooting your device grants you privileged control over the Android operating system, enabling you to make profound customizations and optimizations. However, it's crucial to approach root access with caution and responsibility, as making incorrect changes to system files can potentially lead to adverse effects on the device's stability and security.
With root access and the potential for custom ROMs, your Redmi Note 7 has transcended the boundaries of a standard smartphone, becoming a canvas for your creativity and a platform for exploring the limitless possibilities of the Android ecosystem. Whether you seek performance enhancements, visual modifications, or the latest Android updates, the rooting process has equipped you with the tools and knowledge to tailor your device to your exact specifications and preferences.
The installation of custom ROMs has further enriched your experience, offering a unique take on the Android operating system and providing a distinct user interface that reflects your individuality. Custom ROMs have opened up a world of features, optimizations, and visual enhancements, allowing you to venture beyond the limitations of the stock operating system and embrace a user experience tailored to your preferences.
As you continue to explore the capabilities of your rooted Redmi Note 7, it's important to stay informed about the latest developments in the rooting and custom ROM communities. By engaging with fellow enthusiasts and staying abreast of new tools and modifications, you can continue to evolve and refine your device to align with the evolving landscape of Android customization.
In essence, the rooting journey has been a testament to your dedication and curiosity, showcasing your willingness to delve into the intricacies of Android customization and embrace the potential for innovation. Your Redmi Note 7 now stands as a testament to your creativity and individuality, embodying a personalized user experience that reflects your unique vision of the ideal smartphone.
As you navigate the realm of rooted devices and custom ROMs, remember to approach each customization with care and consideration, leveraging the power of root access to optimize your device while safeguarding its stability and security. The journey of rooting your Redmi Note 7 is a testament to your willingness to explore, innovate, and personalize, and it marks the beginning of a new chapter in your smartphone experience.