Introduction
Welcome to the step-by-step guide on activating your TextNow SIM card on Android devices. If you've recently acquired a TextNow SIM card and are eager to begin using it on your Android device, you've come to the right place. This comprehensive guide will walk you through the entire process, ensuring that you can seamlessly activate your TextNow SIM card and start enjoying the benefits of TextNow's affordable and reliable mobile services.
Activating a SIM card may seem like a daunting task, especially if you're new to the world of mobile devices and telecommunications. However, with this guide, you'll find that the process is straightforward and user-friendly. Whether you're a tech-savvy individual or someone who is just getting acquainted with mobile technology, you'll be able to follow these steps with ease.
By the end of this guide, you'll have successfully inserted your TextNow SIM card into your Android device, connected to a Wi-Fi network, and activated the SIM card using the TextNow app. With these steps completed, you'll be ready to make calls, send messages, and access mobile data using your TextNow SIM card.
So, without further ado, let's dive into the step-by-step process of activating your TextNow SIM card on your Android device. Get ready to embark on this journey towards seamless connectivity and communication with TextNow!
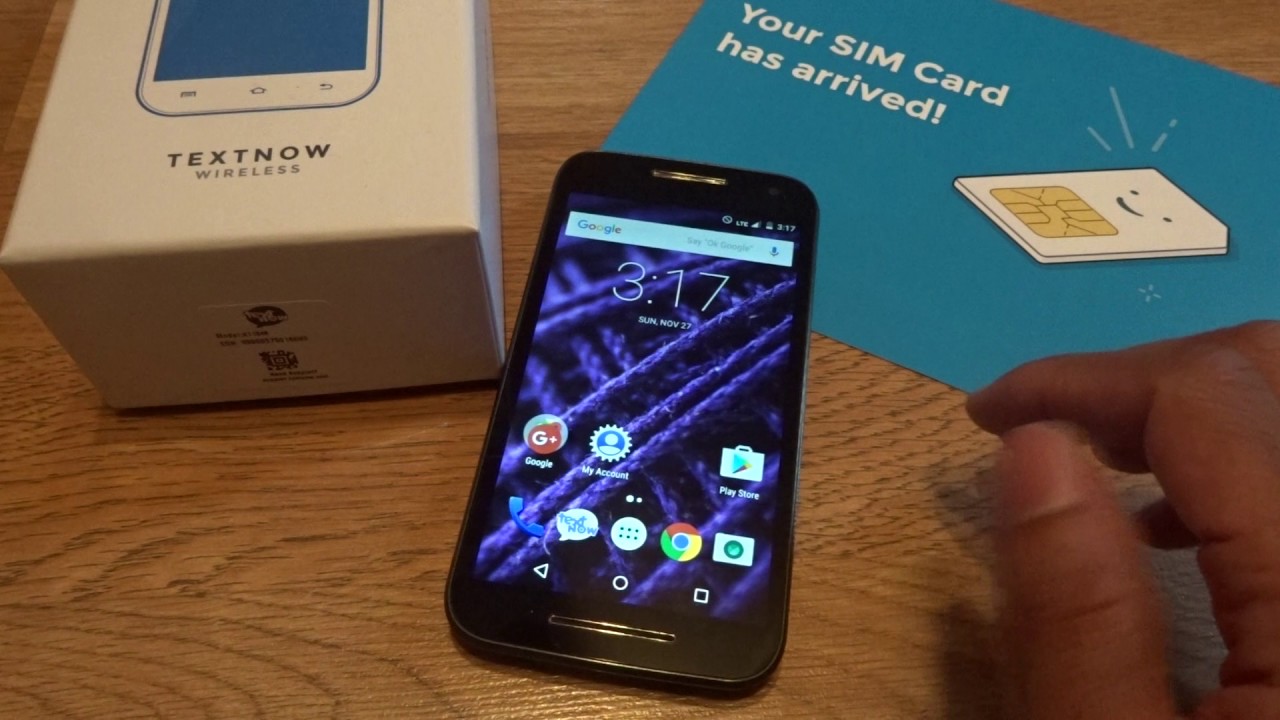
Step 1: Inserting the Textnow SIM Card
To begin the activation process, the first step is to insert your TextNow SIM card into your Android device. Follow these simple yet crucial steps to ensure a smooth and successful insertion:
-
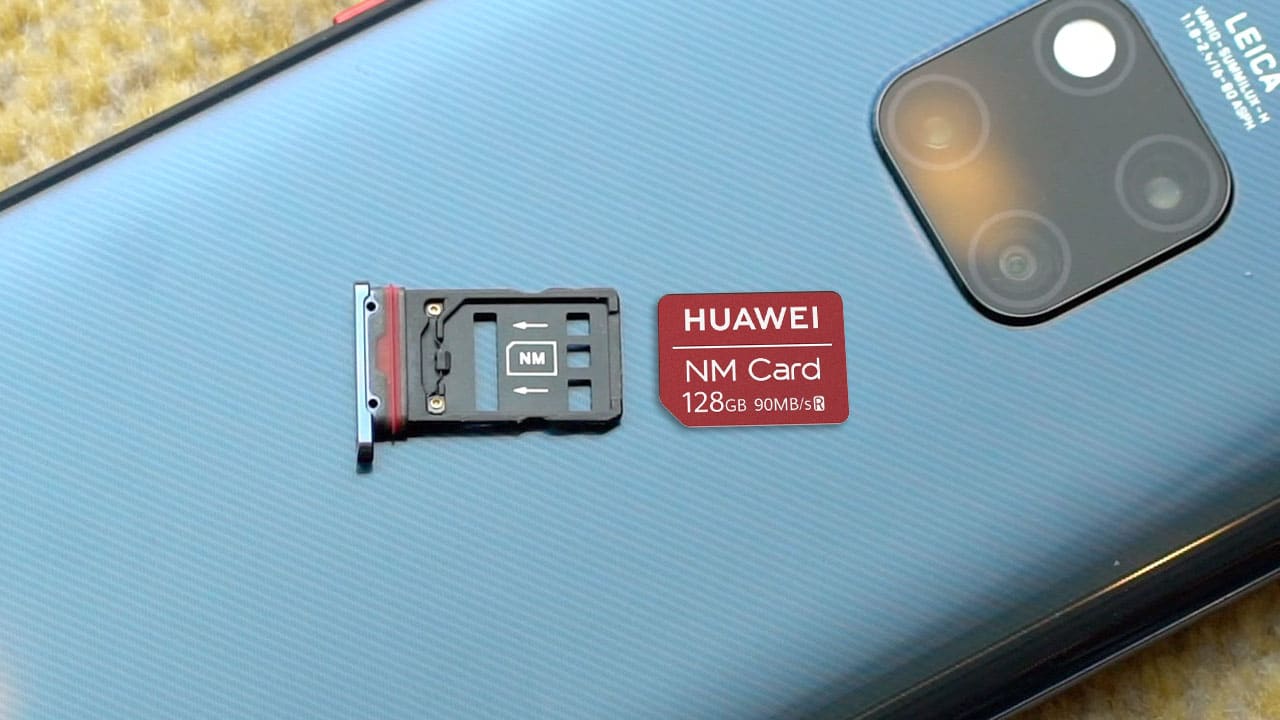
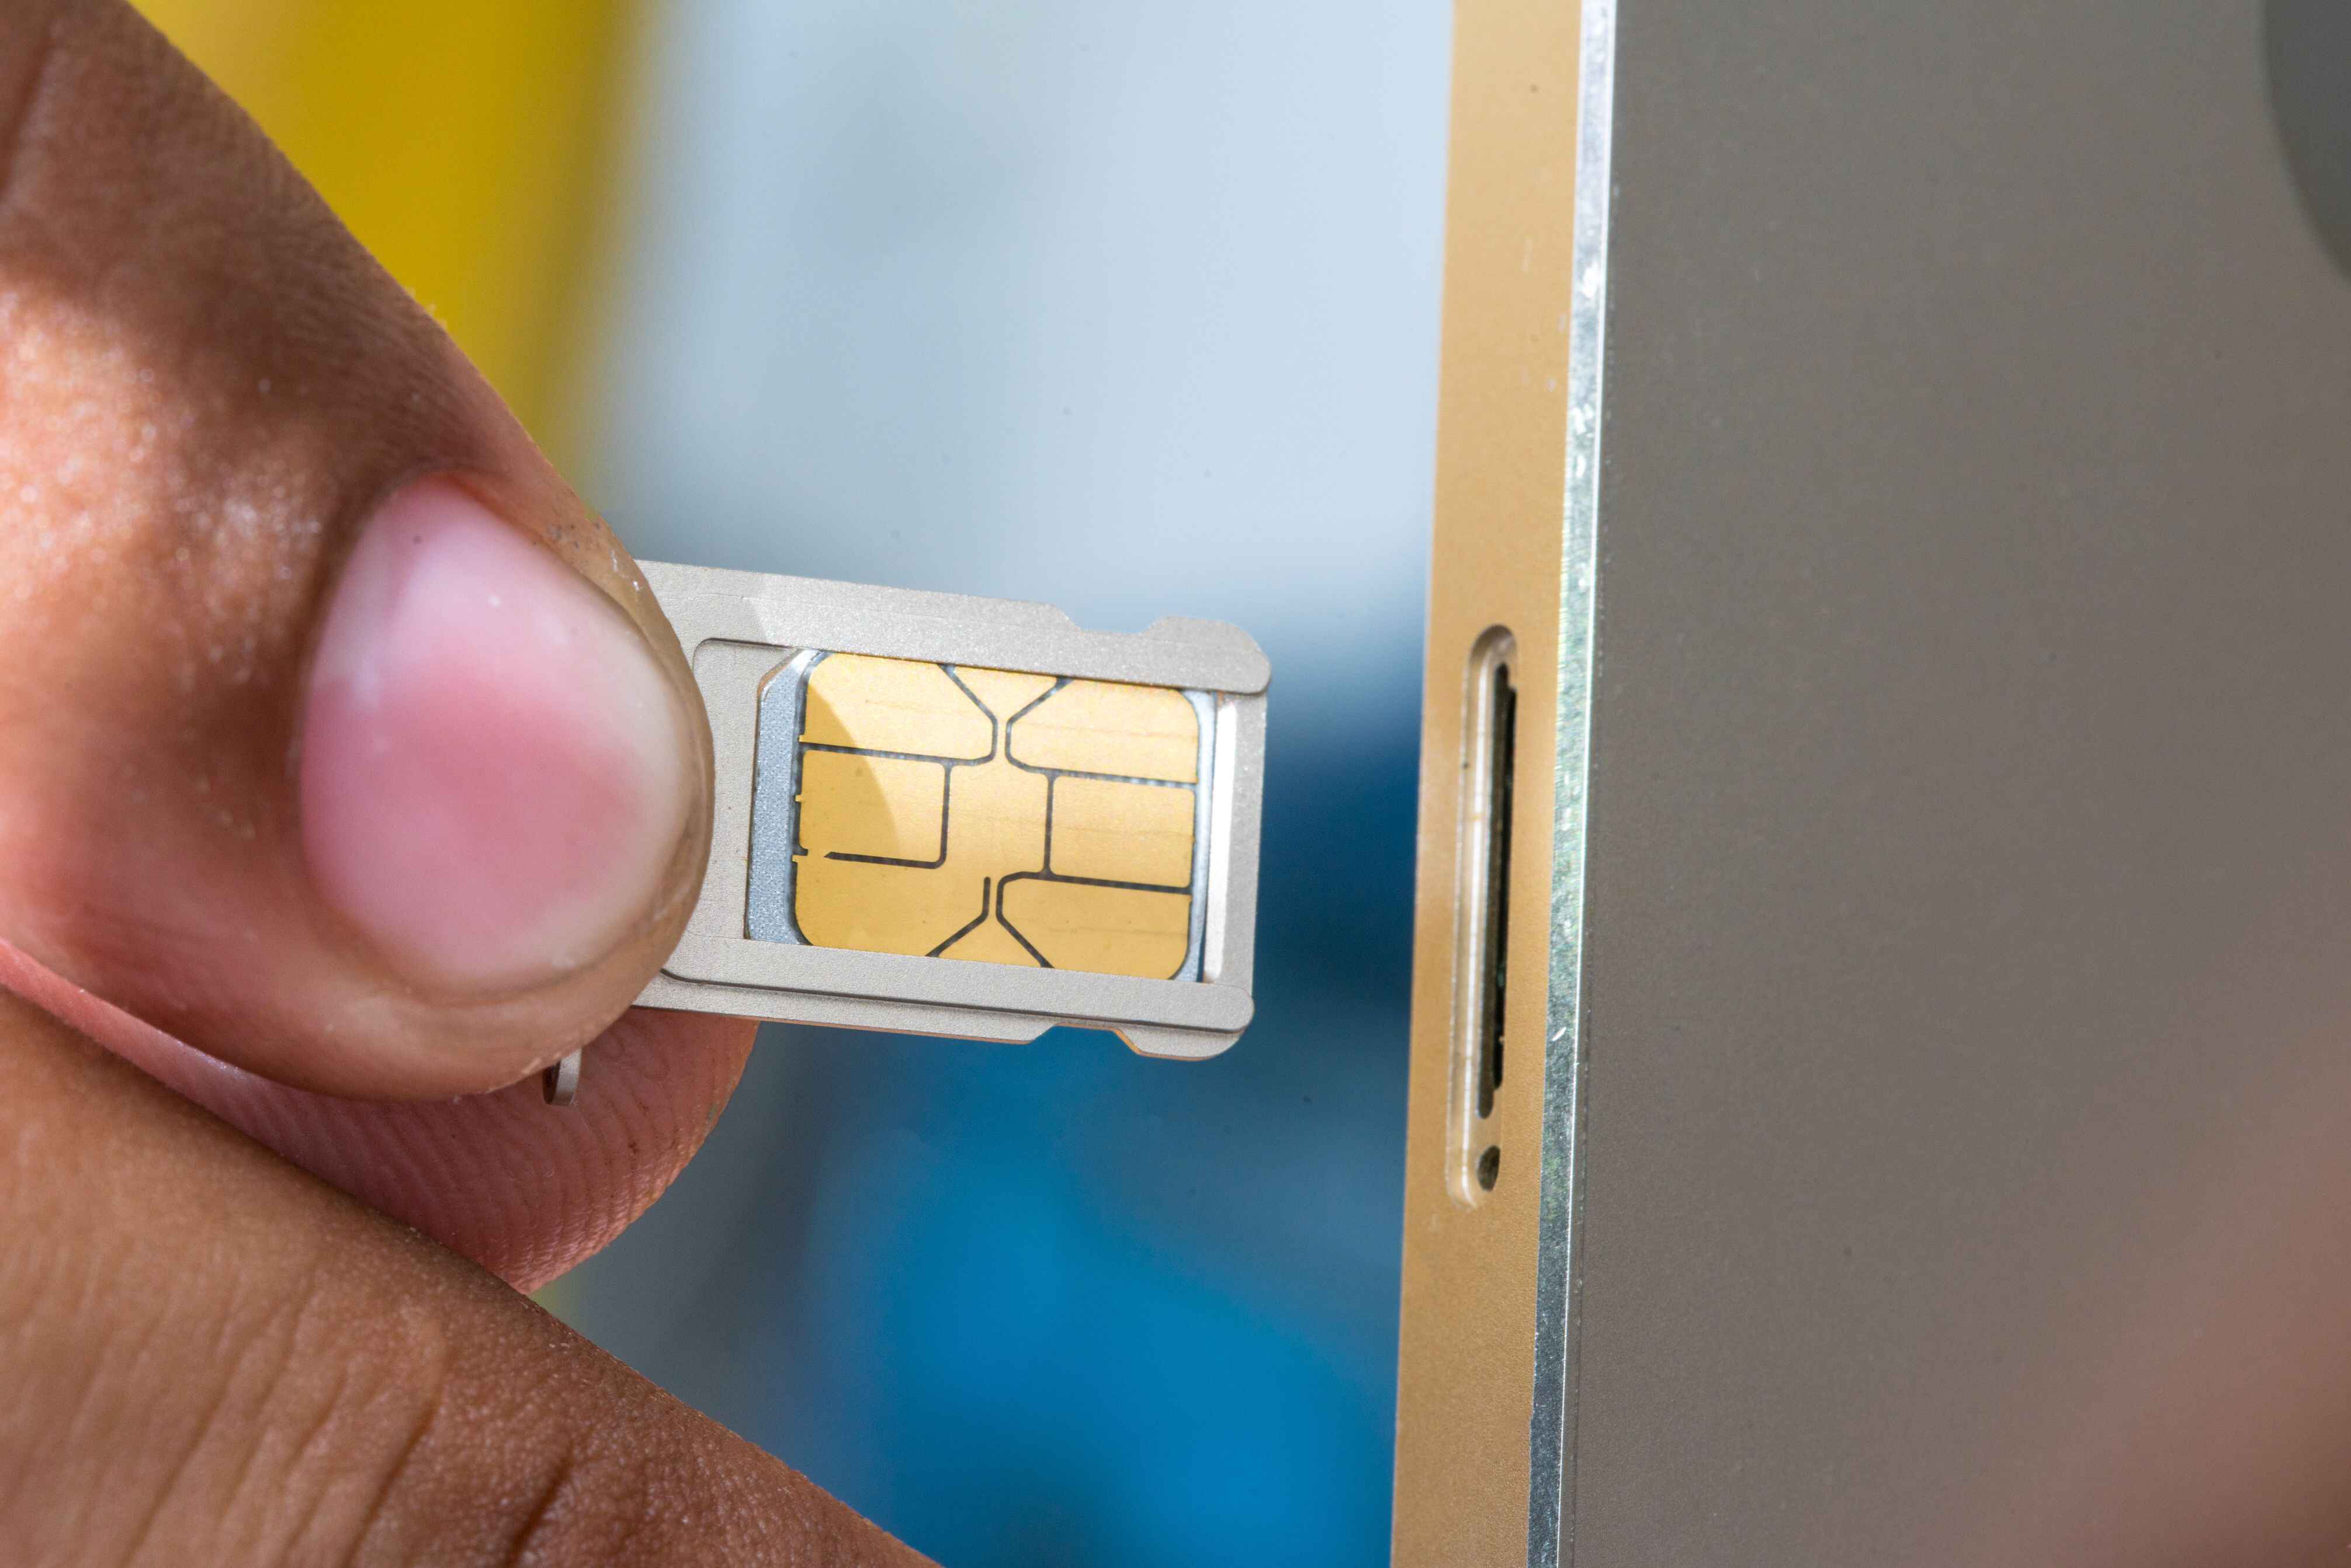
Locate the SIM Card Slot: Depending on your specific Android device model, the location of the SIM card slot may vary. Generally, the slot is found on the side of the device. Some devices require a SIM card removal tool, while others allow you to insert the SIM card using your fingernail or a small, pointed object.
-
Power Off Your Device: Before inserting the SIM card, it's essential to power off your Android device. This precaution ensures the safety of both the device and the SIM card during the insertion process.
-
Identify the SIM Card Tray: Once your device is powered off, locate the SIM card tray. This tray is usually a small, rectangular opening on the side of your device. It may be labeled with a SIM card icon or the word "SIM."
-
Insert the SIM Card: Carefully insert the TextNow SIM card into the SIM card tray, ensuring that it aligns with the designated grooves or notches. Take note of the orientation indicated on the tray to ensure the proper positioning of the SIM card.
-
Secure the SIM Card Tray: After inserting the SIM card, gently push the SIM card tray back into its original position until it clicks into place. This step ensures that the SIM card is securely held within the device.
-
Power On Your Device: With the SIM card successfully inserted, power on your Android device. As the device boots up, it will recognize the newly inserted TextNow SIM card.
By following these steps diligently, you have now completed the crucial first step of activating your TextNow SIM card on your Android device. The successful insertion of the SIM card sets the stage for the subsequent steps in the activation process, bringing you closer to enjoying the full range of TextNow's mobile services on your device.
Step 2: Turning on the Android Device
After successfully inserting the TextNow SIM card into your Android device, the next crucial step in the activation process is to power on your device. Turning on your Android device is a straightforward yet essential part of the overall activation journey. Let's delve into the details of this step to ensure a seamless transition to the next phase of the activation process.
-
Press the Power Button: The power button is typically located on the side or top of your Android device. Press and hold this button for a few seconds until the device's screen lights up. As the device powers on, you'll notice the manufacturer's logo or the device's branding displayed on the screen.
-
Boot-Up Sequence: Upon pressing the power button, your Android device will initiate its boot-up sequence. During this process, the device's operating system is loaded, and the necessary system checks are performed to ensure that the device is ready for use.
-
Unlock the Device: Once the boot-up sequence is complete, you may be prompted to unlock your device. Depending on your device's settings, this may involve entering a PIN, pattern, password, or using biometric authentication such as fingerprint or facial recognition. By unlocking your device, you gain access to its home screen and essential functions.
-
Network Recognition: As your Android device powers on, it will begin recognizing the TextNow SIM card that you've inserted. The device establishes a connection with the SIM card, enabling it to access the TextNow network and services.
-
Signal Reception: After the device is fully powered on, it will begin searching for a cellular signal. Once the TextNow SIM card is recognized by the device and a signal is acquired, you'll see the signal strength indicator displayed on the screen, indicating that your device is ready to connect to the TextNow network.
By following these steps, you've successfully powered on your Android device, allowing it to recognize and establish a connection with the TextNow SIM card. This pivotal step sets the stage for the subsequent stages of the activation process, bringing you closer to enjoying the full functionality of your TextNow mobile services on your Android device.
Step 3: Connecting to a Wi-Fi Network
Connecting your Android device to a Wi-Fi network is a critical step in the activation process of your TextNow SIM card. By establishing a Wi-Fi connection, you enable your device to access the internet and seamlessly interact with the TextNow app to complete the activation. Here's a detailed guide on how to connect to a Wi-Fi network:
-
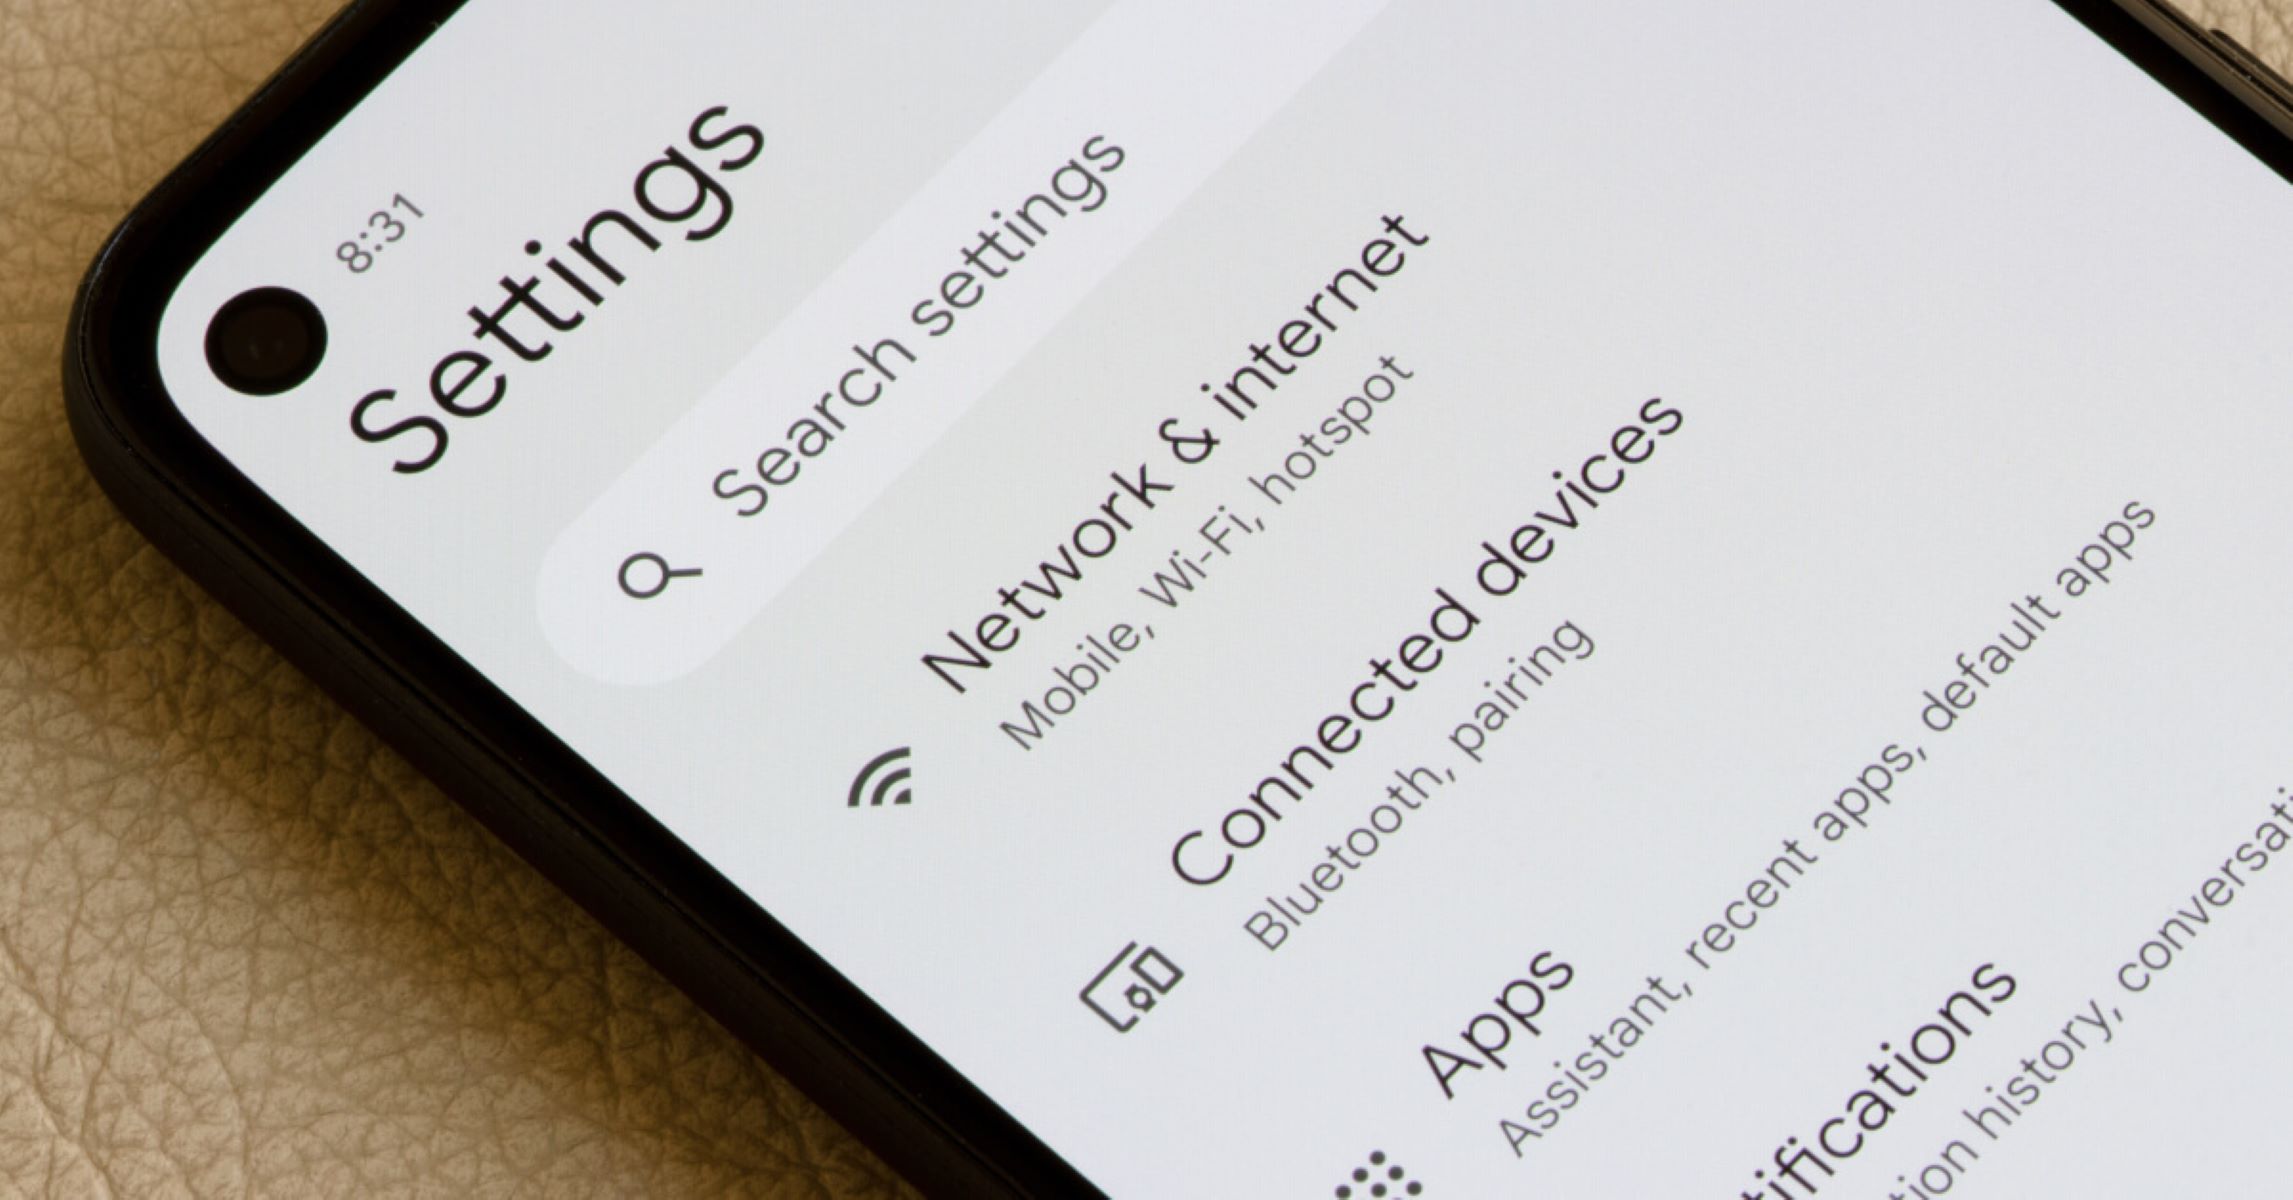
Access the Settings: To begin, navigate to the "Settings" app on your Android device. This can usually be found on the home screen or in the app drawer. Tap on the "Settings" icon to enter the device's settings menu.
-
Select Wi-Fi: Within the settings menu, locate and tap on the "Wi-Fi" option. This will open the Wi-Fi settings, allowing you to view available networks and configure your device's Wi-Fi connection.
-
Enable Wi-Fi: If Wi-Fi is not already enabled, toggle the switch to turn on the Wi-Fi functionality of your device. Once enabled, your device will start scanning for available Wi-Fi networks in the vicinity.
-
Choose a Network: After the scanning process is complete, a list of available Wi-Fi networks will be displayed. Select your preferred Wi-Fi network from the list by tapping on its name. If the network is secured, you will be prompted to enter the network's password.
-
Enter the Password: If the selected Wi-Fi network is password-protected, a dialog box will appear, prompting you to enter the network's password. Carefully input the password using the on-screen keyboard, ensuring accuracy to successfully connect to the network.
-
Connect to the Network: Once the correct password is entered, tap the "Connect" or "Join" button. Your Android device will then attempt to establish a connection to the selected Wi-Fi network.
-
Verification and Connection: After entering the password and tapping "Connect," your device will verify the provided password and attempt to connect to the Wi-Fi network. Upon successful verification, your device will display a notification confirming the connection to the Wi-Fi network.
By following these steps, you have successfully connected your Android device to a Wi-Fi network, paving the way for seamless internet access and interaction with the TextNow app. With a stable Wi-Fi connection established, you are now prepared to proceed to the next crucial step in the activation process: opening the TextNow app to initiate the activation of your TextNow SIM card.
Step 4: Opening the Textnow App
After successfully connecting your Android device to a Wi-Fi network, the next pivotal step in the activation process is to open the TextNow app. The TextNow app serves as the gateway to activating your TextNow SIM card and accessing a wide array of communication features. Here's a detailed guide on how to open the TextNow app and initiate the activation process:
-
Locate the TextNow App Icon: Begin by navigating to your device's home screen or app drawer to locate the TextNow app icon. The app icon typically features the TextNow logo, making it easily recognizable amidst your collection of installed apps.
-
Tap on the TextNow App Icon: Once you've located the TextNow app icon, simply tap on it to launch the app. Upon opening the app, you'll be greeted by the TextNow interface, which provides access to various communication tools and settings.
-
App Initialization: As the TextNow app initializes, you'll notice the app's loading screen, indicating that the app is preparing to provide you with seamless access to its features. The initialization process may vary in duration depending on your device's performance and network connectivity.
-
Login or Create an Account: If you already have a TextNow account, you'll be prompted to log in using your credentials. Alternatively, if you're new to TextNow, you'll have the option to create a new account within the app. Follow the on-screen instructions to complete the login or account creation process.
-
Accessing the Activation Section: Once you've logged into the TextNow app, navigate to the activation section within the app's interface. This section is specifically designed to guide you through the activation process for your TextNow SIM card.
-
Initiate the Activation Process: Within the activation section, follow the prompts and instructions provided to initiate the activation of your TextNow SIM card. This may involve entering specific details related to your SIM card and following the on-screen steps to complete the activation.
-
Confirmation and Verification: After initiating the activation process, the TextNow app will guide you through the necessary steps to confirm and verify the activation of your SIM card. This may include verifying your account details and ensuring that the SIM card is successfully linked to your TextNow account.
By following these steps, you have successfully opened the TextNow app and initiated the activation process for your TextNow SIM card. The app serves as a central hub for managing your TextNow services, and by proceeding through the activation section, you are one step closer to fully utilizing your TextNow mobile services on your Android device.
Step 5: Activating the Textnow SIM Card
Activating your TextNow SIM card is the final and most crucial step in the process of integrating it with your Android device. This step ensures that your SIM card is fully functional, allowing you to make calls, send messages, and access mobile data using TextNow's services. Here's a detailed guide on how to activate your TextNow SIM card through the TextNow app:
-
Access the Activation Section: Once you have opened the TextNow app, navigate to the dedicated activation section within the app's interface. This section is specifically designed to guide you through the activation process for your TextNow SIM card.
-
Follow the On-Screen Prompts: Within the activation section, carefully follow the on-screen prompts and instructions provided to initiate the activation of your TextNow SIM card. The app will guide you through the necessary steps to ensure a seamless activation process.
-
Enter SIM Card Details: During the activation process, you may be required to enter specific details related to your TextNow SIM card. This could include the SIM card number, activation code, or other relevant information associated with your SIM card.
-
Verification and Confirmation: As you progress through the activation process, the TextNow app will guide you through the necessary steps to confirm and verify the activation of your SIM card. This involves ensuring that the SIM card is successfully linked to your TextNow account and that all details are accurately recorded.
-
Network Connectivity Confirmation: Upon successful activation, the TextNow app will verify the connectivity of your Android device to the TextNow network. This confirmation ensures that your device is ready to utilize TextNow's mobile services seamlessly.
-
Testing Communication Features: After the activation process is complete, you can test the communication features of your TextNow SIM card, including making test calls, sending messages, and accessing mobile data. This step allows you to verify that your TextNow SIM card is fully operational and integrated with your Android device.
By following these steps diligently, you have successfully activated your TextNow SIM card, bringing you one step closer to enjoying the full range of TextNow's mobile services on your Android device. With the activation process completed, you are now ready to leverage the affordable and reliable communication features offered by TextNow, ensuring seamless connectivity and communication at your fingertips.
Conclusion
Congratulations! You've successfully completed the activation process for your TextNow SIM card on your Android device. By following the step-by-step guide outlined in this comprehensive walkthrough, you've navigated through the essential stages of inserting the SIM card, powering on your device, connecting to a Wi-Fi network, opening the TextNow app, and activating the SIM card. As a result, you're now poised to experience the full spectrum of TextNow's mobile services, including making calls, sending messages, and accessing mobile data.
The activation of your TextNow SIM card marks the beginning of a seamless and affordable communication experience. With TextNow, you have access to a reliable mobile network that empowers you to stay connected with friends, family, and colleagues. Whether you're making local calls, sending international messages, or simply browsing the web, TextNow's services are designed to cater to your communication needs with flexibility and cost-effectiveness.
As you embark on this new phase of mobile connectivity with TextNow, it's essential to explore the diverse features and capabilities offered by the TextNow app. From customizable voicemail greetings to the option to choose your own phone number, TextNow provides a user-centric platform that prioritizes your communication preferences.
Furthermore, TextNow's commitment to affordability ensures that you can enjoy the benefits of a reliable mobile network without breaking the bank. By leveraging Wi-Fi connectivity and TextNow's innovative technology, you have the opportunity to optimize your communication experience while minimizing costs.
In conclusion, the successful activation of your TextNow SIM card opens the door to a world of seamless communication and connectivity on your Android device. Whether you're a seasoned tech enthusiast or someone new to the realm of mobile devices, TextNow's user-friendly approach and cost-effective solutions make it a compelling choice for your communication needs.
So, as you navigate through the digital landscape with your TextNow-activated Android device, remember that reliable communication is now at your fingertips. Stay connected, stay informed, and make the most of TextNow's comprehensive mobile services. Here's to a future filled with effortless communication and connectivity, courtesy of TextNow.