Introduction
Welcome to the comprehensive guide on how to insert a SIM card into your Samsung Galaxy Watch 3. The Samsung Galaxy Watch 3 is a remarkable piece of technology that offers a wide array of features, including the ability to make and receive calls independently through its built-in cellular connectivity. By inserting a SIM card into your Samsung Galaxy Watch 3, you can unlock its full potential and enjoy the convenience of staying connected even when your smartphone is out of reach.
In this guide, we will walk you through the step-by-step process of inserting a SIM card into your Samsung Galaxy Watch 3. Whether you're a tech enthusiast eager to explore the capabilities of your smartwatch or a first-time user looking for guidance, this article is designed to provide you with clear and easy-to-follow instructions.
By the end of this guide, you will have the knowledge and confidence to seamlessly insert a SIM card into your Samsung Galaxy Watch 3, empowering you to make the most of its standalone communication features. So, let's dive in and get started with the first step: turning off the Samsung Galaxy Watch 3.
Step 1: Turn off the Samsung Galaxy Watch 3
Before proceeding with the process of inserting a SIM card into your Samsung Galaxy Watch 3, it's essential to ensure that the device is powered off. Turning off the watch will minimize the risk of any potential damage to the SIM card or the internal components during the insertion process. Follow these simple steps to power off your Samsung Galaxy Watch 3:
-
Navigate to the Home Screen: If your watch is not already on the Home screen, press the Home key to access it.
-
Access the Power Menu: From the Home screen, swipe down from the top of the display to access the Quick Panel. Then, swipe to the left until you find the Power icon.
-
Tap on the Power Icon: Once you have located the Power icon, tap on it to reveal the power options.
-
Select "Power Off": You will see the "Power off" option on the screen. Tap on it to initiate the power-off process.
-
Confirm the Action: A confirmation prompt will appear, asking you to confirm the power-off action. Tap "OK" to confirm and proceed with turning off the watch.
-
Wait for the Shutdown: The Samsung Galaxy Watch 3 will now begin the shutdown process. It may take a few moments for the device to completely power off.
-
Verify the Power-Off Status: Once the watch has powered off, the screen will go dark, indicating that the device is successfully turned off.
By following these steps, you have effectively powered off your Samsung Galaxy Watch 3, preparing it for the next phase of the SIM card insertion process. With the device safely turned off, you can now proceed to the next step with confidence, knowing that you have taken the necessary precautions to ensure a smooth and successful SIM card installation process.
Step 2: Locate the SIM card slot
Once your Samsung Galaxy Watch 3 is powered off, the next step is to locate the SIM card slot where the SIM card will be inserted. The SIM card slot is a crucial component of the watch, as it provides the gateway for enabling cellular connectivity, allowing you to make calls, send messages, and access data services directly from your smartwatch.
To locate the SIM card slot on your Samsung Galaxy Watch 3, you will need to orient the watch in a well-lit environment and closely examine its exterior. Here's how you can easily identify the SIM card slot:
-
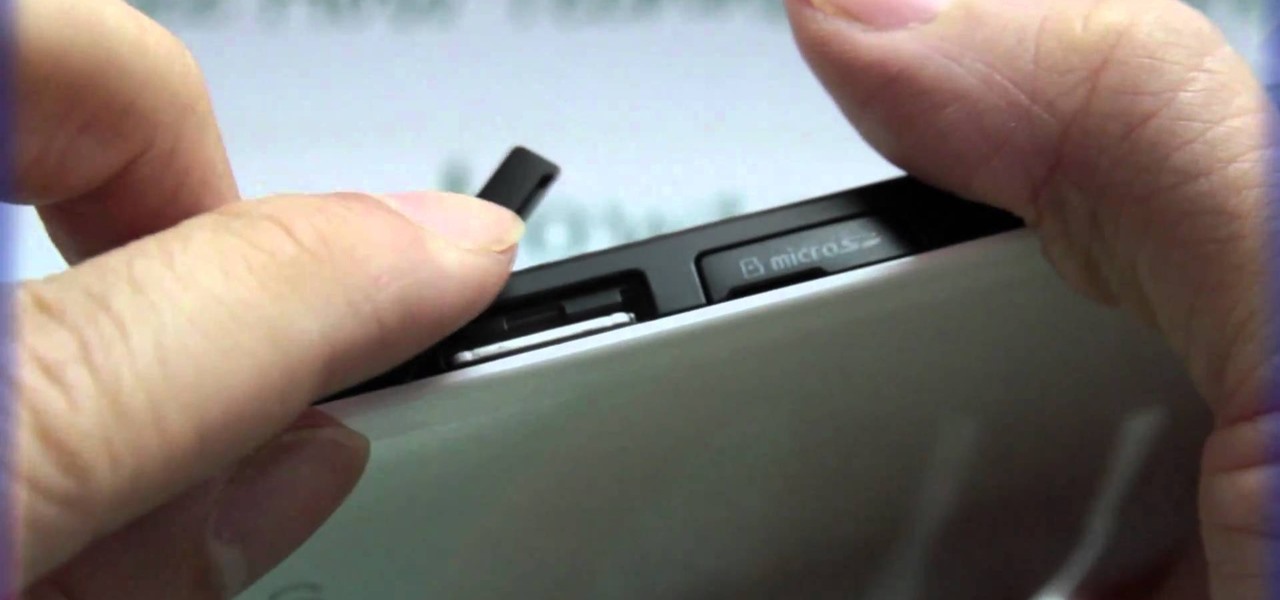
Examine the Right Side of the Watch: The SIM card slot on the Samsung Galaxy Watch 3 is discreetly integrated into the right side of the device. Look for a small, recessed compartment along the right edge of the watch. This compartment is designed to securely house the SIM card and facilitate its seamless integration with the watch's internal hardware.
-
Identify the SIM Tray: Upon locating the compartment on the right side, you will notice a tiny pinhole adjacent to it. This pinhole serves as the access point for ejecting the SIM tray. The SIM tray is the mechanism that holds the SIM card and allows for its insertion into the watch. It is essential to handle the SIM tray with care to prevent any damage to the delicate components.
-
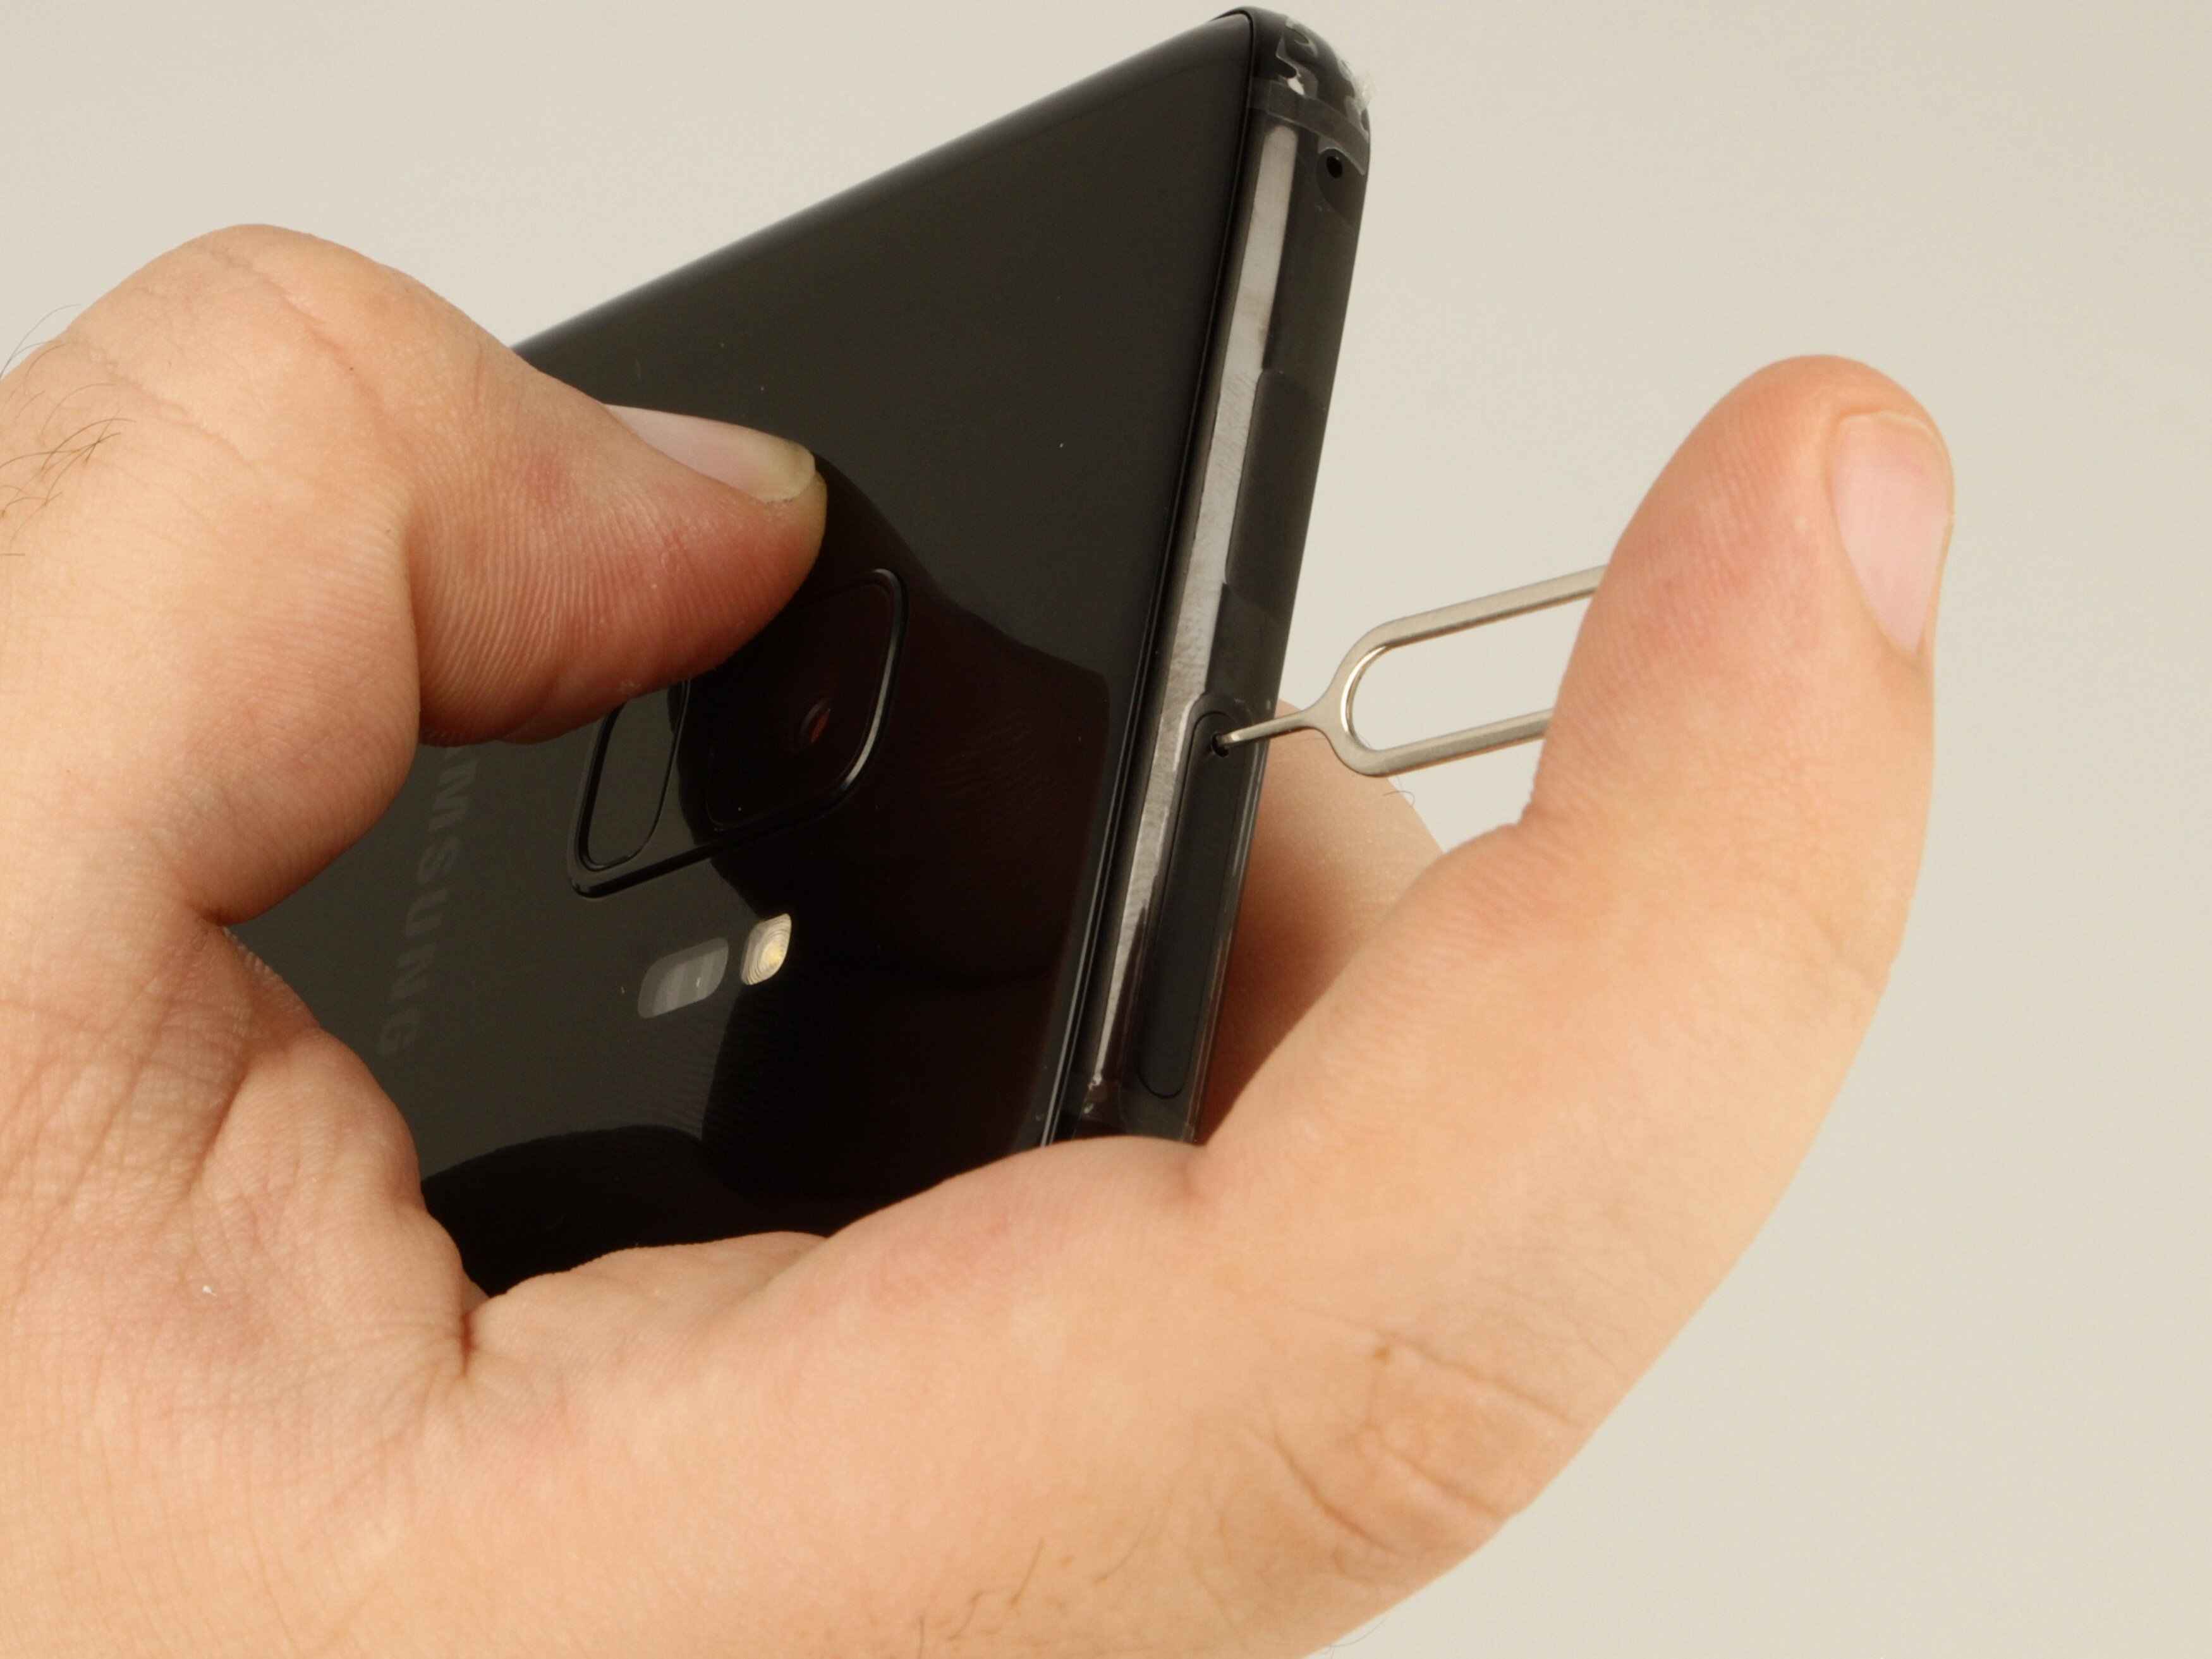
Use a SIM Eject Tool: To access the SIM tray, you will need a SIM eject tool, which is typically provided with the Samsung Galaxy Watch 3 or can be obtained separately. The SIM eject tool is a small, pointed instrument designed for precisely ejecting the SIM tray from the watch. Insert the SIM eject tool into the pinhole next to the compartment and gently apply pressure to initiate the ejection process.
By carefully following these steps, you will successfully locate the SIM card slot on your Samsung Galaxy Watch 3, setting the stage for the next phase of the SIM card insertion process. With the SIM card slot identified and the SIM tray accessible, you are now ready to proceed with the pivotal step of inserting the SIM card into your smartwatch, enabling you to harness its standalone cellular capabilities to the fullest.
Step 3: Insert the SIM card
With the SIM card slot and tray identified, it's time to proceed with the crucial step of inserting the SIM card into your Samsung Galaxy Watch 3. This step demands precision and care to ensure the seamless integration of the SIM card with the watch's internal components. Follow these detailed instructions to successfully insert the SIM card:
-
Prepare the SIM Card: Before inserting the SIM card, ensure that it is compatible with the Samsung Galaxy Watch 3. The SIM card should be a nano-SIM, which is the standard size for most modern smartphones and smartwatches. Additionally, ensure that the SIM card is from a compatible mobile network provider and is activated for use with the watch's cellular connectivity.
-
Access the SIM Tray: Use the SIM eject tool to gently press into the pinhole next to the SIM card slot. Apply steady pressure to eject the SIM tray from the watch. Once the SIM tray is partially ejected, carefully remove it from the watch, taking care not to apply excessive force that could damage the tray or the internal components.
-
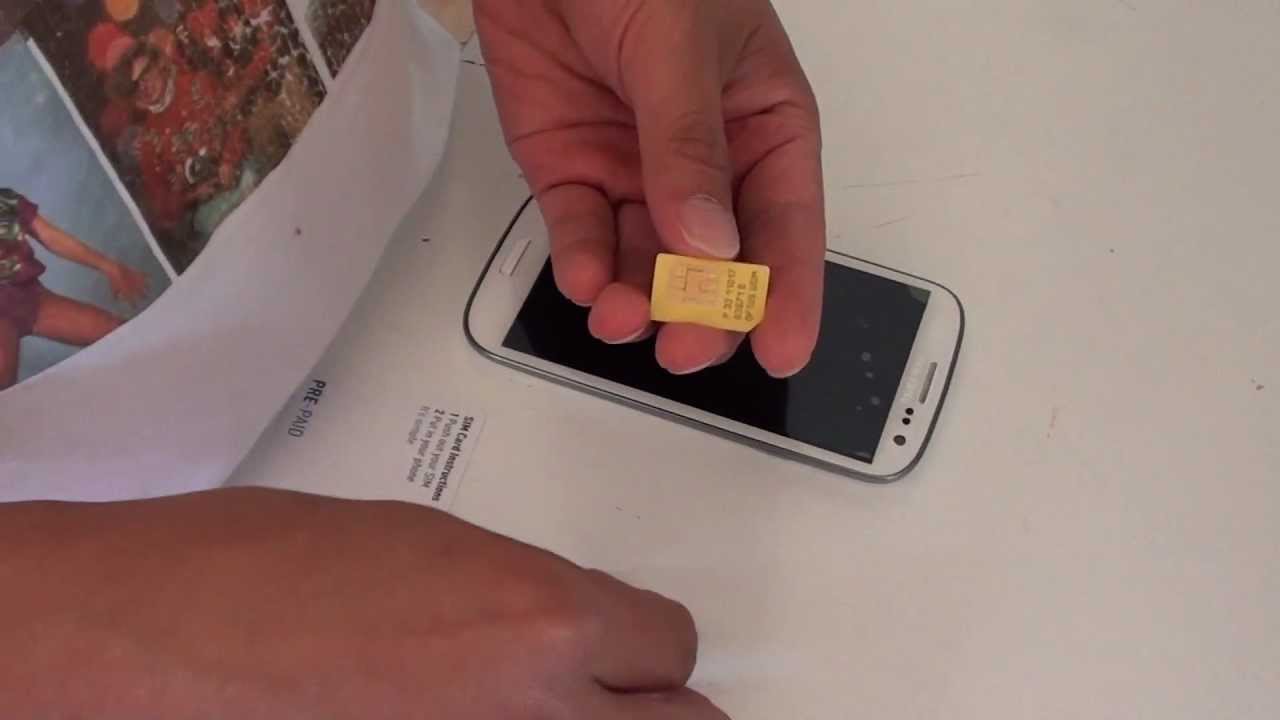
Position the SIM Card: Place the SIM card into the SIM tray, ensuring that it aligns with the tray's designated area for the SIM card. The SIM card should fit securely within the tray, with the gold contacts of the SIM card facing downward. Take note of the orientation of the SIM card to ensure that it is inserted correctly, as improper insertion could lead to connectivity issues.
-
Insert the SIM Tray: Once the SIM card is positioned within the tray, gently slide the SIM tray back into the SIM card slot on the right side of the watch. Ensure that the tray slides in smoothly and securely, aligning with the contours of the watch's exterior. Avoid forcing the tray into the slot, as this could cause damage to the SIM card, tray, or the watch itself.
-
Verify the Insertion: After inserting the SIM tray, visually inspect the watch to confirm that the tray is fully seated within the SIM card slot. The tray should be flush with the watch's exterior, with no protrusions or misalignments. This visual verification ensures that the SIM card is properly inserted and ready for activation.
By meticulously following these steps, you have successfully inserted the SIM card into your Samsung Galaxy Watch 3, paving the way for harnessing the full potential of its standalone cellular capabilities. With the SIM card securely integrated, your smartwatch is now equipped to make and receive calls, send messages, and access data services independently, empowering you to stay connected on the go.
Step 4: Turn on the Samsung Galaxy Watch 3
Now that the SIM card has been successfully inserted into your Samsung Galaxy Watch 3, the final step is to power on the device and initiate the activation process. Turning on the watch will enable it to recognize the newly inserted SIM card and establish connectivity with the designated mobile network, unlocking its full range of standalone communication features.
Follow these detailed instructions to power on your Samsung Galaxy Watch 3 and complete the activation process:
-
Press and Hold the Power Key: Located on the right side of the watch, the Power key is the primary control for powering on the device. Press and hold the Power key until the Samsung logo appears on the screen. This action initiates the boot-up sequence, signaling that the watch is powering on.
-
Wait for the Boot-Up: As the Samsung Galaxy Watch 3 powers on, the screen will illuminate, displaying the Samsung logo and the loading indicator. Allow the watch a few moments to complete the boot-up process. During this time, the watch's internal components will initialize, preparing the device for activation.
-
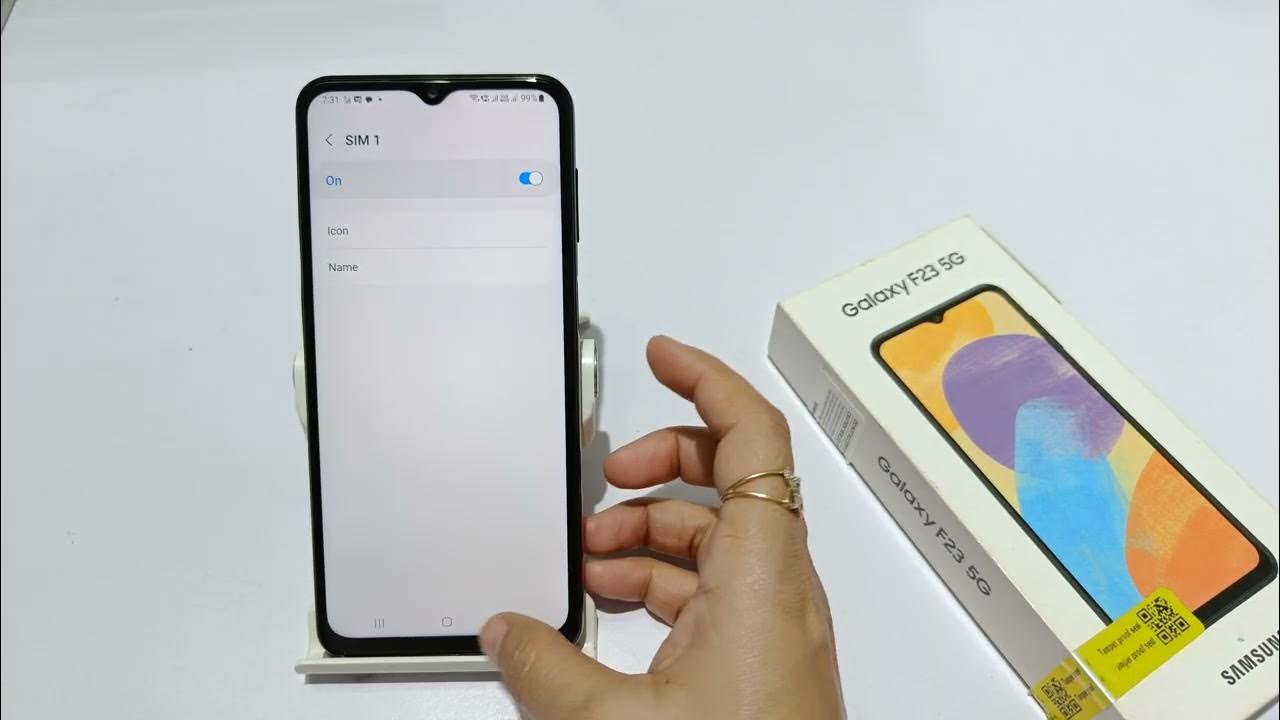
Follow the On-Screen Prompts: Once the watch has successfully powered on, you may be prompted to follow on-screen instructions to activate the SIM card and configure the cellular connectivity settings. These prompts may include selecting a mobile network, entering the SIM card PIN (if applicable), and agreeing to the terms of service. Follow the prompts carefully to ensure a seamless activation process.
-
Verify Cellular Connectivity: After completing the activation process, verify that the Samsung Galaxy Watch 3 has established cellular connectivity. Look for the cellular signal indicator on the watch's display, which typically appears as a series of bars indicating the strength of the signal. Additionally, you may see an indicator showing the mobile network operator's name, confirming that the watch is successfully connected to the designated network.
-
Test Communication Features: With the watch powered on and the SIM card activated, test the standalone communication features, such as making a test call or sending a message. By engaging in these activities, you can confirm that the watch is fully operational and capable of leveraging its cellular connectivity for seamless communication.
By following these steps, you have successfully powered on your Samsung Galaxy Watch 3 and completed the activation process, enabling it to utilize the inserted SIM card for standalone communication. With the watch now powered on and connected to the mobile network, you can fully embrace its capabilities and enjoy the convenience of staying connected wherever you go.
Conclusion
Congratulations! You have successfully navigated the process of inserting a SIM card into your Samsung Galaxy Watch 3, unlocking its standalone cellular capabilities and empowering it to keep you connected on the go. By following the step-by-step instructions outlined in this comprehensive guide, you have gained the knowledge and confidence to seamlessly integrate a SIM card with your smartwatch, enabling it to make and receive calls, send messages, and access data services independently.
The process began with the essential step of powering off the Samsung Galaxy Watch 3, ensuring that the device was safely prepared for the SIM card insertion. By carefully navigating the power-off sequence, you minimized the risk of any potential damage to the internal components, setting the stage for a smooth and successful SIM card integration.
Locating the SIM card slot was the next pivotal step, allowing you to identify the discreet compartment on the right side of the watch where the SIM card would be housed. By closely examining the watch's exterior and accessing the SIM tray with the SIM eject tool, you successfully pinpointed the entry point for the SIM card, laying the groundwork for the subsequent insertion process.
The meticulous process of inserting the SIM card demanded precision and attention to detail, ensuring that the nano-SIM card was correctly positioned within the SIM tray and seamlessly integrated into the watch's internal hardware. By adhering to the careful steps outlined in the guide, you effectively secured the SIM card within the watch, preparing it to harness the full potential of its standalone cellular connectivity.
Finally, powering on the Samsung Galaxy Watch 3 and navigating the activation process marked the culmination of your journey toward enabling the watch's standalone communication features. By following the on-screen prompts and verifying the cellular connectivity, you confirmed that the watch was successfully connected to the designated mobile network, ready to deliver seamless communication capabilities wherever you go.
As you embark on your journey with a SIM-equipped Samsung Galaxy Watch 3, take full advantage of its standalone cellular capabilities to stay connected, informed, and empowered. Whether you're on a run, in a meeting, or simply away from your smartphone, your smartwatch is now equipped to keep you seamlessly in touch with the world around you.
With the SIM card securely integrated and the watch powered on, you are now poised to embrace the full potential of your Samsung Galaxy Watch 3, leveraging its standalone cellular capabilities to enrich your daily experiences and stay connected with ease.