Introduction
Inserting a SIM card into an iPhone 4 is a fundamental step in setting up your device for communication and connectivity. Whether you're a new iPhone user or upgrading from a previous model, understanding the process of inserting a SIM card is essential. This guide will walk you through the step-by-step process, ensuring that you can seamlessly integrate your SIM card into your iPhone 4.
The SIM card, or Subscriber Identity Module, is a small, removable card that stores your mobile subscription information. It allows you to connect to your mobile network, make calls, send messages, and access mobile data. Without a SIM card, your iPhone 4 would be unable to connect to a mobile network and utilize its full range of features.
By following this guide, you will gain a comprehensive understanding of how to locate the SIM card tray, eject it, insert the SIM card, and replace the tray. With clear and concise instructions, you'll be equipped to complete this process with ease, regardless of your level of technical expertise.
Ensuring that your SIM card is properly inserted into your iPhone 4 is crucial for seamless communication and connectivity. Whether you're using your iPhone 4 for personal or professional purposes, having a functioning SIM card is essential for staying connected on the go.
Now, let's delve into the step-by-step process of inserting a SIM card into your iPhone 4 to ensure that you can make the most of your device's capabilities.
Step 1: Locate the SIM Card Tray
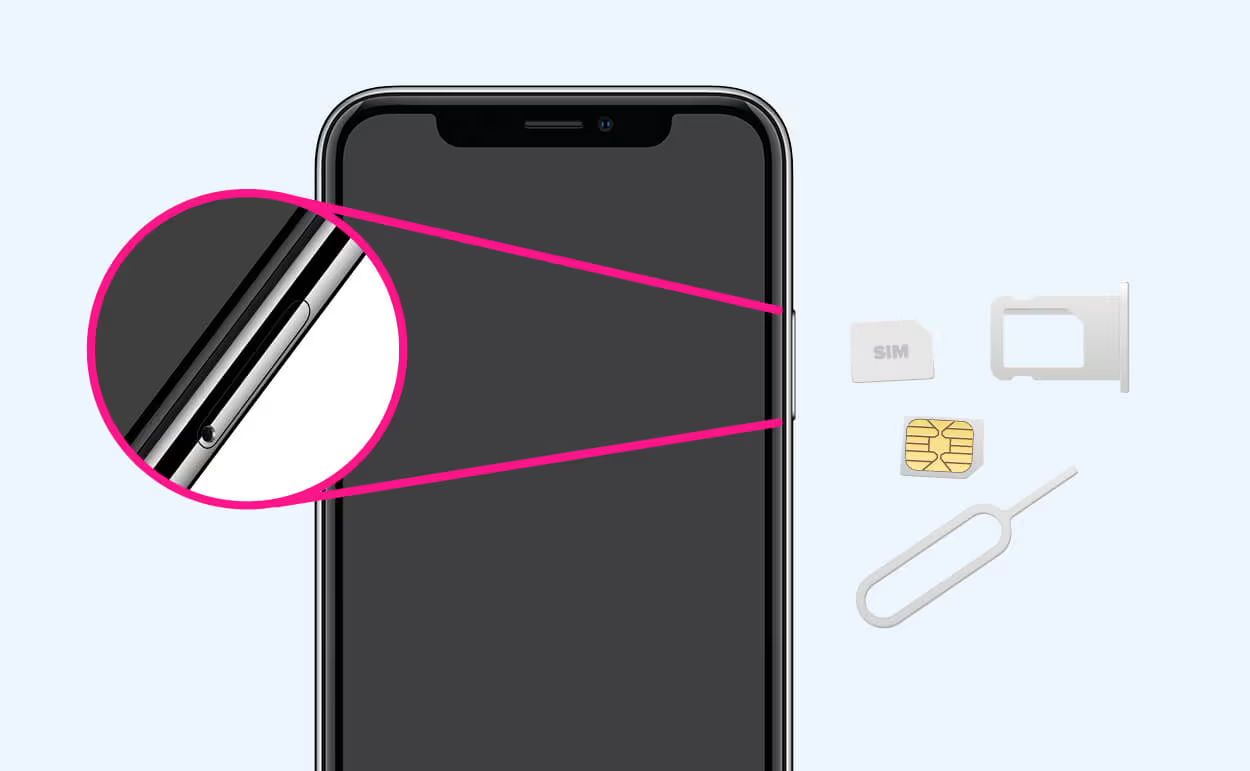
Locating the SIM card tray is the first crucial step in the process of inserting a SIM card into your iPhone 4. The SIM card tray is a small, discreet component of your device, and identifying its precise location is essential for a seamless insertion process.
To locate the SIM card tray on your iPhone 4, you'll need to identify the device's exterior features. Begin by holding the iPhone 4 in your hand, ensuring that the screen is facing you. Direct your attention to the right-hand side of the device, where you'll notice a small, recessed slot. This slot is the housing for the SIM card tray.
The SIM card tray on the iPhone 4 is designed to blend seamlessly with the device's exterior, maintaining a sleek and minimalist aesthetic. Despite its subtle appearance, the tray plays a pivotal role in facilitating your device's connectivity to the mobile network.
Once you've located the SIM card tray, take a moment to familiarize yourself with its position and the surrounding features of your iPhone 4. This simple yet essential step will lay the groundwork for a smooth and efficient insertion process, ensuring that you can proceed with confidence.
By understanding the physical location of the SIM card tray, you'll be equipped to progress to the next step of the process, which involves ejecting the tray to gain access for inserting the SIM card. This foundational knowledge will empower you to navigate the insertion process with ease, setting the stage for seamless communication and connectivity on your iPhone 4.
With the SIM card tray located and identified, you're now prepared to move forward with the subsequent steps of the insertion process. By taking the time to pinpoint the tray's position and familiarize yourself with its surroundings, you've set the stage for a successful SIM card insertion into your iPhone 4.
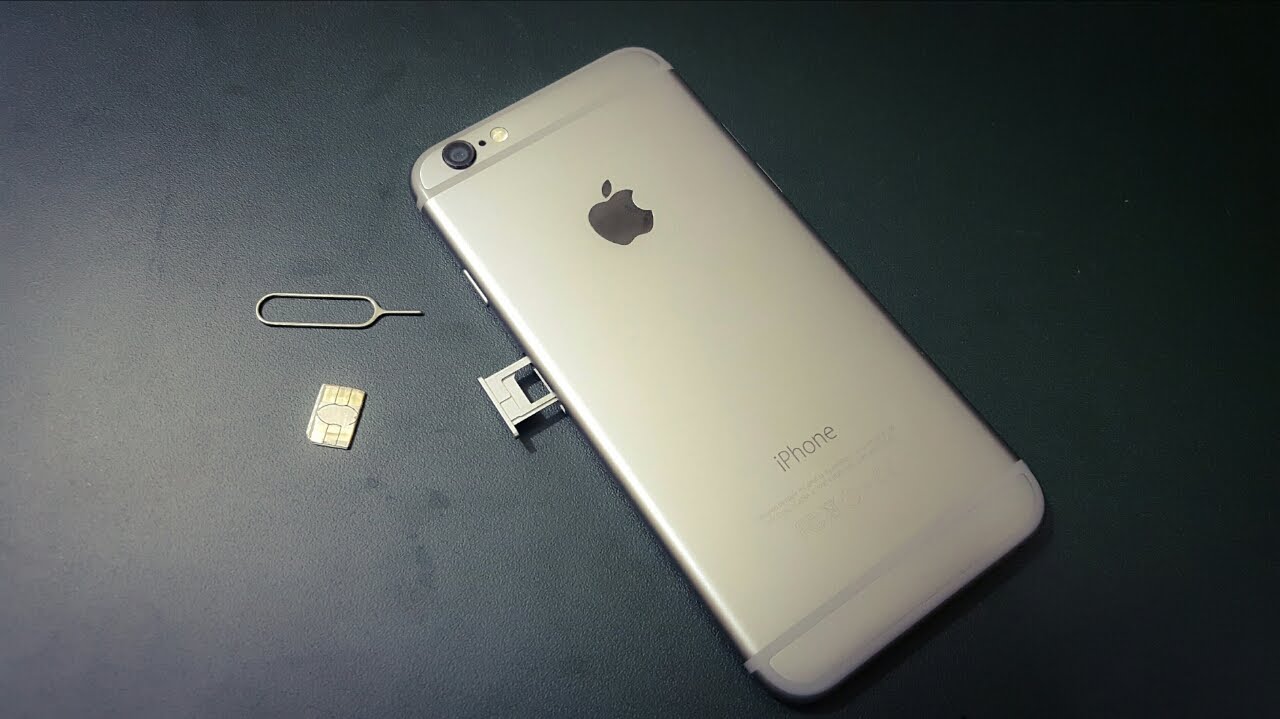
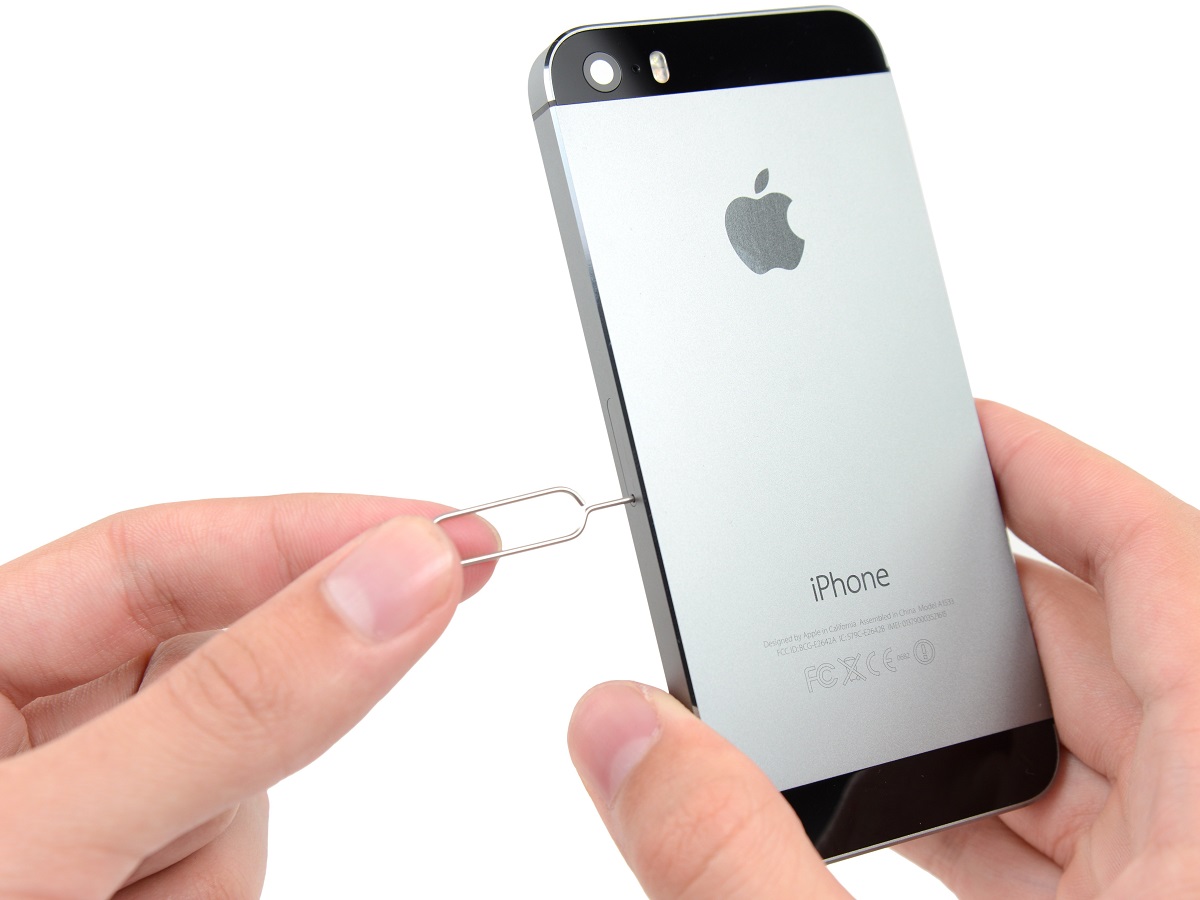
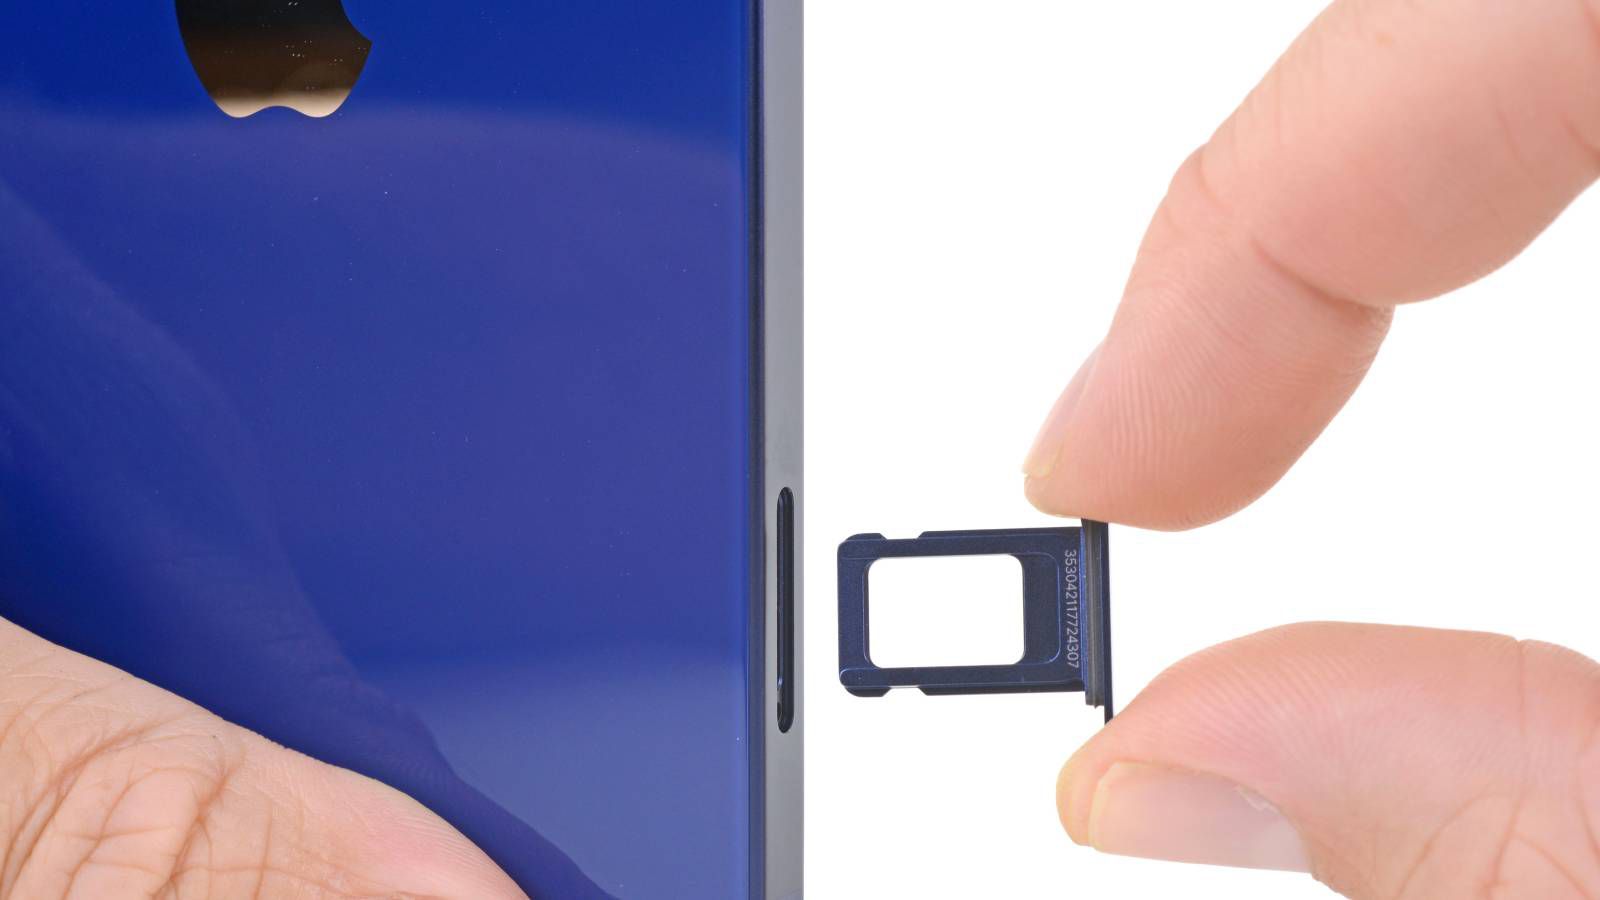
Step 2: Eject the SIM Card Tray
Ejecting the SIM card tray from your iPhone 4 is a crucial step that grants you access to the compartment where the SIM card will be inserted. This process requires precision and care to ensure that the tray is safely removed without causing any damage to your device.
To begin, locate the small pinhole on the exterior of the iPhone 4, positioned adjacent to the SIM card tray. This pinhole serves as the entry point for the tool that will facilitate the ejection of the tray. Apple provides a SIM eject tool with the iPhone 4, designed specifically for this purpose. If the original tool is unavailable, a paperclip can serve as an alternative for ejecting the tray.
Insert the SIM eject tool or unfolded paperclip into the pinhole, applying gentle pressure until you feel a slight resistance. This indicates that the tool has engaged with the internal mechanism responsible for releasing the SIM card tray. With steady pressure, continue to press into the pinhole, prompting the tray to gradually emerge from its housing.
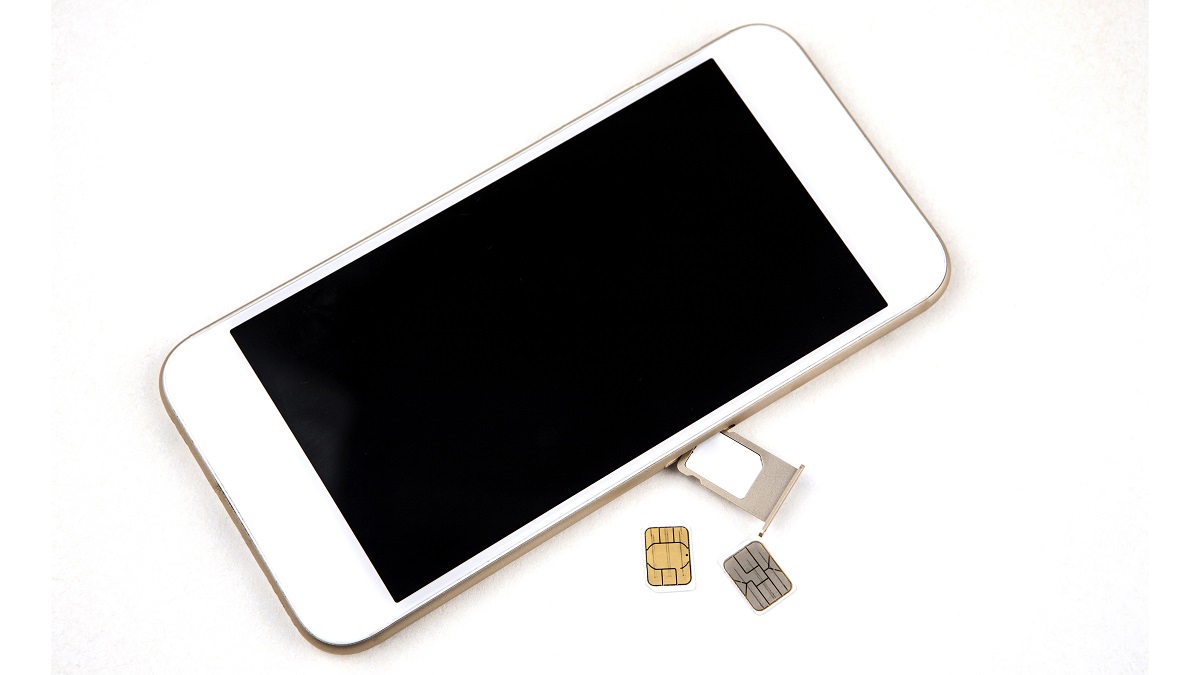
As the tray begins to protrude, carefully grasp it with your fingertips, ensuring a firm yet gentle hold. Slowly and steadily pull the tray out of the device, taking care to maintain a steady and even motion. It's essential to exercise caution during this step, as abrupt or forceful movements could potentially damage the tray or the internal components of your iPhone 4.
Once the SIM card tray is fully extended, carefully remove it from the device, taking note of its orientation and the position of the existing SIM card, if present. This observation will guide you in aligning the new or existing SIM card correctly when it's time to insert it into the tray.
With the SIM card tray successfully ejected, you've cleared the path for the next phase of the process: inserting the SIM card into your iPhone 4. By executing this step with patience and precision, you've set the stage for a seamless transition to the subsequent stage of the insertion process, ensuring that your device is primed for optimal connectivity and functionality.
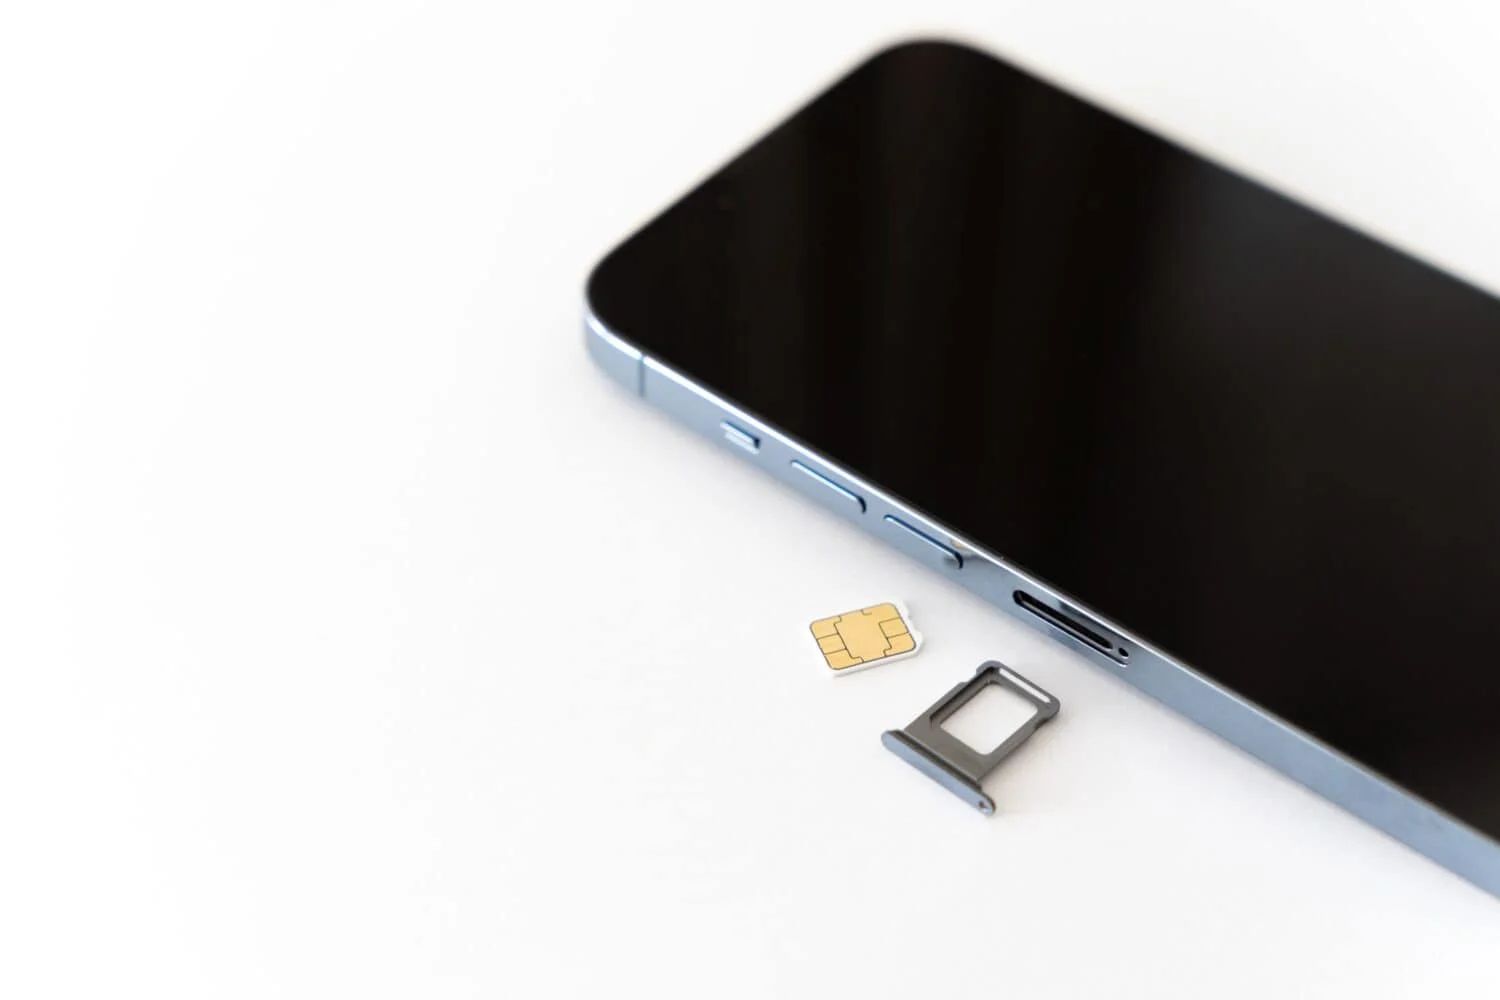
Step 3: Insert the SIM Card
With the SIM card tray successfully ejected from your iPhone 4, the next pivotal step is to insert the SIM card into the tray. The SIM card is a small, rectangular card that contains your unique subscriber information, allowing your iPhone 4 to connect to your mobile network and access its full range of features.
Begin by carefully examining the SIM card tray that you've removed from your device. Take note of the orientation of the tray and the position designated for the SIM card. This observation will guide you in correctly aligning the SIM card for seamless insertion.
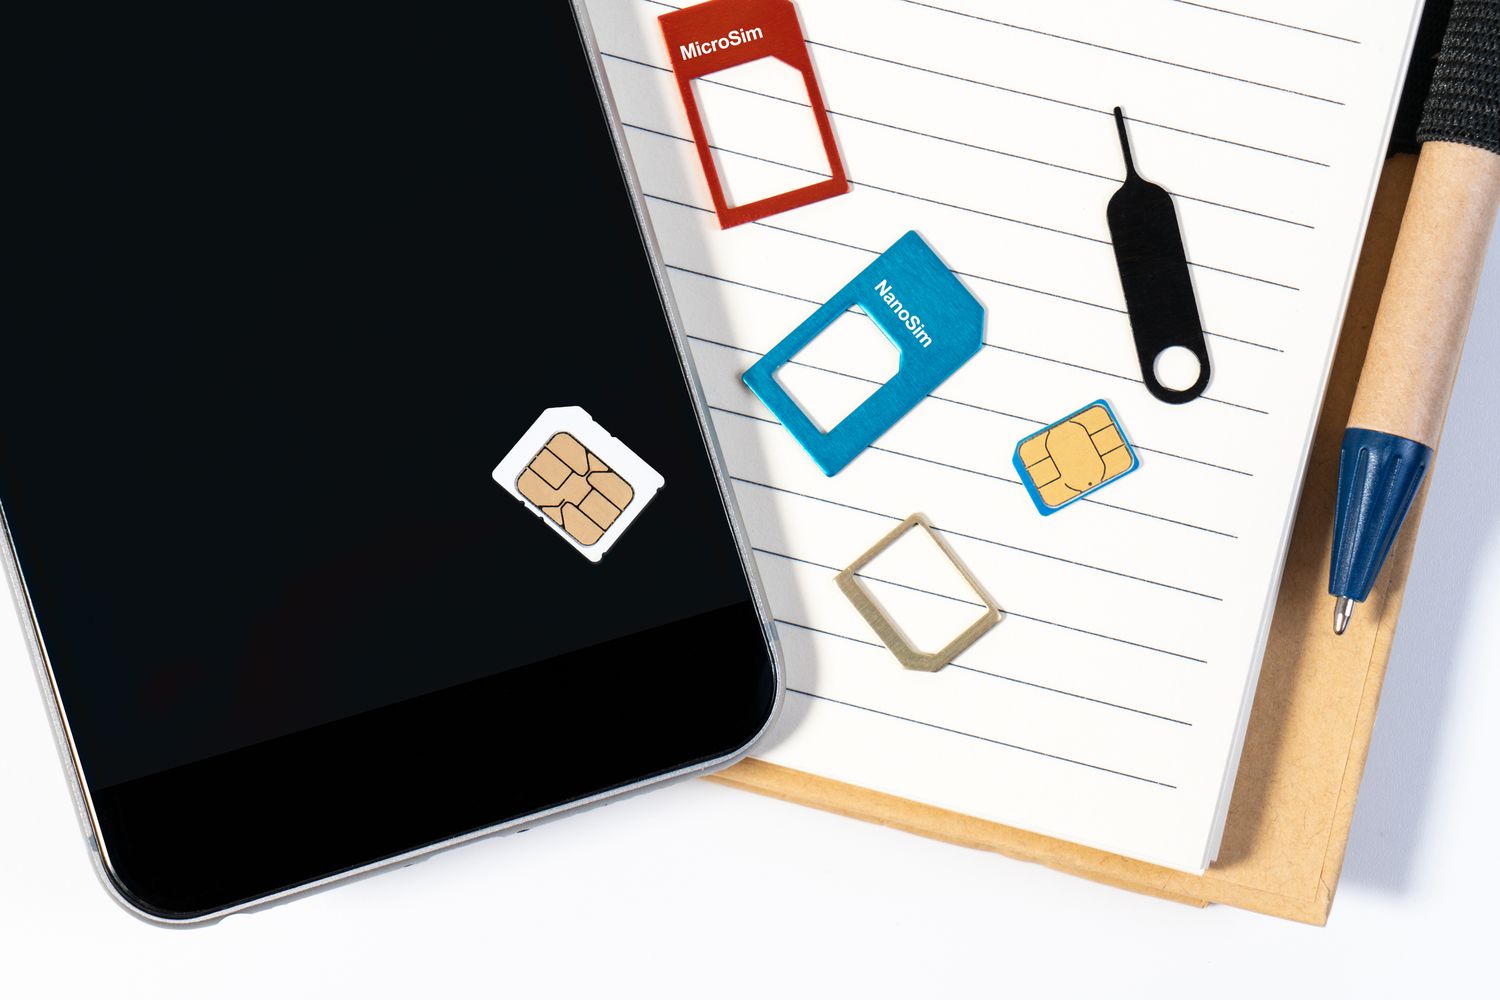
Gently remove the existing SIM card from the tray, if one is present, taking care to handle it with caution to avoid any damage. If you're inserting a new SIM card, ensure that it's compatible with your mobile network and that it's free from any defects or damage.
Position the SIM card within the designated area of the tray, aligning it with the corresponding grooves to ensure a proper fit. The SIM card will only fit into the tray in one orientation, so it's essential to align it correctly to prevent any potential issues with connectivity.
Once the SIM card is securely positioned within the tray, carefully slide the tray back into the SIM card slot on your iPhone 4. Apply gentle pressure to ensure that the tray smoothly re-enters the device, maintaining a steady and even motion to prevent any resistance or misalignment.
As the tray is reinserted, you may feel a slight click, indicating that it's securely in place within the device. This subtle confirmation signifies that the SIM card is properly positioned and ready to facilitate your iPhone 4's connection to the mobile network.
By executing this step with precision and attention to detail, you've successfully integrated the SIM card into your iPhone 4, laying the foundation for seamless communication and connectivity. With the SIM card securely in place, you're now prepared to proceed to the final step of the insertion process, ensuring that your iPhone 4 is fully equipped to harness the power of its mobile network connectivity.
Step 4: Replace the SIM Card Tray
With the SIM card securely inserted into your iPhone 4, the final step in the process is to replace the SIM card tray, sealing the SIM card within the device and ensuring its seamless integration with the mobile network. This step requires careful attention to detail and a steady hand to guarantee that the tray is repositioned correctly, allowing for uninterrupted connectivity and functionality.
Begin by holding the SIM card tray, taking note of its orientation and the position it will occupy within the device. Align the tray with the SIM card slot on your iPhone 4, ensuring that it's positioned correctly to facilitate a smooth reentry into the device. It's essential to approach this step with care, maintaining a steady grip on the tray to prevent any accidental slippage or misalignment.
Once the tray is aligned with the SIM card slot, gently guide it back into the device, applying even pressure to ensure a seamless reinsertion. Take care to avoid any abrupt or forceful movements, as these could potentially disrupt the alignment of the tray and the SIM card, impeding the device's connectivity.
As the tray reenters the device, you may feel a subtle resistance, indicating that it's securely in place. Continue to apply gentle pressure until the tray is fully seated within the iPhone 4, ensuring that it sits flush with the device's exterior. This step is crucial for maintaining the iPhone 4's sleek and minimalist design while safeguarding the SIM card and tray within the device.
With the SIM card tray successfully repositioned, take a moment to ensure that it's securely in place and that the SIM card is fully enclosed within the device. This visual confirmation signifies that the SIM card is poised to facilitate your iPhone 4's connection to the mobile network, enabling you to make calls, send messages, and access mobile data with ease.
By completing the process of replacing the SIM card tray with precision and care, you've successfully integrated the SIM card into your iPhone 4, setting the stage for seamless communication and connectivity. With the tray securely in place, your device is fully equipped to harness the power of its mobile network connectivity, ensuring that you can make the most of your iPhone 4's capabilities.
This marks the completion of the step-by-step guide for inserting a SIM card into your iPhone 4. With the SIM card securely integrated into your device, you're now poised to enjoy uninterrupted communication and connectivity, making the most of your iPhone 4's features and functionality.
Conclusion
In conclusion, mastering the process of inserting a SIM card into your iPhone 4 is a fundamental step in maximizing the functionality and connectivity of your device. By following the step-by-step guide outlined in this article, you've gained a comprehensive understanding of the essential procedures involved in seamlessly integrating a SIM card into your iPhone 4.
From locating the SIM card tray to carefully ejecting it, inserting the SIM card, and replacing the tray, each step plays a pivotal role in ensuring that your iPhone 4 is fully equipped to connect to the mobile network and access its complete range of features.
By taking the time to familiarize yourself with the physical location of the SIM card tray and the intricacies of the insertion process, you've empowered yourself to navigate this essential task with confidence and precision. The attention to detail and careful execution demonstrated throughout each step of the process are indicative of your commitment to ensuring that your iPhone 4 is primed for optimal communication and connectivity.
With the SIM card securely integrated into your iPhone 4, you're now poised to harness the power of its mobile network connectivity, enabling you to make calls, send messages, and access mobile data with ease. This seamless integration of the SIM card sets the stage for uninterrupted communication and connectivity, ensuring that your iPhone 4 is fully equipped to meet your personal and professional needs.
As you embark on your journey with your iPhone 4, the successful insertion of the SIM card serves as a foundational step, laying the groundwork for a seamless and enriching user experience. Whether you're utilizing your device for staying connected with loved ones, conducting business on the go, or simply exploring its myriad features, the proper insertion of the SIM card is essential for unlocking the full potential of your iPhone 4.
In mastering the art of inserting a SIM card into your iPhone 4, you've not only equipped your device for optimal functionality but have also gained valuable insight into the intricate components that facilitate its connectivity. This newfound knowledge will serve you well as you continue to explore and utilize your iPhone 4, enhancing your overall understanding of its inner workings and capabilities.
With the completion of this comprehensive guide, you're now ready to embark on your journey with your iPhone 4, confident in your ability to seamlessly integrate the SIM card and unlock the full potential of your device's communication and connectivity capabilities.