Introduction
Inserting a SIM card into your HTC One is a fundamental step that allows you to connect to your mobile network, enabling calls, texts, and data usage. Whether you've just purchased a new HTC One or need to replace your SIM card, this step-by-step guide will walk you through the process with ease. By following these instructions, you'll be able to enjoy seamless connectivity on your device.
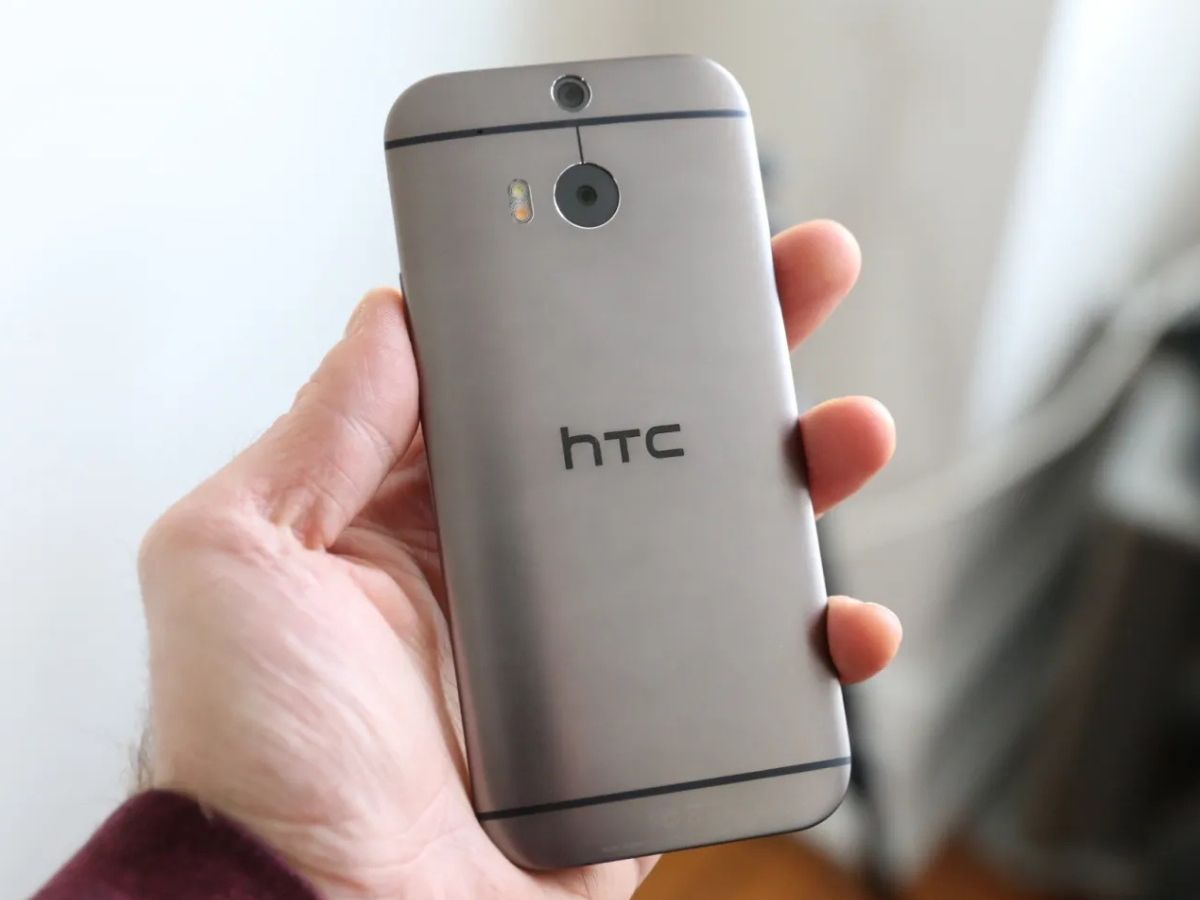
The HTC One is a sleek and powerful mobile device that boasts a stunning display and impressive performance. However, to fully utilize its capabilities, it's essential to ensure that your SIM card is correctly inserted. This guide will not only provide practical instructions but also offer insights into the importance of this process.
As we delve into the steps, it's worth noting that the SIM card serves as the gateway to your mobile network. It uniquely identifies your device and allows you to make calls, send messages, and access the internet. Without a properly inserted SIM card, your HTC One would be unable to tap into these essential functionalities.
With this in mind, it becomes evident that the process of inserting a SIM card is a pivotal aspect of optimizing your HTC One for everyday use. Whether you're a tech enthusiast or a casual user, understanding how to perform this task ensures that you can make the most of your mobile experience.
Now, let's embark on this step-by-step journey to seamlessly insert your SIM card into the HTC One, unlocking the full potential of your device.
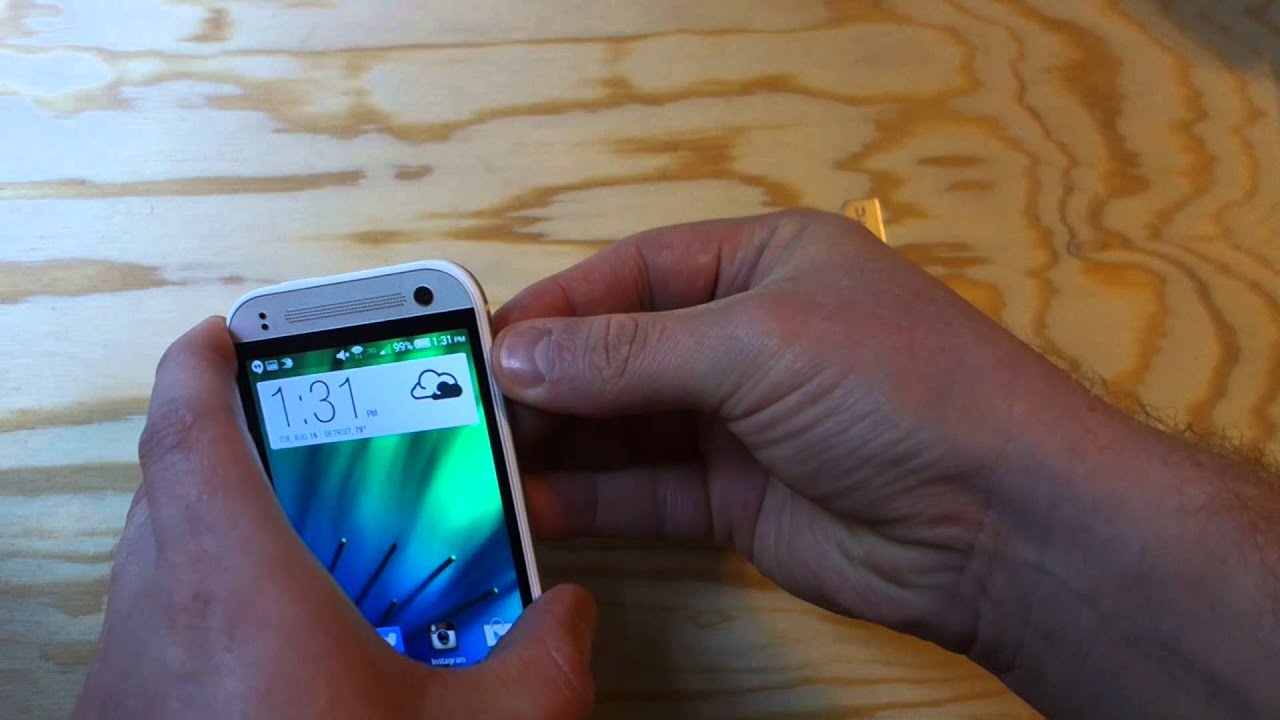
Step 1: Locate the SIM card tray
The first step in inserting a SIM card into your HTC One is to locate the SIM card tray. The SIM card tray is a small, rectangular slot typically found on the side of the device. On the HTC One, the SIM card tray is situated on the upper left-hand side of the phone. To access it, you will need a SIM card ejection tool or a small paperclip.
Upon locating the SIM card tray, it's important to ensure that the phone is powered off before proceeding. This precautionary measure prevents any potential damage to the device or the SIM card during the insertion process. Once the device is powered off, you can proceed to the next step with confidence.
The location of the SIM card tray may vary slightly depending on the specific model of the HTC One. However, the general placement remains consistent, typically on the side of the device. The SIM card tray is designed to securely hold the SIM card in place, ensuring a stable connection to the mobile network. Its strategic positioning allows for convenient access while maintaining the overall aesthetics of the device.
As you prepare to insert your SIM card, take a moment to familiarize yourself with the location of the SIM card tray on your HTC One. This initial step sets the stage for a smooth and successful insertion process, laying the groundwork for seamless connectivity and communication capabilities on your device.
By locating the SIM card tray, you've taken the crucial first step towards setting up your HTC One for optimal functionality. With this foundational knowledge in place, you're now ready to proceed to the next step and continue the process of inserting your SIM card with confidence and precision.
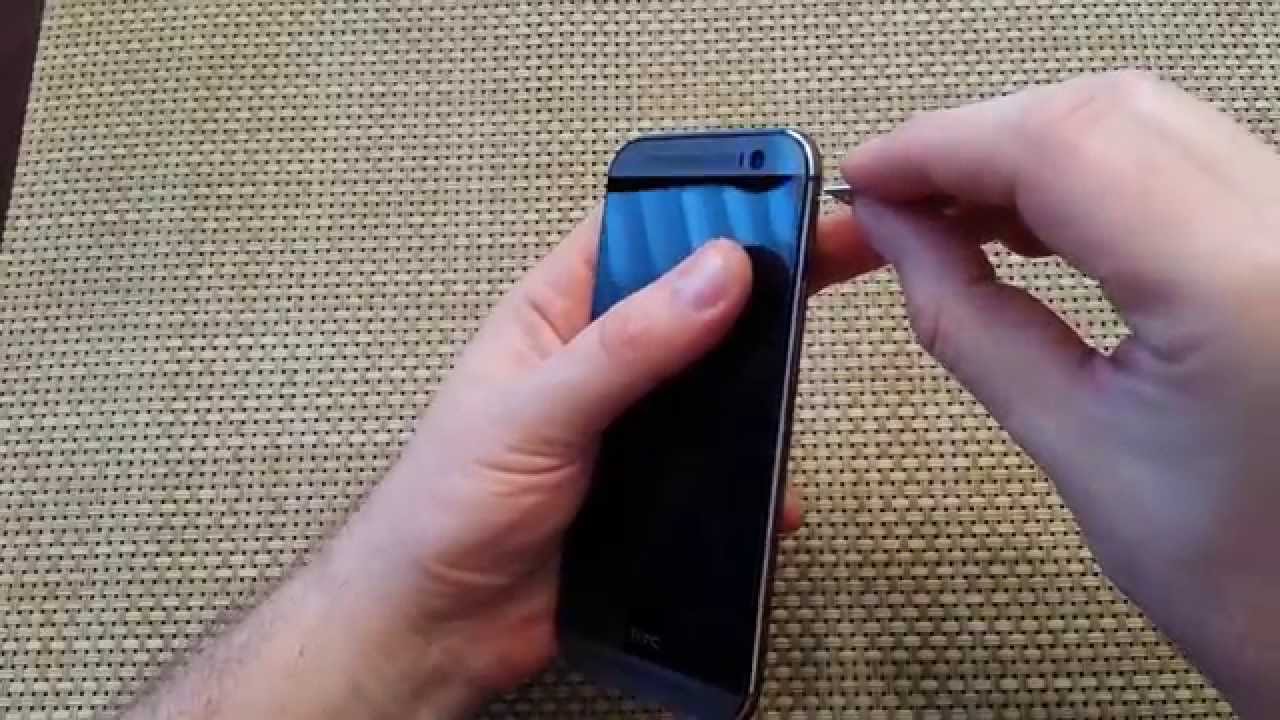
Step 2: Eject the SIM card tray
Ejecting the SIM card tray is a pivotal step in preparing your HTC One for the seamless insertion of your SIM card. This process allows for safe and easy access to the SIM card tray, facilitating the subsequent insertion of the SIM card with precision and care.
To begin, locate the small pinhole next to the SIM card tray on your HTC One. This pinhole is designed to accommodate the SIM card ejection tool or a small paperclip, which will be used to release the SIM card tray. Insert the SIM card ejection tool or the unfolded paperclip into the pinhole with gentle pressure until you feel a slight resistance.
Once the tool is inserted, apply a steady and even force to activate the internal mechanism that will release the SIM card tray from its secured position. As you do so, you will notice the SIM card tray protruding from the side of the device, allowing for easy access to the tray.
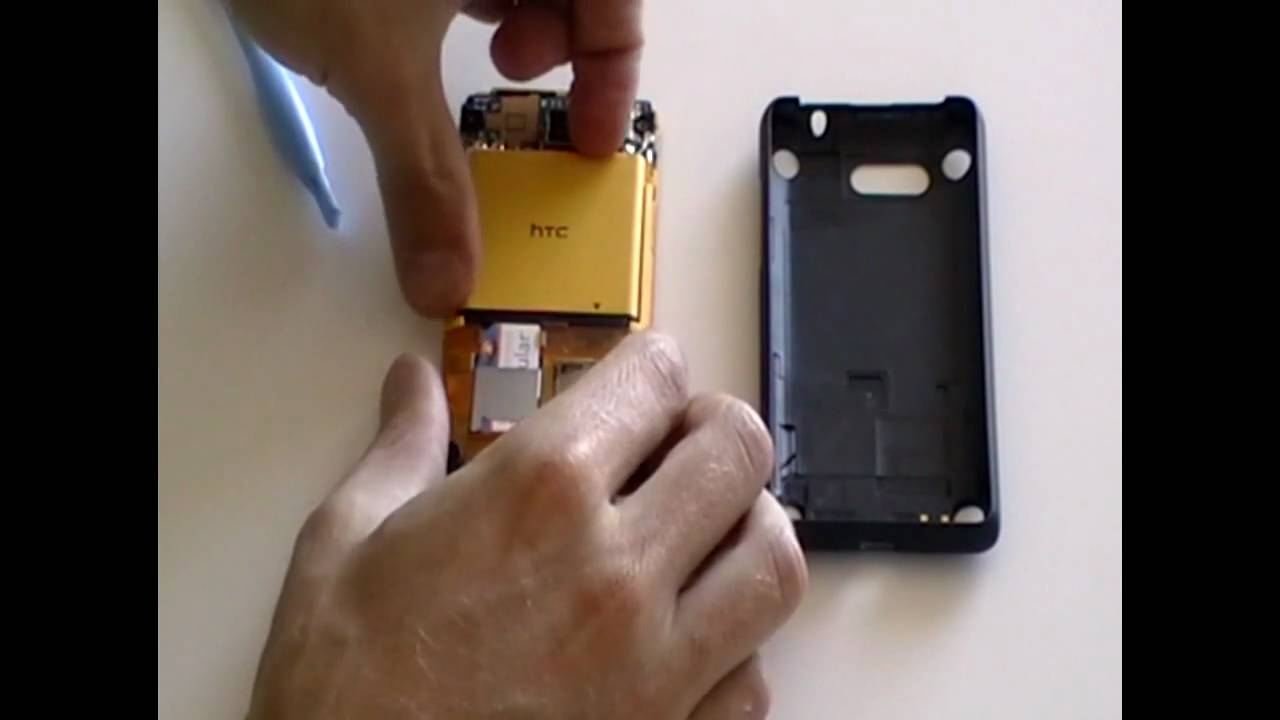
Carefully pull out the SIM card tray from the device, ensuring a smooth and controlled motion to avoid any potential damage. The SIM card tray is designed to slide out effortlessly, providing a clear view of the compartment where the SIM card will be inserted.
With the SIM card tray now accessible, take a moment to inspect it for any debris or obstructions that may affect the insertion process. Keeping the tray clean and free from any foreign objects ensures a seamless experience when inserting the SIM card, maintaining the integrity of the connection between the SIM card and the device.
By successfully ejecting the SIM card tray, you have overcome a crucial step in the process of preparing your HTC One for the insertion of the SIM card. This careful and methodical approach sets the stage for a smooth and successful insertion process, ensuring that your device is ready to harness the full potential of your mobile network.
With the SIM card tray now released and ready for the next step, you are well-positioned to proceed with confidence and precision as you prepare to insert your SIM card into the HTC One.
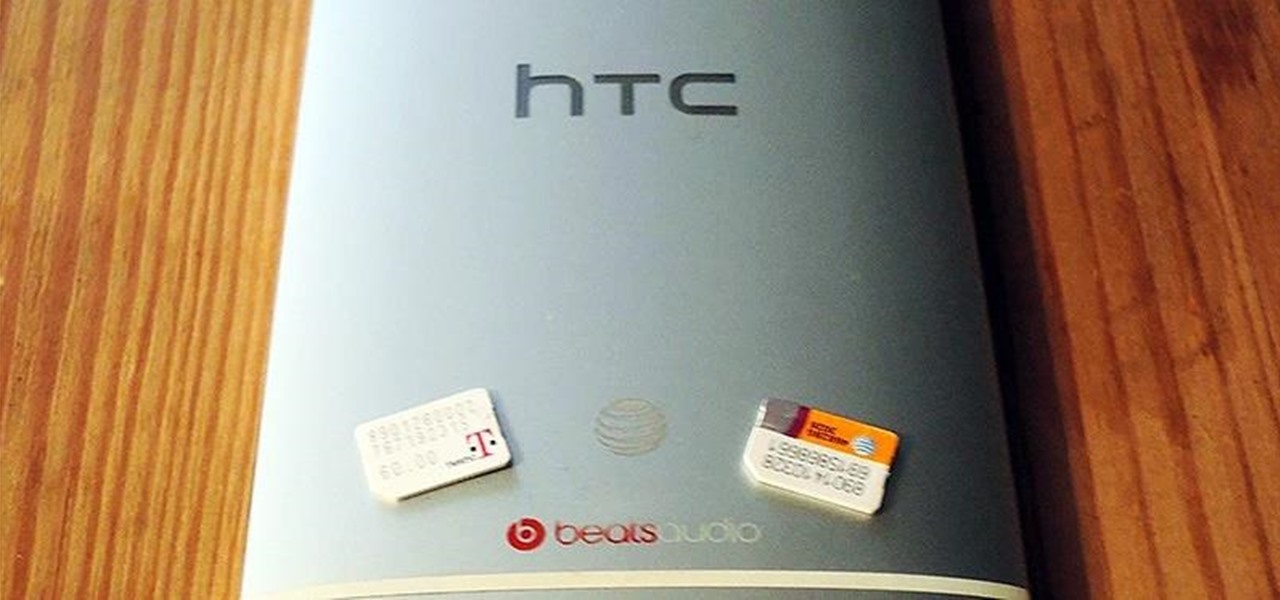
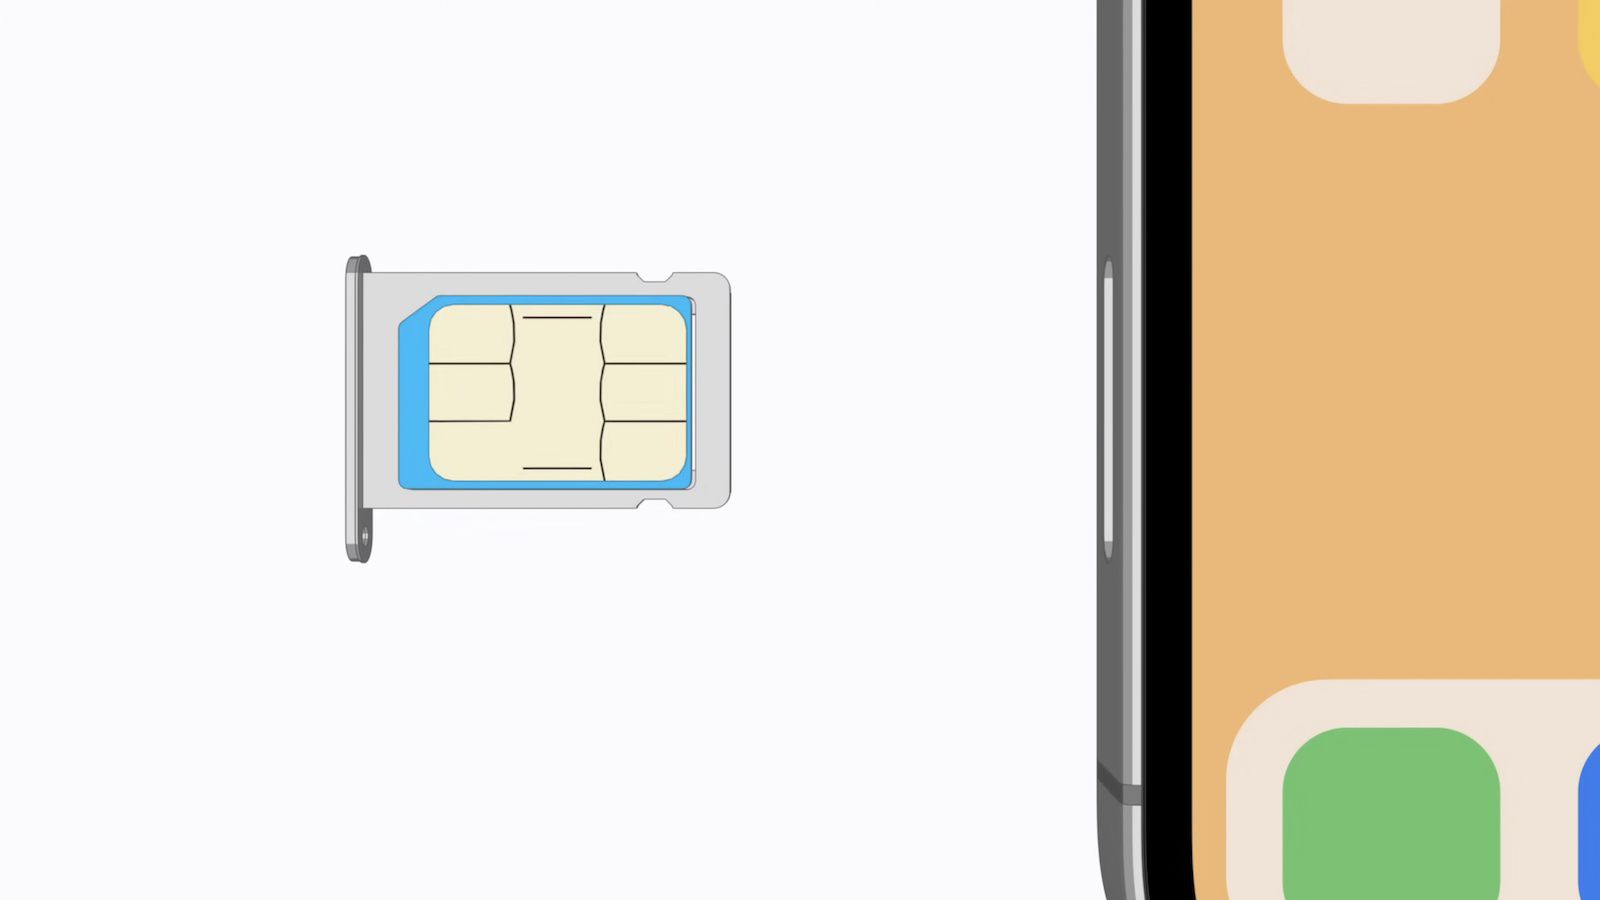
Step 3: Insert the SIM card
With the SIM card tray now accessible, it's time to proceed with the pivotal step of inserting the SIM card into your HTC One. The SIM card serves as the gateway to your mobile network, uniquely identifying your device and enabling essential communication and connectivity features. By following the precise instructions outlined in this step, you will seamlessly integrate the SIM card into your device, ensuring a stable and reliable connection to your mobile network.
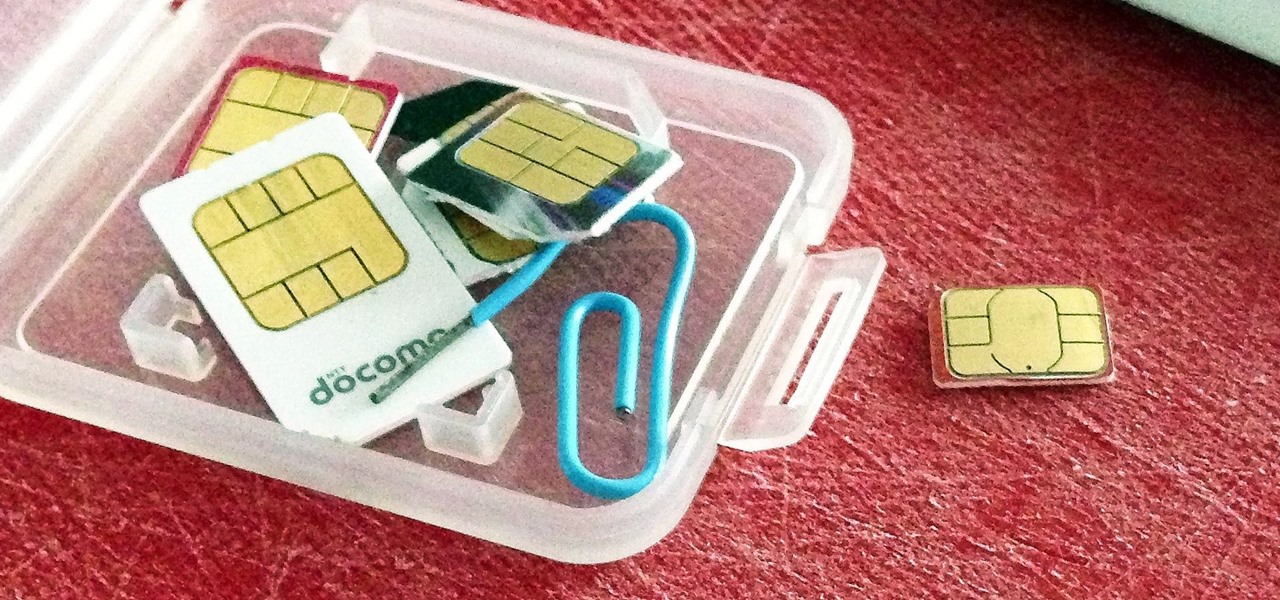
Before proceeding, carefully examine the SIM card to identify the correct orientation for insertion. Most SIM cards feature a distinctive shape with one corner angled or notched, indicating the proper alignment for insertion. This crucial visual cue ensures that the SIM card is positioned correctly within the SIM card tray, allowing for a secure and effective connection.
With the orientation of the SIM card confirmed, gently place it into the designated area within the SIM card tray. The tray is designed to accommodate the SIM card with precision, ensuring a snug fit that maintains the integrity of the connection. Take care to align the notched corner of the SIM card with the corresponding area within the tray, following the natural contours to achieve a seamless integration.
As you position the SIM card within the tray, apply gentle pressure to secure it in place. The SIM card should fit snugly within the designated area, with no protrusions or misalignments. This careful approach ensures that the SIM card is firmly seated within the tray, establishing a stable connection that facilitates seamless communication and data access.
Once the SIM card is securely in place, carefully slide the SIM card tray back into the HTC One. Ensure that the tray glides smoothly into its original position, maintaining a flush and uniform alignment with the device. This step completes the insertion process, encapsulating the SIM card within the HTC One and preparing it to harness the full potential of your mobile network.
With the SIM card successfully inserted and the tray securely repositioned, your HTC One is now primed to tap into the myriad capabilities offered by your mobile network. This seamless integration ensures that you can make calls, send messages, and access data with confidence, leveraging the power of your device to stay connected and engaged.
By following these precise instructions and exercising care during the insertion process, you have effectively integrated the SIM card into your HTC One, setting the stage for a seamless and reliable mobile experience. With the SIM card in place, your device is ready to serve as a versatile communication hub, empowering you to stay connected and productive in today's dynamic digital landscape.
Step 4: Reinsert the SIM card tray
With the SIM card securely inserted, the final step in the process of setting up your HTC One for seamless connectivity involves reinserting the SIM card tray into the device. This crucial step ensures that the SIM card remains firmly in place, maintaining a stable and reliable connection to your mobile network.
Begin by carefully aligning the SIM card tray with the slot on the side of your HTC One. Take note of the orientation of the tray to ensure that it fits snugly and aligns seamlessly with the device. The tray is designed to slide back into place with ease, encapsulating the SIM card within the device and maintaining a secure connection.
As you guide the SIM card tray back into the HTC One, apply gentle and even pressure to ensure a smooth reinsertion. The tray should slide effortlessly into its original position, settling flush with the device's exterior. This seamless reintegration of the SIM card tray signifies the completion of the insertion process, solidifying the connection between the SIM card and your HTC One.
Once the SIM card tray is securely repositioned, take a moment to ensure that it sits uniformly and aligns perfectly with the device. This visual confirmation provides reassurance that the SIM card is effectively encapsulated within the HTC One, ready to facilitate essential communication and data access.
With the SIM card tray successfully reinserted, your HTC One is now fully equipped to leverage the capabilities of your mobile network. The secure placement of the tray ensures that the SIM card remains stable and secure within the device, enabling seamless communication and connectivity.
By following these precise steps and exercising care throughout the process, you have successfully completed the insertion of your SIM card into the HTC One. With the SIM card securely in place and the tray seamlessly reinserted, your device is primed to deliver a reliable and uninterrupted mobile experience.
The meticulous approach taken to reinsert the SIM card tray underscores the importance of maintaining a stable connection between the SIM card and the device. This careful attention to detail ensures that your HTC One is optimally configured to harness the full potential of your mobile network, empowering you to stay connected and engaged in today's dynamic digital landscape.
Conclusion
In conclusion, the process of inserting a SIM card into your HTC One is a fundamental step that sets the stage for seamless connectivity and communication capabilities on your device. By following the step-by-step guide outlined in this article, you have gained valuable insights into the precise and methodical approach required to integrate the SIM card into your HTC One with confidence and precision.
The journey began with the crucial task of locating the SIM card tray, a foundational step that familiarized you with the positioning of the tray on your device. This initial stage set the groundwork for a smooth and successful insertion process, ensuring that you were well-prepared to proceed with the subsequent steps.
Ejecting the SIM card tray emerged as a pivotal phase in the process, allowing for safe and easy access to the tray for the insertion of the SIM card. By carefully releasing the tray using the designated pinhole and ensuring a smooth extraction, you set the stage for a seamless integration of the SIM card into your device.
The subsequent step involved the precise insertion of the SIM card into the designated area within the tray, ensuring the correct orientation and a snug fit. This meticulous approach guaranteed a stable and reliable connection, laying the foundation for seamless communication and data access on your HTC One.
Finally, reinserting the SIM card tray provided the assurance that the SIM card remained securely encapsulated within the device, maintaining a stable connection to your mobile network. This step marked the completion of the insertion process, solidifying the integration of the SIM card into your HTC One.
By successfully navigating through each step of the process, you have not only gained practical knowledge of how to insert a SIM card into your HTC One but also developed a deeper understanding of the significance of this task. The seamless integration of the SIM card ensures that your device is fully equipped to harness the myriad capabilities offered by your mobile network, empowering you to stay connected, productive, and engaged in today's dynamic digital landscape.
With the SIM card securely in place and the tray seamlessly reinserted, your HTC One is now optimally configured to deliver a reliable and uninterrupted mobile experience. The careful attention to detail and the methodical approach taken throughout the process underscore the importance of maintaining a stable connection between the SIM card and the device, ensuring that your HTC One is primed to unlock its full potential.
In essence, the successful insertion of the SIM card into your HTC One not only facilitates essential communication and connectivity but also symbolizes the seamless integration of your device into your digital lifestyle. With this foundational task accomplished, you are now poised to embark on a journey of seamless connectivity and productivity, leveraging the power of your HTC One to stay connected and engaged in today's dynamic digital landscape.