Introduction
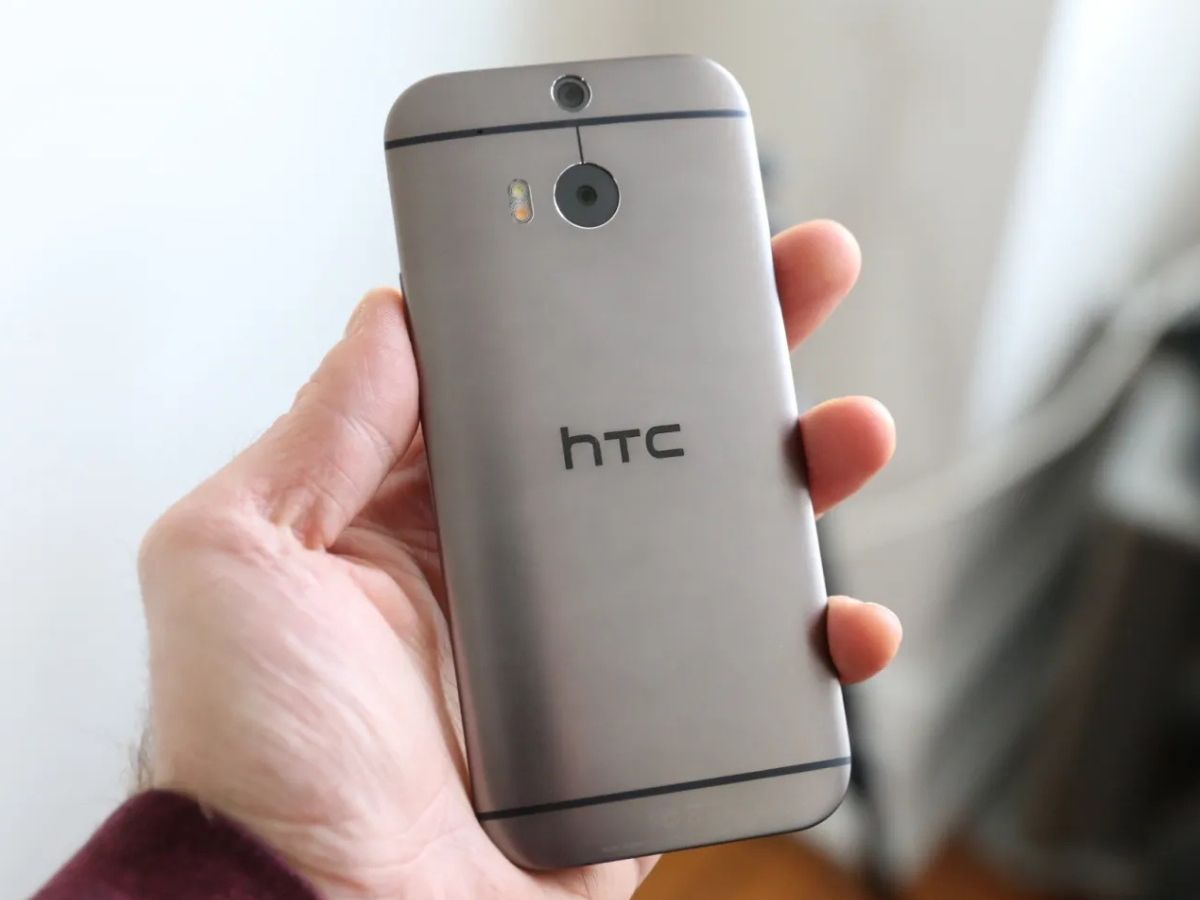
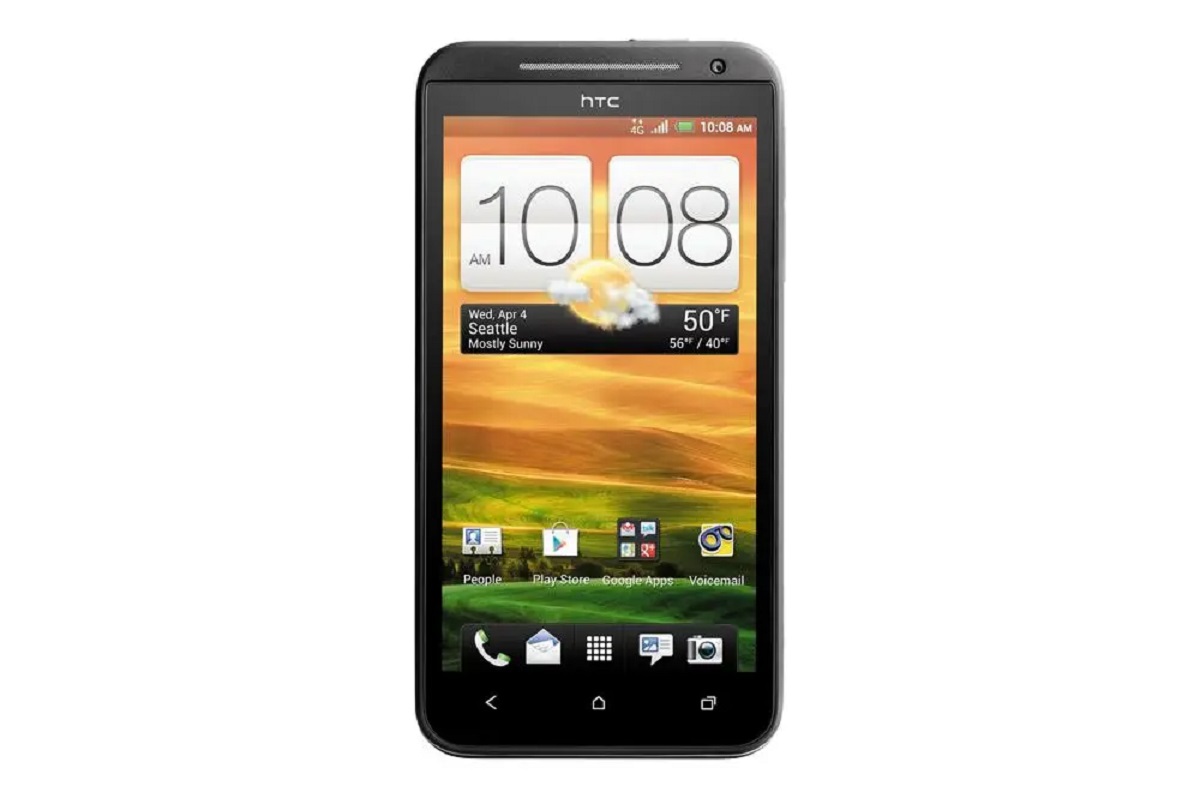
The HTC One is a sleek and innovative mobile device that boasts a range of impressive features, including its ability to support a SIM card for cellular connectivity. The SIM card, which stands for Subscriber Identity Module, is a small, removable card that stores the key identifying information of a mobile subscriber. This crucial component allows the HTC One to connect to a mobile network, enabling users to make calls, send texts, and access mobile data services.
Locating the SIM card slot on the HTC One is a fundamental aspect of setting up the device for cellular use. Whether you're activating a new HTC One or replacing an existing SIM card, understanding how to access and utilize the SIM card slot is essential. By following a few simple steps, you can effortlessly access the SIM card slot on your HTC One and ensure that the device is ready to connect to your chosen mobile network.
In the following sections, we will guide you through the process of locating the SIM card slot on the HTC One, removing the SIM card tray, inserting the SIM card, and replacing the tray. This comprehensive guide will equip you with the knowledge and confidence to manage the SIM card in your HTC One with ease. Let's delve into the step-by-step instructions to unlock the potential of your HTC One's cellular capabilities.
Step 1: Removing the SIM Card Tray
To begin the process of accessing the SIM card slot on your HTC One, you'll need to remove the SIM card tray. This tray is designed to securely hold the SIM card in place within the device. Follow these steps to successfully remove the SIM card tray:
-
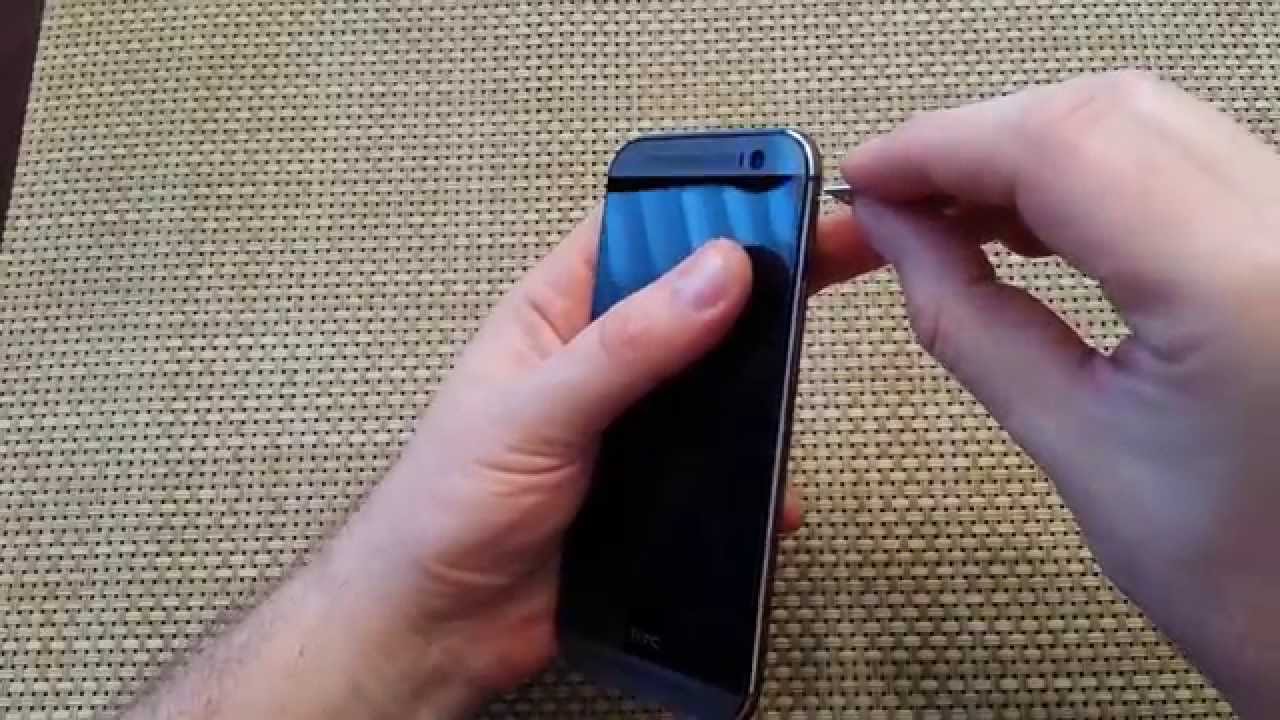
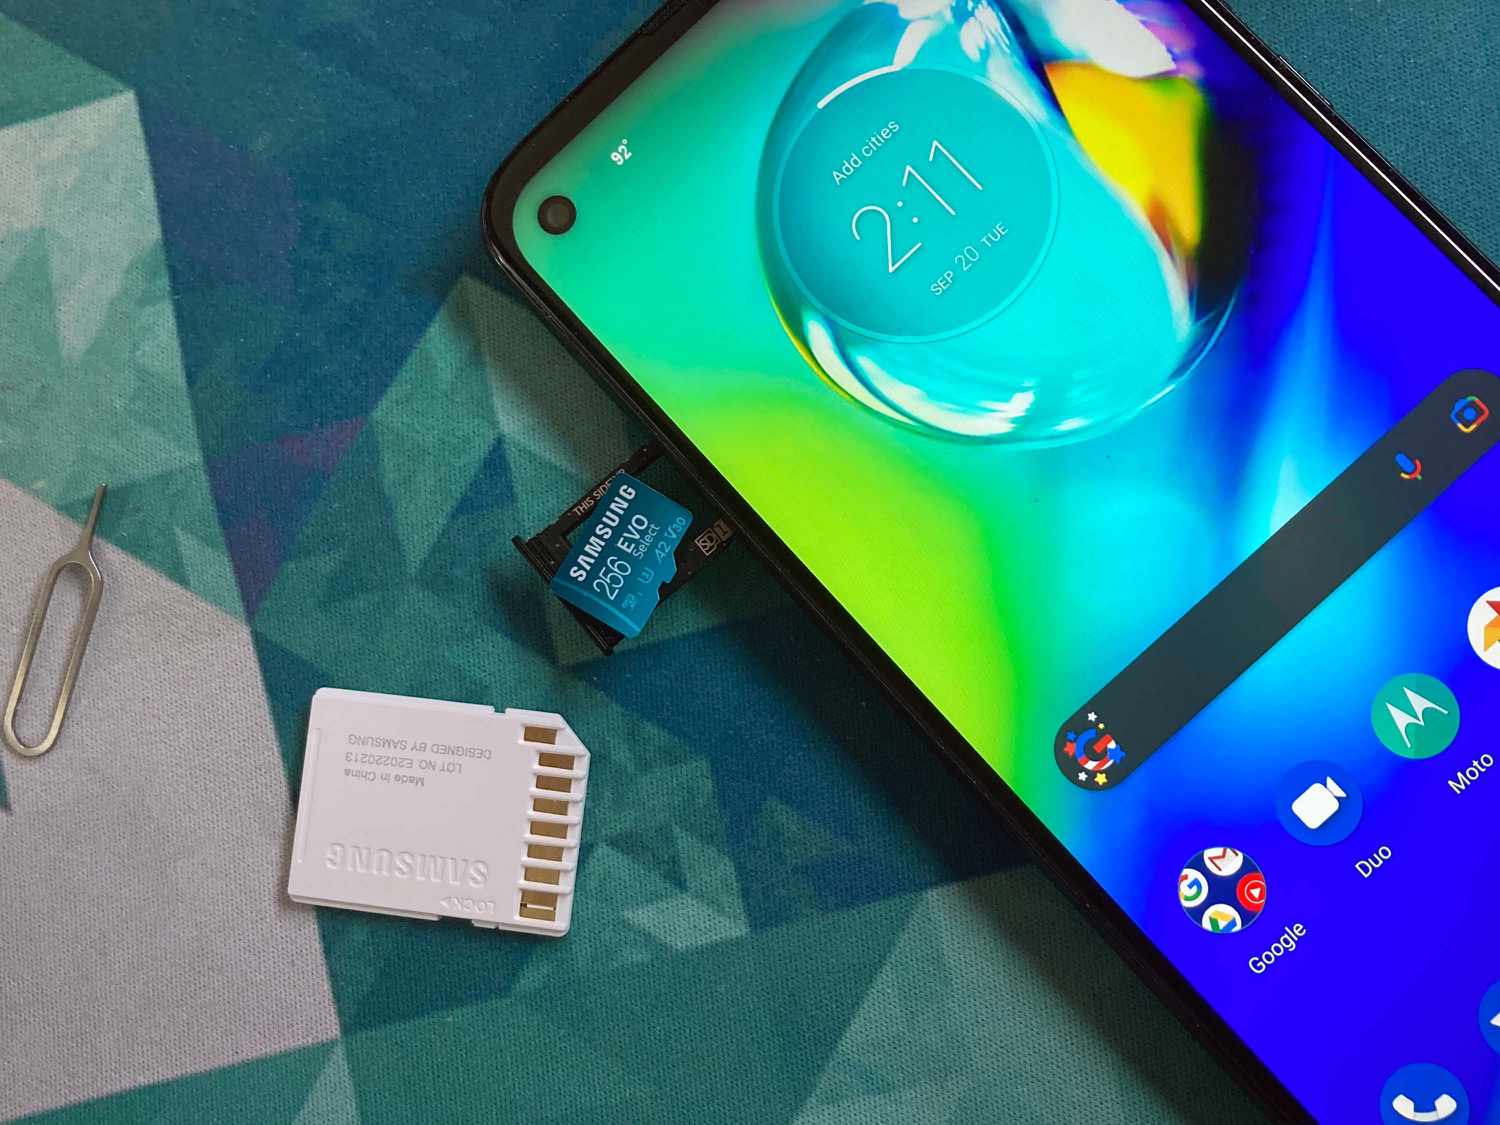
Locate the SIM Card Slot: The SIM card slot on the HTC One is typically situated on the side of the device. Look for a small pinhole or a tiny slot that indicates the presence of the SIM card tray. On the HTC One, the SIM card slot is often positioned on the upper left-hand side of the device.
-
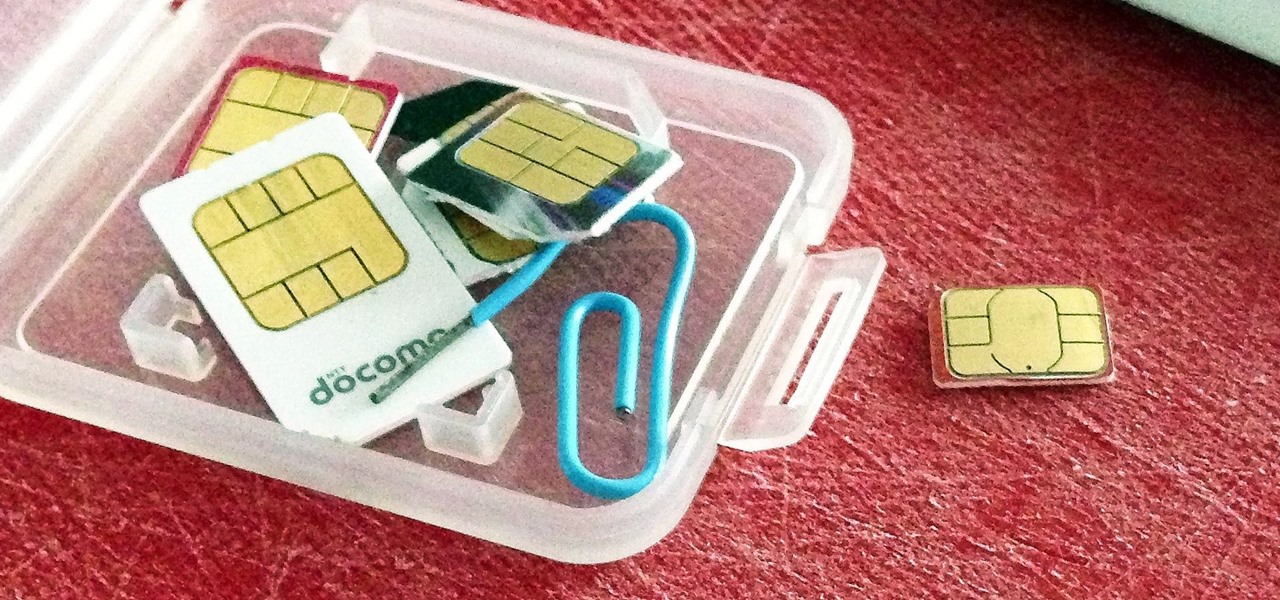
Insert the Ejection Tool: HTC One devices are usually accompanied by a small metal tool, known as the SIM card ejector tool, which is specifically designed for removing the SIM card tray. If you have this tool, gently insert it into the pinhole or slot associated with the SIM card tray. If the ejector tool is not available, a straightened paperclip can also be used as an alternative.
-
Apply Gentle Pressure: Once the ejector tool is inserted into the designated hole, apply gentle pressure to activate the internal mechanism that releases the SIM card tray. You will feel a slight resistance, indicating that the tray is being released from its locked position within the device.
-
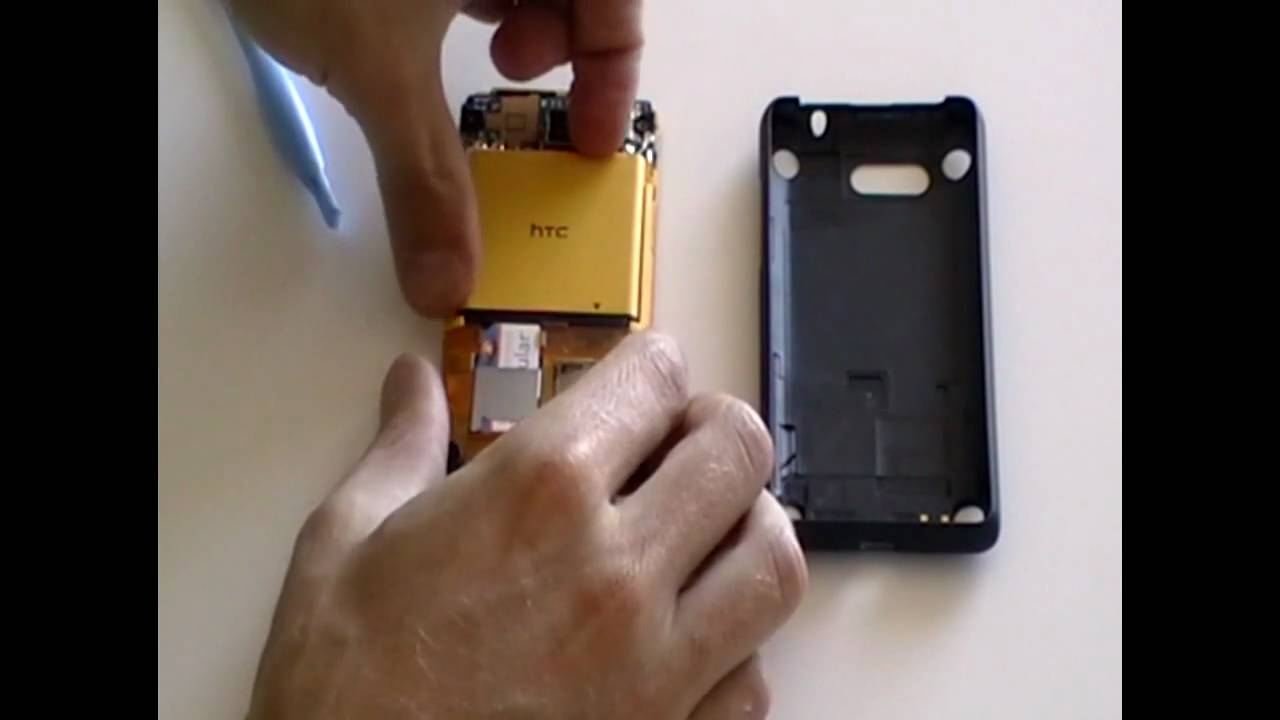
Remove the Tray: Carefully pull the SIM card tray out of the HTC One once it has been partially ejected. Be cautious not to force the tray, as this could cause damage to the device or the tray itself. Gently slide the tray out to reveal the compartment where the SIM card is housed.
By following these steps, you can effectively remove the SIM card tray from your HTC One, granting you access to the SIM card slot and allowing you to proceed with the insertion or replacement of the SIM card. This initial stage sets the foundation for seamlessly managing the SIM card in your HTC One, ensuring that the device is equipped for cellular connectivity and communication capabilities.
Step 2: Inserting the SIM Card
After successfully removing the SIM card tray from your HTC One, the next crucial step is to insert the SIM card into the designated slot within the device. This process ensures that the SIM card is securely positioned, allowing the HTC One to establish a connection with your chosen mobile network. Follow these detailed steps to seamlessly insert the SIM card:
-
Prepare the SIM Card:
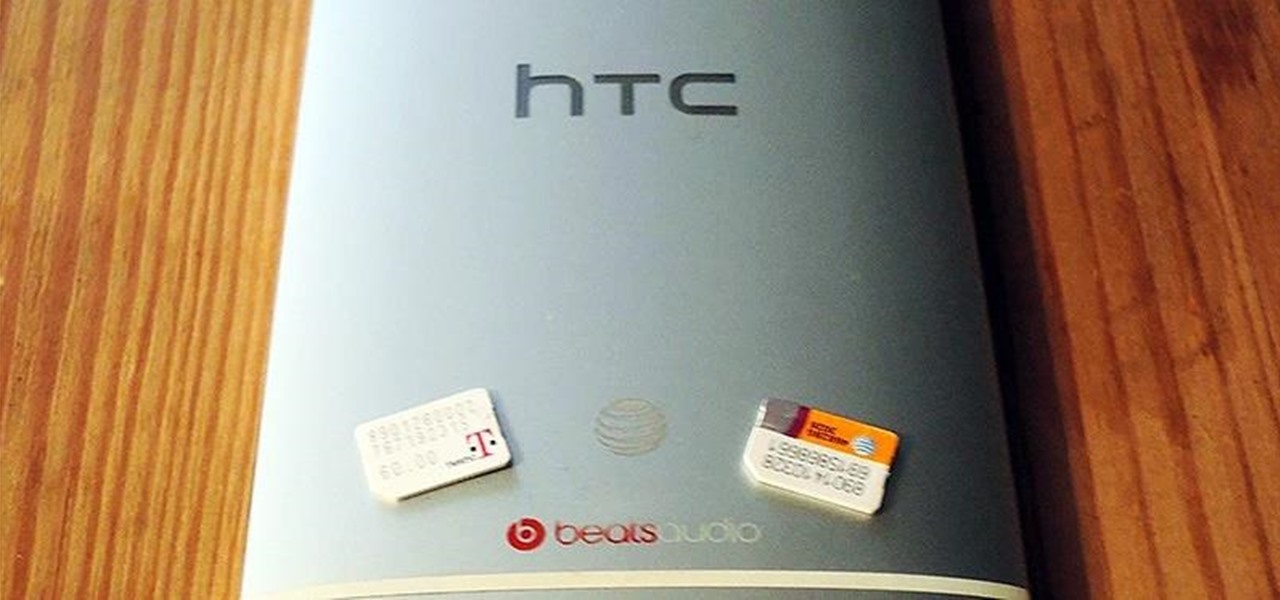
Before proceeding with the insertion, ensure that the SIM card is free from any visible damage and is compatible with the HTC One. Most modern SIM cards are designed to be universally compatible, but it is advisable to verify that the size and shape of the SIM card align with the requirements of the HTC One's SIM card slot. -
Position the SIM Card Tray:
Carefully align the SIM card tray with the slot from which it was removed. The tray should fit snugly into the slot, with the designated area for the SIM card facing upwards and readily accessible. Take note of the orientation of the tray to ensure that the SIM card can be effortlessly inserted in the correct position. -
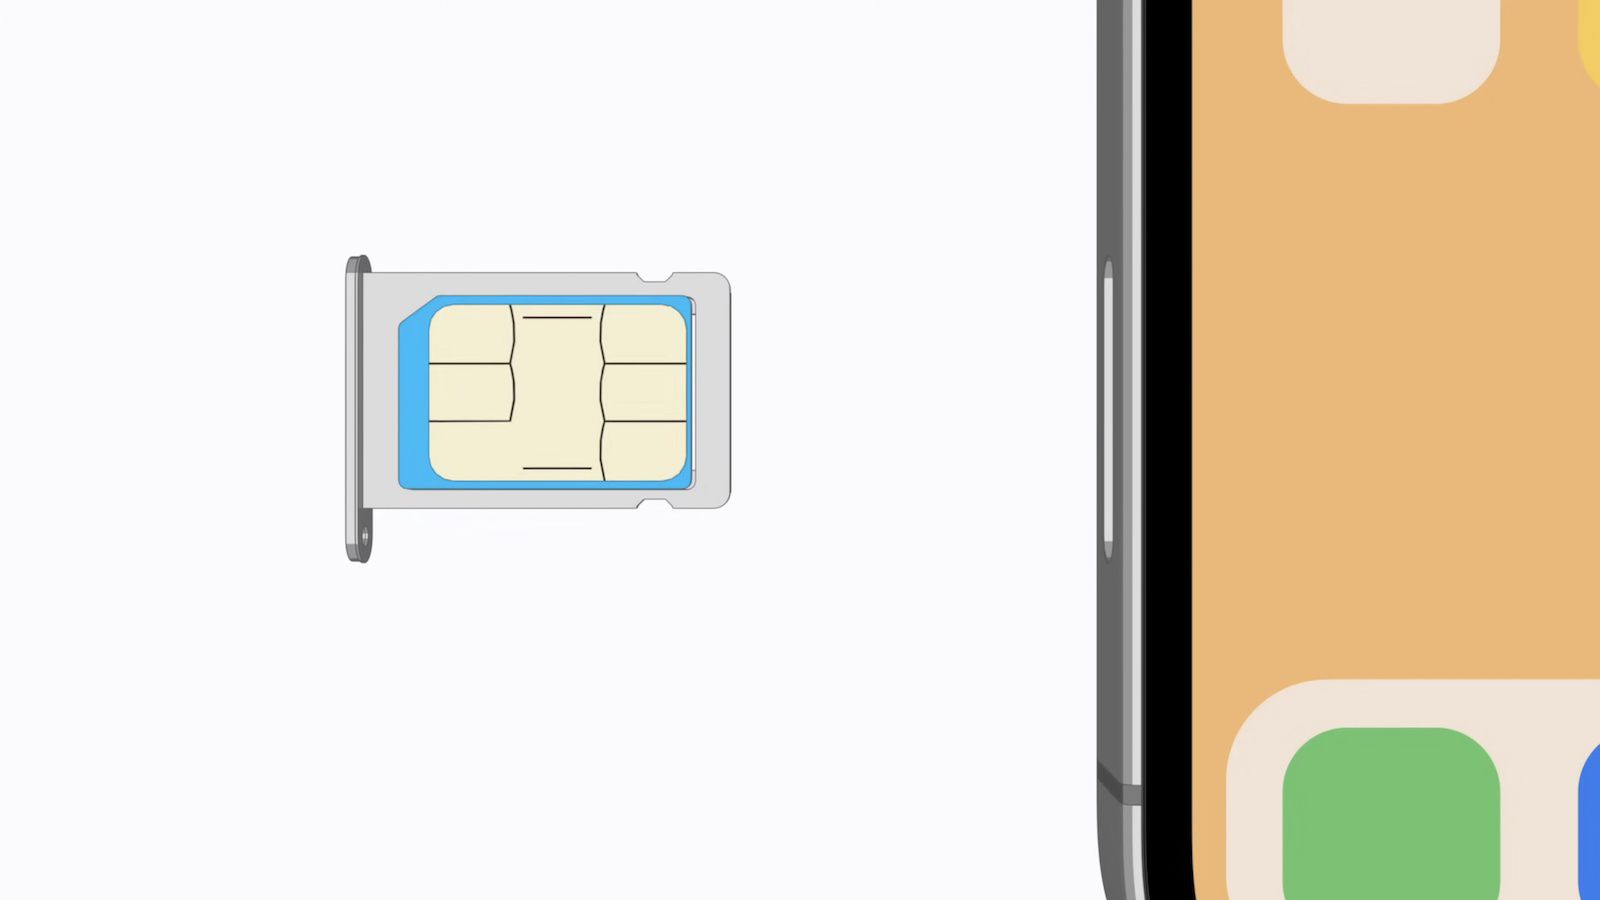
Place the SIM Card:
With the SIM card tray positioned correctly, gently place the SIM card onto the designated area within the tray. The SIM card should fit securely into the allocated space, with the gold contacts of the SIM card facing downwards to establish proper contact with the device. -
Slide the Tray Back In:
Once the SIM card has been placed onto the tray, carefully slide the tray back into the SIM card slot on the HTC One. Apply gentle pressure to ensure that the tray smoothly re-enters the device, securing the SIM card in place. -
Verify the Connection:
After inserting the SIM card, power on your HTC One and verify that the device recognizes the SIM card. Upon successful insertion, the device should detect the SIM card and display relevant information, such as the network carrier name and signal strength.
By following these meticulous steps, you can confidently insert the SIM card into your HTC One, empowering the device to establish a connection with your preferred mobile network. This pivotal stage ensures that the SIM card is seamlessly integrated into the device, enabling you to harness the full range of cellular capabilities offered by the HTC One.
Step 3: Replacing the SIM Card Tray
After successfully inserting the SIM card into your HTC One, the final step involves replacing the SIM card tray to secure the SIM card within the device. This critical stage ensures that the SIM card remains firmly in place, allowing the HTC One to maintain a stable connection with the mobile network. Follow these detailed steps to seamlessly replace the SIM card tray:
-
Align the Tray: Before replacing the SIM card tray, ensure that it is correctly aligned with the slot in the HTC One. The tray should fit smoothly into the designated slot, with the SIM card securely housed within it. Take note of the orientation of the tray to ensure that it aligns perfectly with the slot.
-
Gently Insert the Tray: With the SIM card tray properly aligned, gently insert it back into the SIM card slot on the HTC One. Apply even pressure to ensure that the tray smoothly enters the device without any resistance. It is essential to handle the tray delicately to prevent any damage to the device or the tray itself.
-
Verify Secure Placement: Once the SIM card tray is back in place, verify that it is securely positioned within the device. Ensure that the tray sits flush with the HTC One's exterior, indicating that it is correctly inserted and that the SIM card is firmly held in position. A secure fit prevents the SIM card from dislodging during regular use.
-
Power On the Device: After replacing the SIM card tray, power on your HTC One to ensure that the device recognizes the SIM card and establishes a connection with the mobile network. Upon successful replacement, the device should detect the SIM card and seamlessly integrate it into the cellular functionality.
By following these meticulous steps, you can confidently replace the SIM card tray in your HTC One, ensuring that the SIM card is securely housed within the device. This final stage completes the process of managing the SIM card in your HTC One, guaranteeing that the device is fully equipped for seamless cellular connectivity and communication capabilities.
Conclusion
Congratulations! You have successfully navigated the process of locating the SIM card slot on your HTC One, removing the SIM card tray, inserting the SIM card, and replacing the tray. By following the step-by-step instructions outlined in this guide, you have gained valuable insights into managing the essential component that enables cellular connectivity in your HTC One.
The ability to access and manage the SIM card in your HTC One empowers you to seamlessly connect to your chosen mobile network, enabling you to make calls, send texts, and access mobile data services with ease. By understanding the intricacies of handling the SIM card tray and inserting the SIM card correctly, you have equipped your HTC One to harness its full potential in the realm of mobile communication.
It is important to note that while the process of managing the SIM card in your HTC One may seem straightforward, exercising caution and precision is crucial to prevent any damage to the device or the SIM card itself. By delicately handling the SIM card tray and ensuring that the SIM card is securely inserted and aligned, you have safeguarded the integrity of your HTC One's cellular functionality.
As you power on your HTC One and witness the device seamlessly recognizing the SIM card, you can take pride in your ability to effectively manage this integral aspect of the device. Whether you are activating a new HTC One or replacing an existing SIM card, the knowledge and proficiency you have acquired in handling the SIM card slot and tray will serve you well in maintaining a reliable and efficient mobile connection.
With the SIM card securely in place within your HTC One, you are now poised to explore the myriad features and capabilities of the device, knowing that its cellular connectivity is optimized to keep you connected in today's dynamic digital landscape.
As you embark on your journey with your HTC One, may the seamless management of the SIM card serve as a testament to your adeptness in navigating the intricacies of modern mobile devices. Your HTC One is now primed for a seamless and reliable cellular experience, allowing you to stay connected and engaged in a world of boundless communication possibilities.