Introduction
Inserting a SIM card into your HTC One M8 is a fundamental step in setting up your device for communication. Whether you're a tech-savvy individual or a newcomer to the world of mobile devices, understanding how to properly insert a SIM card is essential. The SIM card, or Subscriber Identity Module, is a small, removable card that stores your phone number, contacts, and other essential information. Without it, your HTC One M8 would be unable to connect to your mobile network and function as a phone.
In this comprehensive guide, we will walk you through the process of inserting a SIM card into your HTC One M8. By following these simple steps, you will be able to seamlessly integrate the SIM card into your device, ensuring that you can make calls, send messages, and access mobile data without any hiccups. Whether you've just purchased a new HTC One M8 or need to replace your SIM card, this guide will equip you with the knowledge and confidence to successfully complete this task.
Let's dive into the step-by-step process of inserting a SIM card into your HTC One M8 and ensure that your device is ready to keep you connected on the go.
Step 1: Locate the SIM card slot
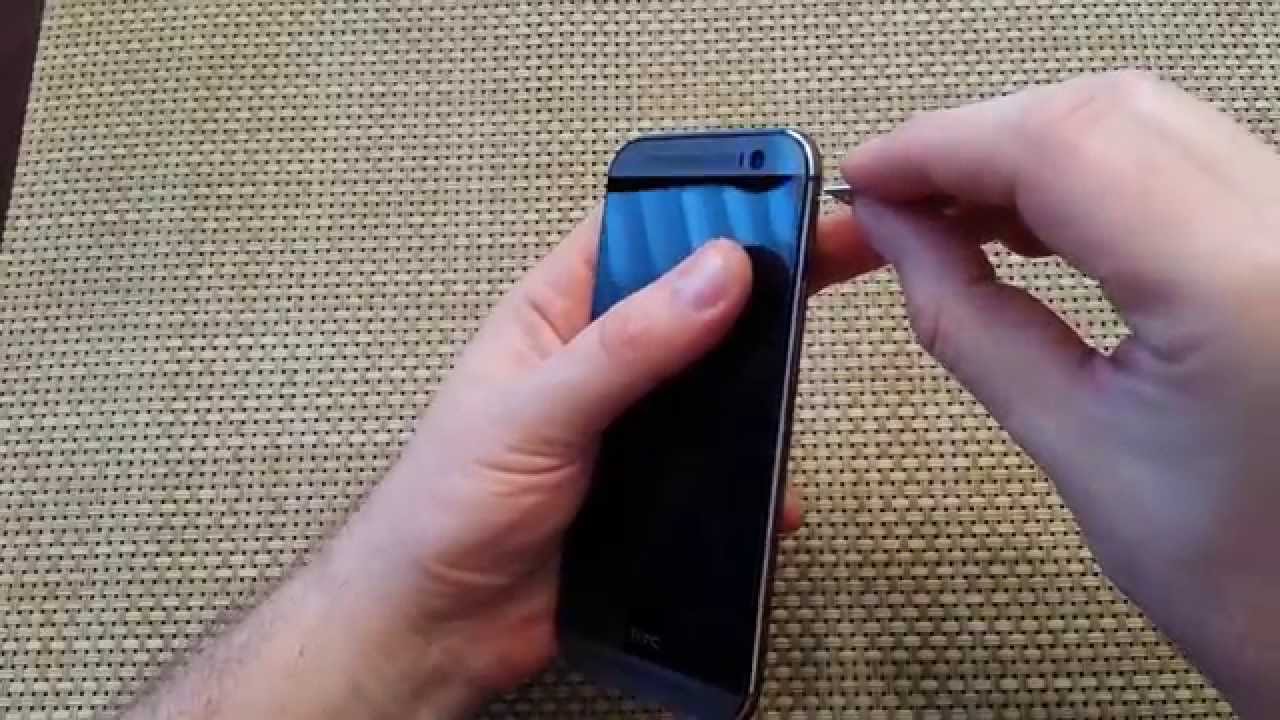
The first step in inserting a SIM card into your HTC One M8 is to locate the SIM card slot. The SIM card slot on the HTC One M8 is conveniently located on the upper edge of the device. To find it, hold your HTC One M8 with the display facing towards you and the power button at the top. The SIM card slot is situated on the left-hand side of the power button, near the top edge of the phone.
Once you have identified the location of the SIM card slot, you will notice a small pinhole next to it. This pinhole is the key to accessing the SIM card slot and is used to eject the SIM card tray from the device. It's important to handle the HTC One M8 with care during this process to avoid any damage to the SIM card slot or the device itself.
Locating the SIM card slot is the crucial first step in preparing to insert a SIM card into your HTC One M8. By familiarizing yourself with the location and appearance of the SIM card slot, you are setting the stage for a smooth and successful SIM card installation process.
With the SIM card slot now located, you are ready to proceed to the next step, which involves ejecting the SIM card tray from your HTC One M8. This will allow you to access the slot where the SIM card will be inserted, bringing you one step closer to full connectivity on your device.
Step 2: Eject the SIM card tray
Ejecting the SIM card tray from your HTC One M8 is a crucial step in the process of inserting a SIM card into your device. The SIM card tray is designed to securely hold the SIM card and ensure proper connectivity to your mobile network. To access the SIM card slot and proceed with inserting the SIM card, you will need to carefully eject the SIM card tray using the provided tool.
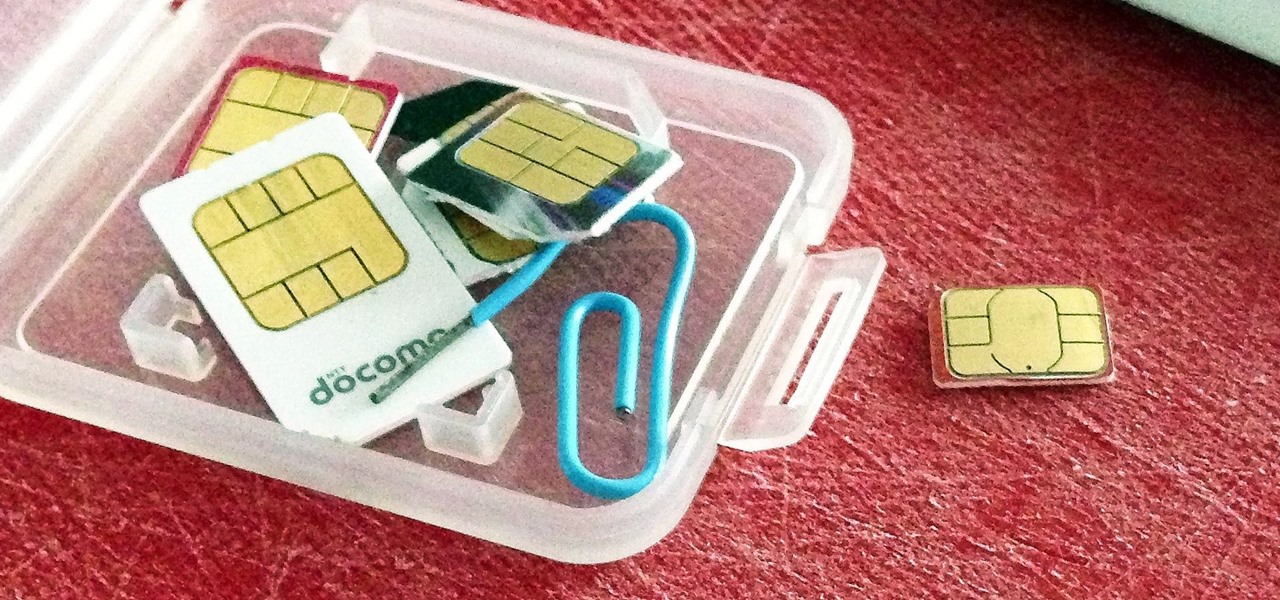
To begin, locate the small pinhole next to the SIM card slot on the upper edge of your HTC One M8. This pinhole is specifically designed for ejecting the SIM card tray and is an essential component of the SIM card installation process. Once you have identified the pinhole, you will need to use the SIM eject tool that came with your HTC One M8 or a small paperclip to eject the SIM card tray.
Insert the SIM eject tool or unfolded paperclip into the pinhole with gentle pressure. You will feel a slight resistance as the tool engages with the internal mechanism. Apply steady pressure until you feel the SIM card tray begin to protrude from the device. It's important to exercise caution and avoid using excessive force to prevent any damage to the SIM card tray or the device itself.
Once the SIM card tray is partially ejected, carefully remove it from the device using your fingers. The SIM card tray is designed to slide out smoothly, allowing you to access the slot where the SIM card will be inserted. Take care to handle the SIM card tray and the SIM card itself with care to avoid any accidental damage.
With the SIM card tray successfully ejected from your HTC One M8, you are now ready to proceed to the next step of inserting the SIM card. This seamless process ensures that you can securely integrate the SIM card into your device, setting the stage for seamless communication and connectivity. By following these steps with precision and care, you can confidently complete the process of ejecting the SIM card tray and continue with the SIM card installation process.
Now that the SIM card tray has been safely removed from your HTC One M8, you are prepared to move on to the next step of inserting the SIM card into the device. This will bring you one step closer to full connectivity and functionality on your HTC One M8.
Step 3: Insert the SIM card
With the SIM card tray successfully ejected from your HTC One M8, the next step is to insert the SIM card into the designated slot. The SIM card tray features a specific area where the SIM card can be securely placed, ensuring proper alignment and connectivity within the device.
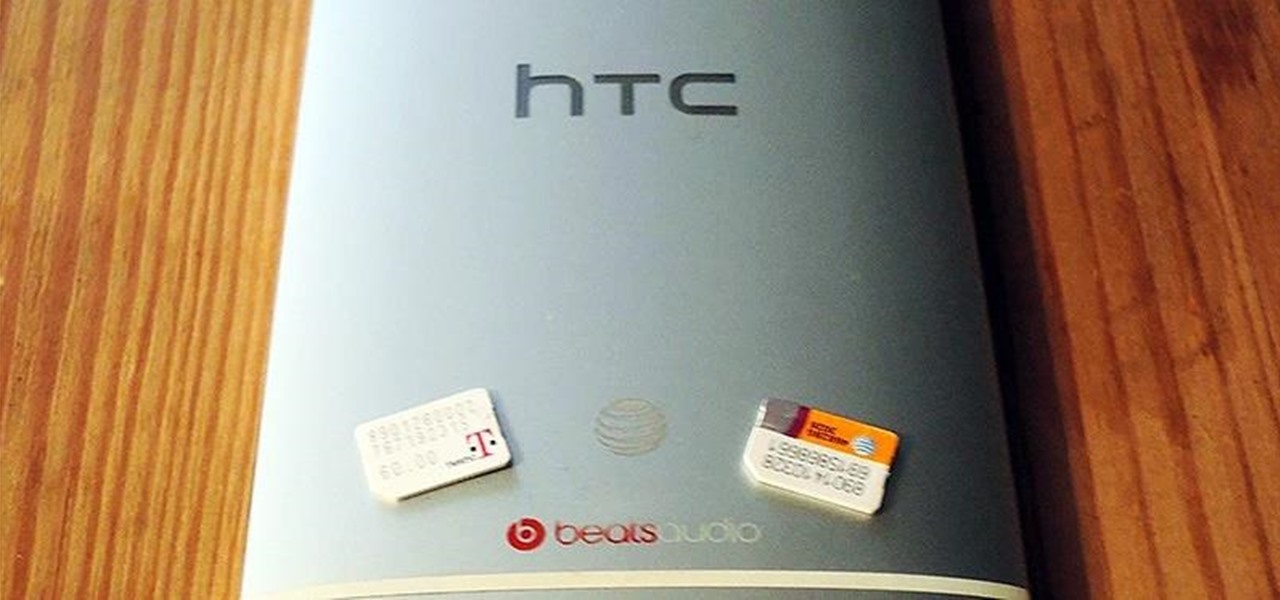
Begin by carefully removing the SIM card from its packaging or the previous SIM card tray. It's essential to handle the SIM card with care, avoiding any bending or damage to the delicate components. The SIM card features a unique shape with one corner diagonally cut or notched, which corresponds to the orientation of the SIM card slot in the tray.
Position the SIM card in the designated area of the SIM card tray, ensuring that the notched corner of the SIM card aligns with the corresponding notch in the tray. This alignment is crucial for the SIM card to fit properly and establish a secure connection within the device. Take a moment to verify that the SIM card sits flat and flush within the tray, without any protrusions or misalignment.
Once the SIM card is correctly positioned within the tray, gently slide the tray back into the SIM card slot on your HTC One M8. Exercise caution to avoid applying excessive force or misaligning the tray during this process. The tray should slide smoothly back into place, securing the SIM card within the device and preparing it for the final step of the installation process.
As the SIM card tray returns to its original position within the device, you'll feel a subtle click, indicating that it is securely in place. This ensures that the SIM card is properly seated within the device, ready to facilitate communication, data access, and connectivity with your mobile network.
By following these precise steps to insert the SIM card into your HTC One M8, you have successfully completed a crucial aspect of setting up your device for seamless communication and connectivity. The SIM card is now integrated into your device, setting the stage for a fully functional and connected experience on your HTC One M8.
Step 4: Reinsert the SIM card tray
After successfully inserting the SIM card into the designated slot on your HTC One M8, the final step is to reinsert the SIM card tray back into the device. This step is crucial to ensure that the SIM card remains securely in place and that the device is fully prepared to connect to your mobile network.
Begin by carefully aligning the SIM card tray with the slot on your HTC One M8. The tray should fit snugly into the slot, with the SIM card securely housed within. Take a moment to verify that the tray is positioned correctly and that there are no obstructions or misalignments that could hinder its insertion.
Once you have confirmed that the SIM card tray is properly aligned, gently slide it back into the device. Exercise caution to ensure that the tray slides smoothly and evenly, without any resistance or forceful maneuvers. It's important to handle the tray with care during this process to prevent any damage to the device or the SIM card itself.
As the SIM card tray returns to its original position within the device, you will feel a subtle click, indicating that it is securely in place. This click signifies that the tray has been successfully reinserted and that the SIM card is firmly seated within the device, ready to facilitate seamless communication and connectivity.
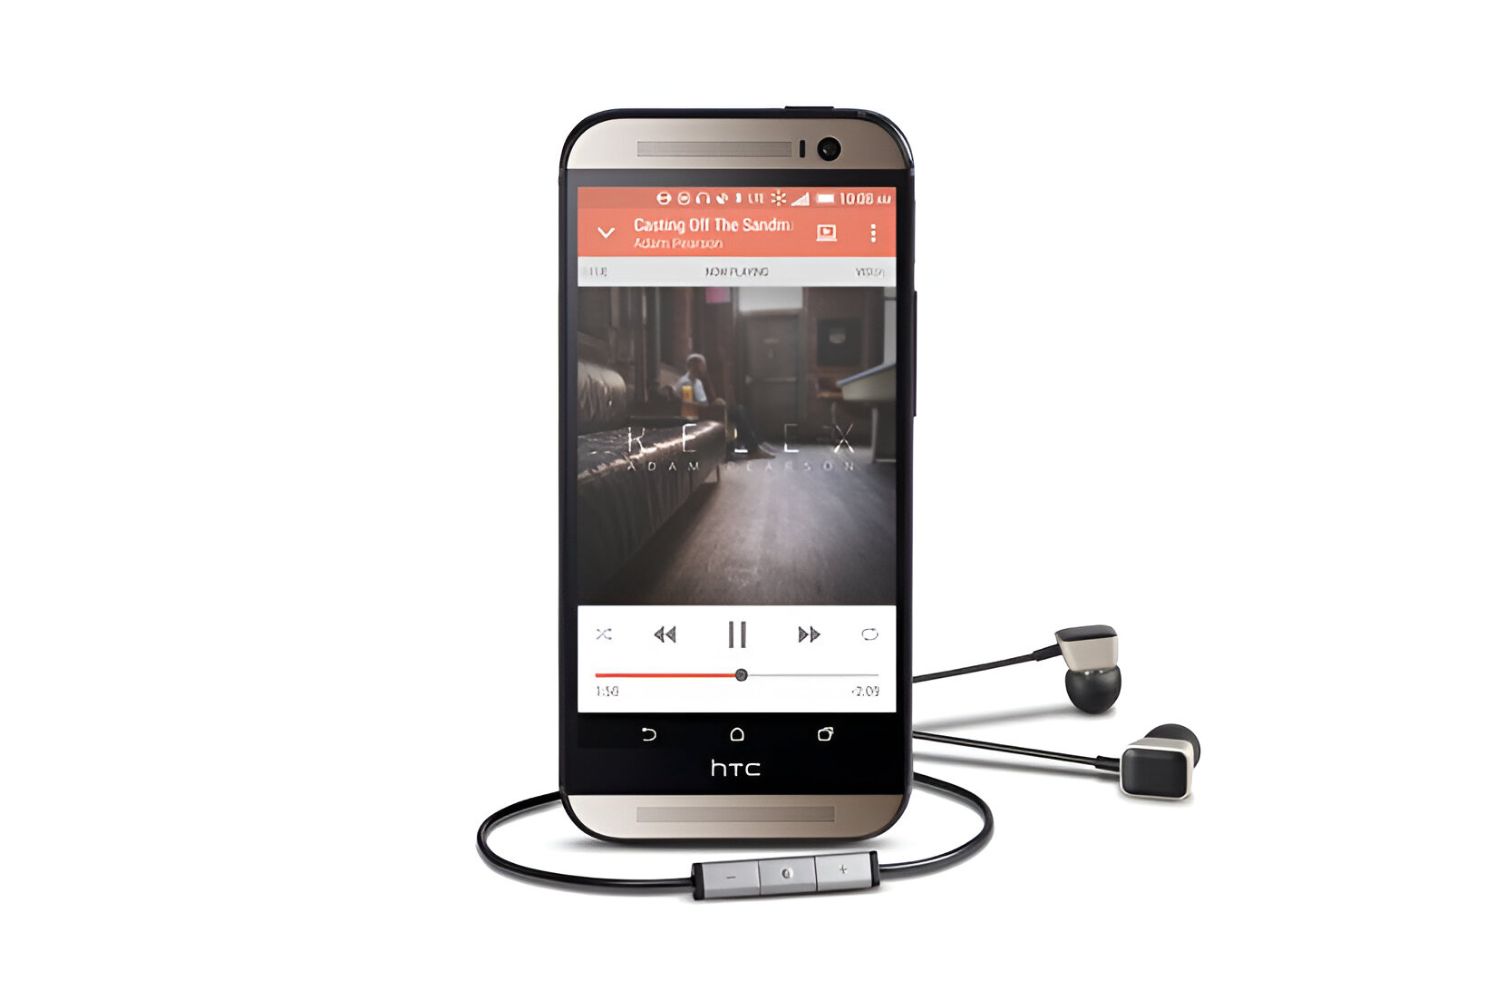
With the SIM card tray securely back in place, your HTC One M8 is now fully equipped to connect to your mobile network and provide you with the ability to make calls, send messages, and access mobile data. The SIM card is an essential component of your device's functionality, and by completing the process of reinserting the SIM card tray, you have ensured that it is integrated seamlessly into your HTC One M8.
By following these steps with precision and care, you have successfully completed the process of inserting a SIM card into your HTC One M8. Your device is now ready to keep you connected on the go, allowing you to make the most of its communication and connectivity features. With the SIM card securely in place, you can confidently enjoy all the capabilities that your HTC One M8 has to offer.
Conclusion
Congratulations! You have successfully completed the process of inserting a SIM card into your HTC One M8. By following the step-by-step guide outlined in this article, you have equipped your device with the essential component necessary for seamless communication and connectivity. The SIM card, securely integrated into your HTC One M8, will enable you to make calls, send messages, and access mobile data with ease.
It's important to note that the process of inserting a SIM card into your HTC One M8 is a fundamental aspect of setting up your device for optimal functionality. The SIM card serves as the gateway to your mobile network, storing crucial information such as your phone number and contact details. By ensuring that the SIM card is properly inserted and securely housed within the device, you are laying the foundation for a smooth and reliable communication experience.
As you reflect on the steps you've taken to insert the SIM card into your HTC One M8, it's evident that attention to detail and precision are key elements of the process. From locating the SIM card slot to carefully positioning the SIM card within the tray and reinserting the tray into the device, each step contributes to the successful integration of the SIM card. By approaching the task with care and following the guide closely, you have demonstrated your ability to navigate the setup process with confidence.
With the SIM card now in place, your HTC One M8 is fully prepared to keep you connected on the go. Whether you're making important calls, staying in touch with friends and family, or accessing online resources while out and about, the SIM card ensures that your device is ready to meet your communication needs. The seamless integration of the SIM card sets the stage for a reliable and efficient mobile experience, allowing you to make the most of your HTC One M8's capabilities.
In conclusion, the successful insertion of a SIM card into your HTC One M8 marks an important milestone in setting up your device for everyday use. By following the steps outlined in this guide, you have taken a proactive step towards ensuring that your device is fully equipped for communication and connectivity. As you embark on your journey with your HTC One M8, may the seamless integration of the SIM card serve as a reminder of your ability to navigate essential device setup processes with confidence and precision.