Introduction
Changing the SIM card on a Samsung device is a straightforward process that allows you to switch to a new mobile carrier or replace a damaged SIM card. Whether you have purchased a new Samsung smartphone or need to switch to a different SIM card, this tutorial will guide you through the necessary steps. By following this tutorial, you can ensure a seamless transition to a new SIM card without encountering any technical difficulties.
The SIM card, which stands for Subscriber Identity Module, plays a crucial role in connecting your Samsung device to your mobile network provider. It stores essential information, including your phone number, contacts, and text messages, enabling you to stay connected with your contacts and access mobile services. Therefore, understanding how to change the SIM card on your Samsung device is a valuable skill that can come in handy in various scenarios.
In the following sections, we will walk you through the step-by-step process of changing the SIM card on your Samsung device. From powering off the device to locating the SIM card slot and inserting the new SIM card, each step is designed to help you complete the process with confidence. Whether you are a tech-savvy individual or a novice user, this tutorial is crafted to provide clear and concise instructions, ensuring that you can effortlessly manage the SIM card replacement procedure.
By the end of this tutorial, you will have the knowledge and skills required to change the SIM card on your Samsung device, empowering you to take control of your mobile connectivity. Let's dive into the step-by-step guide and embark on this practical journey to seamlessly replace the SIM card in your Samsung device.
Step 1: Turn off the Samsung device
Before initiating the process of changing the SIM card on your Samsung device, it is crucial to ensure that the device is powered off. This step is essential to prevent any potential damage to the SIM card or the device itself, as well as to guarantee a safe and smooth transition to the new SIM card.
To power off your Samsung device, follow these simple steps:
-
Unlock the Screen: If your device's screen is locked, unlock it by entering your PIN, pattern, or password.
-
Press and Hold the Power Button: Locate the power button, which is typically positioned along the side or the top edge of the device. Press and hold the power button until the power-off menu appears on the screen.
-
Select "Power Off": Once the power-off menu is displayed, tap on the "Power Off" option. This action will prompt the device to begin shutting down.
-
Wait for the Device to Power Off: Allow the device to complete the power-off process. You may notice the screen turning off, and the device's indicator lights may also deactivate.
-
Verify the Device is Off: To confirm that the device has powered off completely, ensure that the screen remains dark, and there are no signs of active power, such as vibration or sound.
By following these steps, you can safely power off your Samsung device in preparation for changing the SIM card. It is important to handle the device with care and patience during this process to avoid any accidental damage. Once the device is successfully powered off, you can proceed to the next step of locating the SIM card slot.
Turning off the device sets the stage for a seamless SIM card replacement process, allowing you to proceed with confidence and peace of mind. With the device powered off, you are now ready to move on to the next step of locating the SIM card slot on your Samsung device.
Step 2: Locate the SIM card slot
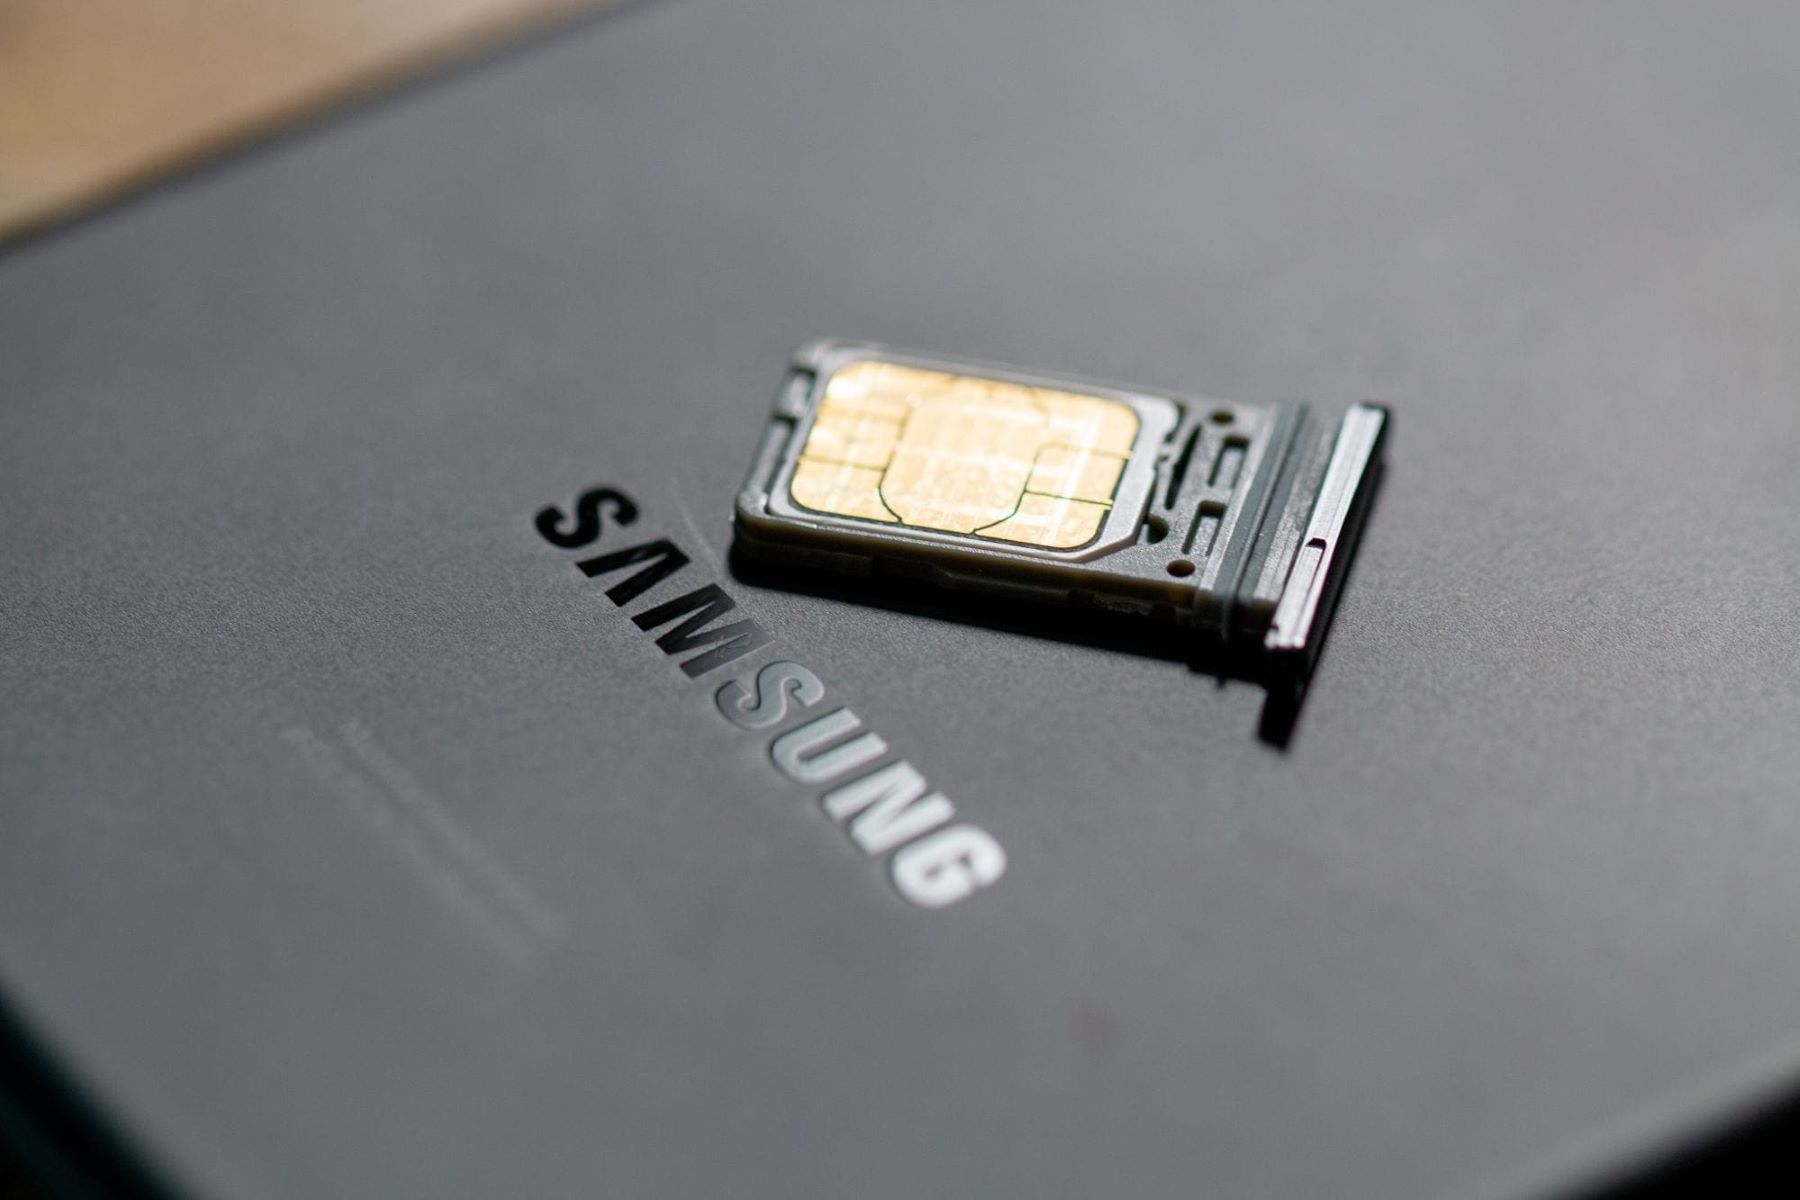
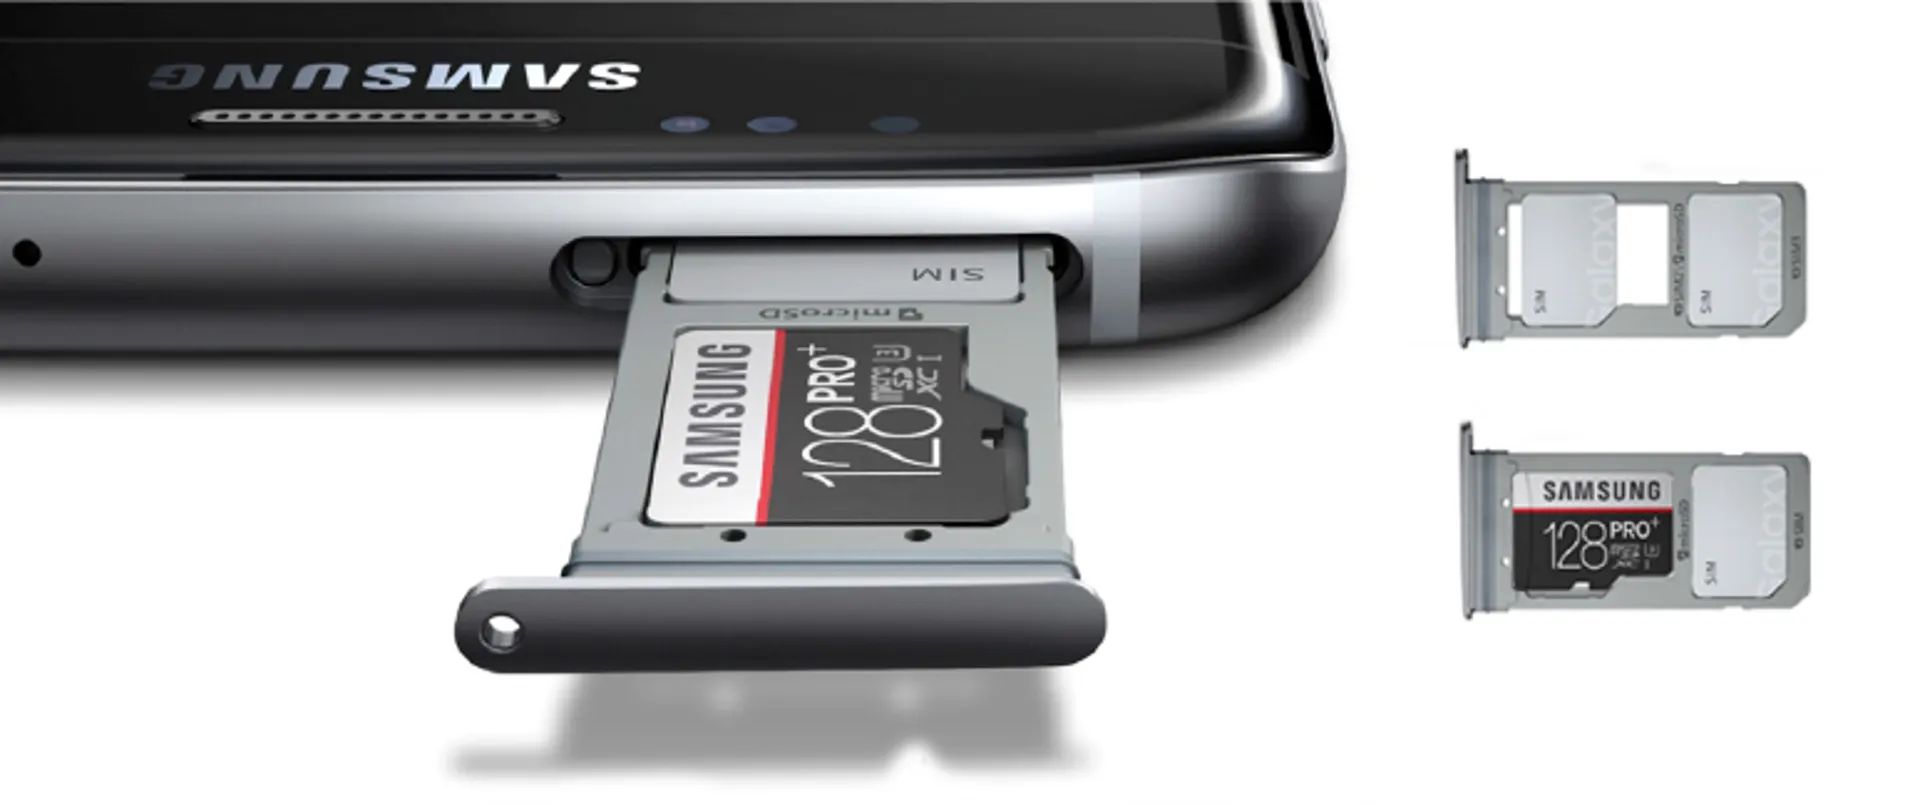
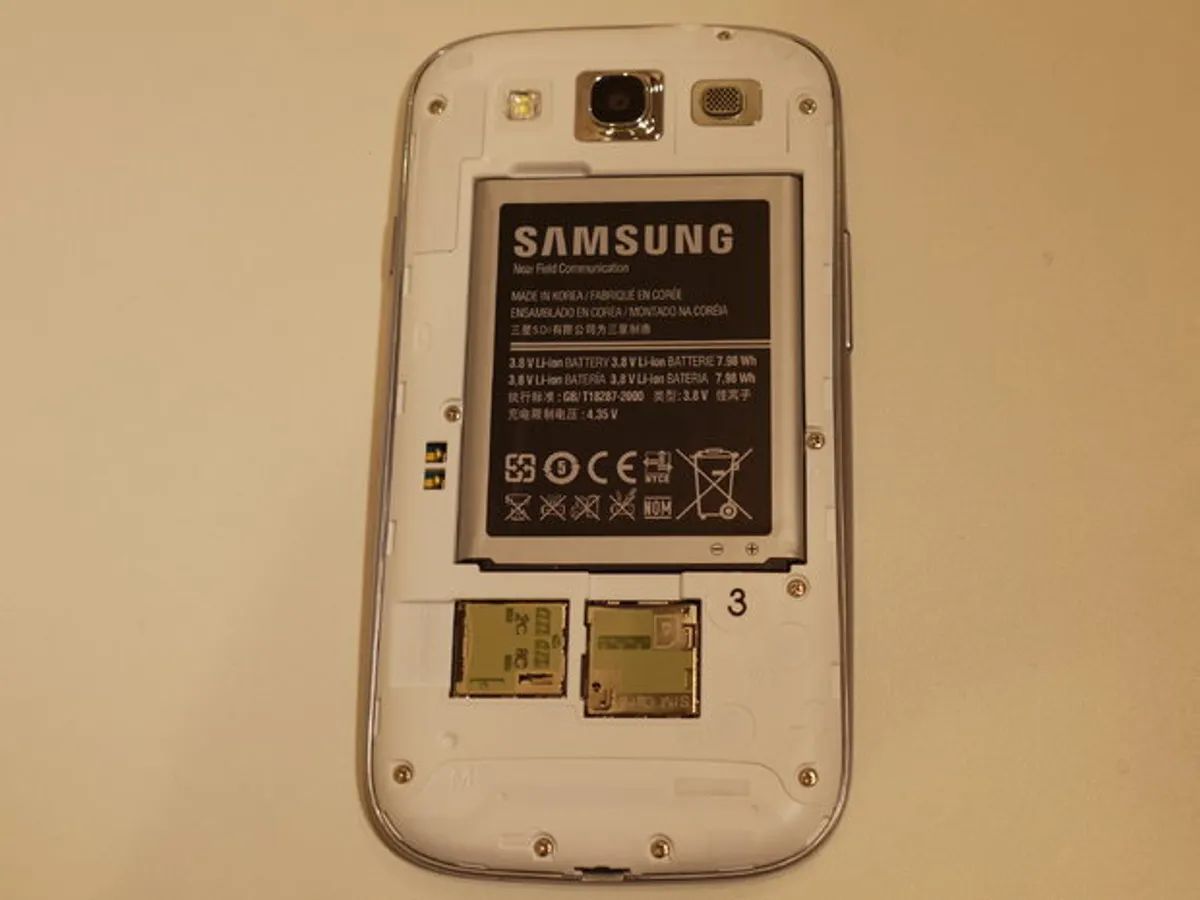
Locating the SIM card slot on your Samsung device is a crucial step in the process of changing the SIM card. The SIM card slot is designed to securely house the SIM card, allowing it to establish a connection with your mobile network provider. While the exact location of the SIM card slot may vary depending on the model of your Samsung device, it is commonly positioned in a designated slot that is easily accessible. Here's how you can locate the SIM card slot on your Samsung device:
-
Refer to the Device Manual: If you are unsure about the location of the SIM card slot on your specific Samsung model, it is advisable to consult the device manual. The manual provides detailed illustrations and instructions tailored to your device, offering valuable insights into the SIM card slot's precise location.
-
Inspect the Device Edges: Examine the edges of your Samsung device, as the SIM card slot is often located along the side or the top edge. Look for a small tray or compartment with a pinhole or a removable cover. Some Samsung devices feature a SIM card slot alongside the volume buttons or the power button.
-
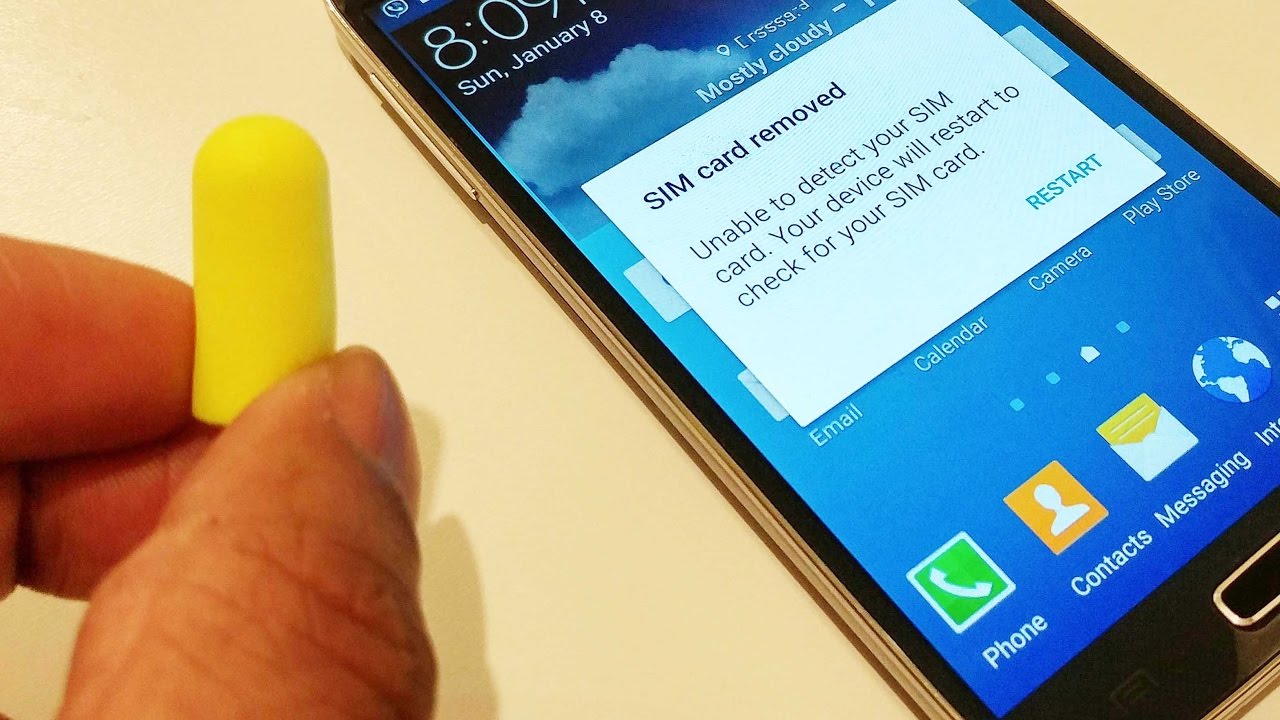
Use a SIM Ejector Tool: In some Samsung models, the SIM card slot is accessed using a SIM ejector tool. This tool is typically provided with the device and is designed to safely eject the SIM card tray. Locate the small pinhole on the device's edge and gently insert the SIM ejector tool to release the SIM card tray.
-
Identify the SIM Card Icon: Many Samsung devices feature a small icon near the SIM card slot, depicting a SIM card or a tray. This visual indicator can help you pinpoint the exact location of the SIM card slot with ease.
-
Check for Labeling: Some Samsung devices label the SIM card slot to provide clear guidance to users. Look for the "SIM" label or an arrow indicating the direction in which the SIM card tray should be inserted.
By following these steps, you can effectively locate the SIM card slot on your Samsung device. Once you have identified the SIM card slot, you are ready to proceed with the next step of removing the old SIM card from the device. This seamless process ensures that you can navigate the SIM card replacement procedure with confidence and precision, setting the stage for a successful transition to the new SIM card.
Step 3: Remove the old SIM card
Removing the old SIM card from your Samsung device is a pivotal step in the process of changing the SIM card. This step requires careful handling to ensure the safe extraction of the existing SIM card without causing any damage to the device or the SIM card itself. By following the detailed instructions below, you can confidently proceed with removing the old SIM card from your Samsung device:
-
Locate the SIM Card Slot: As mentioned in the previous step, the SIM card slot is typically positioned along the side or the top edge of the device. Once you have identified the SIM card slot, proceed to prepare the device for the removal of the old SIM card.
-
Use the SIM Ejector Tool: If your Samsung device features a SIM card slot that requires a SIM ejector tool for removal, retrieve the provided tool or a suitable alternative. The SIM ejector tool is designed to safely eject the SIM card tray from the device, facilitating the removal process.
-
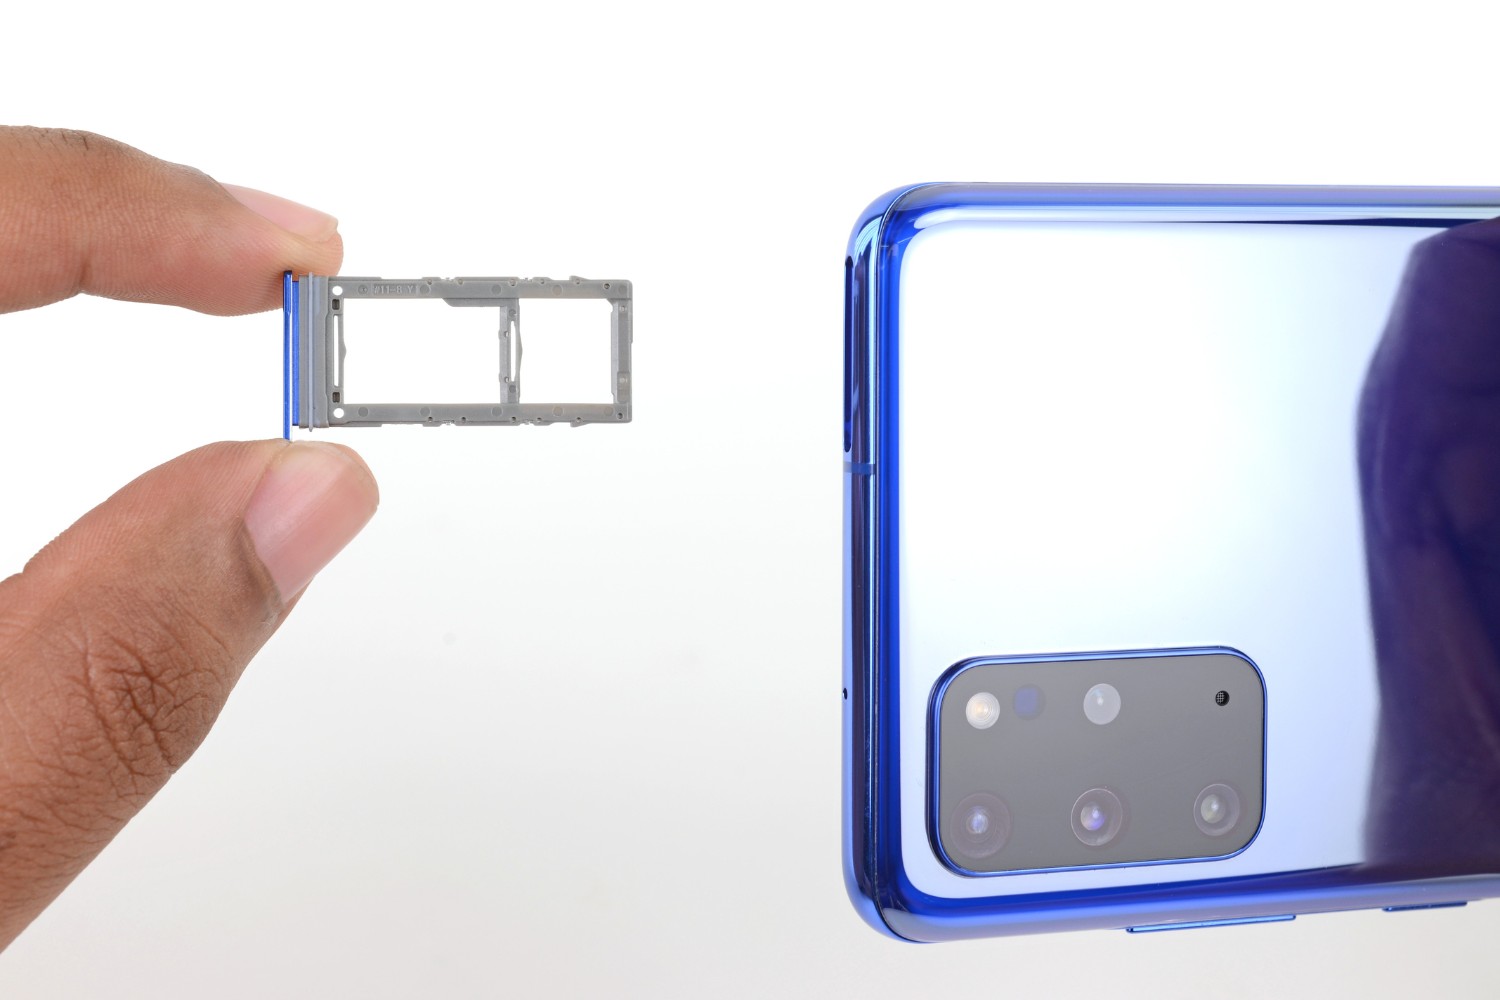
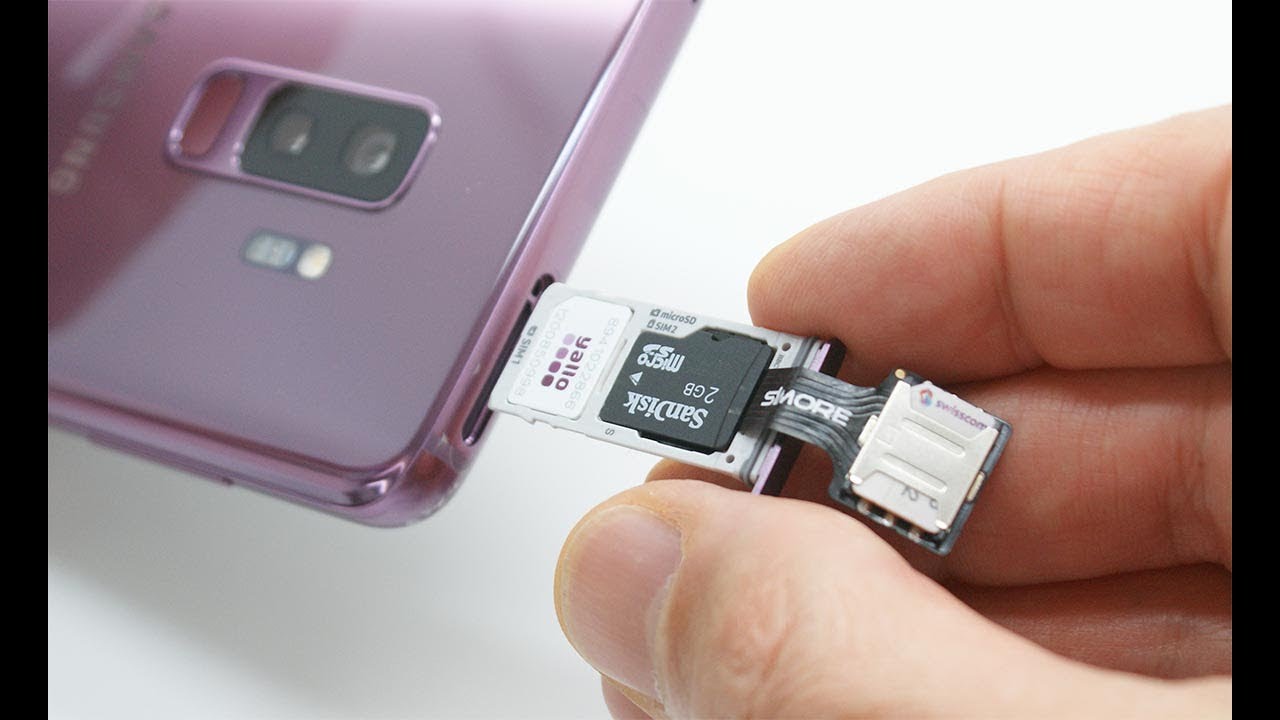
Insert the SIM Ejector Tool: Gently insert the SIM ejector tool into the small pinhole located near the SIM card slot. Apply light pressure to engage the mechanism that releases the SIM card tray. As the tray is partially ejected, carefully pull it out from the device using your fingers.
-
Remove the SIM Card: Upon accessing the SIM card tray, carefully lift the old SIM card from its position. Handle the SIM card with care, ensuring that you do not bend or damage it during the removal process. If the SIM card is secured within a holder, gently unclip or slide it out to separate it from the holder.
-
Inspect the SIM Card Slot: After removing the old SIM card, take a moment to inspect the SIM card slot and the surrounding area for any debris or foreign objects. Use a soft, dry cloth to gently clean the slot if necessary, ensuring that it is free from any obstructions before proceeding to insert the new SIM card.
By meticulously following these steps, you can successfully remove the old SIM card from your Samsung device. This careful approach ensures that the SIM card removal process is executed with precision and attention to detail, setting the stage for the subsequent step of inserting the new SIM card. With the old SIM card safely removed, you are now ready to proceed to the next phase of the SIM card replacement process.
Step 4: Insert the new SIM card
With the old SIM card safely removed from your Samsung device, it's time to proceed with inserting the new SIM card. This step marks a pivotal moment in the SIM card replacement process, as it enables you to establish a connection with your chosen mobile network provider and resume seamless communication and mobile services. By carefully following the detailed instructions provided below, you can confidently insert the new SIM card into your Samsung device, ensuring a smooth transition and uninterrupted connectivity.
Here's a step-by-step guide to help you insert the new SIM card into your Samsung device:
-
Prepare the New SIM Card: Before inserting the new SIM card, ensure that it is compatible with your Samsung device and the mobile network provider you intend to use. Verify that the new SIM card is the appropriate size for your device, as modern smartphones may require nano-SIM or micro-SIM cards. Additionally, if the new SIM card was provided with a protective cover or attached to a larger card, carefully detach it and handle the SIM card with care to avoid any damage.
-
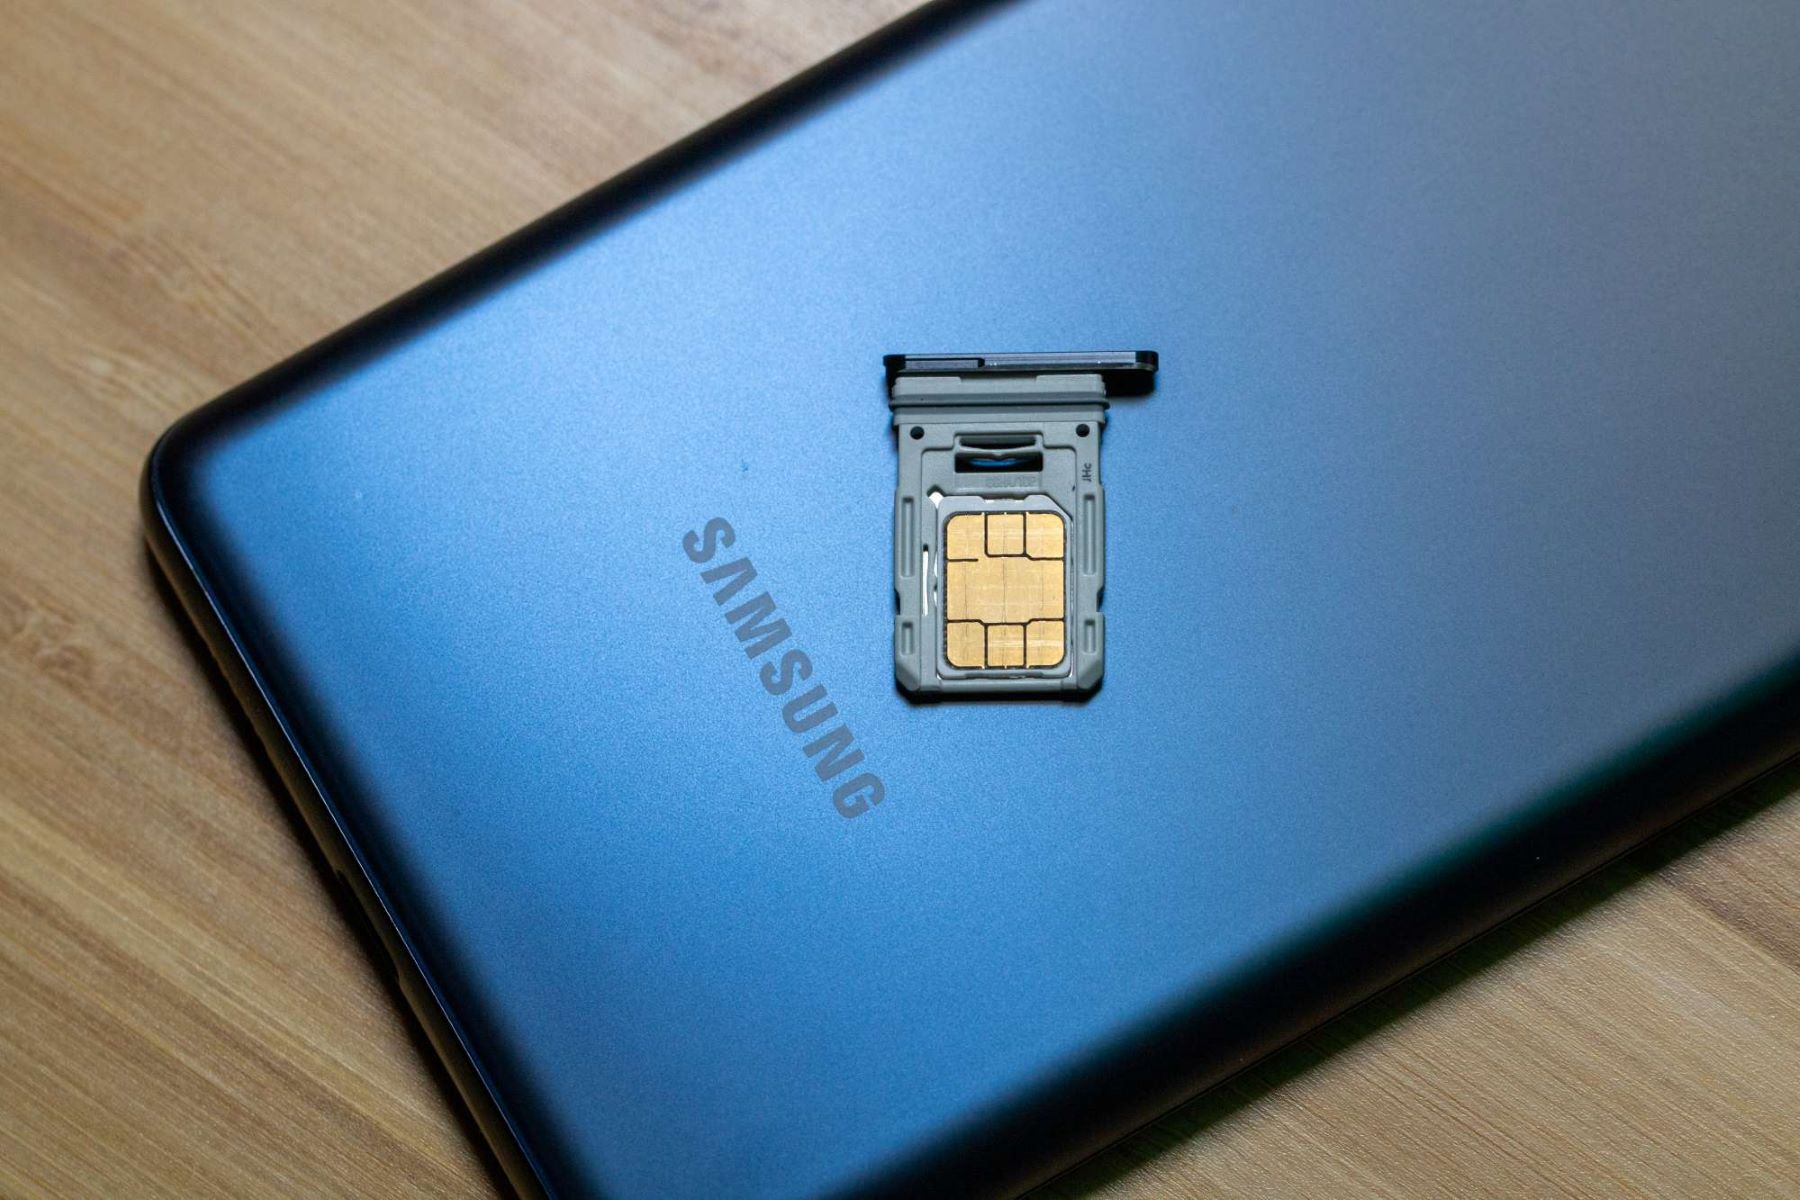
Position the SIM Card Tray: If your Samsung device features a SIM card tray, carefully position the tray to align with the SIM card slot. Ensure that the tray is oriented correctly to facilitate the smooth insertion of the new SIM card. Take note of any markings or guides on the tray that indicate the proper orientation for the SIM card.
-
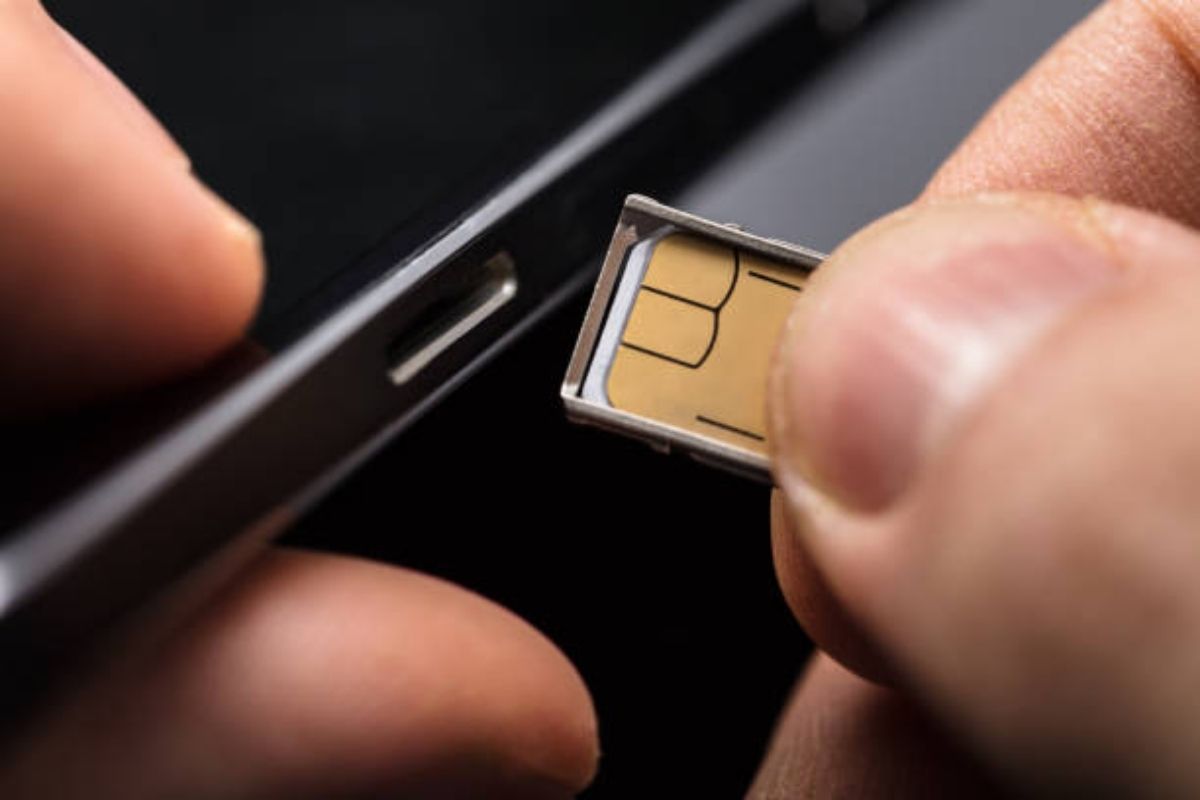
Place the New SIM Card: Holding the new SIM card with the contacts facing downward, gently place it into the designated area within the SIM card tray. Align the cut corners of the SIM card with the corresponding corners of the tray to ensure a proper fit. Exercise caution to avoid bending or damaging the SIM card during the insertion process.
-
Insert the SIM Card Tray: Once the new SIM card is securely positioned within the tray, carefully slide the SIM card tray back into the SIM card slot on your Samsung device. Apply gentle pressure to ensure that the tray fits snugly into place, aligning it with the slot opening. Take care to avoid forcing the tray or causing any misalignment during this step.
-
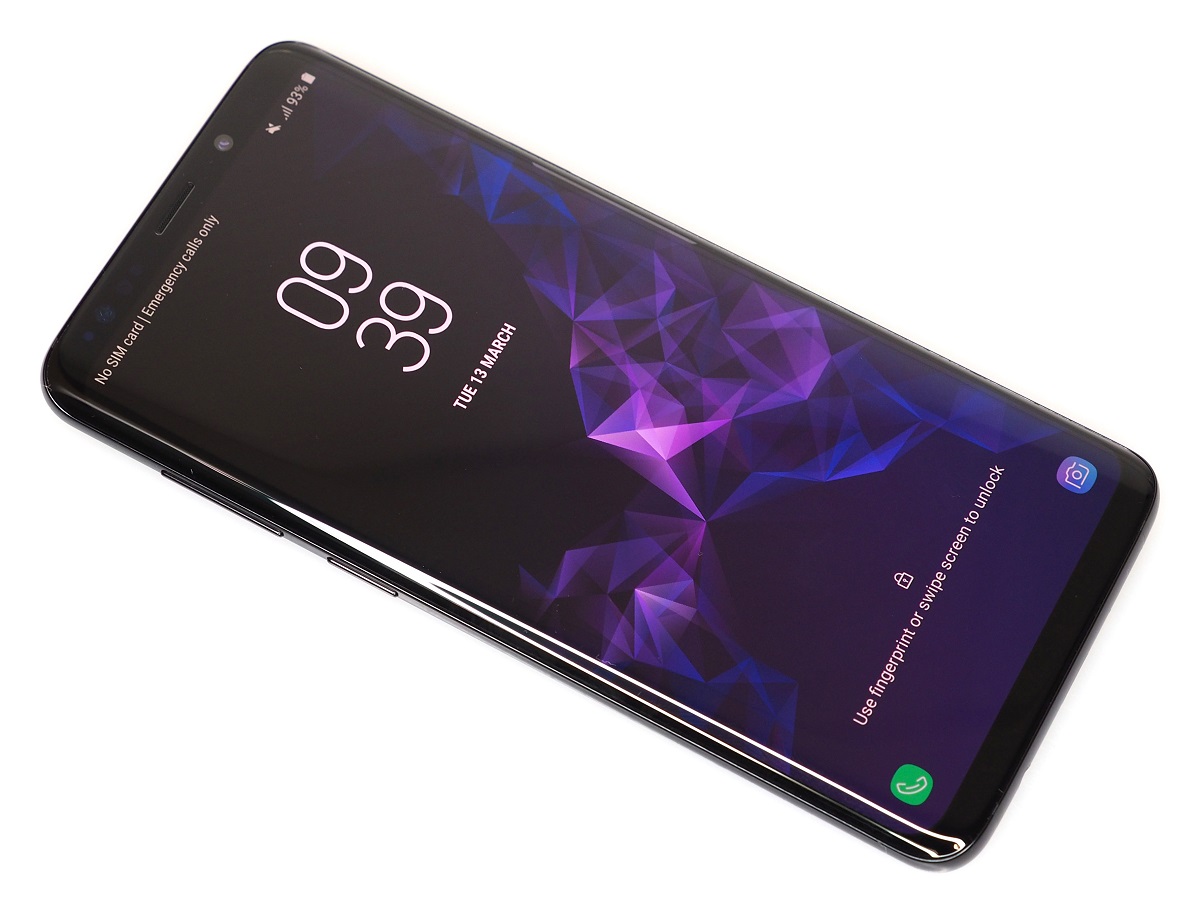
Power On the Device: After successfully inserting the new SIM card, power on your Samsung device to initiate the activation process. Once the device has powered on, it will detect the new SIM card and prompt you to complete the activation steps, which may include entering a PIN or configuring network settings. Follow the on-screen instructions to finalize the activation and establish connectivity with your chosen mobile network provider.
By meticulously following these steps, you can confidently insert the new SIM card into your Samsung device, ensuring a seamless transition to the new mobile network provider or SIM card. This careful approach sets the stage for a successful activation process, allowing you to resume communication and mobile services without any disruptions. With the new SIM card securely in place, you have completed a crucial phase of the SIM card replacement process, empowering you to enjoy uninterrupted connectivity on your Samsung device.
Step 5: Turn on the Samsung device
Turning on your Samsung device after successfully inserting the new SIM card is the final step in the SIM card replacement process. This pivotal moment marks the transition to seamless connectivity with your chosen mobile network provider, allowing you to resume communication and access mobile services without any interruptions. By following the detailed instructions provided below, you can confidently power on your Samsung device and initiate the activation process for the new SIM card.
Here's a step-by-step guide to help you turn on your Samsung device and complete the activation process:
-
Press and Hold the Power Button: Locate the power button on your Samsung device, typically positioned along the side or the top edge. Press and hold the power button until the device's screen lights up, indicating that the device is powering on.
-
Wait for the Device to Boot Up: As the device powers on, you may see the manufacturer's logo or animation displayed on the screen. Allow the device a few moments to complete the boot-up process and initialize the software.
-
Enter the PIN (if required): If your new SIM card is protected with a PIN, the device will prompt you to enter the PIN to unlock the SIM card. Carefully enter the PIN using the on-screen keypad, ensuring accuracy to avoid any lockout attempts.
-
Complete Activation Steps: Once the device has powered on and detected the new SIM card, it may prompt you to complete the activation steps. This may include configuring network settings, confirming the SIM card's activation, or verifying your mobile account details. Follow the on-screen instructions to finalize the activation process.
-
Verify Connectivity: After completing the activation steps, verify that your Samsung device has successfully established connectivity with the new SIM card and mobile network provider. Check for signal bars or network indicators on the device's screen, indicating that the device is connected to the mobile network.
-
Test Communication and Data: To ensure that the new SIM card is fully functional, make a test call and send a text message. Additionally, test the device's data connectivity by accessing the internet or using mobile apps that require network access. This step allows you to confirm that the new SIM card enables seamless communication and data services.
By meticulously following these steps, you can confidently power on your Samsung device and complete the activation process for the new SIM card. This careful approach ensures that the device seamlessly transitions to the new mobile network provider, allowing you to enjoy uninterrupted connectivity and mobile services. With the device successfully powered on and the new SIM card activated, you have completed the SIM card replacement process, empowering you to stay connected and engaged with ease on your Samsung device.
Conclusion
Congratulations! You have successfully navigated the process of changing the SIM card on your Samsung device. By following the step-by-step instructions outlined in this tutorial, you have gained valuable insights into managing the SIM card replacement procedure with confidence and precision. As you reflect on the journey from powering off the device to inserting the new SIM card and completing the activation process, it becomes evident that your ability to adapt to changes in mobile connectivity has been enhanced.
The seamless transition to a new SIM card empowers you to stay connected with your contacts, access mobile services, and enjoy uninterrupted communication on your Samsung device. Whether you sought to switch to a new mobile network provider, replace a damaged SIM card, or upgrade to a different Samsung device, the knowledge and skills acquired through this tutorial have equipped you to manage such transitions with ease.
As you power on your Samsung device and witness the successful activation of the new SIM card, take a moment to appreciate the seamless connectivity made possible by your proactive approach. The ability to navigate the SIM card replacement process reflects your adaptability and willingness to embrace technological changes, ensuring that you remain at the forefront of mobile connectivity.
Moving forward, the insights gained from this tutorial empower you to assist others in their SIM card replacement endeavors, share your knowledge with friends and family, and contribute to a network of empowered individuals who can confidently manage their mobile devices. Your newfound proficiency in changing the SIM card on a Samsung device positions you as a resourceful and capable user, ready to embrace the evolving landscape of mobile technology.
As you embark on your continued journey with your Samsung device, remember that the knowledge and skills acquired through this tutorial serve as a testament to your ability to adapt, learn, and thrive in the digital realm. With seamless connectivity at your fingertips, you are poised to explore new opportunities, stay connected with loved ones, and leverage the full potential of your Samsung device.
In conclusion, the successful completion of the SIM card replacement process signifies your readiness to embrace change and harness the power of mobile connectivity. Armed with the knowledge and skills acquired through this tutorial, you are well-prepared to navigate future technological transitions and empower others to do the same. Embrace the seamless connectivity afforded by your Samsung device, and continue to explore the boundless possibilities that await in the digital world.


