Introduction
Are you wondering how to remove the SIM card from your Samsung Galaxy S9? Whether you’re changing carriers, upgrading your phone, or simply troubleshooting an issue, removing the SIM card is a straightforward process. In this article, we will guide you through the step-by-step instructions to safely remove your SIM card from your Samsung Galaxy S9.
The SIM card, or Subscriber Identity Module, is a small chip that stores important information about your phone account, including your phone number and network settings. It’s essential to remove the SIM card properly to avoid any damage to the card or the SIM card tray.
Please note that the process of removing the SIM card may vary slightly depending on the specific model of the Samsung Galaxy S9 you have. However, the general steps outlined in this guide should apply to most variations of the phone.
Before we dive into the instructions, please ensure that you have the necessary tools. The primary tool you’ll need is the SIM card removal tool that came with your Samsung Galaxy S9. If you don’t have the tool, don’t worry. You can easily purchase a SIM card removal tool online or use a paperclip as a makeshift alternative.
Now that we have covered the basics, let’s get started with the step-by-step process of removing the SIM card from your Samsung Galaxy S9. Follow along closely to avoid any potential issues and ensure a seamless SIM card removal experience.
Step 1: Power off your phone
The first step in removing the SIM card from your Samsung Galaxy S9 is to power off your phone. This is crucial to protect your device and prevent any potential damage during the SIM card removal process.
To power off your phone, press and hold the Power button located on the right side of your device until the power menu appears on the screen. Then, select the “Power Off” option from the menu. Your phone will take a few seconds to shut down completely.
It’s important to ensure that your phone is completely powered off before proceeding to the next steps. This will prevent any accidental data loss or damage to the SIM card or SIM card tray.
If your phone is not responding or you’re unable to access the power menu, you can force a shutdown by pressing and holding the Power button for about 10-15 seconds until the screen goes blank. This method should only be used as a last resort when your phone is unresponsive.
Once your phone is powered off, you’re ready to move on to the next step of removing the SIM card from your Samsung Galaxy S9.
Step 2: Locate the SIM card tray
After you have powered off your Samsung Galaxy S9, the next step is to locate the SIM card tray. The SIM card tray is where the SIM card is housed in your device.
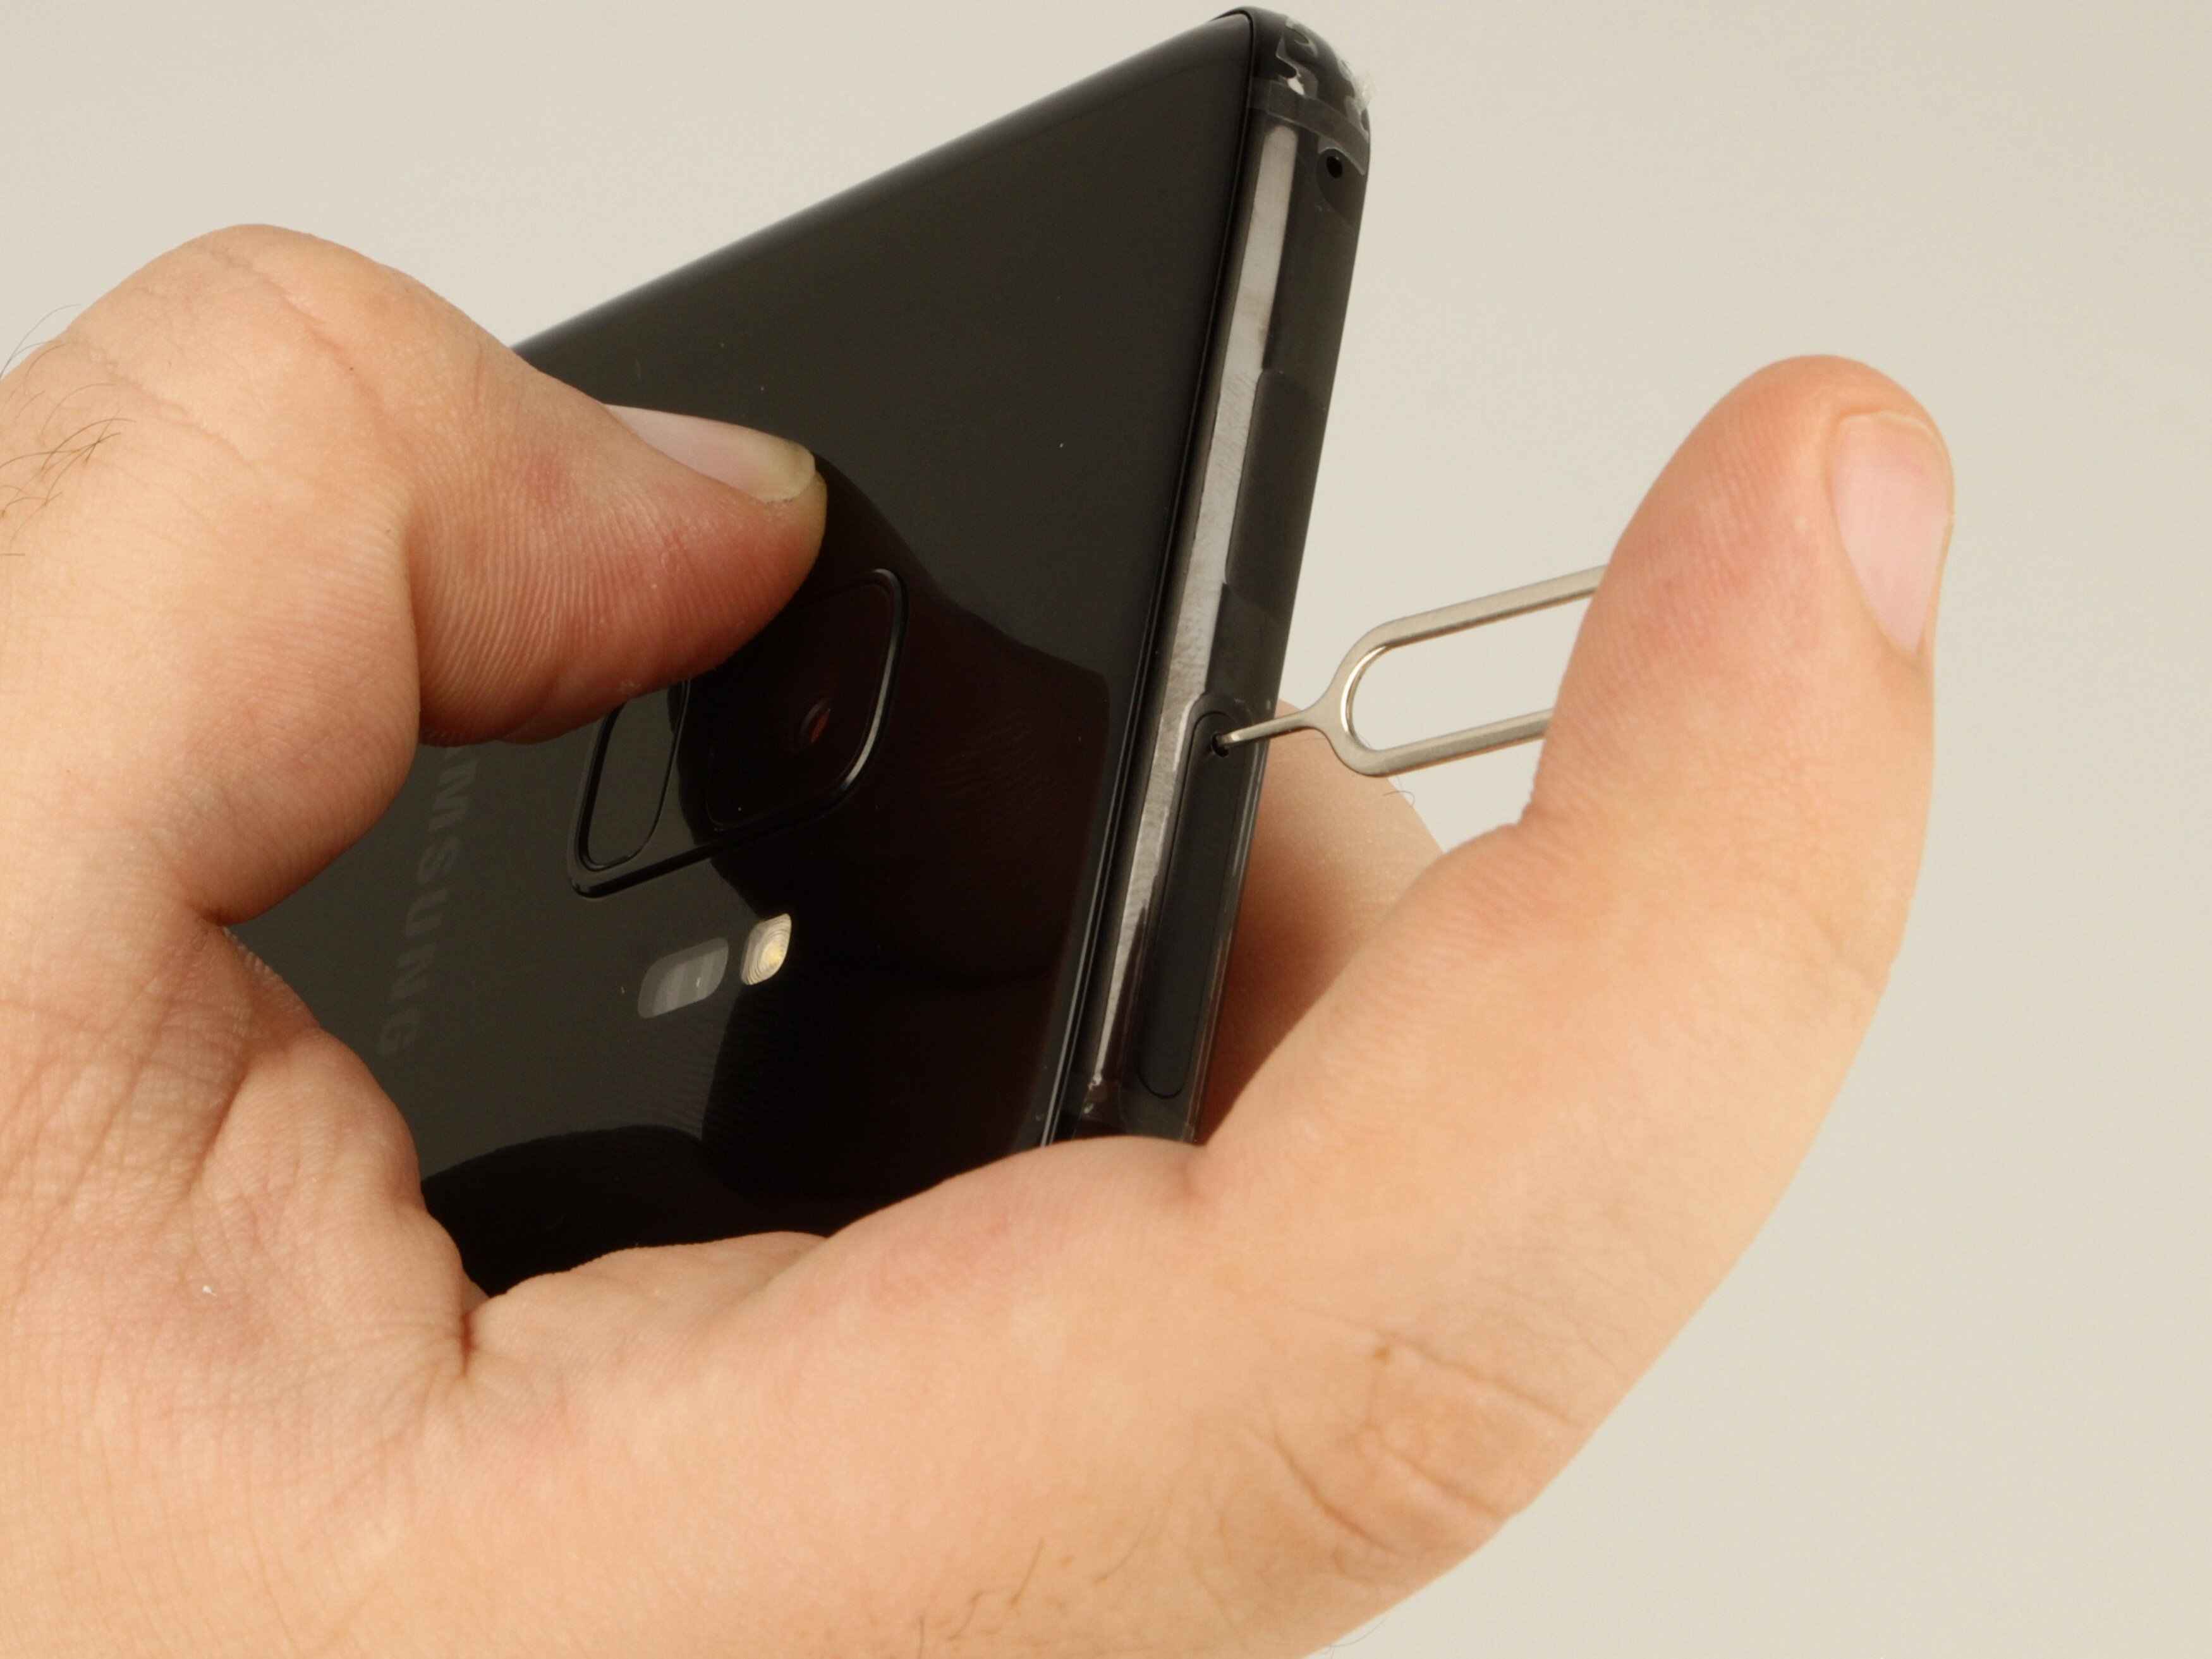
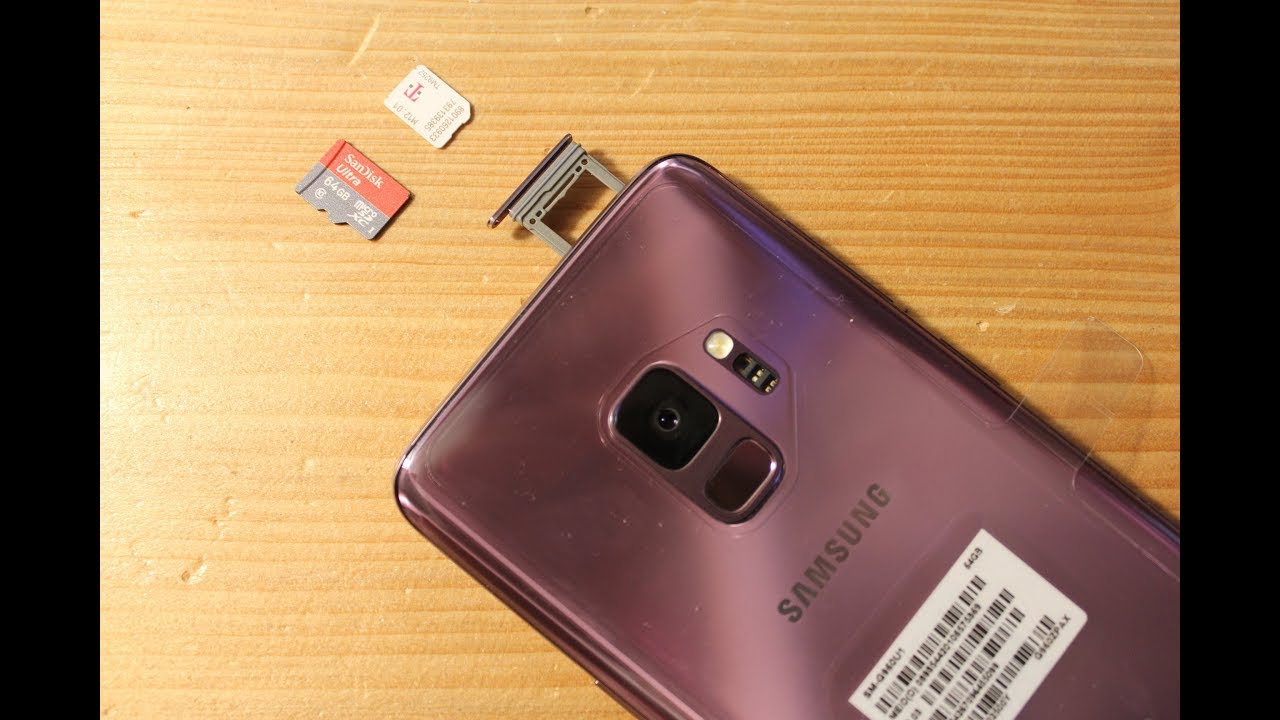
To find the SIM card tray, you will need to locate the small hole or slot on the sides or top of your phone. On the Samsung Galaxy S9, the SIM card tray is typically located on the upper edge of the device.
Using your fingers or a SIM card removal tool, gently insert the tool into the small hole or slot and apply slight pressure. This will eject the SIM card tray from the phone. If you’re having difficulty locating the SIM card tray, refer to your phone’s user manual or search online for specific instructions for your device model.
It’s important to handle the SIM card tray with care to avoid any damage. Do not force it out or use excessive pressure, as this could cause the tray to break or get stuck.
Once you have located the SIM card tray, you’re ready to proceed to the next step of removing the SIM card from your Samsung Galaxy S9.
Step 3: Insert the SIM card removal tool
Now that you have located the SIM card tray on your Samsung Galaxy S9, it’s time to insert the SIM card removal tool. The SIM card removal tool is a small pin-like object that is included with your phone or can be purchased separately.
Take the SIM card removal tool and insert it into the small hole or slot on the SIM card tray. Apply gentle pressure until you feel a slight resistance. This means that the tool is properly inserted.
It’s important to note that if you don’t have a SIM card removal tool, you can use a paperclip or a similar small, thin object. Just make sure that it’s sturdy enough to insert into the hole without bending or breaking.
Ensure that you hold the phone and the SIM card tray securely with your other hand while inserting the tool. This will prevent any accidental slipping or dropping of the tray or phone.
Once the SIM card removal tool is inserted, proceed to the next step of ejecting the SIM card tray from your Samsung Galaxy S9.
Step 4: Eject the SIM card tray
With the SIM card removal tool properly inserted into the hole or slot on the SIM card tray of your Samsung Galaxy S9, it’s time to eject the tray from the phone. This will allow you to access and remove the SIM card.
Gently push the SIM card removal tool inwards, applying steady pressure until the SIM card tray starts to slide out of the phone. Be careful not to apply excessive force, as this could damage the tray or the phone itself.
Once the SIM card tray is partially ejected, you can remove the tool from the hole or slot. Grasp the tray firmly with your fingers and carefully pull it out of the phone.
Be cautious when handling the SIM card tray to avoid dropping or misplacing it. It’s a small component that can be easily lost if not handled with care.
At this point, the SIM card tray should be fully ejected from your Samsung Galaxy S9, allowing you to proceed to the next step of removing the SIM card itself.
Step 5: Remove the SIM card
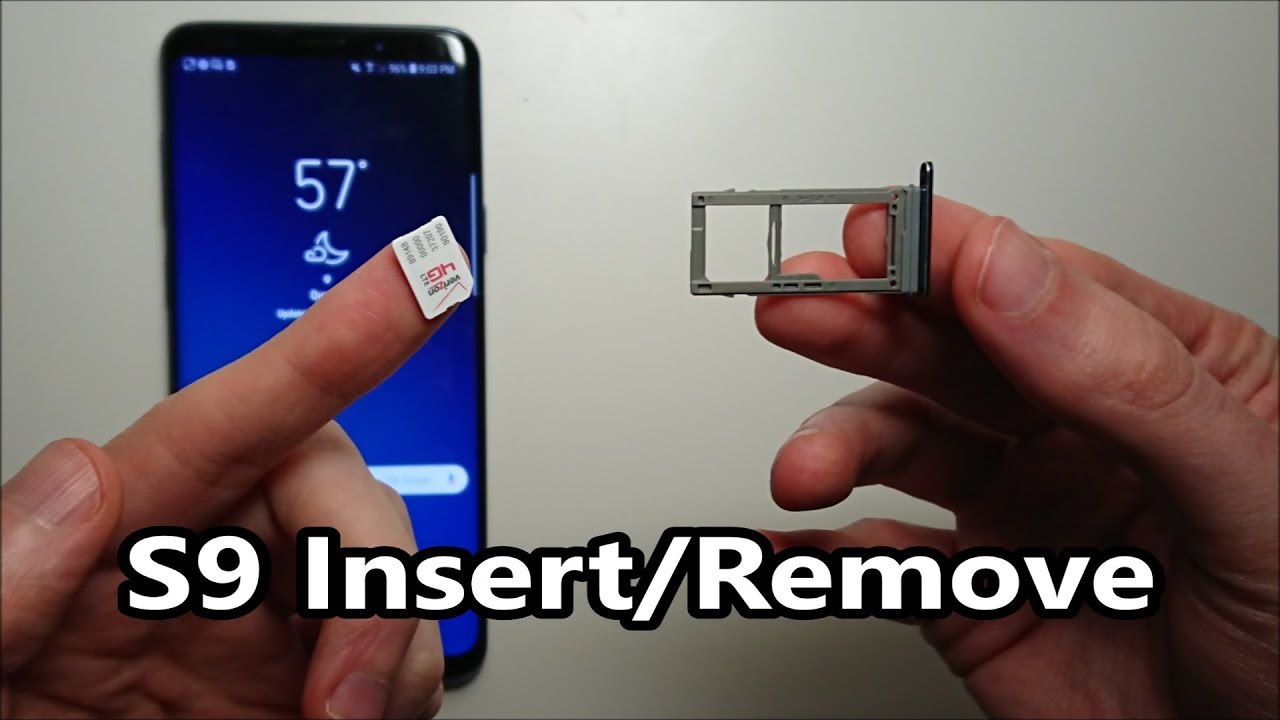
Now that you have successfully ejected the SIM card tray from your Samsung Galaxy S9, it’s time to remove the SIM card from the tray itself. The SIM card is a small rectangular chip that contains your phone number and other essential information.
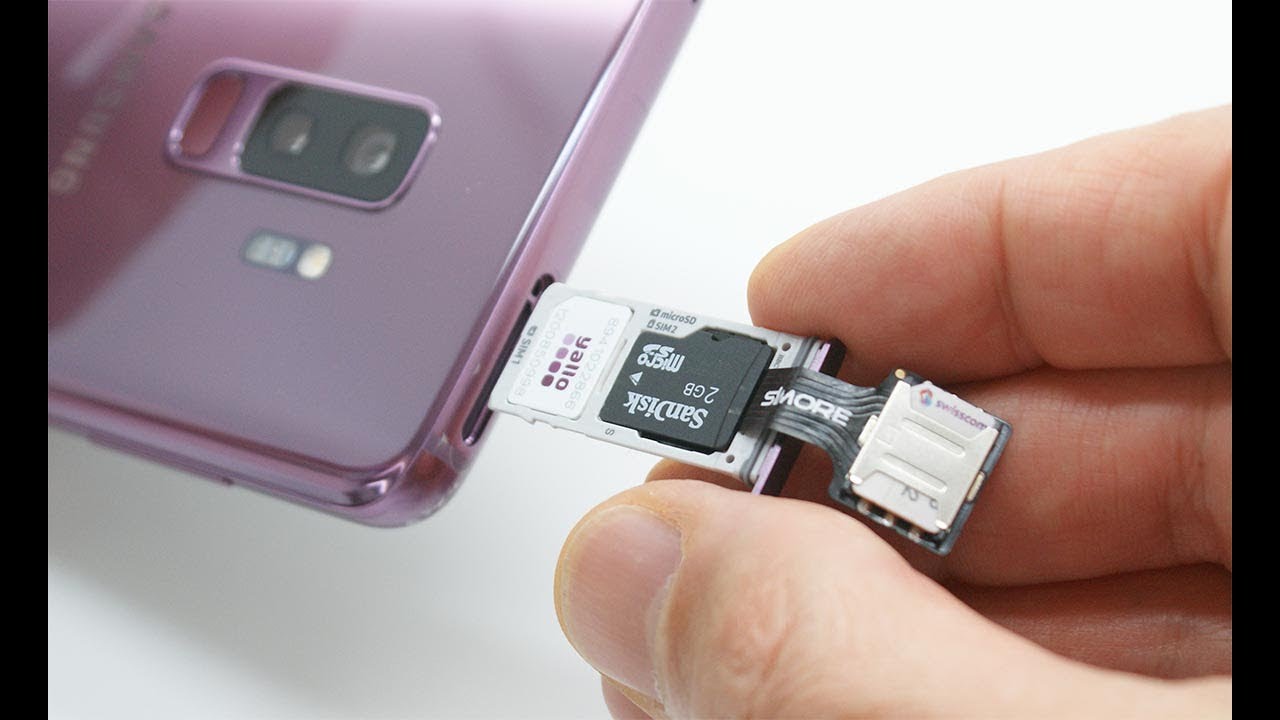
Gently lift the SIM card tray out of the phone, ensuring that it remains stable and level. Locate the SIM card on the tray – it will be positioned in a designated slot or holder.
To remove the SIM card from the tray, use your fingers to carefully slide it out of the slot. Take note of the orientation of the SIM card, as you will need to ensure it is inserted correctly when reinserting it or inserting a new SIM card.
Handle the SIM card with care, avoiding touching the golden contact points on its surface. Any dirt, oil, or damage to these contact points could affect the performance of the SIM card.
If you plan to use a new SIM card, now is the time to insert it into the SIM card tray. Simply align the new SIM card with the slot on the tray, ensuring it fits securely.
If you are not replacing the SIM card and only removing it temporarily, make sure to keep the SIM card in a safe place to avoid losing or damaging it. You can store it in the provided SIM card holder or a small container to protect it from scratches or potential damage.
Congratulations! You have successfully removed the SIM card from your Samsung Galaxy S9. Now, let’s move on to the next step of reinserting the SIM card tray.
Step 6: Reinsert the SIM card tray
After removing or replacing the SIM card from your Samsung Galaxy S9, it’s time to reinsert the SIM card tray back into the phone. This will secure the SIM card in its proper position and allow you to use your phone’s network functions.
Take the SIM card tray that you removed earlier and carefully align it with the slot on your phone. Ensure that the tray is positioned correctly, with the side containing the SIM card facing down.
Gently slide the SIM card tray back into the phone until it is fully inserted. You may feel a slight click or resistance as the tray locks into place. Avoid applying excessive force, as this could damage the tray or the phone.
Once the SIM card tray is securely in place, you can power on your Samsung Galaxy S9 by pressing and holding the Power button until the device boots up. Your phone will now recognize the SIM card and establish a connection to the network.
It’s important to note that if you are using a new SIM card, your phone may prompt you to complete the activation process or enter any necessary information. Follow the on-screen instructions to complete the setup and enjoy the full functionality of your phone with the new SIM card.
Congratulations! You have successfully reinserted the SIM card tray in your Samsung Galaxy S9. You can now use your phone with the SIM card securely in place.
Conclusion
Removing the SIM card from your Samsung Galaxy S9 is a simple process that can be done in a few easy steps. By following the instructions outlined in this guide, you can safely remove and replace the SIM card without any hassle or potential damage to your device.
Remember to power off your phone before starting, locate the SIM card tray, insert the SIM card removal tool, eject the tray, remove the SIM card, and reinsert the tray back into the phone. Taking these steps will ensure a smooth experience and allow you to switch SIM cards, troubleshoot issues, or upgrade your device without any complications.
While the process described here specifically applies to the Samsung Galaxy S9, the general steps for removing the SIM card are similar for most smartphones. However, it’s always a good idea to refer to your device’s user manual or consult the manufacturer’s website for any specific instructions or variations.
As you handle the SIM card and SIM card tray, remember to exercise caution and handle them gently. Avoid using excessive force or touching the contact points on the SIM card to prevent any damage that could affect its functionality.
With the SIM card safely removed, you can now replace it with a new one, insert it back into your phone, or store it in a safe place. Whether you’re changing carriers, upgrading your device, or troubleshooting network issues, mastering the process of removing and inserting SIM cards is a valuable skill for any smartphone user.
By following these steps, you can confidently navigate the process of removing the SIM card from your Samsung Galaxy S9, ensuring a seamless transition and uninterrupted network connectivity.