Introduction
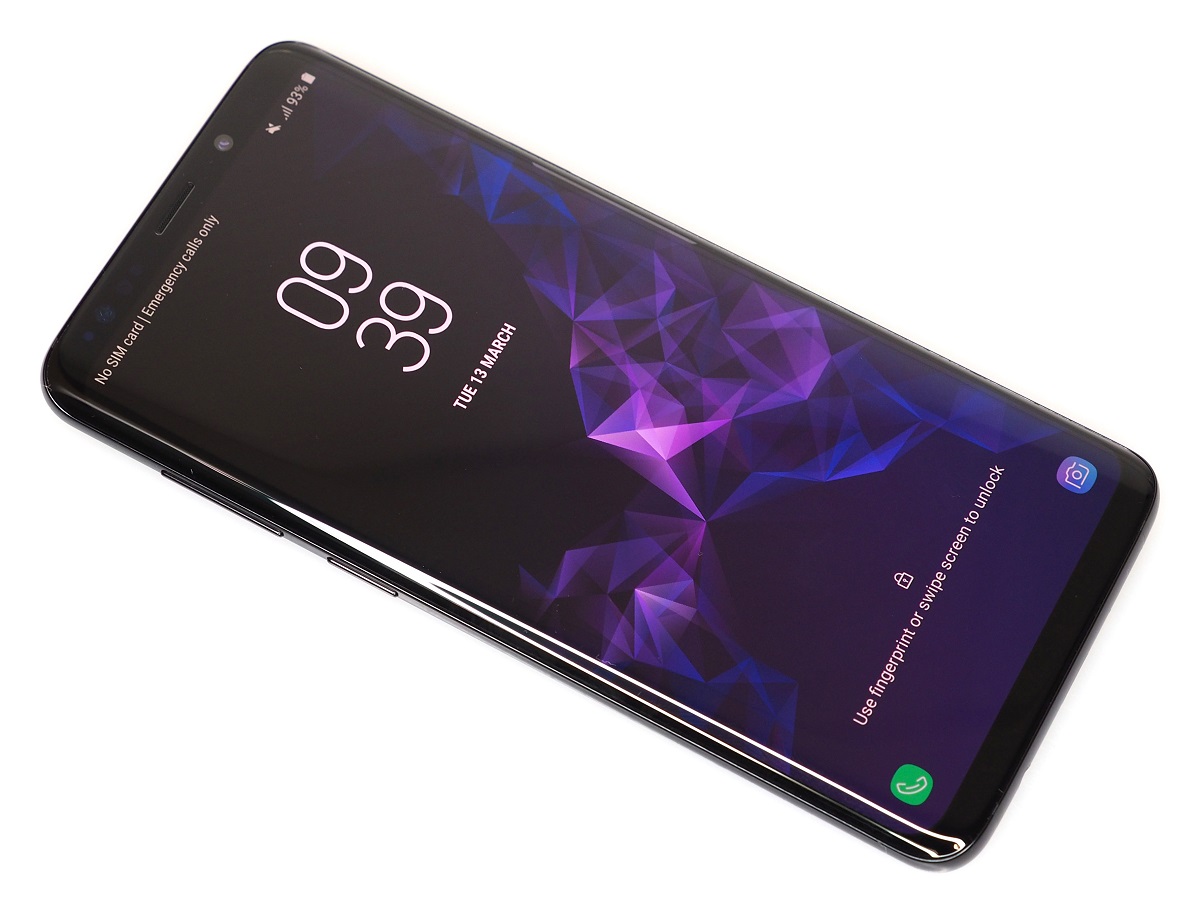
The Samsung Galaxy S9 is a powerful and sleek mobile device that boasts impressive features, including a vibrant display, advanced camera capabilities, and seamless connectivity. One essential aspect of setting up your Galaxy S9 is installing the SIM card, which is crucial for accessing cellular networks and enjoying the full range of communication and data services offered by your mobile carrier.
In this comprehensive guide, we will walk you through the process of locating the SIM card slot on your Galaxy S9 and properly inserting the SIM card. Whether you're setting up a new device or need to replace your SIM card, this step-by-step tutorial will ensure that you can effortlessly manage your SIM card on the Galaxy S9.
By following the instructions provided in this guide, you can swiftly and confidently handle the SIM card installation process, empowering you to make the most of your Samsung Galaxy S9's connectivity features. Let's delve into the details of locating and managing the SIM card on your Galaxy S9, ensuring that you can stay connected and productive while leveraging the full potential of your mobile device.
Step 1: Removing the SIM Card Tray
To begin the process of managing your Galaxy S9's SIM card, you'll need to locate the SIM card tray, which is typically positioned on the upper edge of the device. The SIM card tray is a small, discreet compartment that securely houses the SIM card. Before proceeding, ensure that your device is powered off to prevent any potential damage to the SIM card or the device itself.
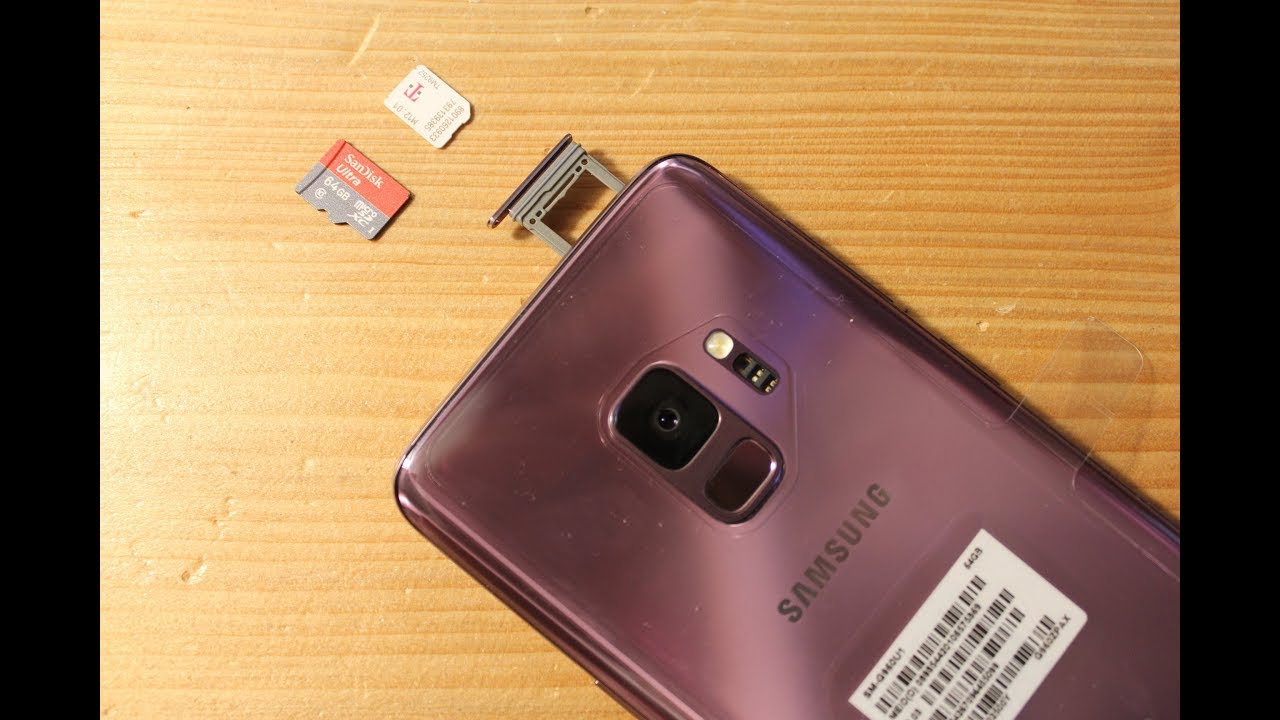
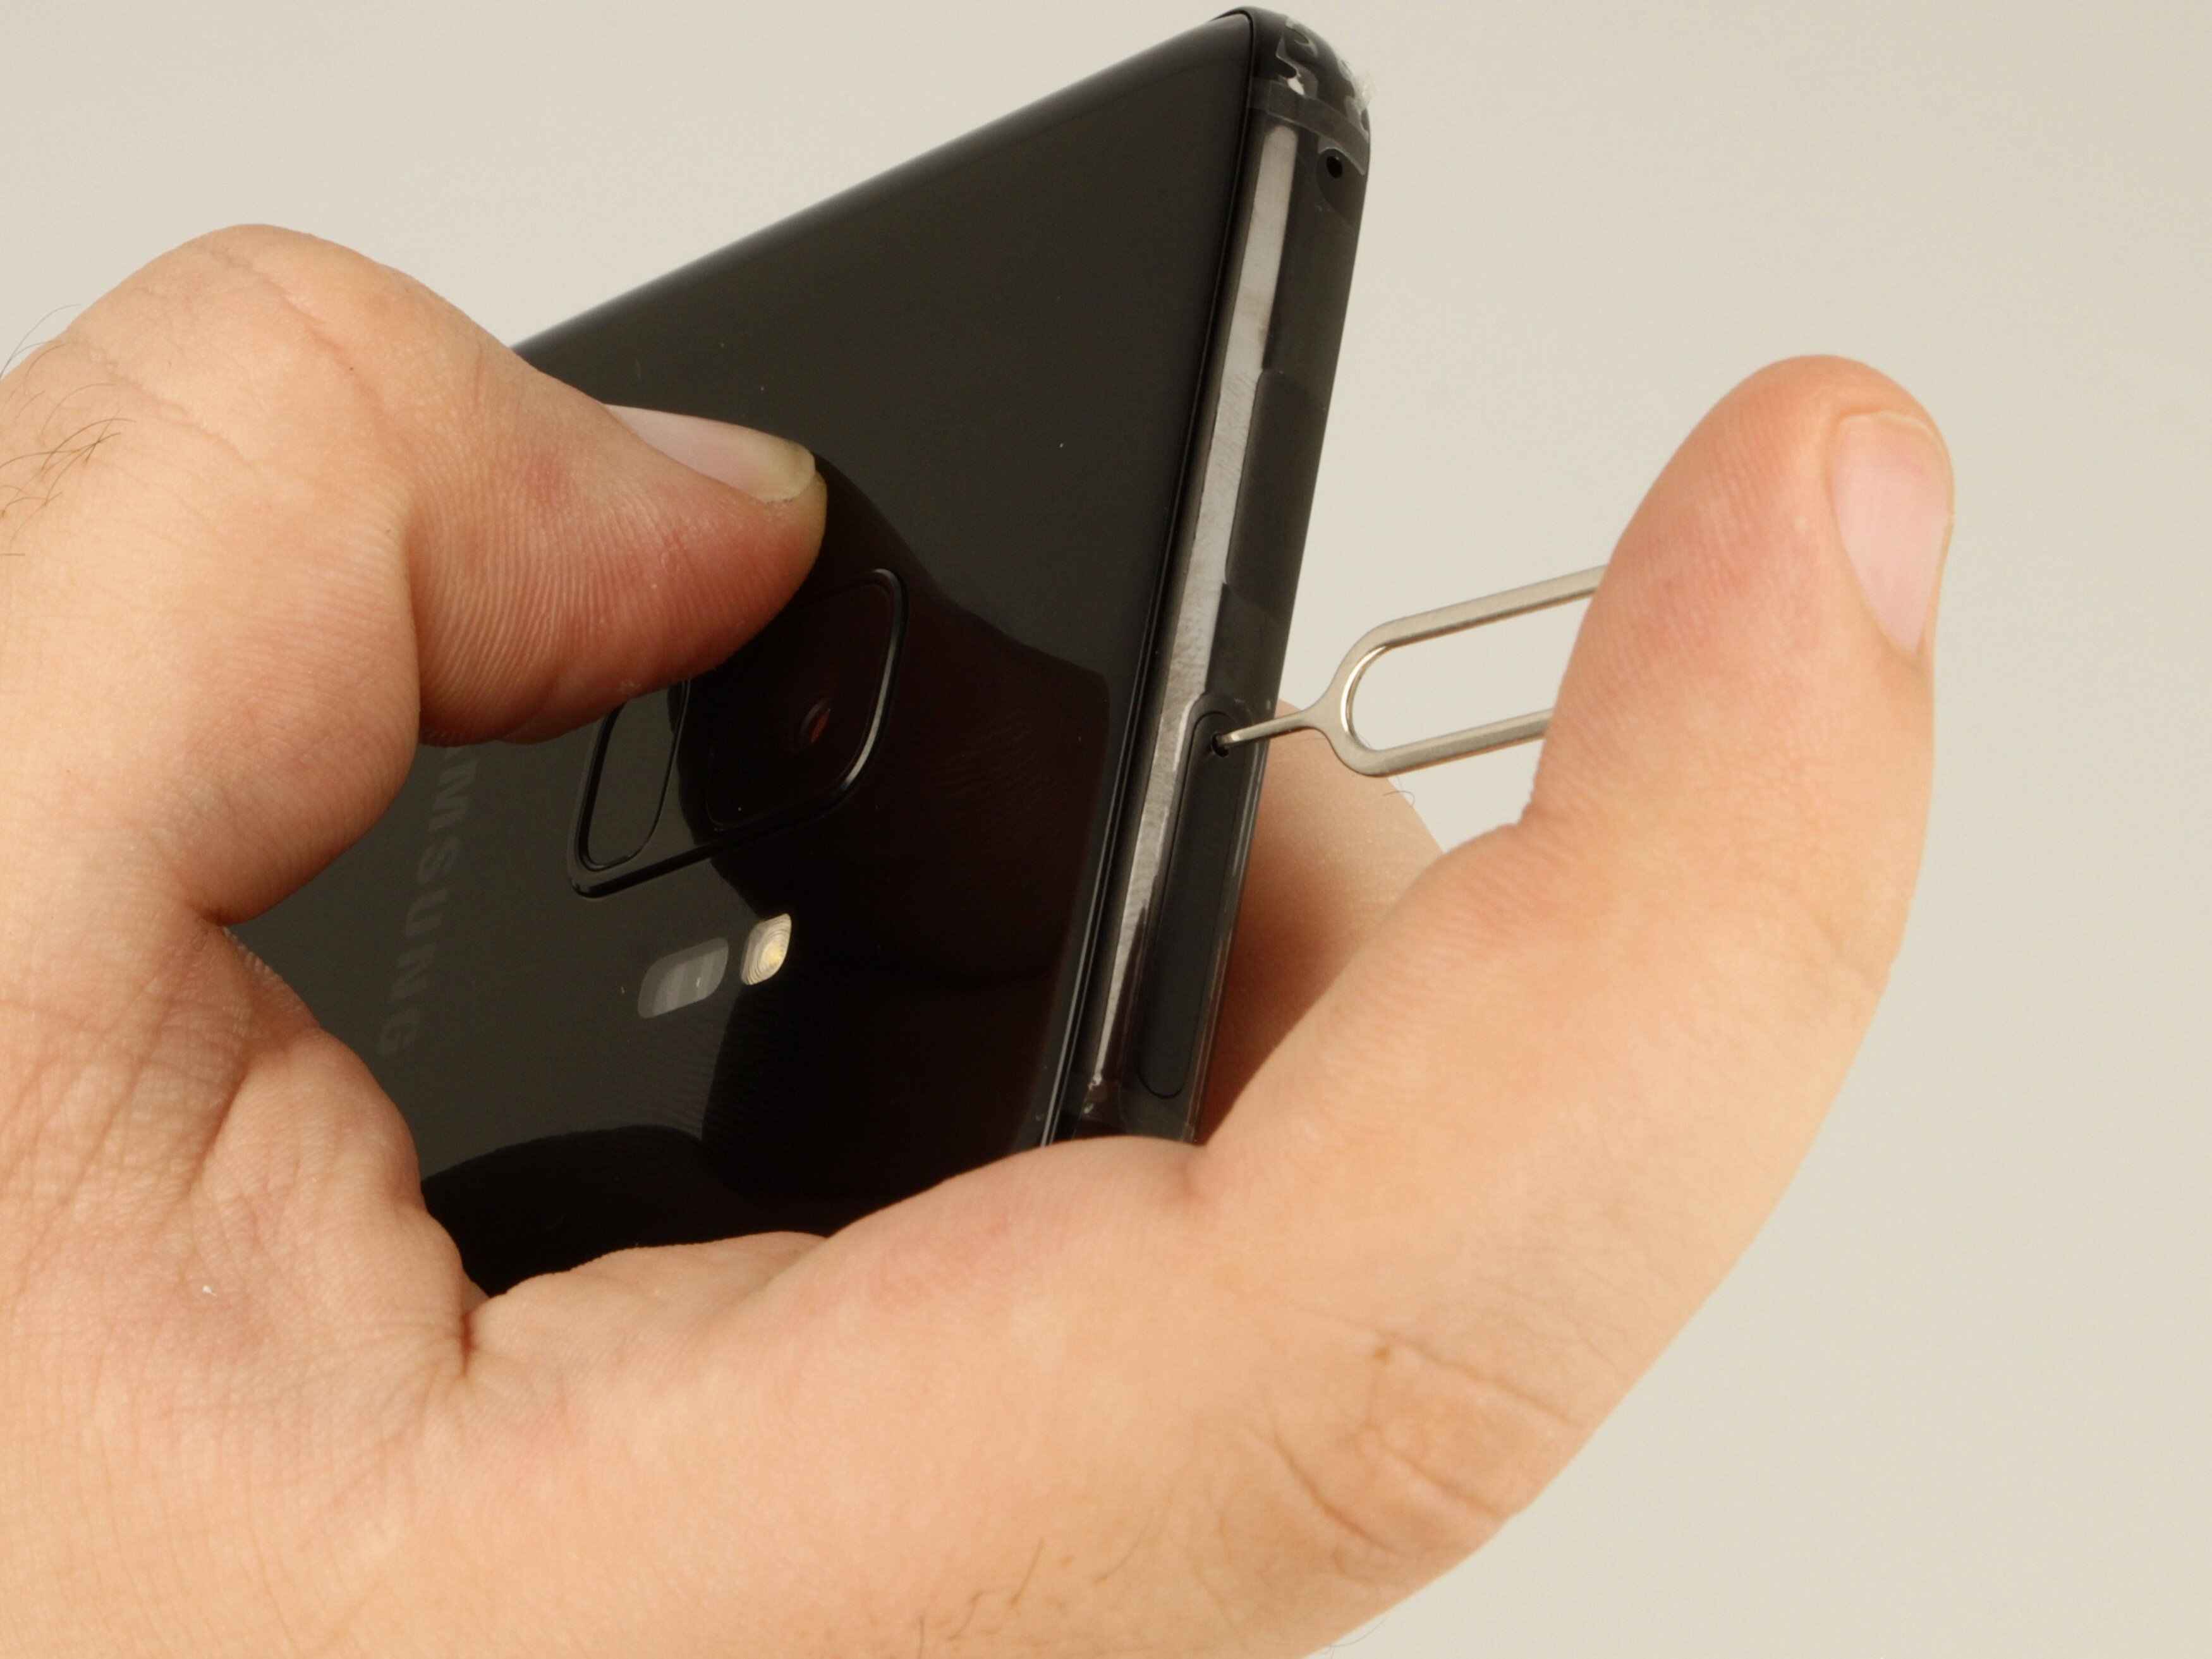
Once the device is powered off, you can proceed to the next step by using the SIM ejection tool provided with your Galaxy S9. This tool is designed specifically for ejecting the SIM card tray and can be found in the box alongside your device. If you no longer have the original tool, a small paperclip can be used as an alternative, ensuring that it is straightened out to effectively fit into the ejection hole.
Identify the SIM card tray on the upper edge of your Galaxy S9, where you'll notice a small pinhole adjacent to the tray. Insert the SIM ejection tool or the straightened paperclip into the pinhole, applying gentle pressure to release the SIM card tray. Upon successful insertion, you will feel a slight resistance, indicating that the tray is being ejected.
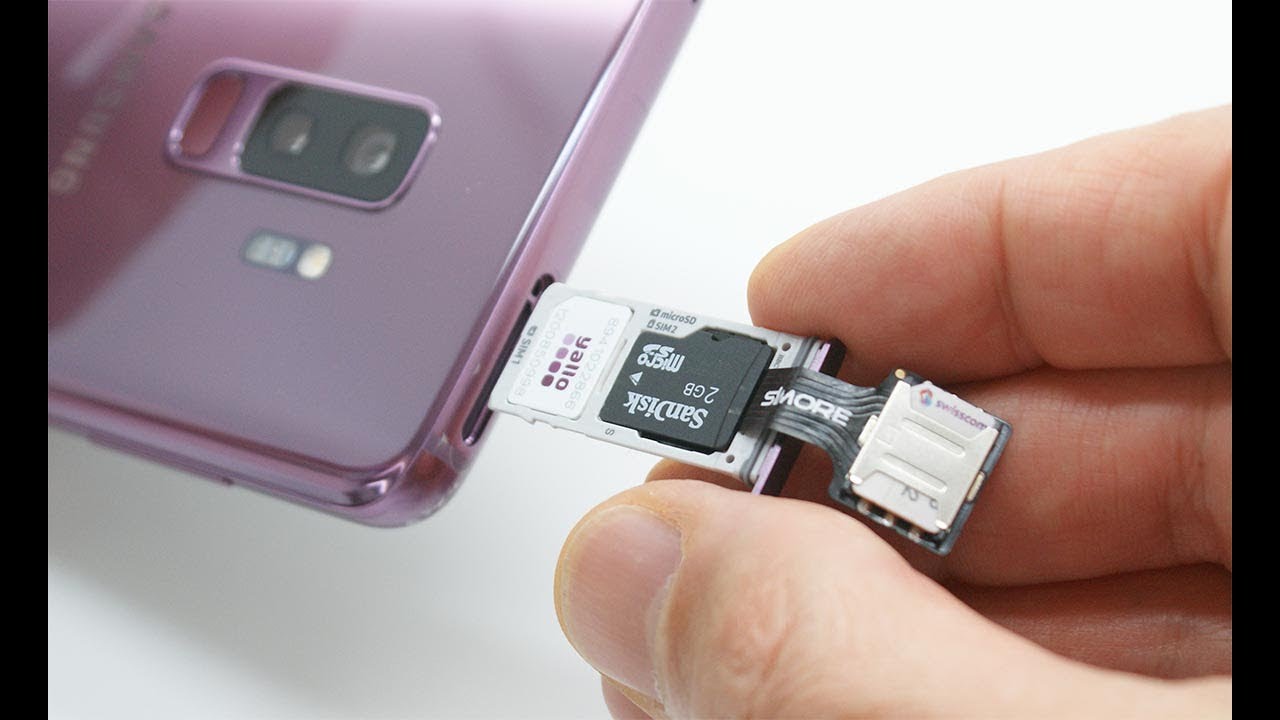
Carefully and slowly pull out the SIM card tray from the device, ensuring that you handle it with caution to prevent any damage. Once the tray is fully ejected, gently remove the SIM card from the tray by sliding it out. Take a moment to inspect the SIM card and the tray for any signs of damage or debris, ensuring that both components are clean and free from any obstructions.
With the SIM card successfully removed from the tray, you have completed the initial step of managing the SIM card on your Galaxy S9. The next step involves inserting the SIM card into the tray, which we will cover in detail in the following section. By meticulously following these steps, you can effectively handle the SIM card on your Galaxy S9, ensuring seamless connectivity and optimal performance.
This concludes the process of removing the SIM card tray from your Samsung Galaxy S9, setting the stage for the subsequent steps of managing your SIM card with ease and confidence.
Step 2: Inserting the SIM Card
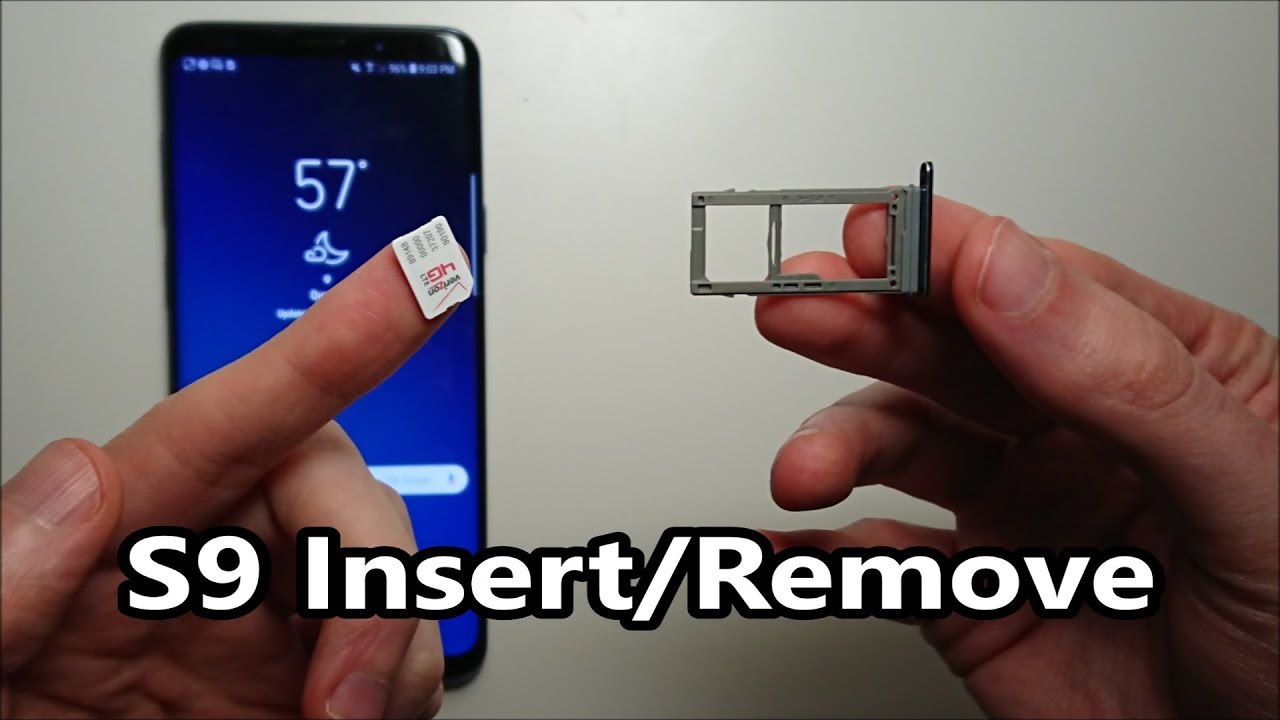
With the SIM card tray successfully removed from your Samsung Galaxy S9, the next crucial step is to insert the SIM card into the tray. Before proceeding, take a moment to ensure that the SIM card is free from any visible damage and is compatible with your mobile carrier's network. This includes verifying that the SIM card size matches the designated slot on the SIM card tray. The Galaxy S9 utilizes a nano-SIM card, which is the smallest SIM card size available.
Carefully place the SIM card into the designated slot on the SIM card tray, ensuring that it aligns with the tray's layout. The tray is designed to accommodate the SIM card in a specific orientation, typically with the gold contacts of the SIM card facing downward. Gently position the SIM card within the tray, taking care to avoid applying excessive force that may cause damage to the card or the tray.
Once the SIM card is securely placed within the tray, gently slide the tray back into the SIM card slot on your Galaxy S9. Ensure that the tray is inserted in the correct orientation, aligning it with the slot to prevent any potential damage to the device. Apply gentle pressure to the tray, guiding it into the slot until it is fully secured within the device.
As the SIM card tray is seamlessly reinserted, you have successfully completed the process of inserting the SIM card into your Galaxy S9. This pivotal step ensures that your device is ready to leverage the full range of cellular network services and connectivity features offered by your mobile carrier.
By following these meticulous steps, you can confidently manage your Galaxy S9's SIM card, ensuring that it is seamlessly integrated into the device for optimal performance. With the SIM card securely in place, your Galaxy S9 is primed to deliver a seamless and reliable mobile experience, empowering you to stay connected and productive in today's dynamic digital landscape.
Step 3: Replacing the SIM Card Tray
After successfully inserting the SIM card into your Samsung Galaxy S9, the final step in managing your device's SIM card involves replacing the SIM card tray. This step is crucial to ensure that the SIM card is securely housed within the device, allowing for seamless connectivity and uninterrupted access to cellular services.
Begin by carefully aligning the SIM card tray with the designated slot on the upper edge of your Galaxy S9. Take note of the orientation of the tray, ensuring that it is positioned correctly to avoid any potential damage to the device. The tray should smoothly fit into the slot, aligning with the device's structure to facilitate a secure and stable connection.
Once the SIM card tray is positioned correctly, gently push it back into the device, applying even pressure to ensure that it smoothly slides into place. Take care to avoid exerting excessive force, as this may lead to damage to the tray or the device itself. The tray should seamlessly integrate with the device, becoming flush with the edge of the Galaxy S9.
Upon successfully replacing the SIM card tray, take a moment to verify that it is securely fitted within the device. Gently run your finger along the edge of the tray to confirm that it is flush with the device's frame, indicating that it is properly seated. This step is essential to prevent any potential issues with the SIM card connectivity and to maintain the overall integrity of your Galaxy S9.
With the SIM card tray securely reinserted into your Samsung Galaxy S9, you have effectively completed the process of managing your device's SIM card. This final step ensures that your SIM card is safely housed within the device, allowing you to harness the full potential of your Galaxy S9's connectivity features.
By meticulously following these steps, you can confidently manage the SIM card on your Samsung Galaxy S9, ensuring that it is seamlessly integrated into the device for optimal performance. With the SIM card securely in place, your Galaxy S9 is primed to deliver a seamless and reliable mobile experience, empowering you to stay connected and productive in today's dynamic digital landscape.
Conclusion
In conclusion, mastering the art of managing the SIM card on your Samsung Galaxy S9 is a pivotal aspect of optimizing your device for seamless connectivity and efficient communication. By following the step-by-step guide outlined in this comprehensive tutorial, you have gained valuable insights into locating the SIM card slot, removing and reinserting the SIM card tray, and ensuring that your SIM card is securely integrated into the device.
Successfully navigating the process of handling the SIM card empowers you to harness the full potential of your Galaxy S9's cellular connectivity, enabling you to stay connected, productive, and engaged in today's fast-paced digital landscape. Whether you are setting up a new device, replacing your SIM card, or simply exploring the intricacies of your Galaxy S9, the knowledge and proficiency gained from this guide equip you to manage your SIM card with confidence and ease.
As you embark on your journey with the Samsung Galaxy S9, the ability to effortlessly handle the SIM card installation process positions you to leverage the device's advanced features, including crystal-clear voice calls, high-speed data connectivity, and seamless access to a wide array of mobile services. The seamless integration of the SIM card ensures that your Galaxy S9 is primed to deliver a reliable and immersive mobile experience, allowing you to stay connected with the world around you.
By mastering the essential skill of managing the SIM card on your Galaxy S9, you are poised to unlock the full potential of your device, seamlessly integrating it into your daily routine and empowering you to navigate the digital realm with confidence and efficiency. The knowledge and expertise gained from this guide serve as a valuable asset, enabling you to confidently manage the SIM card on your Samsung Galaxy S9, ensuring that you can make the most of its cutting-edge features and robust connectivity capabilities.
In conclusion, the successful management of the SIM card on your Samsung Galaxy S9 is a cornerstone of optimizing your device for unparalleled connectivity, empowering you to embark on a seamless and enriching mobile journey.