Introduction
Welcome to our guide on how to change your Venmo profile picture. Venmo is a popular peer-to-peer payment app that allows you to send and receive money seamlessly. Your profile picture is a great way to personalize your Venmo account and make it more recognizable to your friends and contacts. Whether you want to update your existing photo or add a completely new one, we’ll walk you through the step-by-step process.
Having a unique and eye-catching profile picture can help others easily identify your account and make your transactions more personal. It’s also a fun way to express your personality and showcase your individual style. Whether you want to use a professional headshot, a favorite vacation picture, or a silly selfie, changing your Venmo profile picture is a breeze.
In this guide, we’ll cover the simple steps to change your Venmo profile picture. We’ll show you how to navigate the app, choose a new photo from your device, and customize your profile picture settings. So, let’s get started on giving your Venmo profile a fresh new look that reflects who you are!
Step 1: Open the Venmo App
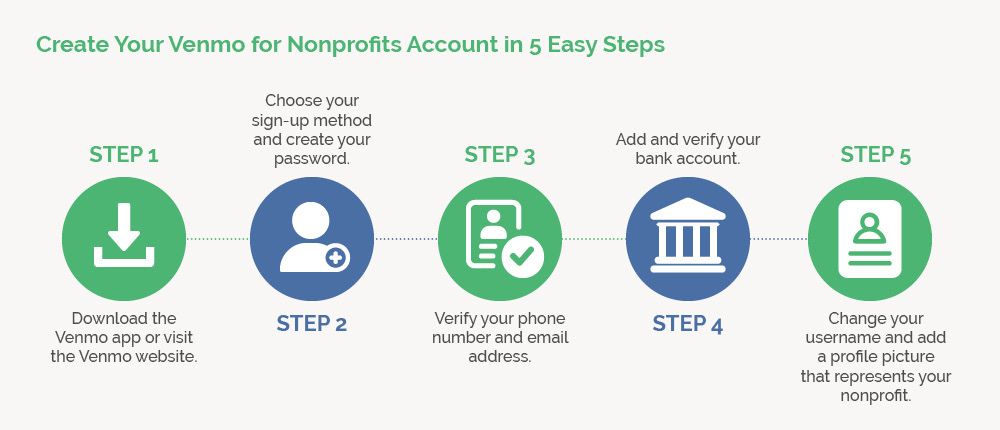
The first step in changing your Venmo profile picture is to open the Venmo app on your mobile device. Make sure you have the latest version of the app installed to access all the latest features and updates. If you don’t have the Venmo app installed, you can download it from the App Store for iOS or the Google Play Store for Android devices.
Once you’ve opened the Venmo app, enter your login credentials to access your account. If you don’t have a Venmo account yet, you can easily create one by following the prompts to sign up. Venmo allows you to sign up with your email address or your existing Facebook account.
After logging in, you’ll be taken to the Venmo home screen, which displays your recent transactions, friends, and other relevant information. Take a moment to familiarize yourself with the app’s layout, as it will make navigating to the profile picture settings much easier.
In the bottom navigation menu, you will find a series of icons, including a “Me” icon. This represents your profile page. Tap on the “Me” icon to proceed to the next step.
Note: The Venmo app may have slightly different layouts and designs based on the version and device you are using. However, the general steps to change your profile picture remain the same across all versions.
Step 2: Go to Your Profile Page
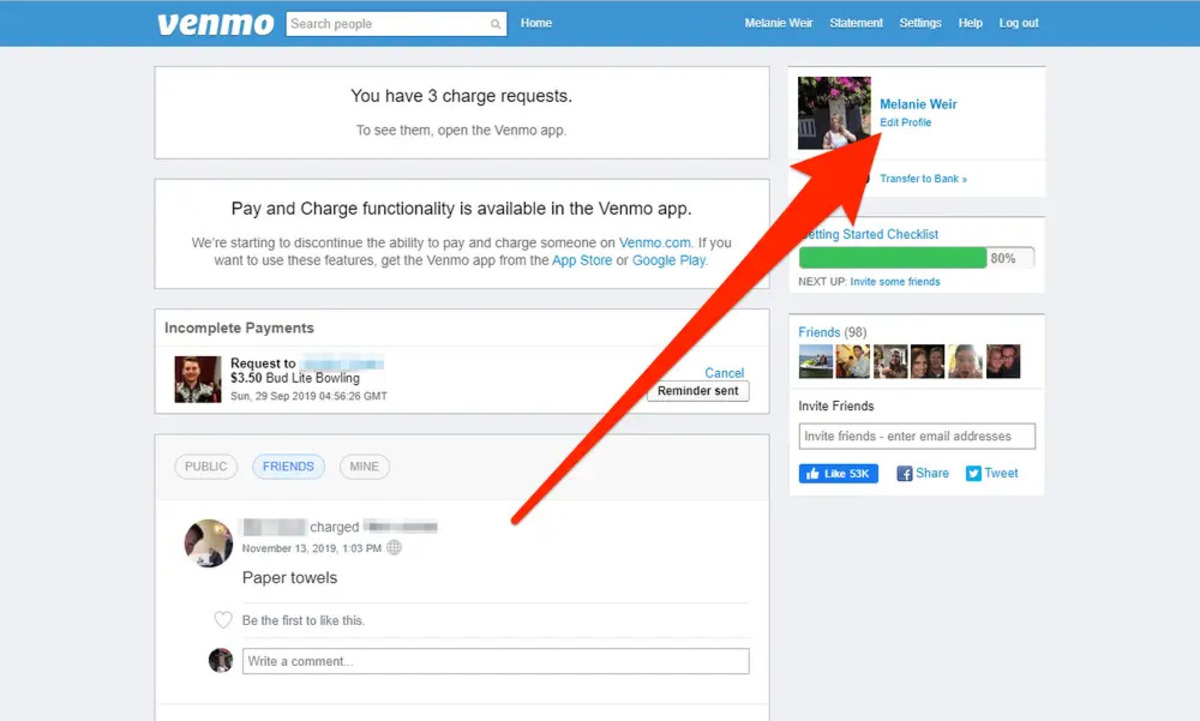
Once you have opened the Venmo app and logged in, you will need to navigate to your profile page in order to change your profile picture. The profile page is where you can view and manage your account details, settings, and personal information.
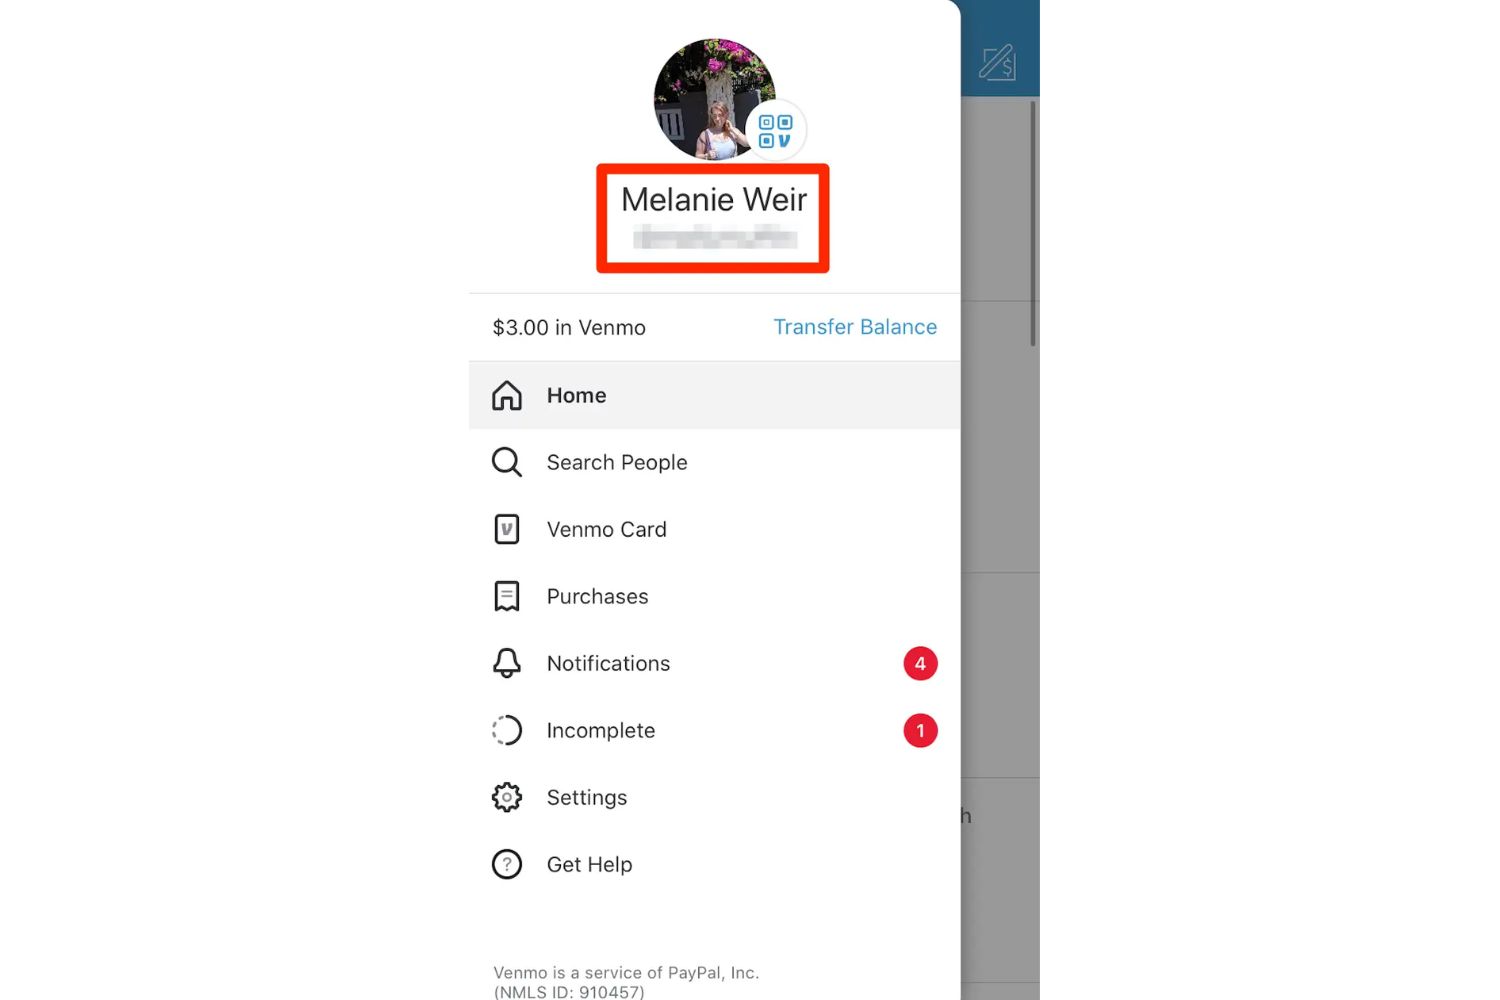
To get to your profile page, locate the “Me” icon at the bottom of the app’s navigation menu. It is typically represented by a small silhouette or profile picture. Tap on the “Me” icon to access your profile page.
On the profile page, you will see various sections such as your username, bio, payment methods, and previous transactions. This is also where you can view your current profile picture. Take a moment to explore the different options and settings available on your profile page.
It’s worth noting that your profile page serves as a hub for managing all aspects of your Venmo account, including transactions, privacy settings, and more. This makes it a convenient place to update your profile picture.
Now that you have successfully reached your profile page, you’re ready to proceed to the next step and change your profile picture. Stay tuned for Step 3, where we will guide you through the process of selecting a new photo for your Venmo profile!
Step 3: Tap on Your Current Profile Picture
Once you have navigated to your profile page on the Venmo app, you will need to tap on your current profile picture to initiate the process of changing it. The current profile picture will typically be displayed as a small thumbnail or circular image.
To begin, locate your profile picture on the profile page. It is usually positioned at the top of the page, near your username and other account details. Once you have located your profile picture, tap on it to proceed.
Tapping on your profile picture will bring up a menu of options related to your profile image. This menu allows you to view and update your profile picture settings, including the ability to change your photo. It’s important to note that if you have never set a profile picture before, you may see a default placeholder image instead.
By tapping on your current profile picture, you are signaling to the Venmo app that you want to make changes to your profile image. This action will open up a new set of options that will enable you to select a new photo and customize your profile picture to your liking.
With Step 3 complete, you are now ready to move on to Step 4, where we will guide you through the process of choosing a new photo for your Venmo profile. Get ready to give your profile a fresh and personalized look!
Step 4: Choose a New Photo from Your Device or Take a New One
After tapping on your current profile picture in the Venmo app, you will be presented with several options for changing your profile photo. One of these options is to choose a new photo from your device’s camera roll or gallery. Another option is to take a new photo using your device’s camera.
To choose a new photo from your device, tap on the “Choose Photo” or “Select Photo” option. This will open up your device’s gallery or camera roll, displaying all the photos saved on your device. Scroll through your photos and select the one you want to use as your new profile picture.
If you prefer to take a new photo using your device’s camera, tap on the “Take Photo” or “Camera” option. This will launch your device’s camera app, allowing you to capture a new photo in real-time. Use the camera app’s features and settings to capture the perfect shot for your Venmo profile.
When selecting or taking a new photo, keep in mind that Venmo has certain guidelines and community standards that dictate what types of photos are acceptable as profile pictures. Ensure that your chosen photo follows these guidelines, which typically include avoiding explicit or offensive content, copyrighted images, or anything that violates the privacy of others.
Once you have chosen or taken a new photo, you can move on to the next step to make any necessary adjustments to your profile picture. Stay tuned for Step 5, where we will guide you through the process of adjusting your photo within the Venmo app!
Step 5: Adjust the Photo if Necessary
After choosing or taking a new photo for your Venmo profile, you may need to make adjustments to ensure that it looks just right. Venmo offers a simple and user-friendly photo editing feature that allows you to crop, rotate, or make basic adjustments to your selected photo.
Once you have selected or taken a photo, the Venmo app will display it on your screen. Look for the editing options or icons, which are usually located near the photo. These options may include icons for cropping, rotating, or enhancing the photo.
If you want to crop the photo, tap on the crop icon and adjust the frame to highlight the desired portion of the image. You can drag the edges of the frame to resize it or use preset aspect ratios for a specific crop. Once you are satisfied with the cropping, tap on the “Apply” or “Done” button to save the changes.
In addition to cropping, you may have the option to rotate the photo if it is not oriented correctly. Simply tap on the rotate icon and select the desired rotation angle until the photo is properly aligned. Again, save the changes after making the necessary rotation adjustments.
Depending on the Venmo app version, you may also find basic photo enhancement options, such as brightness, contrast, or filters. Experiment with these options if you want to further enhance the look of your profile picture.
Remember, the goal is to present a clear and visually appealing photo that represents you or your desired image on your Venmo profile. Take your time to adjust the photo until you are satisfied with the result. Once you have made any necessary adjustments, you can move on to the next step to save your new profile picture.
Step 6: Save Your New Profile Picture
After you have chosen or adjusted your new profile picture in the Venmo app, it’s time to save the changes and make it your official profile photo. Saving your new profile picture is a quick and straightforward process that ensures your updated image is visible to your friends and contacts.
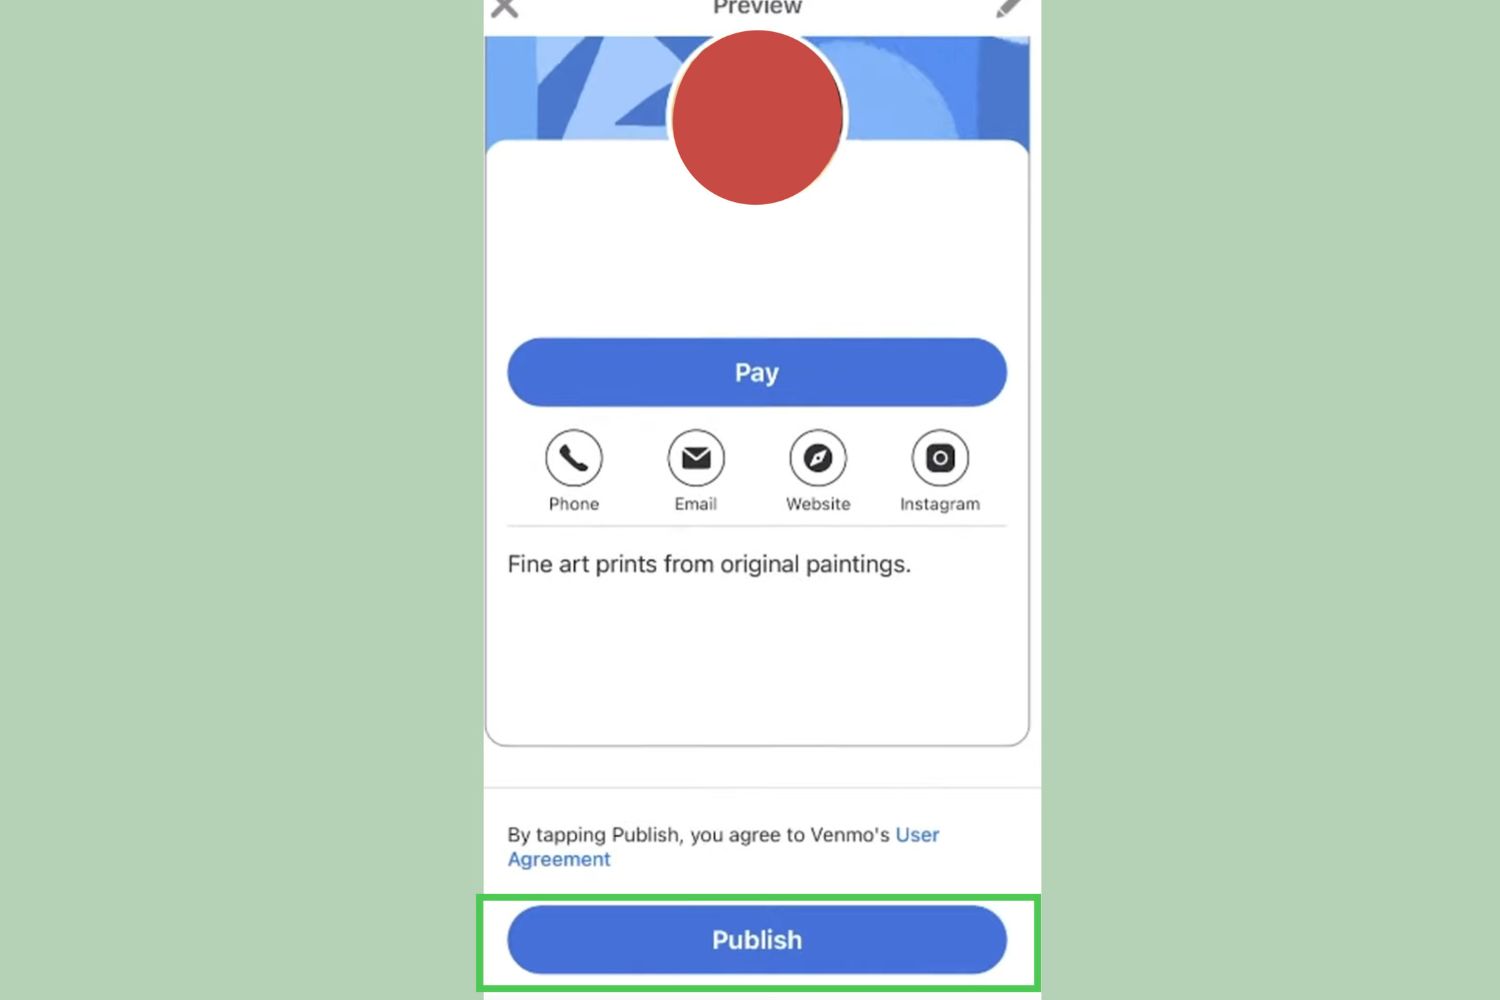
Once you are satisfied with the photo and any necessary adjustments, look for the “Save” or “Done” button on the screen. Typically, this button is located in the top or bottom corner of the photo editing interface.
Tap on the “Save” or “Done” button to confirm your selection and save your new profile picture. The Venmo app will automatically update your profile picture with the newly selected image, and it will be visible to all your contacts and anyone who views your profile.
It’s important to note that the save process may take a few seconds, depending on your device’s processing speed and internet connectivity. During this time, the app may display a loading icon or progress indicator to indicate that the changes are being saved.
Once the save process is complete, the app will return you to your profile page, where you will see your newly updated profile picture. Take a moment to review the image and ensure that it looks as desired before proceeding.
Congratulations! You have successfully saved your new profile picture in Venmo. Your account is now refreshed with a personalized image that represents you or your desired image on the platform.
Now that you have completed Step 6, you can move on to the next step to customize your profile picture settings and add some additional flair. Continue reading to discover how to make your profile picture stand out!
Step 7: Customize Your Profile Picture Settings
Once you have saved your new profile picture in the Venmo app, you have the option to further customize your profile picture settings. This allows you to add some extra flair or privacy measures to your profile photo.
To access the profile picture settings, navigate back to your profile page. Look for the “Edit” or “Settings” option, usually represented by a gear icon or three-dot menu, located near your profile picture. Tap on this option to open the profile picture settings menu.
Within the profile picture settings, you will find various options and features that you can customize to suit your preferences. Here are some common profile picture settings you may encounter:
- Visibility: You can choose to make your profile picture visible to everyone, only your friends, or just yourself. Consider your privacy preferences and select the appropriate visibility setting.
- Profile Picture Frame: Some apps offer special frames or overlays that you can apply to your profile picture. Browse through the available frames and choose one that aligns with your interests or a cause you support.
- Replace Profile Picture: If you want to change your profile picture again in the future, this option allows you to easily replace your current image with a new one without going through all the previous steps.
- Delete Profile Picture: If you no longer want to have a profile picture visible on your Venmo account, this option allows you to remove your current photo. Keep in mind that deleting your profile picture may affect how others recognize and identify your account.
Explore the available options in the profile picture settings menu and customize them according to your preferences. Don’t forget to save any changes you make in the settings to ensure they are applied to your profile picture.
Remember, your profile picture reflects your personal brand on Venmo, so take the opportunity to make it unique and representative of your personality or interests. Have fun customizing your profile picture settings and making your Venmo account truly your own!
Conclusion
Congratulations! You have successfully learned how to change your Venmo profile picture. Your profile picture is an important aspect of personalizing and branding your Venmo account, allowing you to express your individuality and make transactions more personal.
In this guide, we covered the step-by-step process to change your profile picture on Venmo. We started by opening the Venmo app and navigating to your profile page. Then, we tapped on your current profile picture to initiate the change. We guided you through choosing a new photo from your device or taking a new one using the app’s camera. Additionally, we covered how to adjust the photo if necessary to ensure it looks just right.
After making the necessary adjustments, we showed you how to save your new profile picture, making it visible to all your friends and contacts on Venmo. Finally, we explored options to customize your profile picture settings, including visibility options, profile picture frames, and the ability to replace or delete your profile picture.
Now it’s time to unleash your creativity and make your profile picture stand out! Choose a photo that truly represents you and customize the settings to match your preferences. Whether you prefer a professional headshot, a fun selfie, or an image that showcases your hobbies and interests, let your profile picture reflect your unique personality.
Remember to abide by Venmo’s guidelines and community standards when selecting or changing your profile picture. Avoid uploading explicit or offensive content, copyrighted images, or anything that may infringe on the privacy of others.
By following the steps outlined in this guide, you can confidently change your Venmo profile picture whenever you want and enhance your overall Venmo experience. So go ahead, make your profile picture shine and enjoy the personalized touch it brings to your Venmo transactions.