Introduction
Are you wondering how to create a second Venmo account? Whether you want to separate your personal and business expenses or have multiple shared accounts with different groups of friends, having a second Venmo account can be beneficial. Venmo is a popular mobile payment service that allows you to send and receive money from friends and family with ease.
In this article, we will guide you through the steps to create a second Venmo account and help you get started with managing multiple accounts. Please note that creating multiple Venmo accounts is against their terms and conditions, so it’s important to ensure you have a valid reason for doing so.
Before we dive into the step-by-step process, it’s essential to understand that having multiple Venmo accounts can get tricky to manage. Make sure you are fully aware of the responsibilities and potential complications that come with maintaining multiple accounts before proceeding.
Now, let’s explore the steps to create a second Venmo account and get you set up to manage your financial transactions efficiently.
Step 1: Decide the Purpose of Creating a Second Venmo Account
The first step in creating a second Venmo account is determining the purpose behind it. Understanding why you need a second account will help you make informed decisions throughout the process.
There are various reasons why someone may want a second Venmo account. Here are a few common scenarios:
- Separating Personal and Business Expenses: If you have personal and business transactions mixed in your main Venmo account, creating a separate account exclusively for business transactions can help keep things organized. This is especially useful for freelancers, small business owners, or anyone who needs to track their business-related expenses separately.
- Managing Multiple Shared Accounts: If you have multiple shared expenses with different groups of friends or family members, having a second Venmo account can simplify the process. For example, you may have one account for shared expenses with your roommates and another for shared expenses with your travel buddies.
- Privacy and Security Concerns: Some individuals may have concerns about privacy and security when using a single Venmo account for all transactions. Creating a second account allows you to limit the people who have access to your payment history and transactions.
- Testing and Experimentation: If you want to try out new features or experiment with Venmo’s functionality without affecting your primary account, having a separate account can be beneficial. This ensures that any experimentation or testing does not interfere with your regular transactions.
- Other Reasons: There may be other reasons specific to your circumstances that necessitate the creation of a second Venmo account. It’s important to carefully consider your needs and requirements before proceeding.
Once you have a clear understanding of why you need a second Venmo account, you can move on to the next steps in the process. Remember, it’s crucial to ensure that creating multiple accounts aligns with Venmo’s terms and conditions and that you have a legitimate reason for doing so.
Step 2: Check Venmo’s Terms and Conditions
Before proceeding with the creation of a second Venmo account, it is crucial to carefully review Venmo’s terms and conditions. Understanding the rules and limitations set by Venmo will ensure that you comply with their guidelines and avoid any potential account suspension or termination.
To check Venmo’s terms and conditions, follow these steps:
- Visit Venmo’s website: Open your web browser and go to the official Venmo website (www.venmo.com).
- Scroll to the bottom: Navigate to the bottom of the page, where you will find the footer section.
- Click on ‘Legal’: Look for the ‘Legal’ link in the footer section and click on it. This will redirect you to the legal page containing Venmo’s terms and conditions.
- Read the terms and conditions: Take the time to carefully read through Venmo’s terms and conditions to familiarize yourself with their policies, guidelines, and any restrictions regarding the creation and usage of multiple accounts.
It is crucial to pay special attention to sections that specifically address multiple accounts or any limitations on their usage. Venmo may have specific rules regarding creating and maintaining multiple accounts, which you will need to abide by to ensure smooth and uninterrupted usage.
If you have any doubts or questions regarding Venmo’s terms and conditions, you can reach out to their customer support for clarification. It’s better to seek clarification upfront rather than risk violating any rules unknowingly.
Once you have thoroughly reviewed and understood Venmo’s terms and conditions, you can proceed to the next step with confidence, knowing that you are adhering to their guidelines and policies.
Step 3: Gather the Necessary Information
Before you can create a second Venmo account, you will need to gather the necessary information that will be required during the registration process. Having this information readily available will ensure a smooth and efficient account setup.
Here are the key pieces of information you will need:
- Personal Information: You will be asked to provide personal details such as your full name, email address, date of birth, and phone number. Make sure to have these details on hand.
- Identification: Venmo may require you to verify your identity by providing a valid government-issued ID. This could be a driver’s license, passport, or any other accepted form of identification. Ensure that you have a scanned or digital copy of the ID document.
- Bank Account or Debit Card Information: To link your new Venmo account with a funding source, you will need the details of your bank account or debit card. This includes the bank name, account number, routing number, or debit card number, and expiration date. Having this information readily available will allow for a seamless linking process.
- Optional: Profile Picture and Personalization: If you wish to personalize your new Venmo account with a profile picture or add any other customization, make sure to have the desired image or information ready.
Gathering these details in advance will save you time during the registration process and prevent any unnecessary delays. Ensure that the information you provide is accurate and up-to-date to avoid any potential account verification issues later on.
By having all the necessary information ready, you can move on to the next step with ease, knowing that you have everything you need to create your second Venmo account.
Step 4: Download the Venmo App
To create and manage your second Venmo account, you will need to download the Venmo mobile app. The Venmo app is available for both iOS and Android devices and can be easily downloaded from the respective app stores.
Here’s how you can download the Venmo app:
- For iOS:
- Unlock your iPhone and go to the App Store.
- In the App Store, tap on the Search tab at the bottom of the screen.
- Search for “Venmo” using the search bar.
- Once you find the Venmo app, tap on “Get” or the cloud icon with a down arrow to download and install it.
- After the app is installed, tap on “Open” to launch Venmo.
- For Android:
- Unlock your Android device and go to the Google Play Store.
- In the Play Store, tap on the search bar at the top of the screen.
- Type in “Venmo” and tap on the search icon.
- Once you find the Venmo app, tap on “Install” to download and install it.
- After the app is installed, tap on “Open” to launch Venmo.
Ensure that you download the official Venmo app developed by Venmo, LLC to guarantee the security and authenticity of the application.
Once you have successfully downloaded and installed the Venmo app, you are ready to move on to the next step and begin the account registration process.
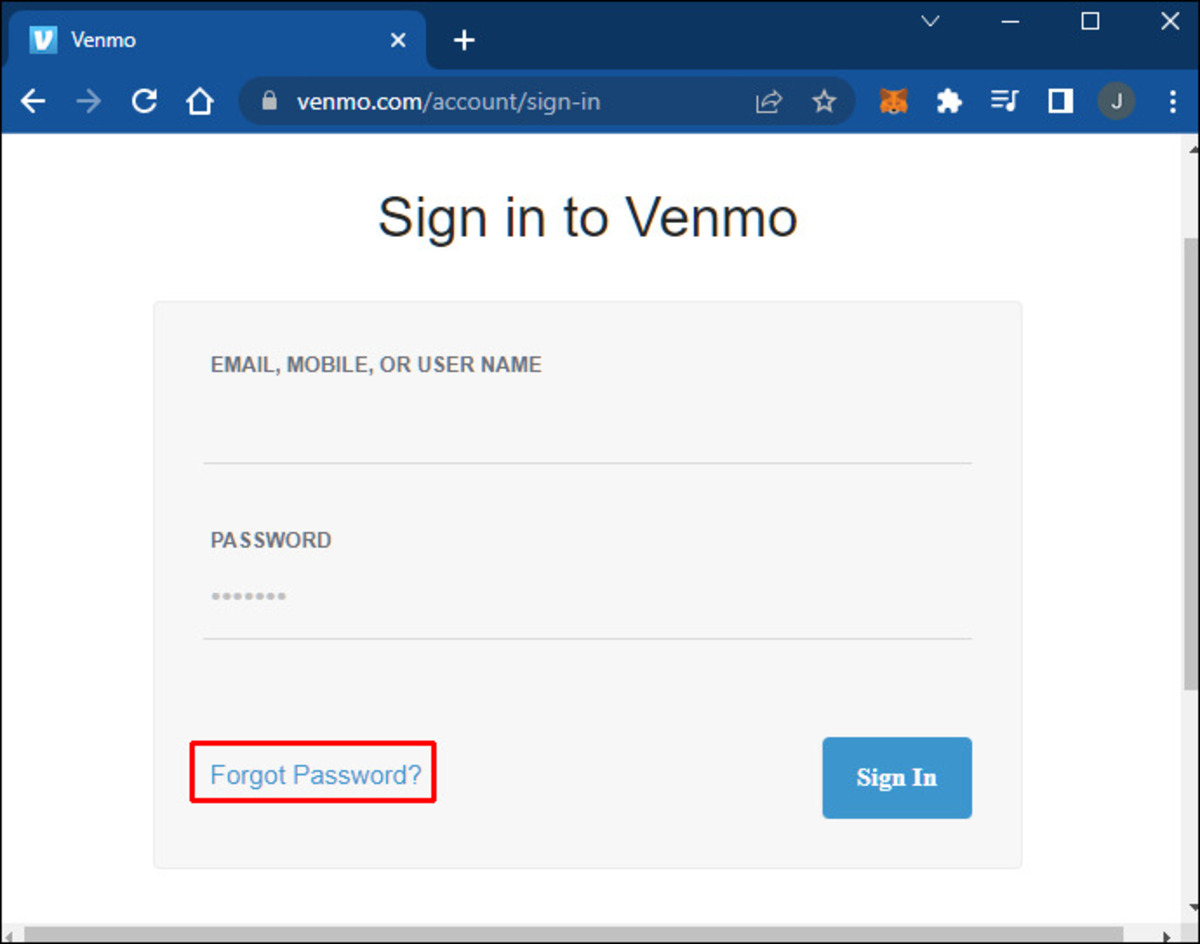
Step 5: Sign Up for a New Account
Now that you have downloaded the Venmo app, it’s time to sign up for your new account. Follow these steps to create your second Venmo account:
- Open the Venmo app: Locate the Venmo app on your mobile device and tap on it to open it.
- Select “Sign up”: On the Venmo login screen, tap on the “Sign up” button to start the registration process.
- Enter your email address: Provide your email address in the designated field. Make sure to enter a valid email address that you have access to.
- Create a password: Choose a strong and secure password for your Venmo account. Make sure it includes a mix of uppercase and lowercase letters, numbers, and special characters.
- Verify your email: Venmo will send a verification email to the address you provided. Access your email inbox, find the email from Venmo, and click on the verification link within the email to verify your account.
- Enter your phone number: Provide your phone number in the required field. Venmo will send you a verification code via SMS to confirm your phone number.
- Verify your phone number: Enter the verification code you received via SMS on the Venmo app to verify your phone number.
- Set up your profile: Enter your full name and any other requested information to complete your profile setup. You can also choose to add a profile picture or customize your profile at this stage.
- Agree to Venmo’s terms and conditions: Read through Venmo’s terms and conditions, privacy policy, and any other agreements, then tap on the checkbox to indicate that you agree to them.
- Tap on “Sign Up”: Once you’ve provided all the required information and agreed to the terms and conditions, tap on the “Sign Up” button to create your new Venmo account.
After completing these steps, you will officially have a second Venmo account ready to be personalized and linked to your funding source. Take note of the email address and password you used to sign up as you will need them for future logins.
With your new Venmo account created, you can proceed to the next steps in the process to fully set up and start using your second Venmo account.
Step 6: Verify Your Phone Number and Email
Once you have signed up for your new Venmo account, the next step is to verify your phone number and email address. Verifying these details is essential to ensure the security and functionality of your account.
Follow these steps to verify your phone number and email on Venmo:
- Verifying your phone number:
- After signing up, Venmo will send a verification code to the phone number you provided during the registration process.
- Check your phone for the SMS containing the verification code.
- Enter the verification code into the Venmo app when prompted.
- Verifying your email address:
- After signing up, Venmo will send a verification email to the email address you provided during registration.
- Open your email inbox and find the verification email from Venmo.
- Click on the verification link within the email to verify your email address.
Verifying your phone number and email address adds an extra layer of security to your Venmo account and ensures that you have access to important account-related notifications and updates. It also helps prevent unauthorized access to your account.
If you encounter any issues with the verification process or do not receive the verification code or email, make sure to check your spam or junk folders. If the problem persists, you can reach out to Venmo’s customer support for assistance.
Once you have successfully verified your phone number and email address, you can proceed to the next steps in setting up your second Venmo account.
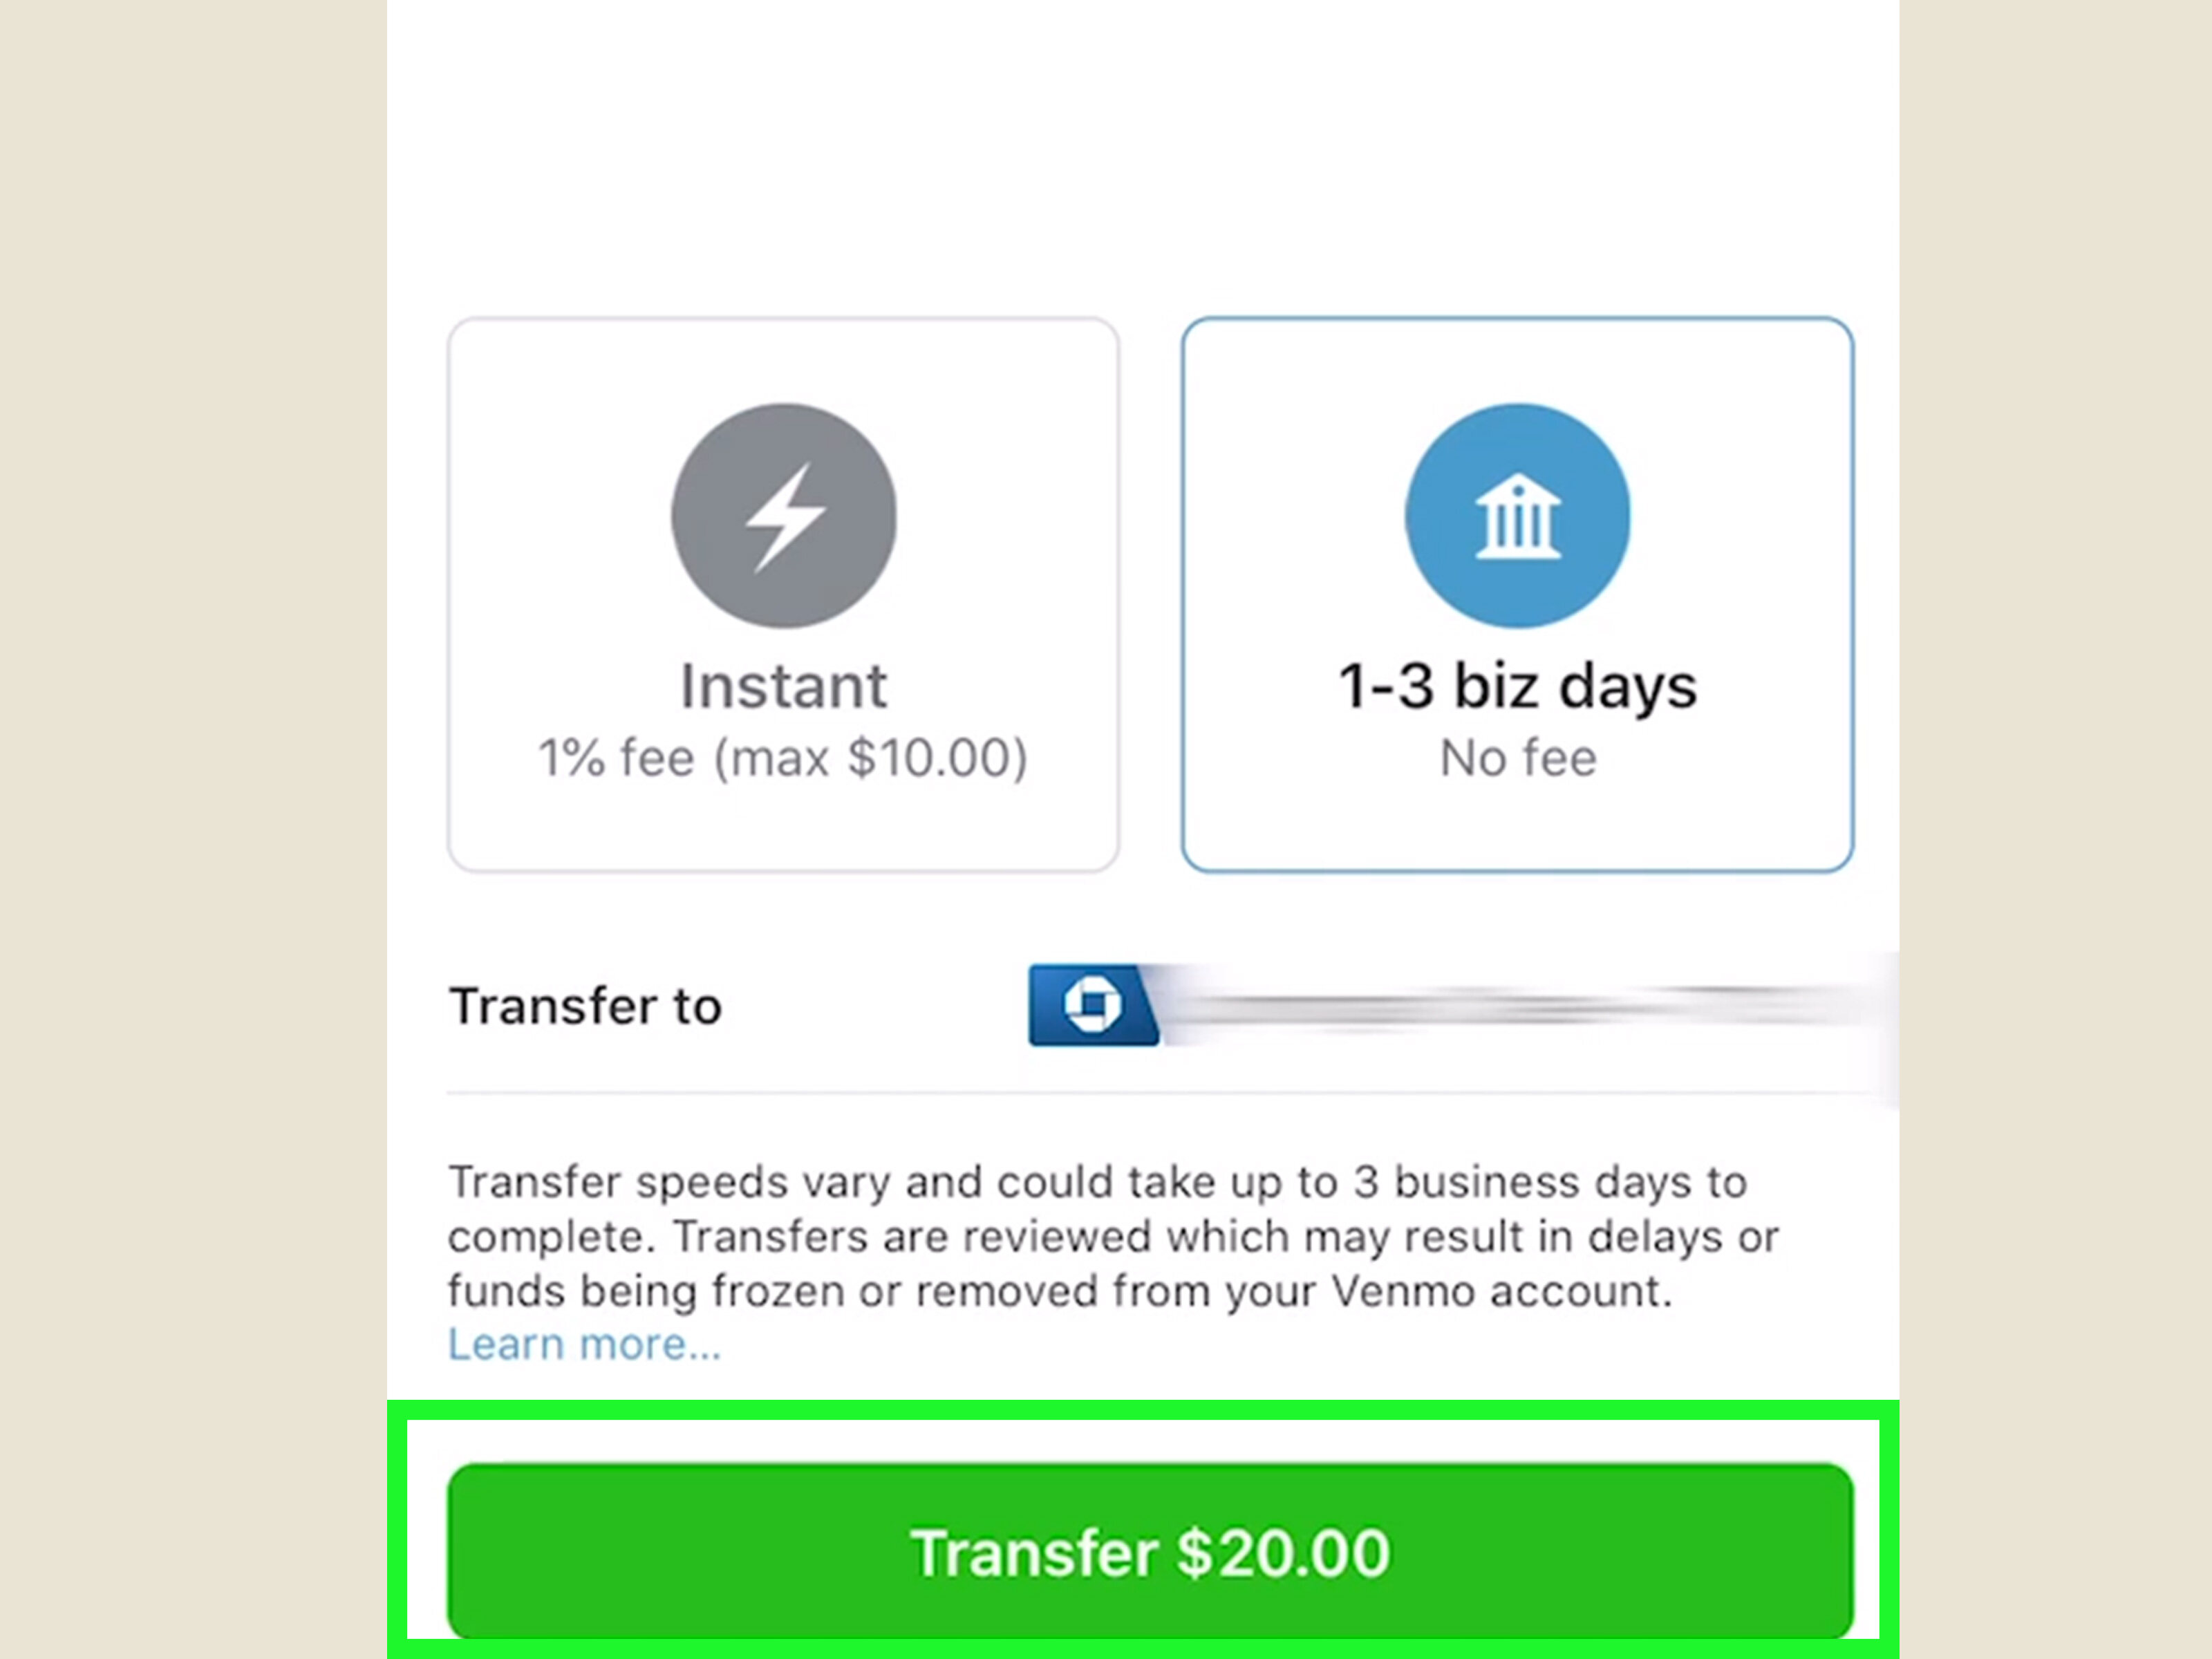
Step 7: Add a Bank Account or Debit Card to Your New Account
After verifying your phone number and email, the next step in setting up your second Venmo account is to link a bank account or debit card. This will allow you to fund your account and make transactions seamlessly.
Here’s how you can add a bank account or debit card to your new Venmo account:
- Tap on the menu: Open the Venmo app and tap on the menu icon (usually represented by three lines) in the top-left corner of the screen.
- Select “Settings”: In the menu, scroll down and select “Settings.” This will take you to the account settings page.
- Select “Payment Methods”: On the account settings page, tap on “Payment Methods” to manage your linked payment methods.
- Tap on “Add Bank Account” or “Add Card”: Depending on whether you want to link a bank account or a debit card, choose the respective option. Venmo supports a variety of banks and debit cards, so you can select your preferred option.
- Follow the prompts: Venmo will guide you through the process of adding your bank account or debit card. This may include providing the necessary details, such as the account or card number, routing number (for bank accounts), or card expiry date (for debit cards).
- Confirm and verify: Once you have entered the required details, Venmo may require you to confirm your ownership of the bank account or debit card. This can be done through instant verification or by verifying small test deposits made to your account.
- Complete the process: After confirming and verifying your bank account or debit card, you will receive a notification or confirmation screen indicating that the linking process is successful. Your payment method will now be added to your second Venmo account.
Adding a bank account or debit card to your Venmo account allows you to seamlessly transfer funds, make payments, and receive money. It’s important to ensure that the bank account or debit card you link is in good standing and accessible for transactions.
By following these steps, you can successfully link a bank account or debit card to your new Venmo account and take advantage of all the features and functionalities offered by the platform.
Step 8: Personalize Your Profile and Settings
After setting up your bank account or debit card, it’s time to personalize your profile and adjust the settings of your second Venmo account. Personalizing your profile adds a personal touch to your account, while adjusting the settings allows you to tailor your Venmo experience to your preferences.
Here are some steps you can take to personalize your profile and adjust your settings on Venmo:
- Add a profile picture: Tap on your profile icon or picture, then select “Edit Profile.” Choose a profile picture from your photo gallery or take a new picture using your device’s camera.
- Update your bio: In the “Edit Profile” section, you can write a short bio or description of yourself or your account. This can help friends and contacts identify your account or understand the purpose of your second Venmo account.
- Adjust privacy settings: Open the Venmo app, tap on the menu icon, then select “Settings.” Within the settings, navigate to the “Privacy” section. Here, you can customize who can see your transactions, friends list, and other privacy-related options.
- Set up security measures: Within the settings, you can also enhance the security of your Venmo account. Enable features such as PIN protection, Touch ID, or Face ID authentication to ensure that only you can access your account.
- Manage notification preferences: Customize which notifications you receive from Venmo by going to the settings and selecting “Notifications.” You can choose to be notified about various account activities, such as transaction updates, payment requests, or friend activities.
- Explore additional settings: Venmo offers various additional settings that you can explore based on your preferences. These may include options such as default privacy settings, email preferences, or connected apps.
By personalizing your profile and adjusting the settings of your second Venmo account, you can tailor your experience to your liking and ensure that your account reflects your unique preferences and needs.
Take some time to explore the available options and make any desired changes. Remember to review the settings periodically to ensure they still align with your preferences.
With your profile personalized and your settings adjusted, your second Venmo account is now customized to your liking and ready for seamless transactions and interactions.
Step 9: Link Your Second Venmo Account to Your Phone
Linking your second Venmo account to your phone allows for easy access and management of your account on the go. By linking your account to your phone, you can conveniently send and receive money, track transactions, and stay updated on your account activity.
Here’s how you can link your second Venmo account to your phone:
- Open the Venmo app: Launch the Venmo app on your smartphone device.
- Sign in to your account: Enter the email address or phone number associated with your second Venmo account and provide the corresponding password to access your account.
- Enable mobile number linking: In the Venmo app, navigate to the settings options. Look for the “Phone” or “Mobile” section, where you will find an option to link your phone number to your account.
- Verify your mobile number: Venmo will send a verification code to the phone number you provided during the linking process. Check your phone for the SMS with the code and enter it into the app when prompted.
- Enable notifications: Make sure the notification settings on your phone are enabled for the Venmo app. This ensures that you receive alerts and updates regarding your transactions and account activity.
- Access your account: Once your second Venmo account is successfully linked to your phone, you can log in easily using your phone number or email address and your associated password. This allows for quick and convenient access whenever you need to make payments or manage your account.
Linking your second Venmo account to your phone offers a seamless mobile experience. It allows you to have immediate access to your account, make transactions on the go, and stay connected with friends and contacts within the Venmo community.
Ensure that you keep your phone and account credentials secure to protect your Venmo account from unauthorized access. Regularly update your password and enable any available security features to enhance the safety of your account.
With your second Venmo account now linked to your phone, you are ready to enjoy the convenience and flexibility of managing your transactions anytime, anywhere.
Step 10: Start Using Your Second Venmo Account
Congratulations! You have successfully set up your second Venmo account. Now it’s time to start using it for all your payment needs. Whether you’re splitting bills with friends, sending money to family members, or making business transactions, Venmo provides a convenient and secure platform for managing your financial transactions.
Here are some key features and actions you can take to start using your second Venmo account:
- Send and receive payments: Use the “Pay” or “Request” options in the Venmo app to send money to someone or request payment from them. You can easily search for contacts or enter their username, phone number, or email address.
- Add friends: Connect with friends or contacts who also have Venmo accounts by searching for their usernames or syncing your phone contacts. This makes it easy to send and request money from them.
- Split bills: Venmo allows you to split bills with multiple people. If you’ve shared an expense with friends, simply enter the amount and split it among the relevant individuals, making it easy to settle shared expenses.
- Explore transaction history: Use the Venmo app to view your transaction history. This allows you to keep track of your payments, see who you’ve paid or received money from, and review any related messages or notes.
- Set up automatic transfers: If you want to automate regular transfers to or from your second Venmo account, you can set up automatic transfers. This is useful for managing recurring bills or savings goals.
- Review and manage your settings: Regularly review and update your Venmo account settings, including privacy preferences, notification settings, and security features. This ensures that your account is customized to your preferences and remains secure.
- Explore additional features: Venmo offers various additional features, such as Venmo Card, in-app purchases, and integration with other apps. Take some time to explore what else Venmo can offer and make the most out of your second account.
Remember to use your second Venmo account responsibly and abide by Venmo’s terms and conditions to ensure a positive and hassle-free experience. Keep your account information secure, regularly review your transactions, and report any suspicious activities to Venmo’s customer support.
With these tools and features in hand, you can confidently start using your second Venmo account for all your payment needs and enjoy the convenience and ease of transacting with friends, family, and businesses.