Introduction
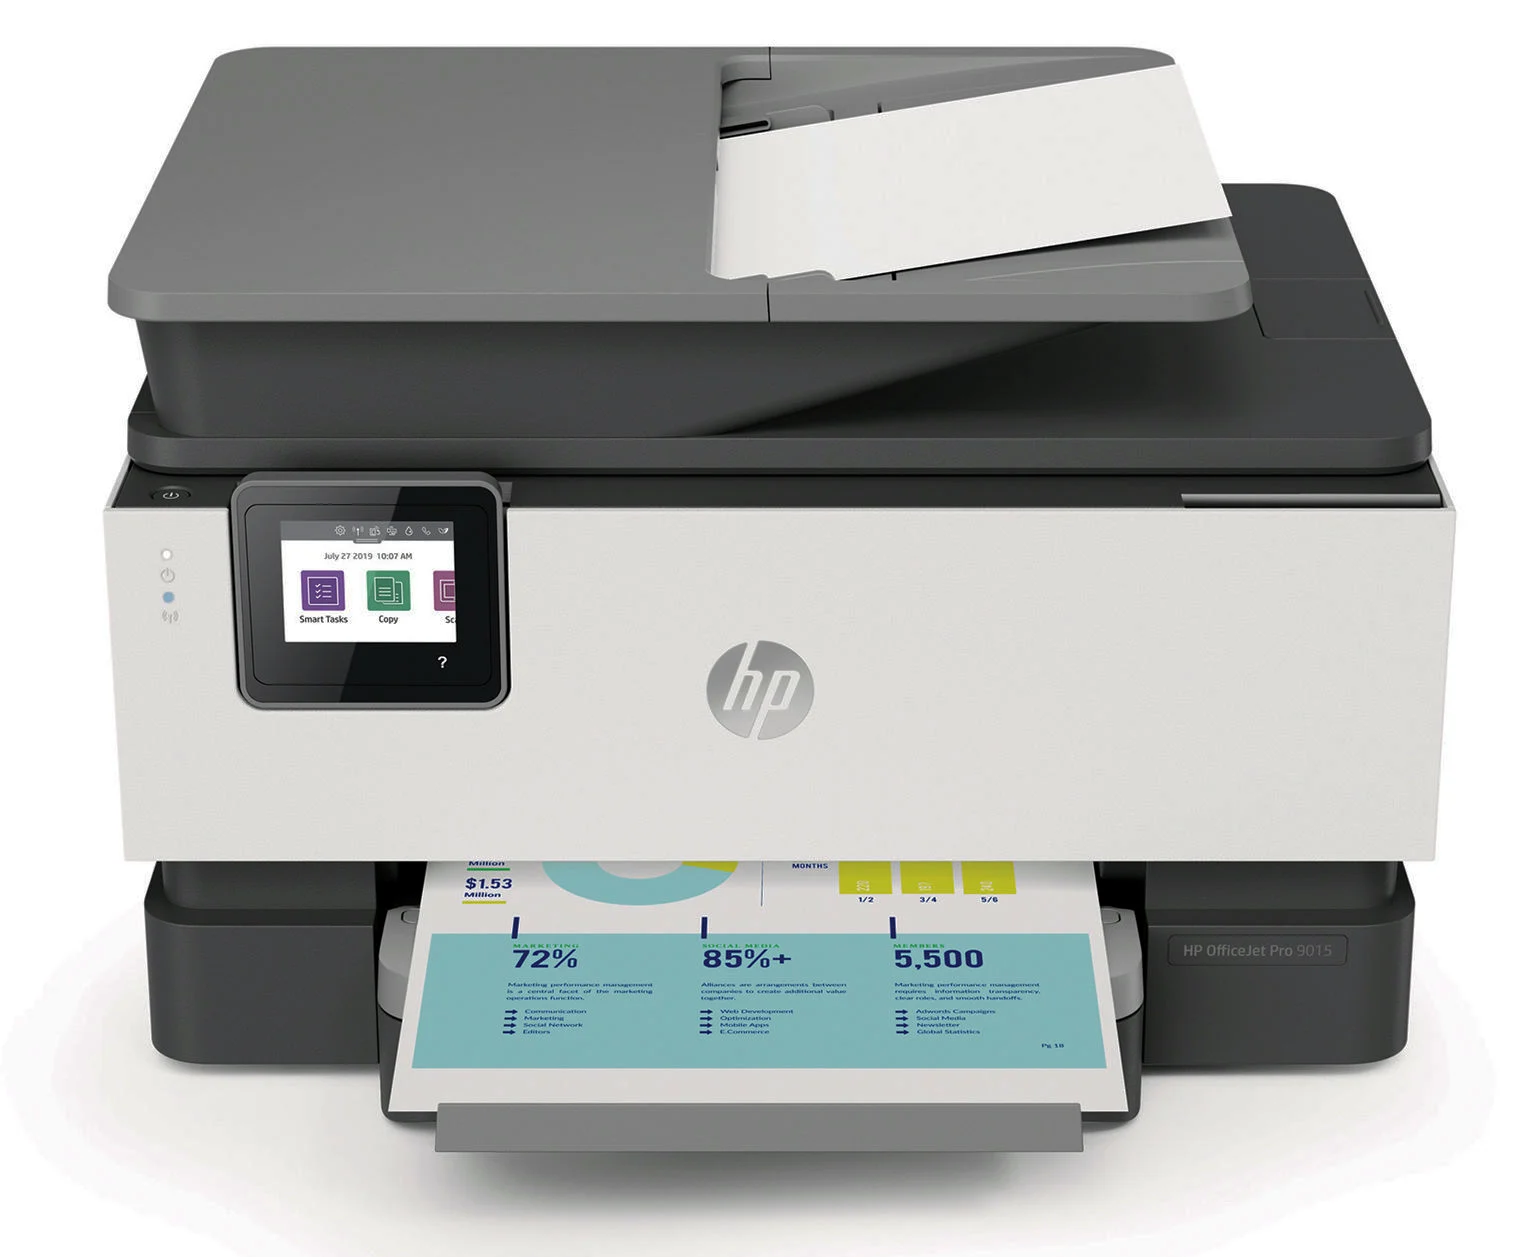
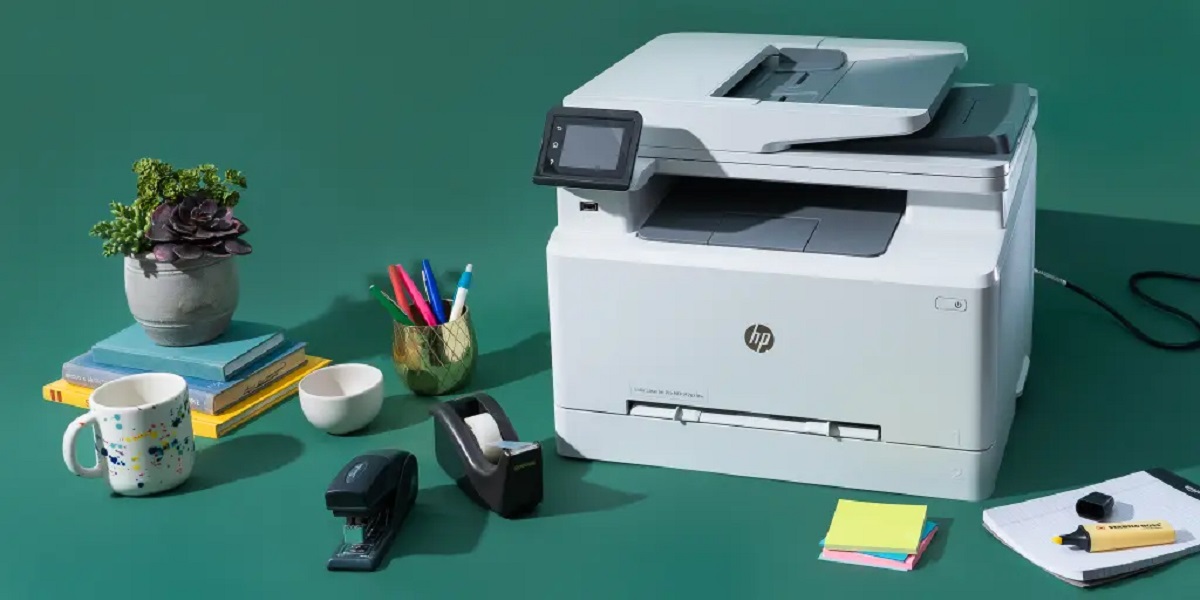
Welcome to the digital age, where technology has made our lives easier and more convenient. From smartphones to smart homes, we rely heavily on various devices to accomplish our daily tasks. One such device that plays a crucial role in our professional and personal lives is the printer.
Printers have evolved over time, becoming wireless and enabling us to print documents from anywhere in our homes or offices. However, like any other technological device, printers can encounter issues, and one common problem that users often face is the inability to connect their printer to Wi-Fi.
A printer that won’t connect to Wi-Fi can be frustrating and hinder your productivity. Whether you’re trying to print important documents for a business meeting or personal use, troubleshooting the issue is essential to get your printer back online.
In this article, we will explore various troubleshooting steps to help you resolve the Wi-Fi connectivity issue with your printer. These steps will guide you through the process of identifying potential problems and finding solutions to get your printer connected to Wi-Fi once again.
Before we dive into the troubleshooting steps, it’s important to understand that printers can differ in terms of models and capabilities. While the basic concepts remain the same, some steps outlined here may vary slightly depending on the make and model of your printer. Therefore, it’s always a good idea to refer to your printer’s user manual or the manufacturer’s website for specific instructions.
Let’s get started on the journey to diagnose and resolve the Wi-Fi connection issue with your printer.
Understanding the Problem
Before you begin troubleshooting the connection issue with your printer, it’s crucial to have a clear understanding of the possible reasons behind the problem. This understanding will help you tackle the issue more efficiently and eliminate any unnecessary steps in the troubleshooting process.
There could be several reasons why your printer is not connecting to Wi-Fi. Here are a few common factors that you should consider:
- Network Connectivity Issues: Your printer may not be able to establish a connection with the Wi-Fi network due to weak signal strength or interference from other devices.
- Incorrect Network Settings: If the printer’s network settings are not configured correctly, it may fail to connect to your Wi-Fi network.
- Outdated Firmware: Like any other device, printers may require firmware updates to ensure compatibility with the latest network protocols and security standards. Outdated firmware can cause connectivity issues.
- IP Address Conflicts: If there are multiple devices on the network with the same IP address, it can lead to conflicts and prevent your printer from connecting.
- Network Security Settings: Some printers may have compatibility issues with certain types of network security settings. If your Wi-Fi network has complex security configurations, it could be causing connectivity problems.
- Router Issues: Problems with your router, such as outdated firmware or incorrect settings, can interfere with the printer’s ability to connect to Wi-Fi.
By understanding these potential causes, you can narrow down the scope of troubleshooting and focus on the specific aspects that may be contributing to your printer’s connectivity issue.
Now that we have a clear understanding of the possible problems, let’s move on to the troubleshooting steps that will help you get your printer connected to Wi-Fi once again.
Troubleshooting Steps
When faced with a printer that won’t connect to Wi-Fi, it’s important to follow a systematic approach to identify and resolve the issue. Here are some troubleshooting steps you can take to get your printer back online:
- Checking the Basics: Start by checking the physical connections of your printer, including the power cable and Ethernet cable (if applicable). Make sure they are securely plugged in.
- Ensure the Printer is Powered On: Double-check that your printer is turned on and in a ready state. Look for any error messages or lights that indicate a problem.
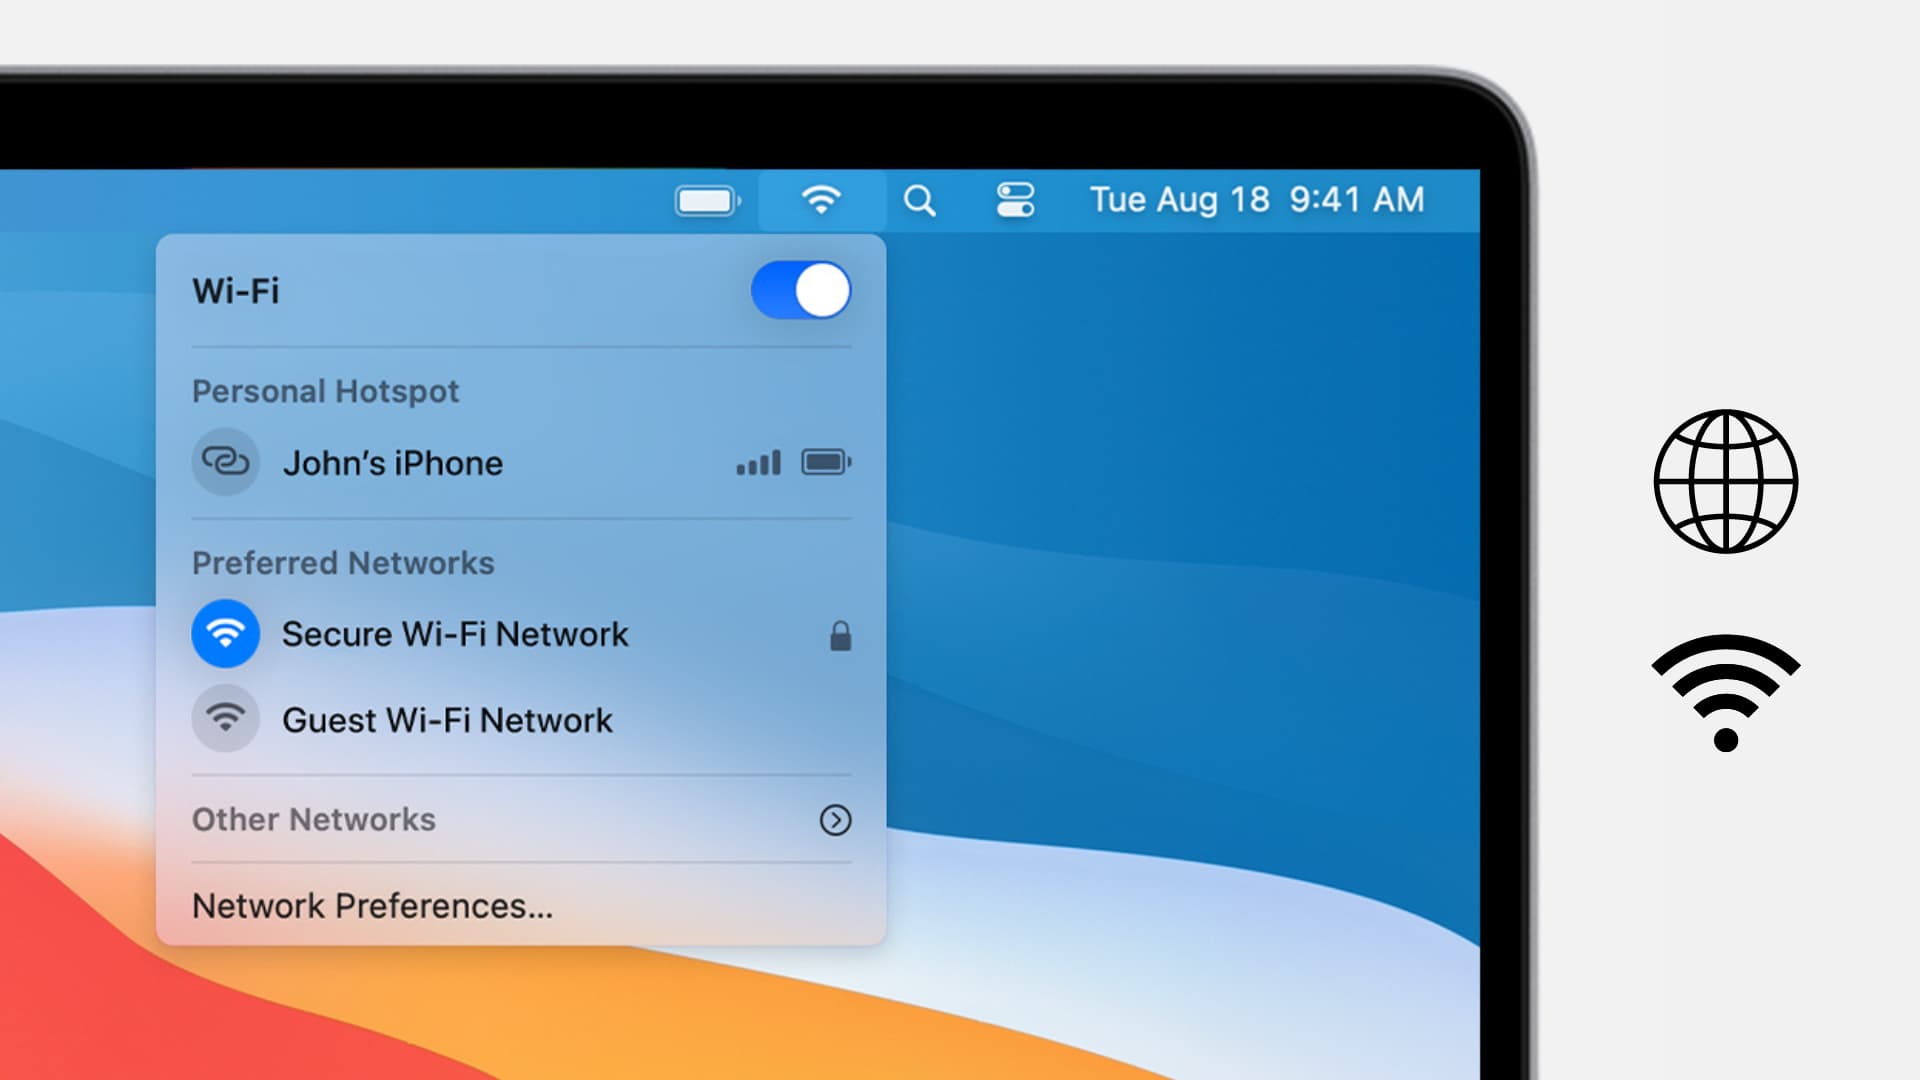
- Verify the Network Connection: Check if your printer is connected to the correct Wi-Fi network. You can usually do this by accessing the printer’s settings menu or using the display panel (if available).
- Resetting the Printer’s Network Settings: If you suspect that the printer’s network settings are causing the issue, you can try resetting them to default. Refer to your printer’s user manual for instructions on how to perform a network reset.
- Updating the Printer’s Firmware: Visit the manufacturer’s website or use the printer’s control panel to check for firmware updates. If available, follow the instructions to update the firmware, as it can often fix connectivity problems.
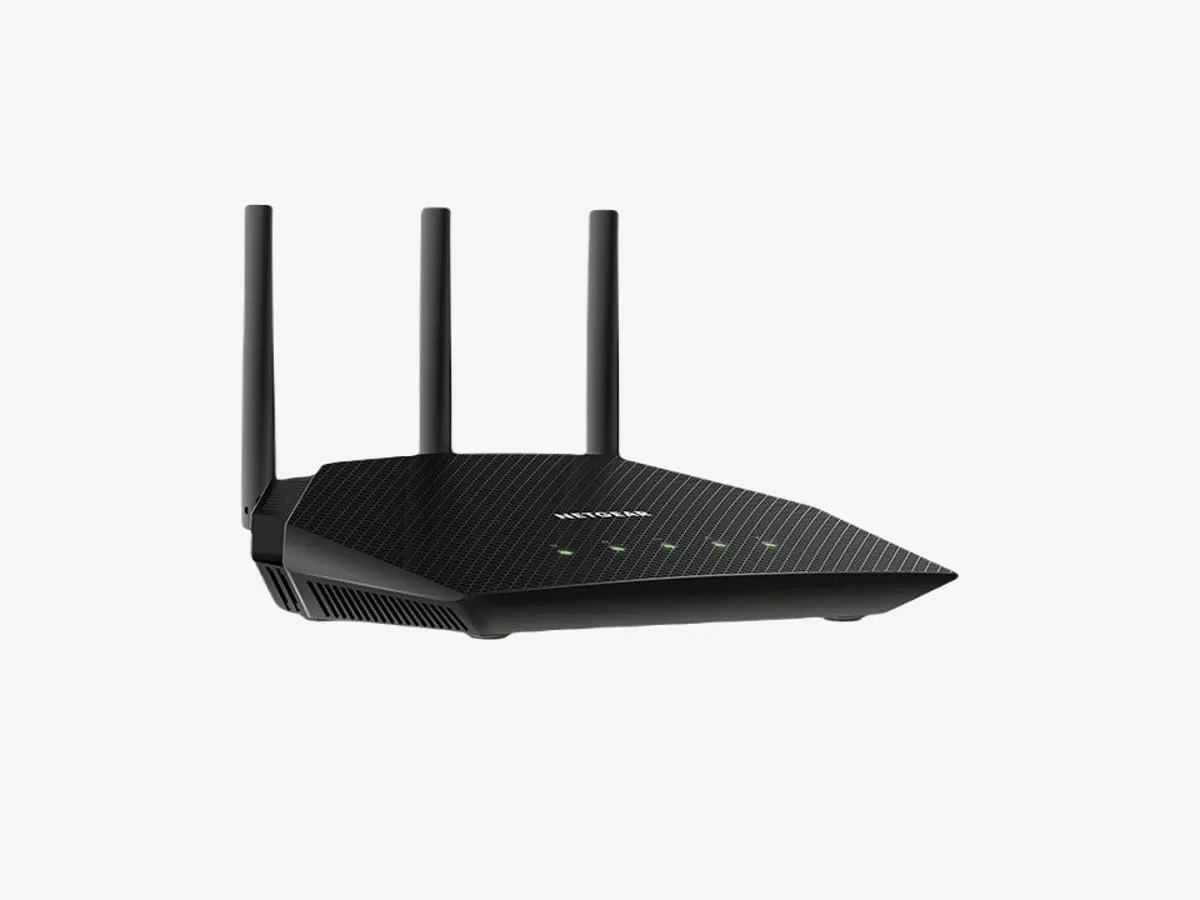
- Restarting Your Router: Sometimes, the router may encounter temporary glitches that affect the printer’s connection. Try power cycling your router by unplugging it from the power source for a few seconds and then plugging it back in.
- Ensure Network Security Settings are Compatible: Verify that your printer’s security settings are compatible with the Wi-Fi network. You may need to adjust the security settings on your router to allow the printer to connect.
- Connecting with WPS (Wi-Fi Protected Setup): If your printer and router both support WPS, you can try using this method to establish a connection. Follow the instructions provided by your printer and/or router for WPS setup.
- Resolving IP Address Conflicts: Check if there are any IP address conflicts on your network. If you find multiple devices with the same IP address, assign a unique IP address to your printer through the router settings.
- Connecting Printer to a Different Network: If all else fails, try connecting your printer to a different Wi-Fi network, such as a mobile hotspot or a friend’s network, to isolate the issue. If it connects successfully, it may indicate a problem with your home or office network.
Now that you have a list of troubleshooting steps, you can begin working through them one by one to resolve the Wi-Fi connectivity issue with your printer. These steps should help you identify the cause of the problem and find an appropriate solution.
Checking the Basics
When faced with a printer that won’t connect to Wi-Fi, the first step is to check the basic physical connections and settings. Here are some things to consider:
- Power and Connectivity: Ensure that your printer is properly powered on. Check if the power cable is securely plugged into both the printer and the power source. Additionally, if your printer has an Ethernet connection, make sure the cable is securely connected to the printer and the router.
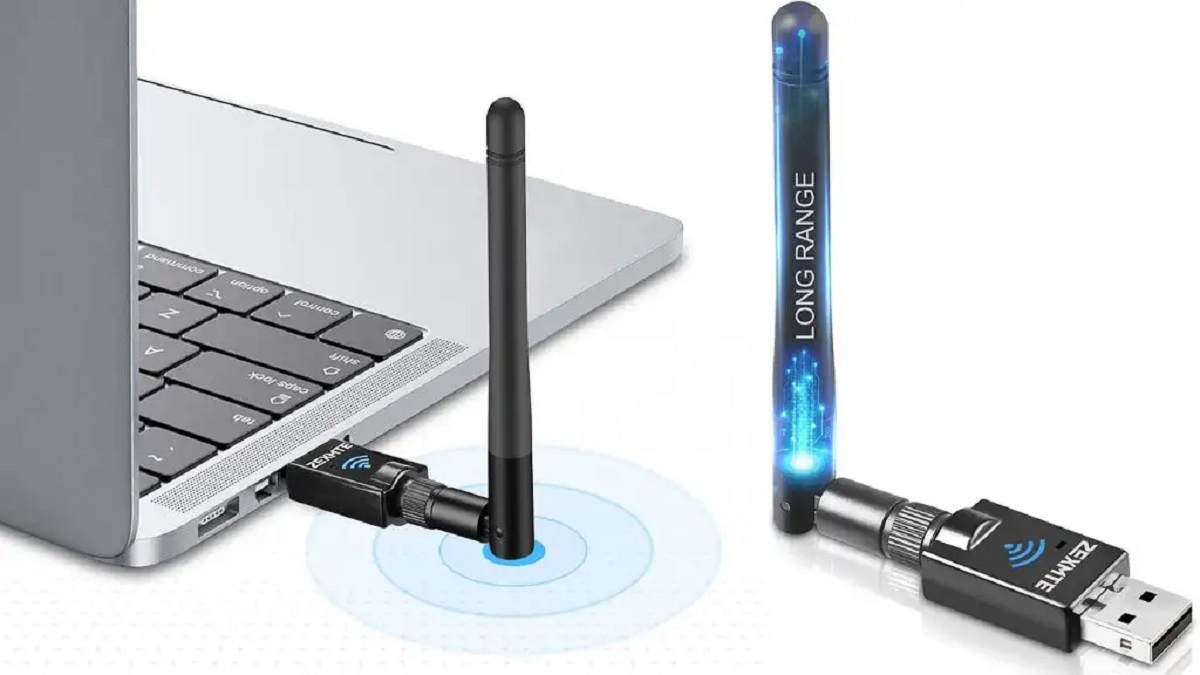
- Wi-Fi Signal Strength: If your printer is located far from the router, it might have a weak Wi-Fi signal. Try moving the printer closer to the router or consider using a Wi-Fi range extender to improve the signal strength.
- Printer Display: Check the printer’s display for any error messages or indicators that might provide insight into the connectivity issue. Error codes or warning lights can help identify specific problems.
- Network Settings: Access your printer’s settings menu or control panel to verify that the network settings are correctly configured. Check if the printer is connected to the correct Wi-Fi network and that the Wi-Fi signal is enabled.
By checking these basic elements, you can eliminate any simple issues that may be causing the connectivity problem. Ensure that all physical connections are secure and that the printer settings are correctly configured for wireless connectivity.
If you find any loose cables, secure them properly. If you’re unsure about the network settings, consult your printer’s user manual or the manufacturer’s website for guidance on how to verify and update the settings.
It’s worth noting that some printers may have a physical button or switch to enable or disable Wi-Fi connectivity. Check the printer’s documentation for information on how to enable Wi-Fi if needed.
Now that you’ve checked the basics, move on to the next step if the printer still isn’t connecting to Wi-Fi. Each step will help you narrow down the possible causes and find a solution for getting your printer back online.
Ensure the Printer is Powered On
One of the first things to check when your printer is not connecting to Wi-Fi is to ensure that the printer is powered on and in a ready state. Here’s what you can do:
- Check Indicator Lights: Look for any indicator lights on the printer’s control panel or display. These lights can provide information about the printer’s status. If there are no lights or if they are flashing or showing an error, it indicates a power issue that needs to be addressed.
- Press the Power Button: Many printers have a dedicated power button. Press this button and wait for the printer to initialize. It may take a few moments for the printer to power on and become ready for use.
- Check Power Connection: Ensure that the power cable is securely connected to both the printer and the power outlet. Sometimes, cables can become loose over time, resulting in intermittent power supply. Try unplugging the power cable and plugging it back in to ensure a secure connection.
- Power Cycle the Printer: If the printer has been on for an extended period of time or if you’ve encountered any power issues, try performing a power cycle. Turn off the printer, unplug the power cable, wait for a few seconds, and then plug it back in. Afterward, turn on the printer and check if it powers on correctly.
Once you have verified that the printer is properly powered on and in a ready state, try reconnecting it to the Wi-Fi network. If the printer still won’t connect, continue with the next troubleshooting step to troubleshoot further.
It’s important to note that some printers may have a dedicated Wi-Fi button or menu option to check the Wi-Fi status. If available, use this feature to verify the Wi-Fi connection and troubleshoot any network issues directly from the printer’s control panel.
By ensuring the printer is powered on and functioning correctly, you can eliminate any simple power-related problems and focus on other potential causes of the Wi-Fi connectivity issue. If the issue persists, move on to the next step in troubleshooting.
Verify the Network Connection
When your printer is having trouble connecting to Wi-Fi, it’s essential to verify the network connection and ensure that the printer is correctly connected to the desired Wi-Fi network. Here’s what you can do:
- Check Network Signal: Test the Wi-Fi signal strength in the area where your printer is located. Signal strength can be affected by distance from the router, physical obstructions, or interference from other devices. Make sure the printer is within range of the Wi-Fi network.
- Confirm SSID and Password: Double-check that the printer is attempting to connect to the correct Wi-Fi network. Verify that the SSID (network name) displayed on the printer matches the SSID of your desired network. If it doesn’t match, you will need to update the Wi-Fi network settings on the printer.
- Ensure Wi-Fi is Enabled: Access the printer’s settings menu or control panel and navigate to the network settings. Ensure that Wi-Fi is enabled or turned on. If Wi-Fi is disabled, enable it and wait for the printer to search for available networks.
- Re-enter Wi-Fi Password: If the printer’s Wi-Fi settings are correct, but it still fails to connect to the network, try re-entering the Wi-Fi password. Sometimes, errors in password input can prevent successful connectivity. Ensure that the password is correct, including capitalization and special characters, if applicable.
- Monitor Wi-Fi Traffic: If you have access to your router’s administration settings, check the client list or device section to see if the printer is detected as a connected device. This will help confirm whether the printer is successfully connected to the network or if there are any issues with the router’s configuration.
By verifying the network connection, you can identify any issues related to signal strength, incorrect network settings, or password mismatches that might prevent the printer from connecting to Wi-Fi. If the printer is successfully connected to the network, move on to the next troubleshooting step. If not, continue troubleshooting using the other steps provided in this guide.
It’s worth noting that some printers have a Wi-Fi setup wizard or a guided setup process that can help simplify the network connection process. Consult your printer’s user manual or the manufacturer’s website for specific instructions on using these features if available.
Now that you have checked the network connection, proceed to the next step in troubleshooting to resolve the Wi-Fi connectivity issue with your printer.
Resetting the Printer’s Network Settings
If your printer is still not connecting to Wi-Fi after checking the network connection, a potential solution is to reset the printer’s network settings. This can help clear any misconfigurations or conflicts that may be preventing the printer from establishing a connection. Here’s how you can reset the printer’s network settings:
- Access Printer’s Settings: Navigate to the printer’s settings menu or control panel, usually accessible through the printer’s display panel.
- Find Network or Wireless Settings: Look for the network or wireless settings option within the printer’s settings menu. The specific location and terminology may vary depending on the printer model.
- Select Reset or Restore: Locate the option to reset or restore the network settings on your printer. This may be labeled as “Reset Network Settings,” “Restore Defaults,” or something similar.
- Confirm Reset: Once you have selected the reset option, the printer will typically prompt you to confirm the reset action. Confirm the reset to proceed.
- Restart and Reconfigure: After the reset is complete, restart your printer by turning it off and then back on. Once the printer powers back on, you will need to reconfigure the network settings and reconnect the printer to your Wi-Fi network.
Keep in mind that performing a network reset will remove any previously saved Wi-Fi network settings, including SSID, passwords, and other network configurations. You will need to re-enter these details during the reconfiguration process.
It’s important to consult your printer’s user manual or the manufacturer’s website for specific instructions on resetting the network settings. The reset process may differ for each printer model.
If resetting the printer’s network settings does not resolve the connection issue, there may be other underlying factors causing the problem. Proceed to the next troubleshooting step to continue resolving the Wi-Fi connectivity issue with your printer.
Updating the Printer’s Firmware
Outdated firmware can sometimes cause connectivity issues between your printer and Wi-Fi network. Firmware updates often include bug fixes, performance enhancements, and compatibility improvements that can resolve connectivity problems. Here’s how you can update your printer’s firmware:
- Check for Updates: Visit the manufacturer’s website and navigate to the support or downloads section. Look for firmware updates specific to your printer model. Alternatively, some printers have a built-in firmware update option accessible through the printer’s settings menu.
- Download Firmware: If a firmware update is available, download the appropriate firmware file for your printer. Make sure to follow the manufacturer’s instructions and download the correct version to avoid any compatibility issues.
- Transfer Firmware to Printer: Transfer the downloaded firmware file to your printer, following the manufacturer’s instructions. This may involve connecting a USB cable or using a software tool provided by the manufacturer to initiate the update process.
- Initiate Firmware Update: Once the firmware file is transferred to your printer, initiate the firmware update process. This may involve navigating to the firmware update section in your printer’s settings and following the on-screen instructions to start the update.
- Wait for Update to Complete: Allow the firmware update process to complete. This may take a few minutes, during which the printer may restart multiple times. It’s crucial not to interrupt the update process to avoid potential issues or damage to the printer.
- Verify Successful Update: Once the firmware update is complete, check the printer’s display or control panel for any confirmation messages. If the update was successful, the printer should be ready to reconnect to the Wi-Fi network.
Keep in mind that the firmware update process may vary for different printer models. It’s important to refer to your printer’s user manual or the manufacturer’s website for specific instructions on updating the firmware.
If there are no available firmware updates or if updating the firmware does not resolve the Wi-Fi connectivity issue, proceed to the next troubleshooting step to continue troubleshooting the problem.
Restarting Your Router
If your printer is still unable to connect to the Wi-Fi network, it may be worth restarting your router. Sometimes, routers can experience temporary glitches or issues that can affect the connectivity of devices, including printers. Follow these steps to restart your router:
- Locate the Power Source: Find the power cable connected to your router and locate the power source, which is typically a wall outlet or power strip.
- Power Off the Router: Safely power off your router by unplugging the power cable from the power source.
- Wait for 30 Seconds: Leave the router unplugged for about 30 seconds. This time allows the router’s capacitors to discharge and reset its internal settings.
- Power On the Router: After waiting for 30 seconds, plug the power cable back into the power source and turn on your router. Wait for the router to fully initialize and establish an internet connection.
- Connect the Printer: Once the router is back online, turn on your printer and attempt to connect it to the Wi-Fi network following the printer’s network setup process.
By restarting your router, you can clear any temporary issues that may be affecting the connection between your printer and the Wi-Fi network. It allows the router to refresh its settings and establish a stable connection with devices on the network.
After restarting the router, ensure that you enter the correct Wi-Fi network name (SSID) and password during the printer’s network setup. This step ensures that the printer connects to the correct network with the updated router settings.
If the printer still does not connect to Wi-Fi after restarting the router, move on to the next troubleshooting step to continue resolving the connectivity issue.
Ensure Network Security Settings are Compatible
In some cases, network security settings can interfere with the connection between your printer and the Wi-Fi network. It’s important to ensure that the printer’s network security settings are compatible with your router’s security configuration. Here are some steps to check and adjust the network security settings:
- Access Router Settings: Open a web browser on a device connected to your Wi-Fi network and enter your router’s IP address in the address bar. This will allow you to access the router’s administration settings.
- Login to Router: Enter your router’s username and password to log in to the administration interface. If you are unsure of the login credentials, consult your router’s user manual or contact your Internet Service Provider for assistance.
- Find Wireless Settings: Navigate to the wireless or Wi-Fi settings section within the router’s administration interface. Look for the security settings or security mode option.
- Check Router Security: Note the security mode configured on your router (e.g., WEP, WPA, WPA2). Ensure that your printer supports the same security mode. Some older printers may not be compatible with the latest security protocols.
- Adjust Router Security: If your router’s security mode is set to a higher level than what your printer supports, consider adjusting the security mode to a lower level temporarily. This will allow the printer to connect to the network. Remember to revert the security settings back to their previous value once the printer has successfully connected.
- Reattempt Printer Connectivity: After adjusting the router’s security settings, turn on the printer and attempt to connect it to the Wi-Fi network once again. Make sure to enter the correct Wi-Fi network name (SSID) and password during the printer’s setup process to establish a successful connection.
By ensuring that the network security settings are compatible, you can eliminate any compatibility issues that might be preventing your printer from connecting to the Wi-Fi network. However, it’s important to remember that lowering the security level of your network may temporarily expose it to potential security risks, so remember to restore the security settings back to their previous configuration after the printer connects.
If adjusting the security settings does not resolve the connectivity issue, proceed to the next troubleshooting step to continue troubleshooting the problem.
Connecting with WPS (Wi-Fi Protected Setup)
If your printer and router both support Wi-Fi Protected Setup (WPS), using this method can simplify the process of connecting your printer to the Wi-Fi network. WPS allows for a secure and straightforward way to establish a connection without manually entering the network password. Here’s how you can connect your printer using WPS:
- Enable WPS on the Router: Access the router’s administration settings through a web browser and navigate to the wireless or Wi-Fi settings. Look for the WPS option and enable it.
- Prepare the Printer for WPS: On your printer’s control panel or display, locate the WPS button or WPS setup option. Press this button or select the option to initiate the WPS setup process.
- Start WPS Process: Within a specified timeframe (usually around two minutes), press the WPS button on your router. This will trigger the WPS process, allowing the printer and router to communicate and establish a connection.
- Wait for Connection: Wait for the printer and router to establish a connection using WPS. This may take a few moments. Once the connection is established, the printer will display a confirmation message.
- Confirm Successful Connection: Check your printer’s display or control panel for a confirmation message indicating a successful connection to the Wi-Fi network.
By utilizing the WPS method, you can simplify the process of connecting your printer to the Wi-Fi network, eliminating the need to manually enter the network password. However, remember that not all printers and routers support WPS. Consult your printer’s user manual or the manufacturer’s website to confirm if your printer supports WPS and for specific instructions on using the WPS feature.
If your printer or router does not support WPS, or if you are unable to establish a connection using WPS, proceed to the next troubleshooting step to continue resolving the Wi-Fi connectivity issue with your printer.
Resolving IP Address Conflicts
If your printer is still not connecting to Wi-Fi, it’s possible that there may be IP address conflicts on your network. IP address conflicts occur when multiple devices on the same network are assigned the same IP address, which can prevent your printer from establishing a successful connection. Here are some steps to resolve IP address conflicts:
- Identify IP Address Conflicts: Open the configuration page of your router by entering the router’s IP address into a web browser. Navigate to the connected devices or DHCP client list section to view the devices connected to your network and their assigned IP addresses.
- Check for Duplicate IP Addresses: Look for any devices that have the same IP address assigned to them. IP addresses are usually displayed as a series of four numbers (e.g., 192.168.1.10). If you find duplicate IP addresses, note down the devices involved.
- Release and Renew IP Addresses: Access the network settings of the conflicting devices and release their current IP addresses. This will allow the router to assign new IP addresses to these devices. Wait a few moments and then renew the IP addresses on the same devices to obtain new, unique IP addresses.
- Restart the Printer: Power off your printer and wait for a few seconds. Then, turn the printer back on. This will enable the printer to receive a new IP address from the router.
By resolving IP address conflicts, you can ensure that each device on your network has a unique IP address, allowing your printer to connect without any conflicts. After following these steps, attempt to reconnect your printer to the Wi-Fi network.
If IP address conflicts are not resolved by releasing and renewing IP addresses, it’s recommended to consult your router’s user manual or contact your Internet Service Provider for further assistance in resolving IP address conflicts.
If the printer still doesn’t connect to Wi-Fi after resolving IP address conflicts, proceed to the next troubleshooting step to continue resolving the connectivity issue.
Connecting Printer to a Different Network
If you have followed the previous troubleshooting steps and your printer still won’t connect to Wi-Fi, it may be worth trying to connect the printer to a different Wi-Fi network. This step will help determine whether the issue lies with your home or office network or the printer itself. Here’s how you can connect your printer to a different network:
- Create a Mobile Hotspot: If you have access to a smartphone or tablet with a data plan, you can create a mobile hotspot. Go to the settings on your mobile device and enable the hotspot feature. Connect your printer to the mobile hotspot network.
- Connect to a Friend’s Network: With permission, you can bring your printer to a friend’s house or office and try connecting it to their Wi-Fi network. This will help determine if the issue is specific to your network or if it persists on other networks as well.
- Use a Different Wi-Fi Network: If you have access to another Wi-Fi network, such as a public network or a neighbor’s network (with permission), try connecting your printer to that network to see if it establishes a successful connection.
When connecting the printer to a different network, be sure to follow the printer’s setup process for connecting to a new Wi-Fi network. Enter the correct SSID and password for the network you are trying to connect to.
If your printer successfully connects to a different network, it may indicate an issue with your home or office network configuration. In this case, you may need to troubleshoot your network settings, consult your Internet Service Provider, or seek assistance from a network professional to resolve the issue. However, if the printer still fails to connect to any network, there may be a problem with the printer itself. Consider contacting the manufacturer’s support or seeking professional assistance to further diagnose and resolve the issue.
By attempting to connect the printer to a different network, you can pinpoint whether the problem lies with your network or with the printer itself, helping you to find a suitable solution.
Conclusion
When your printer won’t connect to Wi-Fi, it can be frustrating and hinder your ability to print important documents. However, by following the troubleshooting steps outlined in this article, you can work towards resolving the issue and getting your printer back online.
Throughout the troubleshooting process, we explored various steps to help you diagnose and resolve the Wi-Fi connectivity problem with your printer. From checking the basics and ensuring the printer is powered on to verifying the network connection, resetting network settings, updating firmware, and troubleshooting IP address conflicts, each step aimed to narrow down the possible causes and find a solution.
Remember to consult your printer’s user manual or the manufacturer’s website for specific instructions that may be applicable to your printer model.
If you have exhausted all the troubleshooting steps and are still unable to connect your printer to Wi-Fi, it may be time to seek professional assistance or contact the manufacturer’s support for further guidance.
Overall, troubleshooting printer connectivity issues can require patience and persistence. By following the steps outlined in this article, you increase your chances of successfully resolving the problem and getting your printer connected to Wi-Fi once again.
We hope this guide has been helpful in troubleshooting your printer’s Wi-Fi connectivity issue. Good luck with resolving the problem and happy printing!


