Introduction
Welcome to the world of PC cooling, where keeping your system running at optimal temperatures is crucial for performance and longevity. When it comes to cooling your PC, case fans play a vital role in ensuring proper airflow and heat dissipation. They help reduce the risk of overheating, maintain stable operating temperatures, and prolong the lifespan of your components.
Properly positioning and installing case fans is key to achieving effective cooling. In this article, we will guide you through the various locations where you can plug in your PC case fans. By understanding these locations, you can strategically place your fans to ensure maximum airflow and cooling efficiency for your system.
From front panels to rear panels, top panels to side panels, and even the CPU, GPU, and power supply unit (PSU), we will explore the different mounting locations for case fans. Additionally, we will also touch upon fan splitters and fan controllers as useful tools to manage multiple fans and optimize their performance.
Whether you are a beginner building your first PC or a seasoned enthusiast looking to upgrade your cooling setup, this guide will help you navigate the world of fan mounting options. So, let’s dive in and discover where to plug in your PC case fans for optimal cooling.
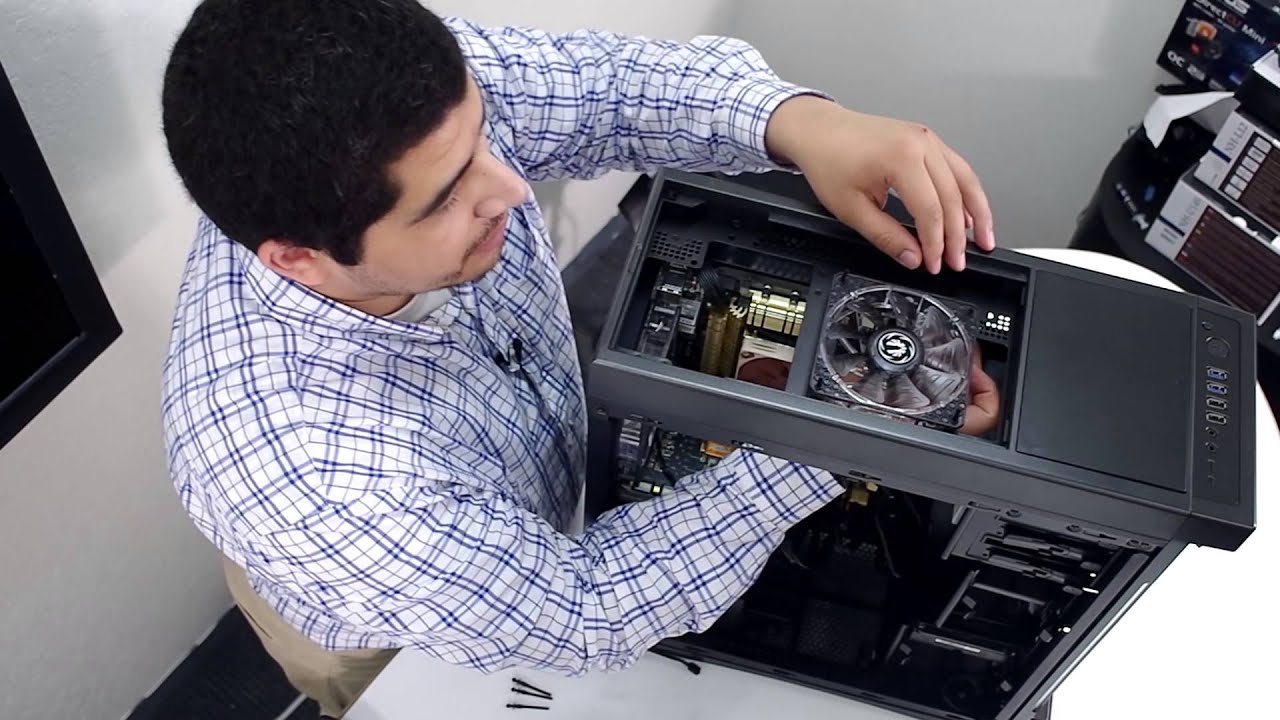
Front Panel Fan Mounts
The front panel of your PC case is an excellent location for mounting case fans. This area is typically designed with dedicated or customizable fan mounts to draw in fresh air and direct it towards your components. Front panel fans are particularly effective in cooling the hard drives, SSDs, and other storage devices located in this area.
Most PC cases feature multiple fan mounting locations on the front panel, allowing you to install one or more fans depending on your needs and the size of your case. Common sizes for front panel fans are 120mm and 140mm, although some cases may also support larger 200mm fans.
By placing fans on the front panel, you create a positive airflow from the front to the rear of the case, expelling the hot air generated by the components. This proactive airflow helps in ensuring that your system remains cool and stable under heavy loads.
Additionally, some modern PC cases incorporate dust filters on the front panel to prevent dust and debris from entering the case and accumulating on the components and fan blades. These filters can be easily removed and cleaned, ensuring optimal airflow and reducing the need for frequent maintenance.
When mounting case fans on the front panel, it’s important to consider the direction of airflow. The fans should be positioned to intake fresh air from outside the case and blow it towards the internal components. This setup helps in cooling the storage devices, as well as providing a steady supply of cool air to the rest of the system.
Overall, front panel fan mounts are an essential component of a well-ventilated PC case. By strategically placing fans in this location, you can maximize cooling performance, maintain lower temperatures, and contribute to the overall stability and longevity of your system.
Rear Panel Fan Mounts
The rear panel of your PC case is another crucial location for mounting case fans. This area serves as the exhaust for hot air generated by the components inside the case. By placing fans on the rear panel, you can effectively expel the hot air and maintain a cooler operating environment for your system.
Most PC cases feature a dedicated fan mount on the rear panel, typically supporting a 120mm fan. Some larger cases may also accommodate 140mm or even 200mm fans in this location. It’s important to check the specifications of your case to determine the compatible fan sizes.
Rear panel fans play a key role in creating a balanced airflow within your PC case. When combined with front panel fans, the rear fans work in tandem to establish a continuous flow of cool air entering the front and warm air exiting the rear. This airflow pattern helps in effectively dissipating the heat and maintaining stable temperatures.
When mounting fans on the rear panel, it’s crucial to ensure that they are configured as exhaust fans. This means they should blow the hot air out of the case, rather than drawing in fresh air. By having exhaust fans on the rear panel, you can effectively remove the hot air generated by components such as the CPU, GPU, and power supply.
Furthermore, rear panel fan mounts are often located near the CPU socket. This positioning allows the rear fan to assist in cooling the CPU, as it helps in dissipating heat from the CPU heatsink and exhausts it out of the case. This can significantly contribute to maintaining lower CPU temperatures and better overall system performance.
Overall, rear panel fan mounts are instrumental in facilitating proper airflow and heat dissipation in your PC case. By strategically placing fans in this location and configuring them as exhaust fans, you can create an efficient cooling system that helps in maintaining optimal temperatures for your components.
Top Panel Fan Mounts
The top panel of your PC case provides an additional location for mounting case fans. Top panel fan mounts can help in improving overall airflow and cooling performance, especially for components such as the CPU and GPU that generate significant heat.
Many modern PC cases feature top panel fan mounts that can accommodate various fan sizes, including 120mm, 140mm, or even 200mm fans. The number of fan mounts will depend on the specific case model and size, ranging from one to multiple mounts.
Mounting fans on the top panel primarily serves as an additional exhaust outlet for hot air. By placing fans at the top, you can assist in expelling the rising warm air that tends to accumulate near the CPU and GPU. This helps in maintaining lower temperatures for these critical components, reducing the risk of overheating.
Top panel fans can also contribute to maintaining a balanced airflow within the case. When combined with the front and rear fans, the top fans help in establishing a steady airflow from the front to the rear, expelling hot air along the way. This proactive airflow pattern aids in keeping your entire system cool and stable.
However, it’s important to consider the orientation of the top panel fans. Most cases allow you to configure these fans as either exhaust fans or intake fans. If your top panel has dust filters, it’s advisable to use them as intake fans to prevent dust accumulation within the case. Otherwise, configuring the fans as exhaust fans can effectively remove the heat generated by the components.
Another consideration when installing top panel fans is the clearance between the fans and other components, such as CPU coolers, radiators, or tall RAM modules. Ensure that there is enough space for the fans to operate freely without any obstruction, which may impact their cooling performance.
Overall, top panel fan mounts offer an additional opportunity for improving overall airflow and cooling in your PC case. By strategically positioning and configuring fans in this location, you can enhance the heat dissipation capabilities of your system and maintain lower temperatures for critical components.
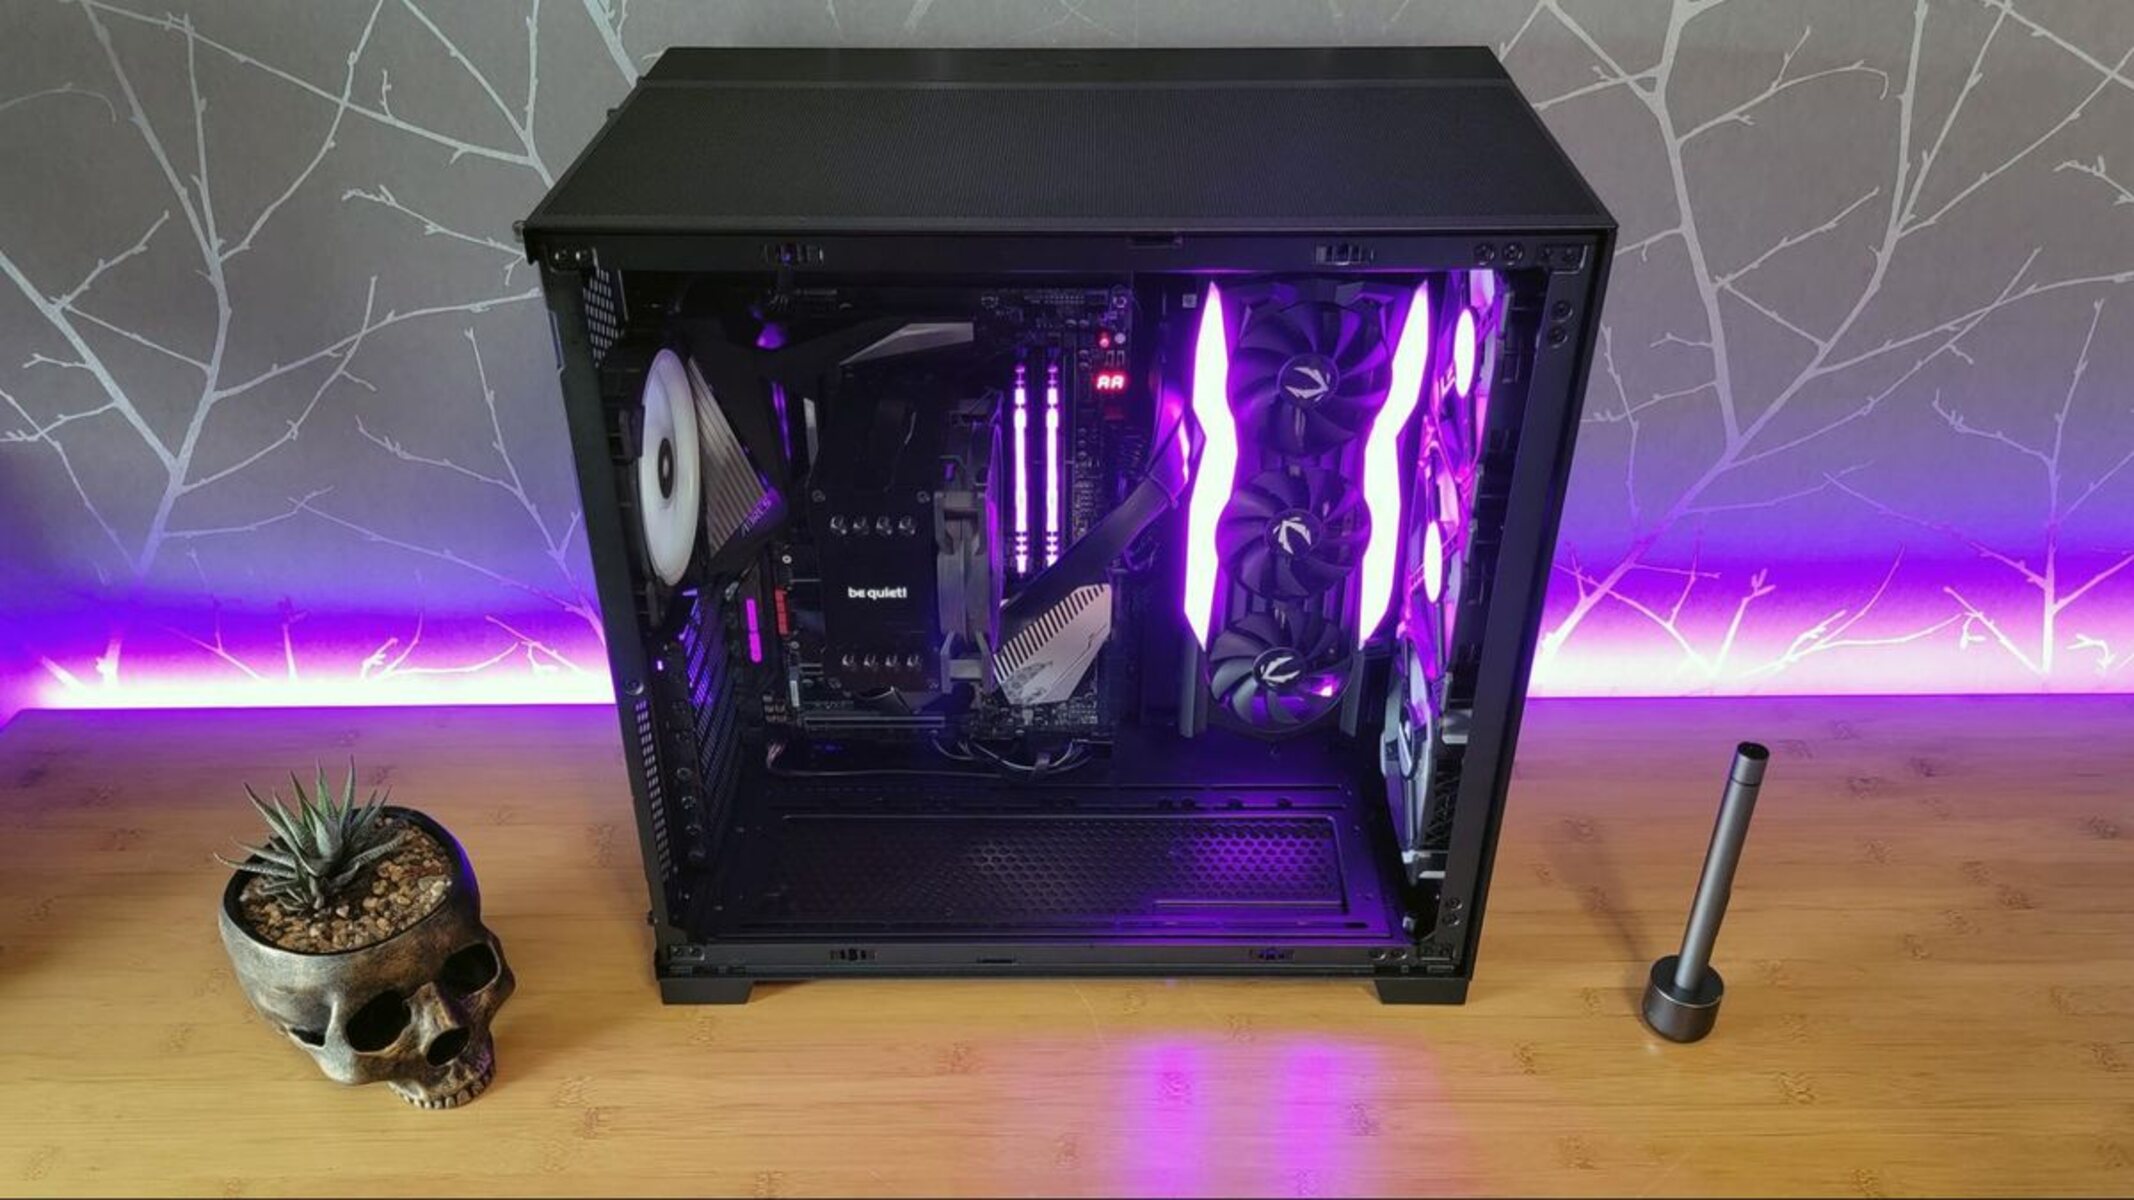
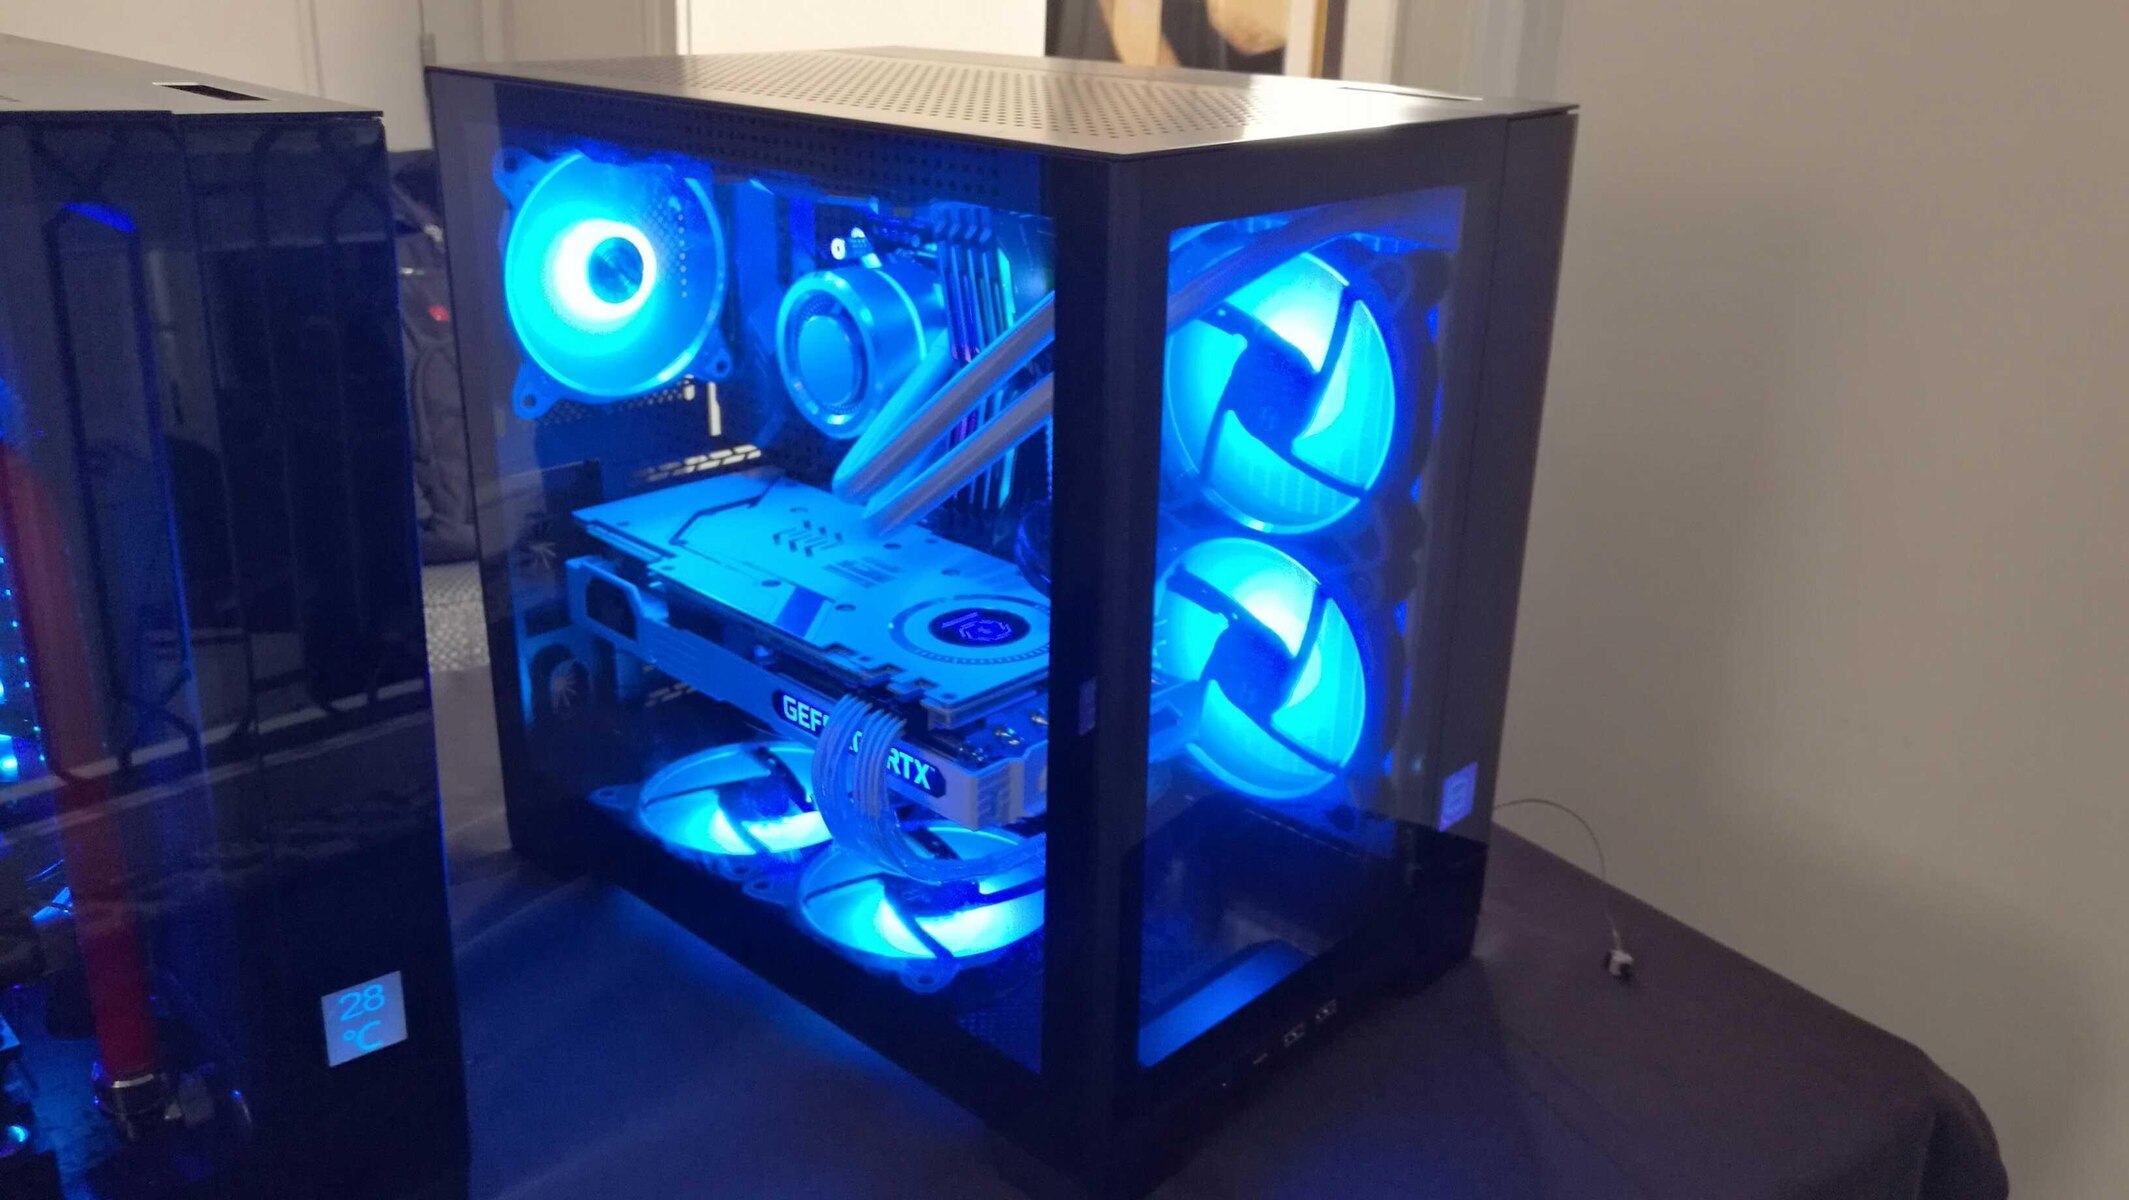
Side Panel Fan Mounts
The side panel of your PC case provides a unique opportunity to further enhance airflow and cooling by incorporating side panel fan mounts. These mounts are specifically designed to bring in fresh air and direct it towards specific components within the case.
Side panel fan mounts are not a standard feature in all PC cases, but they can be a valuable addition, especially for those looking to optimize cooling performance. These mounts can typically accommodate 120mm or 140mm fans, although the availability and compatibility may vary depending on the case model.
By installing fans on the side panel, you can directly target areas such as the graphics card (GPU) or chipset, which may generate substantial heat during demanding tasks. The intake of cool air from the side panel helps in cooling these components, preventing potential thermal throttling and maintaining stable performance.
In addition to cooling specific components, side panel fans can have a positive impact on the overall airflow within the case. They provide an additional intake point for fresh air, creating a balanced airflow pattern from front to rear. This helps in effectively expelling hot air and maintaining optimal temperatures for all components.
It’s worth noting that not all PC cases have clear side panels. If your case has a solid side panel without any fan mounts, you may consider upgrading to a case with a transparent or vented side panel to take advantage of side panel fan mounts. This allows you to showcase your components while improving cooling performance.
When installing side panel fans, it’s important to consider the orientation and direction of airflow. The fans should be positioned as intake fans, drawing in cool air from outside the case and directing it towards the components. This setup ensures the effective cooling of targeted areas and prevents the recirculation of warm air.
Overall, side panel fan mounts present an opportunity to enhance cooling performance and target specific components in your PC case. By strategically placing fans in this location and directing airflow towards critical areas, you can improve overall system stability, prevent thermal throttling, and maintain optimal temperatures for your components.
Bottom Panel Fan Mounts
The bottom panel of your PC case often features fan mounts that can significantly contribute to the cooling and airflow within your system. Mounting fans on the bottom panel helps in providing additional intake for cool air and improving overall temperature management.
Bottom panel fan mounts are commonly found in PC cases with a separate compartment or dedicated space for the power supply unit (PSU). The size and number of fan mounts may vary depending on the case model, with typical compatibility for 120mm or 140mm fans.
Installing fans on the bottom panel introduces cool air from underneath the case, which can help in cooling the power supply unit and other components located in the lower section. This airflow pattern prevents the accumulation of heat and ensures a steady supply of cool air to the rest of the system.
In addition to cooling the PSU, bottom panel fans contribute to overall system airflow by creating a balanced intake and exhaust setup. When combined with front and rear fans, this configuration establishes a continuous flow of air, expelling warm air from the rear and drawing in fresh air from the front and bottom.
It’s worth noting that some PC cases may feature dust filters on the bottom panel fan mounts. These filters protect the components from dust and debris, effectively preventing them from entering the case and clogging fan blades. Regular cleaning or removal of these filters helps in maintaining optimal airflow and reducing the need for frequent maintenance.
When installing fans on the bottom panel, it’s important to consider the clearance between the fans and any obstacles, such as cables or components. Ensure sufficient space for the fans to operate without obstruction and for proper cable management to maintain a clean and organized system.
Overall, bottom panel fan mounts offer an effective way to improve cooling efficiency and promote a balanced airflow within your PC case. By strategically positioning and configuring fans in this location, you can enhance the cooling performance of your system, increase its stability, and maintain optimal temperatures for your components.
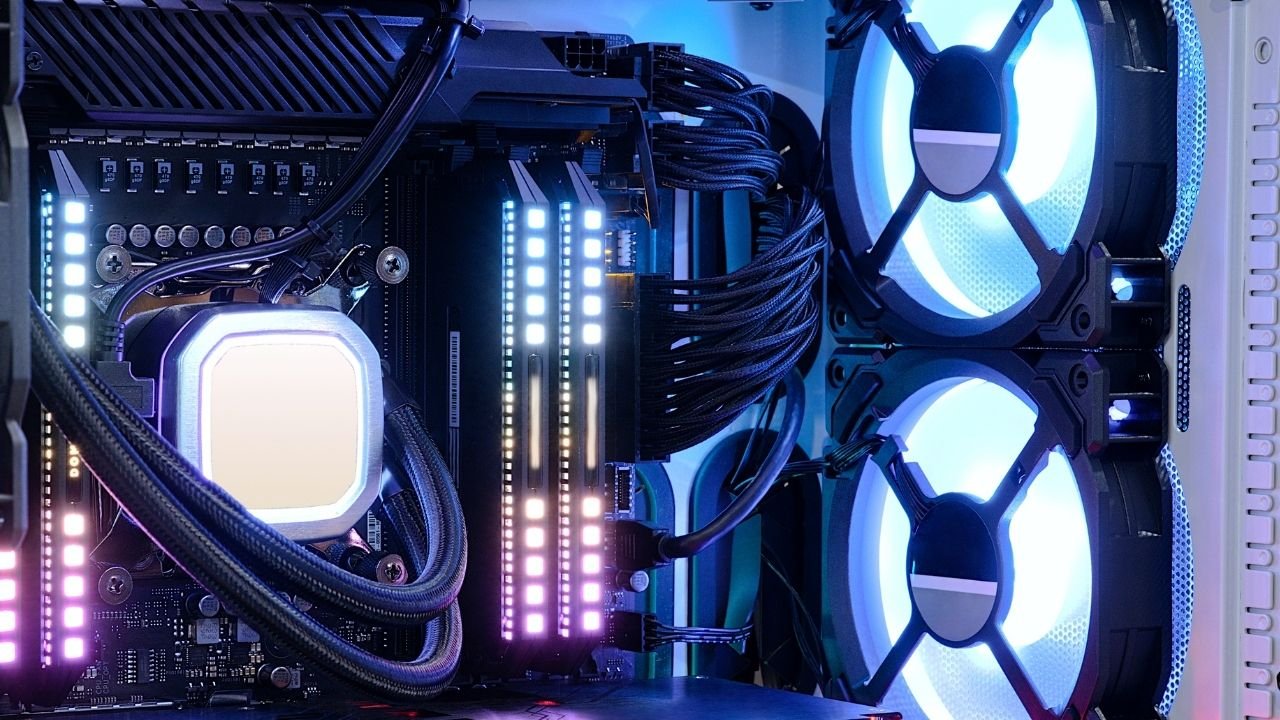
CPU Fan Mounts
When it comes to cooling the heart of your computer, the CPU, it’s essential to have a dedicated cooling solution in place. The CPU fan mount, often located near the CPU socket on the motherboard, plays a vital role in dissipating heat and keeping temperatures within safe limits.
Most CPUs come with a stock cooler that includes a fan and a heatsink. This cooler is specifically designed to fit the CPU socket and provides sufficient cooling for normal usage. However, if you’re running more demanding tasks or have overclocked your CPU, you may need to consider upgrading to an aftermarket CPU cooler.
CPU fan mounts can support a variety of cooling solutions, including air coolers and liquid coolers. Air coolers feature a heatsink and a fan that actively dissipate heat from the CPU. Liquid coolers, on the other hand, use a pump and radiator to circulate coolant and remove heat from the CPU.
When it comes to air coolers, the CPU fan mounts are typically designed to accommodate coolers of various sizes. It’s important to choose a cooler that fits within the specified dimensions and provides adequate clearance for other components such as RAM modules or PC case side panels.
For liquid coolers, the fan mounts are usually used to attach the radiator, which is responsible for heat dissipation. The radiator can be mounted on the front, top, or rear panel of your PC case, depending on the available space and ventilation options.
When installing a CPU cooler, proper thermal paste application is crucial. Thermal paste helps in filling gaps between the CPU and cooler, ensuring efficient heat transfer. Apply a small amount of thermal paste on the surface of the CPU, then attach the cooler and secure it using the provided brackets or screws.
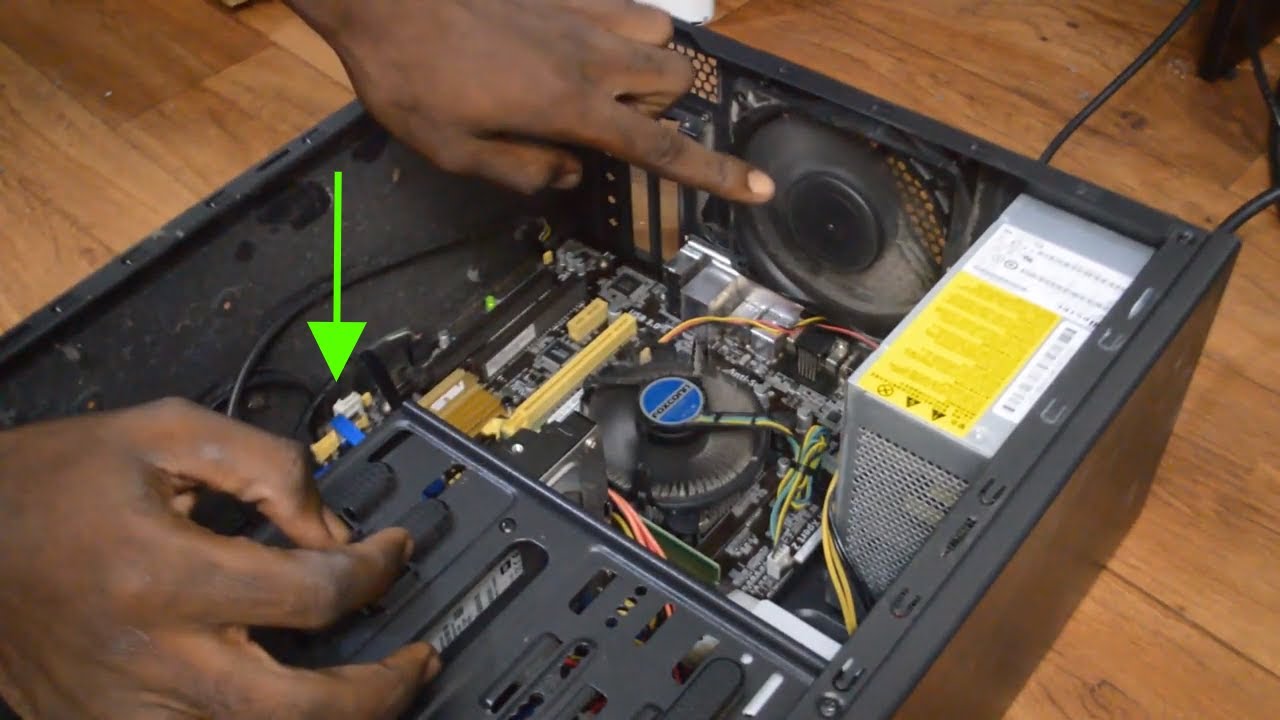
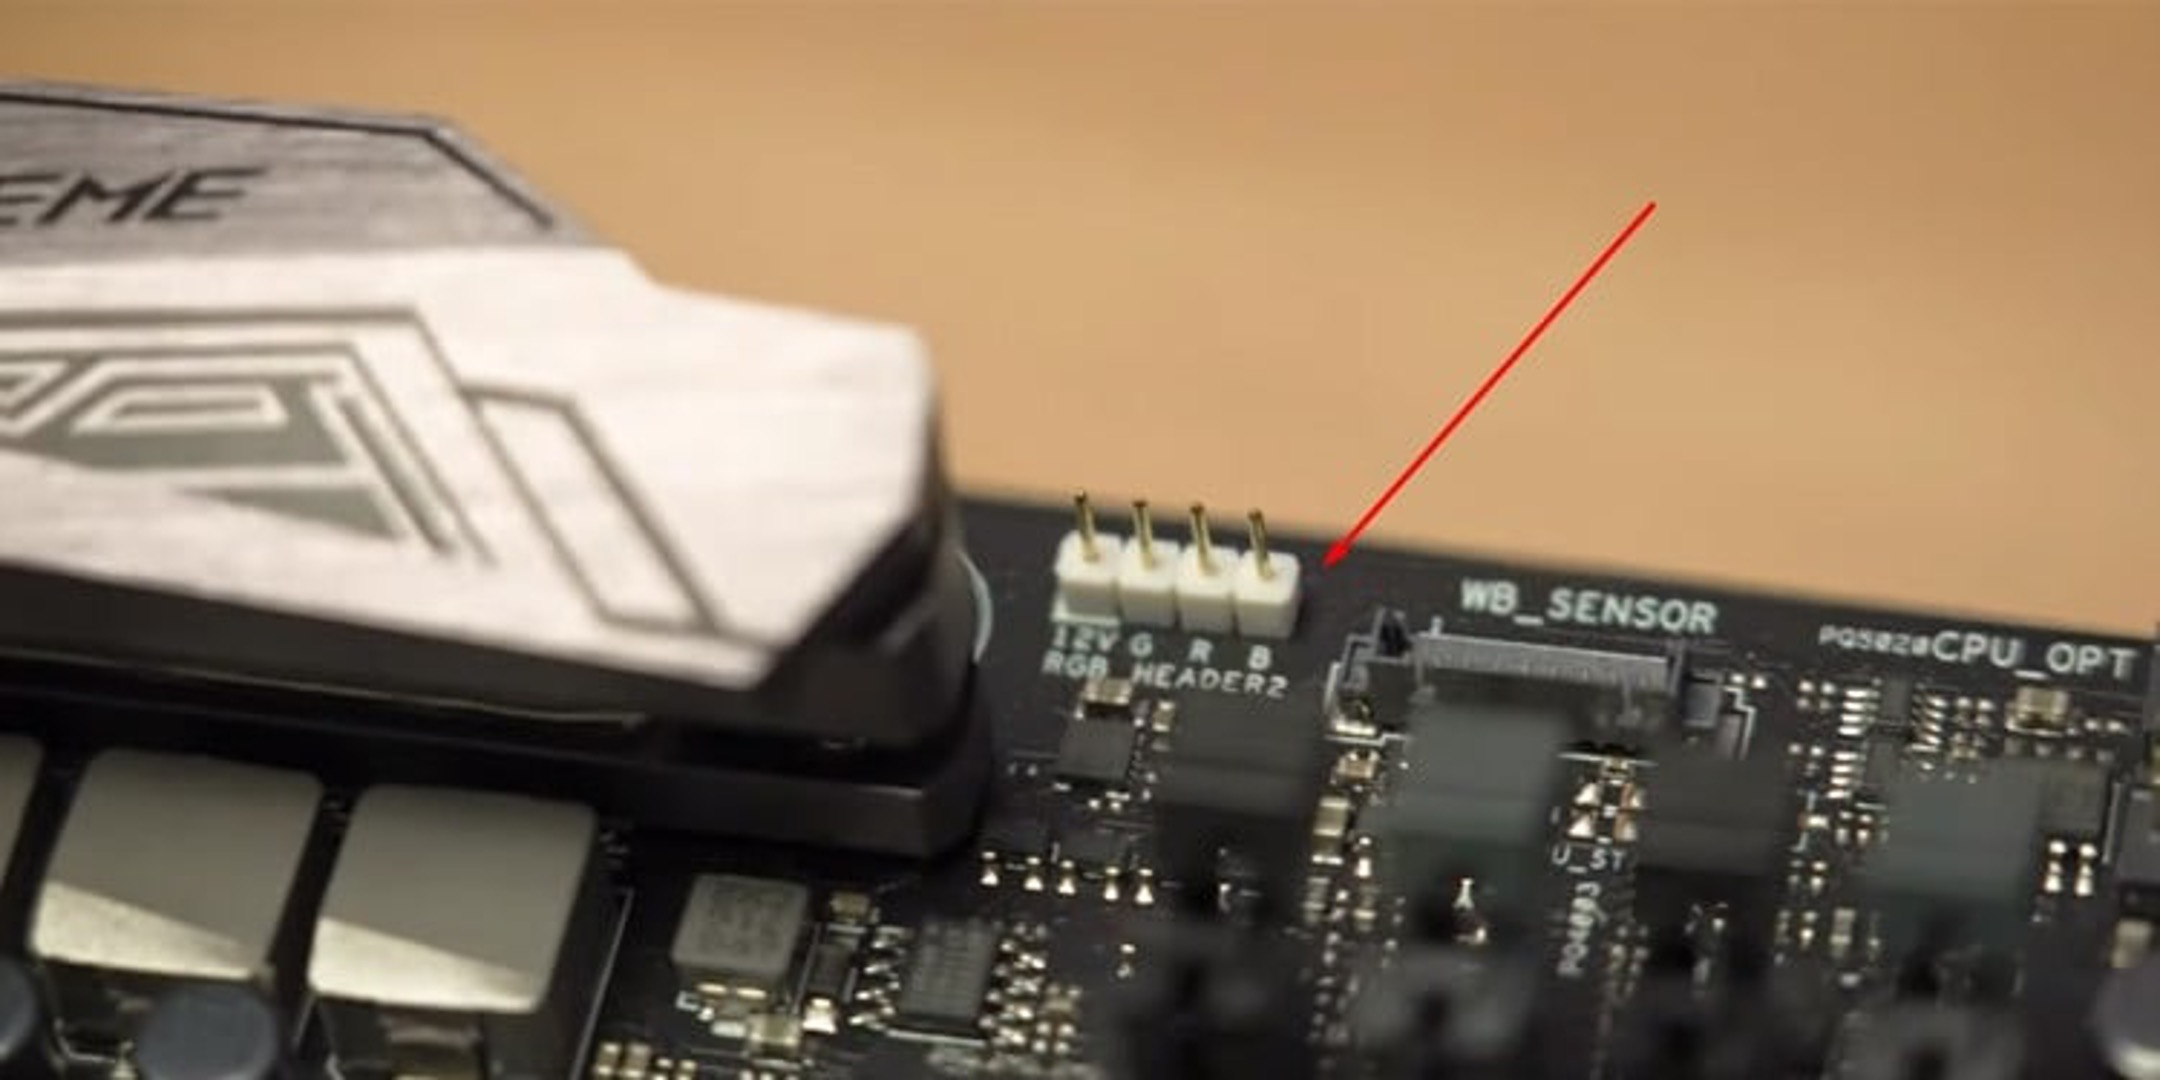
It’s important to note that different CPU fan mounts may have different installation mechanisms, so always refer to the manufacturer’s instructions for proper installation. Additionally, ensure that the fan cables are connected to the appropriate CPU fan header on the motherboard to enable speed control and monitoring.
Overall, CPU fan mounts are critical for effective cooling of your CPU. Whether you opt for an air cooler or a liquid cooler, selecting a suitable cooling solution and properly installing it on the CPU fan mount will help in maintaining optimal CPU temperatures and ensuring the longevity and stability of your system.
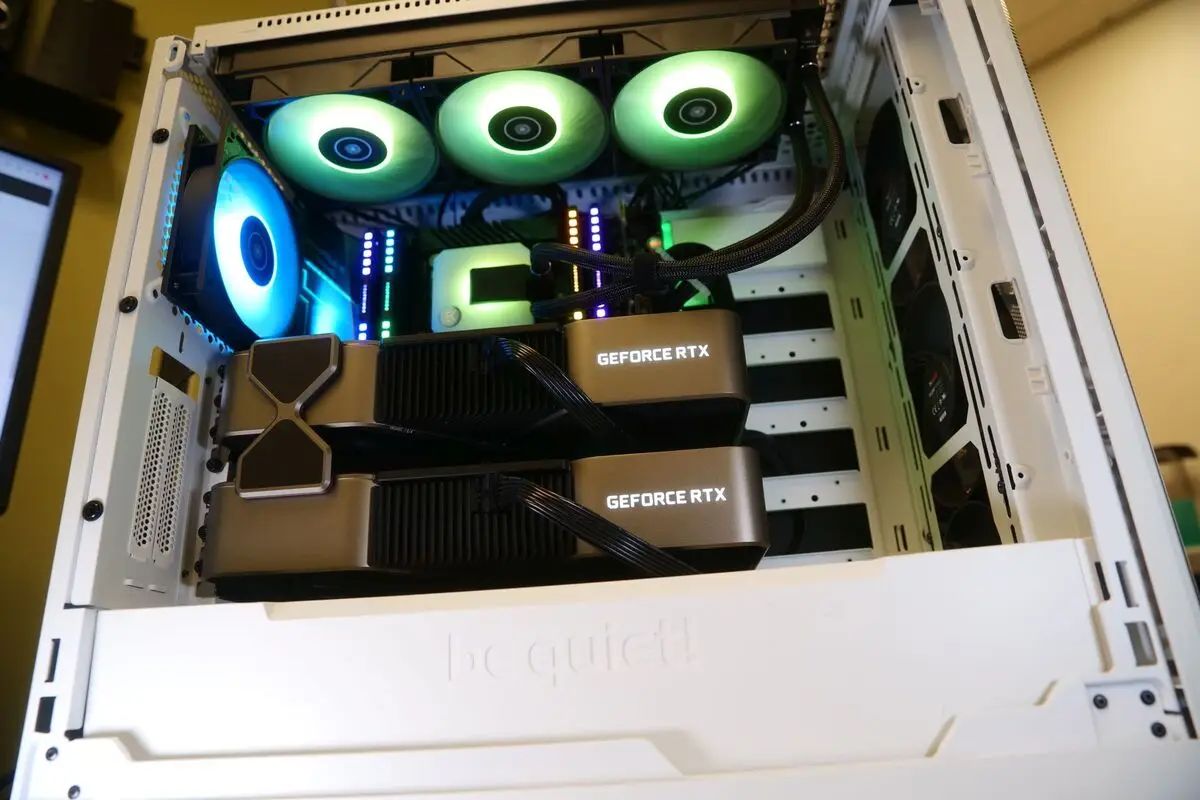
GPU Fan Mounts
The graphics processing unit (GPU) is one of the most power-hungry components in a computer system. As it performs intense calculations and generates a significant amount of heat, the GPU fan mount plays a crucial role in cooling the graphics card and maintaining its optimal performance.
Modern graphics cards usually come equipped with their own cooling solutions, including dedicated fans or heat sinks. These cooling systems are designed to fit within specific GPU fan mounts and ensure efficient heat dissipation. However, there are aftermarket cooling solutions available for those looking to enhance the cooling performance of their graphics card.
The GPU fan mount is typically located on the graphics card itself, specifically designed to accommodate the cooling solution that comes with the card. It may feature one or more fans that actively cool the GPU and surrounding components.
When installing a GPU, it’s important to ensure proper airflow within the PC case. The GPU fan mount needs to have adequate space for the GPU to breathe and draw in fresh cool air. It’s recommended to leave some clearance between the graphics card and adjacent components to avoid heat buildup.
In addition to the cooling solution provided by the graphics card, some PC cases have additional cooling options for the GPU. These options include side panel fans that blow cool air directly onto the graphics card, or bottom panel fans that provide extra intake air for the GPU.
Proper cable management is crucial when installing a graphics card, as cables obstructing or blocking the GPU fan mount can interfere with the cooling performance. Ensure that the cables are neatly organized and routed to maintain clear airflow to the graphics card.
When upgrading or replacing a graphics card, it’s important to consider the dimensions of the GPU fan mount and ensure the new card fits within these specifications. Some aftermarket graphics cards may have larger cooling solutions, so ensure that the case and fan mounts can accommodate them.
In cases where the graphics card does not have sufficient cooling, or if you’re looking to overclock the GPU for better performance, aftermarket cooling solutions such as GPU coolers or liquid cooling kits can be considered. These cooling solutions offer better heat dissipation and can help in maintaining lower GPU temperatures during intense usage.
Overall, the GPU fan mount is crucial for maintaining optimal temperatures and performance of the graphics card. Whether using the cooling solution included with the graphics card or opting for aftermarket options, it’s important to ensure proper airflow, clearances, and cable management to maximize cooling efficiency.
Power Supply Unit Fan Mounts
The power supply unit (PSU) is responsible for providing electrical power to all the components of your PC. As it operates, the PSU generates heat, and efficient cooling is crucial to maintain its optimal performance and prevent overheating. The PSU fan mount plays a significant role in ensuring proper cooling for the power supply.
Most modern PSUs come equipped with an integrated cooling solution, which typically includes a fan located at the top or bottom of the unit. The PSU fan mount allows for the proper functioning of this cooling system by expelling hot air generated by the PSU and drawing in cooler air from the PC case.
Depending on the design of the PSU, the fan mount can be located at the top or bottom. Top-mounted fans expel hot air from the PSU out of the case, while bottom-mounted fans draw in cool air from the PC case and exhaust it through the rear panel.
When it comes to installing the power supply unit, it’s important to consider the orientation of the fan mount. Some cases feature bottom-mounted PSU fan mounts with a separate compartment or dust filter to ensure proper airflow. In such cases, it’s recommended to position the PSU with the fan facing downwards to intake cool air from below.
On the other hand, cases with top-mounted PSU fan mounts allow for the expulsion of hot air out of the back of the case. When installing a PSU in this configuration, ensure that there is sufficient clearance between the PSU and any other components to allow for proper heat dissipation.
Proper cable management is essential when installing the PSU to ensure unobstructed airflow through the PSU fan mount. Tangled cables or cables blocking the fan can impede airflow and lead to increased temperatures. Ensure that cables are neatly organized and routed away from the PSU fan mount.
It’s worth noting that some power supplies come with a semi-passive or fully passive cooling mode. In such cases, the fan may not be active at lower loads and temperatures, resulting in a silent operation. However, when the PSU heats up under heavy loads, the fan automatically turns on to provide active cooling.
Upgrading to a higher-quality, more efficient PSU can also improve cooling performance. Higher-quality PSUs typically have more efficient cooling systems, which can help in maintaining lower temperatures and reducing the overall heat generated by the unit.
Overall, the PSU fan mount is crucial for providing efficient cooling to the power supply unit and maintaining optimal performance and reliability. By ensuring proper orientation, cable management, and considering the quality of the PSU, you can effectively cool the power supply and contribute to the overall stability and longevity of your PC system.
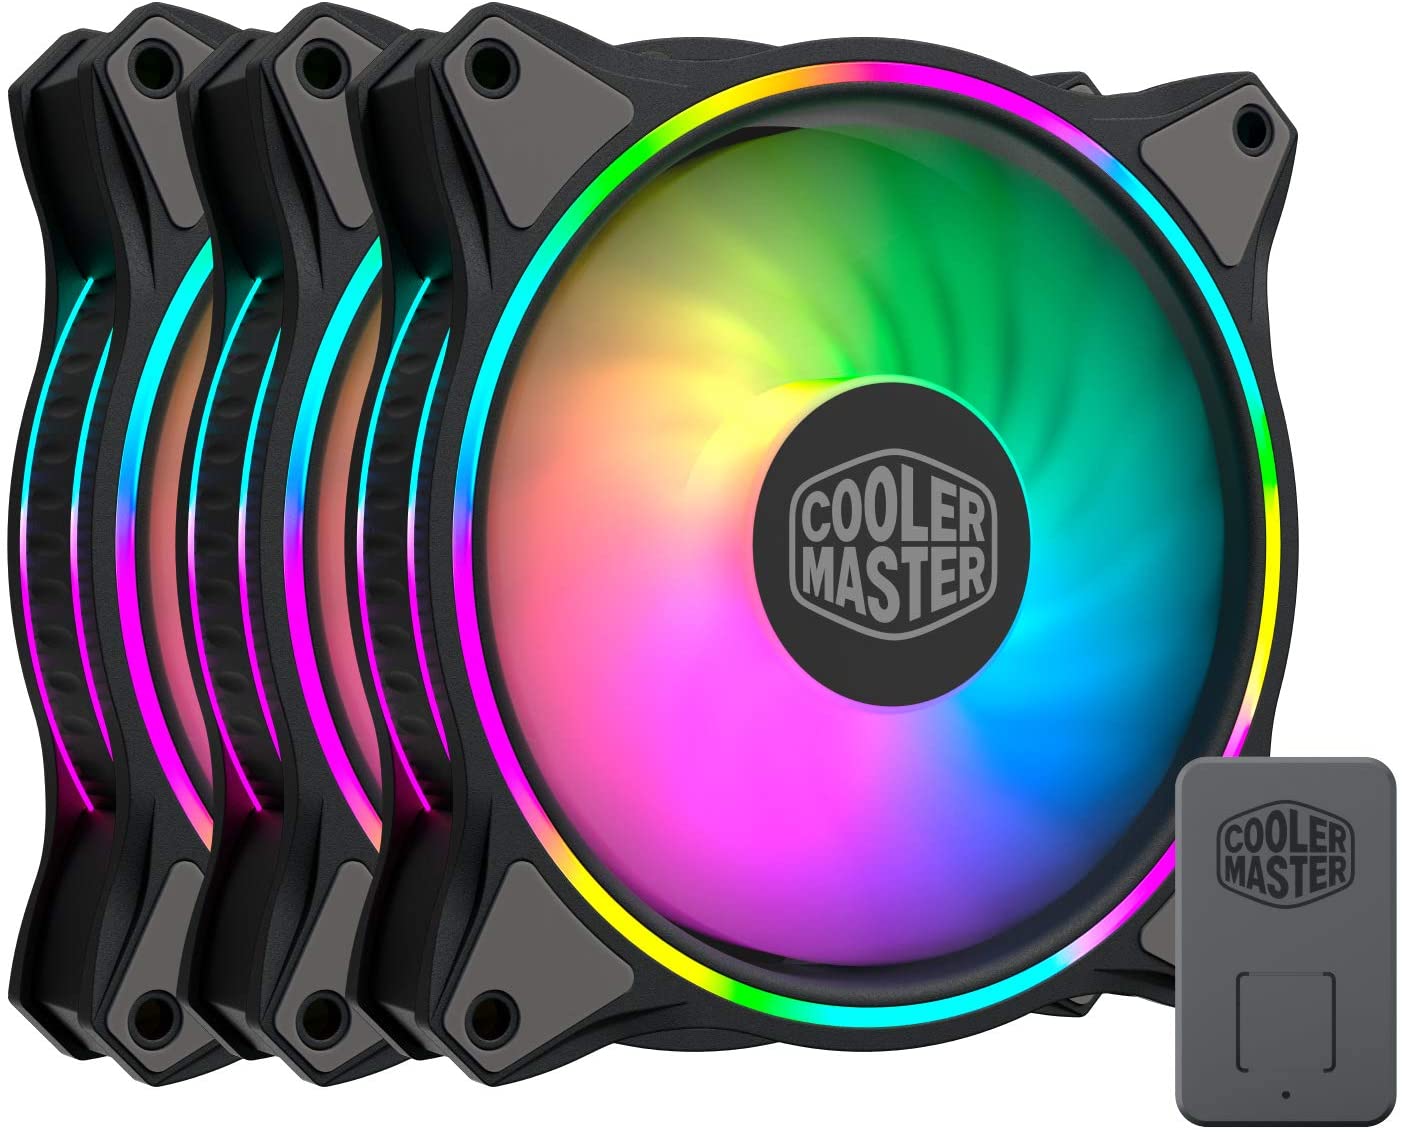
Fan Splitters and Fan Controllers
When setting up multiple case fans in your PC, managing their speed and connectivity becomes essential. Fan splitters and fan controllers are valuable tools that allow you to effectively control and optimize the performance of multiple fans in your system.
Fan splitters are devices that enable you to connect multiple fans to a single fan header on your motherboard. Essentially, they allow you to expand the number of fans that can be controlled using a single header. This is especially useful when you have more fans than available headers on your motherboard.
Using a fan splitter, you can connect multiple fans in parallel, effectively controlling their speed and monitoring their performance through a single fan header. This helps in optimizing airflow and cooling within your PC case, ensuring all fans work together seamlessly to maintain optimal temperatures.
Fan splitters typically come in various configurations, allowing you to connect multiple fans to a single header. They range from simple 2-way splitters to more advanced splitters with 4 or more connections. When using a fan splitter, it’s important to consider the total power draw of the connected fans to ensure it does not exceed the capabilities of the header.
On the other hand, fan controllers offer even more control over the speed and performance of your fans. They allow you to manually adjust fan speeds or set up automatic fan curves based on temperature sensors. Fan controllers often come with a dedicated control panel or can be managed through software interfaces.
A fan controller empowers you to fine-tune the cooling performance of your PC. You can increase fan speeds for intense gaming or CPU-intensive tasks or lower speeds for more silent operation during light usage. By customizing fan curves, you can ensure that your fans optimize cooling efficiency based on the specific needs of your system.
Some fan controllers come integrated into the PC case, offering convenient controls and easy access. Others can be mounted in an external drive bay or connected via USB for desktop control. It’s important to ensure compatibility with your case and choose a fan controller that suits your needs and preferences.
When setting up multiple fans using fan splitters or fan controllers, it’s crucial to maintain proper cable management. Ensuring neat and organized cable routing minimizes clutter, prevents obstruction of airflow, and allows for easy access to the controls.
Overall, fan splitters and fan controllers are valuable tools for managing multiple fans in your PC system. These devices offer control over fan speed, optimize cooling efficiency, and contribute to maintaining stable temperatures. Whether using fan splitters to connect multiple fans to a single header or utilizing fan controllers for more advanced customization, these tools allow you to tailor your cooling setup to meet the specific needs of your PC.
Conclusion
Properly cooling your PC is essential for maintaining optimal performance and prolonging the lifespan of your components. Understanding where to plug in your PC case fans is crucial for effective cooling and airflow management. By strategically placing fans in various locations, you can ensure proper ventilation, reduce the risk of overheating, and create a stable operating environment for your system.
We explored different fan mount locations, including the front panel, rear panel, top panel, side panel, and bottom panel. Each of these locations serves a specific purpose in improving airflow, cooling critical components, and maintaining lower temperatures. Additionally, we discussed the importance of CPU fan mounts and GPU fan mounts, which are dedicated to cooling the CPU and graphics card respectively.
Furthermore, we looked at the significance of fan splitters and fan controllers in managing multiple fans. Fan splitters allow you to connect several fans to a single fan header, expanding your cooling capabilities. Meanwhile, fan controllers offer fine-tuned control over fan speeds and performance, allowing you to optimize cooling efficiency and customize your setup based on specific needs.
In conclusion, understanding where to plug in your PC case fans is crucial for maintaining a cool, stable, and efficient system. By strategically positioning fans in different mounts and utilizing fan splitters or fan controllers, you can improve airflow, dissipate heat effectively, and ensure optimal temperatures for your components. With a well-cooled PC, you can enjoy enhanced performance, extended hardware lifespan, and the ability to tackle demanding tasks without the risk of overheating.