Introduction
Welcome to the world of voice recording on your Samsung phone! Whether you want to capture important lectures, record personal memos, or create podcasts, having a reliable and easy-to-use voice recorder is essential. With Samsung’s range of smartphones, you have access to a built-in voice recorder app that allows you to capture high-quality audio conveniently.
In this article, we will guide you through finding the voice recorder app on your Samsung phone and provide tips and tricks to make the most out of its features. Whether you are a beginner or an experienced user, this comprehensive guide will assist you in navigating your way through the voice recorder app’s functionalities.
By using the voice recorder on your Samsung phone, you can effortlessly document ideas, conversations, and moments that matter to you. Whether you’re a student, professional, or someone who loves to keep a record of important thoughts, having a voice recorder on your phone can be a lifesaver.
So, let’s dive into the world of voice recording on your Samsung phone and discover the incredible features and possibilities at your fingertips. We’ll show you how to locate the voice recorder app, how to use it effectively, and provide some valuable tips to enhance your recording experience. Whether you want to store those amazing singing sessions or capture your child’s first words, the voice recorder on your Samsung phone is the perfect tool for the job.
Finding the Voice Recorder App
If you’re new to using the voice recorder on your Samsung phone, you may be wondering how to find the app. Don’t worry, we’ve got you covered! Here are a few simple steps to help you locate the voice recorder app on your Samsung phone.
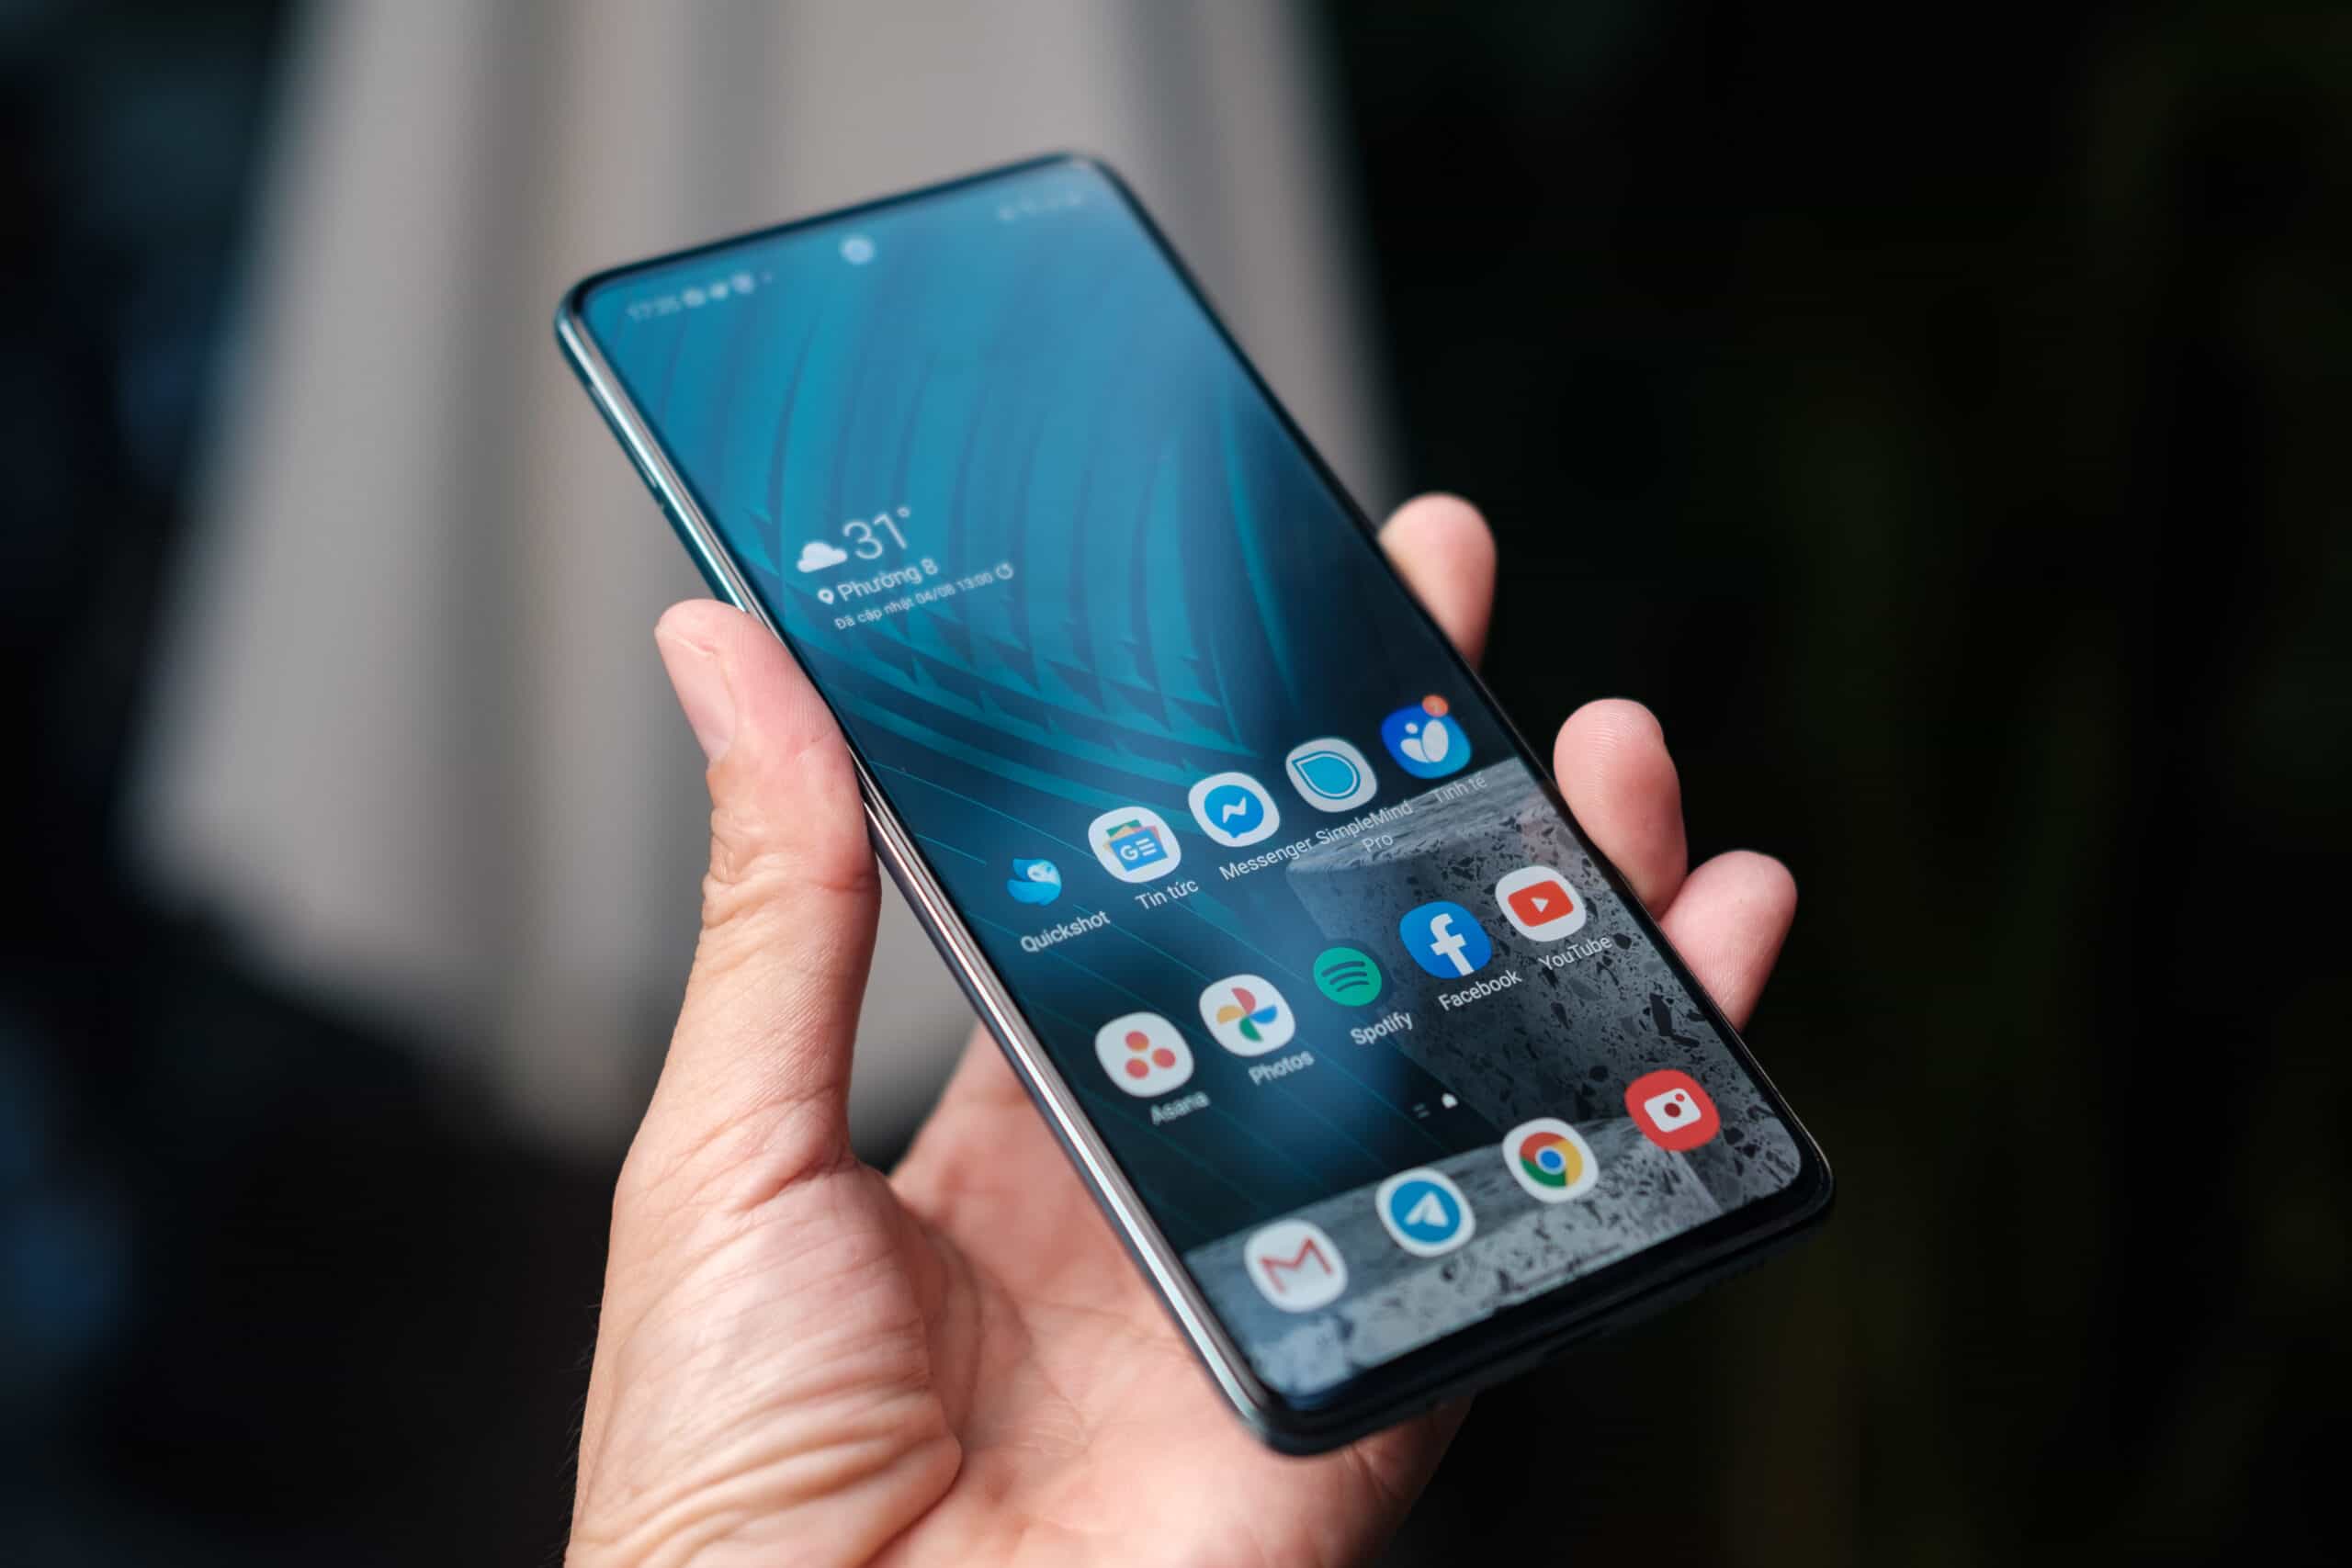
1. Start by unlocking your Samsung phone and navigating to the home screen. This is usually the screen you see when you first turn on your device.
2. Once on the home screen, take a look at the bottom navigation bar. This bar typically contains icons for commonly used apps such as Phone, Messages, and Internet.
3. Swipe your finger from left to right across the navigation bar to access additional app icons. These are often hidden, so make sure to swipe all the way to the right to see if the voice recorder app icon is present.
4. If you don’t see the voice recorder app icon on the navigation bar, try searching for it in the app drawer. The app drawer is a comprehensive list of all the apps installed on your Samsung phone.
5. To access the app drawer, locate and tap on the “Apps” icon. This icon is usually represented by a grid of dots or squares and can typically be found on the home screen or the navigation bar.
6. Once you’re in the app drawer, look for the voice recorder app icon. You can either scroll through the list of apps or use the search bar at the top of the screen to quickly find it.
7. When you locate the voice recorder app icon, simply tap on it to launch the app.
That’s it! You have successfully found the voice recorder app on your Samsung phone. Now, it’s time to explore the various features and functionalities that the app has to offer.
Stay tuned as we dive deeper into using the voice recorder app on your Samsung phone and uncover some handy tips and tricks to enhance your recording experience.
Locating the Voice Recorder Icon
Once you’ve found the voice recorder app on your Samsung phone, the next step is to locate its icon. The voice recorder icon makes it easy to access the app quickly whenever you need to start recording. Here’s how you can locate the voice recorder icon on your Samsung phone:
1. Start by unlocking your Samsung phone and returning to the home screen. This is typically the screen you see after unlocking your device.
2. Take a close look at the various icons and widgets displayed on the home screen. The voice recorder app icon is represented by a microphone symbol, which indicates its purpose.
3. If you don’t see the voice recorder icon on the home screen, it may be located on a different screen or hidden within an app folder.
4. Swipe your finger left or right across the home screen to navigate through the different screens and search for the voice recorder icon. Alternatively, you can use the page indicator dots located at the bottom or top of the home screen to switch between screens.
5. If you still can’t find the voice recorder icon on any of the home screens, it may be inside an app folder. App folders are a great way to organize similar apps together to reduce clutter on the home screen.
6. Look for any app folders on your home screen that may contain the voice recorder icon. These folders are typically represented by a small grid or stack of app icons.
7. Tap on the app folder to open it and reveal the apps inside. Check if the voice recorder icon is present among the apps within the folder.
Once you locate the voice recorder icon, simply tap on it to open the voice recorder app and begin recording. You can also move the voice recorder icon to the home screen for easier access in the future by long-pressing the icon and dragging it to the desired location.
Congratulations! You have successfully located the voice recorder icon on your Samsung phone. Now, you’re ready to start recording and capturing all those important moments and ideas with ease.
Accessing the Voice Recorder from the App Drawer
If you couldn’t find the voice recorder app icon on your Samsung phone’s home screen, you can easily access it from the app drawer. The app drawer is a centralized location that houses all the apps installed on your Samsung phone. Here’s how you can access the voice recorder app from the app drawer:
1. Start by unlocking your Samsung phone and returning to the home screen. This is usually the screen you see when you first turn on your device.
2. Look for the “Apps” icon on your home screen or in the navigation bar. The “Apps” icon is typically represented by a grid or stack of dots, squares, or lines.
3. Tap on the “Apps” icon to open the app drawer. This will display a comprehensive list of all the apps installed on your Samsung phone.
4. Once you’re in the app drawer, you can either scroll through the list of apps or use the search bar at the top of the screen to quickly locate the voice recorder app.
5. If you choose to scroll, continue swiping up or down until you find the voice recorder app. The app icons are usually arranged alphabetically, making it easier to locate the voice recorder app if you know its name.
6. If you prefer to use the search bar, tap on it and type “voice recorder” or “recorder” to filter the app list. The app drawer will automatically display the matching results, and you can tap on the voice recorder app when you see it.
7. Once you’ve found the voice recorder app, simply tap on it to open and start using it for recording your voice.
By accessing the voice recorder app from the app drawer, you can quickly launch the app whenever you need it. Remember, you can also add the voice recorder app icon to your home screen by long-pressing the icon and dragging it to the desired location for easier access in the future.
Now that you know how to access the voice recorder app from the app drawer, let’s move on to exploring the various features and functionalities of the app and learn how to make the most out of your recording experience.
Alternative Methods to Find the Voice Recorder
If you’re having trouble locating the voice recorder app on your Samsung phone using the previous methods, don’t worry. There are a few alternative methods you can try to find the voice recorder app. Let’s explore these alternative methods below:
1. Search Bar: On some Samsung phone models, you may have a search bar on the home screen. Simply tap on the search bar and type “voice recorder” or “recorder” to filter the results. The search function will display the voice recorder app icon if it is installed on your device.
2. Voice Assistant: Samsung phones come with a built-in voice assistant called Bixby or Google Assistant. You can activate the voice assistant by saying “Hey Bixby” or “Hey Google” and ask it to open the voice recorder app for you. It will locate and open the app, allowing you to start recording with a voice command.
3. Widgets: Samsung phones often offer widgets that provide quick access to certain apps and functions. Check if there is a voice recorder widget available by swiping to the leftmost home screen or long-pressing on the home screen and selecting the widget option. Look for a voice recorder widget and add it to your home screen for convenient access.
4. App Settings: If you have tried all the above methods and still cannot find the voice recorder app, you can also check the app settings on your Samsung phone. Open the Settings app, navigate to the Apps or Applications section, and search for the voice recorder app in the list of installed applications. From there, you can access the voice recorder app’s settings and configure them to your liking.
These alternative methods should help you locate the voice recorder app on your Samsung phone if you were unable to find it using the previous methods. Experiment with these different approaches to find the one that works best for your specific Samsung phone model.
Now that you’ve successfully located the voice recorder app, it’s time to explore its features and learn how to effectively use it to capture high-quality audio recordings.
Using the Voice Recorder App
Now that you’ve found and accessed the voice recorder app on your Samsung phone, let’s take a look at how to use it effectively. The voice recorder app offers a range of features that allow you to customize your recordings and capture high-quality audio. Here’s a step-by-step guide on using the voice recorder app:
1. Launch the Voice Recorder App: Locate the voice recorder app on your phone’s home screen or app drawer and tap on it to open the app.
2. Starting a Recording: Once the voice recorder app is open, you’ll see an interface with a large round button in the center. Tap on this button to start recording. The app will immediately begin capturing audio.
3. Customizing Recording Settings: Depending on your Samsung phone model, you may have options to customize recording settings. Look for icons or menus on the screen that allow you to adjust audio quality, format, or other recording parameters. Explore these settings to tailor your recordings to your preferences.
4. Pausing and Resuming a Recording: If you need to pause the recording temporarily, look for a pause button on the screen or a notification in the notification bar. Tap on the pause button or notification to pause the recording. To resume, tap on the same button or notification again.
5. Saving and Sharing Recordings: Once you’re finished recording, you can save the file by tapping on a save or done button. The recording will be stored in the app’s internal storage. To access your recordings later or share them with others, navigate to the app’s file management section or use the share option within the app.
6. Managing and Organizing Recordings: As you make more recordings, you may want to organize them for easy access. Look for options within the voice recorder app to create folders, rename files, or add tags or labels to your recordings. These features can help you keep your recordings organized and searchable.
7. Tips and Tricks for Using the Voice Recorder: To further enhance your recording experience, consider the following tips and tricks:
- Use headphones with a built-in microphone for better audio quality and reduced background noise.
- Find a quiet environment with minimal distractions for clear and focused recordings.
- Position the microphone of your Samsung phone close to the sound source for optimal audio capture.
- Experiment with different recording settings to achieve the desired audio quality and file size.
- Take advantage of features like voice activation or noise cancellation if available on your Samsung phone model.
- Regularly back up your recordings to prevent accidental loss.
With these steps, tips, and tricks in mind, you can now confidently use the voice recorder app on your Samsung phone to capture crystal clear audio recordings for a variety of purposes.
Starting a Recording
One of the primary functions of the voice recorder app on your Samsung phone is to capture high-quality audio recordings. Starting a recording is a straightforward process. Here’s how you can do it:
1. Launch the Voice Recorder App: Locate the voice recorder app on your Samsung phone’s home screen or app drawer and tap on it to open the app.
2. Tap the Record Button: Once the voice recorder app is open, you’ll see a large round button in the center of the interface. This button is typically labeled “Record” or represented by a microphone icon. Tap on this button to start recording.
3. Start Speaking or Recording: As soon as you tap the record button, the voice recorder app will begin capturing audio. Speak clearly and position your phone’s microphone close to the sound source for optimal audio quality.
4. Monitor the Recording: While recording, you’ll typically see a timer counting the duration of the recording. You may also see a visual representation of the audio waveform, allowing you to gauge the volume levels and ensure proper recording levels.
5. Pause or Stop the Recording: If you need to pause the recording temporarily, look for a pause button on the screen or a notification in the notification bar. Tap on the pause button or notification to pause the recording. To stop the recording completely, tap on the stop button, usually represented by a square or a similar icon.
6. Save the Recording: After stopping the recording, you’ll typically be prompted with options to save or discard the recording. Choose the option to save the recording if you want to keep it. The recording will be stored in the voice recorder app’s internal storage or in a designated folder.
Remember to give your recordings meaningful and descriptive names to make them easily identifiable. This will be especially helpful when managing and organizing multiple recordings.
By following these simple steps, you can easily start recording audio using the voice recorder app on your Samsung phone. Whether you want to capture lectures, interviews, or personal notes, the voice recorder app provides a convenient tool to document audio in high quality.
Customizing Recording Settings
One of the advantages of the voice recorder app on your Samsung phone is the ability to customize recording settings according to your preferences. By adjusting these settings, you can achieve the desired audio quality and optimize the recording for specific scenarios. Here’s how you can customize the recording settings:
1. Launch the Voice Recorder App: Locate the voice recorder app on your Samsung phone’s home screen or app drawer and tap on it to open the app.
2. Access the Settings: Look for a settings icon or menu within the voice recorder app. It is usually represented by three dots, three lines, or the word “Settings.” Tap on this icon or access the settings menu to modify recording settings.
3. Modify Audio Quality: One of the most common settings you can customize is the audio quality. Depending on your Samsung phone model, you may be able to choose between different recording formats, such as MP3 or WAV, and adjust the bitrate or sample rate. Higher quality settings usually result in larger file sizes, while lower quality settings conserve storage space but may sacrifice audio clarity.
4. Enable Noise Cancellation: Some Samsung phones offer built-in noise cancellation features. Look for an option to enable noise cancellation within the voice recorder app settings. When activated, noise cancellation helps reduce background noise and improves the clarity of your recordings, especially in noisy environments.
5. Set a Recording Timer: If you want to limit the recording time or schedule it for a specific duration, check if the voice recorder app has a timer feature. This allows you to set a predetermined recording duration, after which the recording will automatically stop. It can be useful for interviews, presentations, or any time-bound recording needs.
6. Adjust Input Gain Levels: Some Samsung phone models allow you to adjust the input gain levels manually. This feature is particularly useful when you want to control the sensitivity of the microphone and ensure optimal audio levels. Higher gain levels amplify the audio, while lower gain levels reduce sensitivity for loud sounds.
7. Explore Additional Settings: Depending on your Samsung phone model and the voice recorder app version, you may find additional settings to customize, such as audio format, storage location, file naming conventions, or integration with other apps. Take a moment to explore these settings and tailor them to your recording requirements.
Remember to strike a balance between audio quality and file size when customizing recording settings. Higher quality settings may consume more storage space, so consider the available storage capacity on your Samsung phone.
By customizing the recording settings, you can optimize the voice recorder app to meet your specific needs and capture audio recordings that meet your desired quality standards.
Pausing and Resuming a Recording
During the recording process, it is often necessary to pause temporarily or take breaks without stopping the entire recording. The voice recorder app on your Samsung phone allows you to conveniently pause and resume recordings. Here’s how you can do it:
1. Start a Recording: Launch the voice recorder app on your Samsung phone and begin a recording by tapping the record button. The app will start capturing audio.
2. Pause the Recording: When you need to pause the recording momentarily, look for a pause button on the screen or a notification in the notification bar. Tap on either the pause button or the notification to temporarily halt the recording. The timer or audio waveform display will stop, indicating that the recording is paused.
3. Resume the Recording: To resume the recording from where you left off, tap on the same pause button or notification that you used to pause the recording. The voice recorder app will start capturing audio again, and the timer or audio waveform display will resume, indicating that the recording is active.
4. Monitor the Recording: While the recording is paused, you can review the audio captured before the pause. This can help you decide whether to continue from where you left off or start a new recording segment.
5. Stop and Save the Recording: When you’ve completed the recording and decide to end it, tap on the stop button, usually represented by a square or a similar icon. The voice recorder app will prompt you to save or discard the recording. Choose the option to save it, and the recording will be stored in the app’s internal storage or in a designated folder.
By utilizing the pause feature in the voice recorder app, you can take breaks during long recordings or temporarily halt the recording to manage any interruptions or distractions. It provides flexibility while ensuring you capture the desired audio seamlessly.
Remember to use the pause feature strategically to maintain a smooth flow in your recordings. Avoid unnecessary pauses or excessive pauses that may disrupt the continuity and coherence of your audio recordings.
With the ability to pause and resume recordings, the voice recorder app on your Samsung phone ensures that you have full control over your recording sessions and empowers you to capture audio conveniently in various situations.
Saving and Sharing Recordings
Once you’ve finished recording audio using the voice recorder app on your Samsung phone, it’s important to know how to save and share those recordings. The voice recorder app provides simple steps to ensure that your recordings are easily accessible and shareable. Here’s what you need to know:
1. Saving a Recording: After you’ve stopped the recording by tapping the stop button, the voice recorder app will prompt you to save or discard the recording. Choose the option to save the recording. The app will typically save the recording in its internal storage or in a designated folder for audio recordings.
2. Naming the Recording: In most cases, the voice recorder app will automatically assign a default name to the recording based on the date, time, or other parameters. However, you can also give the recording a custom name that is more descriptive and meaningful. Look for options within the app to rename the recording so that you can easily identify it later.
3. Accessing Saved Recordings: To access your saved recordings, navigate to the designated storage location within the voice recorder app. The app will usually have a file management section where all the recordings are listed. You can scroll through the list or use search functionality to find the specific recording you want.
4. Sharing Recordings: There are various methods to share your recordings from the voice recorder app. Here are a few common ways:
- Email: Tap and hold on the recording you want to share and select the option to share via email. The app will open your email client, and you can compose a new email, attach the recording, and send it.
- Messaging Apps: If you prefer to share recordings through messaging apps, select the recording and choose the option to share via messaging. The app will provide a list of messaging apps installed on your phone, such as WhatsApp or Messenger, and you can choose the desired app to share the recording.
- Cloud Storage: Many voice recorder apps offer integration with cloud storage platforms like Google Drive or Dropbox. By linking your cloud storage account within the app’s settings, you can upload your recordings directly to the cloud and easily share them by generating shareable links or inviting specific recipients.
- Social Media: If you want to share your recordings on social media platforms, check if the voice recorder app has social media integration. Some apps allow direct sharing to platforms like Facebook or Instagram, making it convenient to share your recordings with your followers or friends.
When sharing your recordings, consider the privacy and sensitivity of the content. Ensure that you have the necessary permissions to share the recordings and respect the privacy of individuals involved in the audio.
By following these steps, you can effectively save your recordings and share them with others. Whether it’s for professional purposes or personal use, the voice recorder app on your Samsung phone makes it convenient to store and share your audio recordings.
Managing and Organizing Recordings
As you continue to use the voice recorder app on your Samsung phone, you may accumulate a growing collection of recordings. It’s important to have a systematic approach to manage and organize your recordings for easy access and retrieval. Here are some tips for effectively managing and organizing your recordings:
1. Create Folders: Most voice recorder apps allow you to create folders to categorize your recordings. Create folders based on different topics, projects, or personal preferences. For example, you can create folders for work-related recordings, personal memos, or educational material. This will help you keep your recordings organized and navigate through them effortlessly.
2. Rename Recordings: Giving your recordings meaningful and descriptive names can make searching and identifying them easier. Instead of relying on default file names, rename your recordings to reflect the content or context. This way, you can quickly locate specific recordings when you need them.
3. Add Tags or Labels: Some voice recorder apps provide the option to add tags or labels to your recordings. Tags act as keywords that characterize the content of the recording. For example, you can add tags like “meeting,” “lecture,” or “interview” to classify your recordings. This can be particularly useful when searching or filtering through a large number of recordings.
4. Timestamp Important Moments: During a recording, you might come across significant points that you want to highlight or revisit later. If your voice recorder app supports it, use the timestamp feature to mark these moments. Timestamps allow you to quickly jump to specific sections of the recording without having to listen to the entire file.
5. Delete Unnecessary Recordings: Regularly review and remove any recordings that are no longer required. This will free up storage space and keep your collection more manageable. Be cautious when deleting recordings to avoid accidentally deleting important files. Consider creating backups of essential recordings on other storage devices or cloud platforms.
6. Export and Archive: If you have recordings that you no longer need immediate access to but want to keep for future reference, consider exporting and archiving them. You can transfer the recordings to your computer or upload them to cloud storage platforms for long-term storage. This way, you can keep your voice recorder app clutter-free without losing access to important recordings.
By implementing these strategies, you can effectively manage and organize your recordings, making it easier to find specific files when you need them. Experiment with different methods to find the one that works best for your recording habits and preferences.
Remember, managing and organizing your recordings is an ongoing process. Take the time to maintain a tidy collection and regularly assess your recording needs to ensure optimal organization and accessibility.
Tips and Tricks for Using the Voice Recorder
Using the voice recorder app on your Samsung phone is not just about hitting the record button. To maximize your recording experience and achieve the best results, here are some helpful tips and tricks:
1. Find a Quiet Environment: When recording, choose a quiet location with minimal background noise. This will ensure that your voice or desired audio is clear and free from distractions. Select a room or area where you can minimize external sounds and focus on capturing the intended audio.
2. Use Headphones with a Built-in Microphone: To enhance the recording quality, consider using headphones with a built-in microphone. These headphones can reduce background noise and provide better sound isolation, resulting in clearer and crisper recordings.
3. Position the Microphone: When recording, make sure the microphone of your Samsung phone is positioned close to the sound source. This will help capture the audio with better clarity and minimize unwanted ambient noise. Experiment with microphone placement to find the optimal position for different types of recordings.
4. Experiment with Recording Settings: Take the time to explore and adjust the various recording settings available in the voice recorder app. Test different audio formats, quality levels, and other settings to find the configuration that suits your specific recording needs. Customize the settings to achieve your desired balance between audio quality and file size.
5. Utilize Voice Activation: Some voice recorder apps offer a voice activation feature. Enabling this feature allows the app to start recording automatically when it detects sound and pause when there is silence. This can be handy when you want to capture audio during specific moments without having to constantly tap the record button.
6. Make Use of Noise Cancellation: If your Samsung phone and voice recorder app support noise cancellation, consider enabling this feature. It helps reduce background noise and enhances the clarity of your recordings, especially in environments with high ambient sound levels.
7. Maintain a Steady Hand: To avoid unnecessary background noise or distortion, hold your Samsung phone steadily while recording. Minimize movements, taps, or accidental brushing against the microphone, as these can affect the overall recording quality.
8. Stay Mindful of Storage Space: Recording high-quality audio can consume storage space on your device. Keep an eye on your available storage and regularly transfer or back up your recordings to external devices or cloud storage to free up space and preserve your recordings safely.
9. Capture Different Perspectives: Experiment with recording from various distances and angles to capture different perspectives of the audio source. Assess the impact of proximity or distance on the sound quality and choose the recording position that best suits your desired outcome.
10. Review and Edit Recordings: After concluding a recording, take some time to review and listen to the recording. You can trim unnecessary parts, adjust the volume, or apply basic edits within the voice recorder app itself. This way, you can fine-tune your recordings before saving or sharing them.
By implementing these tips and tricks, you can optimize your voice recording experience on your Samsung phone. Experiment with different techniques and settings to enhance the quality and usability of your recordings.
Conclusion
Using the voice recorder app on your Samsung phone opens up a world of possibilities for capturing high-quality audio recordings. With the ability to record lectures, interviews, personal memos, and more, the voice recorder app offers an essential tool for various purposes.
In this comprehensive guide, we explored how to find the voice recorder app on your Samsung phone, locate its icon, and access it from the app drawer. We discussed the importance of customizing recording settings to achieve the desired audio quality and provided tips for pausing and resuming recordings seamlessly. We also covered the process of saving and sharing recordings, as well as effective management and organization techniques to keep your recording collection well-structured.
Additionally, we shared valuable tips and tricks to enhance your voice recording experience, such as finding a quiet environment, using headphones with a built-in microphone, and experimenting with different recording settings. We also highlighted the benefits of utilizing voice activation, noise cancellation, and mindful storage management.
By following these guidelines and incorporating these insights into your voice recording practices, you can make the most out of the voice recorder app on your Samsung phone. Whether you’re a student, professional, or simply someone who loves capturing audio moments, the voice recorder app is a powerful tool that empowers you to document and preserve important audio recordings.
So, grab your Samsung phone, locate the voice recorder app, and start capturing those memorable moments, insightful ideas, and inspiring conversations. Enjoy the convenience and flexibility that the voice recorder app provides, as you seize the opportunity to transform spoken words into a lasting record of cherished memories and valuable information.