Introduction
Welcome to the world of PHP, where you can create dynamic web pages and powerful web applications. When it comes to interacting with external APIs or fetching data from other websites, one essential tool you’ll need is Curl.
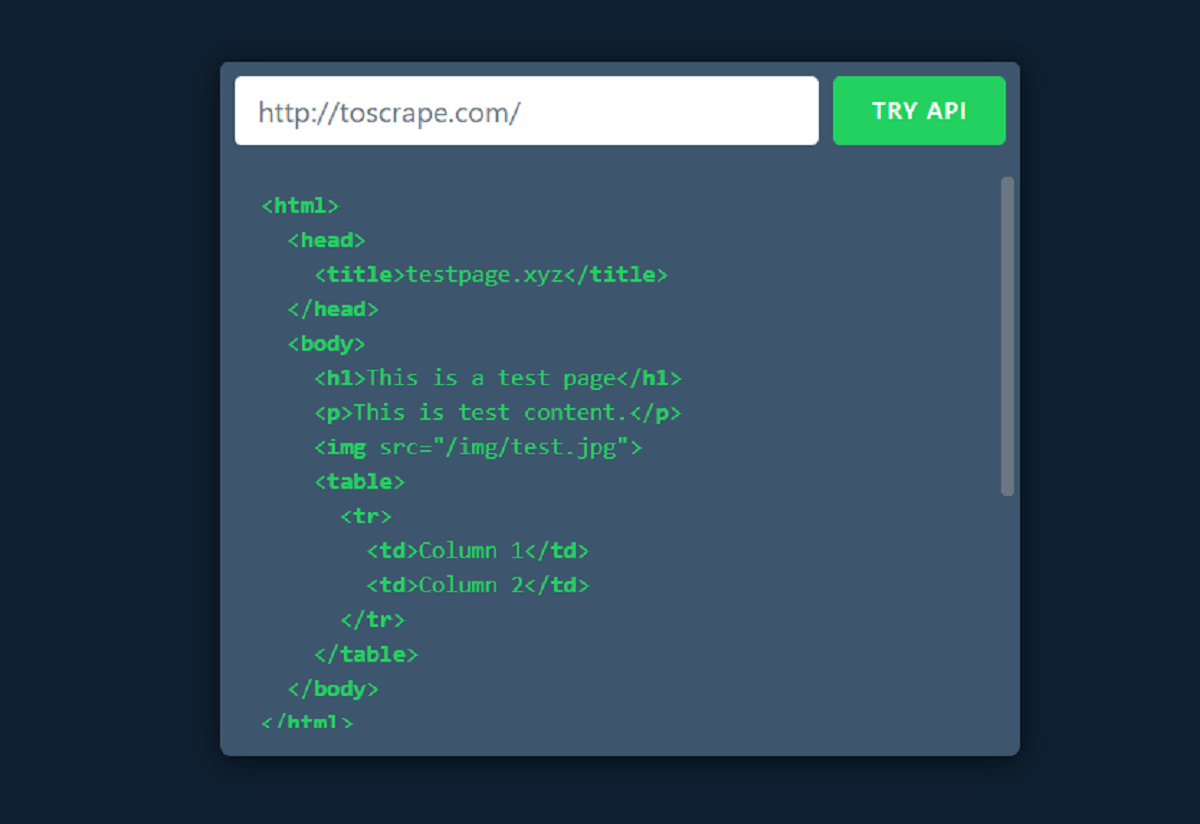
Curl, short for “Client URL”, is a powerful library and command-line tool used to transfer data between servers. In PHP, Curl is often used to send HTTP requests and handle responses easily. Whether you want to fetch data, make API calls, or even upload files, Curl provides a straightforward and efficient way to do it.
Using Curl in PHP allows you to perform various tasks like making GET and POST requests, handling responses, setting custom headers and options, and more. It’s an essential tool in the toolbox of any PHP developer who needs to interact with external services and consume or transmit data over the web.
This article will guide you through the basics of using Curl in PHP, from installing Curl to making requests and handling responses. By the end, you’ll be equipped with the knowledge and skills to harness the power of Curl in your PHP projects.
What is Curl?
Curl is a versatile and powerful tool that allows you to transfer data between servers using URL syntax. It can handle various types of protocols, including HTTP, HTTPS, FTP, FTPS, and more. Curl is available as a command-line tool and is widely used in different programming languages, including PHP.
In the context of PHP, Curl is a library that provides an easy-to-use interface for sending HTTP requests and handling responses. It acts as a client that can initiate requests to web servers and retrieve the corresponding data or perform specific actions.
Curl offers a wide range of features and functionalities, making it a popular choice among developers. Some of the key capabilities of Curl in PHP include:
- Making GET and POST requests: You can use Curl to fetch data from other websites or send data to remote servers.
- Handling responses: Curl provides methods for accessing response headers, status codes, and response bodies.
- Uploading files: Curl allows you to upload files to a server, making it useful for scenarios like file uploads in web applications.
- Setting headers and options: Curl lets you customize the headers and various options for more control over the requests.
- Handling cookies: Curl supports managing cookies, including sending stored cookies in subsequent requests.
With Curl, PHP developers can easily integrate their applications with external APIs, fetch data from remote servers, interact with web services, perform data-driven actions, and much more. Its flexibility and versatility make it an invaluable tool for web development tasks that involve transferring data over the web.
Why use Curl in PHP?
When it comes to handling HTTP requests and interacting with external APIs or web services in your PHP applications, Curl offers several advantages that make it a preferred choice among developers. Here are some compelling reasons to use Curl:
1. Versatility
Curl supports a wide range of protocols, including HTTP, HTTPS, FTP, FTPS, and more. This versatility enables you to interact with various types of services and retrieve data from remote servers easily. With Curl, you can make GET and POST requests, upload files, handle cookies, and even set custom headers and options, providing you with tremendous flexibility in your application’s interactions with external systems.
2. Ease of use
Curl provides a simple and intuitive API that makes it easy to send HTTP requests and handle responses in PHP. It abstracts away many of the complexities of working with low-level network protocols and provides a high-level interface that allows you to focus on your application’s logic rather than the intricacies of data transfer.
3. Performance
Curl is known for its excellent performance when it comes to handling HTTP requests. It uses highly optimized and efficient methods for data transfer, allowing for fast and reliable communication between your PHP application and remote servers. Whether you’re fetching large amounts of data or making frequent API calls, Curl’s performance ensures that your application runs smoothly without any bottlenecks.
4. Error handling
Curl provides comprehensive error handling capabilities, allowing you to gracefully handle any issues that may occur during the HTTP request process. It provides detailed error codes and messages, making it easier to troubleshoot and debug any problems that arise. With Curl, you can easily handle timeouts, network errors, authentication failures, and other common scenarios, ensuring a robust and reliable communication mechanism for your PHP applications.
5. Wide adoption and community support
Curl is widely adopted and has a large community of developers who actively use and contribute to its development. This means that there is a wealth of resources, tutorials, and documentation available to help you get started and troubleshoot any issues you may encounter. Additionally, Curl is continually updated and maintained, ensuring that you have access to the latest features and security patches.
Overall, Curl provides a powerful and convenient way to handle HTTP requests and interact with external services in PHP. Its versatility, ease of use, and performance make it an excellent choice for any PHP developer looking to build robust and efficient applications that communicate with external systems.
Installing Curl in PHP
In order to start using Curl in PHP, you need to ensure that it is installed and enabled on your server or local development environment. Follow these steps to install Curl:
1. Check if Curl is already installed
Before proceeding with the installation, check if Curl is already installed on your system. You can do this by running the following PHP code:
php
If Curl is already installed, you will see the message “Curl is already installed on your system.” Otherwise, you will see the message “Curl is not installed on your system.”
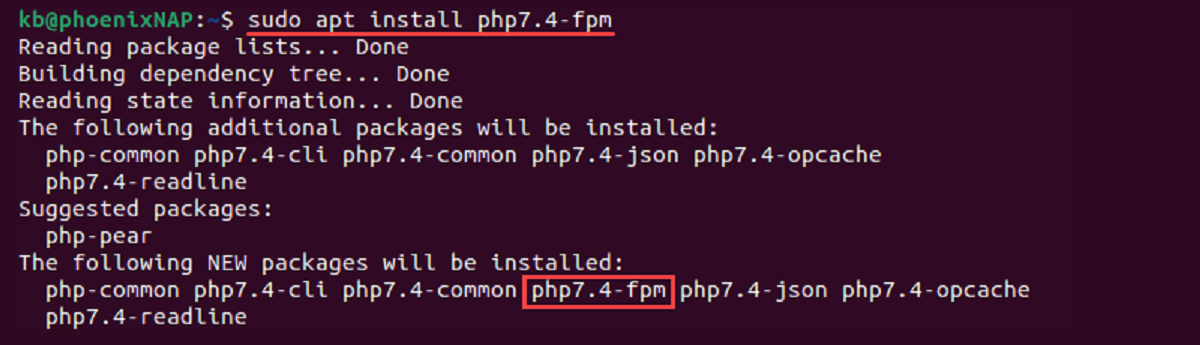
2. Install Curl
If Curl is not installed, you can install it using package managers like apt, yum, or brew, depending on your operating system. Here are some common commands to install Curl:
– For Ubuntu/Debian-based systems:
sudo apt-get install php7.4-curl
– For CentOS/Fedora-based systems:
sudo yum install php7.4-curl
– For macOS with Homebrew:
brew install php@7.4-curl
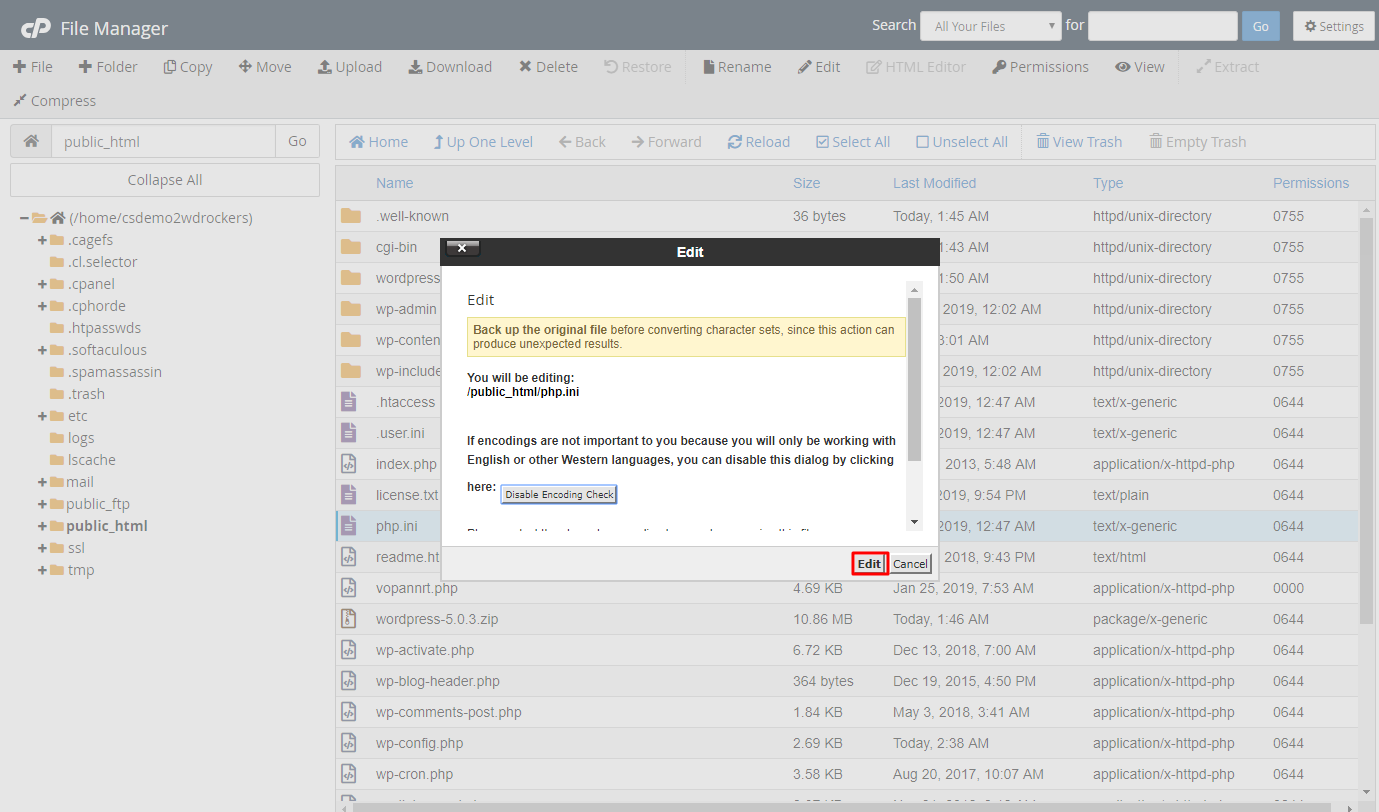
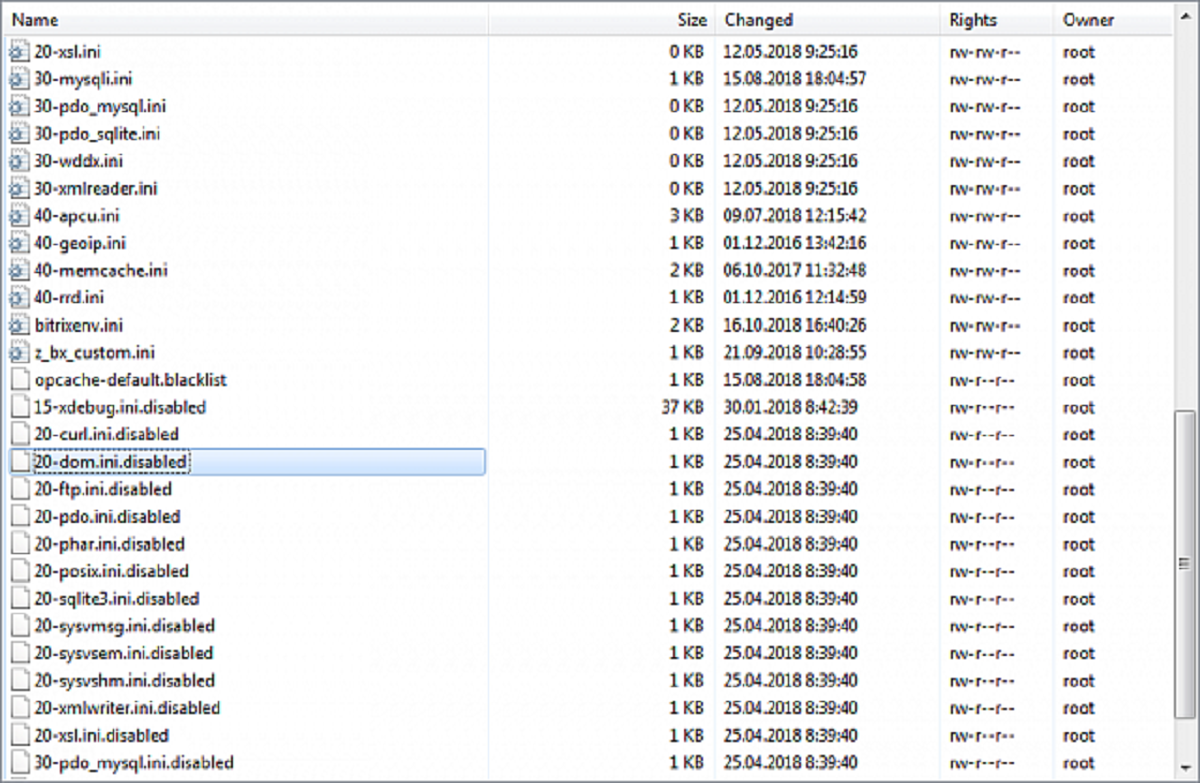
3. Enable the Curl extension
After installing Curl, you need to enable the Curl extension in your PHP configuration file. Locate the php.ini file and uncomment the following line by removing the semicolon (;):
;extension=curl
Change it to:
extension=curl
4. Restart your web server
After enabling the Curl extension, restart your web server to apply the changes. This step is necessary to make sure that PHP recognizes the Curl extension and can utilize its functionality.
That’s it! You have successfully installed and enabled Curl in PHP. You are now ready to start making HTTP requests and interacting with external services using Curl in your PHP applications.
Making GET requests with Curl in PHP
Once you have Curl installed and enabled in your PHP environment, you can start making HTTP GET requests using Curl. Here’s how you can do it:
1. Initialize a Curl handle
First, you need to initialize a Curl handle using the `curl_init()` function. This function returns a Curl resource that you can use to execute Curl functions.
php
$curl = curl_init();
2. Set the request URL
Next, you need to set the URL to which you want to send the GET request using the `CURLOPT_URL` option.
php
$url = ‘https://example.com/api/data’;
curl_setopt($curl, CURLOPT_URL, $url);
3. Set additional options (optional)
You can set additional options as needed using the various `CURLOPT_*` constants. For example, you can set a custom user agent using the `CURLOPT_USERAGENT` option.
php
$userAgent = ‘MyApp/1.0’;
curl_setopt($curl, CURLOPT_USERAGENT, $userAgent);
4. Execute the GET request
Once you have set the necessary options, you can execute the GET request using the `curl_exec()` function.
php
$response = curl_exec($curl);
5. Handle the response
The response from the GET request will be stored in the `$response` variable. You can then process and handle the response as needed, such as displaying the response or parsing the response data.
php
if ($response === false) {
// Error handling
$error = curl_error($curl);
// handle the error
} else {
// Handle the response
// E.g., echo the response
echo $response;
}
6. Close the Curl handle
After you are done with the Curl request, remember to close the Curl handle using the `curl_close()` function.
php
curl_close($curl);
That’s it! You have successfully made a GET request using Curl in PHP. With this approach, you can retrieve data from external APIs or web servers and use the response in your PHP application.
Making POST requests with Curl in PHP
In addition to making GET requests, Curl also allows you to send POST requests to web servers in PHP. Here’s how you can make a POST request using Curl:
1. Initialize a Curl handle
First, initialize a Curl handle using the `curl_init()` function.
php
$curl = curl_init();
2. Set the request URL
Set the URL to which you want to send the POST request using the `CURLOPT_URL` option.
php
$url = ‘https://example.com/api/data’;
curl_setopt($curl, CURLOPT_URL, $url);
3. Set the request method to POST
Set the request method to POST using the `CURLOPT_POST` option.
php
curl_setopt($curl, CURLOPT_POST, true);
4. Set the POST data
To send data in the POST request, you can use the `CURLOPT_POSTFIELDS` option. You can pass the data as an array or as a URL-encoded string.
php
// Sending an array of data
$data = [
‘name’ => ‘John’,
’email’ => ‘john@example.com’,
];
curl_setopt($curl, CURLOPT_POSTFIELDS, $data);
// Sending data as a URL-encoded string
$data = ‘name=John&email=john@example.com’;
curl_setopt($curl, CURLOPT_POSTFIELDS, $data);
5. Set additional options (optional)
You can set additional options for the POST request as needed, such as custom headers or timeouts.
php
// Set a custom header
$headers = [
‘Content-Type: application/json’,
];
curl_setopt($curl, CURLOPT_HTTPHEADER, $headers);
// Set timeout
curl_setopt($curl, CURLOPT_TIMEOUT, 10);
6. Execute the POST request
Execute the POST request using the `curl_exec()` function.
php
$response = curl_exec($curl);
7. Handle the response
Handle the response from the POST request as needed, similar to the GET request example.
php
if ($response === false) {
// Error handling
$error = curl_error($curl);
// handle the error
} else {
// Handle the response
// E.g., echo the response
echo $response;
}
8. Close the Curl handle
Finally, close the Curl handle using the `curl_close()` function.
php
curl_close($curl);
That’s it! You have successfully made a POST request using Curl in PHP. With this approach, you can send data to external APIs or web servers and process the response in your PHP application.
Handling Response Data with Curl in PHP
Once you have made a request using Curl in PHP, you will receive a response from the server. Handling the response data is an important step in utilizing the information received. Here’s how you can handle the response data with Curl:
Accessing the Response
After executing the Curl request with `curl_exec()`, the server’s response will be stored in the `$response` variable. It is important to check for any errors that may have occurred during the request. You can check for errors using the following approach:
php
$response = curl_exec($curl);
if ($response === false) {
// Error handling
$error = curl_error($curl);
// Handle the error
} else {
// Handle the response
// E.g., echo the response
echo $response;
}
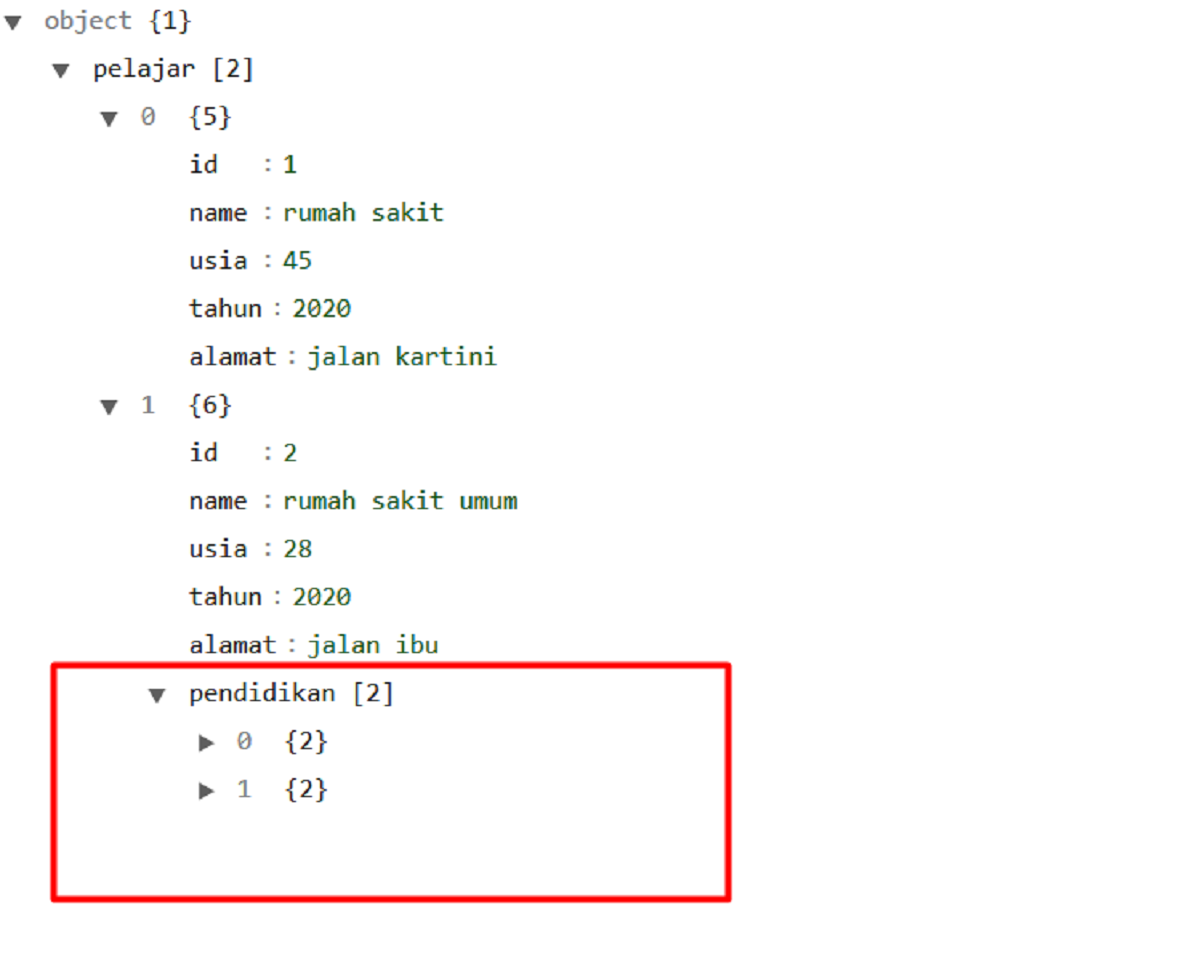
Parsing JSON Responses
If the server returns a JSON response, you may want to extract and parse the data for further processing. You can use the `json_decode()` function to convert the JSON string into a PHP object or an associative array:
php
$response = curl_exec($curl);
if ($response === false) {
// Error handling
$error = curl_error($curl);
// Handle the error
} else {
$jsonData = json_decode($response);
// Access the data
$name = $jsonData->name;
$email = $jsonData->email;
// Display the data
echo “Name: ” . $name . “
“;
echo “Email: ” . $email . “
“;
}
Handling XML Responses
Similarly, if the server returns an XML response, you can use PHP’s XML parsing functions, such as `simplexml_load_string()`, to parse the XML and access the data:
php
$response = curl_exec($curl);
if ($response === false) {
// Error handling
$error = curl_error($curl);
// Handle the error
} else {
$xml = simplexml_load_string($response);
// Access and display the data
$name = $xml->name;
$email = $xml->email;
echo “Name: ” . $name . “
“;
echo “Email: ” . $email . “
“;
}
Handling Headers and Status Codes
In addition to the response body, Curl also provides access to the response headers and status code. You can use the `curl_getinfo()` function to retrieve information about the request and response, including the headers and status code:
php
$response = curl_exec($curl);
if ($response === false) {
// Error handling
$error = curl_error($curl);
// Handle the error
} else {
// Get the response headers
$headers = curl_getinfo($curl, CURLINFO_HEADER_OUT);
// Get the response status code
$statusCode = curl_getinfo($curl, CURLINFO_HTTP_CODE);
// Handle the headers and status code as needed
// E.g., display them or perform conditional operations
echo “Response Headers: ” . $headers . “
“;
echo “Status Code: ” . $statusCode . “
“;
}
By accessing the response data, parsing JSON or XML, and analyzing the headers and status code, you can effectively handle the information received from the server in your PHP application.
Uploading Files with Curl in PHP
Using Curl in PHP allows you to not only make HTTP requests but also upload files to a remote server effortlessly. Whether you need to handle file uploads in a web application or transfer files to an API, Curl provides a convenient way to accomplish this. Here’s how you can upload files with Curl:
1. Initialize a Curl handle
Start by initializing a Curl handle using the `curl_init()` function:
php
$curl = curl_init();
2. Set the request URL
Set the URL of the server where you want to upload the file using the `CURLOPT_URL` option:
php
$url = ‘https://example.com/upload’;
curl_setopt($curl, CURLOPT_URL, $url);
3. Set the file to upload
Specify the file you want to upload using the `CURLOPT_POSTFIELDS` option. This option expects an array with the file path or a string containing the file’s content:
php
// Upload file from local filesystem
$file = ‘/path/to/file.png’;
$data = [‘file’ => new CURLFile($file)];
curl_setopt($curl, CURLOPT_POSTFIELDS, $data);
php
// Upload file from string content
$fileContent = ‘This is the content of the file’;
$data = [‘file’ => $fileContent];
curl_setopt($curl, CURLOPT_POSTFIELDS, $data);
4. Set additional options (optional)
You can also set additional options as needed. For example, you may want to set custom headers using the `CURLOPT_HTTPHEADER` option:
php
$headers = [
‘Content-Type: multipart/form-data’,
];
curl_setopt($curl, CURLOPT_HTTPHEADER, $headers);
5. Execute the file upload request
Execute the file upload request using the `curl_exec()` function:
php
$response = curl_exec($curl);
6. Handle the response
Handle the response obtained from the file upload request:
php
if ($response === false) {
// Error handling
$error = curl_error($curl);
// Handle the error
} else {
// Handle the success response
// E.g., display a success message or further process the response
echo “File uploaded successfully!”;
}
7. Close the Curl handle
Once you are done with the file upload request, close the Curl handle using the `curl_close()` function:
php
curl_close($curl);
By following these steps, you can easily upload files to a remote server using Curl in your PHP application, enabling seamless file transfers and integration with various APIs or services.
Setting Headers and Options with Curl in PHP
When working with Curl in PHP, you have the flexibility to set custom headers and various options to customize the behavior of your requests. This allows you to fine-tune the Curl functionality and meet specific requirements. Here’s how you can set headers and options with Curl in PHP:
Setting Headers
You can set custom headers using the `CURLOPT_HTTPHEADER` option. This option expects an array of headers:
php
$headers = [
‘Content-Type: application/json’,
‘Authorization: Bearer your_access_token’,
];
curl_setopt($curl, CURLOPT_HTTPHEADER, $headers);
In the example above, we set the `Content-Type` header to indicate that we are sending JSON data and the `Authorization` header with a bearer token for authentication purposes. You can add any additional headers as needed by adding more elements to the array.
Setting Options
Curl also provides a range of options that you can set to modify its behavior. Here are a few commonly used options:
– `CURLOPT_RETURNTRANSFER`: Set this option to `true` to return the response as a string instead of outputting it directly.
– `CURLOPT_TIMEOUT`: Set the maximum time in seconds that Curl should spend on a request before timing out.
– `CURLOPT_FOLLOWLOCATION`: Set this option to `true` to automatically follow any redirects.
– `CURLOPT_SSL_VERIFYHOST` and `CURLOPT_SSL_VERIFYPEER`: Set these options to `false` to disable SSL certificate verification (not recommended in production).
php
curl_setopt($curl, CURLOPT_RETURNTRANSFER, true);
curl_setopt($curl, CURLOPT_TIMEOUT, 10);
curl_setopt($curl, CURLOPT_FOLLOWLOCATION, true);
curl_setopt($curl, CURLOPT_SSL_VERIFYHOST, false);
curl_setopt($curl, CURLOPT_SSL_VERIFYPEER, false);
These are just a few examples, and there are many more options available for you to explore in the Curl documentation based on your specific needs.
Handling Options and Headers in Curl Requests
When executing a Curl request, remember to consider these options and headers alongside the request itself. For example:
php
$curl = curl_init();
$url = ‘https://example.com/api’;
$headers = [
‘Content-Type: application/json’,
‘Authorization: Bearer your_access_token’,
];
$data = [
‘name’ => ‘John’,
’email’ => ‘john@example.com’,
];
curl_setopt($curl, CURLOPT_URL, $url);
curl_setopt($curl, CURLOPT_HTTPHEADER, $headers);
curl_setopt($curl, CURLOPT_POSTFIELDS, json_encode($data));
curl_setopt($curl, CURLOPT_RETURNTRANSFER, true);
$response = curl_exec($curl);
if ($response === false) {
// Error handling
$error = curl_error($curl);
// Handle the error
} else {
// Handle the response
echo $response;
}
curl_close($curl);
By setting headers and options in your Curl requests, you can customize and control various aspects of your HTTP requests, enhancing their functionality and ensuring they meet specific requirements.
Conclusion
In this article, we explored the powerful capabilities of Curl in PHP. Curl is a versatile library that enables you to send HTTP requests, handle responses, upload files, and customize request headers and options with ease. It is an essential tool for interacting with external APIs, fetching data from remote servers, and integrating third-party services into your PHP applications.
We discussed how to install and enable Curl in PHP, ensuring that you have the necessary setup to utilize its functionalities. We then explored how to make GET and POST requests using Curl, handling response data such as JSON and XML, as well as accessing response headers and status codes. Furthermore, we learned how to upload files to remote servers using Curl efficiently.
Additionally, we covered the importance of setting custom headers and various options with Curl to tailor the HTTP requests to specific needs. This flexibility allows you to fine-tune the behavior of your Curl requests and optimize the interactions with external APIs or services.
By mastering Curl in PHP, you can significantly enhance the functionality and capabilities of your web applications. With the ability to handle HTTP requests, process responses, and interact with external systems, you open the doors to a world of possibilities for your PHP projects.
Remember to refer to the Curl documentation and explore additional features and options provided to further expand your understanding and utilization of Curl in PHP. With practice, you will become proficient in leveraging Curl’s power and versatility to create robust and efficient web applications.