Introduction
Installing PHP on your Mac is a crucial step in setting up the development environment for web applications. PHP is a popular programming language used by developers around the world to create dynamic and interactive websites. Whether you’re a seasoned developer or just getting started in the world of web development, this guide will walk you through the process of installing PHP on your Mac computer.
PHP, which stands for “Hypertext Preprocessor,” is a server-side scripting language that is known for its versatility and performance. It is used in conjunction with HTML to create dynamic web pages and interact with databases. The installation process may seem daunting for beginners, but with the right set of instructions, it can be done easily and quickly.
In this guide, we will walk you through the step-by-step process of installing PHP on your Mac using Homebrew, a package manager that simplifies the installation of software on macOS. Homebrew provides an efficient and convenient way to install PHP and its dependencies, ensuring a smooth and hassle-free installation process.
Before we dive into the installation process, it is important to note that macOS comes with a pre-installed version of PHP. However, this version may not always be up to date and may lack certain extensions and features required by modern web applications. Therefore, it is recommended to install a more recent version of PHP using Homebrew for a seamless development experience.
Step 1: Checking if PHP is already installed
Before proceeding with the installation, it’s important to check if PHP is already installed on your Mac. Follow these steps to verify the PHP installation:
- Open the Terminal on your Mac. You can find it in the Applications folder under Utilities.
- Type the following command and press Enter:
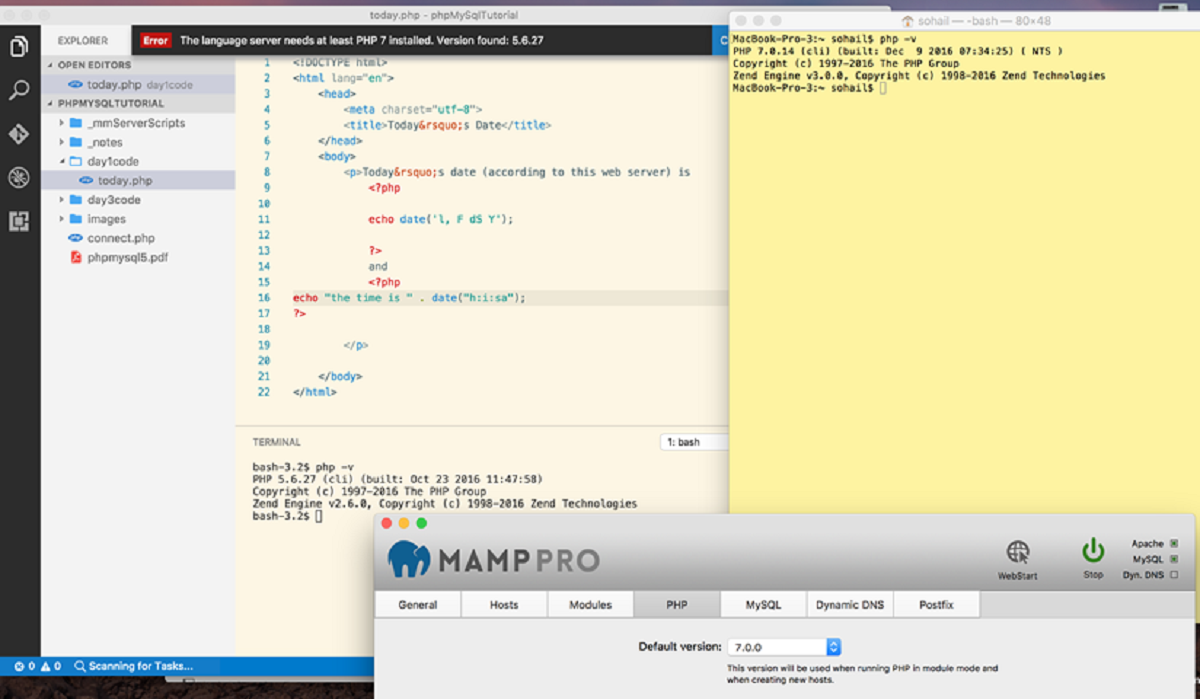
php -v
If PHP is installed, you will see a version number displayed on the screen along with other information about the PHP installation. This indicates that PHP is already installed on your Mac.
However, if you receive an error message or no output is displayed, it means PHP is not installed on your system. In this case, it’s necessary to proceed with the installation process.
Please note that if PHP is already installed but you want to install a different version or update the existing one, you can still follow the steps outlined in this guide. It will guide you through the process of installing PHP using Homebrew, which allows you to manage multiple versions of PHP on your Mac.
Step 2: Installing Homebrew
Homebrew is a package manager for macOS that simplifies the installation of software on your Mac. It provides a convenient way to install and manage dependencies, including PHP. Follow these steps to install Homebrew:
- Open the Terminal on your Mac. You can find it in the Applications folder under Utilities.
- Copy and paste the following command into the Terminal and press Enter:
/bin/bash -c "$(curl -fsSL https://raw.githubusercontent.com/Homebrew/install/HEAD/install.sh)"This command will begin the installation process for Homebrew. It may take a few minutes to complete, depending on your internet connection and system speed. During the installation, you may be prompted to enter your password. Afterward, Homebrew will be installed on your Mac.
To verify if Homebrew was installed successfully, simply type the following command and press Enter:
brew -vIf Homebrew is installed, you will see the version number displayed on the screen. This means that Homebrew is now ready to use for installing PHP and other packages on your Mac.
Step 3: Installing PHP using Homebrew
Now that Homebrew is installed on your Mac, it’s time to use it to install PHP. Follow these steps to install PHP using Homebrew:
- Open the Terminal on your Mac.
- Type the following command and press Enter to update Homebrew:
brew update- After Homebrew is updated, enter the following command to install PHP:
brew install phpThis command will install the latest version of PHP available through Homebrew. You can also specify a particular version of PHP to install by appending the version number after “php”. For example, “brew install php@7.4” will install PHP version 7.4.
The installation process may take some time, depending on your internet connection and system speed. Homebrew will automatically download and install PHP along with its necessary dependencies.
Once the installation is complete, you can verify the installed PHP version by typing the following command in the Terminal and pressing Enter:
php -vYou will see the installed PHP version displayed on the screen, along with additional information about the PHP configuration.
Congratulations! You have successfully installed PHP on your Mac using Homebrew. Now you’re ready to start developing web applications using PHP.
Step 4: Verifying the Installation
After installing PHP using Homebrew, it’s important to verify that the installation was successful. Follow these steps to ensure that PHP is properly installed and ready to use on your Mac:
- Open the Terminal on your Mac.
- Type the following command and press Enter:
php -vThis command will display the PHP version and other details, confirming that PHP has been installed correctly. If you see the PHP version number and no error messages, it means that PHP is ready to be used.
Additionally, you can run a simple PHP script to double-check the functionality of PHP. Create a new file with the .php extension, such as “test.php”, and add the following code:
<?php
  echo "PHP is working!";
?>
Save the file and navigate to its location in the Terminal. Run the script by typing the following command and pressing Enter:
php test.phpIf everything is set up correctly, you should see the message “PHP is working!” displayed in the Terminal. This confirms that PHP is functioning properly on your Mac.
With PHP successfully installed and verified, you can start developing web applications, running PHP scripts, and taking advantage of the power and versatility of this popular programming language.
Conclusion
Congratulations! You have successfully installed PHP on your Mac using Homebrew. You can now enjoy the benefits of PHP’s powerful features and start building dynamic and interactive web applications.
By following the step-by-step instructions in this guide, you have learned how to check if PHP is already installed, install Homebrew, install PHP using Homebrew, and verify the installation. This process ensures that you have a reliable and up-to-date version of PHP on your Mac, enabling you to take advantage of the latest features and enhancements.
PHP, combined with HTML and other web technologies, provides you with the tools to create dynamic websites, interact with databases, handle form submissions, and much more. It is a versatile language that is widely used in the web development industry, making it a valuable skill to have.
Remember to keep your PHP installation up to date by regularly updating Homebrew and PHP itself. This will ensure that you have access to the latest security patches, bug fixes, and performance improvements.
Now that you have PHP installed, continue exploring its vast ecosystem and learning new techniques to enhance your web development skills. There are numerous online resources, tutorials, and communities available to support and guide you on your PHP development journey.
With PHP at your fingertips, you’re ready to dive into the world of web development and bring your ideas to life. Happy coding!