Introduction
Welcome to the world of CPU cooling, where the battle against heat is fought with innovative technology. If you’re a tech enthusiast or an avid gamer, you’ve probably heard of AIO CPU coolers. These compact yet powerful cooling systems have become increasingly popular among computer enthusiasts for their efficient cooling capabilities and easy installation.
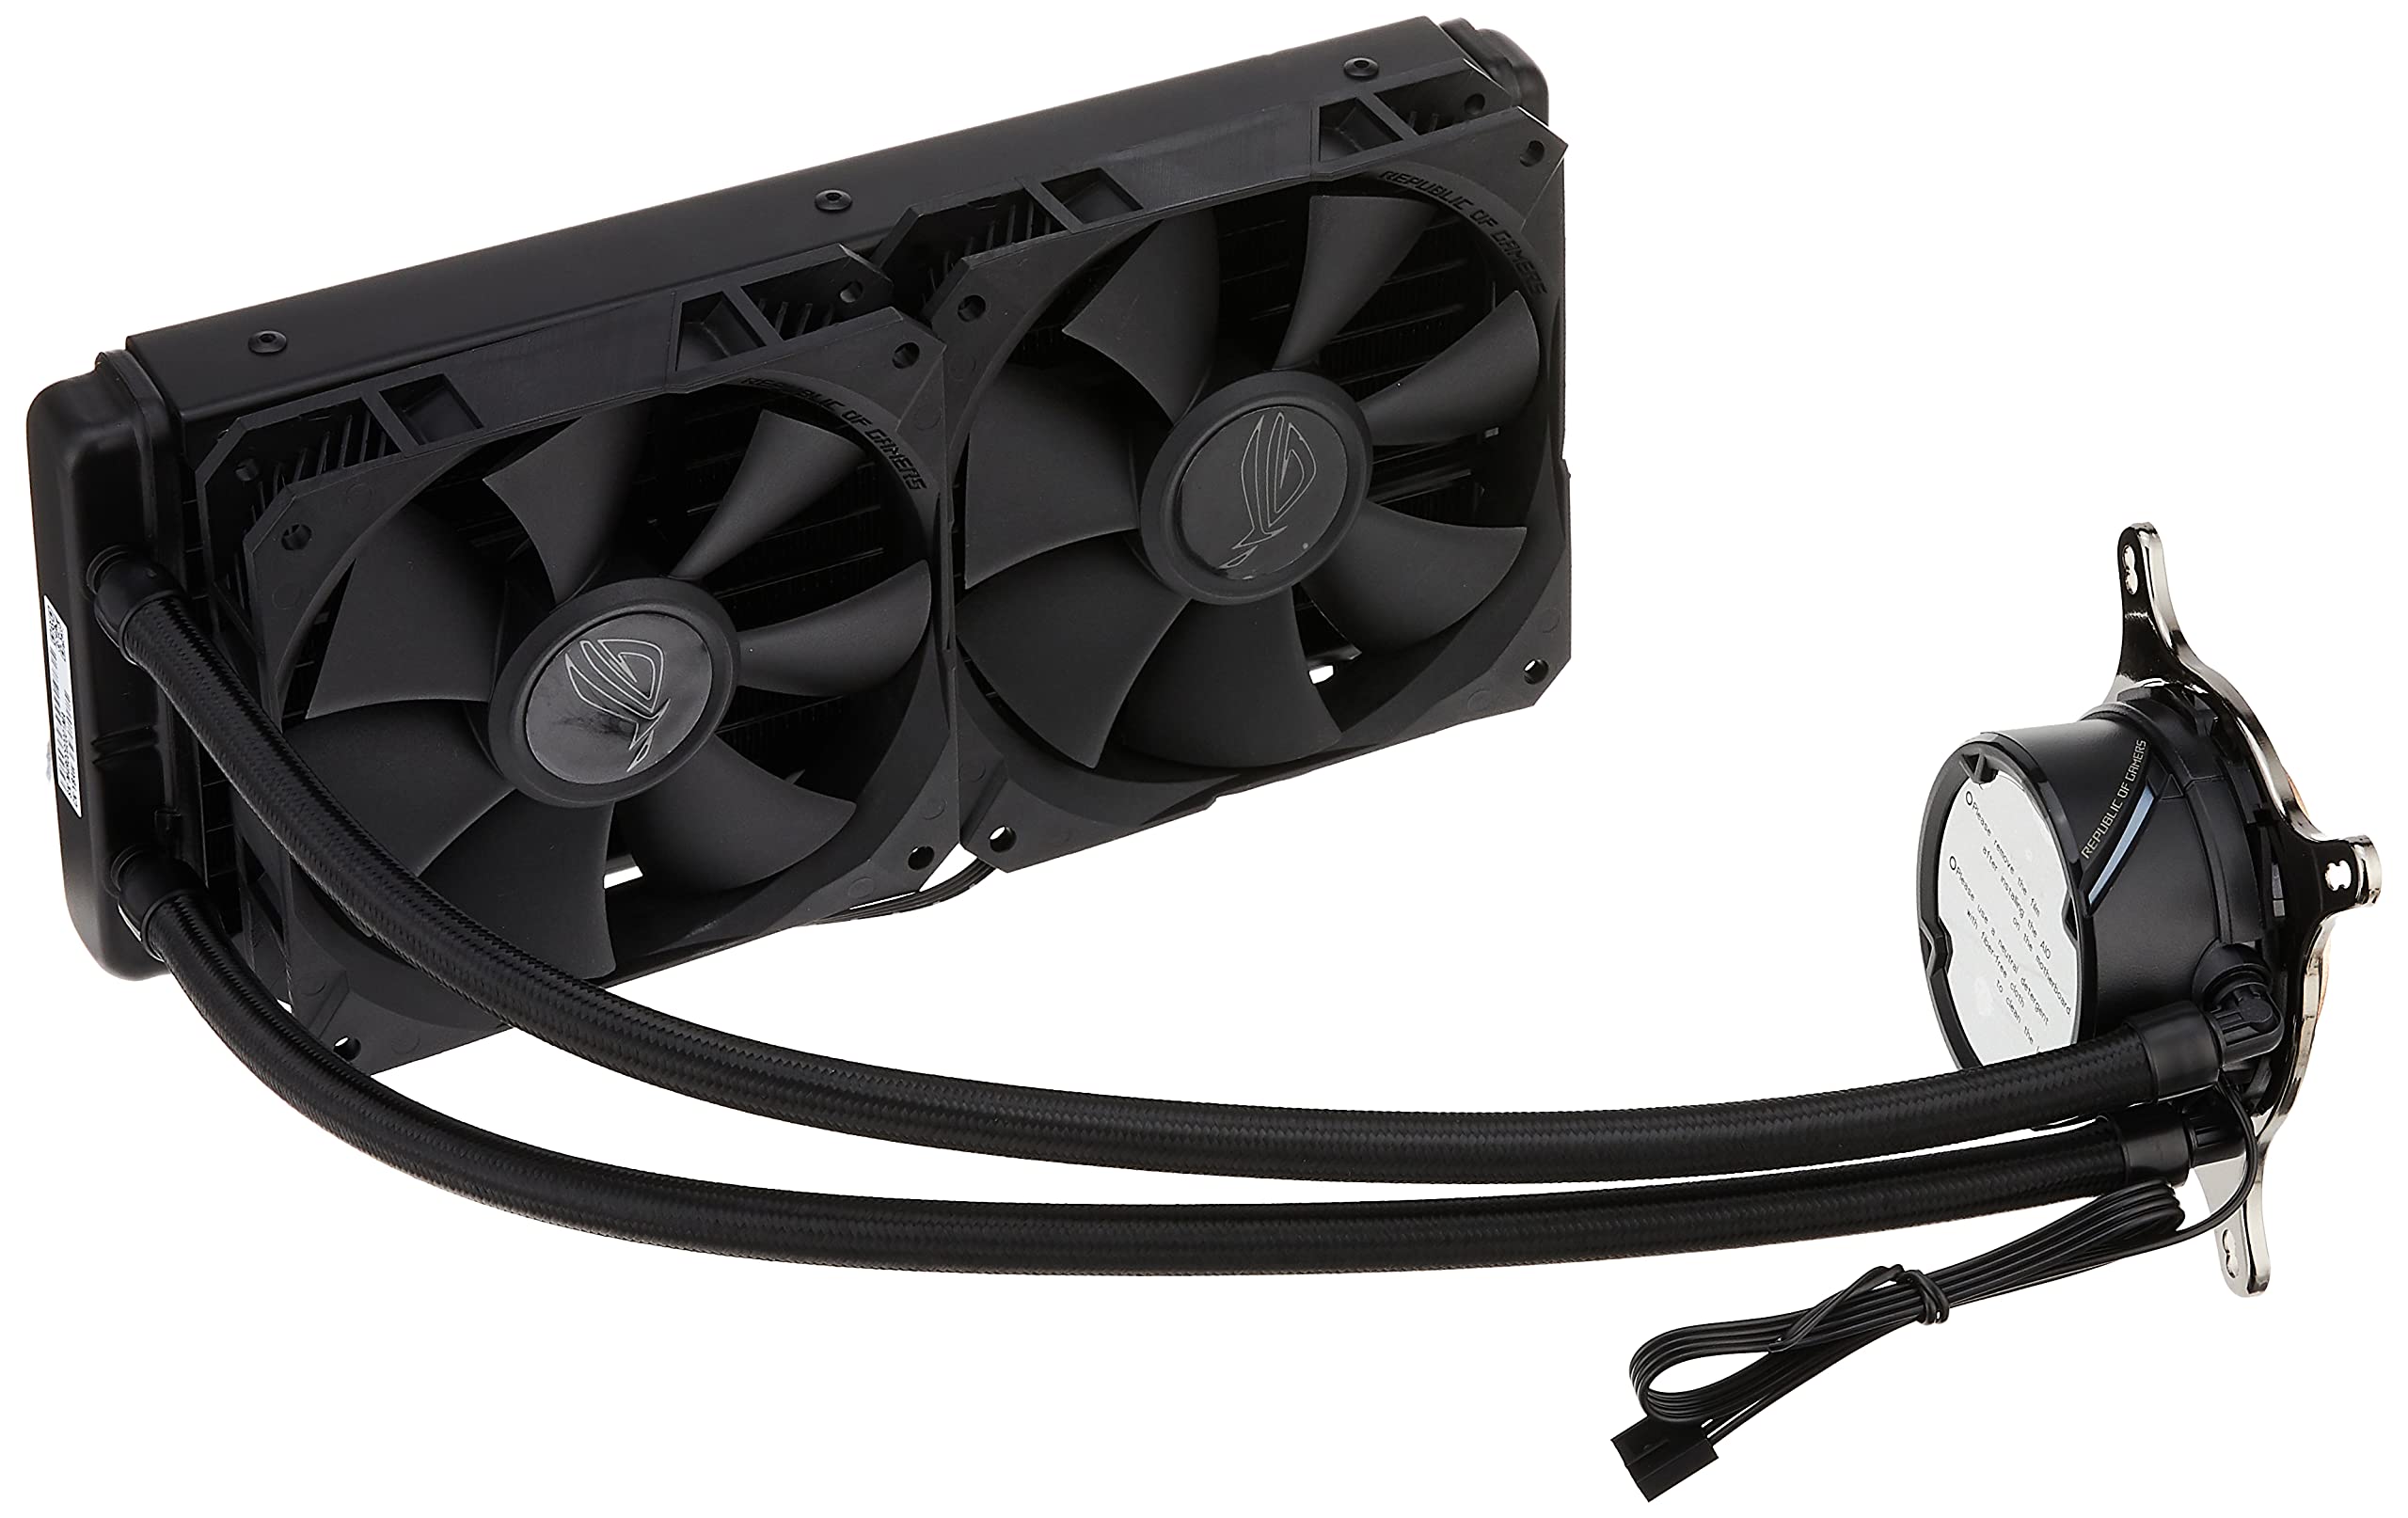
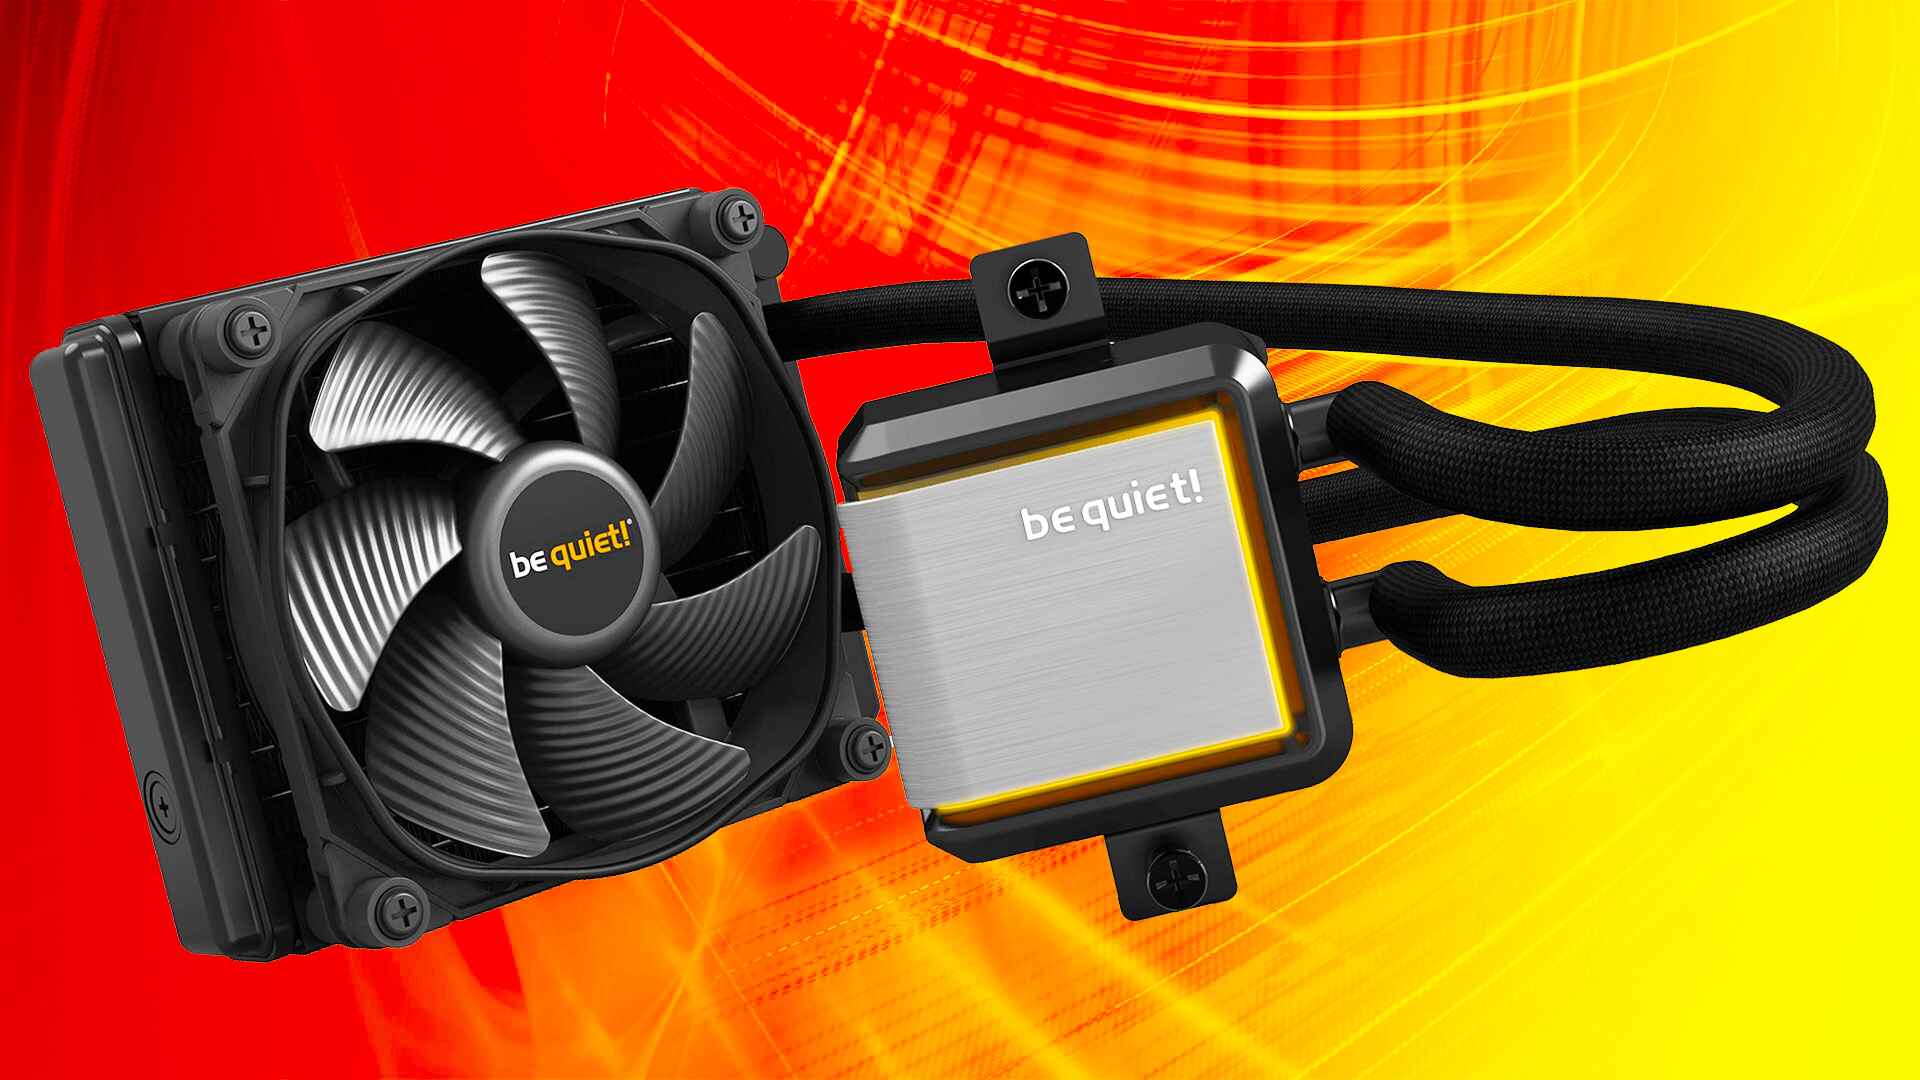
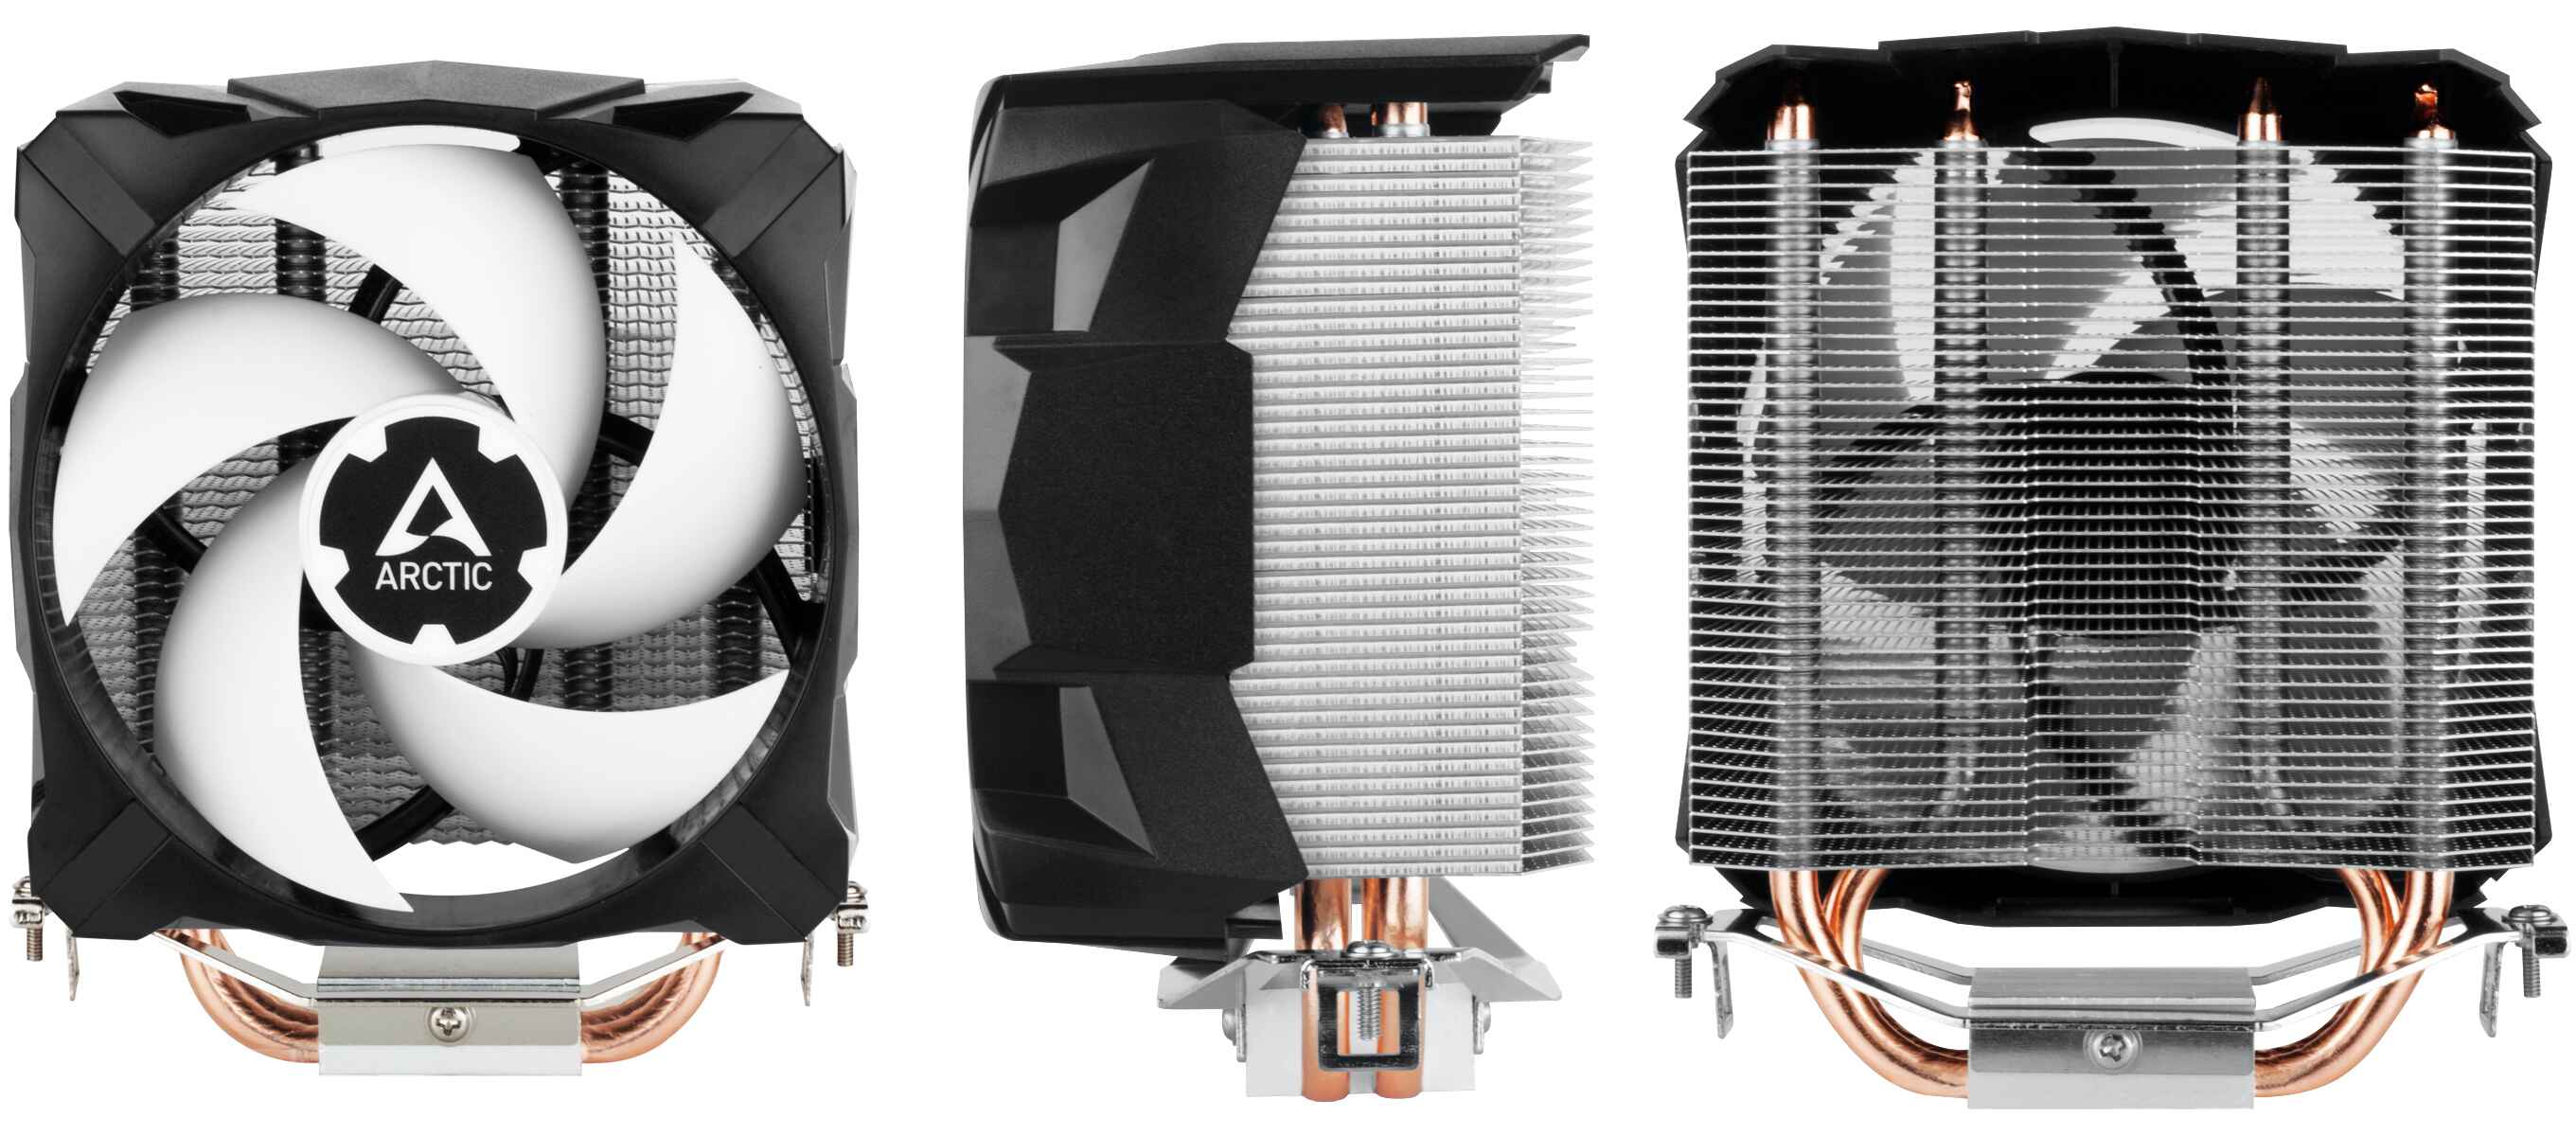
An All-in-One (AIO) CPU cooler is a closed-loop liquid cooling system specifically designed to keep your processor running at optimal temperatures. It consists of a pump, radiator, and fan(s), all integrated into a single unit. Unlike traditional air coolers, which use heatsinks and fans to dissipate heat, AIO CPU coolers utilize liquid coolant to transfer heat away from the CPU and dissipate it through the radiator.
With the increasing demand for high-performance CPUs and the rise of overclocking, effective cooling has become more crucial than ever. AIO CPU coolers offer a compelling solution by providing efficient heat dissipation, reduced noise levels, and improved overall system performance.
In this article, we will explore the inner workings of AIO CPU coolers, discuss their advantages and disadvantages, and provide insights on how to choose, install, maintain, and troubleshoot these cooling solutions.
Whether you’re a seasoned PC builder or new to the world of liquid cooling, this comprehensive guide will equip you with the knowledge and know-how to make informed decisions about AIO CPU coolers.
What Is an AIO CPU Cooler?
An All-in-One (AIO) CPU cooler is a self-contained cooling solution designed to keep your CPU temperature in check. Unlike traditional air coolers, which consist of separate heatsinks and fans, an AIO CPU cooler integrates all the necessary components into a compact unit.
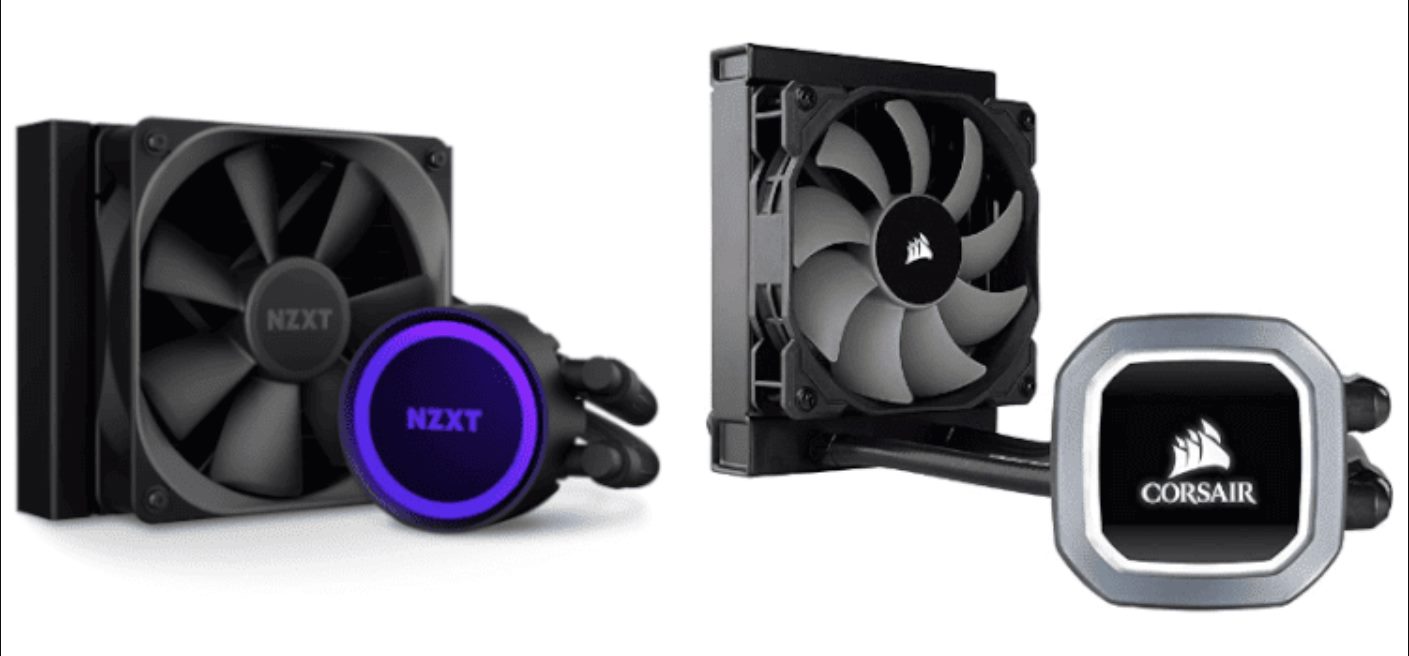
The key components of an AIO CPU cooler are the water pump, radiator, and fan(s). The water pump is responsible for circulating the coolant, while the radiator serves as a heat exchanger. The fan(s) mounted on the radiator help dissipate the heat generated by the CPU.
One of the main advantages of an AIO CPU cooler is its compact form factor. Unlike custom liquid cooling solutions, which require intricate setup and maintenance, AIO coolers come pre-assembled and ready to install. This makes them an attractive option for users who want the benefits of liquid cooling without the hassle.
Another standout feature of AIO CPU coolers is their superior cooling efficiency. Liquid cooling allows for more effective heat transfer from the CPU to the radiator, resulting in lower temperatures compared to air cooling. This is particularly beneficial for users who engage in heavy-duty tasks like gaming or video editing that put a significant strain on the CPU.
AIO CPU coolers also offer the advantage of reduced noise levels. With traditional air coolers, the fans have to work harder to dissipate heat, leading to higher noise levels. In contrast, AIO coolers distribute the heat more efficiently, allowing the fans to run at lower speeds and produce less noise.
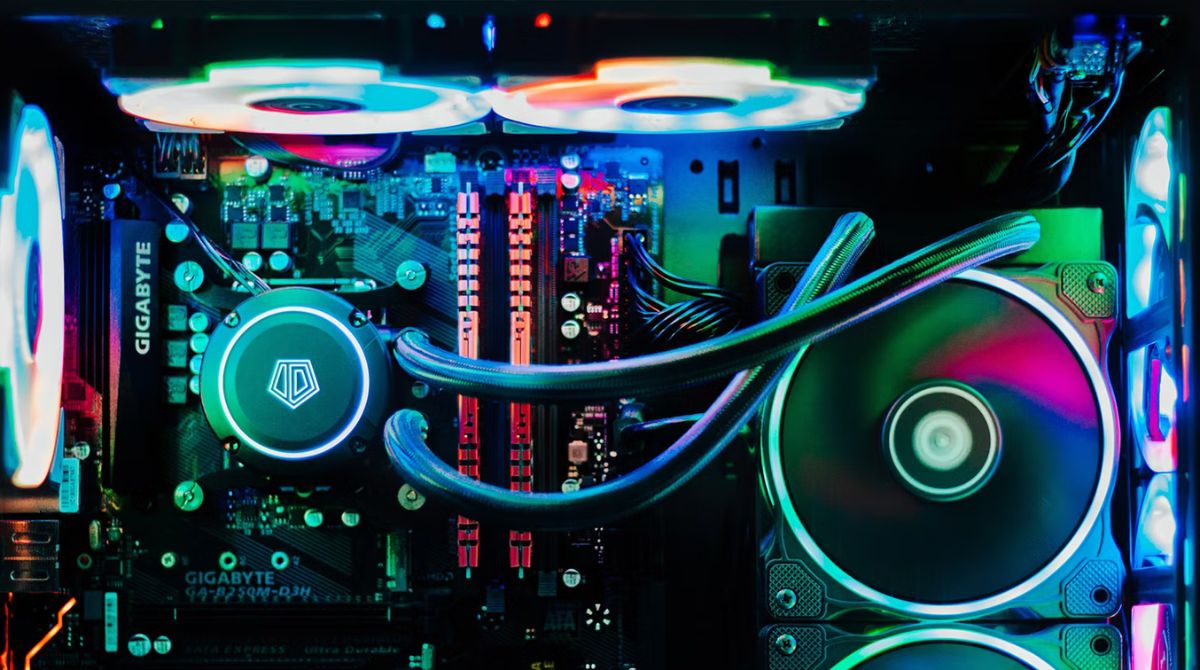
Furthermore, AIO CPU coolers often boast an aesthetically pleasing design. With sleek hoses and stylishly designed CPU blocks, they can add a touch of sophistication to your PC build.
Overall, an AIO CPU cooler is an effective and convenient cooling solution for those seeking efficient heat dissipation, reduced noise levels, and easy installation.
How Does an AIO CPU Cooler Work?
Understanding how an AIO CPU cooler works requires delving into its internal components and the principles of liquid cooling. Let’s break it down step by step.
The core component of an AIO CPU cooler is the water pump. Situated within the CPU block, the pump is responsible for circulating the liquid coolant. By using an impeller or a small electric motor, the pump generates pressure and forces the coolant to move through the loop.
As the coolant flows through the CPU block, it absorbs the heat generated by the processor. The CPU block, usually made of copper or aluminum, acts as a thermal interface between the CPU and the liquid coolant. Through the process of conduction, the heat transfers from the CPU to the coolant.
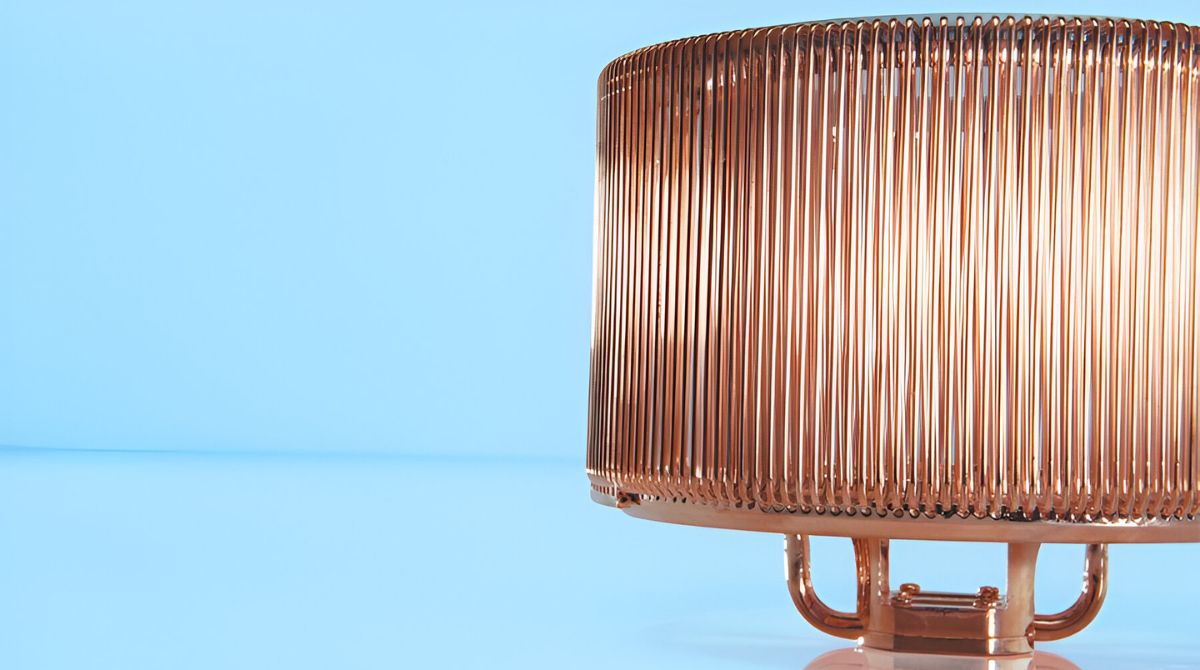
From the CPU block, the warm coolant travels through tubes or hoses to the radiator. The radiator’s primary function is to dissipate heat. It consists of a series of thin metal fins that provide a large surface area for effective heat exchange. As the warm coolant passes through the radiator, the metal fins absorb the heat, transferring it to ambient air.
The final component of an AIO CPU cooler is the fan(s) attached to the radiator. The fans play a vital role in expelling the heat absorbed by the radiator. By blowing air over the metal fins, the fans enhance heat dissipation. The heated air is then expelled out of the PC case, creating a continuous cycle of heat transfer.
The combination of the water pump, CPU block, tubes, radiator, and fans work together to keep your CPU temperature under control. The liquid coolant absorbs the heat from the CPU, transports it to the radiator, and the fans help disperse the heat into the surrounding environment.
Overall, the AIO CPU cooler’s closed-loop design ensures efficient cooling by continuously circulating the coolant and removing excess heat generated by the processor.
Pros and Cons of AIO CPU Coolers
AIO CPU coolers offer several advantages, but they also come with a few drawbacks. Let’s explore the pros and cons to help you make an informed decision about whether an AIO CPU cooler is right for you.
Pros of AIO CPU Coolers:
- Efficient Cooling: AIO CPU coolers provide excellent cooling performance, especially for high-end processors or overclocked systems. The liquid coolant helps dissipate heat more efficiently compared to traditional air coolers, resulting in lower CPU temperatures.
- Compact Design: AIO CPU coolers come as a single unit, combining the pump, radiator, and fans into one compact package. This makes them easy to install, particularly for users with limited space or cramped PC cases.
- Reduced Noise Levels: The integrated design of AIO coolers allows for better control over fan speeds, resulting in quieter operation. The fans on AIO coolers can run at lower speeds while still effectively dissipating heat, reducing system noise.
- Improved Aesthetics: AIO CPU coolers often feature visually appealing designs with customizable RGB lighting options. They can enhance the overall look of your computer setup, adding a touch of style.
- No Maintenance Required: Unlike custom liquid cooling setups, AIO CPU coolers are maintenance-free. The closed-loop design ensures that the liquid coolant remains sealed and does not require refilling or regular maintenance.
Cons of AIO CPU Coolers:
- Higher Cost: AIO CPU coolers tend to be more expensive compared to traditional air coolers. The advanced technology and all-in-one design contribute to the higher price point. However, the investment can be justified by the improved cooling performance and aesthetics.
- Limited Customization: AIO coolers have a fixed design, limiting customization options. While some models offer customizable RGB lighting, you cannot modify the individual components of the cooler as you could with a custom liquid cooling setup.
- Potential for Leakage: Although rare, there is a slight risk of leakage with AIO CPU coolers. However, modern AIO coolers are designed with robust seals and are thoroughly tested to minimize this risk. Regular maintenance and proper installation can further reduce the likelihood of leakage.
- Limited Lifespan: AIO CPU coolers generally have a lifespan of 5 to 10 years. After this period, the pump or other components may experience wear and tear, leading to decreased cooling performance. However, most users upgrade their systems before reaching this point.
Considering these pros and cons will help you weigh the advantages and drawbacks of AIO CPU coolers and determine if they are the right choice for your specific needs and preferences.
Choosing the Right AIO CPU Cooler
When it comes to selecting the right AIO CPU cooler for your system, there are a few key factors to consider. Here are some guidelines to help you make an informed decision:
Compatibility:
Ensure that the AIO CPU cooler you choose is compatible with your CPU socket. Most coolers support popular sockets such as Intel’s LGA and AMD’s AM4, but double-check the specifications to ensure compatibility.
Cooling Performance:
Consider the cooling performance you require for your CPU. If you have a high-end processor or plan to overclock your system, opt for AIO coolers with larger radiators and multiple fans for better heat dissipation.
Radiator Size:
Take into account your PC case’s compatibility with different radiator sizes. AIO coolers come in various radiator dimensions, such as 120mm, 240mm, 280mm, and 360mm. Make sure your case has adequate space to accommodate the chosen radiator size.
Noise Levels:
If low noise levels are a priority, look for AIO coolers that have optimized fan profiles and noise reduction features. Check reviews and user feedback to gauge the noise levels under typical usage conditions.
Software and RGB Lighting:
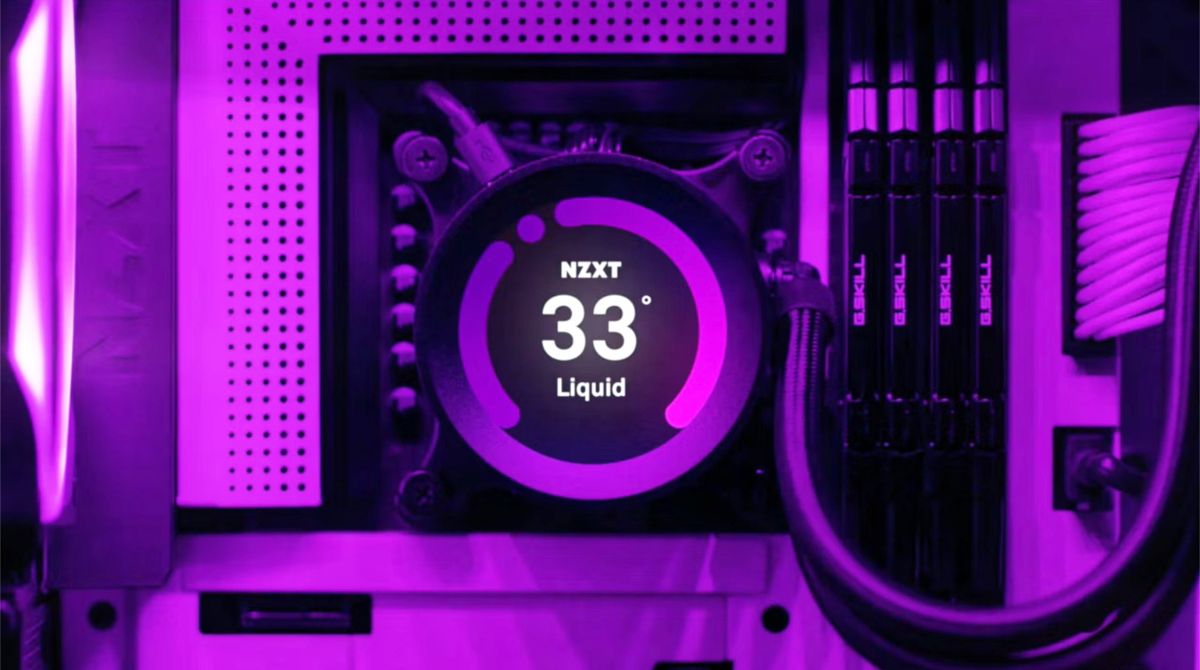
If you enjoy customization and RGB lighting, consider AIO coolers that come with software control for adjusting fan speed, RGB lighting effects, and temperature monitoring. Ensure that the software is user-friendly and compatible with your system.
Warranty and Support:
Review the warranty and customer support offered by the AIO cooler manufacturer. A longer warranty period and reliable customer support can provide peace of mind and assistance in case of any issues.
Research and read reviews from trusted sources or online forums to gather insights into the performance and reliability of different AIO CPU coolers. Comparing specifications, user feedback, and expert reviews can help you make a well-informed decision based on your specific requirements and preferences.
Taking the time to choose the right AIO CPU cooler will ensure optimal cooling performance, compatibility with your system, and a hassle-free installation experience.
Installing an AIO CPU Cooler
Installing an AIO CPU cooler may seem daunting at first, but with the right approach, it can be a straightforward process. Here is a step-by-step guide to help you install an AIO CPU cooler:
Preparation:
Before you begin, ensure that you have all the necessary tools and components for the installation. This typically includes the AIO CPU cooler, thermal paste (if not pre-applied), a screwdriver, and any additional brackets or adapters specific to your CPU socket.
Removing the Old Cooler:
If you already have an existing cooler installed, start by disconnecting the power supply and removing the old cooler from the CPU socket. Unscrew any mounting brackets or clips, and gently twist or pull the cooler away from the CPU.
Applying Thermal Paste:
If the AIO CPU cooler does not already have thermal paste pre-applied, apply a small pea-sized amount of thermal paste onto the center of the CPU. Spread it evenly using a plastic card or the included thermal paste spreader, ensuring complete coverage without excess amounts.
Preparing the AIO Cooler:
Next, prepare the AIO cooler for installation. Connect the CPU block/pump to the radiator with the provided hoses/tubes. Ensure that all connections are secure and the fittings are tightened.
Mounting the Backplate:
Place the backplate on the rear side of the motherboard, aligning it with the mounting holes for your CPU socket. Secure it in place with the provided screws or clips. Refer to the AIO cooler’s instructions for details specific to your model.
Attaching the CPU Block:
Carefully align the CPU block/pump with the CPU socket, making sure the mounting screws or brackets are aligned with the corresponding holes on the backplate. Gently lower the CPU block onto the CPU, applying even pressure.
Screwing and Securing:
With the CPU block in place, use the provided screws or brackets to secure it to the backplate. Tighten them in a diagonal or cross pattern to ensure even pressure distribution. Refer to the AIO cooler’s instructions for the specific tightening sequence.
Connecting the Fans and Power:
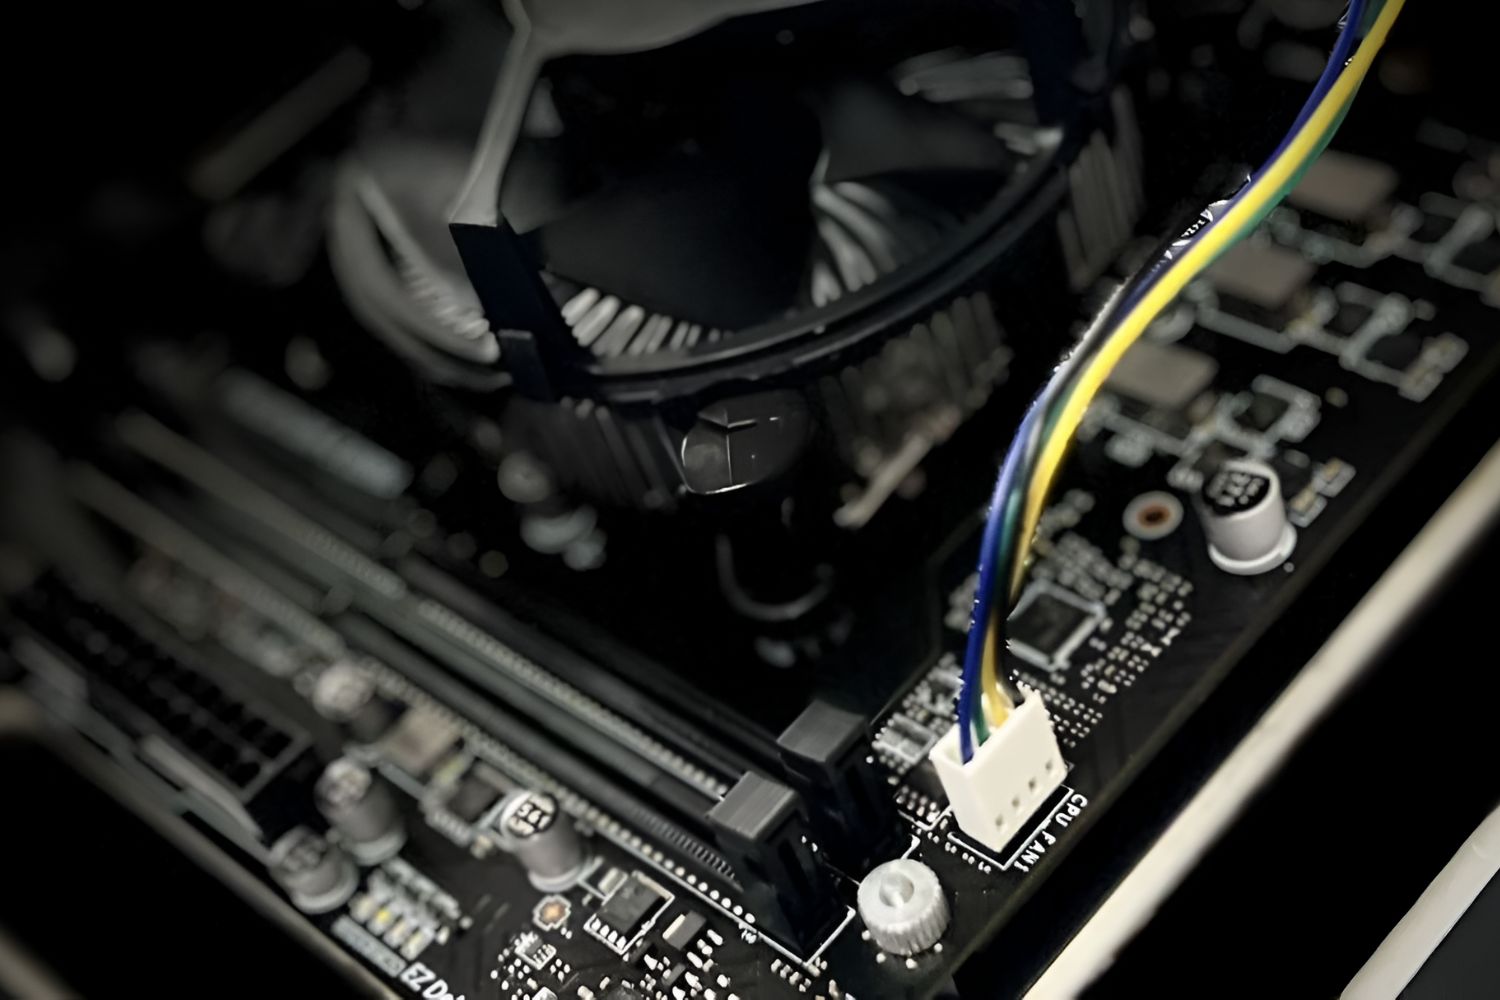
Attach the fans to the radiator, ensuring proper alignment and securing them with the provided screws. Connect the fans to the CPU fan headers on your motherboard or any designated fan headers. Connect the pump power cable to the CPU pump header on your motherboard.
Cable Management:
Manage the cables neatly and ensure they are not interfering with any other components in your system. Route the cables away from critical components and secure them using cable ties or adhesive clips.
Once you have completed these steps, reconnect the power supply, and power on your system. Monitor the temperatures and check for any leaks or abnormal behavior. If everything is in order, you have successfully installed your AIO CPU cooler.
It’s important to note that the installation process may vary slightly depending on the brand and model of your AIO CPU cooler. Always refer to the specific instructions provided by the manufacturer for accurate installation guidance.
Maintaining and Cleaning an AIO CPU Cooler
Proper maintenance and regular cleaning are essential for ensuring the longevity and optimal performance of your AIO CPU cooler. Here are some tips to help you maintain and clean your AIO CPU cooler:
Regular Dusting:
Dust buildup on the radiator and fans can restrict airflow and impact cooling efficiency. Use a can of compressed air or a soft brush to gently remove dust from the radiator fins and fan blades. Be careful not to apply excessive pressure or damage the delicate components.
Cleaning the Radiator Fins:
If dust or debris is deeply embedded in the radiator fins, you may need to perform a more thorough cleaning. Gently rinse the radiator with distilled water or a mild cleaning solution. Avoid using tap water as it can contain minerals that may leave residue. Let the radiator air dry completely before reassembling the cooler.
Checking and Reapplying Thermal Paste:
Over time, the thermal paste between the CPU and CPU block may dry out or degrade, affecting heat transfer efficiency. It’s a good idea to periodically check the thermal paste and reapply it if necessary. Clean off the old thermal paste using isopropyl alcohol and a lint-free cloth before applying a fresh layer.
Monitoring Pump and Fan Performance:
Regularly check the pump and fans for any unusual noise or vibrations. These can be signs of faulty components or clogged airflow. Ensure that the pump is running smoothly and the fans are spinning freely without any obstructions. If you notice any issues, contact the manufacturer for further assistance.
Inspecting for Leaks:
While rare, leaks can occur in an AIO CPU cooler. Regularly check the fittings and hoses for any signs of leakage, such as wet spots or staining. Contact the manufacturer immediately if you detect any leaks to address the issue promptly.
Updating Software and Firmware:
Check for software or firmware updates provided by the AIO CPU cooler manufacturer. Updating the software can help optimize performance, improve fan speed control, and address any known issues.
Following Manufacturer Guidelines:
Always refer to the manufacturer’s instructions and guidelines for specific maintenance and cleaning procedures. Each AIO cooler model may have unique recommendations, and following them will ensure you maintain the warranty and keep your cooler in top condition.
By following these maintenance tips and performing regular cleaning, you can keep your AIO CPU cooler running efficiently and prolong its lifespan. A well-maintained cooler will help maintain low CPU temperatures and ensure optimal system performance.
Troubleshooting Common Issues with AIO CPU Coolers
While AIO CPU coolers are generally reliable, some common issues may arise. Here are some troubleshooting steps to help you identify and resolve these problems:
1. High CPU Temperatures:
If you notice higher than expected CPU temperatures, check for the following:
- Ensure the cooler is properly installed with good contact between the CPU block and the processor.
- Check that the fans are spinning properly and provide adequate airflow to the radiator.
- Verify that the pump is functioning correctly, with proper power connection and RPM readings.
- Ensure that the radiator fins are clean and free from dust or debris.
- Consider reapplying thermal paste between the CPU and CPU block.
2. Noisy Operation:
If you experience excessive noise from your AIO CPU cooler, try the following:
- Ensure the fan speed is properly controlled. Adjust fan curves in the BIOS or use third-party software.
- Check for obstructions or damage to the fans or radiator.
- Verify that the fans are securely mounted and not causing vibration or rattling noises.
- Clean the radiator fins and fans to prevent airflow restrictions.
- Consider replacing the fans with quieter alternatives if necessary.
3. Leaks or Moisture:
If you discover any leaks or moisture from your AIO CPU cooler, follow these steps:
- Immediately power off your system and disconnect the power supply.
- Inspect the cooler for visible leaks or signs of damage.
- If you find a leak, contact the manufacturer for further assistance.
- If there are signs of moisture but no active leaks, double-check the fittings and connections for tightness.
- Consider performing a more thorough cleaning and reseating the cooler to ensure a proper seal.
4. Pump Failure:
If the pump on your AIO CPU cooler fails to function, try the following:
- Check the power connection and ensure it is securely connected to the correct header on the motherboard.
- Verify that the pump is receiving power and the cables are not damaged.
- If the pump appears to be running but not circulating the coolant, contact the manufacturer for further assistance.
- Consider checking the pump RPM readings in the BIOS or using monitoring software to confirm its functionality.
If none of these troubleshooting steps resolve the issue, consult the manufacturer’s support documentation or contact their customer support for further assistance. Be sure to provide details about the problem and any steps you have already taken to help expedite the troubleshooting process.
Remember to follow proper safety precautions and handle AIO CPU coolers with care during troubleshooting to avoid damage or injury.
Conclusion
AIO CPU coolers provide an efficient and convenient cooling solution for PC enthusiasts and gamers who prioritize temperature management and performance. These all-in-one liquid cooling systems offer several advantages, including superior cooling performance, reduced noise levels, and easy installation.
By understanding how AIO CPU coolers work, you can make an informed decision about whether they are the right choice for your system. The integrated design of AIO coolers, with their pump, radiator, and fans combined into a single unit, simplifies installation and saves valuable space.
While AIO CPU coolers offer many benefits, they are not without their drawbacks. Higher costs compared to traditional air coolers, limited customization options, and the slight potential for leaks are factors to consider when making your decision.
Choosing the right AIO CPU cooler involves considering compatibility, cooling performance, radiator size, noise levels, software features, and warranty and support offered by the manufacturer. Careful research and reading reviews from trusted sources will help you make an informed choice.
Once you have selected and installed your AIO CPU cooler, proper maintenance and cleaning are essential to ensure optimal performance. Regularly dusting the cooler, cleaning the radiator fins, checking thermal paste application, and monitoring pump and fan performance will help keep your system running smoothly.
If you encounter any issues with your AIO CPU cooler, troubleshooting steps such as checking CPU temperatures, addressing noise levels, inspecting for leaks or moisture, or addressing pump failure can help resolve common problems. If the issues persist, reaching out to the manufacturer’s support team is recommended.
By following the guidelines and tips provided in this guide, you can harness the power of AIO CPU coolers to achieve efficient cooling, lower temperatures, and enhanced system performance for your PC build.


