Introduction
The Asetek 510LC 120mm Liquid CPU Cooler is a popular cooling solution among PC enthusiasts, known for its efficient heat dissipation and low noise levels. However, for those looking to push their system’s performance to the limits, modifying the cooling system of the Asetek 510LC can offer even better results. By making a few changes and upgrades, you can optimize its performance and keep your CPU running at cooler temperatures, especially during demanding tasks like gaming or overclocking.
Modifying the cooling system of the Asetek 510LC requires some technical know-how and the right tools, but the effort can be well worth it for those seeking enhanced cooling performance. In this guide, we’ll take you through a step-by-step process on how to modify the cooling system of the Asetek 510LC 120mm Liquid CPU Cooler, from disassembling the unit to upgrading components and reassembling it for improved performance.
Before we dive into the modification process, it’s essential to understand why you might want to modify the cooling system in the first place. While the Asetek 510LC is a capable cooler, certain upgrades can help in handling higher thermal loads, reducing noise levels, and improving overall cooling efficiency. By investing some time and effort into modifying the cooling system, you can ensure that your CPU stays cooler under heavy workloads, potentially leading to better system stability and performance.
Keep in mind that modifying any component of your CPU cooler may void your warranty. So always check the terms and conditions before proceeding. Additionally, it’s crucial to have a basic understanding of PC hardware and cooling systems. If you are not confident in your abilities, consulting with an experienced technician or seeking professional help is always a good idea. With that said, let’s dive into the process of modifying the cooling system of the Asetek 510LC 120mm Liquid CPU Cooler to unleash its true potential.
What is the Asetek 510LC 120mm Liquid CPU Cooler?
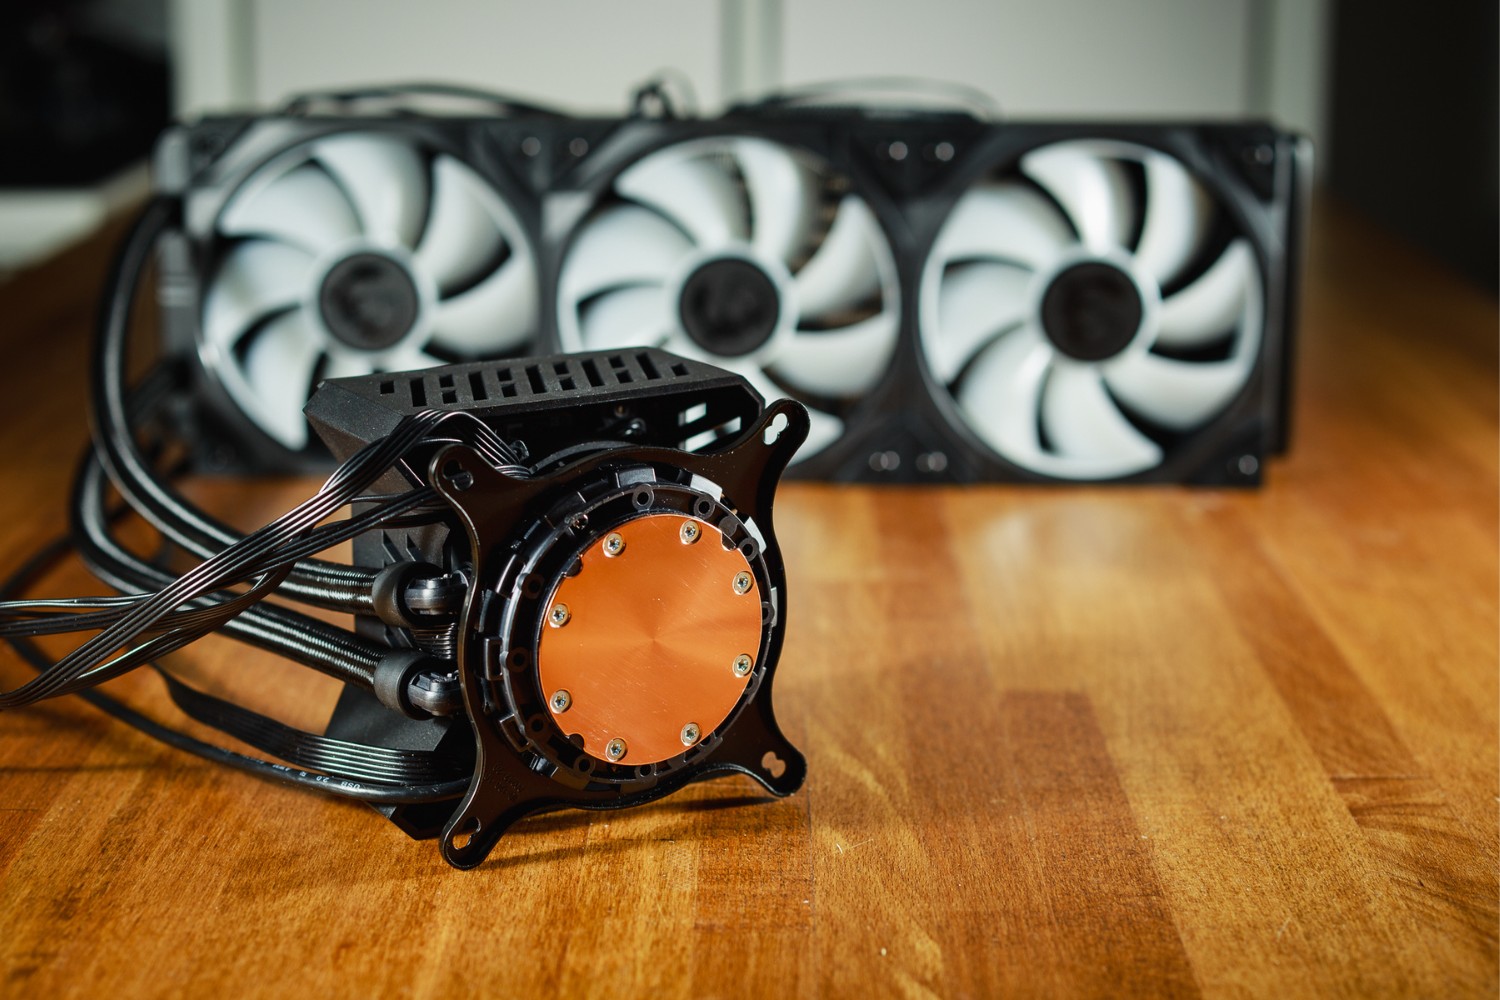
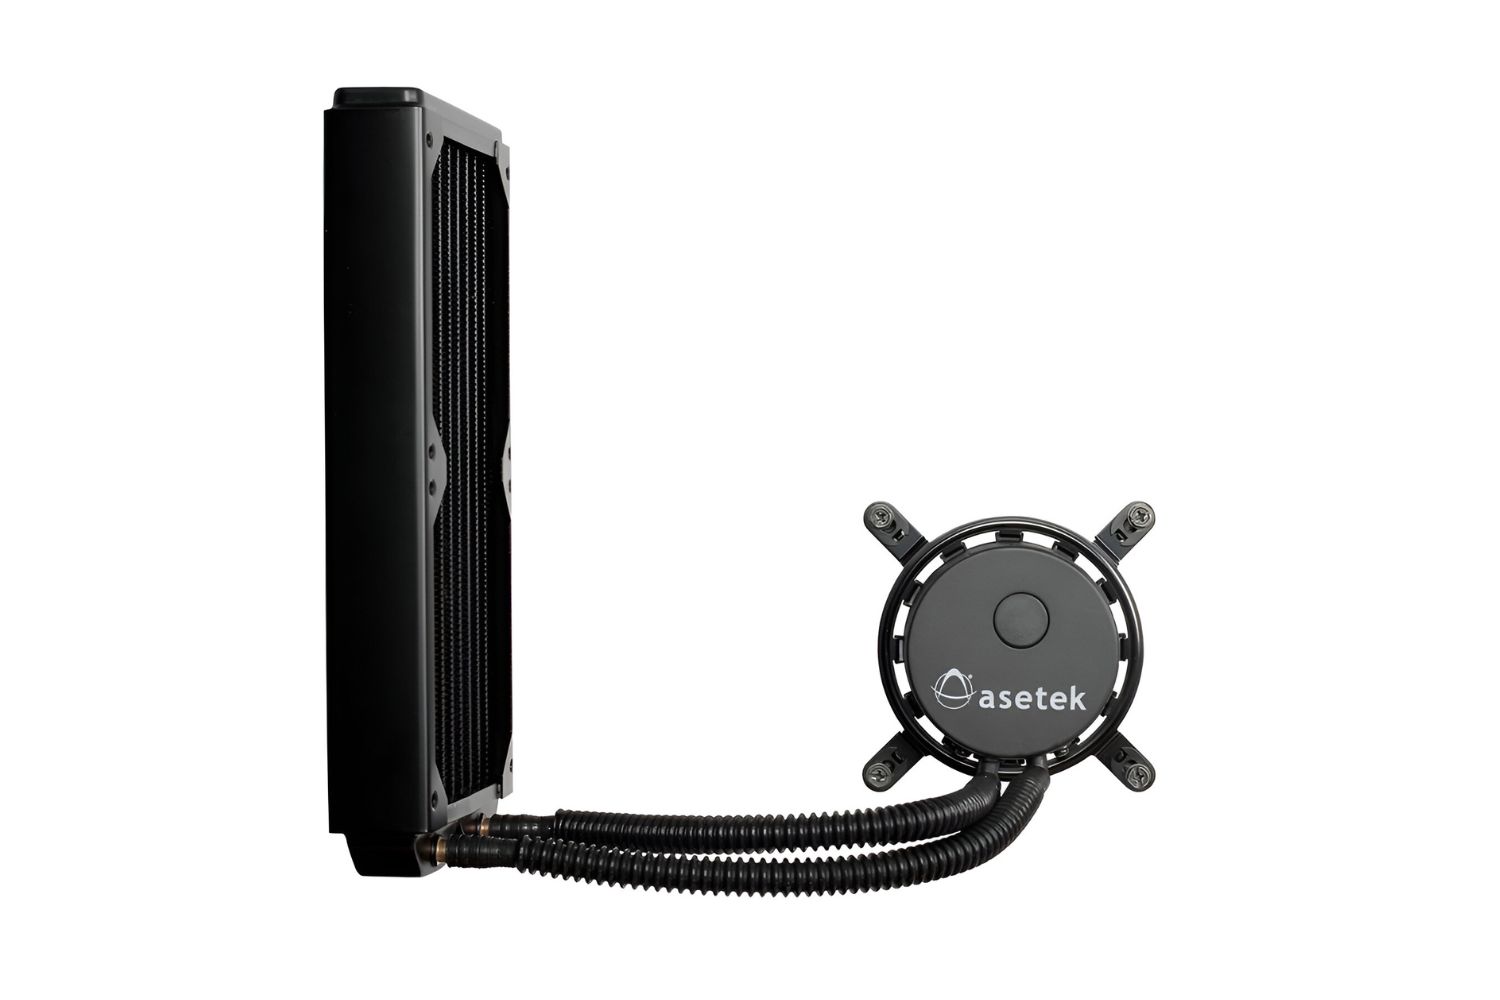
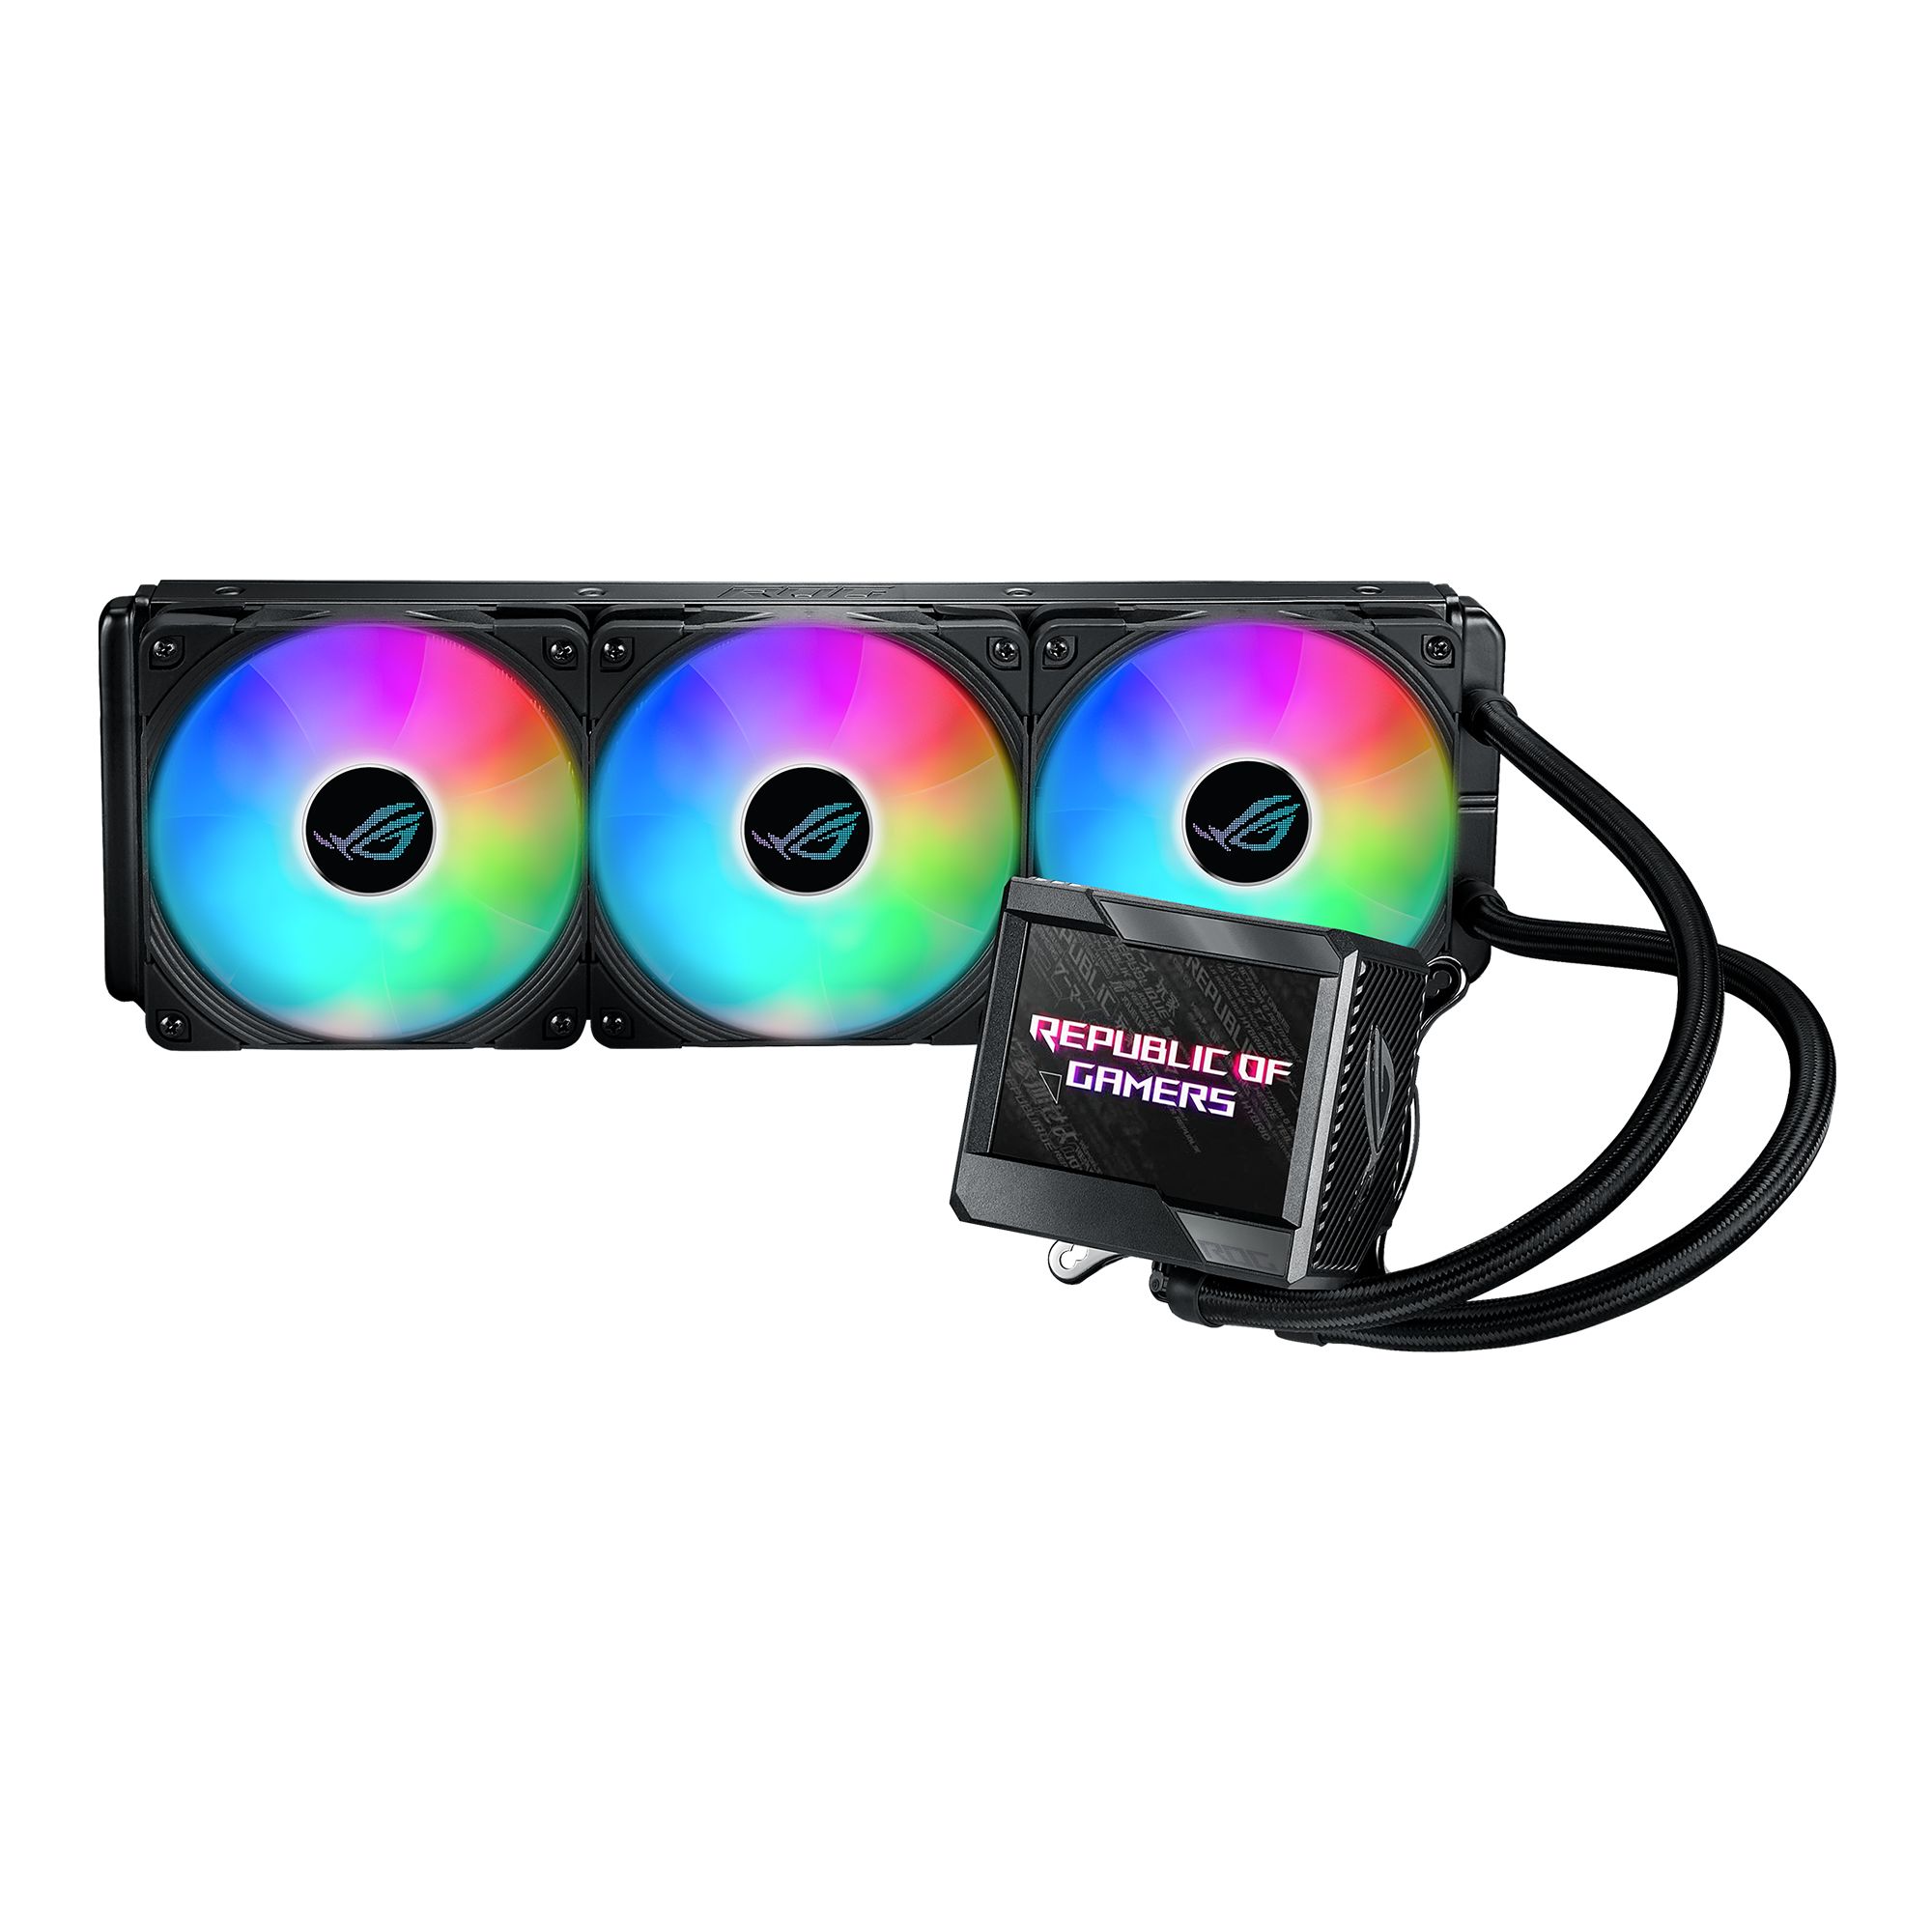
The Asetek 510LC 120mm Liquid CPU Cooler is a closed-loop liquid cooling solution designed to efficiently cool down the CPU of your computer. It is a compact and all-in-one cooler that offers superior cooling performance compared to traditional air coolers. The Asetek 510LC features a 120mm radiator, a pump, and a CPU block, all connected by tubes filled with a special cooling liquid.
One of the key advantages of the Asetek 510LC is its ability to dissipate heat more effectively than air coolers. The liquid inside the cooler absorbs heat from the CPU and carries it to the radiator, where it is then cooled down by fans attached to the radiator. This liquid cooling mechanism allows for faster heat removal and better temperature regulation, which is crucial for maintaining optimal CPU performance and preventing overheating.
Another benefit of the Asetek 510LC is its compact size, which makes it compatible with a wide range of computer cases. With a 120mm radiator, it can fit into most standard ATX cases, providing efficient cooling without compromising on valuable space. This makes it an ideal choice for gamers and PC enthusiasts who want powerful cooling without sacrificing the aesthetics or functionality of their build.
Furthermore, the Asetek 510LC is known for its quiet operation. The liquid cooling system eliminates the need for loud fans that are typically found in air coolers. Instead, the Asetek 510LC utilizes low-noise fans that produce minimal sound while delivering excellent cooling performance. This ensures a peaceful and undisturbed computing experience, even during intense gaming sessions or CPU-intensive tasks.
In terms of installation, the Asetek 510LC is relatively easy to set up. It comes with pre-applied thermal paste on the CPU block, saving you the hassle of applying it yourself. The mounting hardware is also included, allowing for a secure and straightforward installation process.
Overall, the Asetek 510LC 120mm Liquid CPU Cooler is a reliable and efficient cooling solution for anyone looking to keep their CPU running at optimal temperatures. With its liquid cooling technology, compact size, and quiet operation, it offers an excellent balance of performance and convenience. However, by modifying its cooling system, you can further enhance its capabilities and take your PC cooling to the next level.
Why Modify the Cooling System?
While the Asetek 510LC 120mm Liquid CPU Cooler is already an efficient cooling solution, there are several reasons why you might want to consider modifying its cooling system to further enhance its performance. Let’s explore some of the key benefits of modifying the cooling system of the Asetek 510LC:
- Better Thermal Management: Modifying the cooling system allows for improved heat dissipation from your CPU. By upgrading certain components and enhancing cooling efficiency, you can ensure that your CPU stays cooler, reducing the risk of overheating and potential damage.
- Increased Performance: Cooler temperatures directly impact the performance of your CPU. By keeping the temperatures lower, you can potentially achieve higher clock speeds and better overall system performance. This is particularly beneficial for gamers, content creators, and users who engage in CPU-intensive tasks.
- Overclocking Potential: Overclocking is the process of pushing your CPU beyond its default settings to achieve higher performance. However, overclocking generates more heat, requiring better cooling solutions. By modifying the Asetek 510LC’s cooling system, you can create an environment more conducive to stable and efficient overclocking.
- Noise Reduction: While the Asetek 510LC is already designed to be quiet, modifying the cooling system can further reduce noise levels. Upgrading fans to high-performance, low-noise alternatives or optimizing the cooling setup can result in a quieter PC experience, especially during demanding tasks.
- Customization: Modifying the cooling system allows you to personalize your PC build. You can choose components with custom lighting or create a unique color scheme to match your setup. This customization not only enhances visual appeal but also adds a personal touch to your system.
By modifying the cooling system of the Asetek 510LC, you have the opportunity to extract maximum performance, improve thermal management, minimize noise, and showcase your individuality. However, it’s crucial to remember that modifying any component can void the warranty. Therefore, it’s essential to consider the risks and benefits and ensure that you are confident in your abilities before proceeding with any modifications. With the right tools, materials, and knowledge, you can harness the full potential of the Asetek 510LC 120mm Liquid CPU Cooler and elevate your PC cooling to new heights.
Tools and Materials Needed
Before you begin modifying the cooling system of the Asetek 510LC 120mm Liquid CPU Cooler, it’s important to gather the necessary tools and materials. Having the right equipment will make the modification process much smoother. Here is a list of the tools and materials you will need:
- Screwdriver set: A set of screwdrivers with various sizes and types will be essential for disassembling and reassembling the cooler. Make sure you have both flathead and Phillips head screwdrivers.
- Thermal paste: When you disassemble and reassemble the cooler, you will need to replace the thermal paste. Choose a high-quality thermal paste to ensure optimal heat transfer between the CPU and the cooler.
- Isopropyl alcohol: This alcohol is used to clean the CPU block and the radiator before applying the new thermal paste. It helps to remove any residual thermal paste and ensures a clean surface for better thermal conductivity.
- Cotton swabs or lint-free cloth: These are needed in conjunction with the isopropyl alcohol to clean the surfaces of the CPU block and the radiator. Use them to gently wipe away any residue and ensure a clean and smooth application of the thermal paste.
- High-performance fans: Upgrading the fans can significantly improve the cooling efficiency of the Asetek 510LC. Choose fans that are specifically designed for high static pressure and low noise levels to maximize performance.
- Additional radiator: If you have space in your computer case, adding an additional radiator can further enhance the cooling capacity of the Asetek 510LC. Make sure the radiator is compatible with the cooler and fits within your case dimensions.
- Fan controller: If you opt for additional fans or a more complex cooling setup, a fan controller will allow you to manage the fan speeds and optimize cooling performance. Choose a controller with multiple channels to control the speed of each fan individually.
It’s important to have these tools and materials ready before you start the modification process. This will ensure that you have everything you need at hand, minimizing any potential delays or interruptions. Additionally, double-check the compatibility of any additional components like fans or radiators with your existing setup to avoid any complications during the modification process.
Now that you have gathered all the necessary tools and materials, you are ready to begin the process of modifying the cooling system of the Asetek 510LC 120mm Liquid CPU Cooler. The next step is to disassemble the cooler, which we will cover in detail in the following section.
Step 1: Disassembling the Asetek 510LC 120mm Liquid CPU Cooler
Disassembling the Asetek 510LC 120mm Liquid CPU Cooler is the first step in modifying its cooling system. It involves carefully removing the components to access the different parts of the cooler. Follow these steps to disassemble the cooler:
- Power off your computer: Before you begin disassembly, make sure your computer is powered off and unplugged. This will ensure your safety and protect the components from any accidental damage.
- Remove the cooler from the CPU: Carefully detach the cooler from the CPU socket. Depending on your specific CPU socket type, you may need to twist or unfasten the mounting bracket or screws holding the cooler in place. Gently lift the cooler away from the CPU, making sure to disconnect any cables or connectors attached to it, if applicable.
- Detach the fans: Remove the fans from the radiator by gently unplugging their connectors. Take note of the orientation of the fans for reassembly later on. Set the fans aside in a safe place.
- Unscrew the radiator: Remove the screws securing the radiator to your computer case. Carefully lift the radiator out of the case, making sure to detach any cables or tubes connected to it from the pump and reservoir. Be cautious, as the radiator may still have some residual liquid inside.
- Separate the pump from the CPU block: Depending on the specific model, the pump may be integrated into the CPU block, or it may be a separate component. If they are separate, carefully disconnect any connectors or tubes linking the pump to the CPU block. Once disconnected, you can set the pump aside.
- Inspect and clean the components: With all the components disassembled, take the opportunity to inspect them for any signs of damage or wear. You can also clean them using isopropyl alcohol and cotton swabs or lint-free cloth to remove any dust, debris, or residual thermal paste.
By following these steps, you should have successfully disassembled the Asetek 510LC 120mm Liquid CPU Cooler. Take your time during this process, as it requires delicacy and attention to detail. Remember to keep the components in a safe place and avoid any unnecessary force or mishandling.
Now that you have disassembled the cooler and inspected the components, you can move on to the next step: cleaning the cooling system components. We will discuss this in detail in the following section.
Step 2: Cleaning the Cooling System Components
Once you have disassembled the Asetek 510LC 120mm Liquid CPU Cooler, it’s time to clean the various components before proceeding with the modifications. Cleaning the components is essential to ensure optimal performance and to remove any dust, debris, or residual thermal paste. Follow these steps to clean the cooling system components:
- CPU Block: Begin by cleaning the CPU block, which houses the pump and the copper plate that makes contact with the CPU. Dip a cotton swab or lint-free cloth into isopropyl alcohol and gently wipe the copper surface to remove any residual thermal paste or dirt. Avoid using excessive force to prevent any damage.
- Radiator: Clean the radiator by blowing compressed air through the fins to remove any accumulated dust or debris. Be gentle to avoid bending the fins. If necessary, you can also use a soft brush to gently brush away stubborn dust. Avoid using water or any liquids on the radiator as it may damage the components.
- Fans: Clean the fans by gently wiping the blades and the outer casing with a cloth or cotton swab moistened with isopropyl alcohol. Ensure that the fans are completely dry before reassembly.
- Tubes and Connectors: Inspect the tubes and connectors for any signs of damage or leaks. If you notice any issues, replace the affected parts. Otherwise, use a cloth or cotton swab to wipe down the tubes and connectors with isopropyl alcohol to remove any dust or dirt.
- Inspecting for Damage: While cleaning the components, carefully inspect them for any signs of damage or wear. Look for cracks, leaks, or other visible issues. If you notice any significant damage, it may be necessary to replace the affected components before proceeding with the modifications.
By thoroughly cleaning the cooling system components, you can ensure that the cooler operates at peak performance and that the modifications you make will be effective. Take your time during this step and be gentle with the components to avoid causing any damage.
Now that the cooling system components are clean and in good condition, you are ready to move on to the next step: upgrading the radiator. We will discuss this in detail in the following section.
Step 3: Upgrading the Radiator
Upgrading the radiator is an important step in modifying the cooling system of the Asetek 510LC 120mm Liquid CPU Cooler. The radiator is responsible for dissipating heat from the liquid, so improving its efficiency can significantly enhance overall cooling performance. Follow these steps to upgrade the radiator:
- Selecting the New Radiator: Research and choose a radiator that is compatible with the Asetek 510LC. Consider factors such as size, thickness, and the number of fins or channels. Opt for a radiator with a larger surface area or better heat transfer capabilities for improved cooling performance.
- Preparation: Disconnect any tubes or cables still attached to the old radiator. Make sure to handle the radiator with care as it may contain residual liquid. Place a towel or absorbent material underneath to catch any drips or spills that may occur during the removal process.
- Removing the Old Radiator: Begin by unscrewing the radiator mounting brackets or screws holding the radiator in place within your computer case. Gently remove the old radiator, being cautious not to damage any surrounding components. If necessary, detach any connectors or tubes still attached to the pump or reservoir.
- Installing the New Radiator: Carefully position the new radiator in the same location as the old one. Ensure that it fits properly within your computer case and aligns with the mounting holes. Secure the new radiator using the mounting brackets or screws provided. Reconnect any tubes or cables previously disconnected.
- Tightening the Connections: Double-check all connections to ensure they are secure and leak-free. Make sure that the tubes are connected firmly to the pump and reservoir, and that any fittings or connectors are tightened properly. A secure connection is crucial to prevent any coolant leaks and maintain optimal cooling performance.
By upgrading the radiator, you increase the cooling capacity and efficiency of the Asetek 510LC 120mm Liquid CPU Cooler. This allows for better heat dissipation and enables the cooler to handle higher thermal loads more effectively. Ensure that the radiator you choose is compatible with your computer case and takes into account any space limitations.
With the new radiator installed, you are now ready to move on to the next step: enhancing the pump performance. We will discuss this in detail in the following section.
Step 4: Enhancing the Pump Performance
Enhancing the pump performance is a crucial step in the modification process of the Asetek 510LC 120mm Liquid CPU Cooler. The pump is responsible for circulating the coolant and ensuring efficient heat transfer, so improving its performance can significantly enhance overall cooling capabilities. Follow these steps to enhance the pump performance:
- Choosing the Right Pump Enhancement: Research and select a pump enhancement solution that is compatible with the Asetek 510LC. There are various options available, such as pump top upgrades or aftermarket pump covers. Choose a solution that fits your specific requirements and offers improved performance.
- Preparation: Ensure that you have the necessary tools and materials for the installation of the pump enhancement. Disconnect any tubes or cables still attached to the pump, and handle it with care to prevent any damage.
- Removing the Existing Pump Cover: If your chosen pump enhancement requires removing the existing pump cover, carefully detach it from the pump, following the manufacturer’s instructions. Be cautious not to damage any surrounding components or the pump itself.
- Installing the Enhanced Pump Component: Follow the manufacturer’s instructions to install the new, enhanced pump component. This may involve attaching a new pump top, pump cover, or any other component designed to improve pump performance. Ensure that the new component is securely fastened and in proper alignment with the rest of the cooling system.
- Reconnecting Tubes and Cables: Once the pump enhancement has been installed, reconnect any tubes or cables that were previously disconnected. Double-check that all connections are tight and secure to prevent any leaks or performance issues.
- Testing the Pump Performance: After the installation is complete, power on your computer and monitor the pump performance. Check for any leaks or unusual noises. Verify that the coolant is circulating smoothly and that the pump is effectively transferring heat away from the CPU.
By enhancing the pump performance, you ensure that the coolant is circulated effectively, providing optimal cooling to the CPU. The improved pump performance can result in lower temperatures and better overall cooling efficiency, especially during demanding tasks or overclocking.
With the pump enhancements in place, it’s time to move on to the next step: installing high-performance fans. We will discuss this in detail in the following section.
Step 5: Installing High-Performance Fans
Installing high-performance fans is an essential step in maximizing the cooling performance of the Asetek 510LC 120mm Liquid CPU Cooler. Upgrading the fans can improve airflow, increase static pressure, and reduce noise levels, resulting in better overall cooling efficiency. Follow these steps to install high-performance fans:
- Selecting the Right Fans: Research and choose fans that are specifically designed for high static pressure and low noise levels. Look for fans with higher airflow ratings and consider options with PWM (Pulse Width Modulation) control for better fan speed regulation.
- Preparation: Disconnect any existing fans from the radiator. Take note of the orientation and polarity of the connectors for proper installation of the new fans. Keep the old fans in a safe place or dispose of them appropriately.
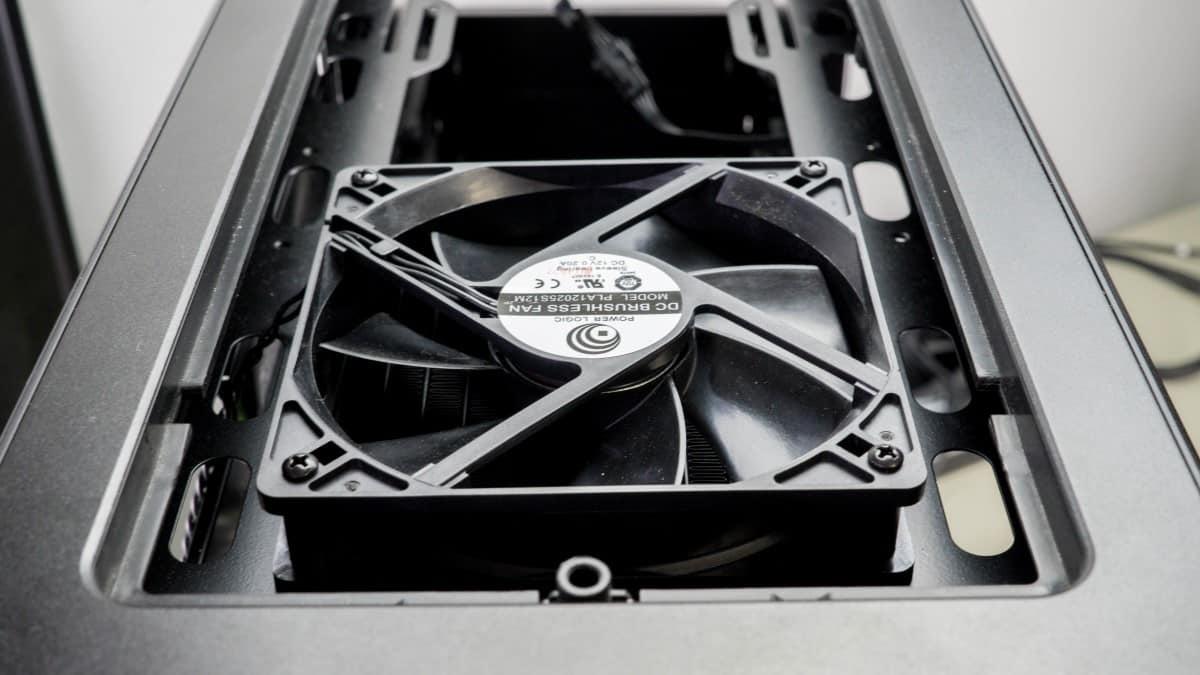
- Installing the Fans: Position the new high-performance fans against the radiator, aligning the mounting holes with the corresponding holes on the radiator. Use the screws or mounting brackets provided with the fans to secure them in place. Ensure that the fans are evenly spaced and tightly secured.
- Connecting the Fans: Connect the fans to the designated fan headers on your motherboard or fan controller. Pay attention to the correct polarity as indicated by the connectors or cable colors. Double-check the connections to ensure that the fans are properly powered and controllable.
- Managing Cable Routing: Take the time to route the fan cables neatly and efficiently. Use cable ties or Velcro straps to secure the cables and prevent them from obstructing other components or impeding airflow.
- Testing and Adjusting Fan Speeds: Power on your computer and verify that the new fans are spinning and functioning properly. Access your motherboard’s BIOS or use software tools to adjust the fan speeds and set appropriate profiles for optimal performance and noise levels.
By installing high-performance fans, you improve the airflow and cooling capacity of the Asetek 510LC. The increased airflow facilitates better heat dissipation, resulting in lower CPU temperatures and improved cooling performance, especially during intense gaming sessions or CPU-intensive tasks.
Now that the high-performance fans are installed, you are ready to move on to the final step: reassembling the Asetek 510LC 120mm Liquid CPU Cooler. We will discuss this in detail in the following section.
Step 6: Reassembling the Asetek 510LC 120mm Liquid CPU Cooler
Reassembling the Asetek 510LC 120mm Liquid CPU Cooler is the final step in the modification process. It involves putting all the components back together to restore the cooler to its functional state. Follow these steps to reassemble the cooler:
- Preparation: Ensure that all the components are clean and in good condition. Double-check that you have all the necessary parts and tools for reassembly.
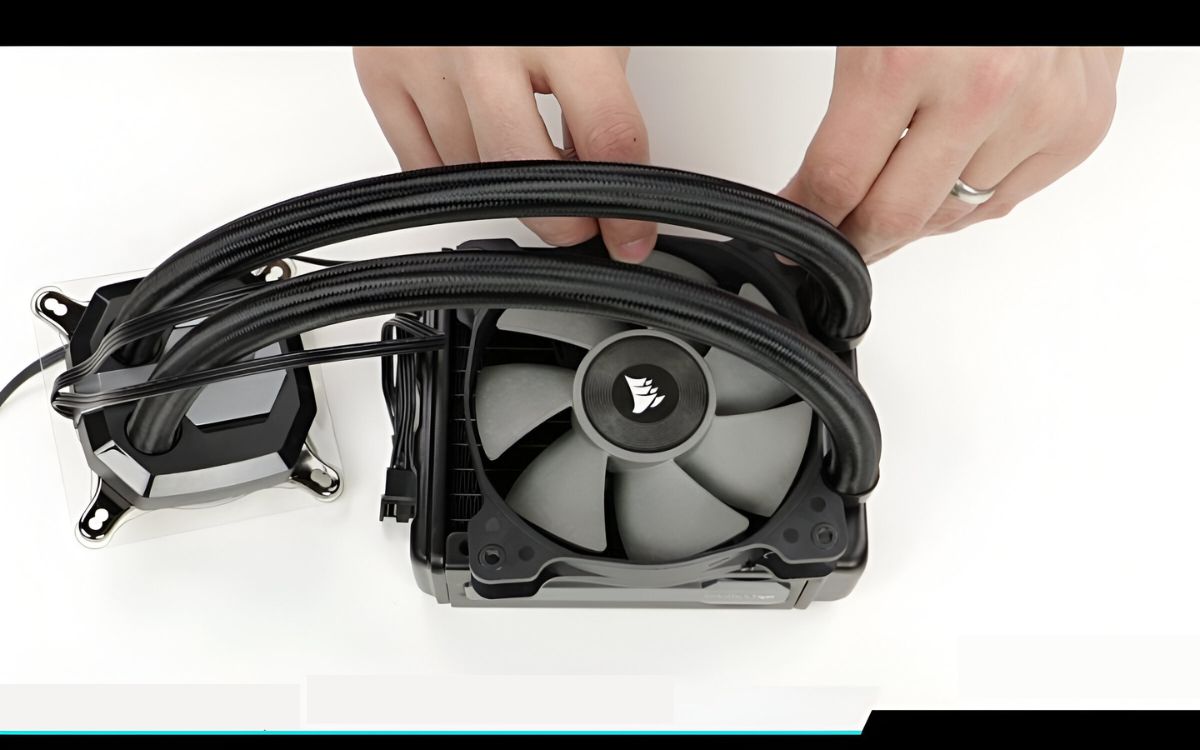
- Attaching the Pump to the CPU Block: If you had separated the pump from the CPU block during the disassembly process, carefully reconnect them. Align the pump with the CPU block and make sure that any connectors or tubes are securely attached. Follow the specific instructions provided by the manufacturer if applicable.
- Mounting the Radiator: Position the radiator back into its original location within your computer case. Align it with the mounting holes and secure it using the screws or mounting brackets you removed earlier. Reconnect any tubes or cables that were previously disconnected, ensuring a tight and leak-free connection.
- Connecting the Fans: Attach the high-performance fans to the radiator, aligning the mounting holes with the corresponding holes on the fans. Use the screws or mounting brackets provided to secure the fans in place. Connect the fan cables to the designated fan headers on your motherboard or fan controller, paying attention to the correct polarity as indicated by the connectors or cable colors.
- Applying Thermal Paste: Apply a small, pea-sized amount of thermal paste to the center of the CPU. Spread it evenly using a plastic applicator or the provided spreader. Make sure not to use too much paste, as it can impede heat transfer.
- Attaching the Cooler to the CPU: Carefully place the CPU block onto the CPU, aligning it with the mounting holes on the motherboard. Use the appropriate mounting brackets or screws to secure the cooler in place. Tighten the screws evenly in a crisscross pattern to ensure optimal contact and pressure.
- Final Connections: Double-check all the connections, including the pump, radiator, fans, and any other components. Ensure that everything is properly connected and securely fastened.
By successfully reassembling the Asetek 510LC 120mm Liquid CPU Cooler, you have completed the modification process. Take your time during this step to ensure that all connections are secure and that components are aligned correctly. This will help prevent any potential leaks or performance issues.
Once the cooler is reassembled, you can power on your computer and monitor the temperatures to verify the effectiveness of the modifications. Make sure to monitor for any abnormalities, and adjust the fan speeds or other settings as needed to achieve the desired cooling performance.
Congratulations on successfully modifying the cooling system of your Asetek 510LC 120mm Liquid CPU Cooler. Enjoy the improved cooling performance and the benefits it brings to your system.
Conclusion
Modifying the cooling system of the Asetek 510LC 120mm Liquid CPU Cooler can significantly enhance its performance and cooling capabilities. By following the step-by-step process outlined in this guide, you can optimize the cooler’s efficiency, reduce temperatures, and improve overall system stability and performance.
Throughout the modification process, it is crucial to exercise caution, attention to detail, and technical knowledge. Disassembling and reassembling the cooler, upgrading the radiator, enhancing the pump performance, installing high-performance fans, and properly reassembling all components require careful handling and understanding of PC hardware.
Remember to consider the compatibility of additional components, ensure proper thermal paste application, and secure all connections to prevent leaks or damage. Regularly monitor temperatures, adjust fan speeds if needed, and stay vigilant for any signs of overheating or performance issues.
By modifying the cooling system of the Asetek 510LC, you unlock its true potential, allowing for efficient heat dissipation, improved CPU performance, and reduced noise levels. Whether you’re a gamer seeking better thermal management for intense gaming sessions or an overclocker pushing your CPU to its limits, these modifications can contribute to an optimal computing experience.
However, it’s important to note that modifying any component may void the product’s warranty. Always consult the manufacturer’s guidelines and warranty terms before proceeding with any modifications. If you’re unsure about the modification process or lack experience, seeking assistance from an experienced technician is recommended.
With the right tools, materials, and knowledge, you can unleash the full power of the Asetek 510LC 120mm Liquid CPU Cooler and elevate your PC cooling to new heights. Embrace the challenge, enjoy the rewards of a cooler and more efficient system, and take pride in your customized and optimized cooling setup.


