Introduction
Welcome to our step-by-step guide on how to change the cooling system for your computer’s CPU using the Asetek 510LC 120mm Liquid Cooling CPU Cooler. The CPU cooler plays a crucial role in maintaining optimal temperatures for your processor, ensuring better performance and longevity for your computer. Upgrading your cooling system can make a significant difference in the overall temperature and performance of your CPU.
In this guide, we will walk you through the process of replacing your existing CPU cooler with the Asetek 510LC. We will provide clear instructions and tips to help you successfully complete the installation and enjoy the benefits of improved cooling performance.
Before you begin, it is important to gather the necessary tools and prepare your work area. Make sure you have a screwdriver, thermal paste, and any additional tools specified by your computer’s manufacturer. It is also recommended to have an anti-static wrist strap to protect your components from static electricity during the installation process.
Remember to always turn off your computer and unplug all connections before working on the internal components. This will ensure your safety and prevent any damage to the hardware. Additionally, be sure to refer to your computer’s documentation or the manufacturer’s website for specific instructions related to your model, as the process may vary slightly.
Now, let’s get started on changing the cooling system for your CPU using the Asetek 510LC 120mm Liquid Cooling CPU Cooler.
Step 1: Gather necessary tools and prepare work area
Before you begin the installation process, it is important to gather all the necessary tools and ensure that your work area is properly prepared. Having the right tools at hand will help make the installation easier and more efficient.
Here is a list of tools and items you will need:
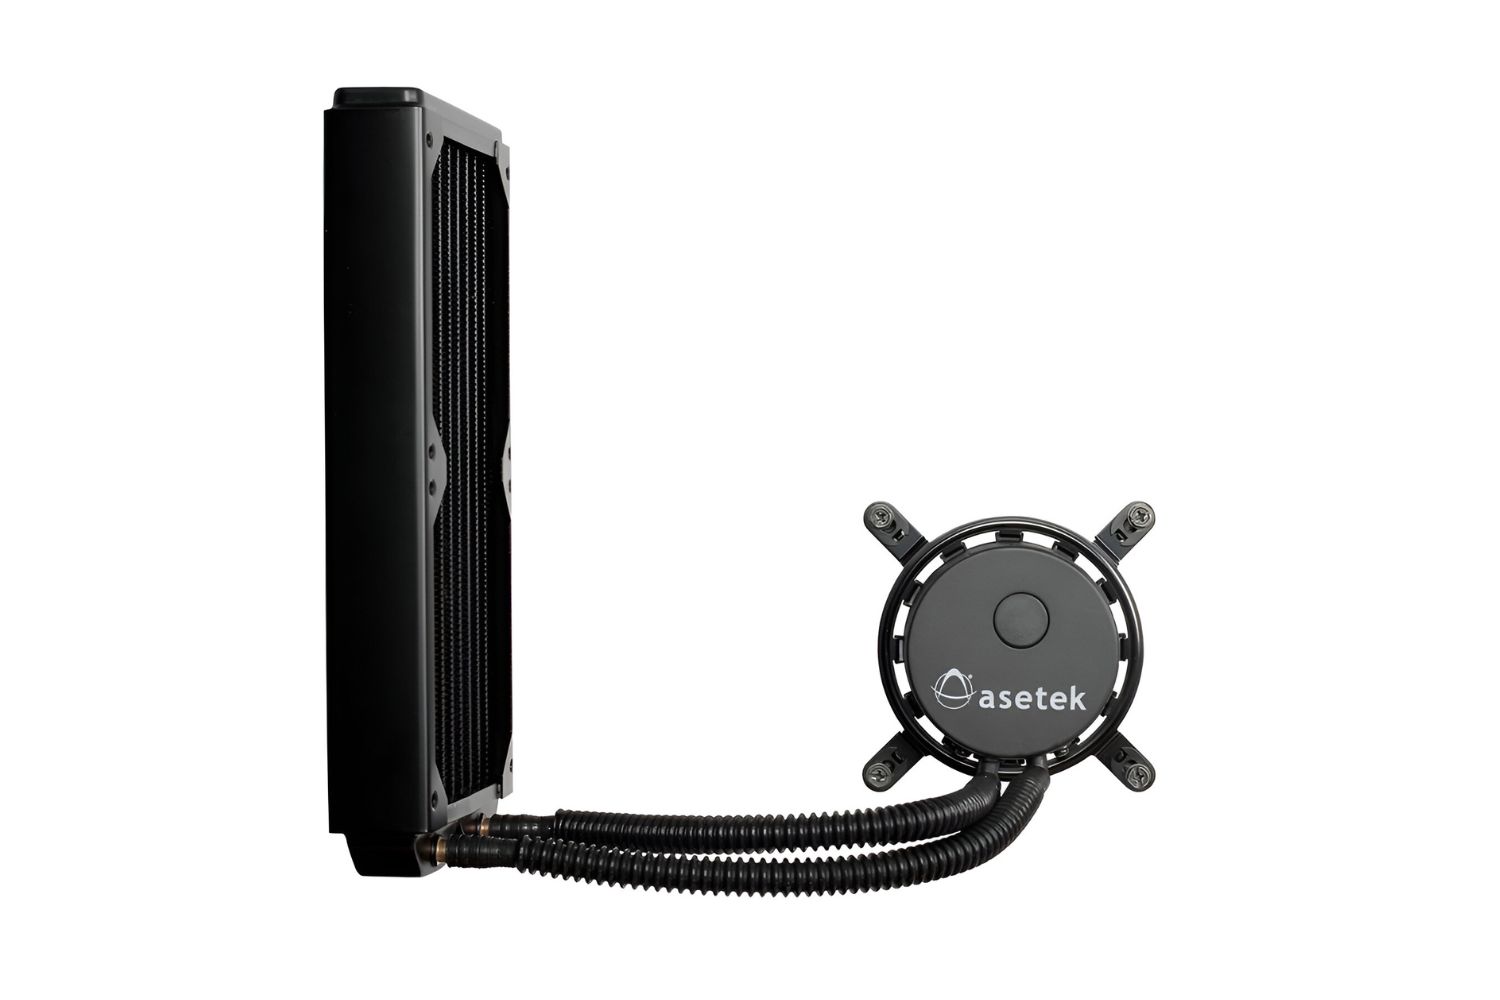
- Asetek 510LC 120mm Liquid Cooling CPU Cooler (or the cooling system of your choice)
- Screwdriver (check to see if your computer requires a specific type, such as Phillips or Torx)
- Thermal paste (if not provided with the cooler)
- Anti-static wrist strap (optional, but recommended to protect your components from static electricity)
- Clean cloth or microfiber cloth
- Rubbing alcohol (preferably isopropyl alcohol) for cleaning the CPU and heatsink surface
- Cotton swabs or a soft brush for applying the thermal paste (if not provided with the cooler)
Once you’ve gathered all the necessary tools and items, it’s time to prepare your work area:
- Choose a clean and flat surface to work on, ensuring you have enough space to lay out your computer components and tools safely.
- Make sure the area is well-lit to allow for clear visibility during the installation process.
- If possible, work on a non-static surface or use an anti-static mat to further protect your components.
Preparing your work area and having the necessary tools readily available will help streamline the installation process and minimize the chances of misplacing or damaging any components. With everything set up, you’re now ready to move on to the next step: turning off your computer and unplugging all connections.
Step 2: Turn off the computer and unplug all connections
Before you start working on the internals of your computer, it is crucial to turn off the power and unplug all connections. This step ensures your safety and prevents any potential damage to the hardware.
Follow these steps to properly turn off your computer and disconnect all connections:
- Save and close any open programs or files you are currently working on.
- Shut down your operating system by going to the Start menu and selecting “Shut down” or “Turn off.”
- Once your computer is completely shut down, locate the power cable at the back of your computer case.
- Gently unplug the power cable from the wall outlet or surge protector.
- Next, you will need to disconnect all other connections from the back of your computer, including the monitor cable, keyboard, mouse, and any other peripherals.
- If you are uncertain which cables to unplug, refer to the documentation provided with your computer or consult the manufacturer’s website.
By turning off your computer and unplugging all connections, you eliminate the risk of electrical shock and minimize the chances of accidentally damaging any components during the installation process.
Once you have completed this step, you can move on to the next stage, which involves removing the side panel of your computer case. This will allow you to access the internals of your computer and proceed with installing the new Asetek 510LC CPU cooler.
Step 3: Remove the computer case side panel
Now that you have turned off your computer and unplugged all connections, it’s time to remove the side panel of your computer case. Removing the side panel will give you access to the internal components and make it easier to install the new Asetek 510LC CPU cooler.
Follow these steps to remove the side panel of your computer case:
- Take a moment to locate the screws or fasteners that secure the side panel to your computer case. These are typically located on the back or sides of the case.
- Using a screwdriver, carefully loosen and remove the screws or fasteners holding the side panel in place. Set the screws aside in a safe place so that you don’t misplace them.
- Gently slide the side panel away from the computer case, ensuring that there are no cables or connections obstructing its movement. If necessary, carefully disconnect any cables that are attached to the side panel.
- Once the side panel is free, carefully set it aside in a safe location where it won’t be accidentally damaged.
Remember to handle the side panel with care to avoid any accidental scratches or dents. It’s important to note that some computer cases may have different mechanisms for removing the side panel, such as latches or levers. In such cases, refer to your computer’s documentation or consult the manufacturer’s website for specific instructions.
With the side panel removed, you now have clear access to the internal components of your computer. This will allow you to proceed to the next step, which involves locating the Asetek 510LC CPU cooler and preparing for its installation.
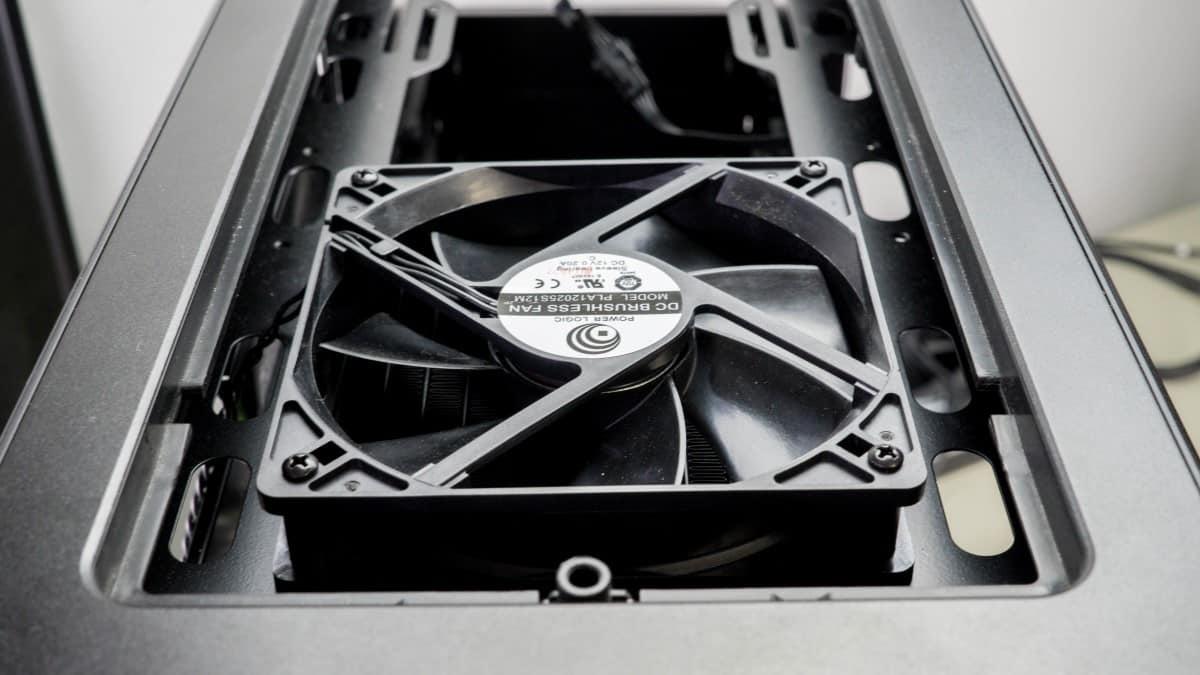
Step 4: Locate the Asetek 510LC CPU cooler
Now that you have removed the side panel of your computer case, it’s time to locate the Asetek 510LC CPU cooler. Identifying the cooler’s location will help you prepare for its removal and replacement.
Follow these steps to correctly locate the Asetek 510LC CPU cooler:
- Take a moment to familiarize yourself with the internal layout of your computer case. Look for the central processing unit (CPU), which is typically located on the motherboard.
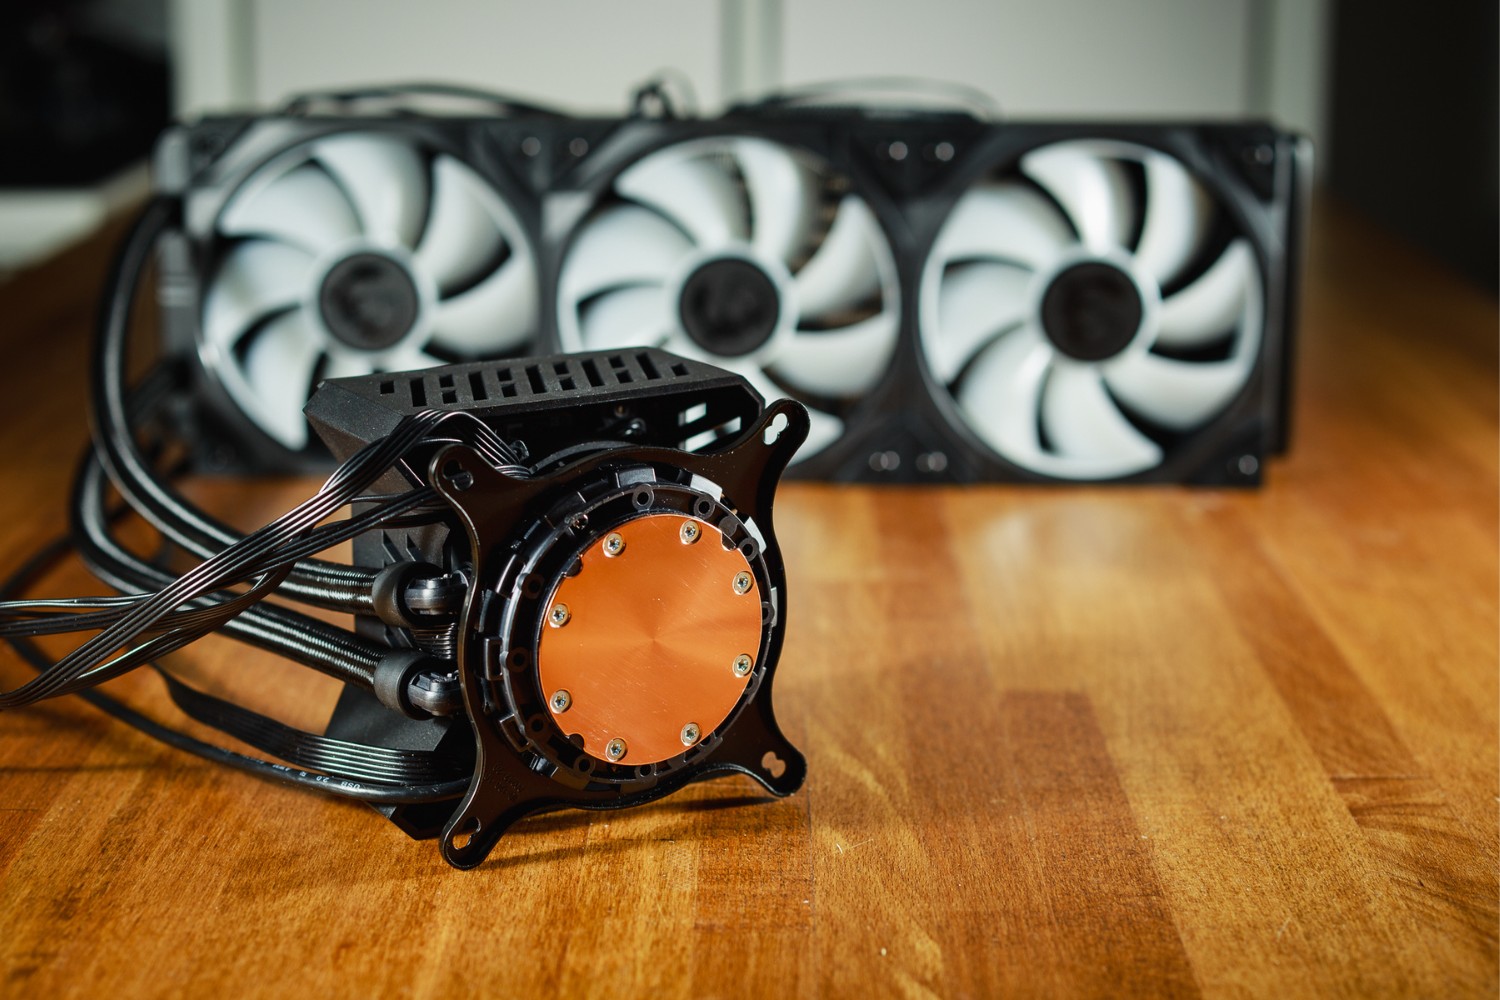
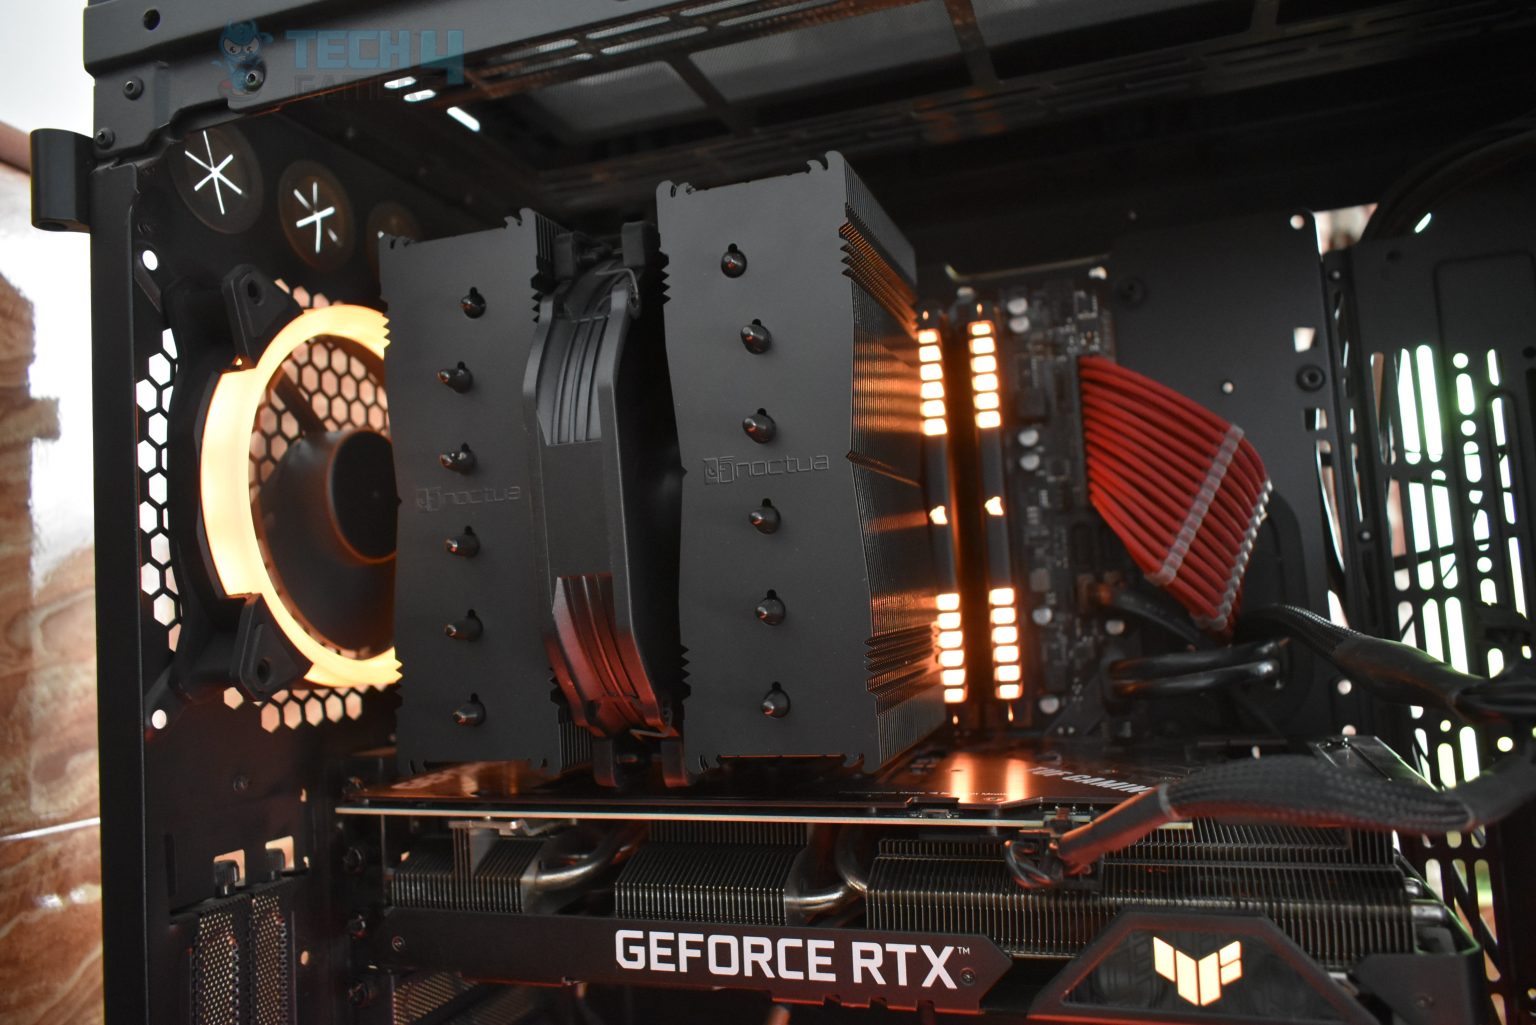
- The Asetek 510LC CPU cooler is specifically designed to cool the CPU. It consists of a heatsink with a fan attached to it.
- Locate the existing CPU cooler that is currently installed in your system. It may vary in size and design depending on the model of your computer or the previous cooling system that was installed.
- Take note of how the current cooler is connected to the CPU and motherboard. This will give you an idea of how to disconnect it and install the new Asetek 510LC CPU cooler.
- Pay attention to any screws, brackets, or clips that are securing the current cooler in place. These will need to be removed in order to uninstall the old cooler.
Understanding the location and setup of the current CPU cooler will help you navigate the installation process with confidence. By familiarizing yourself with the cooler’s layout and connections, you’ll be prepared to proceed to the next step: disconnecting the current CPU cooler from the motherboard.
Step 5: Disconnect the CPU cooler from the motherboard
Now that you have located the Asetek 510LC CPU cooler, it’s time to disconnect the existing CPU cooler from the motherboard. This step will allow you to remove the old cooler and make way for the installation of the new Asetek 510LC CPU cooler.
Follow these steps to disconnect the CPU cooler from the motherboard:
- Ensure that your computer is still turned off and all connections are unplugged.
- Identify the cable(s) that are connected to the CPU cooler. These cables usually come from the fan and pump of the cooler and are generally located near the CPU socket on the motherboard.
- Gently grasp the small plastic connector(s) on the end of the cable(s) and carefully pull them away from the motherboard. Be extra cautious not to tug or damage any other nearby components or cables.
- If your CPU cooler is secured to the motherboard with screws or brackets, locate and remove them. Use a screwdriver, if necessary, to loosen and remove the fasteners while holding the cooler in place.
- Once all the cables and fasteners are disconnected, carefully lift the CPU cooler away from the motherboard. Take note of any residual thermal paste that may be on the CPU and cooler.
- Set aside the old CPU cooler in a safe place, ensuring that it is not in the way of other components or at risk of being damaged.
Remember to handle the CPU cooler with care and avoid applying excess pressure during the disconnection process. It’s also important to note that some motherboards may have different retention mechanisms or specific instructions for CPU cooler removal. Refer to your motherboard’s manual or the manufacturer’s website for any specific guidelines.
With the existing CPU cooler disconnected, you’re ready to proceed to the next step: removing the old cooler from your computer case.
Step 6: Remove the CPU cooler from the computer case
Now that you have disconnected the existing CPU cooler from the motherboard, it’s time to remove the cooler from the computer case. This step will allow you to fully detach the old cooler and prepare for the installation of the new Asetek 510LC CPU cooler.
Follow these steps to remove the CPU cooler from the computer case:
- Ensure that your computer is still turned off and all connections are unplugged.
- Inspect the CPU cooler to identify any additional screws or brackets securing it to the computer case. These may vary depending on the design and model of your previous cooling system.
- Using a screwdriver, carefully loosen and remove any screws or brackets that are fastening the CPU cooler to the computer case. Set aside the screws or brackets in a safe place so that they can be used later, if necessary.
- Gently lift the CPU cooler away from the computer case, taking care not to disturb any other internal components.
- If the CPU cooler is connected to the computer case with a mounting bracket, gently lift the cooler while simultaneously pressing the bracket’s release button or lever. This will disengage the cooler from the mounting bracket.
- Place the old CPU cooler in a safe location, ensuring that it is secure and won’t cause any damage to other components.
During the removal process, always handle the CPU cooler with care to prevent accidental drops or damage. It’s also important to note that some computer cases may have additional mounting mechanisms or retention brackets specific to their design. Refer to your computer case’s documentation or the manufacturer’s website for any specific instructions on removing the old CPU cooler.
With the old CPU cooler successfully removed, you’re ready to move on to the next step: cleaning the CPU and applying new thermal paste.
Step 7: Clean the CPU and reapply thermal paste
With the old CPU cooler removed, it’s important to clean the surface of the CPU and the cooler before installing the new Asetek 510LC CPU cooler. This step ensures that there is proper contact between the CPU and the cooler, allowing for efficient heat transfer.
Follow these steps to clean the CPU and reapply thermal paste:
- Prepare a clean, lint-free cloth or microfiber cloth and a small amount of rubbing alcohol (preferably isopropyl alcohol).
- Dampen the cloth with the rubbing alcohol. Make sure it is just slightly moist, not dripping wet.
- Gently wipe the surface of the CPU to remove any existing thermal paste residue. Be careful not to bend or damage any of the delicate CPU pins.
- Similarly, clean the surface of the cooler’s heatsink, removing any old thermal paste residue. Pay attention to the fins and ensure they are free of debris or dust.
- Allow the CPU and cooler’s heatsink to air dry completely.
- Once dry, apply a small amount of new thermal paste to the center of the CPU. The size of a pea or a grain of rice is usually sufficient.
- Use a cotton swab or a soft brush to gently spread the thermal paste evenly across the surface of the CPU, ensuring it covers the area that will make contact with the cooler.
Properly cleaning the CPU surface and applying thermal paste helps improve the thermal conductivity between the CPU and the cooler. This, in turn, ensures efficient heat dissipation and optimal cooling performance.
Once the thermal paste is applied, you’re ready to move on to the next step: installing the new Asetek 510LC CPU cooler.
Step 8: Install the new Asetek 510LC CPU cooler
With the CPU cleaned and the thermal paste applied, it’s time to install the new Asetek 510LC CPU cooler. This step will ensure proper cooling for your CPU, allowing it to operate efficiently and effectively.
Follow these steps to install the new Asetek 510LC CPU cooler:
- Refer to the instructions provided with the Asetek 510LC CPU cooler to familiarize yourself with its specific installation process. Pay attention to any specific instructions or precautions mentioned.
- Position the CPU cooler above the CPU socket and align it with the mounting holes on the motherboard.
- Slowly lower the CPU cooler onto the CPU, ensuring that the contact surface of the cooler makes full and even contact with the CPU surface.
- If necessary, use the included mounting brackets, screws, or clips to secure the CPU cooler in place. Follow the instructions provided with the cooler for the specific mounting mechanism used.
- Slowly and evenly tighten the screws or fasteners, alternating between them, until they are securely fastened. Take care not to overtighten, as this could damage the CPU or cooler.
- Ensure that the CPU cooler is firmly attached to the motherboard and that it doesn’t obstruct any other components or cables.
Always handle the CPU cooler with care during installation, ensuring proper alignment and securing it according to the manufacturer’s instructions. This will enhance the cooling performance of your CPU and ensure its longevity.
With the new Asetek 510LC CPU cooler installed, you’re almost ready to complete the installation. The next step involves connecting the CPU cooler to the motherboard, which we will cover in the following step.
Step 9: Connect the CPU cooler to the motherboard
After installing the new Asetek 510LC CPU cooler, it’s time to connect it to the motherboard. This step ensures that the cooler is properly powered and controlled, allowing for efficient cooling of the CPU.
Follow these steps to connect the CPU cooler to the motherboard:
- Locate the cables coming from the CPU cooler, which include the fan and pump cables.
- Identify the corresponding connectors on the motherboard for these cables. They are typically labeled CPU_FAN or similar.
- Gently align the connectors on the CPU cooler cables with the corresponding connectors on the motherboard.
- Ensure that the connectors are aligned properly and push them firmly together until they are securely seated.
- Double-check the connections to ensure that they are secure and properly inserted.
Connecting the CPU cooler to the motherboard ensures that the cooler is properly powered and controlled by the system. This will allow the fan and pump to operate at the appropriate speeds in response to changes in CPU temperature.
With the CPU cooler successfully connected to the motherboard, you’re ready to move on to the final step: closing the computer case and reconnecting all the necessary connections.
Step 10: Close the computer case and reconnect all connections
With the new Asetek 510LC CPU cooler installed and the CPU cooler connected to the motherboard, it’s time to close the computer case and reconnect all the necessary connections. This final step will ensure that your computer is securely assembled and ready to be powered on.
Follow these steps to close the computer case and reconnect all connections:
- Take a moment to ensure that all cables and connections are properly aligned and oriented for easy reconnection.
- Lift the side panel of the computer case and carefully position it back onto the case.
- Align the screw holes on the side panel with the corresponding holes on the case.
- Gently tighten the screws or fasteners to secure the side panel in place, being careful not to over-tighten.
- Reconnect all the cables and connections that were previously disconnected, including the power cable, monitor cable, keyboard, mouse, and any other peripherals.
- Ensure that all connections are securely plugged in and properly seated.
- Double-check that no cables are obstructing any moving parts or fans inside the case.
Closing the computer case and reconnecting all the necessary connections is crucial to protecting your hardware from dust, debris, and potential damage. It also ensures that all components are properly powered and connected for seamless operation.
With the computer case closed and all connections reestablished, you’re ready to power on your computer and enjoy the benefits of the new Asetek 510LC CPU cooler. Be sure to monitor your CPU temperatures and performance to ensure optimal operation.
Conclusion
Congratulations! You have successfully changed the cooling system for your CPU by installing the Asetek 510LC 120mm Liquid Cooling CPU Cooler. This upgrade will greatly improve the temperature management and performance of your computer.
Throughout this step-by-step guide, we walked you through the process of replacing the old CPU cooler with the Asetek 510LC. We covered essential steps such as gathering the necessary tools, turning off the computer, removing the side panel of the computer case, locating the existing CPU cooler, disconnecting it from the motherboard, removing it from the computer case, cleaning the CPU, applying new thermal paste, installing the new Asetek 510LC CPU cooler, and finally, connecting it to the motherboard.
By following these steps, you have taken the necessary precautions to ensure the safe installation of the new CPU cooler. This will help maintain optimal temperature levels for your CPU, preventing overheating and enhancing its overall performance.
Remember, proper cooling is vital for the longevity and performance of your computer’s CPU. If you experience any issues or have concerns, it’s always a good idea to consult the documentation provided with your CPU cooler or seek assistance from a professional.
Now that you have completed the installation, you can enjoy the benefits of improved cooling efficiency and the peace of mind that comes with a well-maintained CPU cooling system. Sit back, power on your computer, and savor the optimized performance that the Asetek 510LC CPU cooler provides.