Introduction
Using a trackpad on a Mac offers a convenient and intuitive way to navigate and interact with your computer. One useful feature that many Mac users often find themselves needing is the ability to zoom out on the screen. Whether you want to get a broader view of a document, a website, or simply reduce the size of elements on your display, zooming out can be incredibly handy.
In this article, we will explore various methods to zoom out on a Mac using the trackpad. We will cover keyboard shortcuts, trackpad gestures, adjusting display settings, and utilizing the accessibility zoom feature. By the end, you’ll have a range of techniques to choose from, allowing you to zoom out and optimize your Mac experience.
Whether you’re an avid multitasker, a creative professional, or someone who wants to gain a broader perspective on their screen, understanding how to zoom out on Mac with a trackpad can significantly improve your workflow and productivity.
So, let’s dive into the following methods and discover how you can effortlessly zoom out on your Mac to better suit your needs.
Method 1: Using Keyboard Shortcuts
One of the quickest and most efficient ways to zoom out on a Mac is by utilizing keyboard shortcuts. These shortcuts allow you to adjust the zoom level without the need for a mouse or trackpad. Here’s how you can do it:
- Zoom Out: Press the
Commandkey and theMinus (-)key simultaneously. Each press of the keys will decrease the zoom level, providing a more comprehensive view of your screen content. - Zoom Out to Default: Alternatively, you can press the
Commandkey and the0 (zero)key simultaneously to reset the zoom level to its default state.
This zooming method is particularly useful when you want to quickly adjust the zoom level on your Mac without relying on trackpad gestures or changing display settings.
Experiment with the keyboard shortcuts mentioned above to find the zoom level that suits your preferences. Whether you need a slightly smaller view or need to zoom out to see more content, these shortcuts provide a simple and efficient solution.
Now that you know how to zoom out using keyboard shortcuts, let’s explore another method using the trackpad gestures in the next section.
Method 2: Using Trackpad Gestures
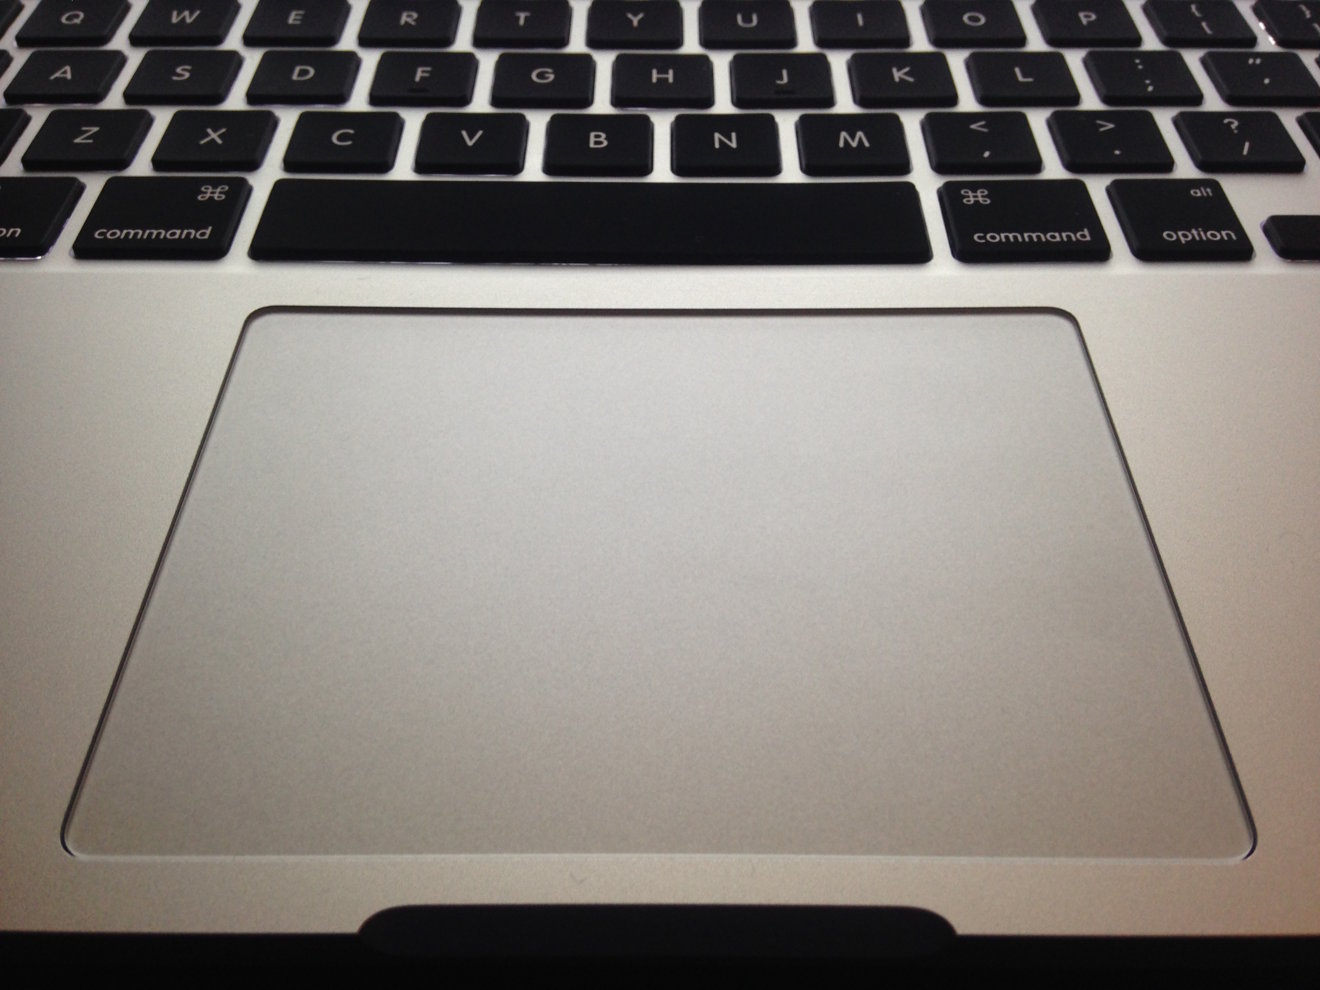
If you prefer a more hands-on approach, using trackpad gestures is a great way to zoom out on a Mac. Apple’s trackpads come equipped with intuitive multi-touch capabilities that allow you to perform various actions, including zooming in and out. Follow these steps to zoom out using trackpad gestures:
- Zoom Out with a Pinch Gesture: Place two fingers on the trackpad and spread them apart horizontally. As you spread your fingers, the screen will gradually zoom out, giving you a wider view of the content.
- Zoom Out with the Scroll Gesture: Another way to zoom out is by using the scroll gesture. First, hold down the
Optionkey on your keyboard. Then, use two fingers to scroll downward on the trackpad. This will cause the screen to zoom out, displaying a more expansive view of your content.
Using trackpad gestures to zoom out on your Mac provides a fluid and natural experience. It allows you to effortlessly adjust the zoom level based on your needs, making it ideal for tasks that require frequent zooming in and out.
Remember, trackpad gestures can be customized in your Mac’s System Preferences. If you’re experiencing any issues or the gestures aren’t working as expected, you can adjust the gesture settings to ensure smooth zooming functionality.
Now that you’re familiar with trackpad gestures, let’s explore another method that involves adjusting the display settings on your Mac.
Method 3: Adjusting Display Settings
If you prefer a more permanent and system-wide solution for zooming out on your Mac, adjusting the display settings can be a convenient option. This method allows you to scale down the size of the content displayed on your screen. Here’s how you can do it:
- Open System Preferences: Click on the Apple menu in the top-left corner of your screen and select “System Preferences.”
- Select Displays: In the System Preferences window, click on the “Displays” icon.
- Adjust Display Scaling: In the Displays settings, navigate to the “Display” tab. Look for the “Resolution” or “Scaled” option and select a lower resolution from the available choices. Choosing a lower resolution will result in the content appearing smaller and allow you to have a wider view.
By adjusting the display settings, you can change the zoom level of your entire screen, making it suitable for tasks that require a consistently zoomed-out view. Keep in mind that lowering the resolution may affect the clarity and sharpness of the content, so be sure to find the right balance that suits your needs.
When you’re finished adjusting the display settings, simply close the System Preferences window, and the changes will take effect immediately.
Now that you know how to adjust the display settings, let’s explore another method that utilizes the Accessibility Zoom feature on your Mac.
Method 4: Using Accessibility Zoom
If you require more advanced zooming options or have specific accessibility needs, the Accessibility Zoom feature on your Mac can be extremely beneficial. This feature provides a range of customizable zoom options to enhance visibility and make content more accessible. Here’s how you can use Accessibility Zoom:
- Open Accessibility Settings: Click on the Apple menu in the top-left corner of your screen, select “System Preferences,” and then click on “Accessibility.”
- Enable Zoom: In the Accessibility settings, click on “Zoom” in the left sidebar. Check the box next to “Enable Zoom” to activate the feature.
- Adjust Zoom Level: After enabling Zoom, you can adjust the zoom level using various keyboard shortcuts or trackpad gestures. For example, pressing
Option + Command + Minus (-)will zoom out, while pressingOption + Command + Equals (=)will zoom in. - Customize Zoom Options: To access more advanced customization options, click on the “Options” button in the Zoom settings. Here, you can adjust the zoom style, choose the zoom range, and configure other zoom-related settings to suit your needs.
The Accessibility Zoom feature offers powerful and flexible zooming options, making it an excellent choice for users with visual impairments or those who prefer comprehensive zoom control. It allows you to fine-tune the zoom level and tailor it to your specific requirements.
Once you have configured the Accessibility Zoom settings according to your preferences, simply close the System Preferences window to save your changes. The Zoom feature will be readily available for you to use whenever you need it.
With these four methods – utilizing keyboard shortcuts, trackpad gestures, adjusting display settings, and utilizing the Accessibility Zoom feature – you now have a range of options to zoom out on your Mac with ease. Experiment with these methods to find the one that best suits your workflow and specific needs.
Conclusion
Being able to zoom out on your Mac using the trackpad provides greater flexibility and convenience when working with various types of content. Whether you need to get a broader view of a document, reduce the size of elements on your screen, or accommodate specific accessibility needs, these methods will help you achieve your desired zoom level.
In this article, we explored four different methods to zoom out on a Mac using the trackpad. We learned how to use keyboard shortcuts for quick adjustments, leverage trackpad gestures for a more hands-on experience, adjust display settings for a system-wide zoom level change, and utilize the Accessibility Zoom feature for advanced zooming capabilities.
By incorporating these methods into your workflow, you can tailor your Mac experience to your specific needs, improving productivity and enhancing overall usability. Whether you’re a content creator, a researcher, or simply someone who wants to get a better view of their screen, knowing how to zoom out using the trackpad is an invaluable skill.
Remember to experiment with these different methods to determine which one works best for you. Each method offers unique benefits and customization options, allowing you to find the perfect zoom level that suits your preferences.
So, go ahead and give these techniques a try. Start zooming out on your Mac with confidence, and enjoy a more tailored and comfortable viewing experience!


