Introduction
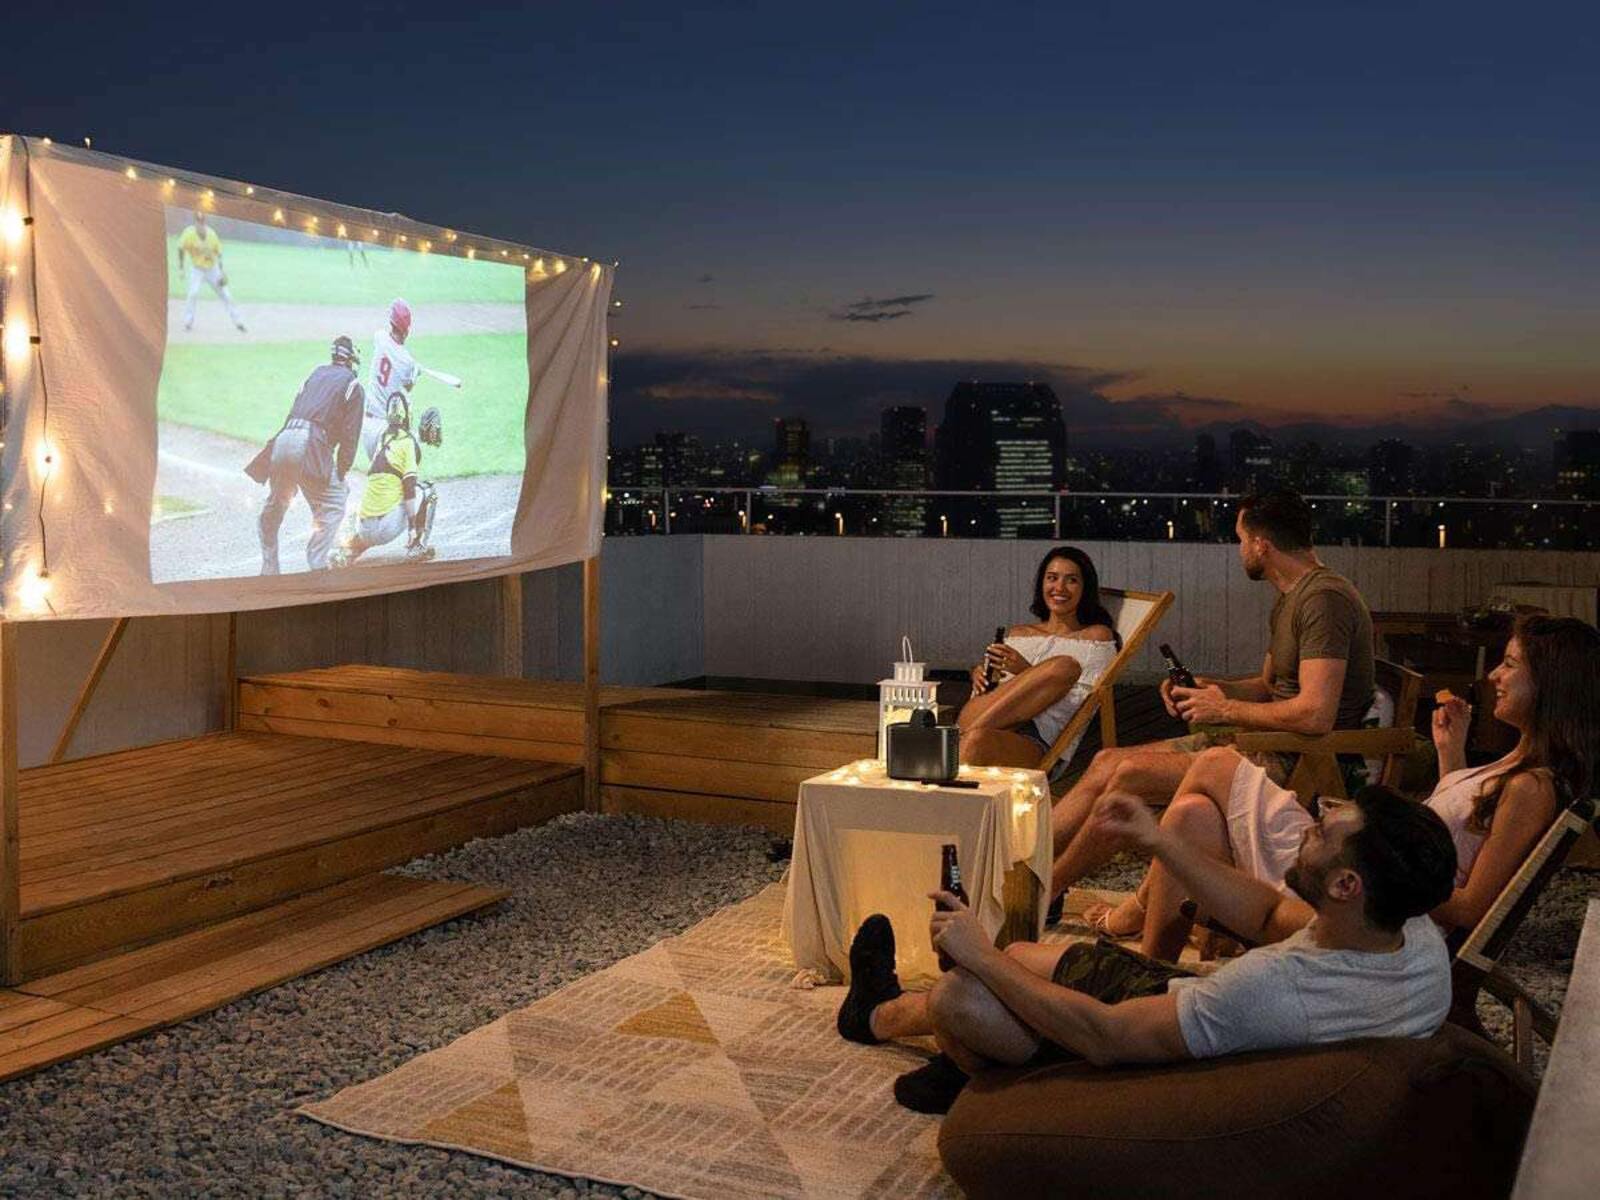
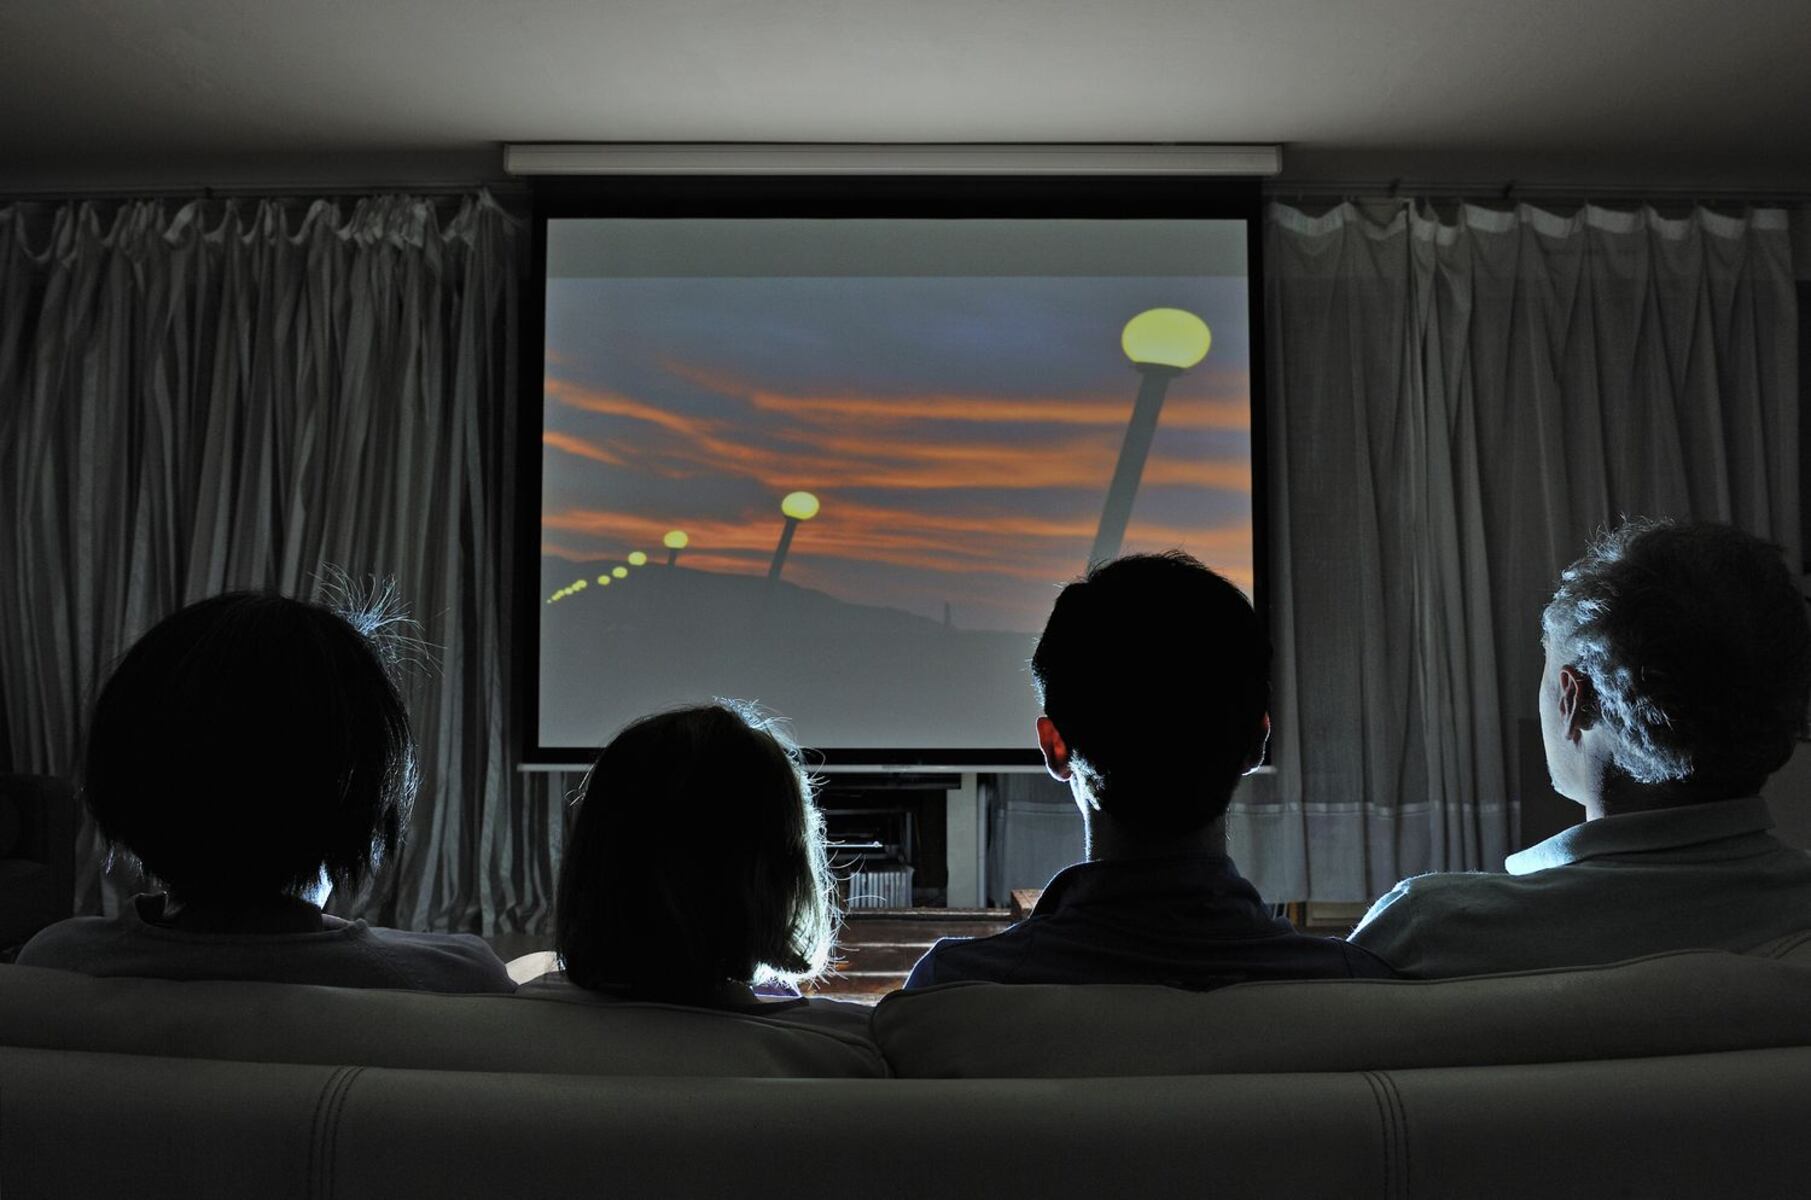
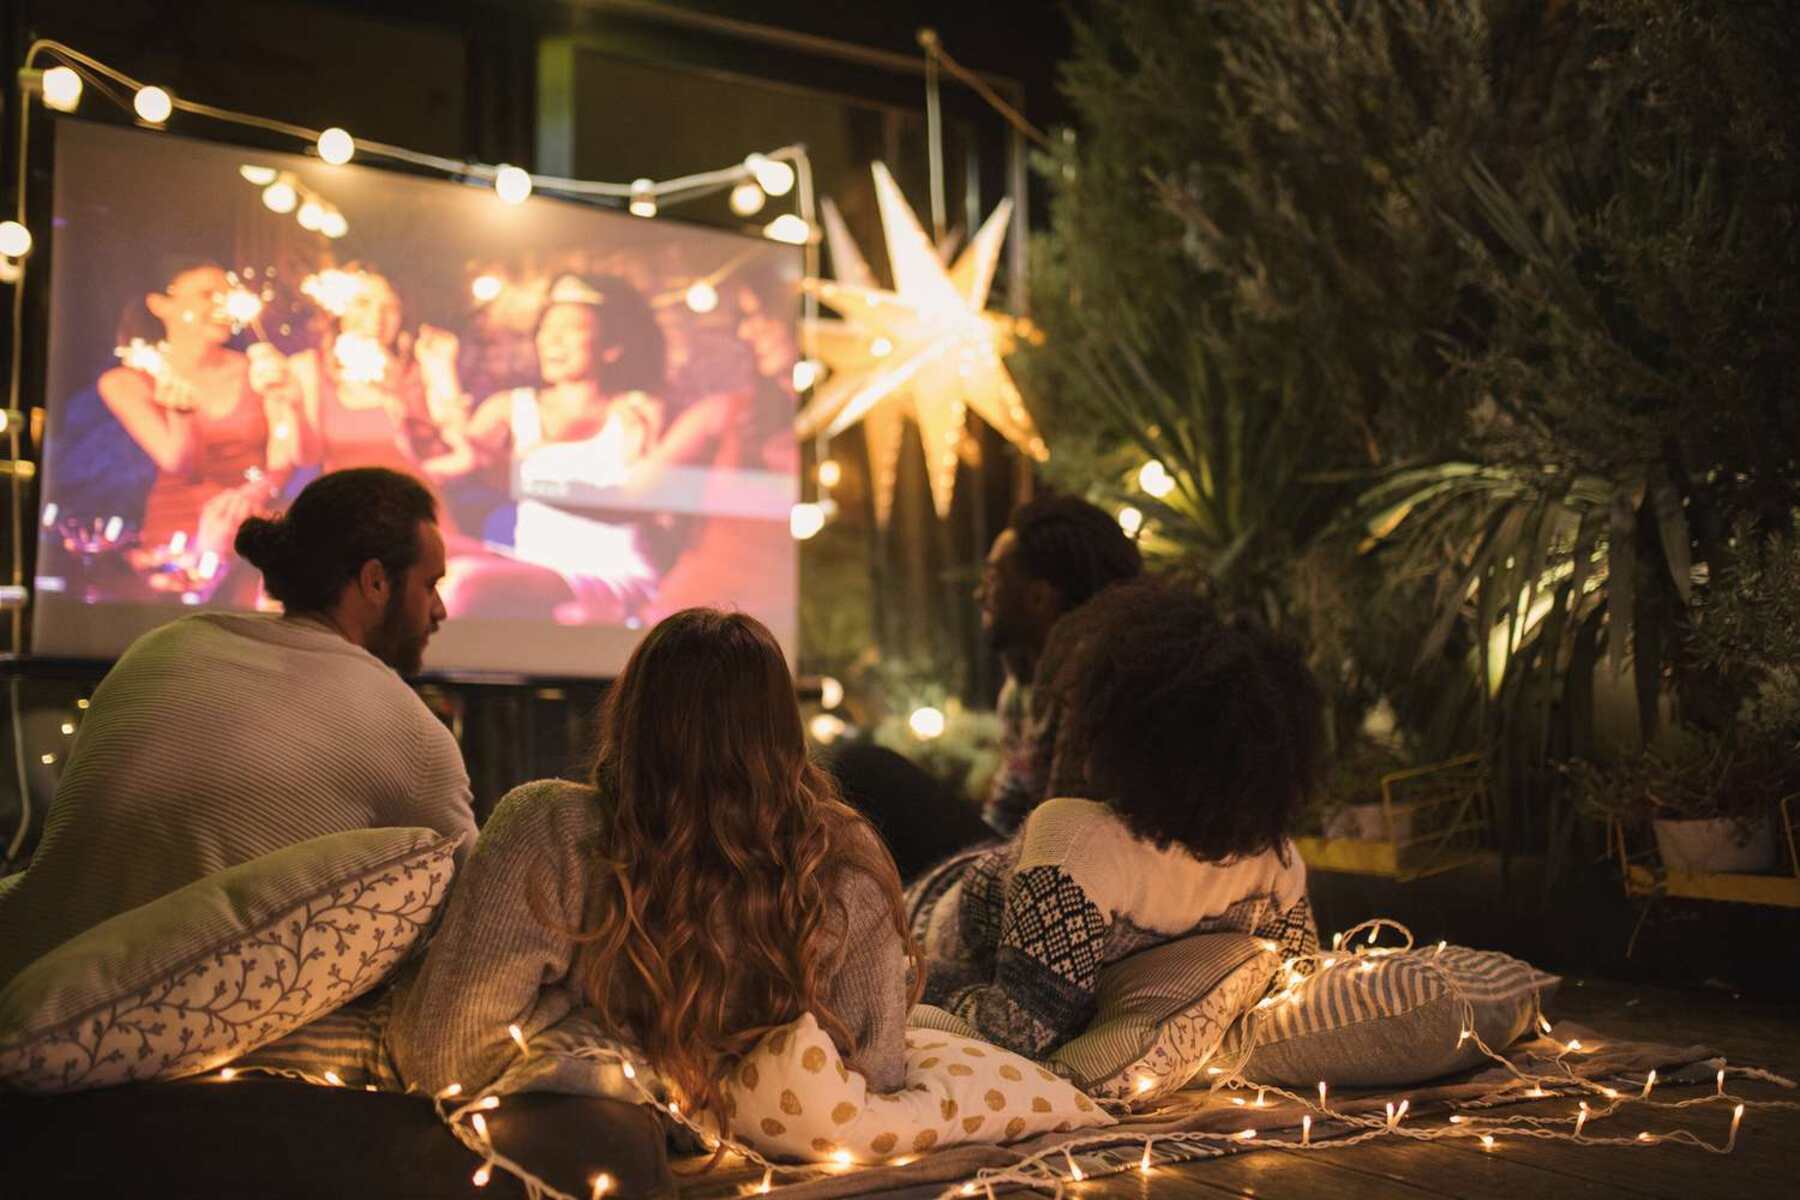
Are you ready to take your TV viewing experience to the next level? If you have a projector, you can transform your living room into a mini home theater and watch your favorite shows and movies on a big screen. Watching TV on a projector offers a cinematic experience that is hard to beat.
Projectors have come a long way in recent years, offering high-definition resolutions and vibrant colors that rival traditional televisions. Not only do projectors provide a larger display area, but they also allow for flexible positioning and a customizable viewing experience.
However, setting up your projector for TV viewing might seem daunting at first. It requires making the right connections, adjusting picture settings, and ensuring optimal sound quality. But don’t worry, with the right guidance, it’s easier than you think.
In this guide, we will walk you through the process of watching TV on your projector. We will cover everything from choosing the right projector for TV viewing to troubleshooting common issues. By the end of this article, you’ll be ready to sit back and enjoy your favorite TV shows in a whole new way.
Choosing the Right Projector for TV Viewing
When it comes to selecting the right projector for TV viewing, there are several factors to consider. Here are some key points to keep in mind:
- Resolution: The resolution of the projector determines the clarity and sharpness of the image. For a TV-like viewing experience, consider a projector with at least Full HD (1920 x 1080) resolution. If you want to go the extra mile, you can opt for a 4K projector for more detailed and realistic visuals.
- Brightness: The brightness of the projector is measured in lumens. For a TV viewing setup, it’s crucial to choose a projector with sufficient brightness to combat ambient light in your viewing area. Aim for a projector with at least 2,000 lumens for a brighter and more vibrant image, especially if you plan to watch TV during the day.
- Contrast Ratio: The contrast ratio determines the difference between the darkest and brightest parts of the image. A higher contrast ratio translates to more depth and detail in the picture. Look for a projector with a high contrast ratio to ensure a more immersive TV viewing experience.
- Throw Distance: Consider the space available in your room and the desired screen size when choosing the throw distance of the projector. Short-throw projectors allow you to place the projector closer to the screen, making them suitable for smaller rooms or when you want to avoid obstruction from people walking in front of the projector.
- Connectivity: Ensure that the projector you choose has the necessary ports to connect to your TV source, such as HDMI, VGA, or USB. Additionally, it’s beneficial to have wireless connectivity options for more convenience and flexibility.
By taking these factors into account, you can select a projector that meets your specific needs and provides an enjoyable TV viewing experience. Once you have chosen the right projector, it’s time to connect it to your TV source.
Connecting Your TV Source to the Projector
Now that you have your projector in place, it’s time to connect it to your TV source. Whether you’re using a cable box, streaming device, or gaming console, the process is relatively straightforward. Here’s how to do it:
- HDMI Connection: The most common and recommended way to connect your TV source to the projector is through an HDMI cable. Simply connect one end of the HDMI cable to the HDMI output port on your TV source and the other end to the HDMI input port on your projector. This will transmit both audio and video signals to the projector, ensuring a seamless TV viewing experience.
- Audio Connection: If you prefer to use external speakers or a sound system for enhanced audio, connect the audio output from your TV source to the speakers or sound system using an appropriate audio cable (e.g., 3.5mm audio cable or optical cable). This will allow you to enjoy high-quality sound along with the projected video.
- Other Connections: Depending on your TV source and projector, you may have additional connection options. For example, if your TV source has a VGA output, you can use a VGA cable to connect it to the projector’s VGA input port. Alternatively, you can use wireless HDMI transmitters or streaming devices that connect to your TV source and transmit the signal wirelessly to the projector.
Once you have made the necessary connections, power on your projector and TV source. Make sure to select the correct input source on the projector to see the TV signal. Voila! You should now see your TV shows and channels projected onto the big screen.
If you encounter any issues with the connection, double-check the cables, ensure they are securely plugged in, and verify that the input sources on the projector and TV source are correctly selected. Some projectors may require further adjustments in the settings menu to optimize the display.
Now that your projector is connected to the TV source, it’s time to set up the projector for optimal TV viewing.
Setting Up Your Projector for TV Viewing
Now that your projector is connected to the TV source, it’s time to set it up for an optimal TV viewing experience. Here are some steps to follow:
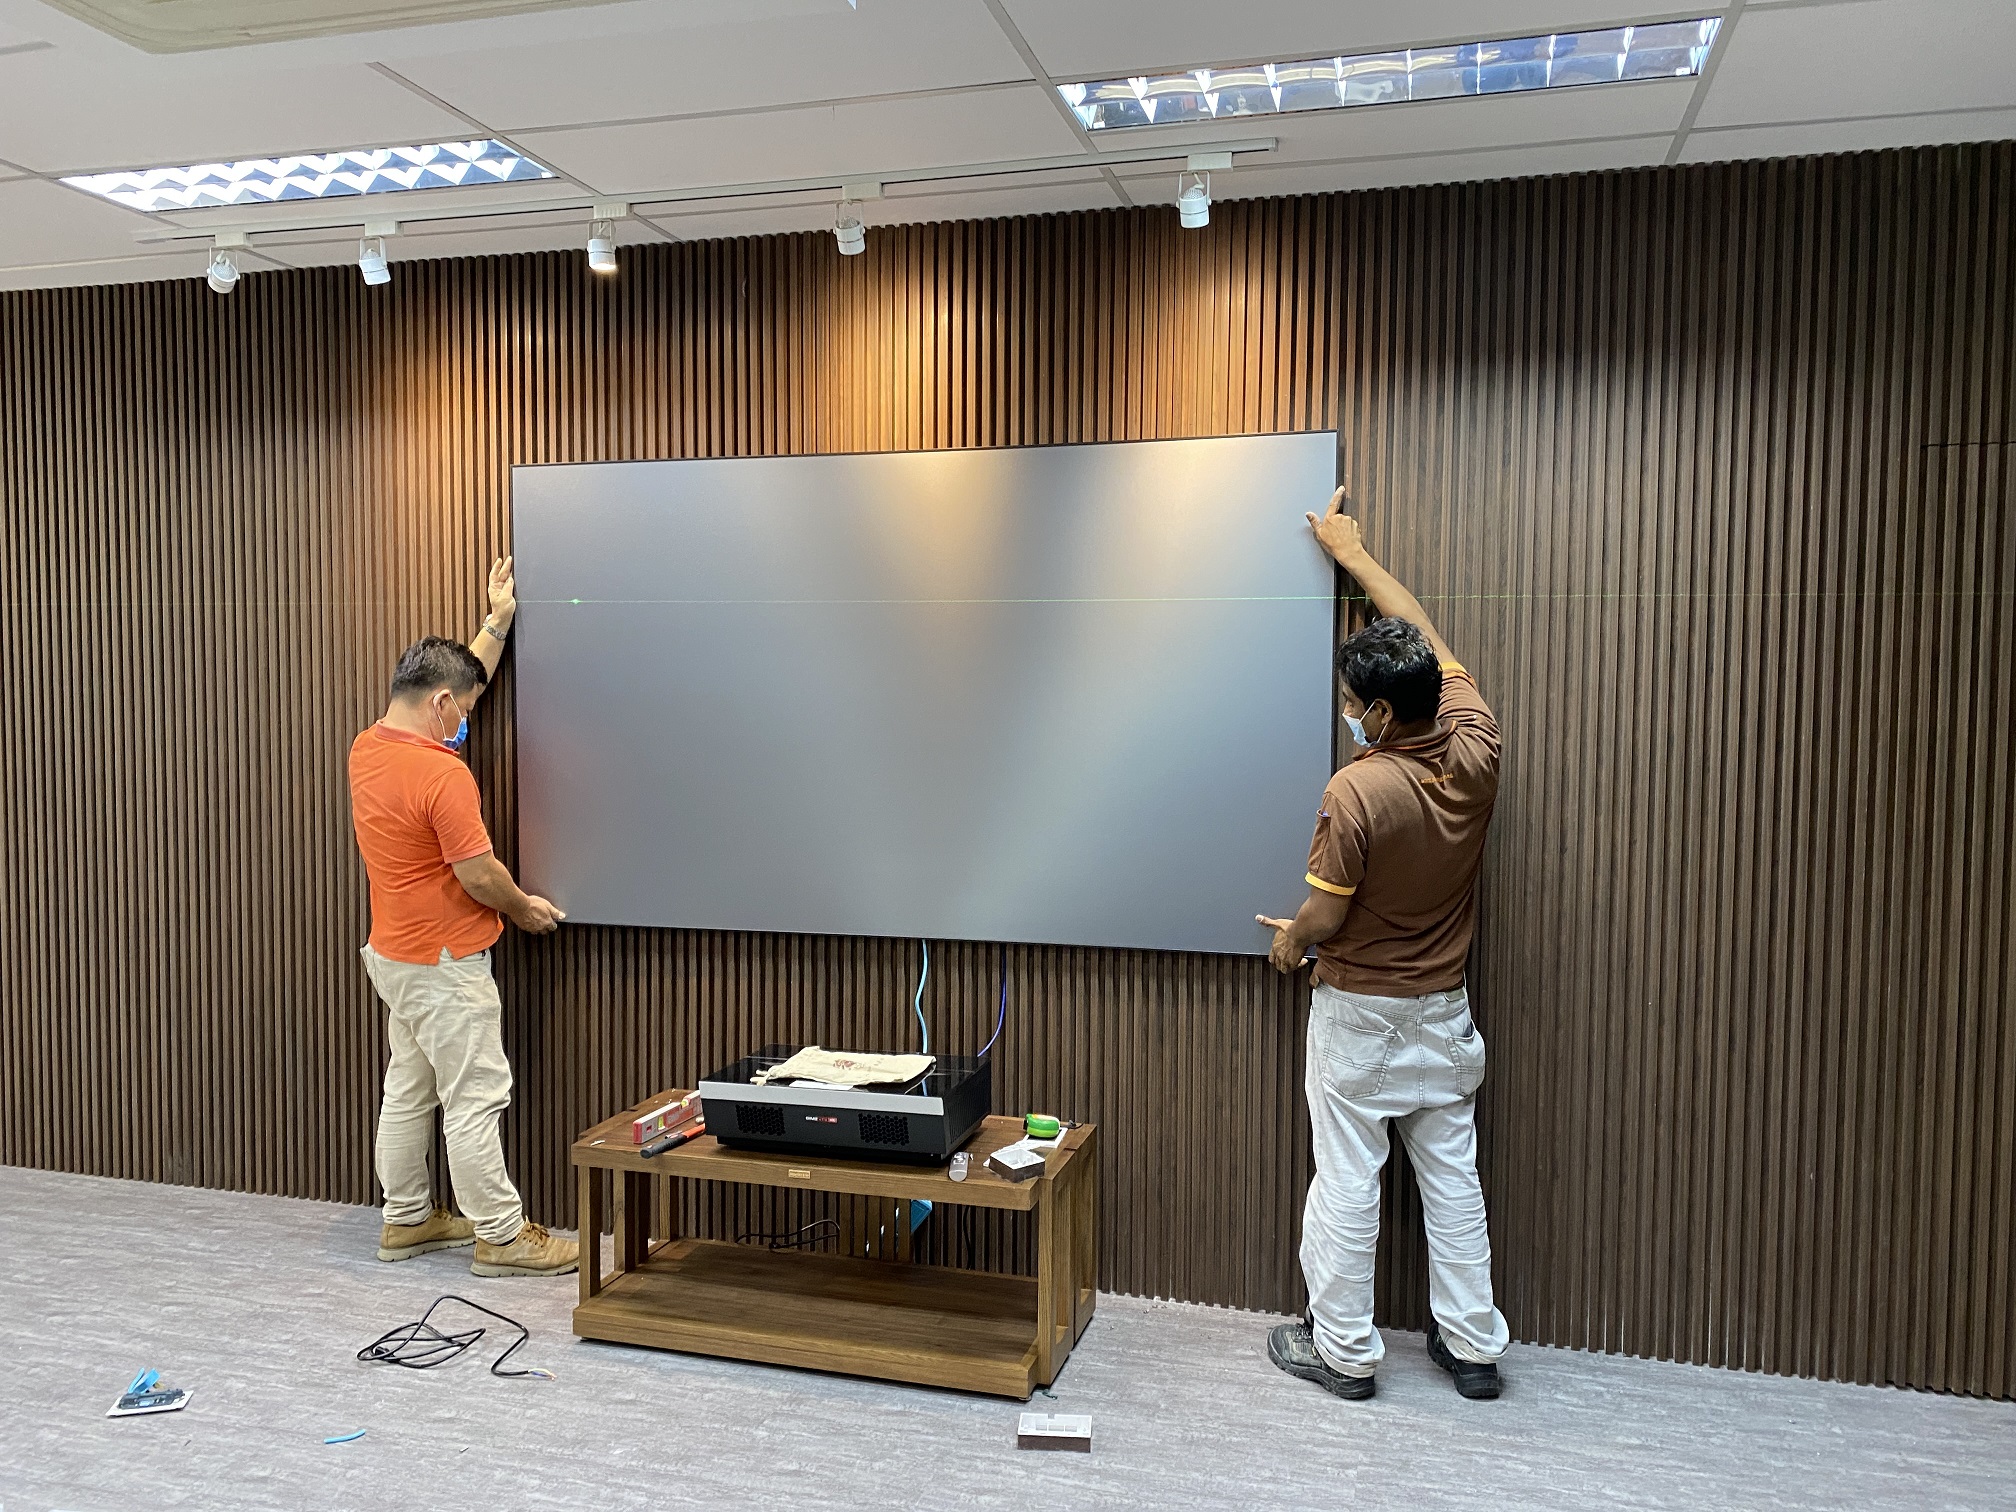
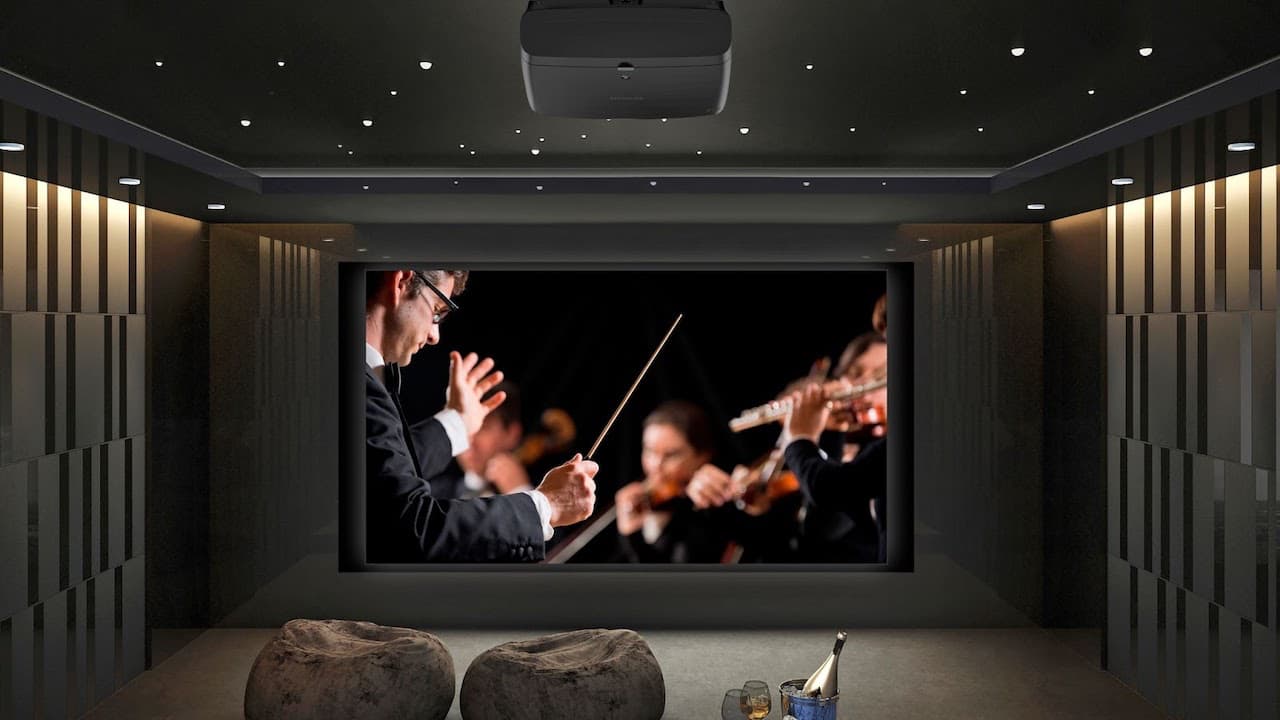
- Positioning the Projector: Determine the ideal placement for your projector. You can mount it on a ceiling or place it on a table or stand. Make sure the projector is positioned at the right distance and angle to project the image onto your desired screen or wall. Refer to the projector’s user manual for specific guidelines on positioning.
- Screen or Wall Selection: Choose whether to project the image onto a dedicated projection screen or directly onto a blank wall. A projector screen will provide better image quality and ensure a more uniform surface, while a wall can serve as a quick and convenient alternative. Ensure that the screen or wall is flat and free from any wrinkles, bumps, or imperfections that may distort the projected image.
- Screen Size and Aspect Ratio: Adjust the projector’s zoom and focus to obtain your desired screen size. The distance between the projector and the screen affects the image size, so experiment with different distances until you achieve the desired result. Additionally, set the projector’s aspect ratio to match your TV source’s aspect ratio (typically 16:9 for widescreen content) to avoid image stretching or cropping.
- Keystone Correction: Many projectors offer keystone correction to adjust for image distortion caused by angling the projector. Use this feature if necessary to correct any trapezoidal distortion, ensuring a rectangular and properly proportioned image.
- Screen Calibration: Use the projector’s built-in calibration tools or a calibration disc to adjust the image’s brightness, contrast, color temperature, and other settings. This step will help you achieve accurate color reproduction and a more lifelike viewing experience.
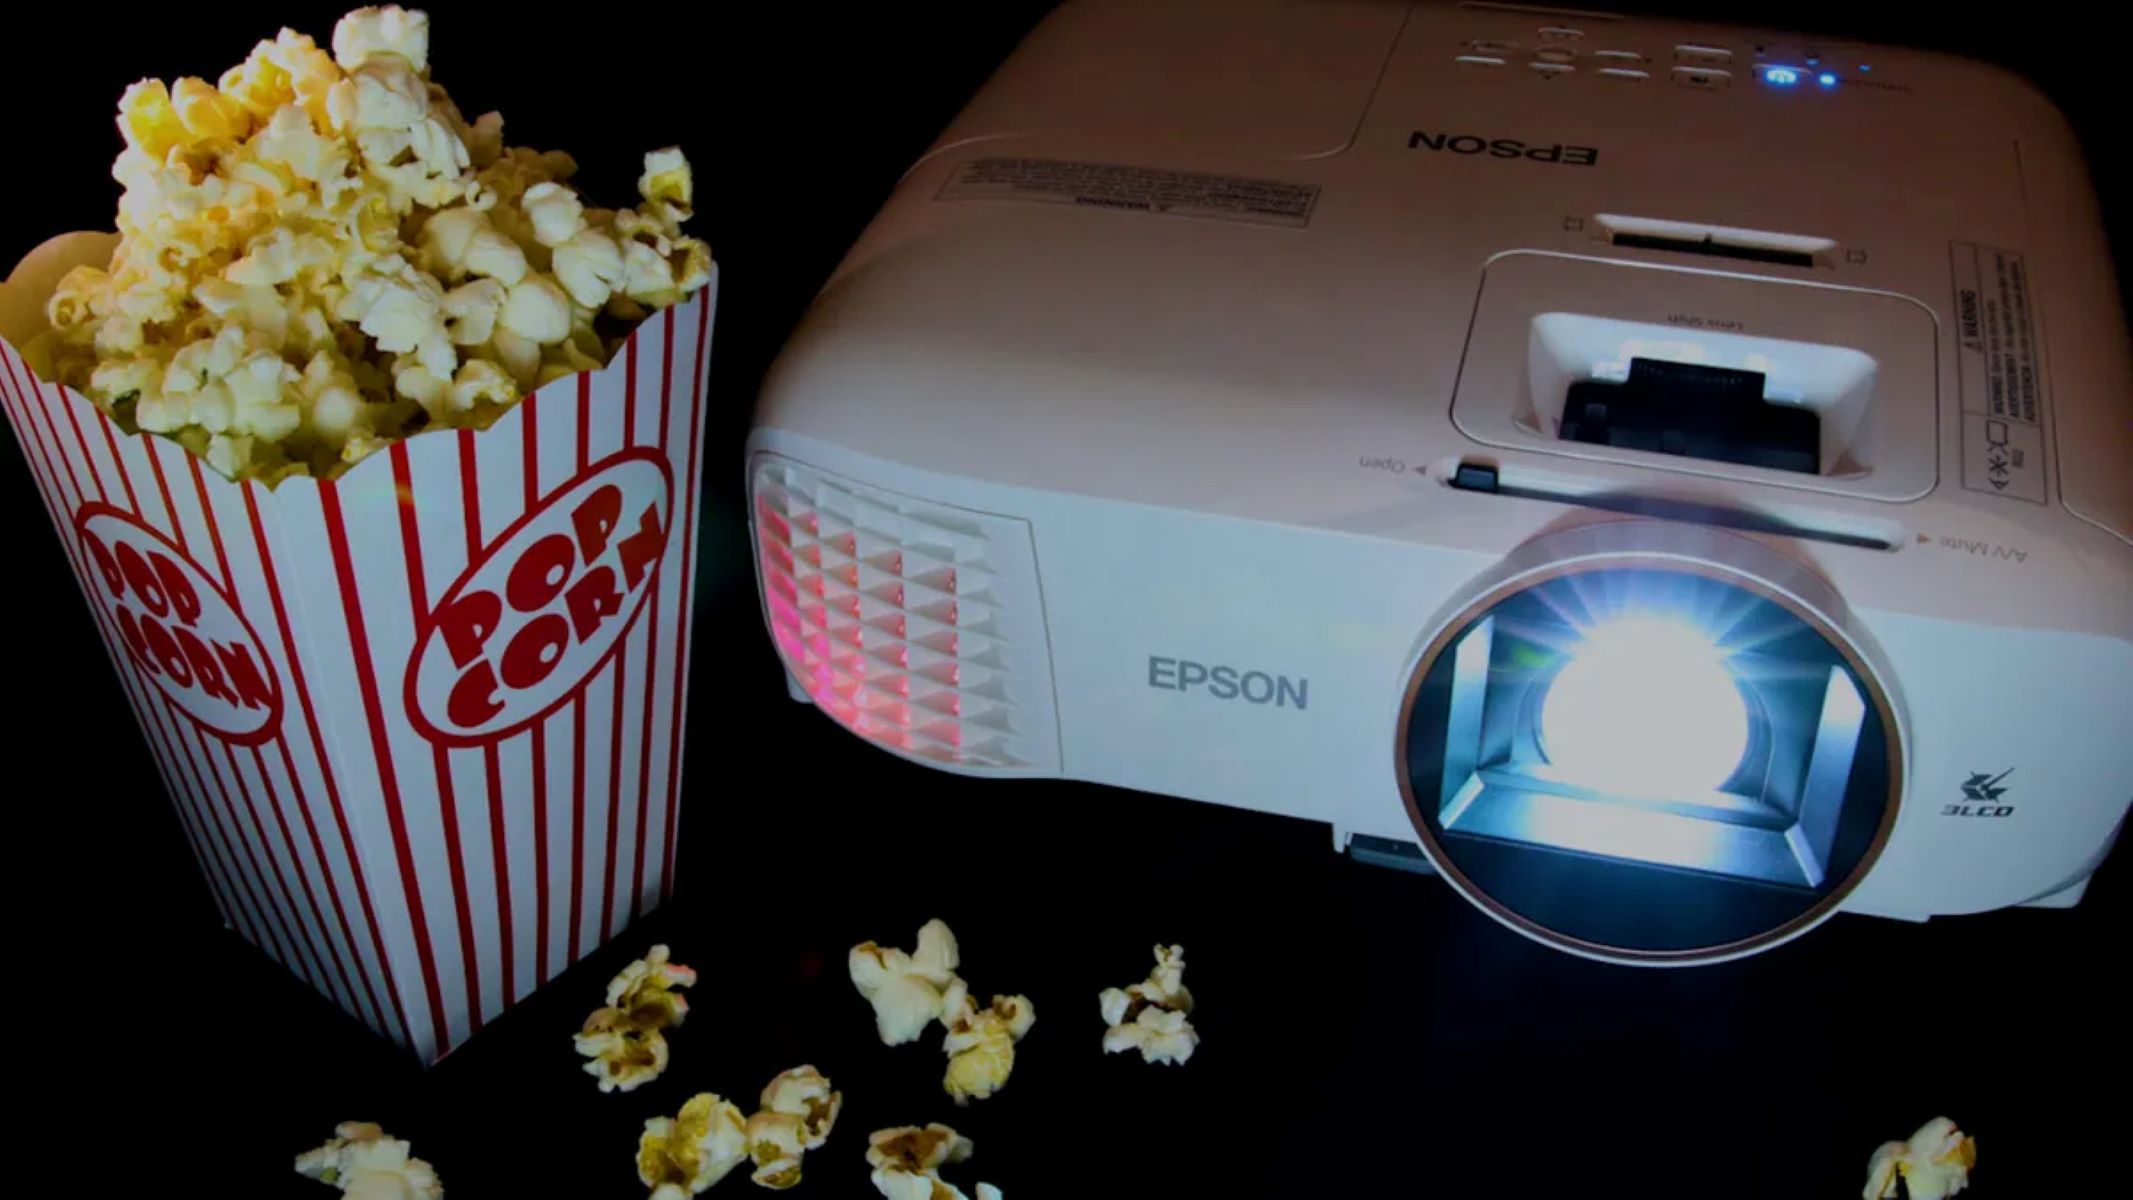
Once you have completed these setup steps, you’re ready to enjoy TV on your projector. Sit back, grab some popcorn, and immerse yourself in the larger-than-life TV experience.
Adjusting the Picture Quality on Your Projector
Getting the best picture quality from your projector is essential for an immersive TV viewing experience. Here are some tips on how to adjust the picture settings:
- Brightness and Contrast: Adjust the brightness and contrast settings on your projector to ensure a balanced and vibrant image. Increase the brightness if the room is well-lit or decrease it for a darker environment. Fine-tune the contrast to enhance the details in the image.
- Color Temperature: Calibrate the color temperature settings to achieve accurate and natural colors. Select a preset mode like “Warm” or “Neutral” or manually adjust the red, green, and blue color levels to achieve the desired warmth or coolness in the image.
- Sharpness: Adjust the sharpness setting to optimize the image’s clarity. Be careful not to overdo it, as excessive sharpness may lead to artificial and overly enhanced outlines. Find the right balance that maintains a natural and crisp image.
- Color Saturation: Fine-tune the color saturation to ensure that colors appear vivid and lifelike. Avoid oversaturating the image, which can result in unnatural and exaggerated colors. Adjust the saturation until the colors look rich and balanced.
- Gamma Correction: Gamma correction helps to adjust the brightness levels in different areas of the image. Experiment with different gamma settings to find the one that provides the best balance between shadow detail and overall brightness.
- Noise Reduction: Some projectors offer noise reduction features to minimize image noise or artifacts, especially in lower-quality sources. Enable this feature if you notice any unwanted visual disturbances and adjust it to reduce noise without sacrificing too much image sharpness.
Keep in mind that the optimal picture settings may vary depending on the content you’re watching, the lighting conditions in the room, and personal preferences. Take your time to experiment with the settings and find the configuration that suits your viewing preferences.
By fine-tuning the picture quality on your projector, you can ensure that your TV shows and movies look their best, providing a captivating and immersive visual experience.
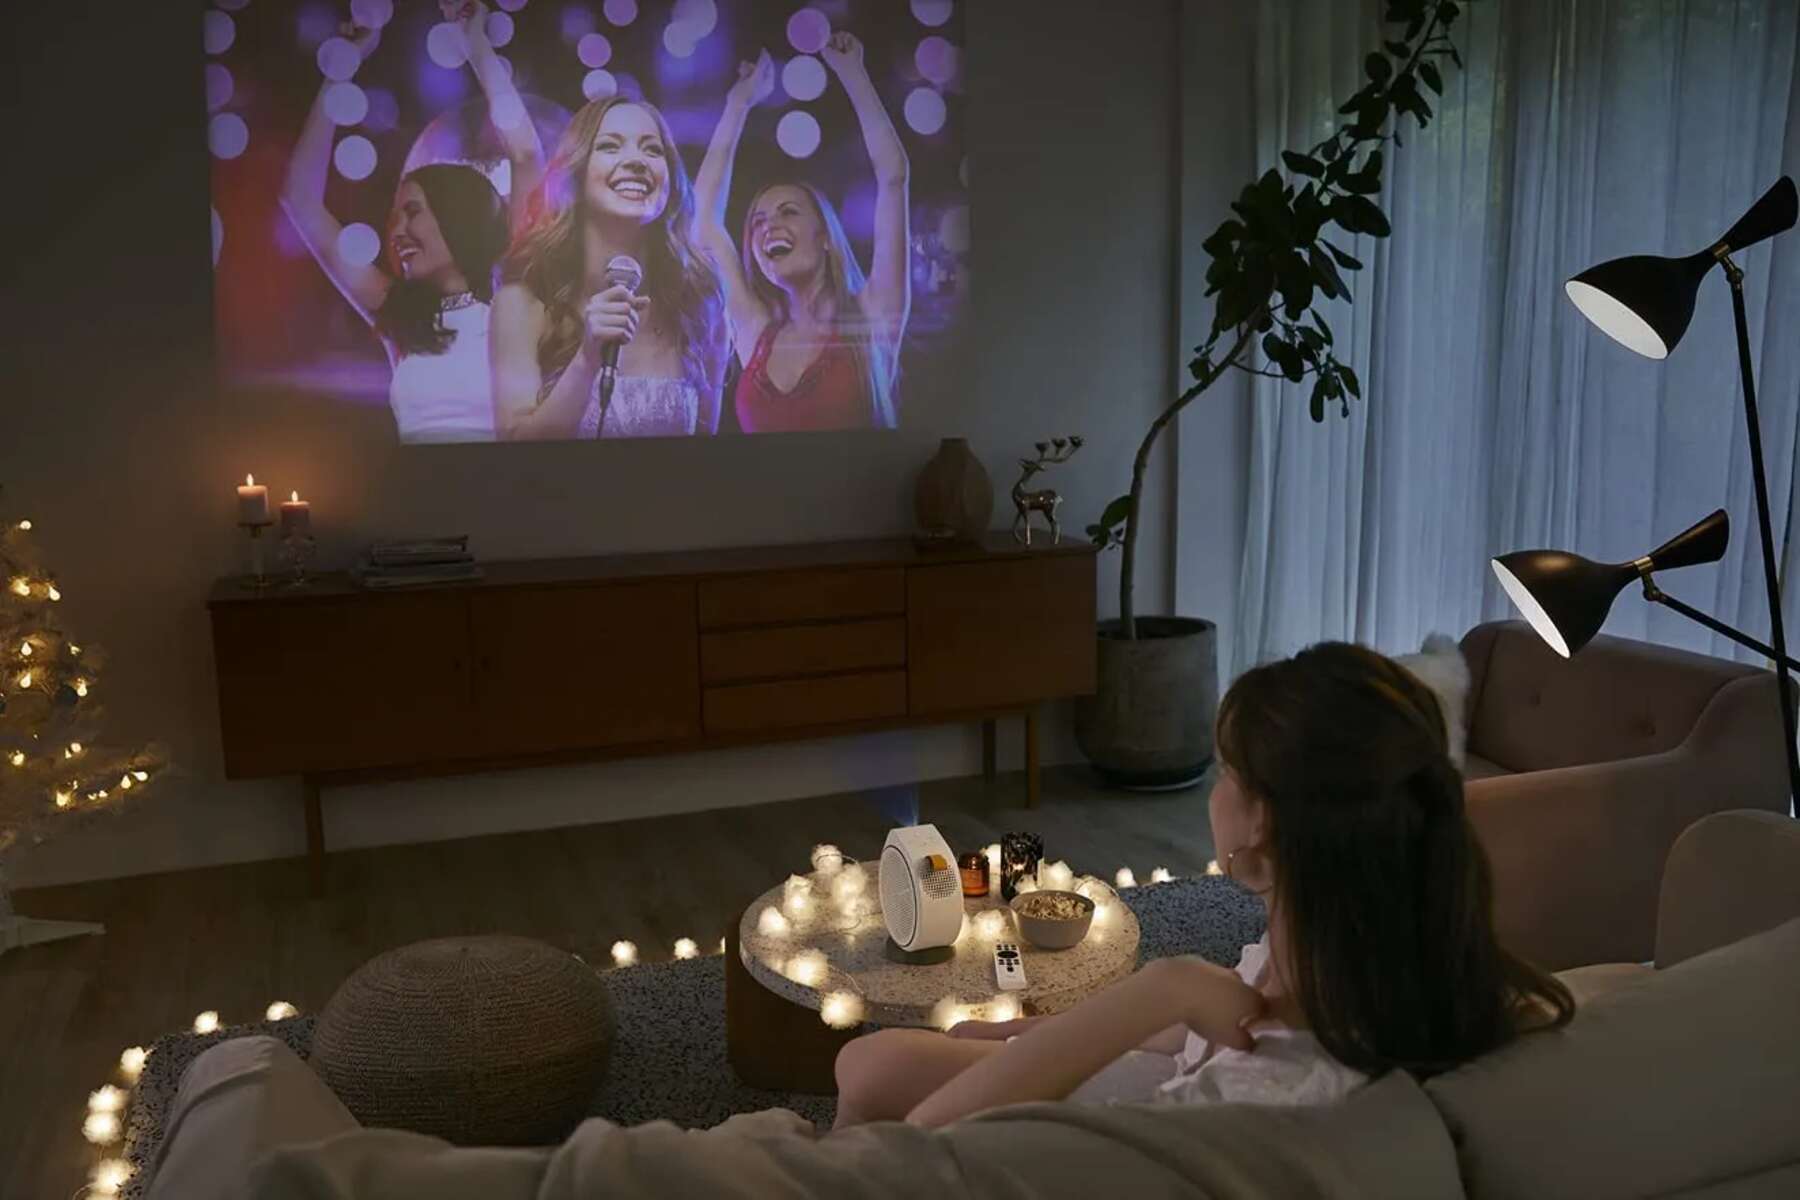
Enhancing Your TV Viewing Experience with Sound
While the visual aspect of watching TV on a projector is crucial, sound quality also plays a significant role in creating an immersive experience. Here are some ways to enhance your TV viewing experience with sound:
- External Speakers: Consider investing in a set of external speakers or a soundbar to elevate the audio quality. Most projectors have audio output ports that allow you to connect external speakers directly. External speakers can provide richer and more dynamic sound compared to the built-in speakers of the projector.
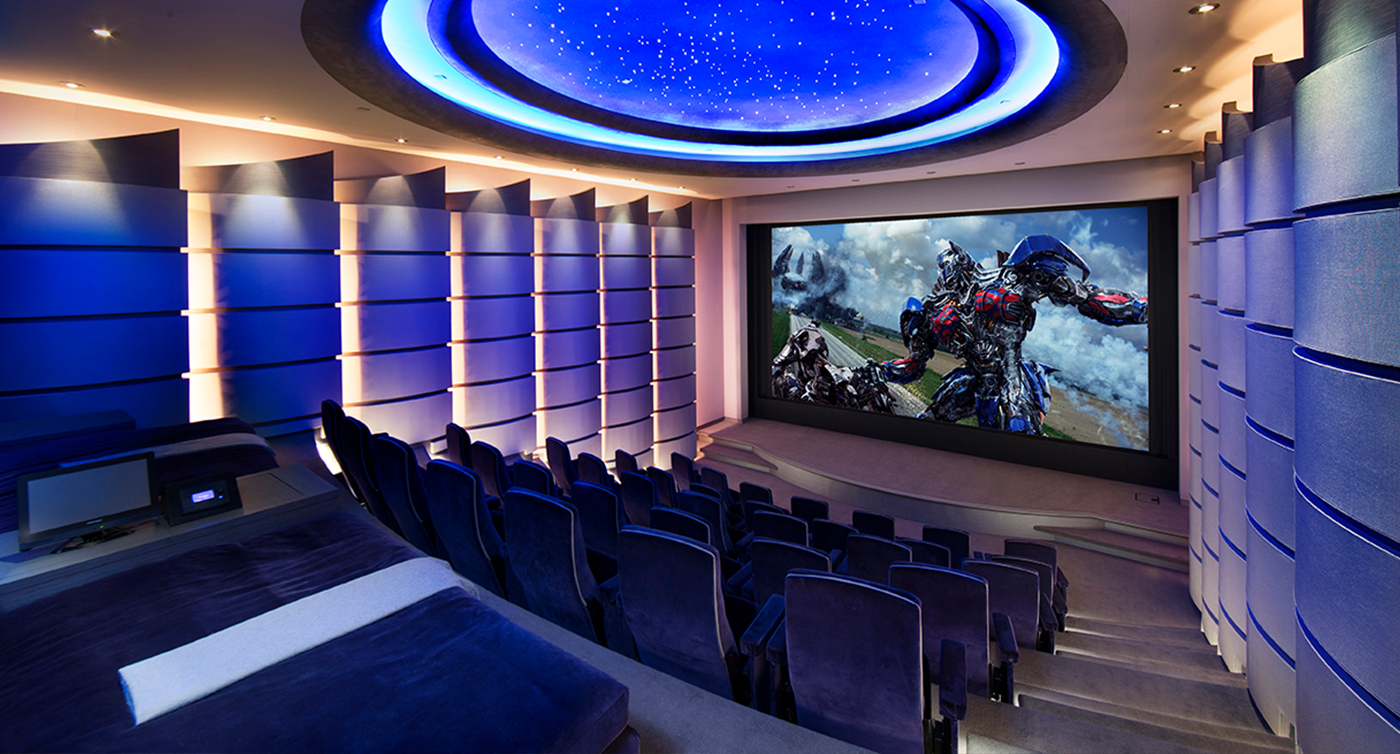
- Surround Sound System: For a true home theater experience, you can opt for a surround sound system. Connect your projector to a receiver that supports multiple speakers and create a captivating audio environment. This setup will immerse you in the action, with sound coming from different directions to enhance realism.
- Soundbar: If you want a more streamlined and compact audio solution, consider a soundbar. Soundbars are long, slim speakers that can be placed below the projector or mounted on a wall. They offer improved audio performance without the clutter of multiple speakers.
- Wireless Audio: If you prefer a wireless setup, look for wireless speakers or Bluetooth-enabled sound systems that can sync with your projector. This allows for convenient placement and eliminates the need for messy cables.
- Audio Calibration: Once you have external speakers or a sound system in place, calibrate the audio settings for optimal performance. Adjust volume levels, balance, bass, and treble settings to your liking. Test different settings with different types of content to find the sweet spot that enhances your TV viewing experience.
Remember to place the speakers strategically around the viewing area to create an even sound distribution. Experiment with different placement options to find what works best for your room and seating arrangement.
Good sound quality can greatly enhance the immersion and enjoyment of your TV viewing experience on the projector. It brings the audio to life, making you feel like you’re right in the middle of the action or dialogue.
Now that you have optimized your sound setup, let’s explore some common issues that you may encounter when watching TV on a projector and how to troubleshoot them.
Troubleshooting Common Issues when Watching TV on a Projector
While watching TV on a projector can be a fantastic experience, you might encounter some common issues along the way. Here are a few troubleshooting tips to address these problems:
- No Signal: If you’re not receiving a signal from your TV source, double-check all cable connections. Ensure that the HDMI or other video cables are securely plugged into both the TV source and the projector. Also, make sure that the correct input source is selected on the projector. You may need to switch between different HDMI inputs or adjust the input settings on your projector.
- Distorted Image: If the projected image appears distorted or misaligned, check the projector’s keystone correction feature. Adjust the keystone settings to correct any trapezoidal or skewed image. If the distortion persists, reposition the projector or adjust the projection angle until you achieve a squared and properly proportioned image.
- Poor Image Quality: If the image quality seems blurry or lacks clarity, check the projector’s focus settings. Adjust the focus ring until the image appears sharp and clear. Additionally, make sure the projector’s lens is clean and free from dust or smudges that might affect the image quality.
- Audio Issues: If you’re experiencing audio problems, ensure that all audio cables are securely connected. Check the audio settings on your TV source to ensure that the correct audio output is selected. If you’re using external speakers or a soundbar, verify that they’re properly connected to the projector’s audio output. Adjust the volume levels on both the projector and the external speakers to reach an optimal balance.
- Fan Noise: Projectors have built-in fans to prevent overheating. If you find the fan noise distracting during your TV viewing, check the projector’s settings for a low fan speed mode. This option can decrease fan noise but keep an eye on the projector’s temperature to avoid overheating.
If none of these troubleshooting steps resolve your issues, consult your projector’s user manual or contact the manufacturer for further assistance. They may be able to provide more specific guidance based on the model you’re using.
By troubleshooting common issues, you can quickly resolve any technical hiccups and ensure a smooth and enjoyable TV viewing experience on your projector.
Conclusion
Watching TV on a projector can transform your living room into a captivating home theater experience. By choosing the right projector and making the necessary connections, you can enjoy your favorite TV shows and movies on a large screen with impressive visuals. Adjusting the picture quality and enhancing the sound further elevates the overall experience, providing a cinematic feel in the comfort of your own home.
Remember to consider factors such as resolution, brightness, contrast ratio, and throw distance when choosing a projector. Connect your TV source to the projector using HDMI or other suitable cables, ensuring the audio is properly routed to external speakers if desired. Position the projector correctly and calibrate the picture settings for optimal viewing. Enhance the sound with external speakers or a sound system to create a truly immersive environment.
If you encounter any issues, such as a lack of signal, distorted image, or audio problems, follow the troubleshooting tips provided to address these common problems. Consult the user manual or reach out to the manufacturer for further assistance if needed.
Now that you have the knowledge and guidance to set up and enjoy TV on your projector, it’s time to sit back, relax, and immerse yourself in a larger-than-life TV viewing experience. Grab your popcorn, dim the lights, and enjoy the magic of the big screen in the comfort of your own home!