Introduction
When it comes to watching TV shows, movies, or sporting events, projectors offer a larger and more immersive viewing experience compared to traditional TVs. However, if you want to enjoy the benefits of both a TV antenna and a projector, you might be wondering how to connect them together. The good news is, it’s a simple process that doesn’t require any technical expertise.
In this article, we will guide you through the step-by-step process of connecting a TV antenna to a projector, allowing you to access and enjoy over-the-air TV channels on the big screen. Whether you want to catch your favorite network shows or experience live local sports, this connection will open up a world of entertainment options for you.
We will provide you with all the information you need, from gathering the necessary equipment to tuning the projector to receive TV channels. So, let’s dive in and explore how to easily connect your TV antenna to your projector.
Step 1: Gather the Necessary Equipment
Before you can connect your TV antenna to your projector, you will need to gather the following equipment:
- TV Antenna: Make sure you have a functioning TV antenna that is capable of receiving over-the-air signals. It should have a coaxial cable connection.
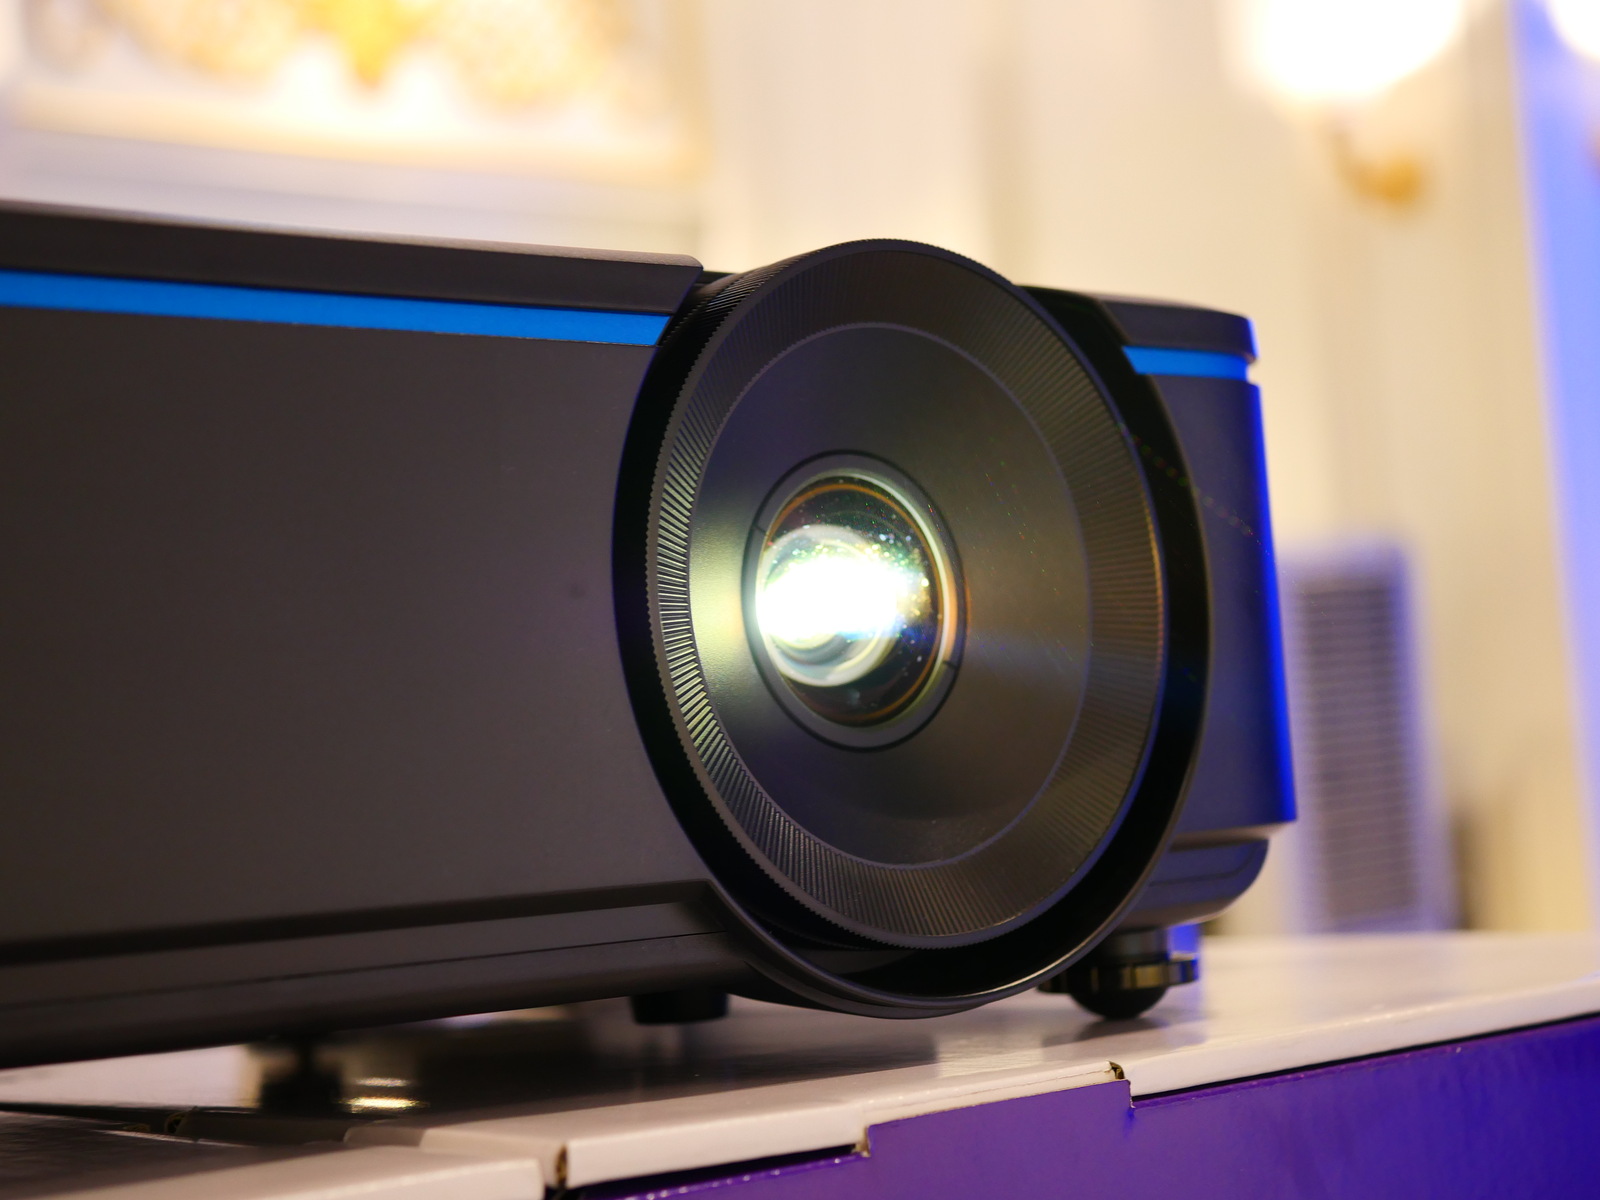
- Projector: Ensure that you have a projector with the necessary input ports to connect the TV antenna. Most projectors have HDMI or VGA ports that can be utilized for this purpose.
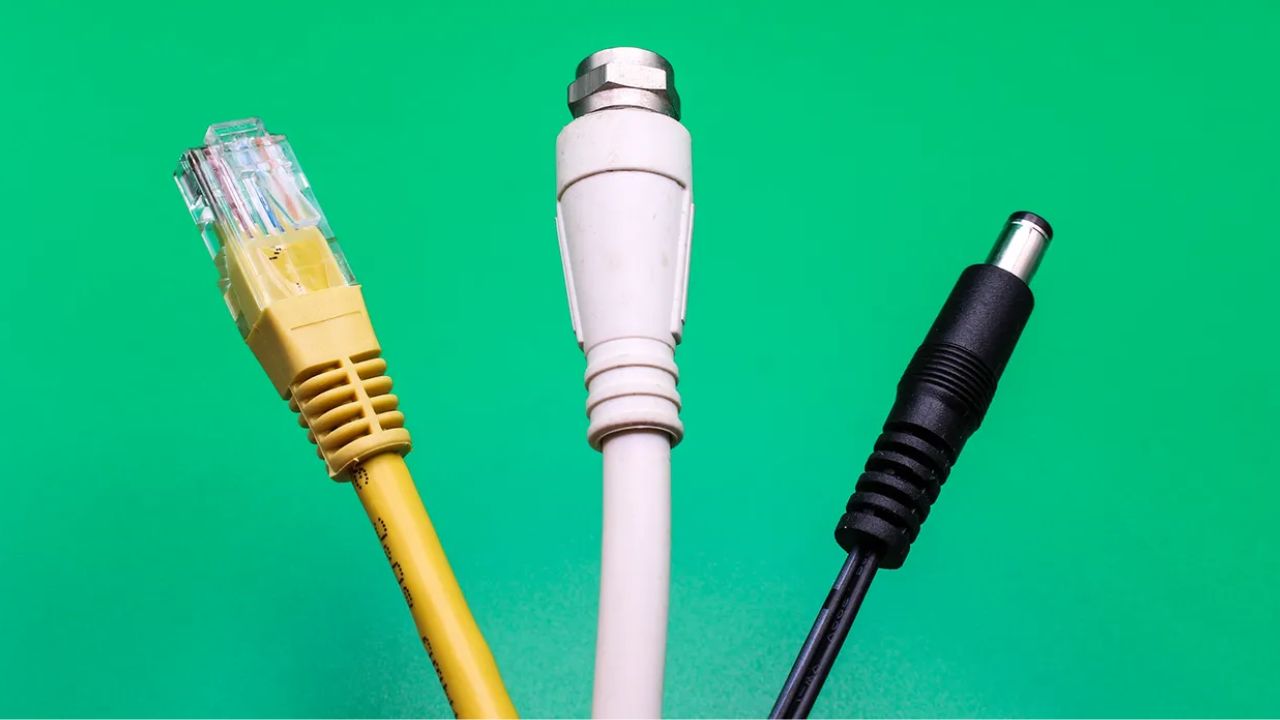
- Coaxial Cable: You will need a coaxial cable to establish the physical connection between the TV antenna and the projector. Make sure the cable is long enough to reach from the antenna to the projector with some extra length for flexibility.
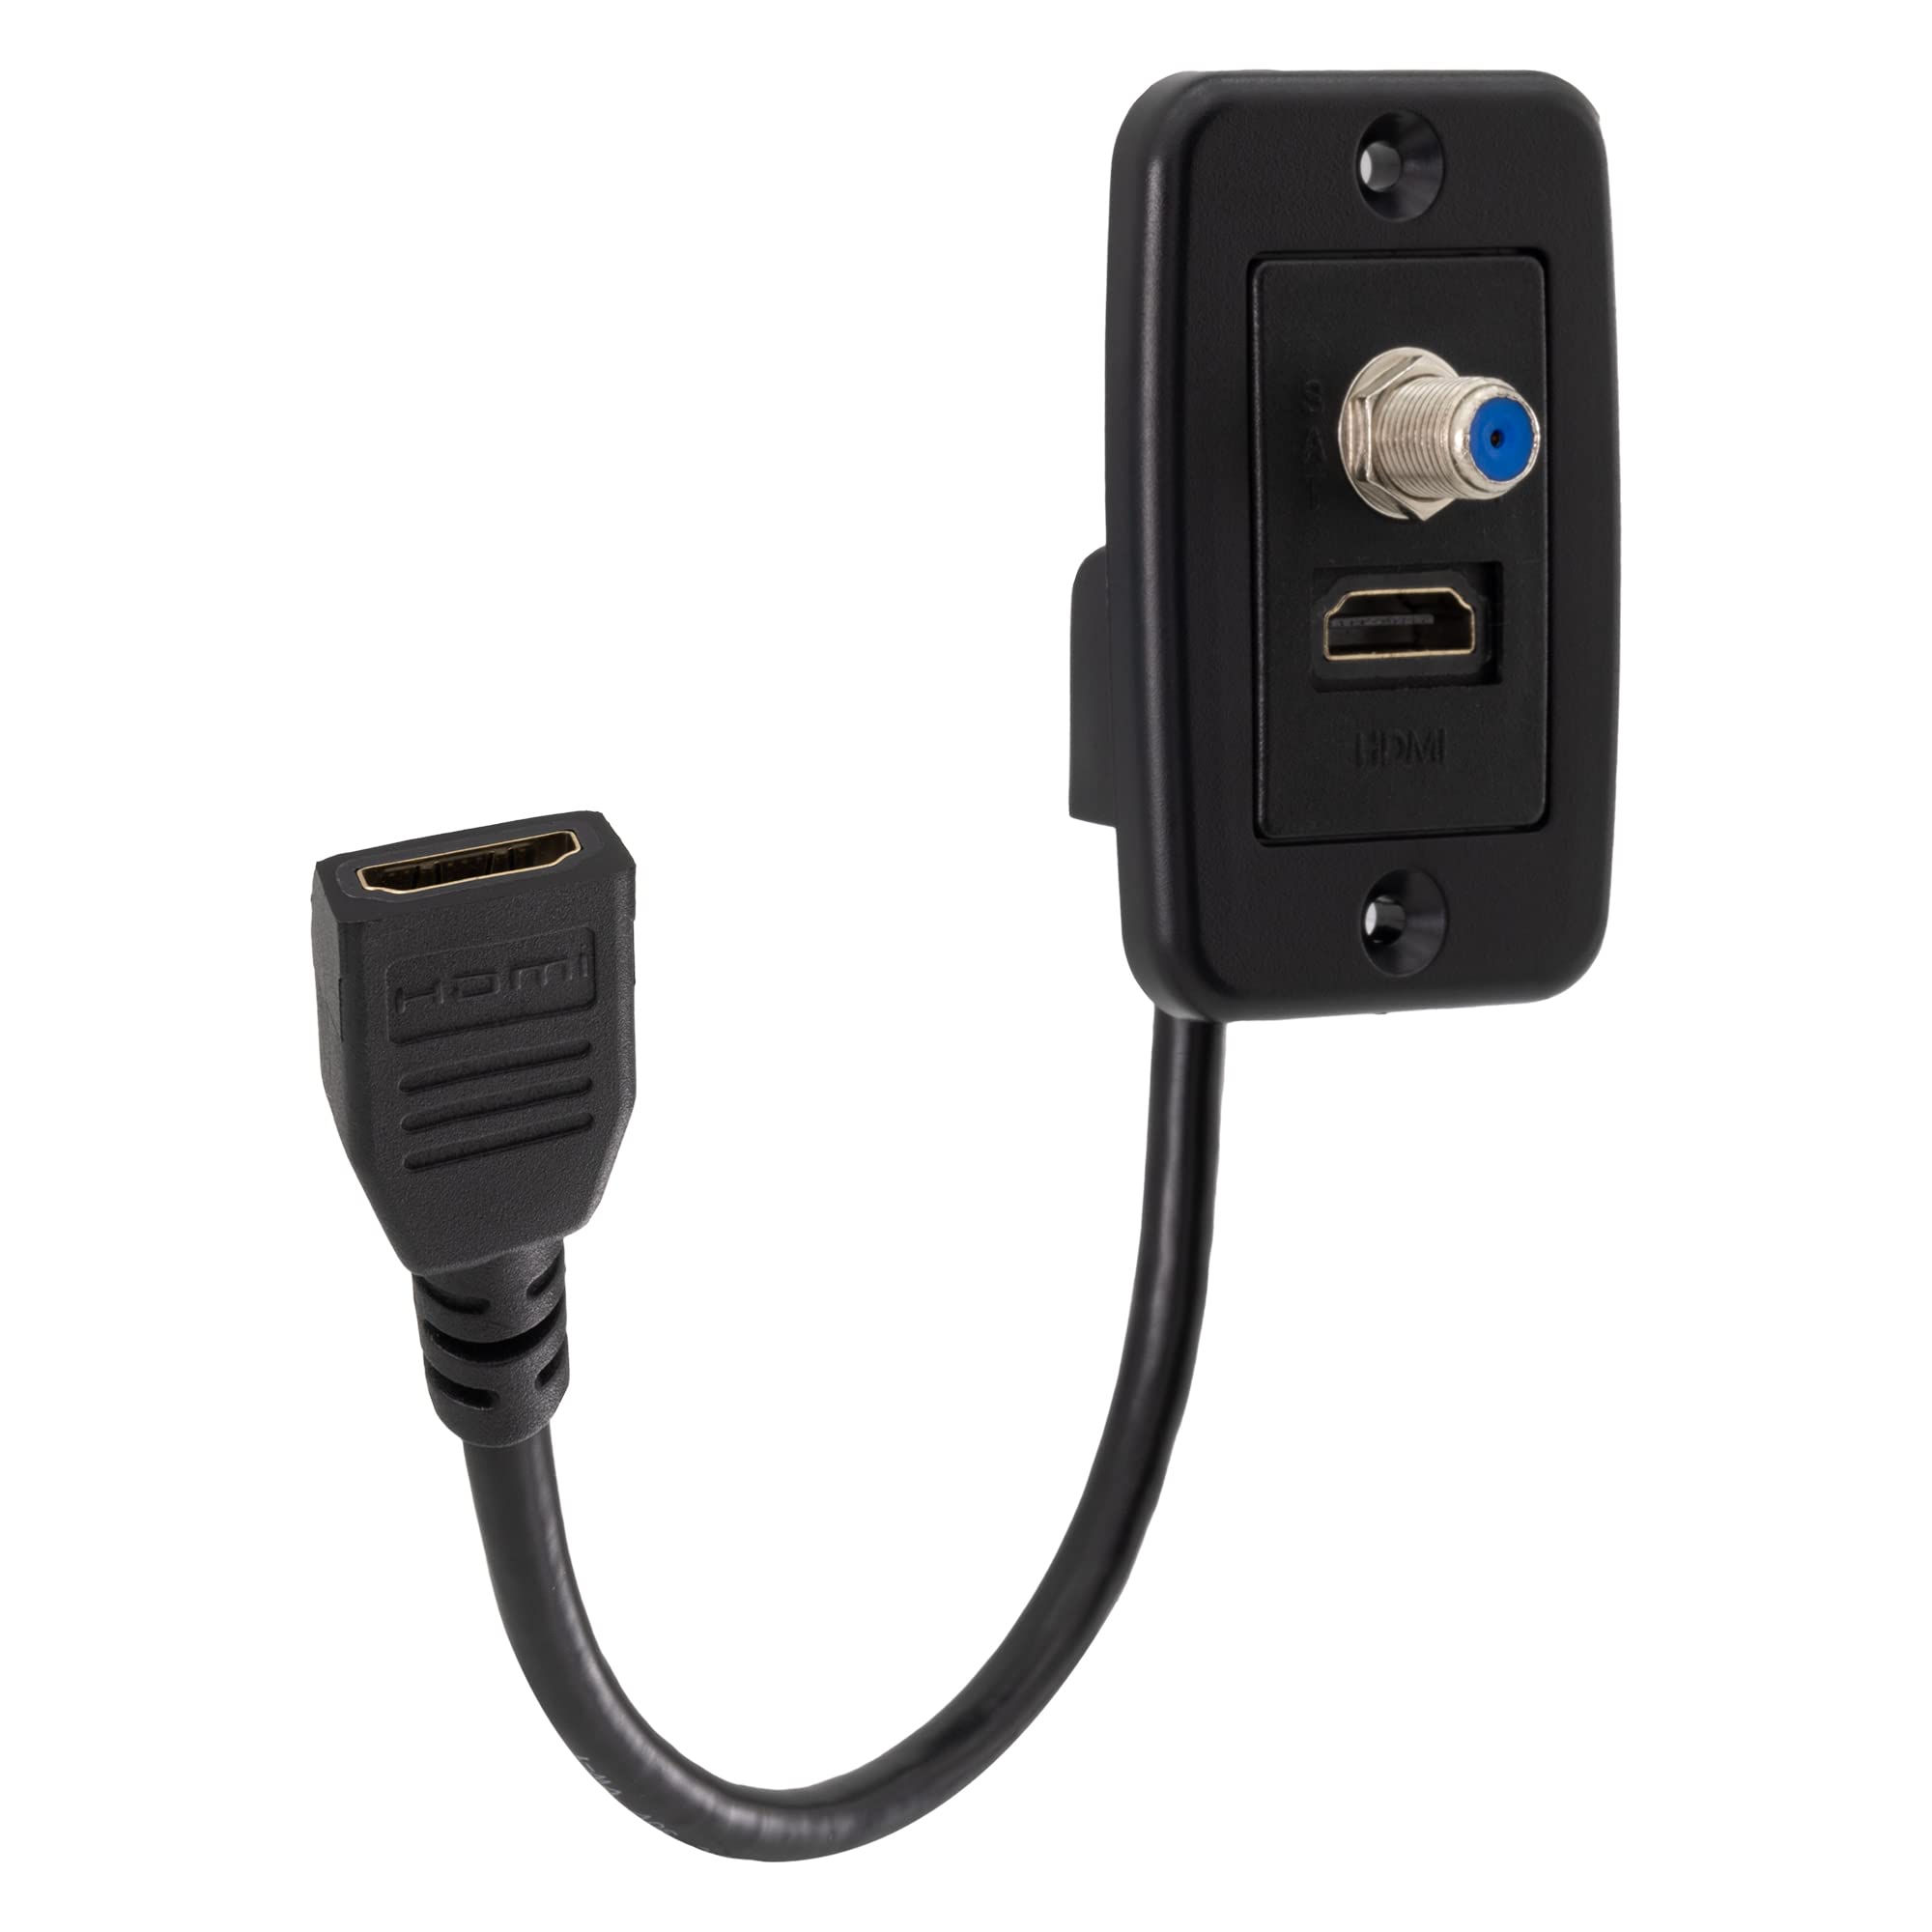
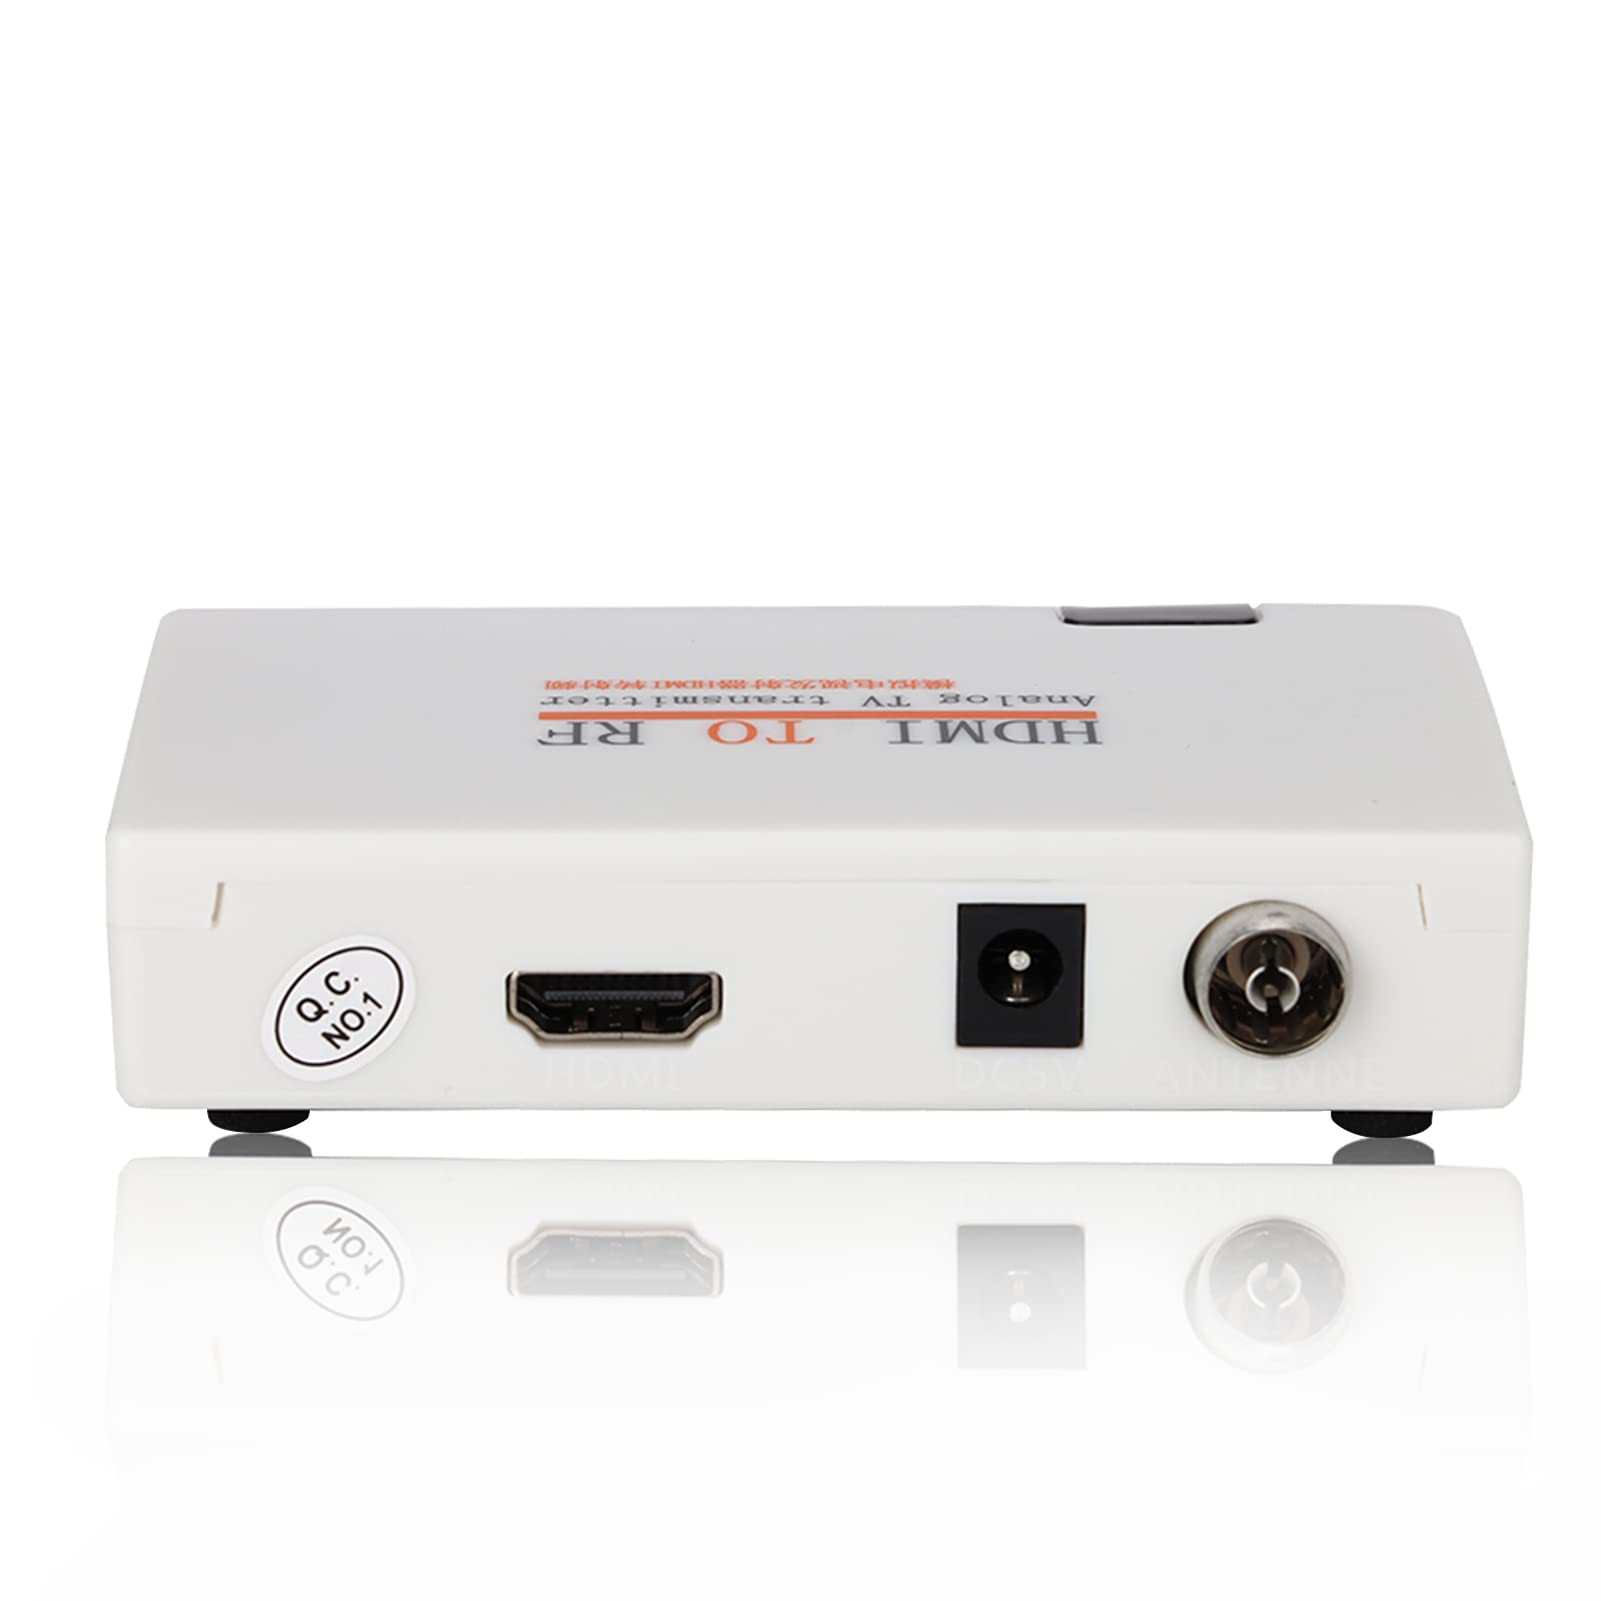
- Adapter (If Required): Depending on the specific ports available on your projector, you may need an adapter to connect the coaxial cable to the projector. For example, if your projector only has HDMI ports, you will need an HDMI to coaxial adapter.
Once you have gathered all the necessary equipment, you will be ready to move on to the next step of connecting your TV antenna to your projector. It’s always a good idea to double-check that you have all the required items to ensure a smooth and hassle-free setup process.
Step 2: Locate the TV Antenna Input on the Projector
Once you have gathered the necessary equipment, the next step is to locate the TV antenna input on your projector. The location of the input may vary depending on the make and model of your projector, so refer to the user manual or do a quick online search for your specific projector model to find the exact location.
Typically, the TV antenna input on a projector can be found on the back or side panel. It is usually labeled as “TV Antenna,” “ANT,” or something similar. Some projectors may have multiple input options, so make sure to identify the correct input for connecting the TV antenna.
If your projector has an HDMI input and you are using an HDMI to coaxial adapter, locate the HDMI input port on the projector. This is where you will connect the coaxial cable using the adapter.
Take your time to find the TV antenna input and ensure that you are familiar with its location before proceeding to the next step. This will make the setup process much smoother and prevent any potential frustration.
Step 3: Connect the Coaxial Cable
Now that you have identified the TV antenna input on your projector, it’s time to connect the coaxial cable. Here are the steps to follow:
- Take one end of the coaxial cable and insert it into the TV antenna input on the projector. Make sure it is securely inserted to establish a solid connection.
- If you’re using an adapter, connect the other end of the coaxial cable to the adapter.
- Depending on the adapter, you may need to connect the adapter to the HDMI or VGA input on the projector. Insert the adapter into the corresponding port on the projector.
- Ensure that all the connections are secure and properly fit into their respective ports. This will prevent any potential signal loss or disruptions during the connection.
It’s important to note that if you are using an HDMI to coaxial adapter, you may also need to connect an HDMI cable from the adapter to the HDMI input on your projector. This will enable the transmission of both the audio and video signals.
Once the coaxial cable and any necessary adapters are securely connected, you have completed the physical connection between the TV antenna and the projector. Now it’s time to move on to the next step of tuning the projector to receive TV channels.
Step 4: Tune the Projector to Receive TV Channels
After successfully connecting the coaxial cable to your projector, it’s time to tune the projector to receive TV channels. Follow these steps:
- Turn on both the TV antenna and the projector.
- Access the menu settings on your projector. The method for accessing the settings may vary depending on your projector model. Consult the user manual for specific instructions.
- Navigate to the input settings or source options in the menu. Look for the input source that corresponds to the TV antenna connection.
- Select the TV antenna input source. This will instruct the projector to receive the TV signal from the connected antenna.
- Once you have selected the TV antenna input source, perform an automatic channel scan or search for available channels. This process may take a few minutes as the projector detects and saves the channels it can receive.
- Once the channel scan is complete, you should see a list of available TV channels on your projector’s screen.
At this point, you have successfully tuned your projector to receive TV channels. You can now use the projector’s remote control or on-screen controls to navigate through the available channels, just like you would on a regular TV.
Keep in mind that the channel reception may depend on the signal strength in your area. If you’re experiencing any issues with channel reception, try repositioning the TV antenna or using a signal amplifier to enhance the signal quality.
Now that the projector is tuned to receive TV channels, you’re ready to move on to the final step: testing the connection to ensure everything is working properly.
Step 5: Test the Connection
Once you have completed the setup and tuned your projector to receive TV channels, it’s important to test the connection to ensure everything is working properly. Follow these steps:
- Select a TV channel from the list of available channels on your projector.
- Observe the projector’s screen and check if the selected channel is displayed clearly and without any signal interruptions.
- Adjust the antenna or the position of the projector if the signal quality is poor or if you’re experiencing any issues with the channel reception.
- Change channels and check if the projector smoothly switches between different channels.
- Listen to the audio output from the projector’s speakers or connect external speakers if desired. Ensure that the audio is clear and in sync with the video.
If you encounter any issues during the test, double-check the connections and settings. Make sure the coaxial cable is securely connected, the projector is tuned to the correct TV antenna input, and the antenna is positioned for optimal signal reception.
If the issues persist, consult the user manual or contact the manufacturer’s support for further assistance. They will be able to guide you through troubleshooting steps tailored to your specific projector model.
Congratulations! By following these steps and testing the connection, you have successfully connected your TV antenna to your projector and can now enjoy your favorite TV channels on the big screen.
Conclusion
Connecting a TV antenna to a projector opens up a world of entertainment possibilities, allowing you to enjoy over-the-air TV channels on a larger and more immersive screen. By following the steps outlined in this article, you can easily connect your TV antenna to your projector and enhance your viewing experience.
Throughout the process, we discussed the necessary equipment you will need, including a TV antenna, a projector with the compatible input ports, a coaxial cable, and any required adapters. We also guided you through the steps of locating the TV antenna input on the projector, connecting the coaxial cable, tuning the projector to receive TV channels, and testing the connection.
Remember, it’s important to ensure that all connections are secure and that the antenna is positioned for optimal signal reception. If you encounter any difficulties or issues, refer to the user manual of your projector or contact the manufacturer’s support for further assistance.
Now that you have successfully connected your TV antenna to your projector, you can enjoy watching your favorite TV shows, sports events, and movies on a larger screen with impressive visual quality. Sit back, relax, and indulge in the endless entertainment possibilities that this setup offers.
With this knowledge and know-how, you can now take your home theater setup to new heights and create unforgettable viewing experiences.