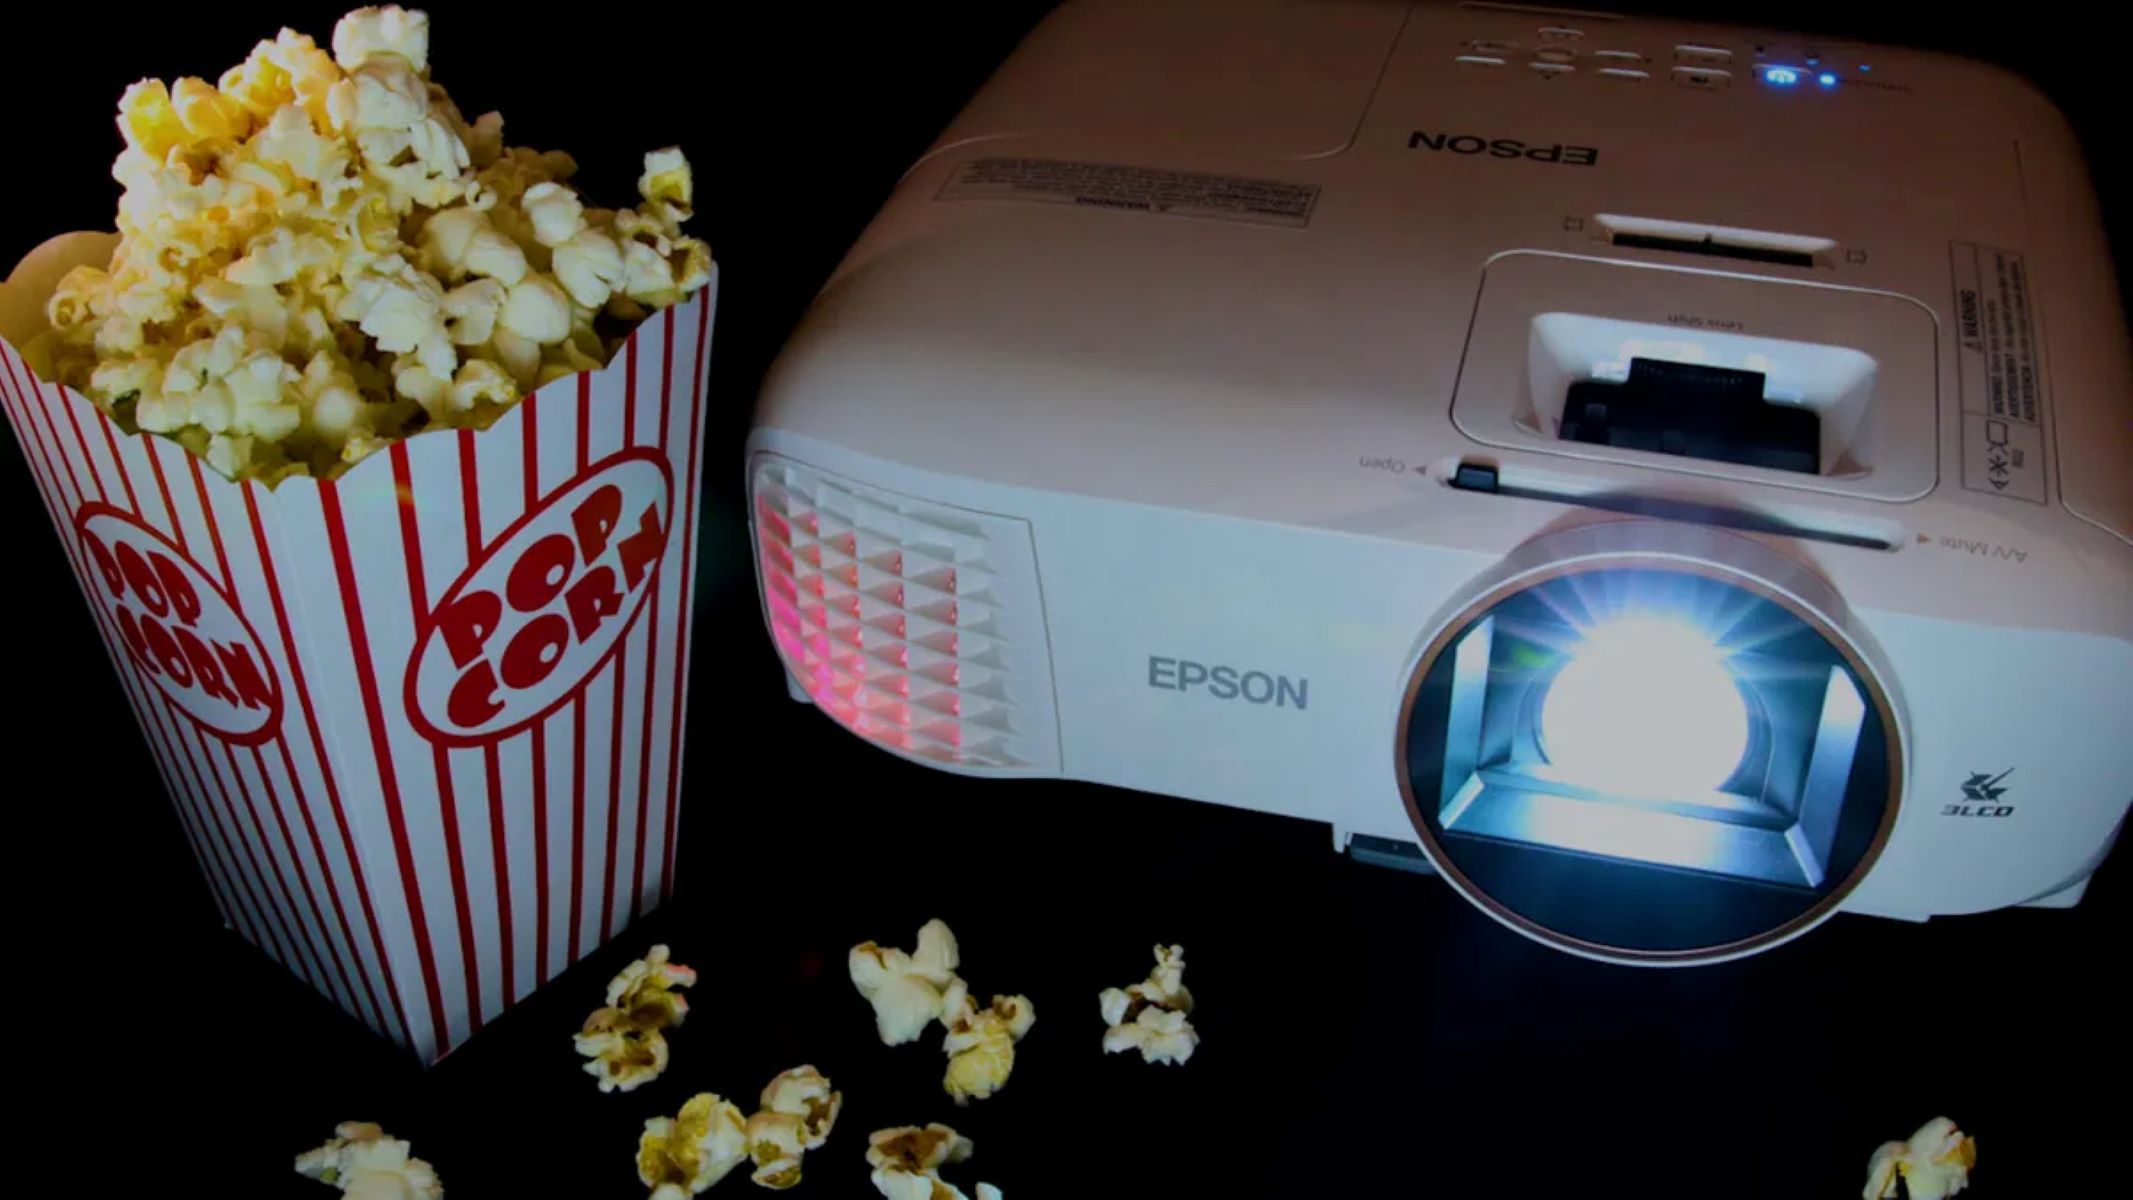
Introduction
Connecting a projector to a TV antenna opens up a world of possibilities for entertainment and media consumption. Whether you want to enjoy your favorite TV shows, movies, or sporting events on a larger screen or create a mini home theater experience, this guide will help you navigate the process with ease.
The convenience of having a TV antenna is that it allows you to access free-to-air channels without the need for a cable or satellite subscription. By connecting your projector to the TV antenna, you can project these channels onto a larger screen, transforming your living room into a cinema-like experience.
While it may seem daunting at first, connecting a projector to a TV antenna is a straightforward process that you can accomplish with just a few simple steps. In this guide, we will walk you through the necessary equipment, the connection process, and provide troubleshooting tips to ensure smooth operation.
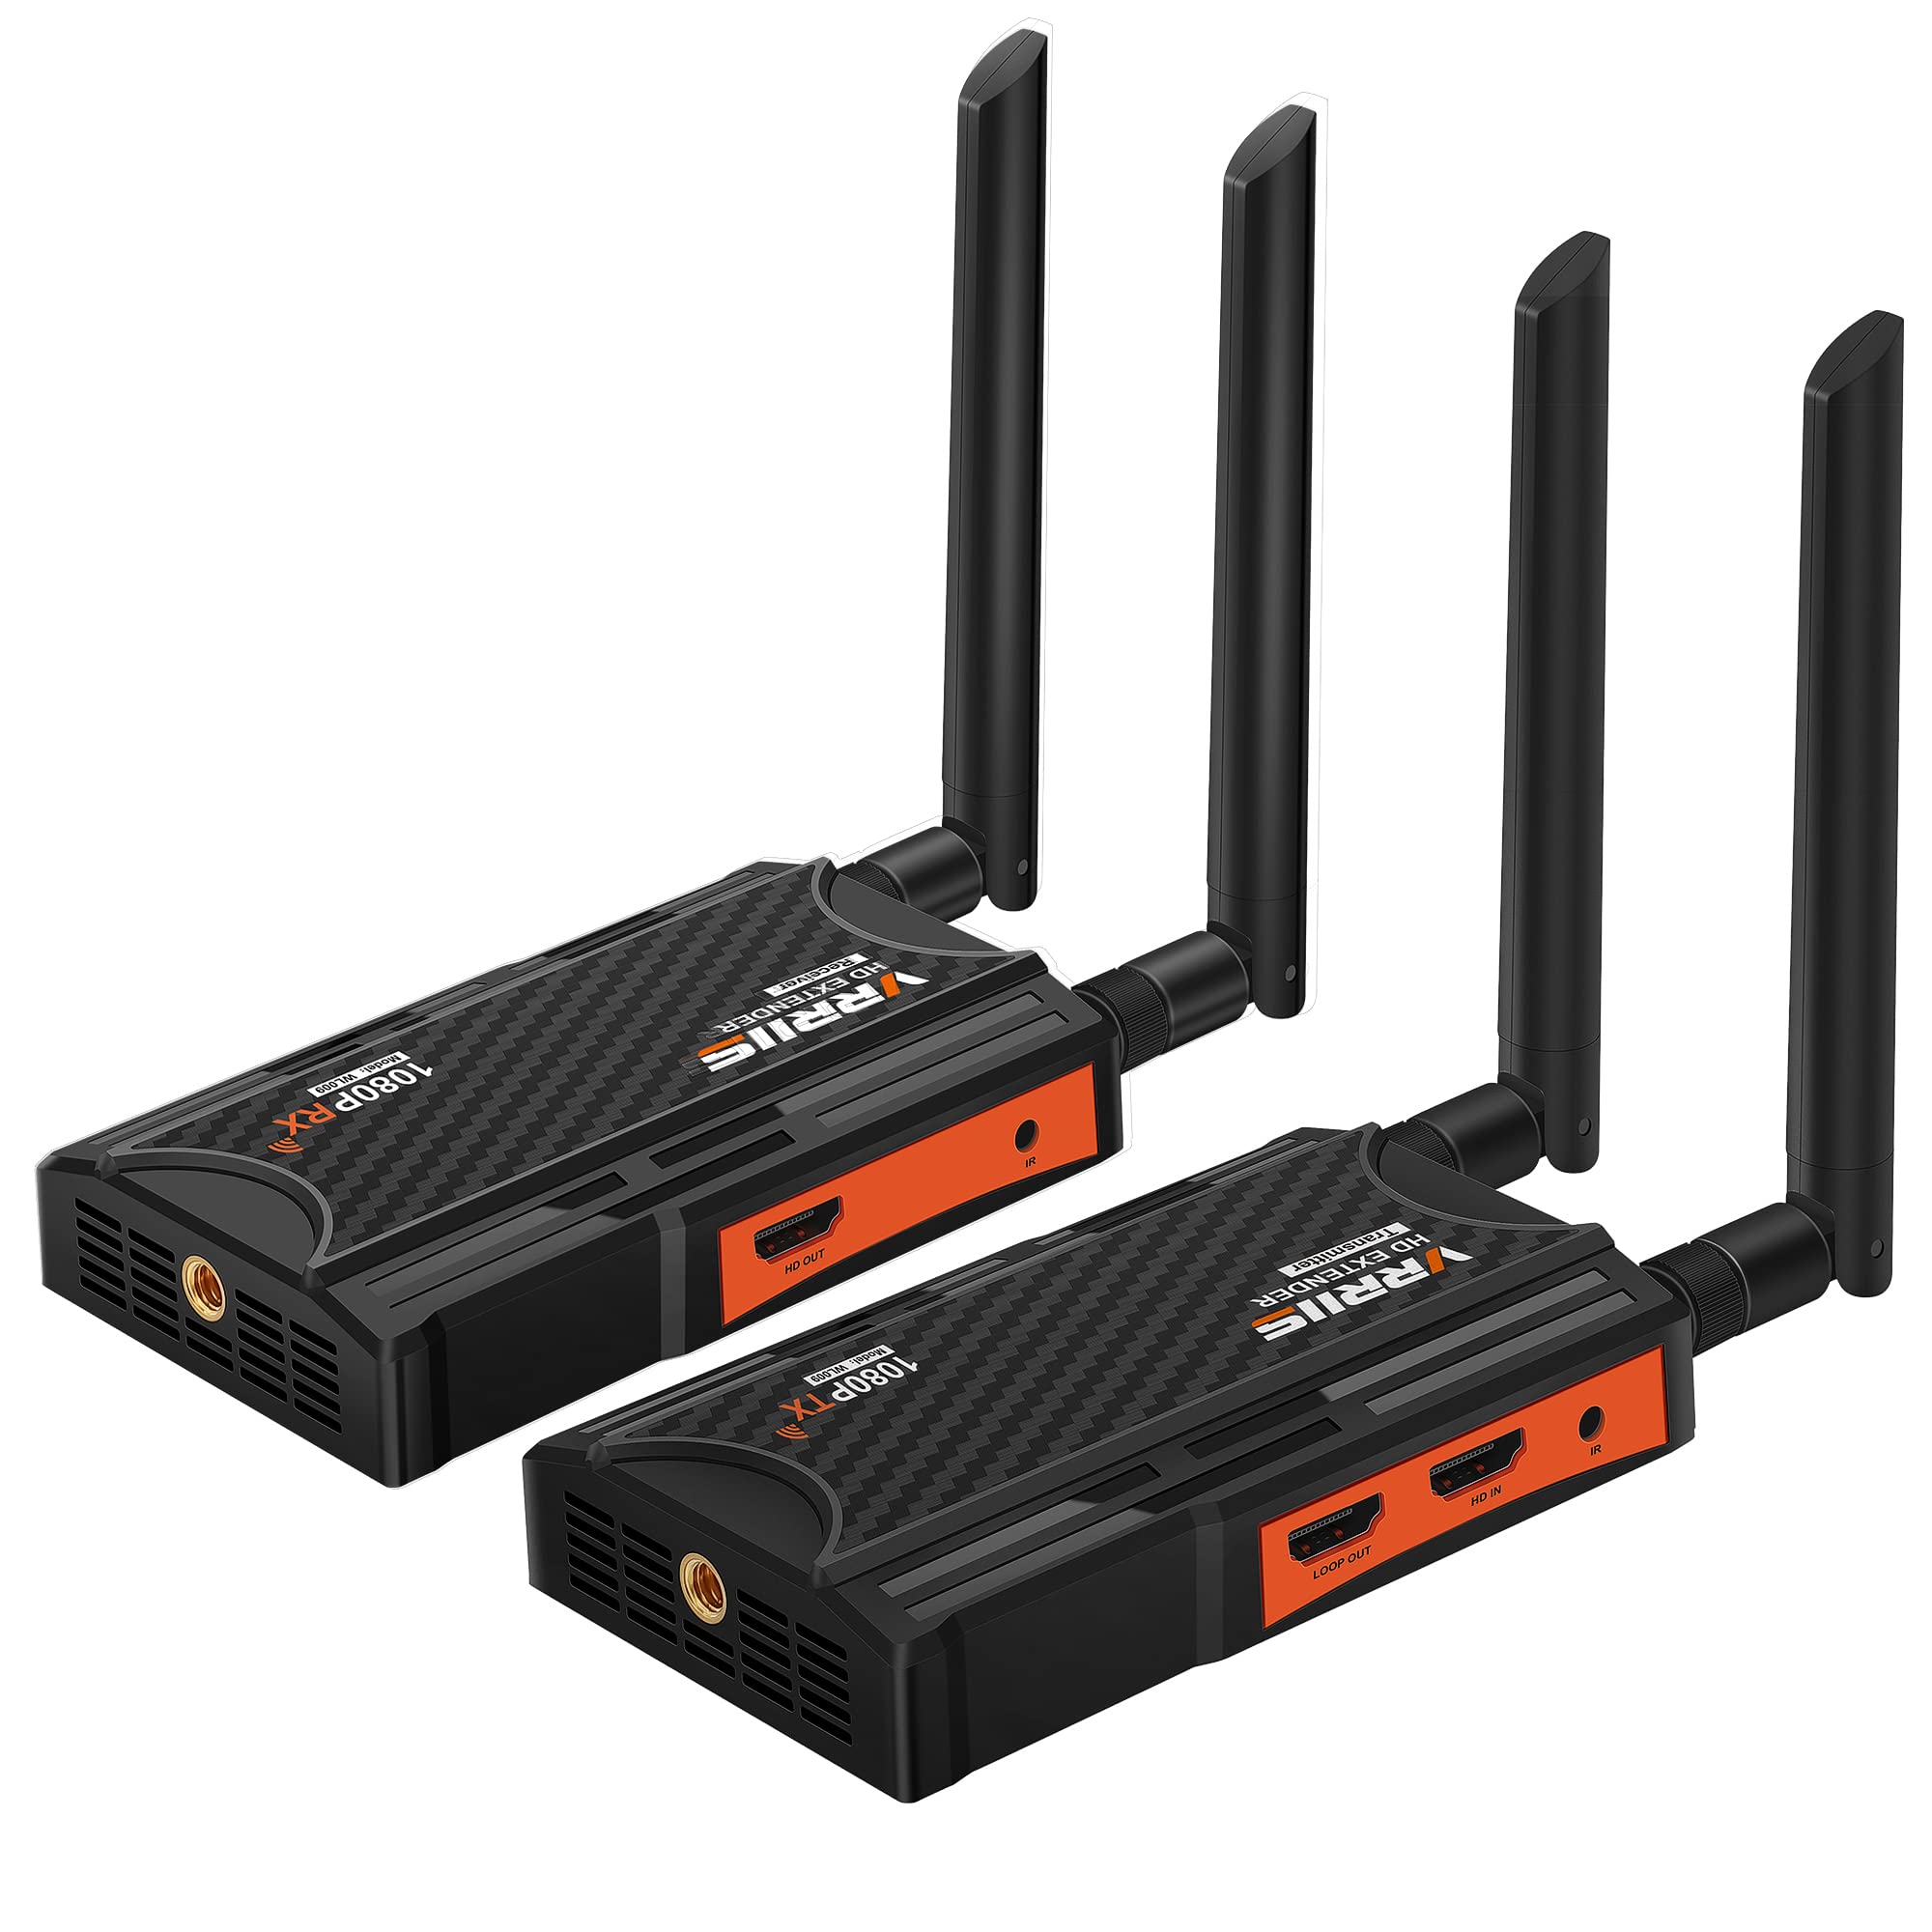
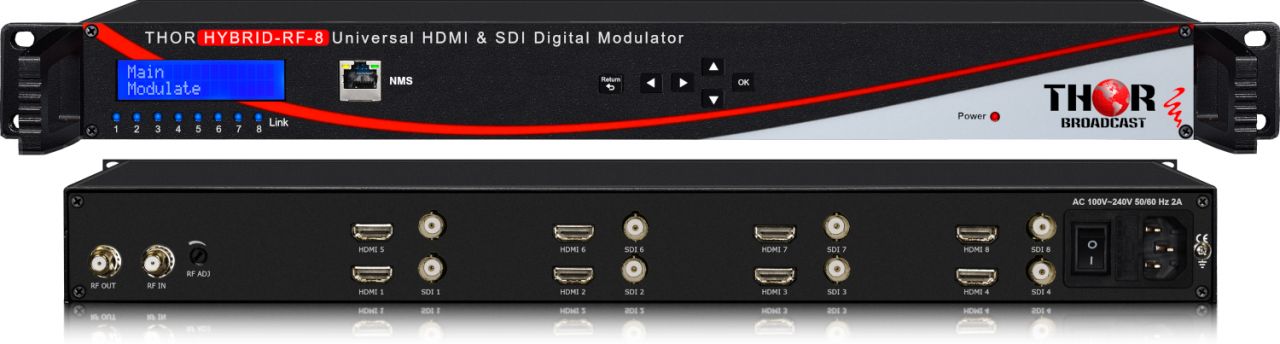
Before you get started, it’s crucial to gather the necessary equipment. You will need a projector that has HDMI or VGA inputs, a TV antenna, an HDMI or VGA cable (depending on the available ports on your devices), and power cables for the projector and TV antenna. Once you have everything you need, you’re ready to proceed to the next step.
In the following sections, we’ll provide detailed instructions on how to connect your projector to the TV antenna and adjust the settings to get the best viewing experience. So, without further ado, let’s dive into the process and turn your ordinary TV antenna into an extraordinary entertainment setup.
Step 1: Gather the necessary equipment
Before you can connect your projector to a TV antenna, it’s essential to ensure that you have all the required equipment. Here’s a list of what you’ll need:
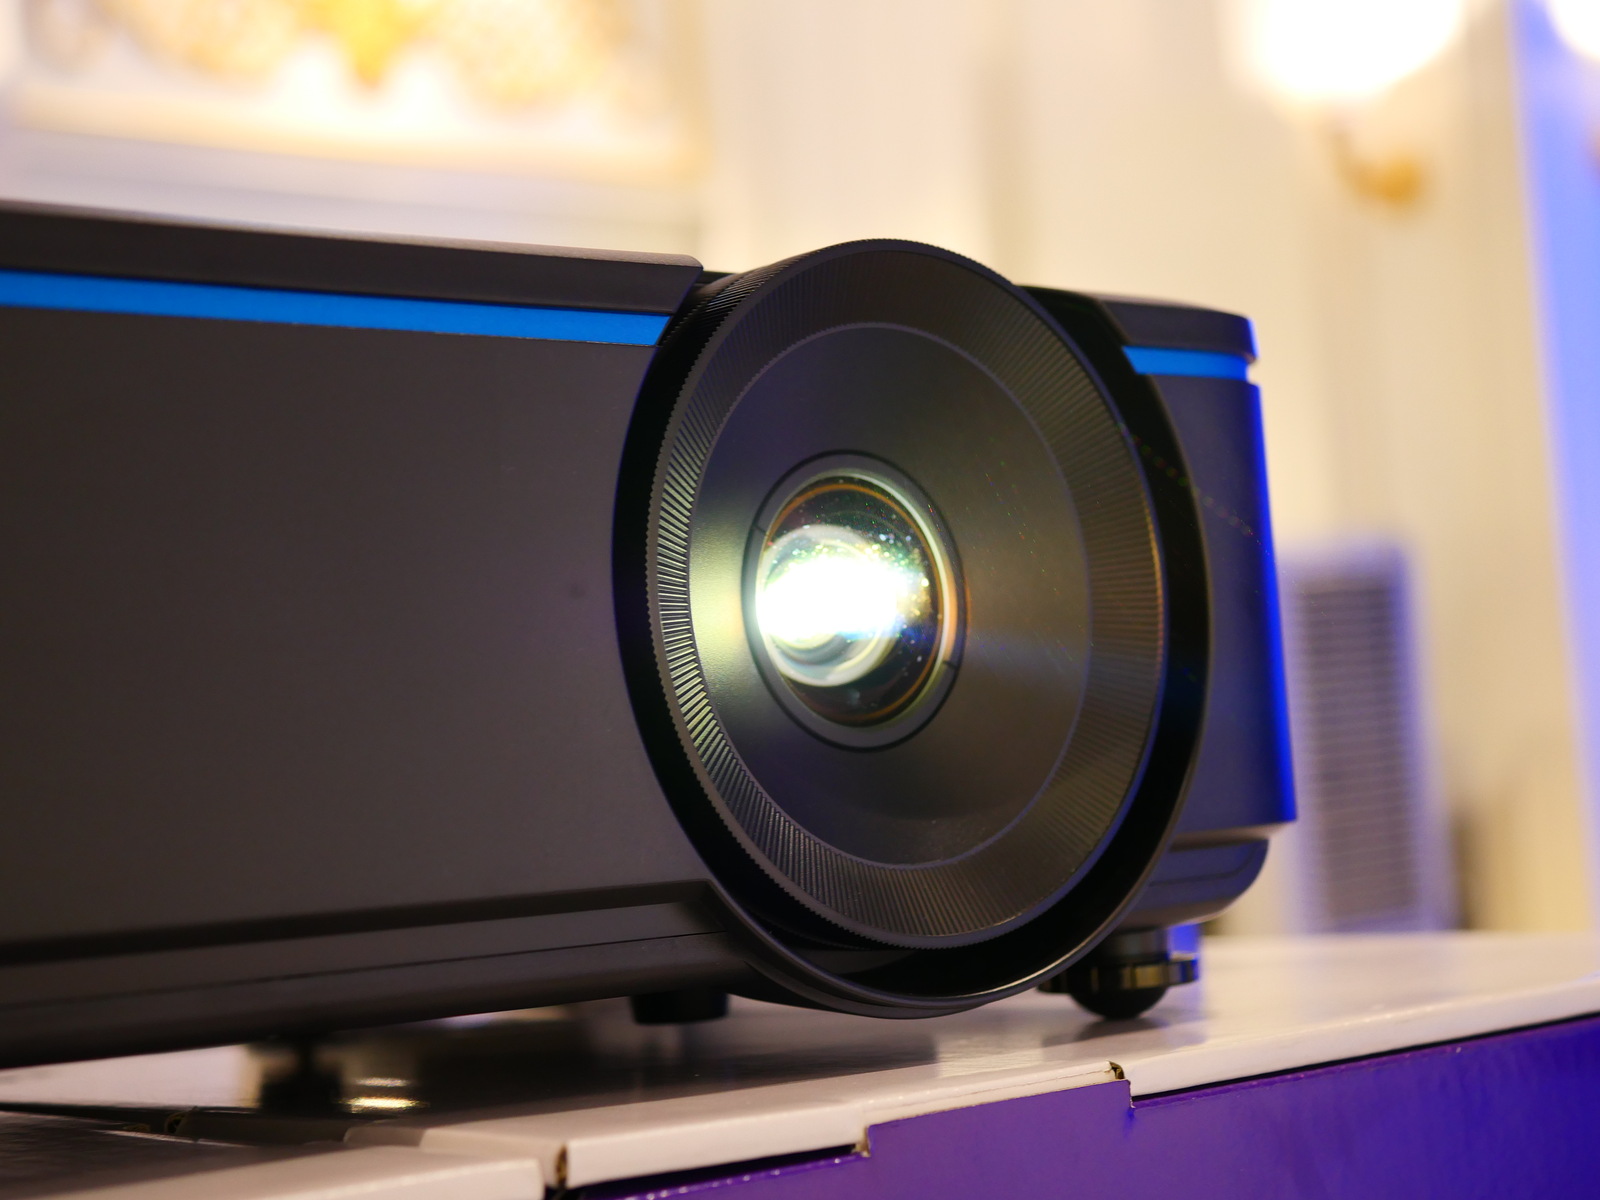
- Projector: Look for a projector that has HDMI or VGA inputs. These are the most common ports for connecting external devices like a TV antenna.
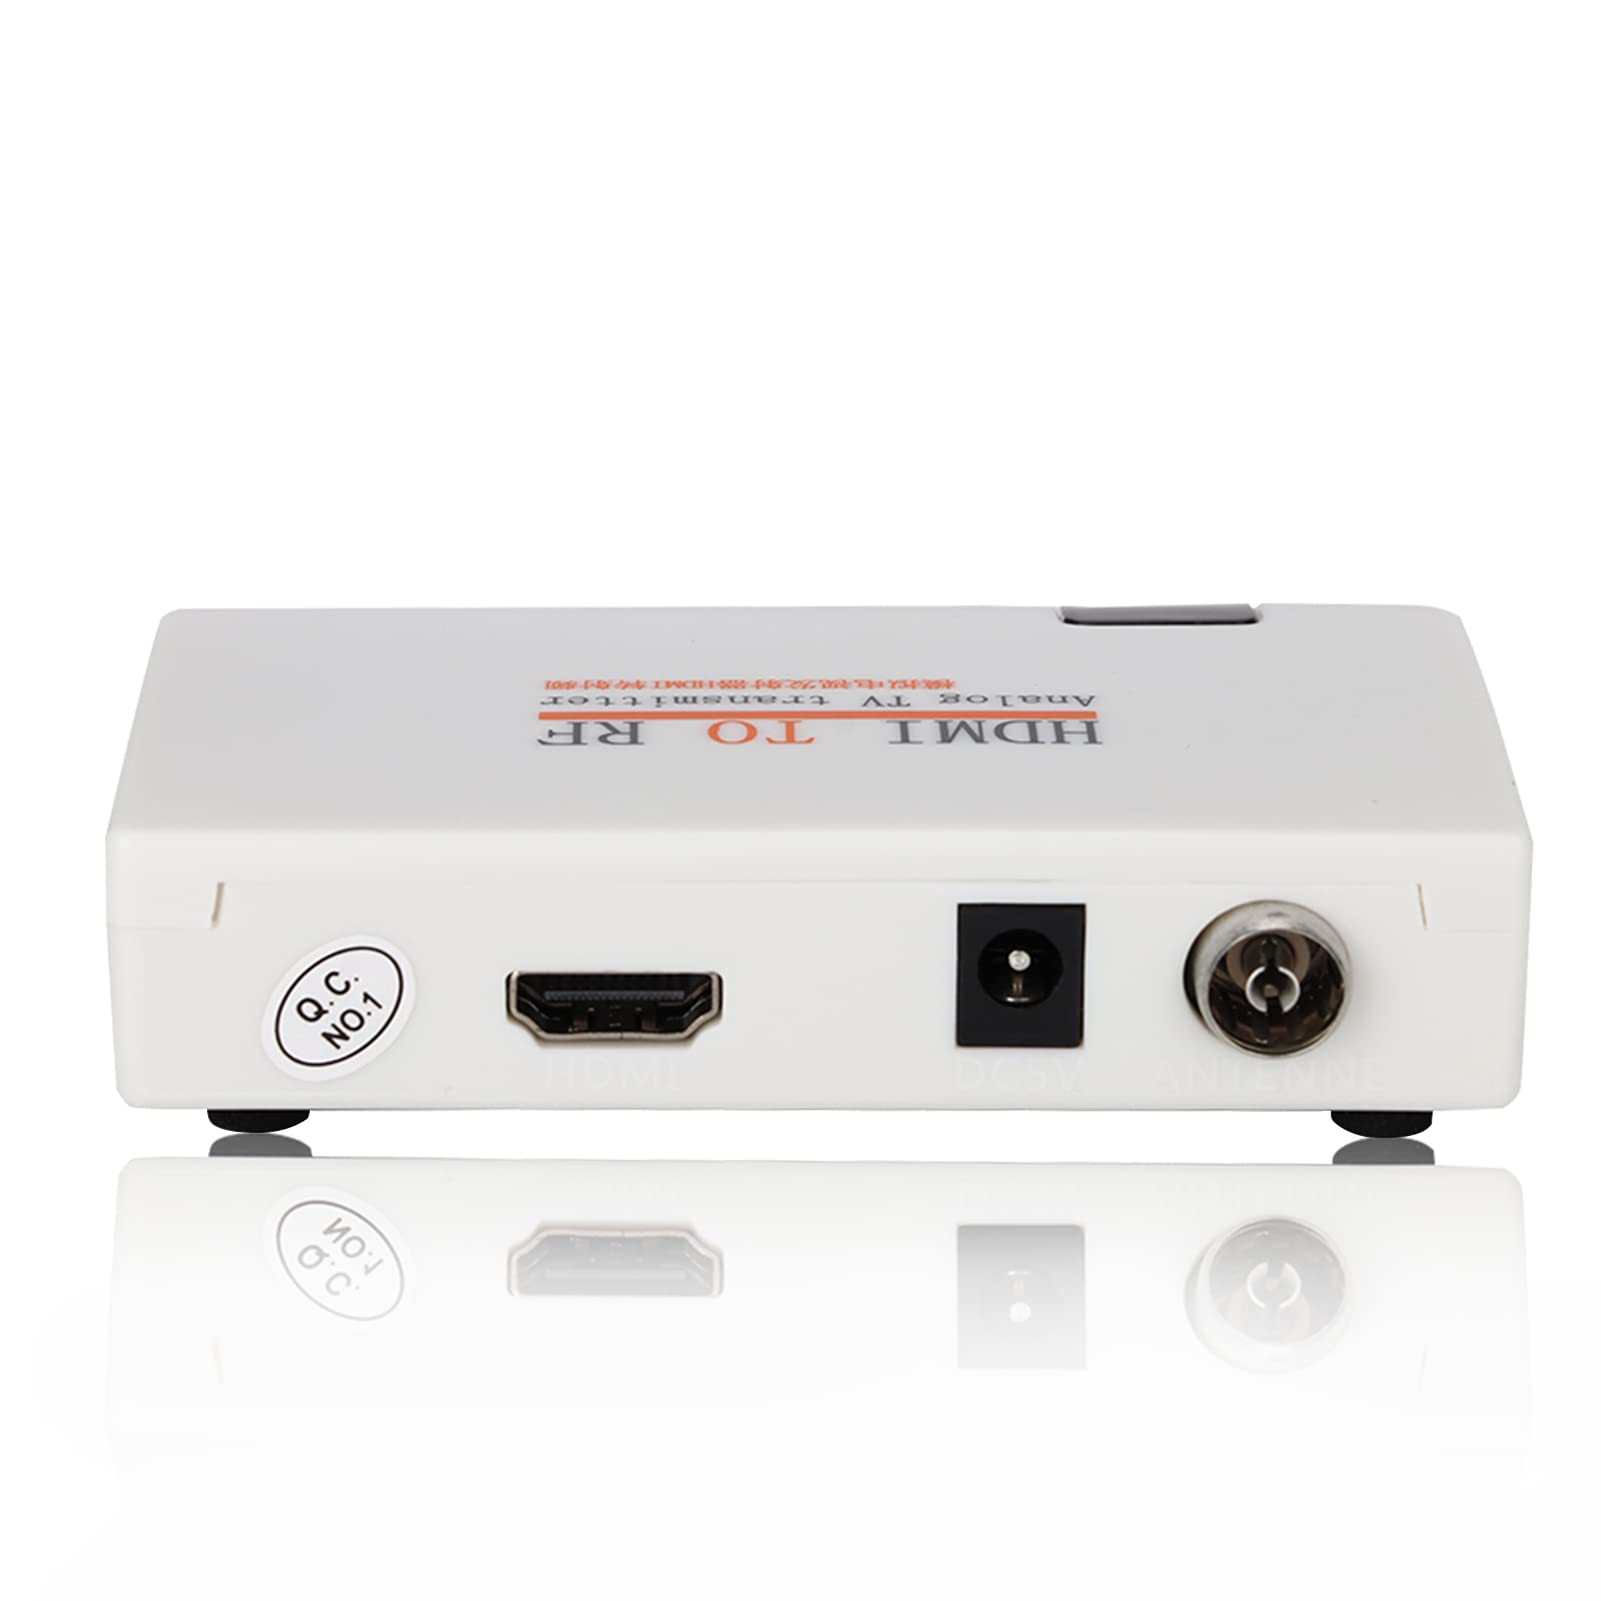
- TV antenna: Choose a TV antenna that is suitable for your location. There are indoor and outdoor antennas available, so select one based on your preference and the signal strength in your area.
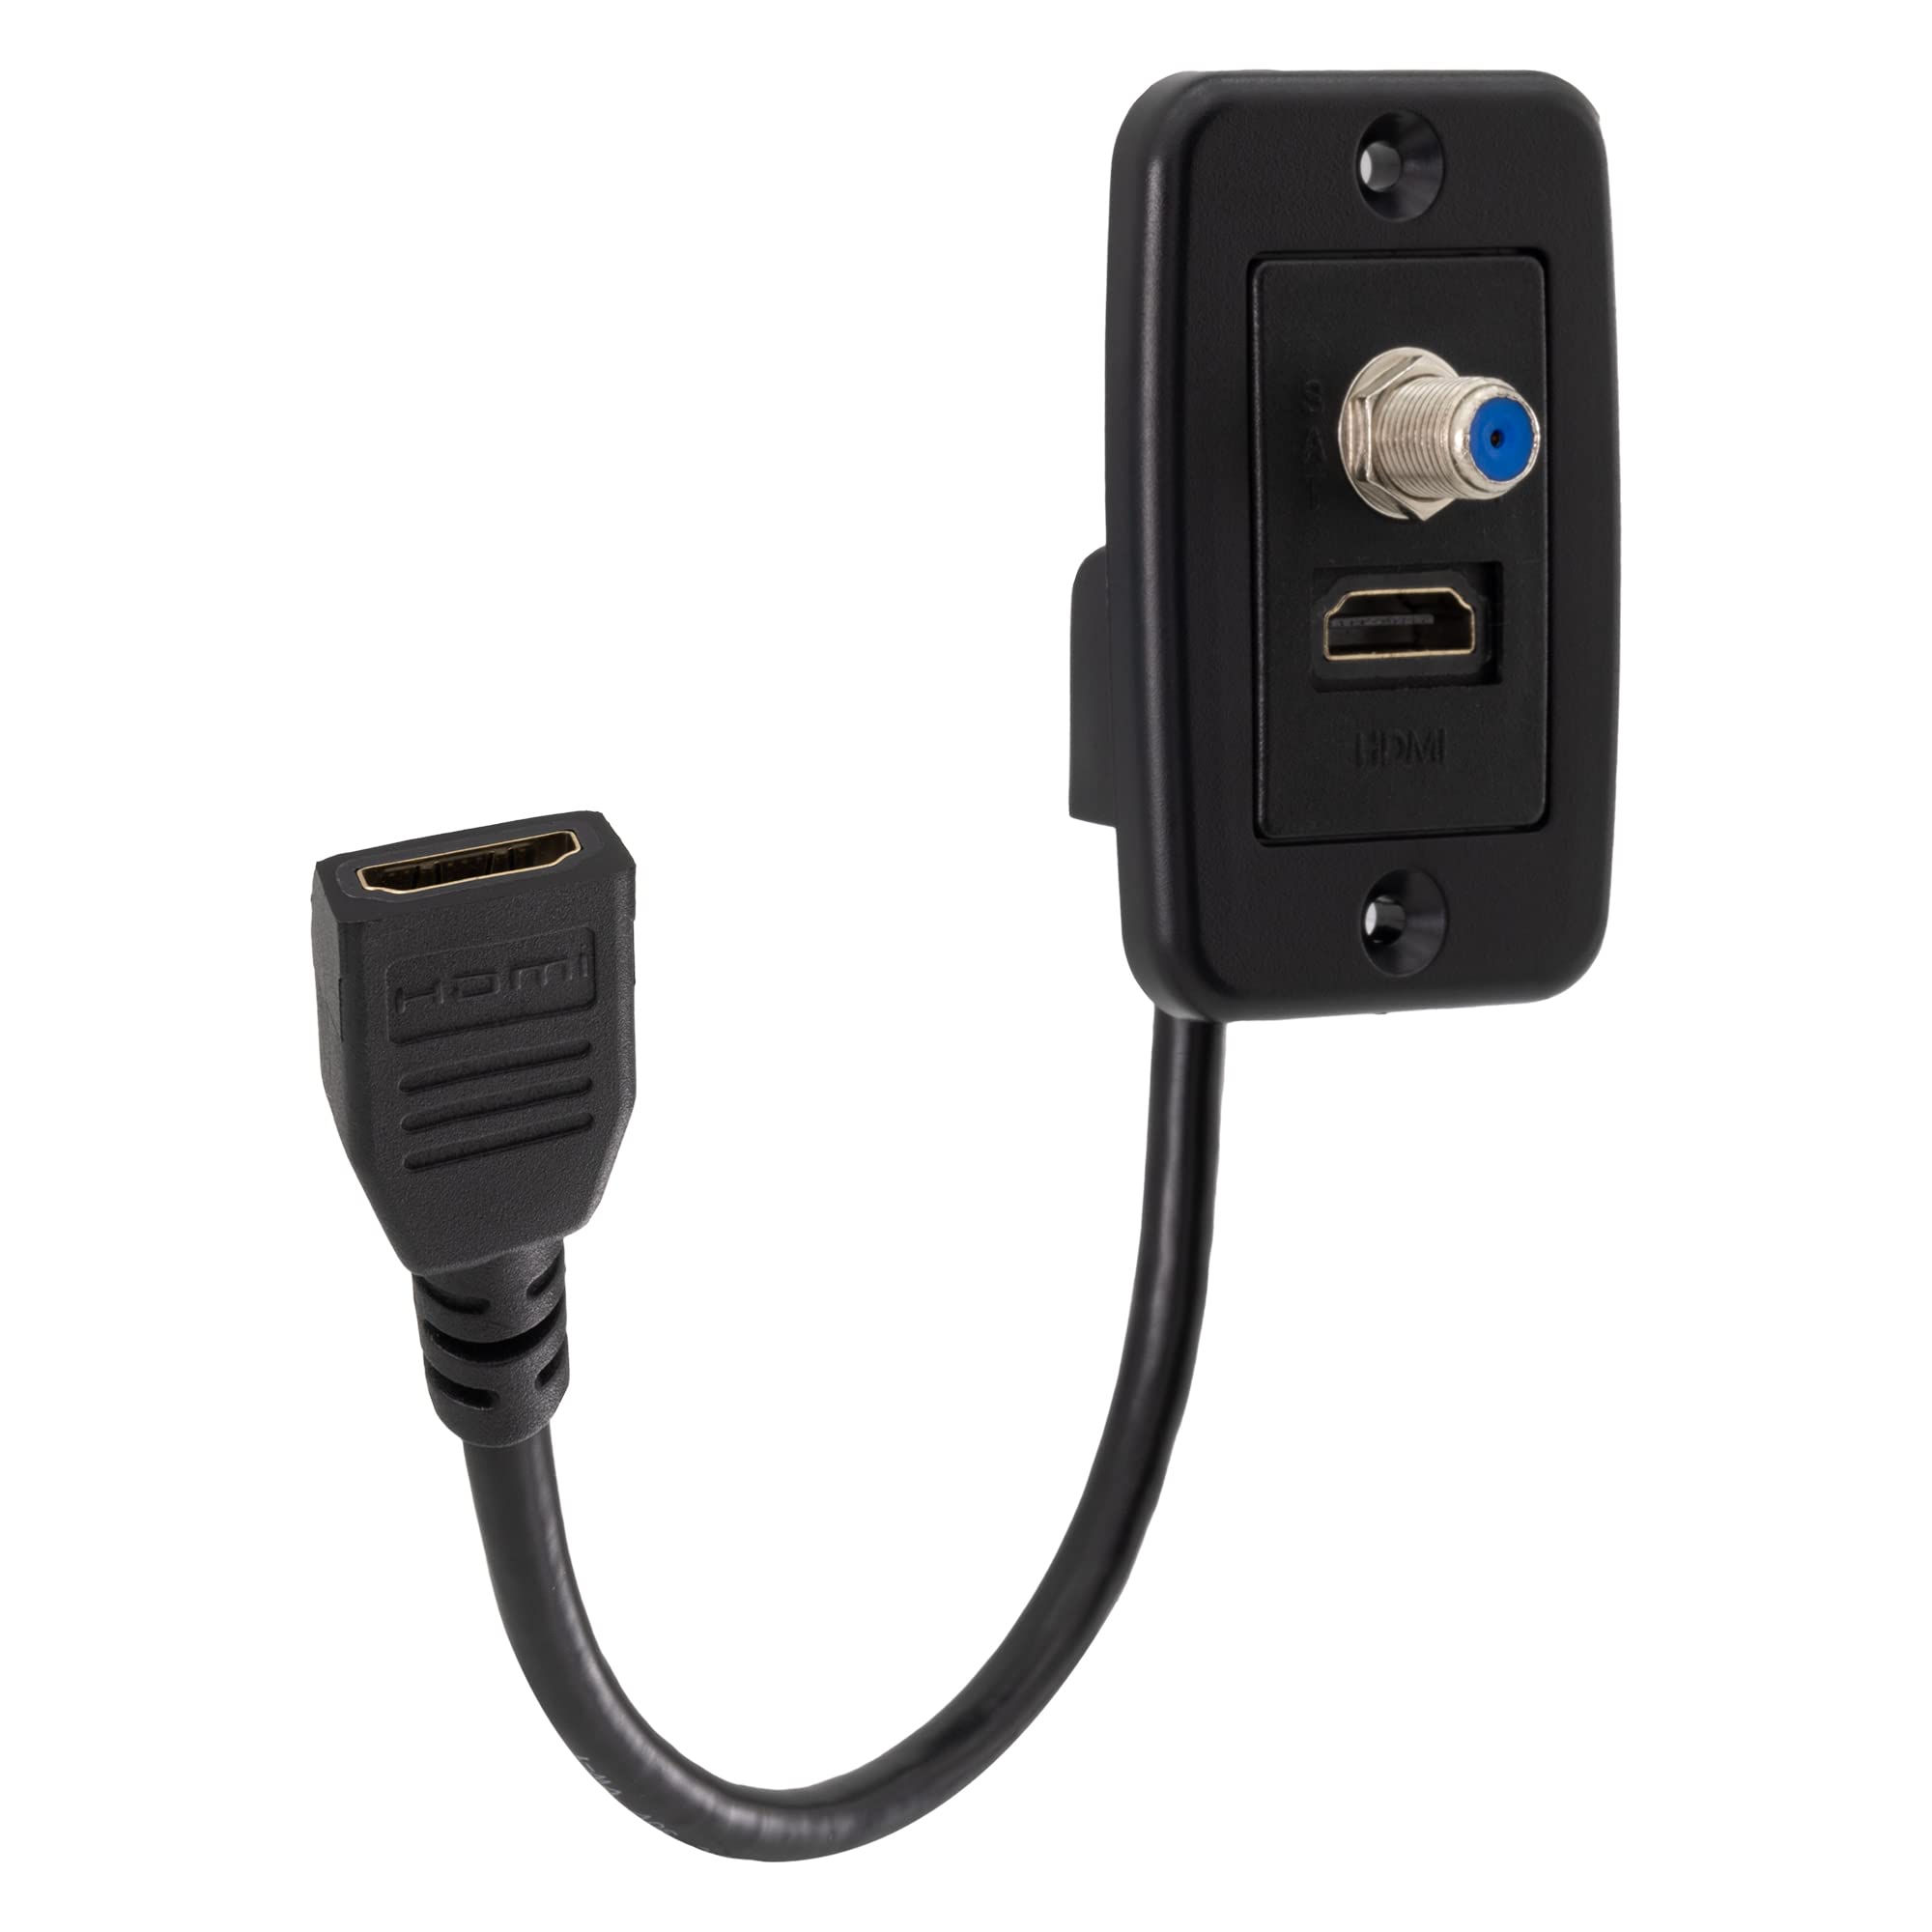
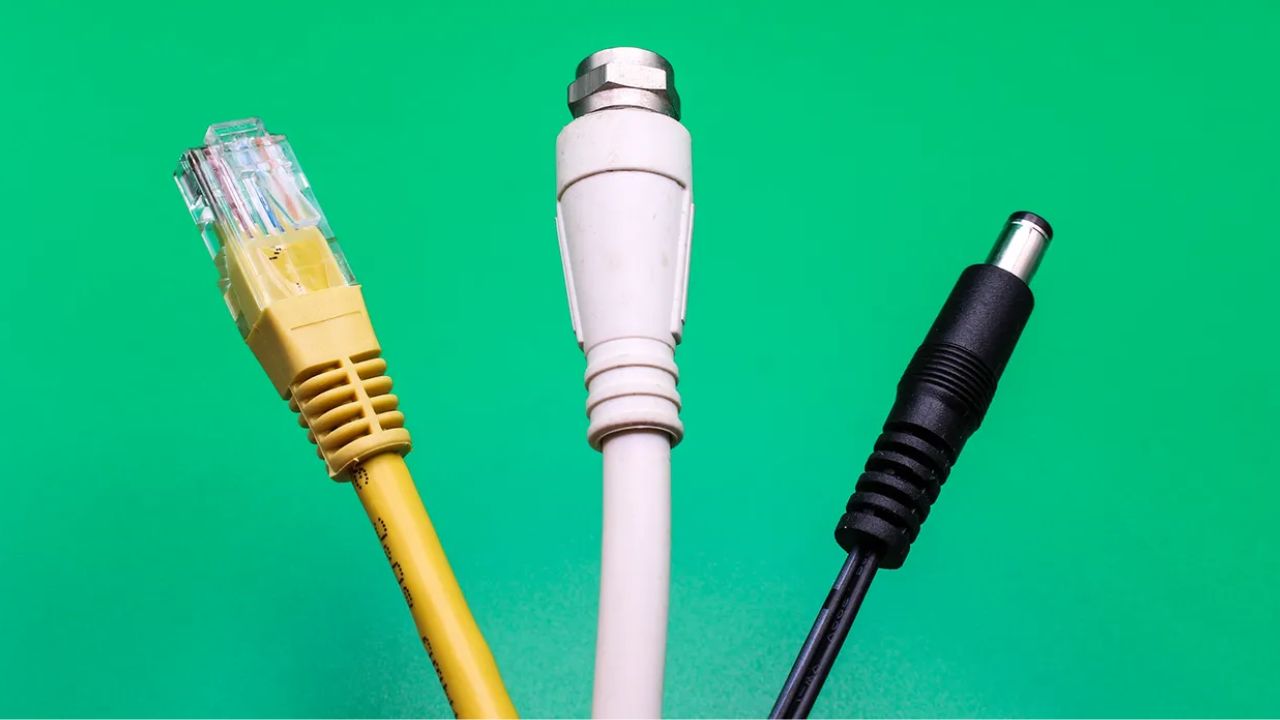
- HDMI or VGA cable: Depending on the available ports on your projector and TV antenna, you’ll need either an HDMI cable or a VGA cable to connect the two devices. Check the ports to determine which cable you’ll require.
- Power cables: Ensure that you have power cables for both the projector and TV antenna. These will be necessary to supply power to the devices during operation.
Once you have gathered all the necessary equipment, you’ll be ready to proceed to the next steps. It’s important to note that the specific equipment you need may vary depending on the make and model of your projector and TV antenna. Therefore, it’s always a good idea to consult the user manuals or manufacturer’s guidelines for any additional information or specific requirements.
By ensuring you have all the required equipment, you’ll be setting yourself up for success when it comes to connecting your projector to the TV antenna. So take the time to check off each item from the list, and let’s move on to the next step of the process.
Step 2: Connect the projector to the TV antenna
Now that you have gathered all the necessary equipment, it’s time to connect your projector to the TV antenna. Follow these steps for a seamless connection:
- Locate the HDMI or VGA port on your projector. These ports are usually located at the back or side of the device. If you’re using an HDMI cable, make sure your projector has an HDMI input. If you’re using a VGA cable, ensure your projector has a VGA input.
- Connect one end of the HDMI or VGA cable to the corresponding port on the projector.
- Next, locate the output port on your TV antenna. This port may vary depending on the type and model of your TV antenna. It could be labeled as “TV out” or “antenna out.” If you’re unsure, consult the user manual for guidance.
- Connect the other end of the HDMI or VGA cable to the output port on the TV antenna.
- If your projector has built-in speakers, you can directly connect audio by using an audio cable (usually a 3.5mm jack) from the audio output of the TV antenna to the audio input of the projector. This step is optional if you prefer to use external speakers or an audio system with your projector.
- Once all the connections are secure, plug in the power cables for both the projector and TV antenna to provide them with power.
With the projector and TV antenna successfully connected, you’re now ready to move on to the next step of the process. Keep in mind that the exact steps may vary slightly depending on the specific make and model of your devices. Always refer to the user manuals or manufacturer’s instructions for detailed guidance if needed.
By following these steps, you have laid the foundation for a successful connection between your projector and the TV antenna. The next steps will guide you through adjusting the projector settings and tuning into your favorite channels, so let’s continue our journey toward an immersive viewing experience.
Step 3: Adjust the projector settings
Now that you have successfully connected your projector to the TV antenna, it’s time to adjust the projector settings to optimize your viewing experience. Follow these steps to ensure the best possible image quality:
- Power on your projector and navigate to the settings menu using the remote control or the buttons on the projector itself. The exact location of the settings menu may differ depending on the make and model of your projector.
- Adjust the image size and position. Use the Keystone correction feature to ensure that the projected image is square and not distorted. Additionally, if your projector supports lens shift or zoom features, you can use them to further refine the image size and position according to your preference.
- Configure the display settings. This includes adjusting the brightness, contrast, and color settings to achieve a visually pleasing image. Experiment with these settings to find the right balance that suits your viewing environment.
- Explore the advanced settings. Depending on your projector, you may have access to additional features such as picture modes, eco modes, or motion enhancement settings. Familiarize yourself with these options and adjust them based on your personal preferences.
- Test the image quality. Play a test video or tune into a channel to evaluate the projected image quality. Make any necessary adjustments to the settings to achieve a clear, vibrant, and well-defined image.
Keep in mind that the steps for adjusting the projector settings can vary depending on the specific make and model. Refer to the user manual or manufacturer’s instructions for detailed guidance on navigating the settings menu and accessing the various options available.
By taking the time to adjust the projector settings, you can optimize the image quality and create a more immersive viewing experience. Once you’re satisfied with the adjustments, it’s time to move on to the next step and start tuning into your favorite channels.
Step 4: Tune in to your favorite channels
With your projector connected to the TV antenna and the settings adjusted, it’s time to start tuning in to your favorite channels and enjoying your desired content. Follow these steps to get started:
- Turn on your TV antenna and make sure it’s properly receiving a signal. Ensure that the TV antenna is positioned in a location that provides a strong signal reception. You may need to adjust its placement or direction to achieve the best signal.
- Turn on the projector and select the appropriate input source where the TV antenna is connected. This could be HDMI or VGA depending on the cable you used for the connection.
- Using the remote control or buttons on the projector, navigate to the TV channel selection menu.
- Scan for available channels by selecting the “Auto Scan” or similar option. This will allow the projector to search and store the available TV channels from the TV antenna. The scanning process may take a few minutes to complete.
- Once the scan is finished, you can use the channel navigation buttons to browse through the available channels and select the one you want to watch. The exact channel selection process may vary depending on the projector’s user interface.
- Enjoy your favorite TV shows, movies, or sports events on the larger projected screen. Use the projector’s remote control or buttons to adjust the volume, change channels, or perform any other necessary functions.
Keep in mind that the specific steps for tuning in to channels may vary depending on the make and model of your projector. Refer to the user manual or manufacturer’s instructions for detailed guidance on navigating the TV channel selection menu and accessing the various features available.
By following these steps, you can now tune in to your favorite channels and experience a larger-than-life viewing experience with your projector connected to the TV antenna. Continue to the next step to fine-tune the image quality and optimize your overall viewing experience.
Step 5: Fine-tune the image quality
Now that you’re enjoying your favorite channels on the projected screen, it’s time to fine-tune the image quality to ensure the best possible viewing experience. Follow these steps to optimize the image quality:
- Experiment with the projector’s focus adjustment feature to ensure a sharp and clear image. Use the focus ring or the focus buttons on the projector’s remote control to achieve the desired level of focus.
- Adjust the image brightness and contrast settings to enhance clarity and detail. Find a balance that provides a vibrant image without compromising on readability.
- Explore the color settings and adjust them to your preference. You can choose between presets or manually tweak the color temperature, saturation, and tint to achieve the desired color reproduction.
- Consider ambient lighting conditions and make appropriate adjustments to the projector’s settings. Dimming the lights or using curtains can help reduce ambient light interference and enhance the overall image quality.
- If your projector has advanced image enhancement features such as noise reduction or motion interpolation, experiment with these settings to further refine the image quality according to your liking.
- Regularly clean the projector lens and ensure proper ventilation to maintain optimum image quality. Dust or debris on the lens can affect image sharpness and clarity.
Remember that the specific steps and options for fine-tuning the image quality may vary depending on the make and model of your projector. Refer to the user manual or manufacturer’s instructions for detailed information on how to access and adjust these settings.
By taking the time to fine-tune the image quality, you can optimize the projection and enjoy a visually engaging experience. Move on to the next step for troubleshooting common issues that may arise during the process.
Step 6: Troubleshooting common issues
While connecting a projector to a TV antenna is a fairly straightforward process, you may encounter some common issues along the way. Here are a few troubleshooting tips to help you overcome any hurdles:
- No signal: If you’re not receiving a signal from the TV antenna, double-check that the connections between the projector and the TV antenna are secure. Ensure that the TV antenna is properly positioned and facing the right direction to receive a strong signal.
- Poor image quality: If the projected image appears blurry or distorted, first check the focus adjustment on the projector. Make sure the image is in focus. Also, adjust the brightness, contrast, and color settings to enhance image quality.
- No audio: If you’re not getting any sound from the projector, ensure that the audio cable is properly connected between the TV antenna and the projector. Additionally, check the audio settings on the projector and make sure the volume is turned up.
- Remote control issues: If the remote control for the projector is unresponsive, check the batteries and ensure they’re properly inserted. If the problem persists, try resetting the remote control or replacing the batteries.
- Interference: If you’re experiencing interference or a weak signal, try adjusting the placement of the TV antenna. Moving it to a higher location or away from obstructions can help improve signal reception.
- Compatibility issues: Ensure that your projector and TV antenna are compatible in terms of supported ports and resolutions. Refer to the user manuals or contact the manufacturers for any specific compatibility concerns.
If you encounter any other issues that are not covered here, consult the user manuals for your projector and TV antenna for troubleshooting guidance. Additionally, you can reach out to customer support for further assistance.
By troubleshooting common issues, you can overcome any obstacles that may arise during the process of connecting your projector to the TV antenna. With any issues resolved, you can now enjoy a seamless and immersive viewing experience.
Conclusion
Connecting a projector to a TV antenna opens up a whole new realm of entertainment possibilities. By following the steps outlined in this guide, you can easily connect your projector to a TV antenna and enjoy your favorite TV shows, movies, and sports events on a larger screen.
Throughout this guide, we discussed the necessary equipment for the setup, the process of connecting the devices, adjusting the projector settings, tuning in to channels, fine-tuning the image quality, and troubleshooting common issues that may arise.
Remember to gather all the required equipment, including a compatible projector with HDMI or VGA inputs, a TV antenna, and the necessary cables. Properly connect the devices, adjusting settings such as image size, position, brightness, and color to optimize the viewing experience.
Once the setup is complete, you can start browsing and enjoying your favorite channels on the projected screen. Fine-tune the image quality by adjusting focus, brightness, contrast, and color settings according to your preference. Keep in mind that regular cleaning and proper ventilation of the projector are also essential for optimal performance.
If any issues arise, refer to the troubleshooting section for guidance. Common issues such as no signal, poor image quality, audio problems, remote control issues, interference, and compatibility can be addressed with simple solutions.
By following the steps in this guide, you can successfully connect your projector to a TV antenna and create an immersive home entertainment experience. So, gather your equipment, follow the steps, and get ready to enjoy your favorite TV content on the big screen!