Introduction
Are you ready to take your Netflix binge-watching sessions to the next level? If you have a projector and an iPhone, you can easily transform your living room into a mini home theater. Imagine watching your favorite shows and movies on a big screen, with the comfort of your own couch. It’s the ultimate cinematic experience that you can enjoy right in the comfort of your home.
In this guide, we will walk you through the simple steps to watch Netflix on a projector from your iPhone. Whether you’re planning a movie night with friends or simply want to enjoy your favorite series on a larger screen, we’ve got you covered. You don’t need any technical expertise or expensive equipment to accomplish this. All you need is a projector that supports HDMI or wireless connectivity, and your trusty iPhone with the Netflix app installed.
Not only will this allow you to watch Netflix on a bigger screen, but it also offers a more immersive experience with superior picture quality and sound. So, without further ado, let’s dive into the steps and get ready to enjoy your favorite Netflix content on the big screen!
Step 1: Check Projector Compatibility
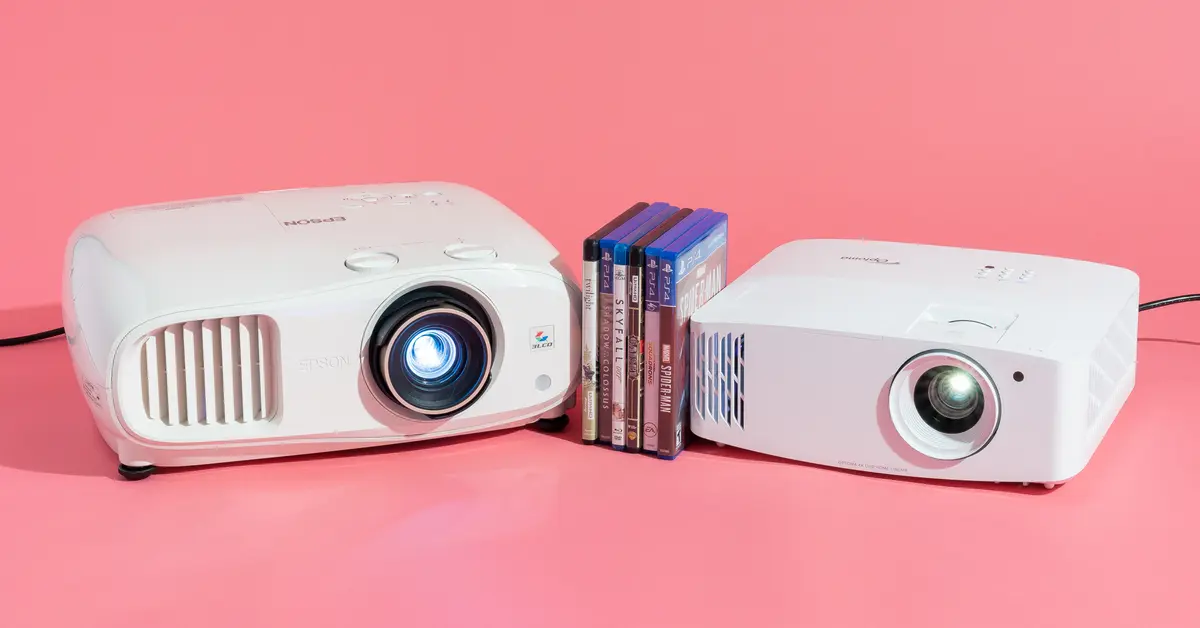
Before you begin, it’s important to ensure that your projector is compatible with your iPhone and can support streaming Netflix. There are two primary methods of connecting your iPhone to a projector: through a wired HDMI connection or wirelessly via screen mirroring. Here’s how to check compatibility for both options:
Wired HDMI Connection:
1. Look for an HDMI port on your projector. Most modern projectors come equipped with an HDMI port, which allows for a direct and high-quality connection between your iPhone and the projector.
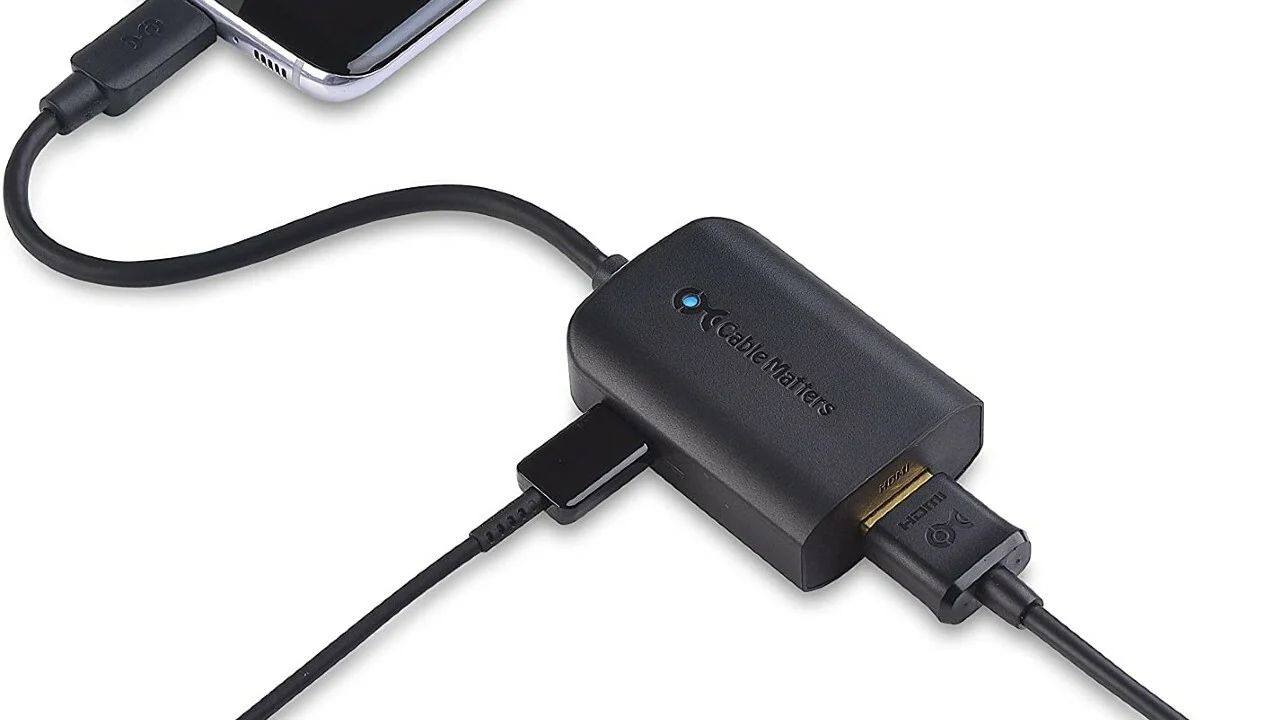
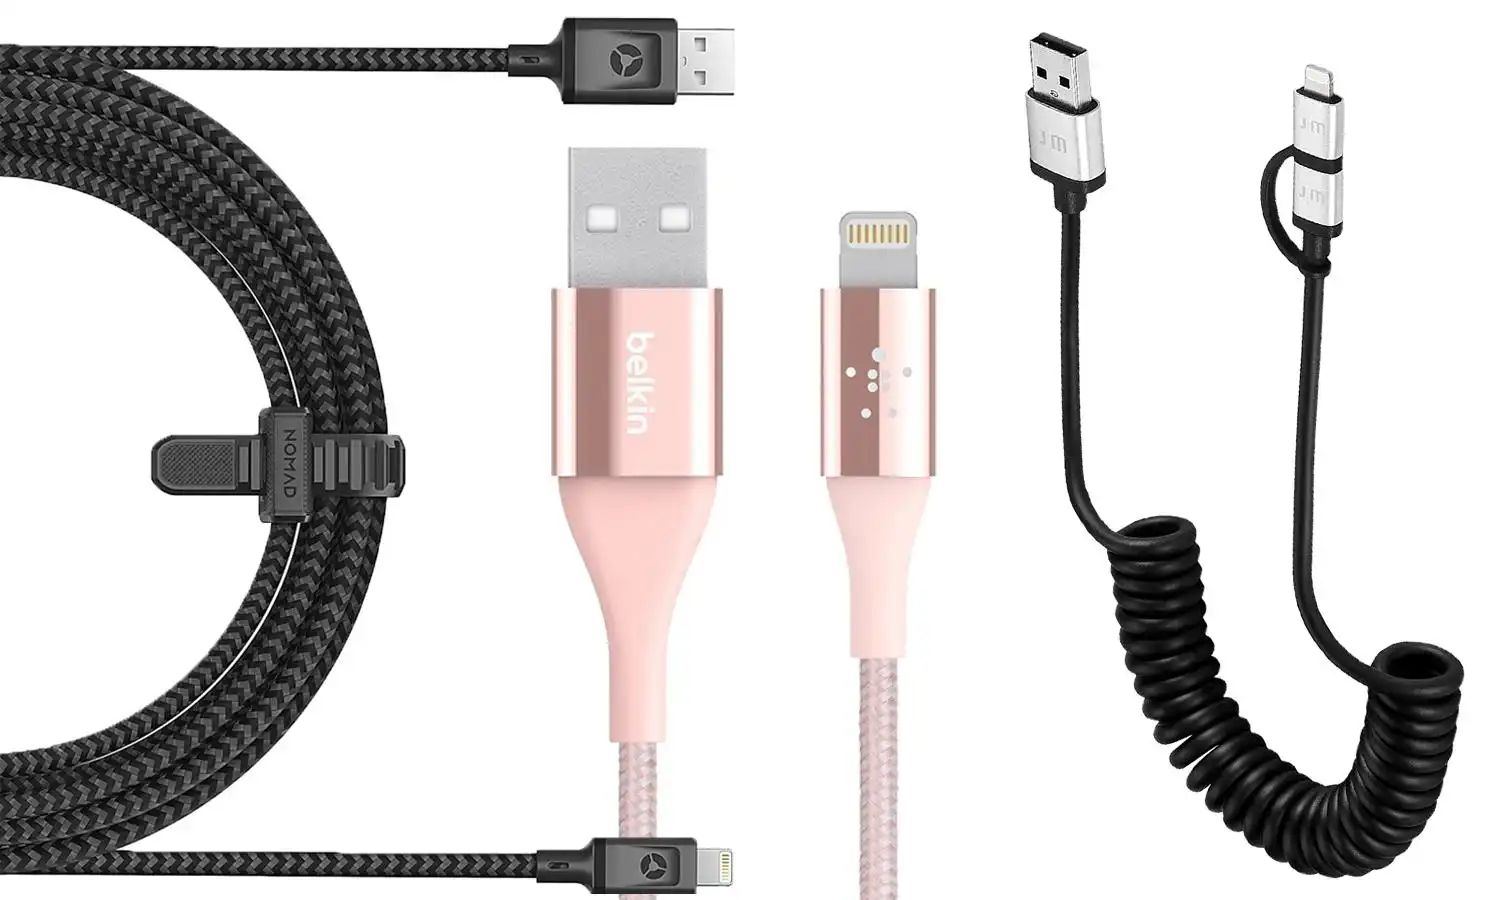
2. Check your iPhone’s connector. If you have an older iPhone model (iPhone 4 to iPhone 7), it is likely equipped with a 30-pin connector. In this case, you would need an Apple 30-pin to HDMI adapter. If you have a newer iPhone (iPhone 8 and above), it uses a Lightning connector, so you would need an Apple Lightning to HDMI adapter.
3. Purchase the necessary adapter. Ensure that you have the correct adapter for your iPhone model. You can find these adapters at most electronics retailers or online stores.
Wireless Connection:
1. Check if your projector supports wireless connectivity. Some projectors have built-in Wi-Fi and support screen mirroring. Consult your projector’s user manual or manufacturer’s website to determine if it supports this feature.
2. Ensure that your iPhone and projector are connected to the same Wi-Fi network. Both devices need to be on the same network to establish a wireless connection.
By checking the compatibility of your projector, you can determine the best method to connect your iPhone and enjoy Netflix on the big screen. Once you have confirmed compatibility, you are ready to proceed to the next step.
Step 2: Connect Your iPhone to the Projector
Now that you’ve confirmed the compatibility of your projector, it’s time to connect your iPhone to it. Depending on the type of connection you are using, follow the appropriate steps below:
Wired HDMI Connection:
1. Connect one end of the HDMI cable to the HDMI port on your projector. Make sure it is securely plugged in.
2. Connect the other end of the HDMI cable to the HDMI adapter that is compatible with your iPhone’s connector (either Lightning or 30-pin).
3. Plug the HDMI adapter into the charging port of your iPhone. Ensure it is firmly connected.
4. Turn on your projector and set it to the HDMI input where you connected your iPhone.
5. Wait for your iPhone screen to appear on the projector. You may need to change the display settings on your iPhone to mirror the screen onto the projector.
Wireless Connection:
1. On your iPhone, swipe up from the bottom of the screen to open the Control Center.
2. Look for the “Screen Mirroring” or “AirPlay” option and tap on it. A list of available devices will appear.
3. Select your projector from the list of devices. Your iPhone will then begin mirroring its screen to the projector.
4. If prompted, enter the passcode provided by the projector to establish the connection.
Once your iPhone is connected to the projector, you will see your iPhone screen appear on the big screen. You’re now ready to move on to the next step and set up Netflix on your iPhone.
Step 3: Set up Netflix on Your iPhone
With your iPhone connected to the projector, it’s time to get Netflix up and running. Follow these steps to set up Netflix on your iPhone:
1. Open the App Store on your iPhone and search for the Netflix app. Tap on the app when it appears in the search results.
2. Tap the “Get” or “Install” button to download and install the Netflix app on your iPhone. If you already have the app installed, make sure it is updated to the latest version to ensure compatibility.
3. Once the app is installed, open it and sign in to your Netflix account. If you don’t have an account, you can sign up for a new one directly within the app.
4. Browse through the selection of movies and TV shows on Netflix and find something you want to watch. You can use the search feature to find specific titles or explore different categories.
5. Tap on the desired content and then tap the play button to start streaming it on your iPhone.
6. Turn up the volume on your iPhone and the projector, if necessary, to ensure optimal sound quality.
With Netflix set up on your iPhone, you are now ready to enjoy your favorite shows and movies on the big screen.
Remember, you can also use AirPlay to stream Netflix content from your iPhone directly to the projector wirelessly. Simply follow the same steps as mentioned in the previous section for the wireless connection.
Now that you have Netflix set up on your iPhone, it’s time to move on to the next step and adjust the projector settings for the best viewing experience.
Step 4: Adjust the Projector Settings
To ensure the best viewing experience, it’s important to adjust the settings of your projector. Here are some key adjustments you can make:
1. Brightness and Contrast: Depending on the lighting conditions in your viewing area, you may need to adjust the brightness and contrast settings on your projector. Experiment with different levels until you achieve a comfortable and clear image.
2. Keystone Correction: If the image appears skewed or distorted, you can use the keystone correction feature on your projector to straighten it out. Most projectors have a keystone correction option in the settings menu. Use the remote control or the on-screen menu to make the necessary adjustments.
3. Aspect Ratio: When streaming content from your iPhone, it’s important to set the correct aspect ratio on your projector. By default, the aspect ratio should be set to 16:9, which is the standard for widescreen content. However, depending on the content you’re watching, you may need to adjust the aspect ratio to ensure the correct proportions and avoid any stretching or distortion.
4. Volume and Audio Settings: If you’re not getting the desired audio output from your projector’s built-in speakers, consider connecting external speakers or a soundbar to enhance the audio quality. Adjust the volume levels on both your iPhone and the projector to achieve the desired sound balance.
5. Screen Size and Distance: Play around with the projector’s zoom and focus settings to adjust the screen size to your preference. Depending on the distance between the projector and the screen or wall, you may need to make slight adjustments to achieve the optimal size and clarity.
Take your time to experiment with these settings until you find the perfect configuration for your viewing environment. Once you’ve made the necessary adjustments, you’re ready for the final step of streaming Netflix on the projector.
Step 5: Stream Netflix on the Projector
Now that everything is set up and adjusted, it’s time to start streaming Netflix on your projector. Here’s how to do it:
1. Make sure your iPhone is connected to the projector and the Netflix app is open.
2. Select the show or movie you want to watch from the Netflix library.
3. Tap the play button to start streaming the content on your iPhone.
4. Once the content starts playing on your iPhone, it will be mirrored on the projector screen. Sit back, relax, and enjoy your favorite Netflix content on the big screen!
5. Use the playback controls on your iPhone to pause, play, rewind, or fast forward the content as desired. The controls will be mirrored on both your iPhone and the projector screen.
6. Adjust the volume on your iPhone or the projector to achieve the optimal sound level.
7. If you have a wireless connection, you can also use your iPhone as a remote control to navigate through the Netflix app and choose different shows or movies.
That’s it! You’re now fully immersed in the world of Netflix on your projector. Sit back, grab some popcorn, and enjoy the cinematic experience right in the comfort of your own home.
Remember, if you experience any issues with streaming or video quality, double-check your internet connection and ensure that your projector and iPhone are both connected to the same network. You may also want to consider optimizing your internet speed or choosing a lower video quality setting in the Netflix app for smoother playback.
With these simple steps, you can now indulge in hours of entertainment and bring the movie theater experience to your living room. Happy streaming!
Conclusion
In conclusion, watching Netflix on a projector from your iPhone is a fantastic way to elevate your home entertainment experience. By following the steps outlined in this guide, you can enjoy your favorite movies and TV shows on a big screen, creating a cinema-like atmosphere in the comfort of your own living room.
We started by checking the compatibility of your projector, ensuring that it supports either a wired HDMI connection or wireless screen mirroring from your iPhone. Next, we walked through the process of connecting your iPhone to the projector using the appropriate method. We then discussed how to set up the Netflix app on your iPhone, allowing you to browse and stream your desired content.
To optimize your viewing experience, we explored the importance of adjusting the projector settings. By fine-tuning aspects like brightness, contrast, keystone correction, audio settings, and screen size, you can achieve the best possible picture and sound quality.
Finally, we learned how to stream Netflix on the projector, ensuring that your iPhone’s screen is mirrored onto the big screen. With playback controls at your fingertips, you have full control over your Netflix experience.
Now that you have all the steps to watch Netflix on a projector from your iPhone, it’s time to enjoy endless hours of entertainment. Whether you’re hosting a movie night with friends or enjoying a solo binge-watching session, this setup will surely enhance your viewing pleasure.
Remember to have a stable internet connection, optimize video quality settings if necessary, and troubleshoot any issues that may arise. By following these steps and making the most of your projector capabilities, you can create a truly immersive cinematic experience at home.
So, get ready to dim the lights, grab some snacks, and immerse yourself in the captivating world of Netflix on the big screen. Sit back, relax, and let the binge-watching begin!