Introduction
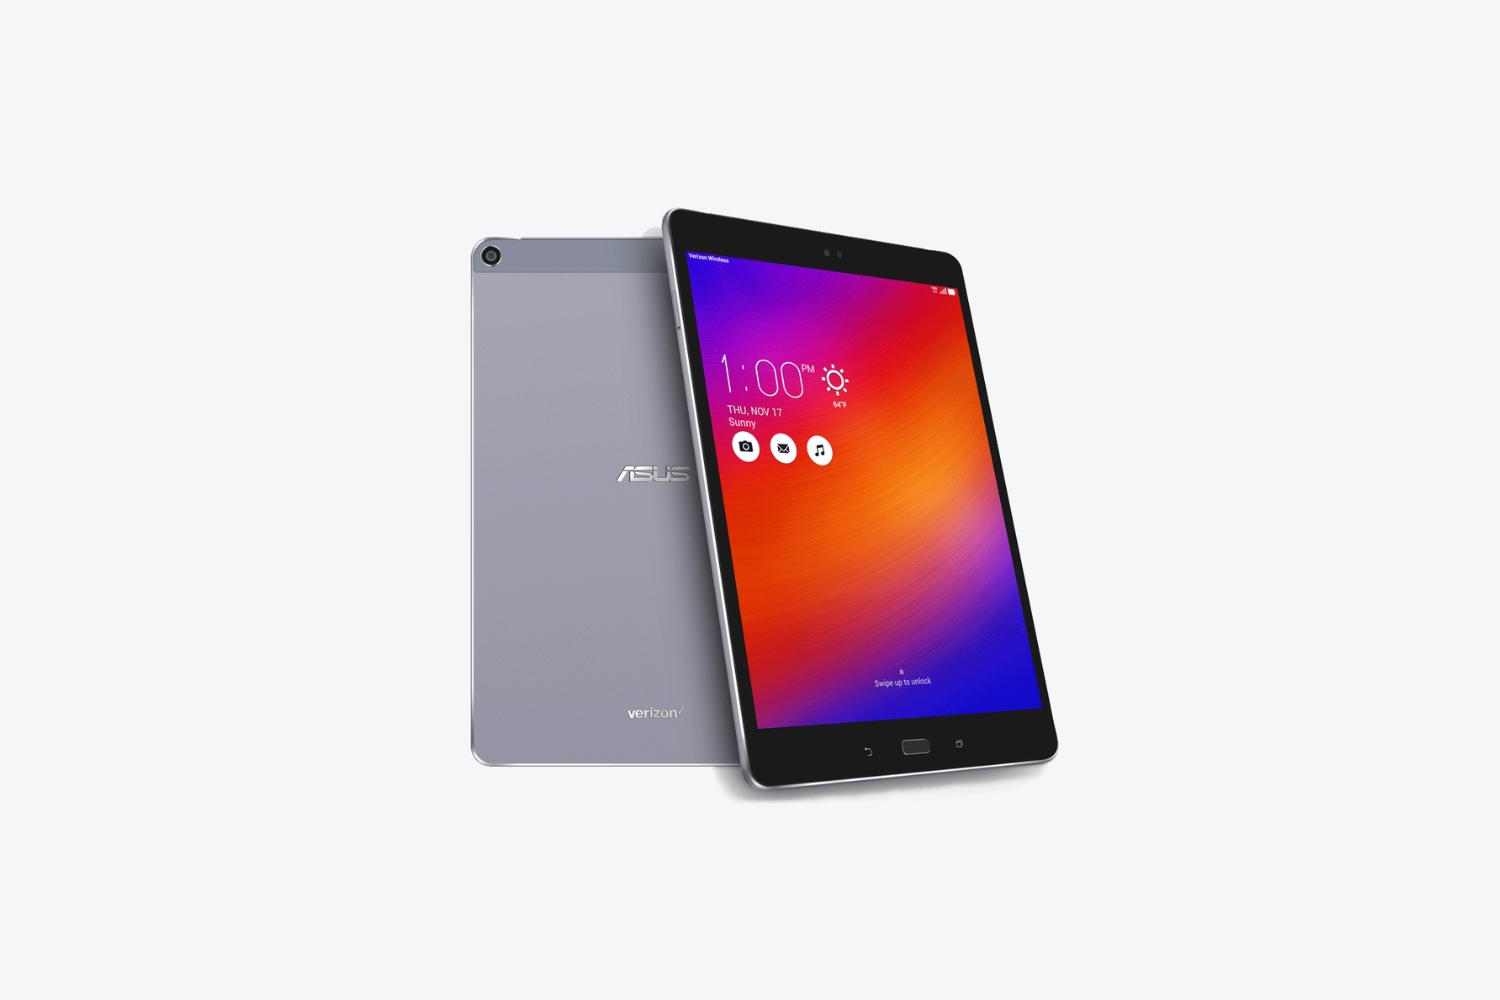
Welcome to this guide on how to use your Verizon tablet as a phone! With advancements in technology, tablets have become more versatile, allowing you to make and receive calls just like a traditional smartphone. This opens up a world of possibilities, as you can enjoy a larger screen and extended battery life while still having the convenience of having a phone in your tablet.
Whether you’ve recently purchased a Verizon tablet or have been using one for a while and just discovered this feature, we’re here to show you the steps to set up your tablet as a phone. We’ll also cover additional functionalities such as connecting to a mobile network, using messaging apps, managing contacts, and customizing your phone settings.
By the end of this guide, you’ll have a fully-functional phone on your Verizon tablet, enabling you to stay connected with calls and messages wherever you go. So, whether you’re looking to consolidate your devices or simply explore new possibilities, let’s dive in and get your tablet up and running as a phone!
Step 1: Setting up your Verizon tablet as a phone
If you want to use your Verizon tablet as a phone, the first step is to ensure that your tablet is capable of making calls. Not all tablets have this capability, so it’s essential to check if your device supports voice calling. Most Verizon tablets support this feature, but it’s always better to confirm with the manufacturer or Verizon customer service.
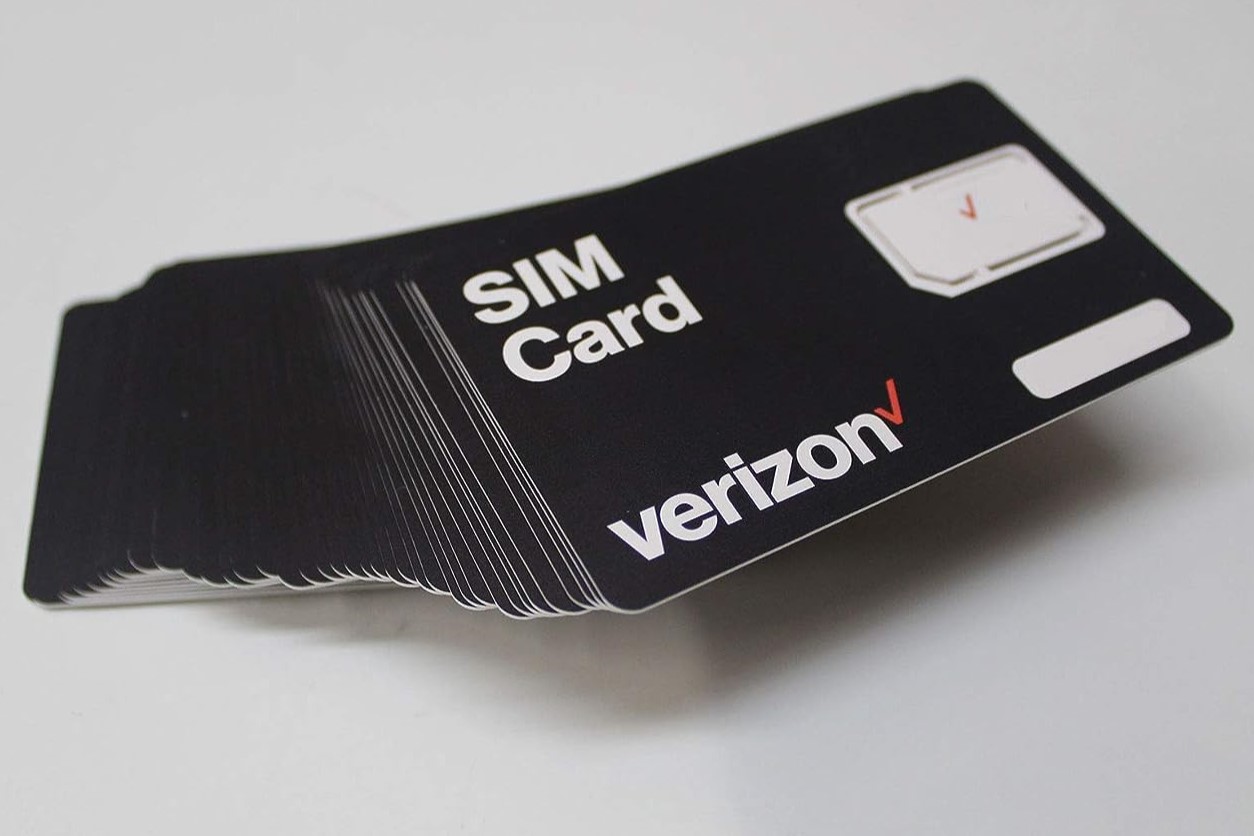
Once you’ve established that your tablet can make calls, the next step is to activate the phone functionality. To do this, you’ll need to insert a SIM card into your tablet. Verizon provides SIM cards that are compatible with their network, so you can either purchase one from a Verizon store or have it shipped to you.
After you have obtained a Verizon SIM card, power off your tablet and locate the SIM card tray. The location of the tray may vary depending on the tablet model, but it is usually found on the side or back of the device. Use a SIM card ejector tool or a small pin to gently push into the small hole near the tray to eject it.
Insert the SIM card into the tray, ensuring that it is properly aligned with the contacts. Gently push the tray back into the tablet until it clicks into place. Power on your tablet, and you’re one step closer to using it as a phone!
Next, you need to set up the necessary phone applications on your tablet. If your tablet does not already have a dedicated phone app, you can explore the Google Play Store or the Apple App Store (if you’re using an iPad) to find a suitable phone app. There are several options available, including popular ones like Google Voice, Skype, or Verizon’s own calling app.
Download and install the desired phone app on your tablet. Once installed, open the app and sign in using your Verizon account credentials or create a new account if prompted. Follow the on-screen instructions to grant the necessary permissions and set up the app according to your preferences. Depending on the app you choose, you may be asked to link your phone number to the app or assign a new number to your tablet.
With the phone app installed and set up, you’re now ready to start using your Verizon tablet as a phone! In the next steps, we’ll cover how to connect to a mobile network, make and receive calls, use messaging apps, manage contacts, and customize your phone settings.
Step 2: Connecting to a mobile network
Now that your Verizon tablet is equipped with a SIM card and a phone app, it’s time to connect to a mobile network. This will enable your tablet to access cellular data and make calls via the Verizon network.
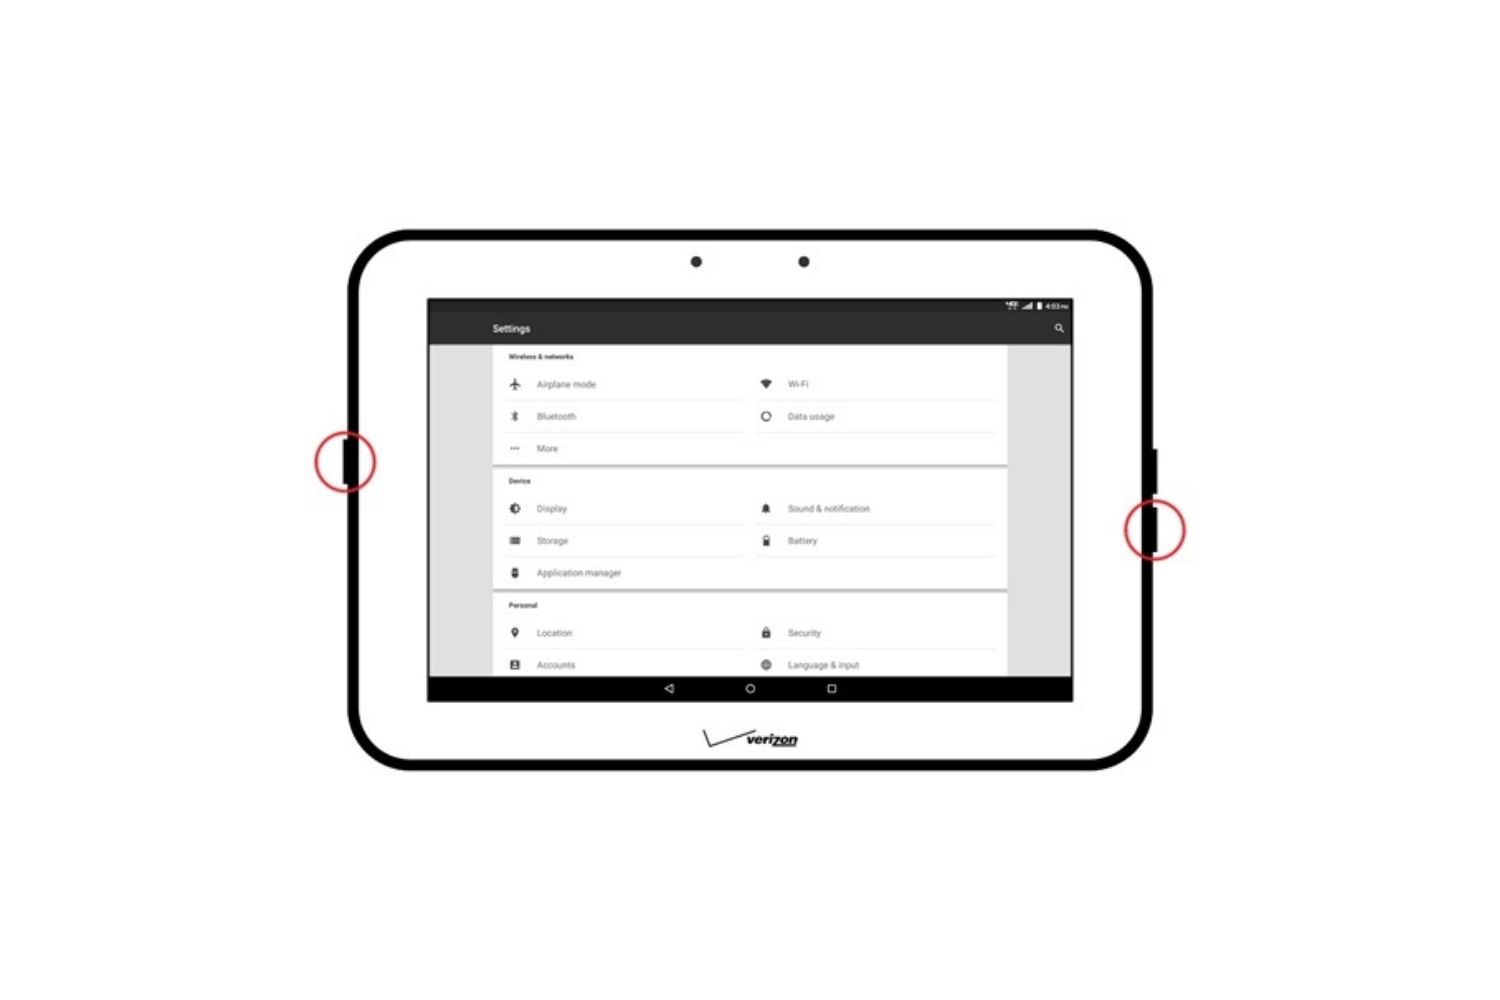
To connect to a mobile network, navigate to the “Settings” menu on your tablet. Look for the “Network & Internet” or “Connections” option, where you’ll find the settings related to mobile network connectivity.
Within the mobile network settings, you should see an option to enable “Mobile Data” or “Cellular Data.” Toggle this option on to allow your tablet to connect to the Verizon network and access mobile data services.
Below the mobile data settings, you should also find options for “Network Operators” or “Carrier.” Select this option, and your tablet will scan for available networks. Once the scan is complete, choose “Verizon” or “Automatic” to connect to Verizon’s network.
If your tablet has a “Network Mode” or “Preferred Network Type” option, it’s advisable to set it to “LTE/4G” for faster data speeds. However, if you’re in an area with weak LTE coverage, you can switch to “3G” or “2G” for a more stable connection.
After making these network settings, your tablet should now be connected to the Verizon mobile network. You can verify the connection by checking the status bar or the settings menu, where you should see the signal strength indicator and the network name displayed.
It’s important to note that, depending on your tablet model and settings, you may also have the option to connect to Wi-Fi networks. Wi-Fi connections provide faster internet speeds and may be preferred in areas with good Wi-Fi coverage. However, when you’re not in range of a Wi-Fi network, your tablet will automatically switch to the Verizon cellular network to maintain connectivity.
With your tablet successfully connected to the Verizon mobile network, you can now enjoy the benefits of a phone-like experience, including fast internet access and the ability to make and receive calls just like on a traditional smartphone.
Step 3: Making and receiving calls
Now that your Verizon tablet is set up and connected to the mobile network, you’re ready to start making and receiving calls. Using the phone app you installed in Step 1, follow these simple steps:
To make a call, open the phone app on your tablet. You’ll be presented with a dialer interface where you can enter the phone number manually using the on-screen keypad. Once you have entered the number, tap the “Call” button to initiate the call. Alternatively, you can also select a contact from your address book by tapping on the contact’s name and then the call button.
If you receive an incoming call, your tablet will notify you with a ringing sound and a notification on the screen. You can answer the call by tapping the “Answer” button, or decline it by tapping the “Decline” button. If you’re unable to answer the call immediately, you can choose to send a quick reply or let the call go to voicemail.
During a call, your tablet will display the call duration and provide options such as placing the call on speakerphone, muting the microphone, or accessing additional features like call recording, depending on the phone app you’re using. You can adjust the call volume using the dedicated volume buttons on your tablet, or by adjusting the on-screen slider.
If you need to switch to a different app or perform other tasks while on a call, many phone apps offer a “minimize” or “pop out” feature that allows you to continue using other tablet functions without interrupting the call. This can be particularly helpful during conference calls or when you need to access information from other apps while speaking on the phone.
When you’re done with the call, simply tap the “End” button to disconnect. If you encounter any issues with call quality or reception, ensure that you have sufficient signal strength and consider adjusting your position to improve the connection.
It’s worth noting that while using your Verizon tablet as a phone, call charges and data usage may apply depending on your Verizon plan. Be sure to familiarize yourself with your plan details or contact Verizon customer service for more information on call rates and data usage.
With the ability to make and receive calls on your Verizon tablet, you now have the convenience of using a phone-like device with the added benefits of a larger screen and extended battery life. Whether for work or personal use, your tablet can now serve as a versatile communication tool that keeps you connected wherever you go.
Step 4: Using messaging apps
In addition to making phone calls, your Verizon tablet can also serve as a messaging device, allowing you to send and receive text messages, multimedia messages, and even use popular messaging apps to stay connected with friends and family.
If your tablet came with a pre-installed messaging app, you can use that app to send and receive traditional SMS and MMS messages. Simply open the messaging app and start a new message by tapping on the “Compose” button. Enter the recipient’s phone number or select a contact from your address book. Then, type your message and tap the “Send” button to deliver it.
For a more feature-rich messaging experience, you can explore popular messaging apps available in the Google Play Store or the Apple App Store. Apps like WhatsApp, Facebook Messenger, or Google Hangouts offer messaging, voice call, and video call functionalities. Download and install the desired app on your tablet, then sign in or create an account to get started.
Once you’re signed in to your chosen messaging app, you can start new conversations, send text and multimedia messages, and even make voice and video calls, depending on the app’s capabilities. These messaging apps often provide additional features such as group chats, file sharing, and stickers to enhance your communication experience.
Keep in mind that using messaging apps may consume data from your Verizon plan, so it’s important to monitor your data usage to avoid any unexpected charges. If you’re on a limited data plan, consider connecting to Wi-Fi networks whenever possible to minimize data usage.
Furthermore, messaging apps often support syncing across multiple devices, allowing you to seamlessly switch between your tablet, smartphone, and computer. This synchronization ensures that your conversations and message history are accessible across all your devices, providing a consistent and convenient messaging experience.
Whether you choose to use the native messaging app or explore alternatives in the app stores, having the ability to send and receive messages on your Verizon tablet provides you with a versatile communication tool that keeps you connected with loved ones and colleagues.
Step 5: Managing contacts
Having a properly organized and up-to-date contact list is essential for effective communication. With your Verizon tablet acting as a phone, it’s important to know how to manage your contacts efficiently.
To start managing your contacts, locate the “Contacts” or “Address Book” app on your tablet. Open the app, and you’ll find a list of your existing contacts, if any. If you have previously used a Google account or any other cloud service to store your contacts, your tablet may automatically sync those contacts to the app.
To add a new contact, tap the “+” or “Add” button within the contacts app. You’ll be prompted to enter the contact’s name, phone number, email address, and any other relevant details such as a home address or workplace. After filling in the necessary information, tap the “Save” or “Done” button to save the contact.
If you want to import existing contacts from another device or service, you may have the option to import contacts from a SIM card, Google account, or other compatible sources. Choose the appropriate import option and follow the on-screen instructions to transfer your contacts.
Additionally, you can also link your social media accounts and email accounts to your contacts app, allowing you to access and manage all your contacts in one place. This integration enables you to see contact updates, profile pictures, and easy access to various communication options like email, messaging, and calls directly from the contact card.
To edit or delete a contact, find the desired contact within the contacts app and tap on it to open the contact details. Look for the “Edit” or “Delete” option, usually indicated by a pencil icon or trash bin icon, respectively. Make the necessary changes or confirm the deletion, and the contact will be updated or removed from your list.
Furthermore, some contact apps allow you to create contact groups or labels to further organize your contacts. This feature can be helpful for categorizing your contacts based on work, family, friends, or any other criteria, making it easier to find and communicate with specific groups of people.
As you manage your contacts, ensure that your contact information remains up to date. Regularly check and edit contact details, especially phone numbers and email addresses, to ensure seamless communication with your contacts.
By effectively managing your contacts, you’ll have an organized and accessible list of people you frequently communicate with, making it easier to place calls, send messages, and stay connected on your Verizon tablet.
Step 6: Customizing your phone settings
Customizing your phone settings on your Verizon tablet allows you to personalize your device and optimize it to suit your preferences. From adjusting the display settings to managing notifications and accessibility features, here’s how you can customize your phone settings:
To access the phone settings, go to the “Settings” menu on your Verizon tablet. Look for the “Phone” or “Phone Settings” option, or search for specific settings using the search bar within the settings menu.
Within the phone settings, you’ll find various options to customize your device. Let’s start with adjusting the display settings. You can change the brightness, enable or disable auto-rotate, and adjust the font size to make it more comfortable for your eyes. You may also have options to change the wallpaper and customize the home screen layout, depending on your tablet’s user interface.
Next, explore the sound and notification settings. Here, you can customize the ringtone, notification sound, and vibration settings to your liking. You can also manage app notifications, allowing you to choose which apps can send you notifications and how they appear on your tablet.
For improved security and privacy, it’s essential to set up a screen lock or passcode. Look for the “Security” or “Lock Screen” options in the settings menu to configure your device’s lock screen preferences. You may have the choice to use a PIN, password, pattern, or fingerprint to unlock your tablet.
Additionally, you can fine-tune your phone app settings, such as enabling or disabling call recording, activating spam call filtering, or managing call forwarding options. Check the settings within your phone app to see which features are available and adjust them according to your needs.
If you have specific accessibility requirements, your tablet may offer accessibility settings to assist you. These settings can include options for adjusting text size, enabling color inversion, using voice commands, or activating screen readers for visually impaired users.
Finally, take the time to explore other settings that are unique to your tablet model and Android or iOS version. This could include network settings, battery optimization, app permissions, and more. Experiment with these settings to find the configuration that best suits your needs and preferences.
Remember that your customizations are not set in stone. Feel free to revisit the phone settings and make changes whenever necessary. As you use your Verizon tablet as a phone, you’ll discover additional settings and options that you can tailor to your liking.
By customizing your phone settings, you’ll have a personalized and optimized user experience on your Verizon tablet, ensuring that it suits your preferences and enhances your overall usage satisfaction.
Conclusion
Congratulations! You have successfully learned how to use your Verizon tablet as a phone. By following the steps outlined in this guide, you can now enjoy the benefits of a phone-like experience on your tablet, including making and receiving calls, sending and receiving messages, and customizing your device to suit your preferences.
Setting up your Verizon tablet as a phone involved inserting a SIM card, activating the necessary phone app, and connecting to a mobile network. You explored the process of making and receiving calls, as well as using messaging apps for text and multimedia communication. Additionally, you learned how to manage your contacts and customize your phone settings to enhance your user experience.
With your tablet now acting as a phone, you have the flexibility to consolidate your devices and enjoy the convenience of having all-in-one functionality. Whether for work or personal use, your Verizon tablet provides a versatile communication tool with a larger screen and extended battery life.
Remember, as you explore the features of your tablet, be mindful of data usage and any potential charges associated with calls or internet access. Keep an eye on your data plan and connect to Wi-Fi networks whenever possible to minimize any additional costs.
Now, it’s time to put your newfound knowledge into action and make the most of your Verizon tablet as a phone. Whether you’re staying connected with loved ones, managing work calls, or exploring new messaging apps, enjoy the seamless and convenient communication experience that your tablet provides.
Thank you for choosing this guide, and we hope that it has been helpful in transforming your Verizon tablet into a fully functional phone. Stay connected and enjoy the versatility of your device!


