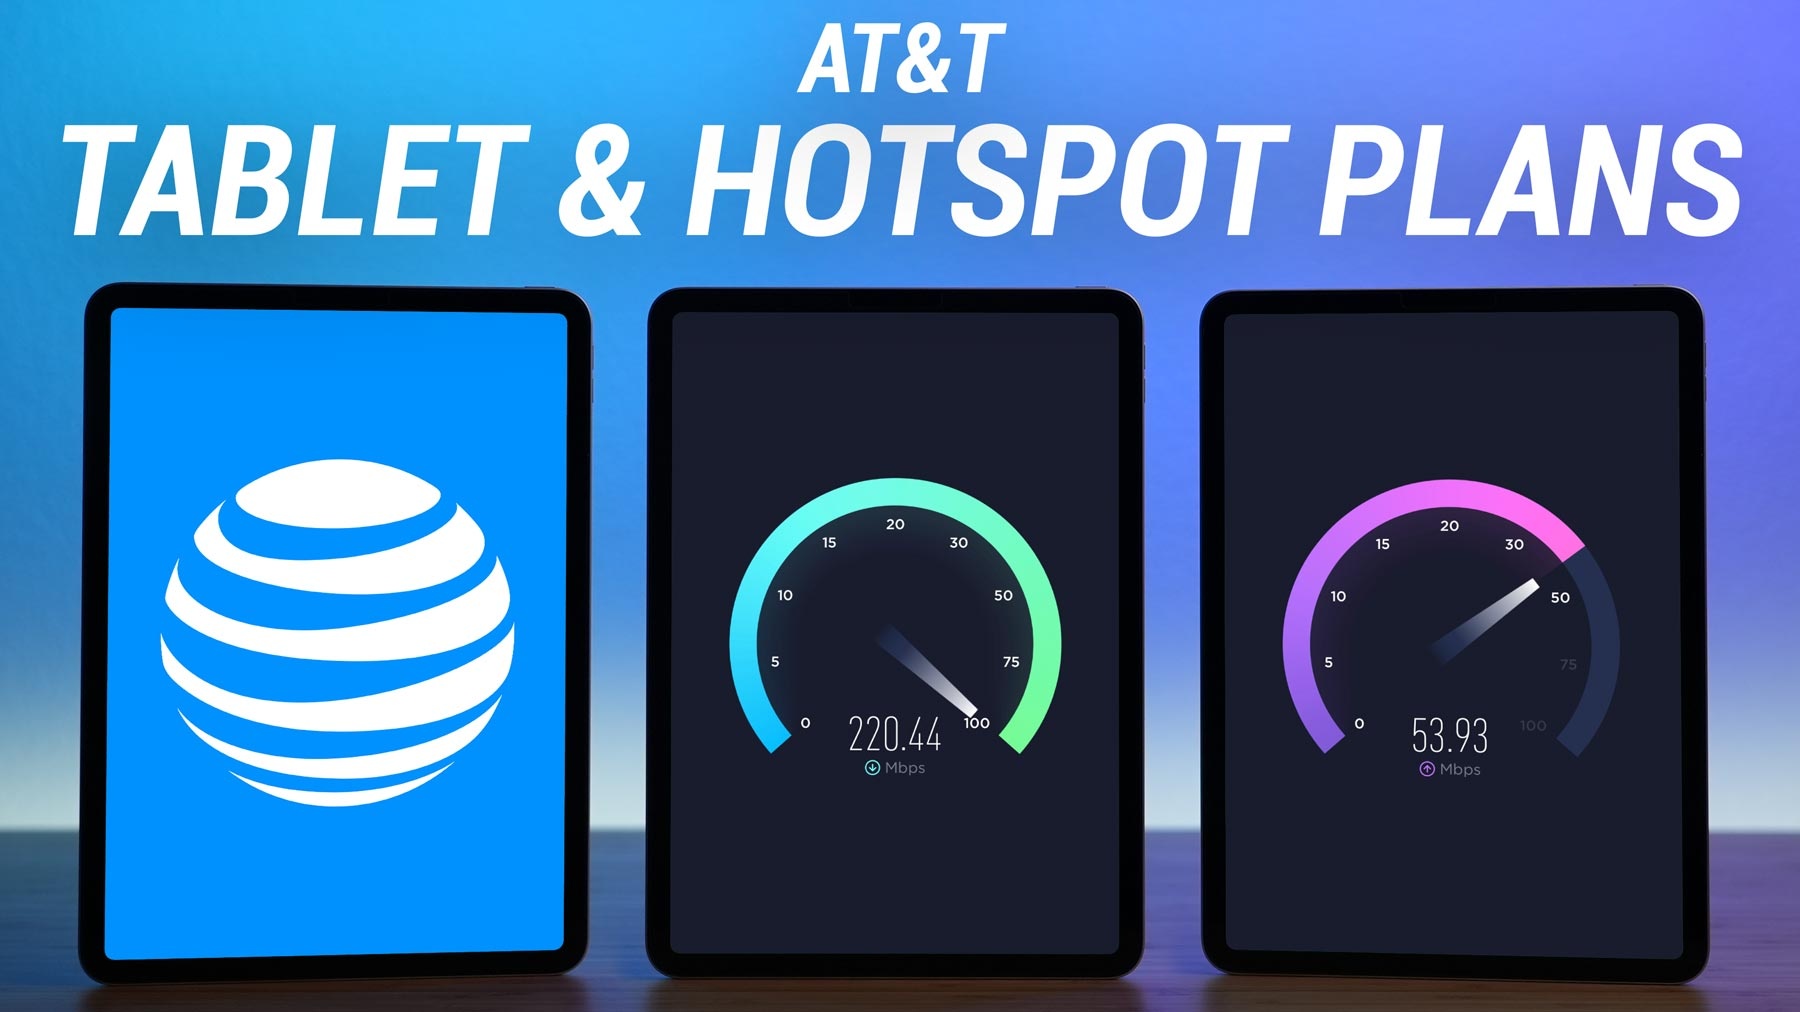
Introduction
Welcome to the world of technology where tablets have become an essential tool for communication, productivity, and entertainment. If you’re looking to add a tablet to your AT&T plan, you’re in the right place. With AT&T, you can conveniently connect your tablet to your existing plan, allowing you to make the most out of your data and stay connected wherever you go.
Whether you want to stay updated with the latest news, stream your favorite shows on the go, or simply enhance your productivity, adding a tablet to your AT&T plan offers you the flexibility and convenience you need. In this guide, we will walk you through the process of adding a tablet to your AT&T plan, ensuring a seamless and hassle-free experience.
Before we dive into the step-by-step process, it’s important to note that the availability and compatibility of tablets with AT&T may vary. It’s essential to check with AT&T to ensure your desired tablet is supported and compatible with their network. Now that we’ve got that covered, let’s get started!
Step 1: Check with AT&T
The first step before adding a tablet to your AT&T plan is to check with AT&T to ensure compatibility and availability. Reach out to AT&T customer service either by phone or through their website to inquire about their tablet options and any specific requirements. Ask them about the tablets they support, data plans available, and any promotional offers that may be currently running.
AT&T offers a variety of tablets, ranging from Apple iPads to Samsung Galaxy Tabs and other Android devices. They may have different data plans tailored specifically for tablets, including standalone plans or shared data plans with your existing AT&T wireless phone plan. By getting in touch with AT&T, you can gather all the necessary information and make an informed decision about the tablet that best suits your needs.
In addition to checking for tablet compatibility and available data plans, it’s also important to consider network coverage. AT&T has extensive coverage across the United States, but it’s always a good idea to verify the coverage in your specific area, especially if you frequent remote or rural locations.
Remember to jot down any vital information, such as the tablet models that are compatible and the data plans that best fit your requirements. This will come in handy when you move onto the next steps in adding a tablet to your AT&T plan.
Step 2: Choose a Tablet
Now that you have checked with AT&T and gathered information about their tablet options, it’s time to choose the tablet that meets your needs and preferences. When selecting a tablet, consider factors such as screen size, storage capacity, operating system, and features.
If you’re an Apple enthusiast, you may opt for an iPad, which offers a seamless integration with the Apple ecosystem and a wide range of apps designed specifically for iPad. The iPad comes in various sizes, from the compact iPad Mini to the larger iPad Pro, catering to different user preferences.
For Android fans, there are numerous options available from reputable manufacturers like Samsung, Google, and Lenovo. Consider the specifications and features that matter most to you, such as display quality, processing power, camera capabilities, and battery life. Don’t forget to read reviews and compare different models to make an informed decision.
It’s also worth mentioning that some tablets come with cellular connectivity, allowing you to stay connected to the internet even without Wi-Fi access. This can be an important factor to consider if you frequently travel or require internet access on the go.
Once you have narrowed down your choices and identified the tablet that suits your needs, make sure it is compatible with AT&T’s network and supported by their data plans. Keep in mind that pricing and availability may vary depending on the tablet model and AT&T’s promotional offers, so aim to choose a tablet that fits your budget as well.
By carefully considering these factors, you can select the perfect tablet that will seamlessly integrate with your AT&T plan and enhance your productivity, entertainment, and communication experiences.
Step 3: Purchase a Tablet
With your decision made on the tablet model that suits your needs and is compatible with AT&T, it’s time to make the purchase. There are several options available for purchasing a tablet, ensuring you find the most convenient method for you.
One option is to visit a local electronics store, where you can physically see and test different tablet models before making a purchase. This allows you to get a hands-on experience and ensures you’re making the right choice. The sales representatives at the store can also provide guidance and answer any questions you may have regarding the tablet and its compatibility with AT&T.
If convenience is your priority, you can also purchase a tablet online. Visit AT&T’s official website or reputable online retailers such as Amazon, Best Buy, or the manufacturer’s website to find the tablet model you want. Online purchases often provide a wider selection, competitive pricing, and the convenience of doorstep delivery.
Before finalizing your purchase, make sure to double-check the tablet’s compatibility with AT&T and verify that it is unlocked or compatible with AT&T’s network. This ensures that you can seamlessly connect the tablet to your AT&T plan without any restrictions or complications.
When making the purchase, you may have the option to fully pay for the tablet upfront or choose a monthly installment plan. Make sure to consider both options and decide which one fits your budget and preferences. If you choose a monthly installment plan, be mindful of any additional fees or interest rates that may apply.
After completing the purchase, it’s essential to keep all the necessary documents, including receipts, warranty information, and any other relevant paperwork. These will come in handy in case you encounter any issues or need to verify ownership of the tablet.
Once you have your new tablet in hand, you’re ready to move on to the next step of activating the SIM card and connecting it to your AT&T plan.
Step 4: Activate SIM Card
Now that you have purchased your tablet, the next step is to activate the SIM card and ensure that it is ready to be connected to your AT&T plan. The SIM card is a small, removable chip that allows your tablet to connect to the cellular network.
To activate the SIM card, follow these steps:
- Locate the SIM card slot on your tablet. It is usually located either on the side or the top of the device. Refer to your tablet’s user manual if you’re unsure about the location.
- Turn off your tablet and gently insert the SIM card into the SIM card slot. Make sure the gold contacts on the SIM card align with the contacts in the slot.
- Turn on your tablet and wait for it to detect the SIM card. Depending on your tablet model, you may be prompted to enter a PIN code. If so, enter the PIN code provided with your SIM card. If you don’t have a PIN code, leave the field blank.
- After successfully inserting and activating the SIM card, your tablet should show signal bars or indicate that it is connected to the AT&T network. Additionally, you may receive a welcome message from AT&T confirming the activation.
If you encounter any issues during the activation process, contact AT&T customer support for assistance. They will be able to guide you through the activation process and troubleshoot any potential problems.
Keep in mind that once the SIM card is activated, it is linked to your AT&T plan and phone number. This means that you can now start using data, making calls, and sending text messages, depending on the data plan you have chosen.
It’s a good practice to test your tablet’s connectivity and ensure that you can access the internet, make calls, and send messages before proceeding to the next step.
Now that your SIM card is activated, it’s time to proceed with adding your tablet to your AT&T plan and start enjoying the benefits of connectivity and mobility.
Step 5: Add Tablet to AT&T Plan
Once you have your tablet and the SIM card is activated, it’s time to add your tablet to your AT&T plan. This step ensures that your tablet is officially connected to your AT&T account and that you can make use of the data and services provided by your plan.
To add your tablet to your AT&T plan, follow these steps:
- Access your AT&T account either through the AT&T website or the AT&T mobile app. Log in using your AT&T credentials.
- Navigate to the “Add a Device” or “Manage Devices” section of your account. Some plans may have specific steps or options for adding tablets, so follow the instructions provided.
- Enter the necessary information about your tablet, including the IMEI number or the SIM card number. You can find the IMEI number on the packaging of your tablet or in the device settings. If prompted, select the appropriate tablet model and any additional options or features you desire.
- Review and confirm the details of the tablet you are adding to your plan. Ensure that all the information is correct, including the tablet model, data plan, and any associated charges or fees.
- Complete the process by following the prompts and agreeing to any terms or conditions. If you need assistance or have any questions, contact AT&T customer support for further guidance.
Once you have successfully added your tablet to your AT&T plan, you will receive a confirmation message or email, indicating that your tablet is now connected and ready to use. This means you can start enjoying the benefits of data usage, phone calls, and messaging on your tablet as per your chosen plan.
Remember to keep track of your monthly usage and data limits to avoid any additional charges or potential data overages. You can monitor your usage through the AT&T app or by logging into your AT&T account online.
If you ever wish to make changes to your tablet’s plan or features, such as upgrading your data plan or adding additional services, simply log into your AT&T account or contact customer support for assistance. AT&T offers a variety of plans and options to suit your individual needs and preferences.
With your tablet successfully added to your AT&T plan, you can fully embrace the benefits of connectivity, productivity, and entertainment that your tablet brings.
Step 6: Set Up and Use Tablet
Now that your tablet is connected to your AT&T plan, it’s time to set it up and start using it to its full potential. Follow these steps to get your tablet up and running:
- Power on your tablet and follow the on-screen instructions to select your preferred language, connect to Wi-Fi, and accept any terms or conditions.
- Next, sign in to your Google or Apple account, depending on the operating system of your tablet. This will allow you to access and download apps from their respective app stores.
- Customize your tablet settings according to your preferences. Adjust the display brightness, set up your email accounts, enable or disable notifications, and personalize your home screen with widgets and shortcuts for quick access to your favorite apps.
- Visit the app store on your tablet, such as the App Store for iOS or the Google Play Store for Android, to download and install the apps you need. Whether it’s productivity apps, entertainment streaming services, or social media platforms, explore the app store and discover the vast range of apps available.
- Transfer your data and files from your previous device, if applicable. Depending on your tablet model, you may be able to use various methods like cloud storage services, USB connections, or backup and restore options to transfer your data.
- Install any necessary updates for your tablet’s operating system and apps. Regular updates help improve the performance, security, and features of your tablet, so ensure that you stay up-to-date with the latest releases.
- Explore the features and functionalities of your tablet. Familiarize yourself with gestures, shortcuts, and settings specific to your tablet model. Take the time to discover all the capabilities and features your tablet offers, such as split-screen multitasking, stylus support, or face recognition.
Now that your tablet is fully set up, you can start using it for various purposes. Browse the web, check your emails, stay connected with friends and family through social media, watch movies or TV shows, read e-books, or even create beautiful digital artwork. The possibilities are endless.
Additionally, take advantage of the data and services provided by your AT&T plan. Make calls, send text messages, and use data wherever you have cellular coverage. Enjoy seamless integration with your AT&T account and the convenience of having your tablet connected to your existing plan.
Remember to manage your tablet’s battery life by adjusting the screen brightness, enabling power-saving modes, and closing unnecessary apps when not in use. Regularly back up your important data to avoid any loss if the tablet encounters any issues or is lost.
By following these steps and exploring the capabilities of your tablet, you can maximize its potential and enjoy the convenience and versatility it brings to your daily life.
Conclusion
Congratulations! You have successfully added a tablet to your AT&T plan, allowing you to enjoy the benefits of seamless connectivity and a world of possibilities at your fingertips. By following the steps outlined in this guide, you have navigated through the process of checking compatibility, choosing a tablet, making the purchase, activating the SIM card, adding the tablet to your AT&T plan, and setting it up for optimal use.
With your tablet connected to your AT&T plan, you can now stay connected, browse the internet, stream your favorite content, and enhance your productivity on the go. Take advantage of the wide range of apps available in the app store to cater to your specific needs and interests.
Remember to regularly monitor your data usage to avoid any overage charges and consider upgrading your plan if needed. Keep your tablet up to date with the latest software and app updates to ensure optimal performance and security.
If you face any issues or need further assistance in using your tablet or managing your AT&T plan, don’t hesitate to reach out to AT&T customer support. They are there to help you and provide guidance whenever you need it.
Now that you’re equipped with the knowledge and steps to add a tablet to your AT&T plan, go ahead and enjoy the convenience and flexibility that your tablet brings. Stay connected, entertained, and productive no matter where you are.
Thank you for choosing AT&T and happy tablet usage!