Introduction
Welcome to the world of Logitech Brio, a versatile and powerful webcam that can be used for more than just video conferencing. In this article, we will explore the exciting possibilities of using Logitech Brio as a 3D scanner. Whether you are a hobbyist, a designer, or simply curious about the wonders of 3D scanning, this guide will walk you through the process of transforming your Logitech Brio webcam into a powerful tool for capturing three-dimensional objects.
Logitech Brio is known for its exceptional video quality, advanced features, and ease of use. With its 4K resolution capabilities and high frame rate, Logitech Brio delivers crystal-clear image quality, making it an ideal device for capturing detailed scans of objects. By harnessing the power of cutting-edge technology, Logitech Brio can capture the intricate details of everyday objects, enabling you to bring them into the digital realm.
3D scanning has revolutionized various industries, from manufacturing and design to healthcare and entertainment. Traditional 3D scanners can be costly and often require specialized knowledge to operate. However, Logitech Brio offers an accessible and affordable alternative, allowing anyone with a computer and this webcam to unlock the world of 3D scanning.
In the following sections, we will explore the step-by-step process of setting up Logitech Brio as a 3D scanner and discuss the tips and tricks for capturing accurate and detailed scans. We will also delve into how to process and edit your 3D scans to unleash your creativity and discover new applications for Logitech Brio as a 3D scanner. So, let us embark on this exciting journey and unleash the full potential of Logitech Brio as a 3D scanner.
What is Logitech Brio?
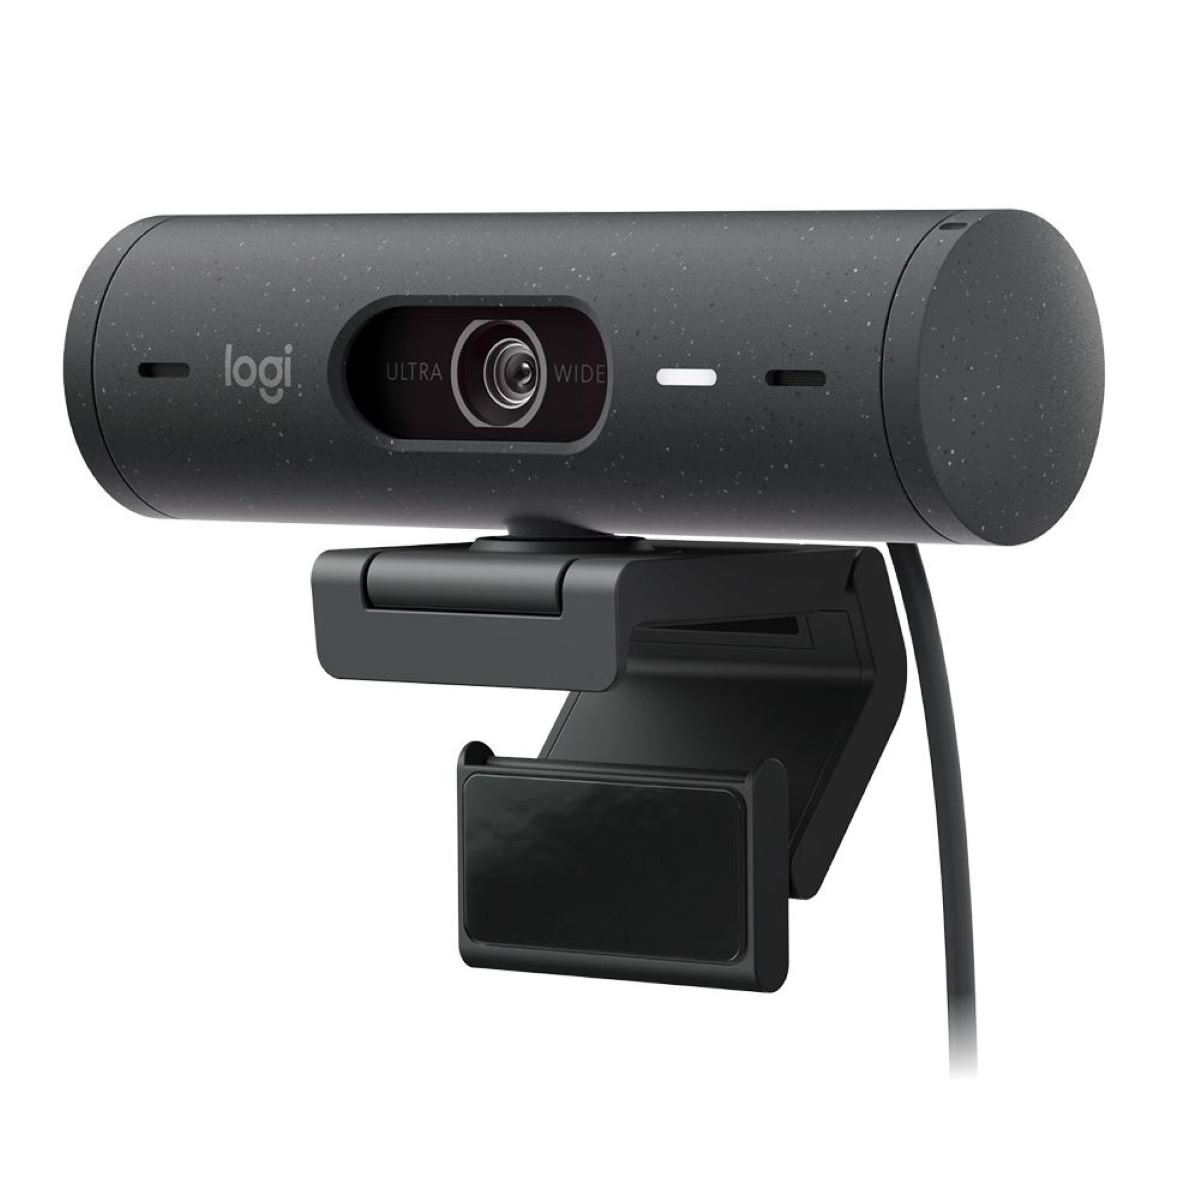
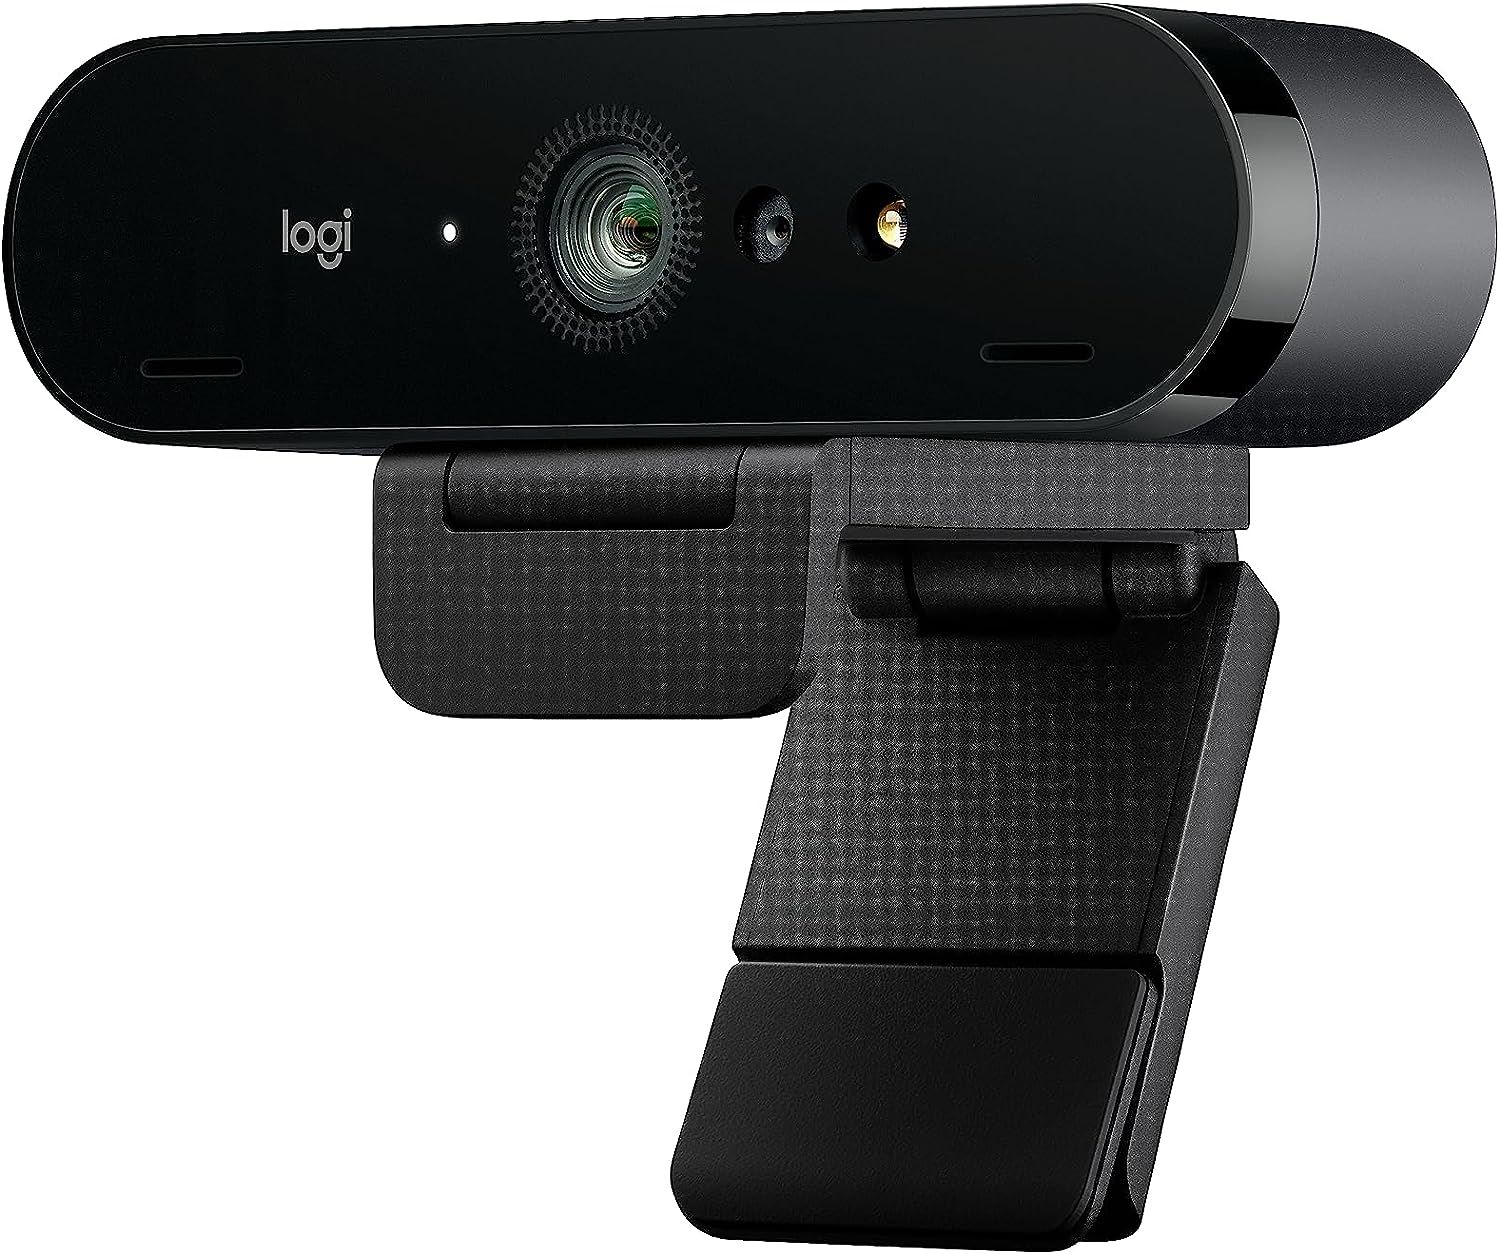
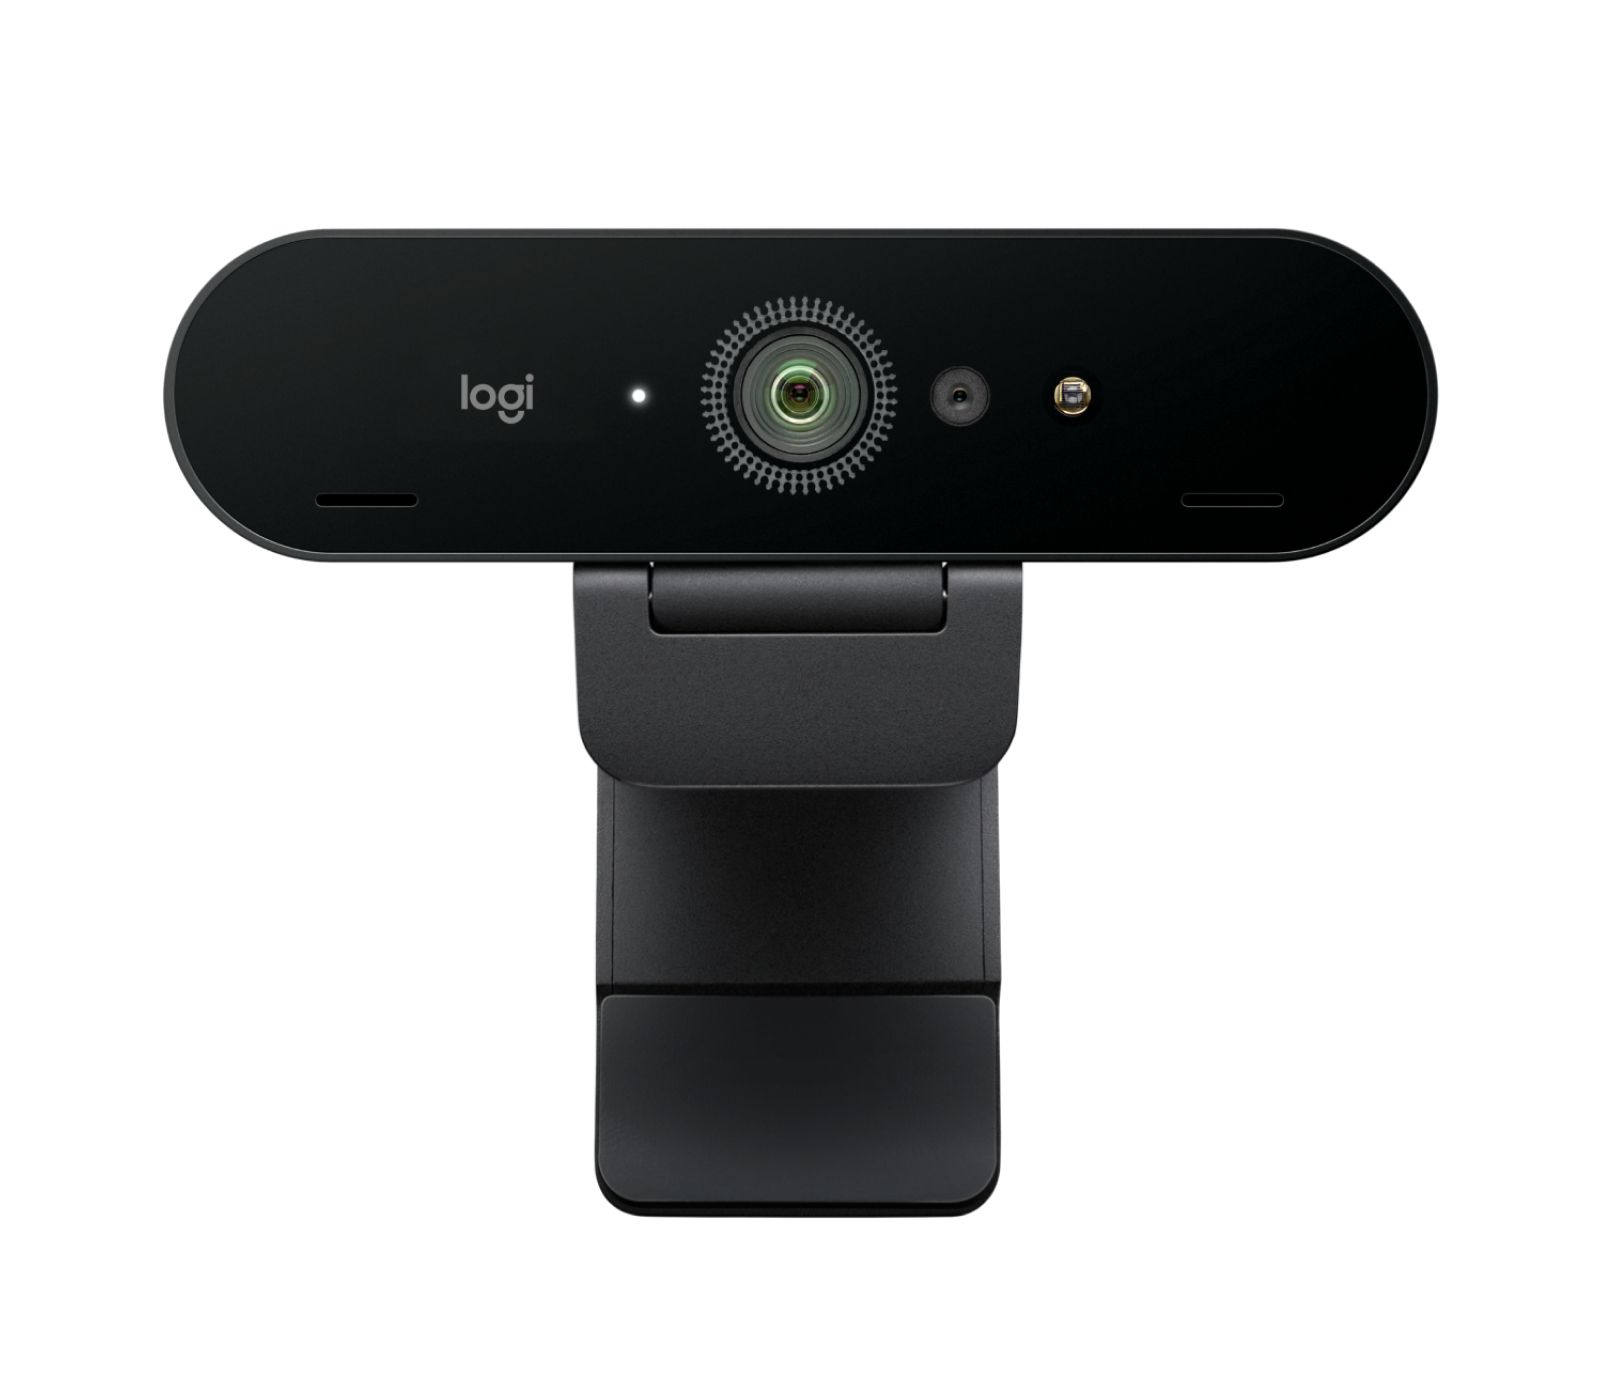
Logitech Brio is a top-of-the-line webcam that has gained popularity for its outstanding video quality and advanced features. Released in 2017, Logitech Brio set a new standard for webcams by offering 4K ultra-high-definition resolution and support for high dynamic range (HDR) imaging. It is designed to meet the demands of professional video conferencing, streaming, and content creation.
With Logitech Brio’s 4K resolution, you can enjoy incredibly sharp and detailed video, perfect for capturing every nuance and fine detail. Whether you are video conferencing with colleagues, live streaming to your audience, or creating content for your YouTube channel, Logitech Brio ensures that your visuals are crisp, vibrant, and lifelike.
In addition to its exceptional video quality, Logitech Brio offers advanced features that enhance your webcam experience. It boasts a premium glass lens that delivers razor-sharp focus and exceptional clarity. The camera also supports HDR, which expands the range of colors and contrasts, resulting in more accurate and vivid visuals.
Logitech Brio is equipped with advanced image sensors that optimize light and reduce noise, ensuring optimal performance even in challenging lighting conditions. Additionally, it features an adjustable field of view, allowing you to switch between 65, 78, and 90 degrees to fit your needs.
Another standout feature of Logitech Brio is its compatibility with Windows Hello, a biometric authentication system developed by Microsoft. With Windows Hello and Logitech Brio, you can use facial recognition to log into your Windows computer quickly and securely, eliminating the need for passwords.
Logitech Brio is compatible with various video conferencing applications and streaming platforms, including Skype, Zoom, Microsoft Teams, OBS, and more. It supports multiple connection options, including USB 3.0 Type-C and USB 2.0 Type-A, making it compatible with a wide range of devices.
Whether you are a professional in need of high-quality video for business meetings or a content creator seeking to elevate your livestreams and videos, Logitech Brio offers an unparalleled webcam experience. Its exceptional video capabilities, advanced features, and versatility make it an ideal choice for those who demand the best in video quality.
What is a 3D Scanner?
A 3D scanner is a device that captures the geometry and appearance of real-world objects and converts them into digital 3D models. Just as a traditional flatbed scanner captures the flat image of a document or photograph, a 3D scanner captures the three-dimensional shape and texture of an object.
There are two main types of 3D scanners: contact-based scanners and non-contact scanners. Contact-based scanners physically touch the object being scanned to capture its shape. These scanners use methods such as touch probes or structured light projection to capture the object’s surface details. On the other hand, non-contact scanners, like the Logitech Brio, capture the object’s shape without any physical contact.
Non-contact 3D scanners use various technologies to capture object data. One popular method is called structured light scanning, which involves projecting a pattern of light onto the object and analyzing how it distorts. Another method is photogrammetry, which involves capturing multiple images of the object from different angles and using software to calculate the object’s shape based on the variations between the images. There are also laser scanners that emit laser beams to measure distance and create a 3D representation of the object.
Once the 3D scanner gathers the data, it is processed using specialized software to create a digital 3D model. This model can then be edited, scaled, and manipulated as needed. The resulting 3D model can be used in various applications, such as 3D printing, virtual reality, animation, reverse engineering, quality control, and more.
3D scanning technology has brought immense possibilities to industries such as architecture, manufacturing, art and culture preservation, healthcare, and design. It allows for faster and more accurate prototyping and product development, enables the creation of customized and personalized products, and facilitates the preservation and documentation of historical artifacts.
With its ability to capture the shape and texture of objects in astonishing detail, a 3D scanner like Logitech Brio opens up a world of creative possibilities. From capturing realistic 3D scans of everyday objects to creating digital replicas of sculptures and artifacts, a 3D scanner empowers individuals and professionals to bring the physical world into the digital realm.
Why use Logitech Brio as a 3D Scanner?
Logitech Brio offers several compelling reasons to use it as a 3D scanner. Let’s explore why this versatile webcam is a great choice for capturing detailed and high-quality 3D scans.
1. High resolution: Logitech Brio’s 4K ultra-high-definition resolution allows for capturing scans with exceptional detail and clarity. Every intricate feature and texture of the scanned object is preserved, resulting in accurate and lifelike 3D models.
2. Easy setup and accessibility: Setting up Logitech Brio as a 3D scanner is straightforward. All you need is a computer with compatible software and the Logitech Brio webcam. This accessibility makes it an excellent choice for hobbyists, artists, and those who want to experiment with 3D scanning without investing in specialized equipment.
3. Cost-effective solution: Traditional 3D scanners can be quite expensive, making them inaccessible to many individuals and small businesses. Logitech Brio offers an affordable alternative without compromising on quality. By utilizing the webcam you already own, you can save significant costs while still achieving impressive 3D scans.
4. Versatility: Logitech Brio is not limited to 3D scanning—it is a versatile webcam that can also be used for video conferencing, live streaming, and content creation. This versatility makes it a valuable tool for those who want to explore various creative endeavors without investing in separate equipment.
5. Portability: Logitech Brio is a compact and portable device, allowing you to take your 3D scanning capabilities with you wherever you go. Whether you want to scan objects in your studio, at a client’s location, or during your travels, Logitech Brio provides flexibility and convenience.
6. Compatibility: Logitech Brio is compatible with a wide range of software applications, including popular 3D scanning and modeling software. This compatibility ensures that you can seamlessly integrate Logitech Brio into your existing workflow without any compatibility issues.
7. User-friendly interface: Logitech Brio is designed with user-friendliness in mind. Its intuitive interface and easy-to-use controls make it accessible to beginners and experienced users alike. You don’t need to be a technical expert to start scanning objects with Logitech Brio.
8. Support and Updates: Logitech is known for providing excellent customer support and regular software updates. This means that you can rely on continuous improvements and access to technical assistance if needed.
Overall, Logitech Brio’s high resolution, accessibility, cost-effectiveness, versatility, portability, compatibility, user-friendly interface, and reliable support make it an exceptional choice for those wanting to explore the world of 3D scanning. It unlocks a wide range of creative possibilities and democratizes 3D scanning by making it accessible to a broader audience.
Setting up Logitech Brio as a 3D Scanner
Setting up Logitech Brio as a 3D scanner is a straightforward process that requires a few essential steps. Follow the guide below to get started with transforming your webcam into a powerful 3D scanning tool.
1. Check system requirements: Ensure that your computer meets the system requirements for using Logitech Brio as a 3D scanner. This typically includes having a compatible operating system, sufficient processing power, and available USB ports.
2. Install Logitech Capture software: Download and install the Logitech Capture software from the Logitech website. This software provides advanced features and settings for your Logitech Brio webcam, including 3D scanning capabilities.
3. Connect Logitech Brio: Connect Logitech Brio to your computer using the provided USB cable. Make sure to plug the cable into a USB 3.0 port for optimal performance.
4. Launch Logitech Capture and select 3D scanning mode: Open the Logitech Capture software on your computer. In the software interface, locate the ‘Mode’ menu and select the 3D scanning mode. This mode enables the necessary settings for capturing 3D scans.
5. Position the object: Place the object you want to scan in front of the webcam. Ensure that it is well-lit and positioned in the center of the frame. A stable and non-reflective surface is also recommended to achieve accurate scans.
6. Adjust settings: In the Logitech Capture software, you can adjust various settings to optimize the scanning process. Experiment with the resolution, frame rate, and exposure settings to find the best configuration for your specific scanning needs.
7. Start scanning: Once you have positioned the object and adjusted the settings, you are ready to start scanning. Click on the ‘Capture’ button in the Logitech Capture software to begin capturing the 3D scan. Slowly rotate the object or move the webcam around the object to capture multiple angles.
8. Capture multiple scans: For more detailed and accurate 3D scans, it is recommended to capture multiple scans from different angles. This allows the software to stitch the individual scans together and create a complete 3D model.
9. Review and refine scans: After capturing the scans, review them in the Logitech Capture software. You can rotate, scale, and refine the scans to ensure that they are accurate and free from any artifacts or imperfections.
10. Save and export: Once you are satisfied with the 3D scans, save them in a suitable format, such as .stl or .obj. These file formats are compatible with various 3D modeling and printing software. You can also export the scans for further processing or editing in other applications.
With these simple steps, you can set up Logitech Brio as a 3D scanner and start capturing impressive three-dimensional scans. Remember to experiment with different settings and techniques to achieve the best results, and have fun exploring the exciting possibilities that Logitech Brio offers as a 3D scanning tool.
Scanning Objects with Logitech Brio
Scanning objects with Logitech Brio is an exciting process that allows you to capture detailed 3D scans of real-world objects and bring them into the digital realm. Follow these steps to make the most out of your Logitech Brio as a 3D scanner:
1. Prepare the object: Before scanning, ensure that the object is clean and free from any debris or dust. Smooth surfaces and matte finishes are generally easier to scan, as they reduce reflections and produce more accurate results. If necessary, consider using a turntable to rotate the object smoothly during the scanning process.
2. Set up the lighting: Adequate lighting is crucial for capturing high-quality scans. Position the object in a well-lit area, preferably using diffused lighting to minimize harsh shadows and reflections. Experiment with different light angles and intensities to find the optimal setup for your specific object.
3. Position the webcam: Place the Logitech Brio webcam in a stable position, ensuring that it is aligned with the object you want to scan. It is recommended to use a tripod or any other stable surface to prevent unnecessary movement, which can affect the scan quality. Ideally, position the webcam at a distance and angle that captures the object in its entirety.
4. Adjust Logitech Capture settings: Open the Logitech Capture software and access the 3D scanning mode. Adjust the settings, such as resolution, frame rate, and exposure, to optimize the scan quality based on the lighting conditions and object characteristics. Experiment with these settings to achieve the desired level of detail.
5. Start capturing the scan: Once everything is set up, start capturing the scan by clicking on the “Capture” button in the Logitech Capture software. Slowly rotate the object on the turntable or manually move the webcam around the object, ensuring that all angles are captured. Take your time to capture multiple scans from different perspectives for a more complete 3D model.
6. Review and refine scans: After capturing the scans, review them in the Logitech Capture software. Check for any areas that may have been missed or require additional detail. Use the software’s capabilities to refine the scans, align them properly, and remove any unwanted artifacts or noise.
7. Combine and process the scans: In order to create a complete 3D model, you need to combine the individual scans into a single cohesive mesh. Use 3D scanning or modeling software (such as MeshLab, 3D Builder, or Blender) to align and merge the scans together. This process may involve cleaning up the mesh and filling in any gaps or holes in the model.
8. Export and further processing: Once you have a complete and refined 3D model, you can export it in a compatible file format, such as .stl or .obj. This allows you to use the scan in various applications, including 3D printing, virtual reality, animation, or further editing in 3D modeling software.
By following these steps, you can effectively scan objects using Logitech Brio and unlock the potential of 3D scanning. Experiment with different objects, lighting setups, and scanning techniques to refine your skills and capture stunning 3D representations of the physical world.
Tips and Tricks for Using Logitech Brio as a 3D Scanner
Here are some valuable tips and tricks to help you make the most out of your Logitech Brio webcam when using it as a 3D scanner:
1. Use a controlled environment: Create a controlled environment with consistent lighting conditions when scanning objects. This helps maintain consistency and accuracy in your scans. Minimize external light sources that could cause unwanted reflections or shadows on the object.
2. Experiment with different backgrounds: Test different background options to find the one that works best with your object. A plain, non-reflective background can help the scanner focus on capturing the details of the object more accurately.
3. Use a turntable: If you have smaller objects to scan, consider using a turntable to rotate the object smoothly while the webcam captures the scans. This ensures that you capture a complete 360-degree view of the object, resulting in more detailed and uniform scans.
4. Maintain a consistent distance: Try to maintain a steady distance between the webcam and the object throughout the scanning process. This helps ensure consistent focus and scale in the resulting 3D scans.
5. Optimize the settings: Experiment with the Logitech Capture software settings to optimize the scan quality. Adjust the resolution, frame rate, exposure, and other settings based on the specific object and lighting conditions to achieve the desired level of detail in your scans.
6. Capture multiple angles: To capture more accurate and detailed scans, capture the object from multiple angles. This allows the software to create a more precise and complete 3D model by aligning the different scans together. Aim to capture at least 8-12 scans from various angles for best results.
7. Clean up the scans: Use the editing features in the Logitech Capture software or additional 3D modeling software to clean up the scans. Remove any unwanted artifacts, noise, or holes in the mesh to create a clean and accurate 3D model.
8. Experiment with different objects: Don’t limit yourself to scanning a single type of object. Explore a variety of objects with different shapes, textures, and sizes. This allows you to learn more about the capabilities and limitations of Logitech Brio as a 3D scanner and expand your scanning skills.
9. Learn from others: Join online communities, forums, or groups dedicated to 3D scanning and Logitech Brio. Engage in discussions, share your scans, and learn from others’ experiences and tips to enhance your scanning techniques.
10. Practice, practice, practice: Like any skill, mastering 3D scanning takes practice. Experiment with different techniques, settings, and objects to improve your scanning abilities. Don’t be afraid to make mistakes and learn from them as you refine your scanning process.
By applying these tips and tricks, you can optimize your Logitech Brio webcam for 3D scanning and achieve high-quality, detailed scans. Remember, practice and experimentation are key to unlocking the full potential of Logitech Brio as a 3D scanning tool.
Processing and Editing 3D Scans
Once you have captured 3D scans using Logitech Brio, the next step is to process and edit them to create a final 3D model that meets your requirements. Here are some important steps and techniques to help you effectively process and edit your 3D scans:
1. Import the scans into 3D software: Open your preferred 3D scanning or modeling software, and import the individual scans captured with Logitech Brio. Ensure that the software supports the file format used for exporting the scans, such as .stl or .obj.
2. Align the scans: Use the software’s alignment tools to align the individual scans together. The software will analyze the overlapping areas in the scans and align them to create a more complete 3D representation of the object.
3. Clean up the mesh: Scan data may have imperfections, such as holes, noise, or unwanted artifacts. Utilize the software’s mesh cleaning or repair functions to remove any visible flaws. Fill in gaps, patch holes, and remove unwanted elements to create a clean and accurate mesh.
4. Refine the geometry: After cleaning up the mesh, you can further refine the geometry of the 3D model. Use tools like smoothing, subdivision, or sculpting to enhance the details and improve the overall quality of the model.
5. Texture mapping: If the scans captured by Logitech Brio include color or texture information, you can use software tools to map the textures onto the 3D model. This process enhances the realism of the 3D model by applying the captured textures to the corresponding areas on the geometry.
6. Adjust the scale: Check the scale of your 3D model and adjust it if necessary. Ensure that the size of the model accurately corresponds to the real-world object. Some software may allow you to scale the model manually or input specific measurements to ensure accuracy.
7. Optimize the polygon count: Depending on your intended use for the 3D model, you may need to optimize the polygon count. Reduce the number of polygons while preserving the overall shape and details. This helps in reducing file size and improving performance in applications that require real-time rendering or 3D printing.
8. Export the final 3D model: Once you are satisfied with the processing and editing of your 3D scans, export the final model in the desired file format. Common formats include .stl, .obj, or .fbx, depending on your intended use for the model.
9. Review and fine-tune: Take time to review the final 3D model and make any necessary adjustments. Examine the model from different angles and lighting conditions to ensure its quality and accuracy. Make any additional refinements or edits to perfect the model.
10. Save your work: Finally, save your processed and edited 3D scans to preserve your work. It is always a good practice to create backups of your files and maintain an organized file structure for easy access and future modifications.
By following these steps and utilizing the tools available in 3D scanning or modeling software, you can transform your Logitech Brio scans into refined and professional-looking 3D models. Remember to experiment, learn from your experiences, and take advantage of the wide range of editing techniques available to achieve the desired results.
Creative Applications of Logitech Brio as a 3D Scanner
Logitech Brio, with its high-resolution capabilities and versatility, opens up numerous creative applications beyond traditional video conferencing and content creation. Here are some exciting ways you can leverage Logitech Brio as a 3D scanner:
1. 3D Printing: Use Logitech Brio to capture 3D scans of objects and transform them into printable 3D models. Whether you want to create custom miniatures, prototypes, or artistic sculptures, Logitech Brio’s detailed scans serve as a valuable resource for 3D printing enthusiasts and professionals.
2. Virtual Reality (VR) and Augmented Reality (AR): Combine Logitech Brio’s 3D scans with VR and AR technologies to create immersive experiences. By scanning real-world objects and integrating them into virtual or augmented environments, you can enhance the realism and interactivity of your VR or AR projects.
3. Digital Art and Animation: Logitech Brio’s 3D scans provide a rich source of reference material for digital artists and animators. By importing the scans into 3D modeling software, you can use them as the foundation for creating unique and lifelike digital characters, environments, and animations.
4. Cultural Preservation: Logitech Brio can contribute to the preservation of cultural heritage by capturing 3D scans of historical artifacts, sculptures, and monuments. These scans can serve as digital archives, allowing for the preservation and documentation of cultural items for future generations.
5. Product Design and Prototyping: Rapidly prototype designs by scanning physical objects and using Logitech Brio’s scans as a reference for creating 3D models. This allows designers to iterate quickly and accurately, reducing the time and cost associated with traditional prototyping methods.
6. Educational Purposes: Logitech Brio can be a valuable tool for educators and students to explore the realms of 3D scanning and modeling. It enables students to capture and study real-world objects, fostering hands-on learning and sparking creativity in various subjects such as art, history, archaeology, and engineering.
7. Gaming and Interactive Experiences: Incorporate Logitech Brio’s 3D scans into gaming or interactive experiences by integrating real-world objects or environments. This can provide players with a more immersive and realistic gameplay experience.
8. Photography and Visual Effects: Logitech Brio’s high-resolution scans can serve as assets for photographers and visual effects artists. They can be used to create digital backdrops, 3D compositions, or integrated into photography and VFX workflows to enhance the visual elements of their work.
9. Virtual Tours and E-commerce: Logitech Brio’s 3D scans can be utilized to create virtual tours of real estate properties, museums, exhibitions, or product showcases. This immersive experience allows viewers to explore spaces or products remotely, enhancing engagement and supporting e-commerce activities.
10. Creative Experiments and Art Installations: With Logitech Brio as a 3D scanner, artists can push the boundaries of creativity by capturing unconventional objects, experimenting with different materials, textures, and scales. The resulting scans can be the basis for unique art installations and innovative mixed-media creations.
With Logitech Brio as a 3D scanner, the creative possibilities are extensive and limited only by your imagination. Dare to explore new horizons and leverage the power of Logitech Brio to advance your creative endeavors in exciting and unique ways.
Conclusion
Logitech Brio, with its exceptional video quality and advanced features, proves to be more than just a webcam for video conferencing. By harnessing its capabilities, you can transform Logitech Brio into a powerful 3D scanner, opening up a world of creative possibilities. Whether you are a hobbyist, designer, or enthusiast, Logitech Brio offers an accessible and cost-effective solution for capturing detailed and high-quality 3D scans.
In this guide, we explored the process of setting up Logitech Brio as a 3D scanner, capturing 3D scans of objects, and processing and editing the scans to create refined 3D models. We discussed tips and tricks to optimize the scanning process, as well as creative applications that take advantage of Logitech Brio’s capabilities.
Logitech Brio’s high-resolution capabilities, ease of use, and compatibility with different software applications make it a valuable tool for those interested in 3D scanning. From 3D printing and virtual reality to product design and cultural preservation, Logitech Brio opens up diverse avenues for creativity and innovation.
As technology continues to advance, Logitech Brio’s versatility and potential as a 3D scanner continue to grow. By embracing the possibilities offered by Logitech Brio, you can explore new horizons, unleash your creativity, and bring the physical world into the digital realm.
So, go ahead and embark on your 3D scanning journey with Logitech Brio. With practice, experimentation, and a willingness to push boundaries, you can achieve remarkable results and discover the true potential of Logitech Brio as a 3D scanning tool.