Introduction
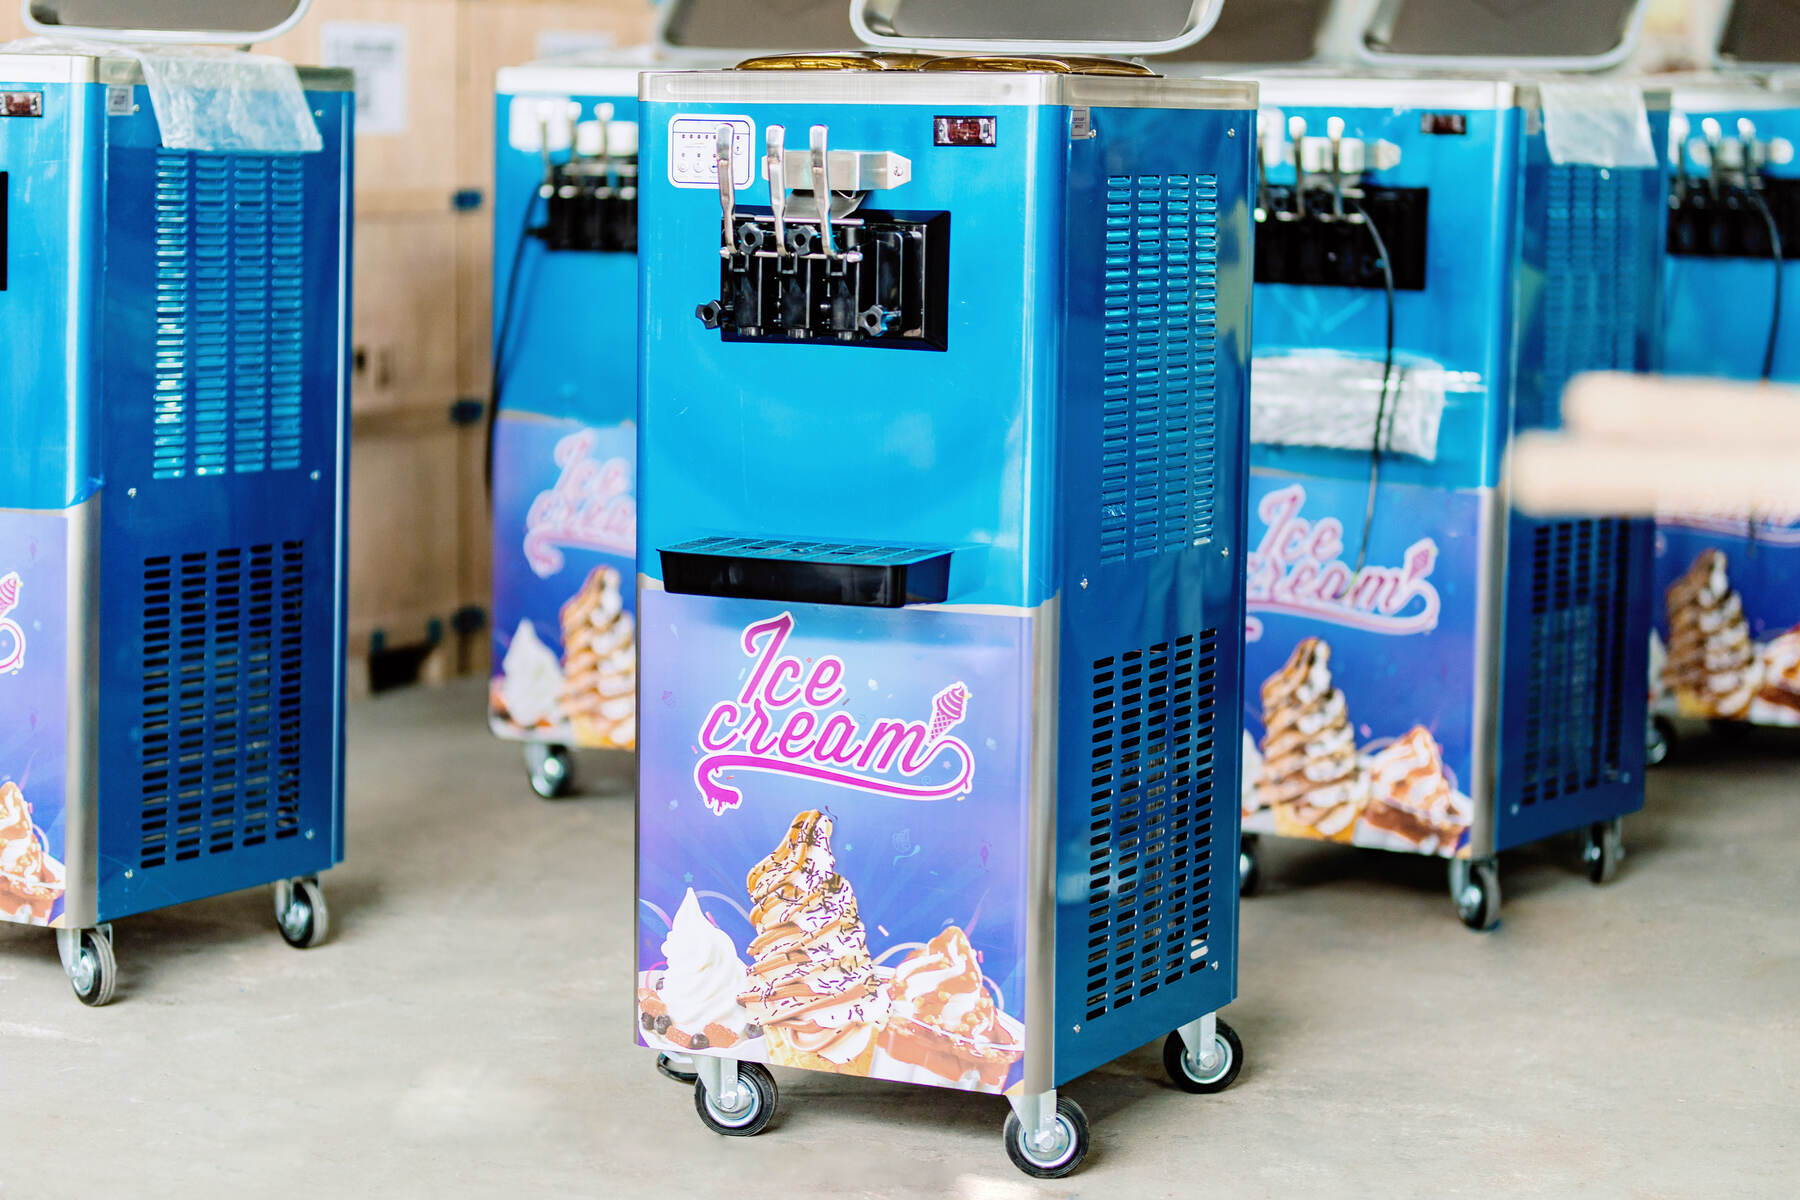
Welcome to the wonderful world of commercial ice cream making! Whether you are starting your own ice cream business or simply want to enjoy the freedom of creating your own delicious frozen treats at home, a commercial ice cream maker is an invaluable tool for turning your dreams into reality. With its powerful motor and advanced freezing technology, this machine allows you to produce large quantities of smooth and creamy ice cream in no time.
In this guide, we will walk you through the step-by-step process of using a commercial ice cream maker effectively. From understanding the machine’s components to preparing the ingredients, from monitoring the freezing process to adding exciting mix-ins, we will cover all the essential aspects to help you create perfect ice cream every time.
Having a good understanding of your ice cream maker is crucial before you dive into the creative process. This will help you maximize its potential and achieve consistently great results. We will explain the main components of the machine and its functionalities to ensure you are familiar with its operation.
Preparing your ingredients is another important step to guarantee delicious ice cream. We will provide tips on selecting high-quality ingredients and share some tried-and-true recipes to inspire you. Additionally, we will guide you through the process of pre-chilling the machine to ensure optimal freezing conditions for your ice cream mixture.
Once your ingredients are ready, it’s time to add them to the machine and start the churning process. We will explain the appropriate techniques for adding your mixture to the machine and how to properly operate the controls. You’ll also learn how to monitor the freezing process and make adjustments if needed.
If you are feeling adventurous, we will explore the option of adding mix-ins to your ice cream for an extra flavor and texture boost. From chocolate chips to cookie dough, the possibilities are endless. We will provide tips on when and how to incorporate these tasty additions into your frozen treat.
After churning, extracting the ice cream from the machine is the next step. We will walk you through the process of safely removing the frozen dessert from the machine and transferring it to storage containers. Proper storage and serving techniques will be discussed to ensure your ice cream retains its optimal texture and flavor.
Cleaning and maintaining your commercial ice cream maker is essential for its longevity and performance. We will provide guidelines on effectively cleaning the machine and maintaining its components to keep it running smoothly for years to come.
In an unfortunate event of encountering any issues while using your commercial ice cream maker, we’ve got you covered. We will address some common troubleshooting tips to help you resolve minor problems and get back to making delicious frozen treats in no time.
Now that we have covered the basics, it’s time to dive in and unleash your creativity with your commercial ice cream maker. Get ready to indulge in the sweet delight of homemade ice cream!
Understanding your commercial ice cream maker
Before you begin using your commercial ice cream maker, it’s important to familiarize yourself with its various components and functionalities. By understanding how the machine works, you’ll be able to make the most out of its capabilities and create delicious frozen desserts with ease.
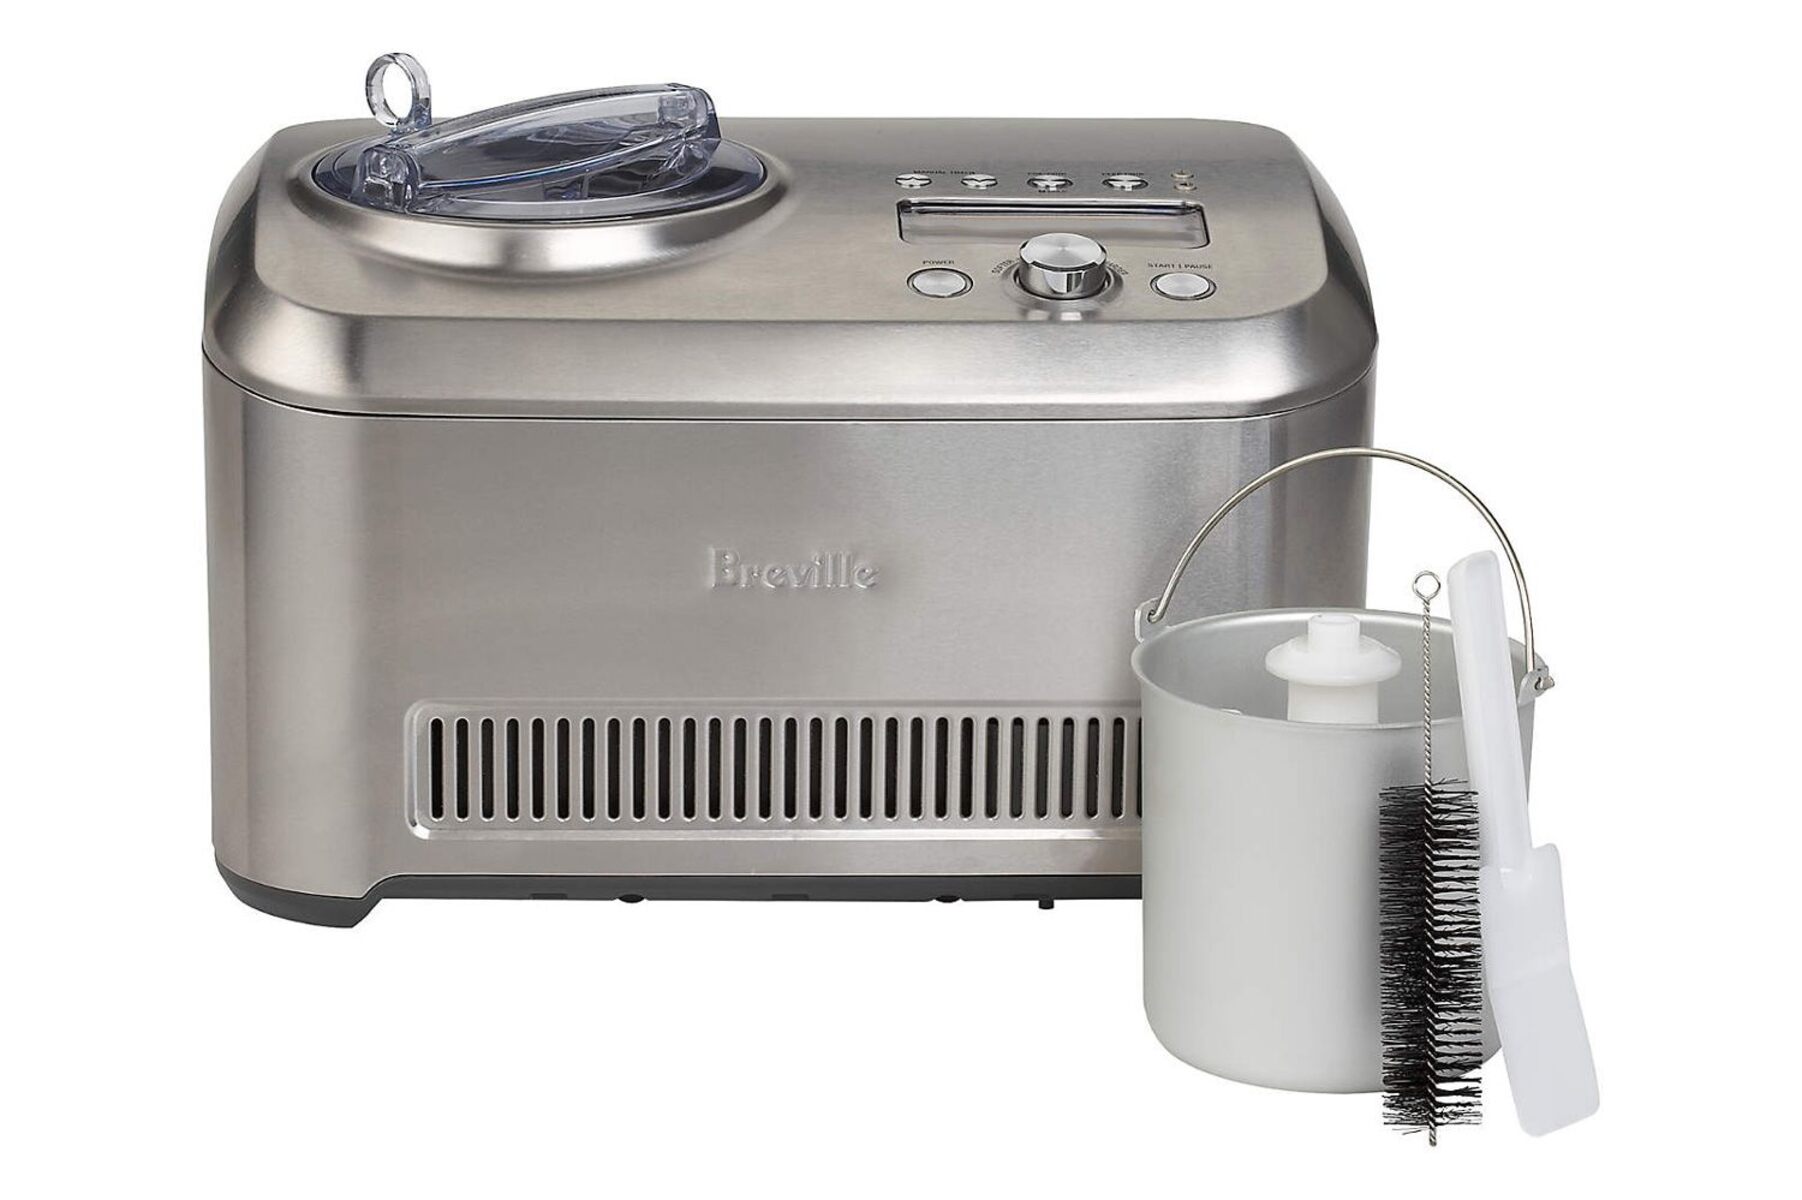
The main components of a commercial ice cream maker typically include:
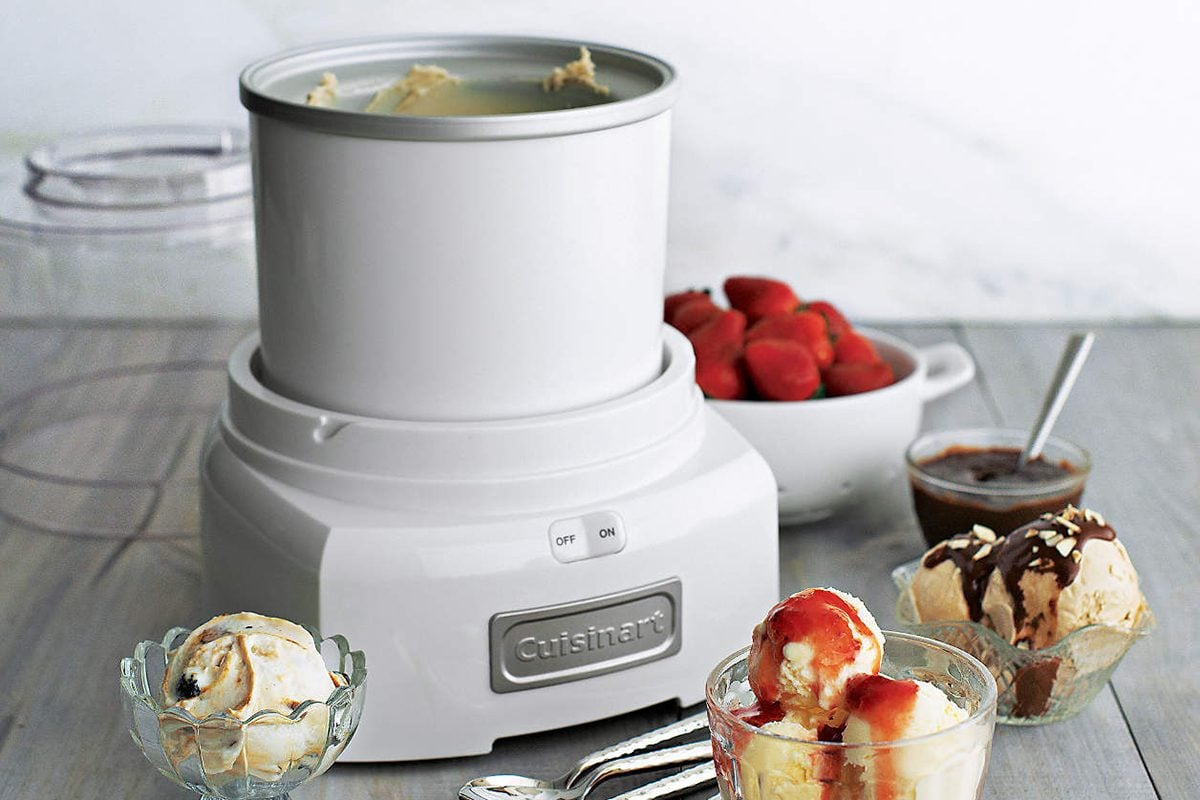
- Freezing Canister: This is the container where the ice cream mixture is placed for freezing. It is usually made of stainless steel and is double-walled to provide efficient freezing.
- Dasher or Paddle: The dasher or paddle is responsible for churning the ice cream mixture inside the freezing canister. It helps incorporate air into the mixture, resulting in a creamy and smooth texture.
- Motor: The motor powers the rotation of the dasher or paddle, ensuring that the mixture is evenly churned and frozen throughout the freezing process.
- Control Panel: The control panel allows you to set and adjust the freezing time, temperature, and other settings depending on the model of your machine. It is important to familiarize yourself with the control panel to operate the machine efficiently.
- Lid: The lid seals the freezing canister, preventing any ice and salt or pre-frozen mixture from escaping during the churning process.
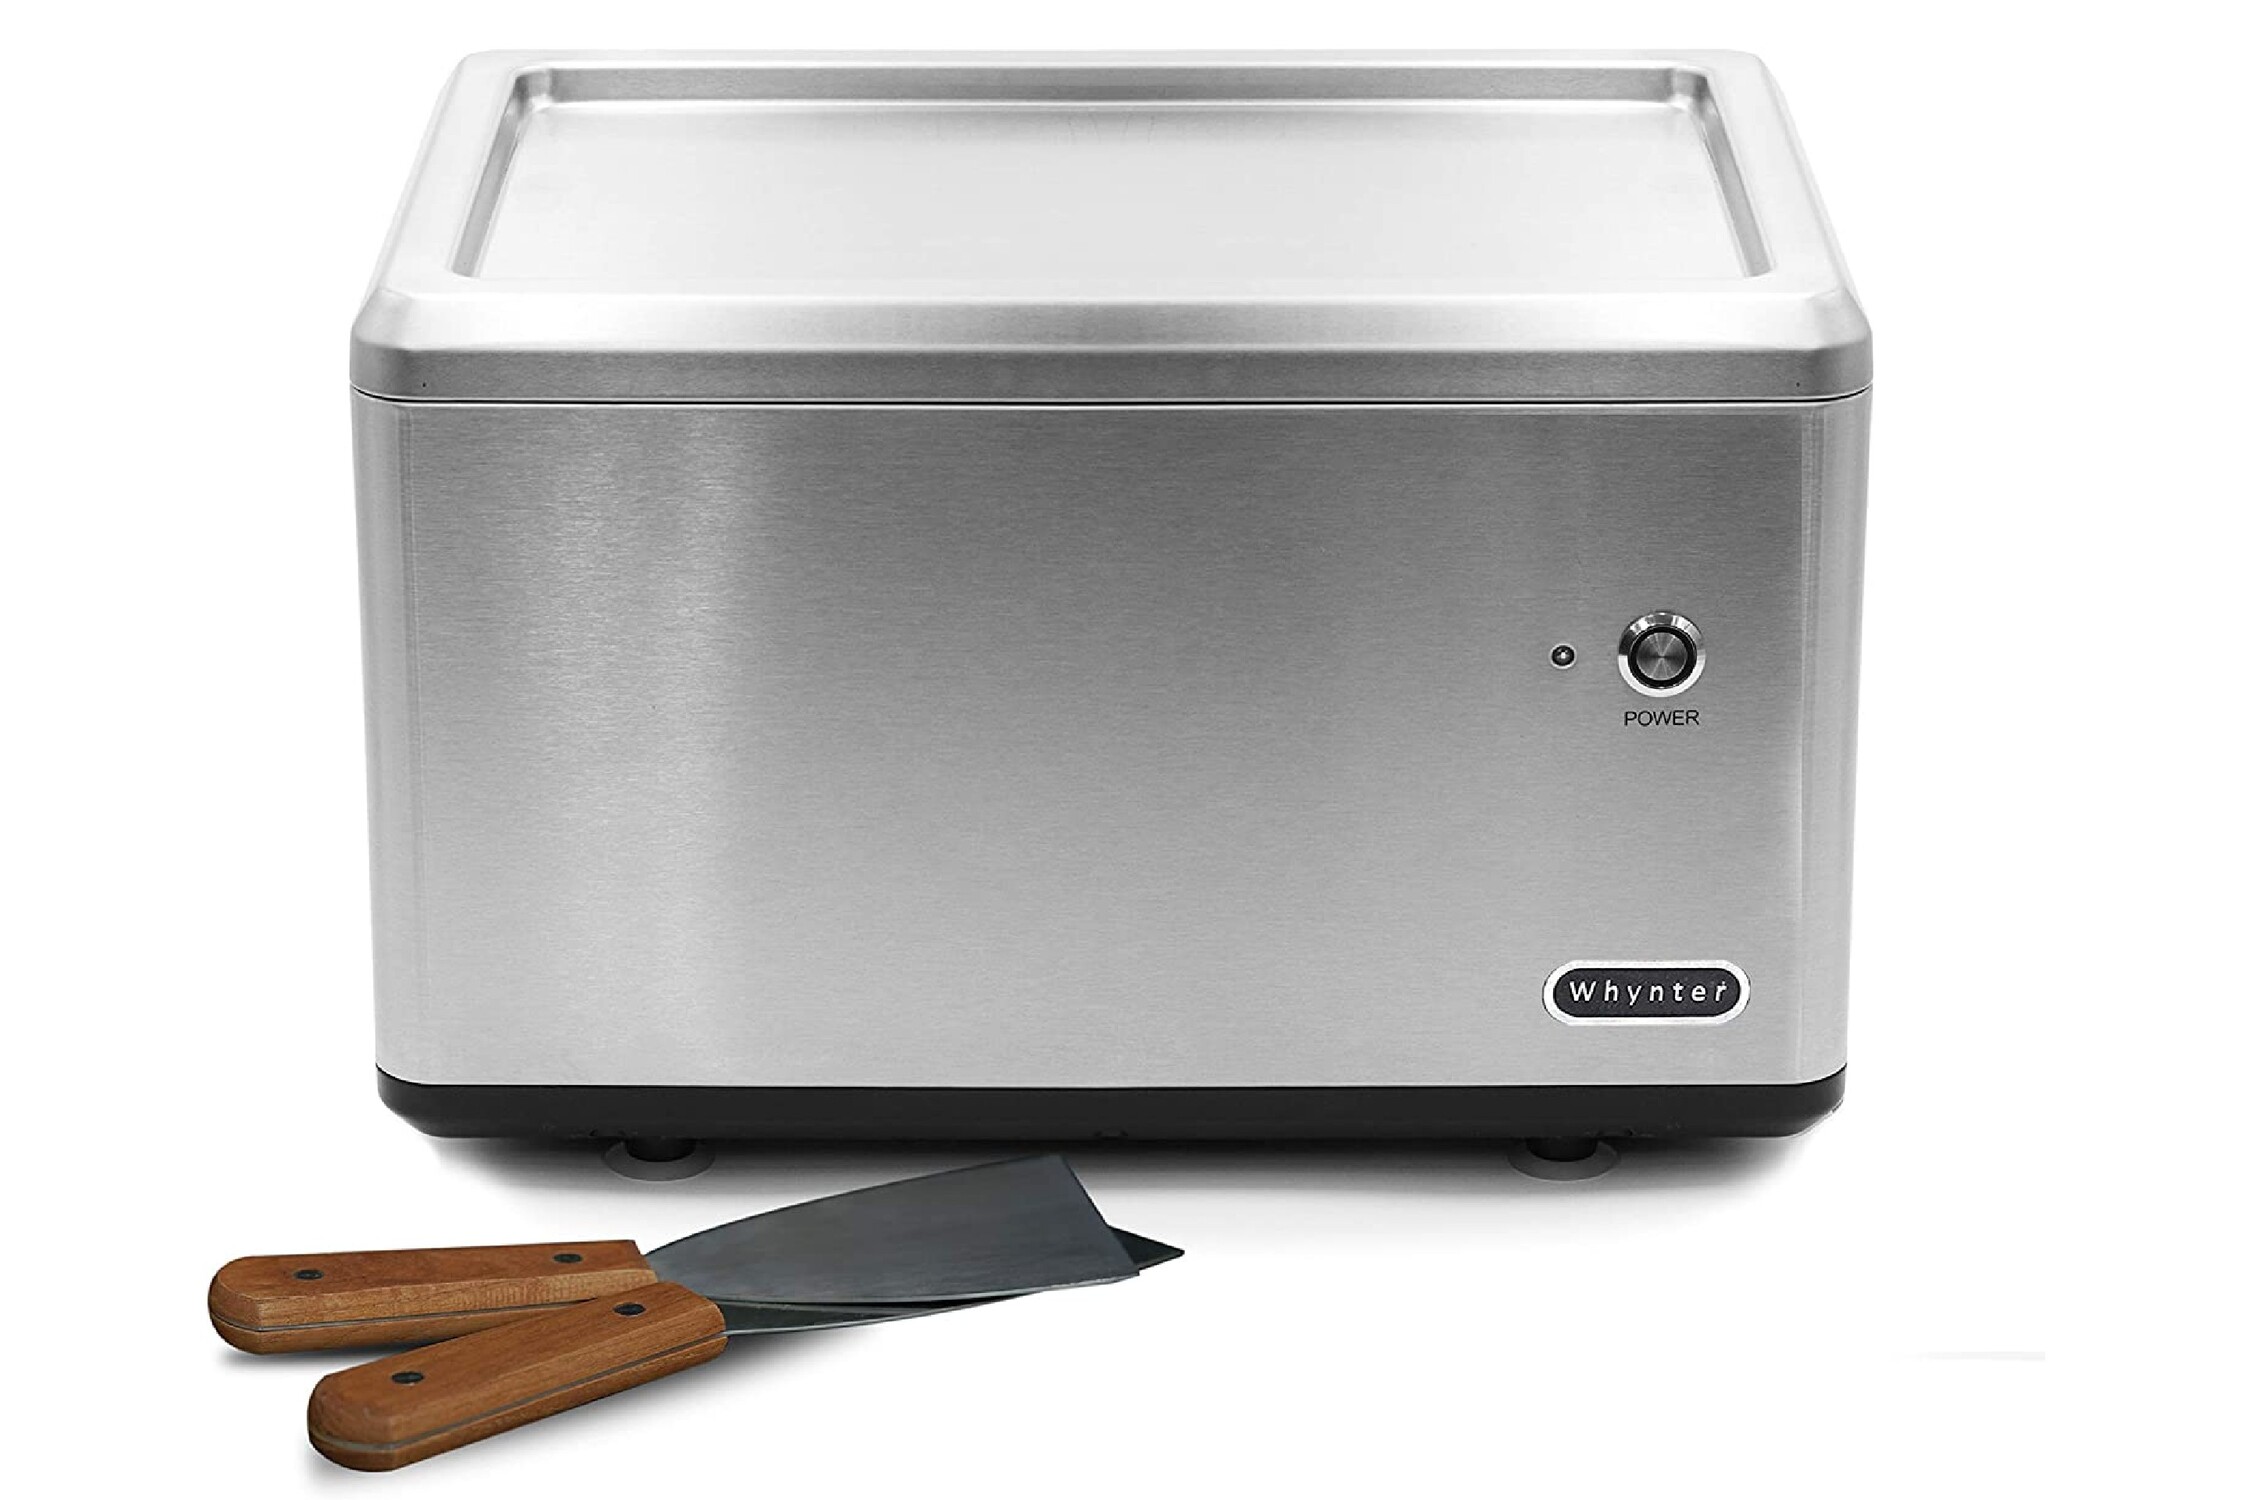
- Exterior Housing: The exterior housing encloses all the components of the ice cream maker and provides stability and protection during operation.
Commercial ice cream makers come in various sizes and capacities, so be sure to check the specifications of your machine to understand its limitations and capabilities. Some machines also have additional features, such as timers, digital displays, and automatic shut-off functions, which can further enhance your ice cream-making experience.
Take the time to read the user manual that comes with your machine. It will provide you with valuable information specific to your model, including the recommended freezing times, cleaning instructions, and any special features or considerations.
Understanding the freezing process of a commercial ice cream maker is key to creating the perfect ice cream. When the mixture is poured into the freezing canister, the dasher or paddle begins to rotate, incorporating air into the mixture while cooling it down. The freezing canister is typically filled with a mixture of ice and salt to create a freezing environment that solidifies the ice cream mixture.
Keep in mind that the freezing time can vary depending on factors such as the temperature of the mixture, the quantity being frozen, and the desired consistency. It is important to refer to the recommended freezing times in your machine’s manual and make adjustments as needed to achieve the desired results.
Now that you have a better understanding of your commercial ice cream maker, you’re ready to dive into the exciting process of making your own ice cream. In the next section, we’ll guide you through preparing the ingredients for your frozen treat.
Preparing your ingredients
Preparing high-quality ingredients is the foundation for creating delicious ice cream with your commercial ice cream maker. By using fresh and flavorful ingredients, you’ll enhance the taste and texture of your frozen treat. Let’s dive into the essential steps of ingredient preparation.
1. Selecting your ingredients: Start by choosing the best ingredients for your ice cream. Use fresh dairy products like milk, cream, and eggs for a rich and creamy base. Select high-quality fruits, nuts, chocolates, or other mix-ins to add flavor and texture to your ice cream. Opt for organic and locally sourced ingredients whenever possible for the best taste.
2. Measuring and scaling: Accurate measurements are crucial for achieving the perfect balance of flavors in your ice cream. Use a kitchen scale or measuring cups to ensure you’re adding the right amount of each ingredient. Follow the recipe closely for precise measurements, or experiment with your own ratios to create unique flavors.
3. Mixing and blending: Before adding the ingredients to your ice cream maker, it’s important to mix and blend them properly. Whisk together the milk, cream, sugar, and any flavoring extracts to ensure they are well combined. For recipes that require heating, such as custard-based ice creams, follow the specific instructions to bring the mixture to the desired temperature.
4. Chilling the mixture: To achieve a smooth and creamy texture in your ice cream, it’s crucial to chill the mixture before pouring it into the freezing canister. Place the mixture in the refrigerator for at least a few hours or overnight to allow the flavors to meld and the mixture to become properly chilled.
5. Variations and adaptations: Don’t be afraid to get creative with your ingredient choices. Experiment with different flavors, such as adding spices, extracts, or even alcoholic spirits to your ice cream base. You can also create unique combinations by mixing in fresh fruits, crushed cookies, or swirls of chocolate or caramel sauce during the churning process.
Pro tip: For optimal results, ensure that your ingredients are at room temperature before mixing and chilling them. This will help the flavors blend together more effectively and prevent the ice cream from freezing too quickly in the machine.
Now that your ingredients are prepared, and your ice cream base is chilled, you’re ready to move on to the next step: pre-chilling the ice cream maker. We’ll explore this process in the following section.
Pre-chilling the machine
Before you start churning your ice cream mixture, it’s important to pre-chill the commercial ice cream maker to ensure optimal freezing conditions. This step helps the machine reach the desired temperature more quickly, allowing for a smoother freezing process and better texture in your ice cream. Follow these guidelines to pre-chill your machine effectively.
1. Clean the machine: Start by ensuring that the machine is clean and free from any residue or ice cream remnants. Refer to the manufacturer’s instructions for the appropriate cleaning process for your specific model. A clean machine will ensure that your ice cream remains fresh and uncontaminated.
2. Place the freezing canister in the freezer: Most commercial ice cream makers require the freezing canister to be placed in the freezer for a specific amount of time before use. This allows the canister to become sufficiently cold and ready for churning. Consult your machine’s user manual for the recommended pre-freezing time. Typically, it ranges from 12 to 24 hours.
Pro tip: It’s a good idea to keep the freezing canister in the freezer at all times, so it’s always ready whenever you crave homemade ice cream.
3. Adjust any settings: If your commercial ice cream maker has any adjustable settings or controls, such as a timer or temperature control, ensure that they are set according to the recommended settings for your specific recipe. Some machines may have a pre-cool or pre-chill function that you can activate to prepare the machine for use.
4. Keep ingredients and mix-ins chilled: While pre-chilling the machine, it’s essential to keep your ice cream mixture and any mix-ins refrigerated. This helps maintain their freshness and prevents premature melting during the churning process.
5. Check the temperature: Once the recommended pre-freezing time has elapsed, check the temperature of the freezing canister with a kitchen thermometer. It should be frozen solid or at the optimal temperature range specified in your machine’s instructions.
6. Assembly and readiness: Once the machine and freezing canister are properly chilled, assemble the ice cream maker according to the manufacturer’s instructions. Ensure that all components, such as the dasher or paddle, are securely attached.
Pre-chilling your commercial ice cream maker is a crucial step in achieving the best results. It ensures that the freezing process begins promptly, allowing the ice cream mixture to freeze evenly and produce a creamy texture.
Now that your machine is pre-chilled and ready to go, it’s time to add your prepared ice cream mixture and start the churning process. In the next section, we’ll guide you through the steps of adding the mixture to the machine and operating the controls effectively.
Adding the mixture to the machine
With your commercial ice cream maker pre-chilled and ready, it’s time to add your prepared ice cream mixture and begin the churning process. This step is crucial in ensuring that your ice cream freezes evenly and achieves a smooth and creamy texture. Follow these steps to add the mixture to the machine effectively.
1. Remove the freezing canister from the freezer: Start by taking the pre-chilled freezing canister out of the freezer. Handle it with care as it will be extremely cold.
2. Attach the dasher or paddle: Attach the dasher or paddle to the motor shaft inside the freezing canister. Ensure that it is secured tightly to avoid any issues during the churning process.
3. Pour the mixture into the freezing canister: Slowly pour your prepared ice cream mixture into the freezing canister. Be careful not to overfill it, as the mixture will expand during churning. Leave some space at the top to allow for proper expansion and aeration.
4. Secure the lid: Place the lid securely onto the freezing canister to prevent any leaks or spills during the churning process. Check that it is tightly fitted to maintain a stable environment inside the machine.
5. Power on the machine: Depending on your machine’s design, either plug it into a power outlet or turn it on using the designated power switch. Make sure the machine is positioned on a stable surface that allows for proper ventilation during operation.
Pro tip: It’s a good practice to have the machine plugged in and turned on before pouring the mixture into the canister. This way, you can pour the mixture quickly to minimize the time it takes to start churning.
6. Start the churning process: Once the machine is powered on, initiate the churning process according to the instructions provided with your specific model. This may involve pressing a start button, adjusting the timer or speed settings, or following a specific sequence of steps.
7. Monitor the churning: Keep a close eye on the churning process as it unfolds. Watch for the ice cream mixture to thicken and increase in volume. The churning time can vary depending on the recipe and the capacity of your machine. Refer to the recommended times in your machine’s instructions, but be prepared to make adjustments based on the consistency you desire.
8. Avoid over-churning: Do not be tempted to over-churn your ice cream mixture. While it may seem like longer churning will result in a smoother texture, over-churning can actually lead to the development of ice crystals and a grainy texture. Follow the recommended churning times to achieve the best results.
Now that your mixture is in the machine and the churning process is underway, it’s time to monitor the freezing process to ensure your ice cream reaches the desired consistency. In the next section, we’ll guide you through the steps of monitoring the freezing process effectively.
Churning the ice cream
The churning process is a crucial step in creating smooth and creamy ice cream with your commercial ice cream maker. During this stage, air is incorporated into the mixture, giving the ice cream its light and fluffy texture. Follow these steps to ensure successful churning of your ice cream.
1. Observe the consistency: As the machine churns, keep an eye on the consistency of the ice cream mixture. It will gradually thicken and increase in volume. Watch for the desired soft-serve consistency, where the mixture is smooth and holds its shape but is still soft and creamy.
2. Adjust churning time if needed: The churning time can vary depending on the recipe, the quantity of the mixture, and the capabilities of your machine. Refer to the recommended churning times in your machine’s instructions as a starting point. However, be prepared to make adjustments based on the consistency you desire. If your ice cream is still too soft after the recommended time, continue churning in small increments until the desired consistency is reached.
3. Avoid opening the machine unnecessarily: While it may be tempting to check on the progress of your ice cream frequently, avoid opening the machine unnecessarily. Opening the lid can cause temperature fluctuations and disrupt the churning process, resulting in inconsistent freezing and potentially affecting the texture of your ice cream. Only check the ice cream occasionally and if necessary.
4. Be mindful of the room temperature: The temperature of the room can affect the churning process. If the room is warm, the ice cream may melt more quickly, so it’s important to work efficiently. Alternatively, if the room is too cold, it may slow down the freezing process. Ideally, the room temperature should be moderate, around 68-72°F (20-22°C), for optimal churning results.
5. Take advantage of any adjustable settings: Some commercial ice cream makers have adjustable settings such as speed controls or timers. Experiment with these settings to achieve the desired consistency. Higher-speed settings can result in faster churning and aerating of the mixture, while lower speeds can produce a denser and smoother texture. Refer to your machine’s instructions for guidance on adjusting these settings.
6. Incorporate any mix-ins: If you plan to add mix-ins, such as chocolate chips, nuts, or cookie dough, it’s best to add them towards the end of the churning process. Typically, in the last 5 minutes of churning, slowly pour in the mix-ins through the lid chute or add them manually while the dasher is still rotating. This ensures that the mix-ins are evenly distributed throughout the ice cream.
Pro tip: It’s a good idea to have your mix-ins prepared and ready to go while the ice cream is churning so that you can add them promptly.
Once the desired consistency is achieved, it’s time to move on to the next step: monitoring the freezing process. We’ll explore this in the following section.
Monitoring the freezing process
Monitoring the freezing process is crucial to ensure that your ice cream reaches the desired level of firmness and consistency. By keeping a close eye on the freezing process, you can make necessary adjustments and achieve perfect results with your commercial ice cream maker. Follow these guidelines for effective monitoring of the freezing process.
1. Observe the texture: As the churning process progresses, pay attention to the texture of the ice cream. It should gradually thicken and become more solid as it freezes. Monitor the consistency to ensure that it is not too soft or too firm. The ideal texture should be smooth, with a slight resistance when scooped.
2. Adjust freezing time if needed: The freezing time can vary depending on factors such as the recipe, the quantity of the ice cream mixture, and the performance of your machine. Follow the recommended freezing times as a general guideline, but be prepared to make adjustments based on the desired consistency. If the ice cream is still too soft after the recommended time, continue freezing in small increments until the desired firmness is achieved.
3. Check for ice crystals: While the ice cream is freezing, periodically check for the presence of ice crystals. Ice crystals can form if there are temperature fluctuations or if the mixture is not churned properly. Use a spatula or spoon to scrape along the sides and bottom of the freezing canister to break up any ice crystals that may have formed. This helps ensure a smooth and creamy consistency in the finished product.
4. Avoid prolonged freezing: It is important not to leave the ice cream in the machine for too long after it has reached the desired consistency. Prolonged freezing can lead to excessive ice crystal formation and a loss of the creamy texture. Once the ice cream has reached the desired firmness, transfer it to storage containers promptly to preserve its quality.
5. Taste-testing: As you monitor the freezing process, feel free to do some taste-testing. Scoop a small sample of the ice cream and assess its flavor and texture. Adjustments can be made at this stage, such as adding more mix-ins or adjusting the sweetness or flavor if needed. Taste-testing ensures that you are satisfied with the final product before transferring it to storage containers.
6. Follow manufacturer’s recommendations: Every commercial ice cream maker may have specific instructions or guidelines regarding the optimal freezing process. Refer to the manufacturer’s recommendations provided in the user manual to understand the unique needs and capabilities of your specific machine for the best results.
Pro tip: If you are uncertain about the readiness of your ice cream, it’s better to slightly under-freeze it than to over-freeze it. You can always adjust the firmness by allowing it to thaw slightly before serving.
With proper monitoring and adjustments, you can ensure that your ice cream achieves the perfect texture and consistency. In the next section, we’ll explore the option of adding exciting mix-ins to your ice cream to elevate its flavor and texture.
Adding mix-ins (optional)
One of the joys of making homemade ice cream with a commercial ice cream maker is the ability to customize it with delicious mix-ins. From chunks of chocolate and swirls of caramel to pieces of fruit or crunchy nuts, adding mix-ins can take your ice cream to the next level. Here’s how to incorporate mix-ins into your frozen treats:
1. Prepare the mix-ins: Before you start adding mix-ins, make sure they are prepared and ready to go. Chop chocolate into small chunks, dice fruit into bite-sized pieces, or crush cookies into small crumbs. Preparing the mix-ins in advance will make it easier to add them to the ice cream.
2. Timing is key: The timing of adding mix-ins is crucial. You want to incorporate them into the ice cream at the right moment to ensure even distribution. For most mix-ins, it’s best to add them during the last few minutes of churning. This allows the mix-ins to be evenly distributed throughout the ice cream while ensuring they don’t get lost in the mixture.
3. Adding mix-ins during churning: During the last 5 minutes of churning, slowly pour in the mix-ins through the lid chute of the ice cream maker. If your machine doesn’t have a chute, stop the machine briefly, remove the lid, and add the mix-ins while the dasher is still rotating. Be cautious not to add too many mix-ins, as they can overwhelm the ice cream and affect its texture.
4. Layering mix-ins: If you prefer a layered effect with your mix-ins, you can add them in multiple stages during the churning process. For example, if you’re incorporating chocolate chunks and nuts, add a layer of chocolate chunks first, allow them to mix in for a few minutes, then add the nuts. This will create distinct layers of mix-ins within the ice cream.
5. Swirling in sauces or syrups: If you want to add sauces, syrups, or caramel swirls to your ice cream, it’s best to layer them between spoonfuls of ice cream as you transfer it from the machine to the storage container. This will create beautiful ribbons of flavor throughout the ice cream. Use a spatula or spoon to gently fold the sauces or syrups into the ice cream for a marbled effect.
6. Experiment with flavors: Don’t be afraid to get creative with your mix-ins. Play around with different combinations to create unique flavor profiles. From crushed cookies and brownie chunks to fresh fruit or even a drizzle of balsamic reduction, the possibilities are endless. Let your imagination run wild and experiment with exciting mix-in combinations.
Pro tip: For mix-ins that may become too hard or crunchy, such as cookies, chocolate, or candies, consider freezing them beforehand. This will help prevent them from melting too quickly and becoming overly soft in the ice cream.
Adding mix-ins to your ice cream allows you to personalize each batch and create unique flavor combinations. Once the desired mix-ins are incorporated, it’s time to move on to the next step: extracting the ice cream from the machine. We’ll cover this in the following section.
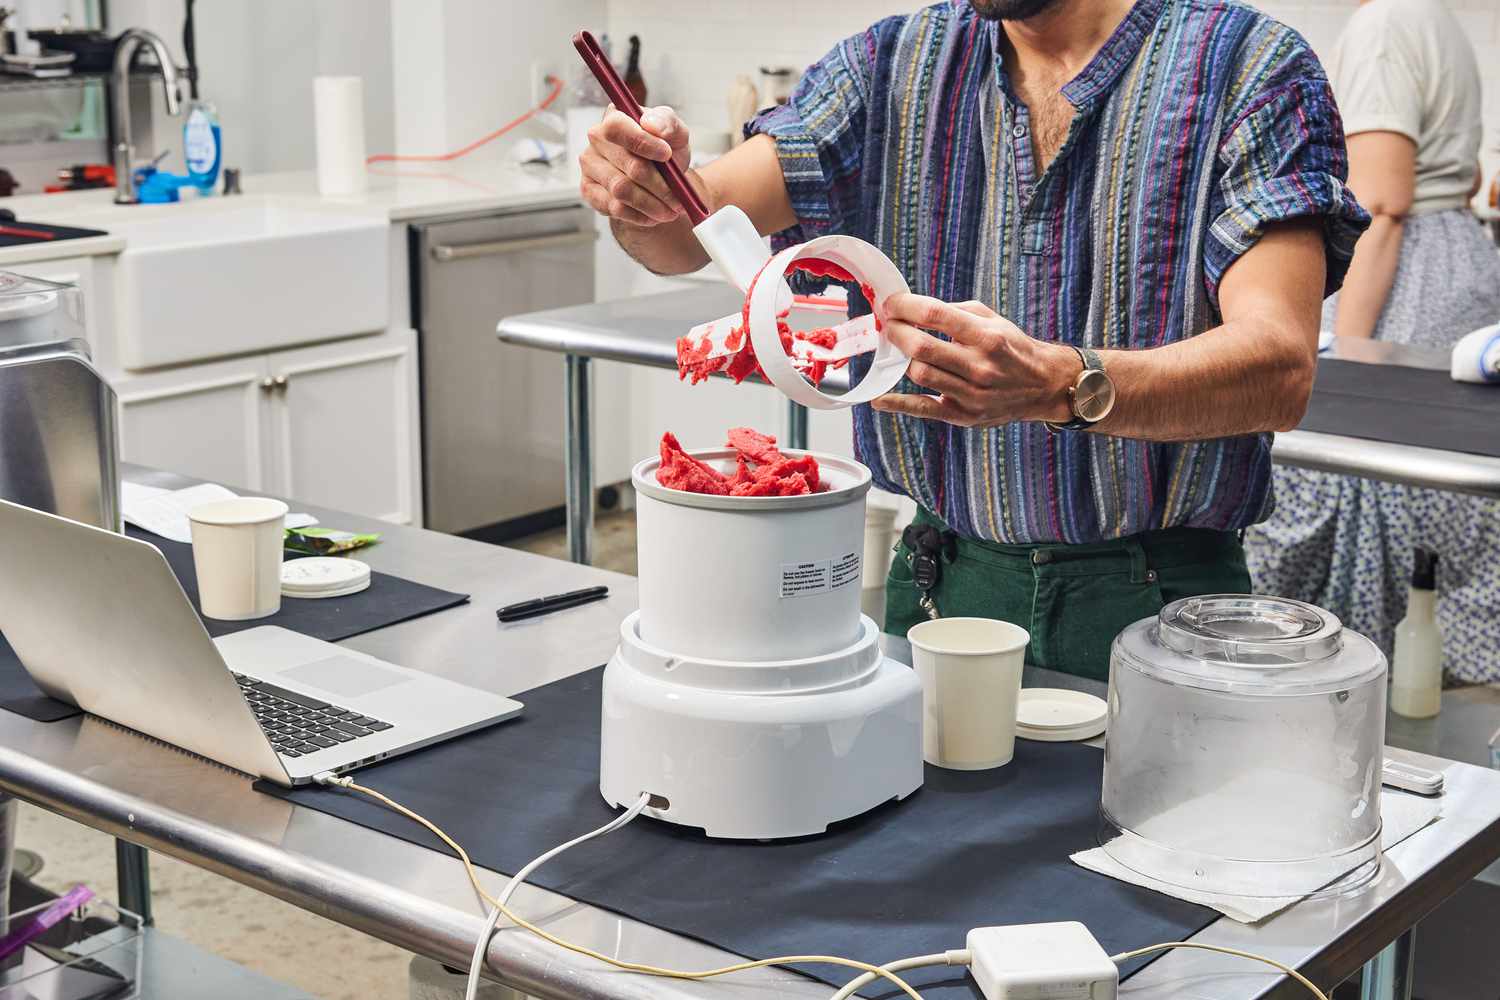
Extracting the ice cream
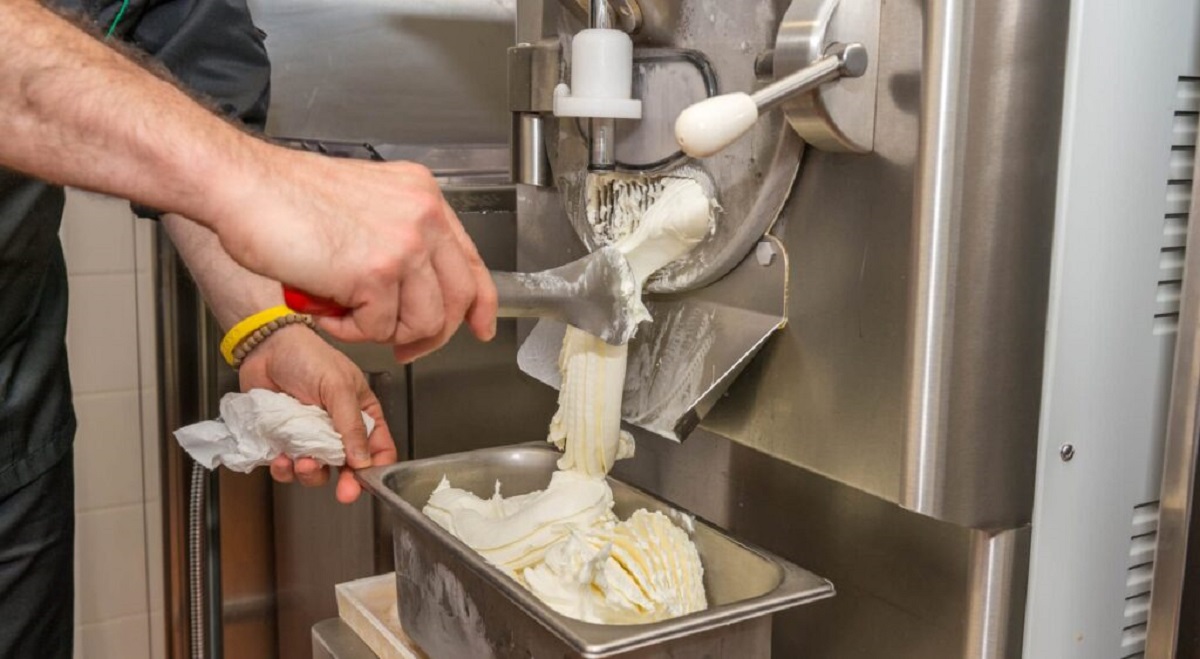
After the churning process is complete and your ice cream has reached the desired texture and consistency, it’s time to extract it from the commercial ice cream maker. Properly extracting the ice cream ensures that it maintains its creamy texture and is ready to be stored or served. Follow these steps to extract the ice cream effectively.
1. Turn off the machine: Begin by turning off the power to the commercial ice cream maker. This will stop the churning process and ensure the machine is in a safe state for extraction.
2. Remove the lid and dasher: Carefully remove the lid from the machine, taking caution not to drip any condensation or ice crystals onto the ice cream. Lift out the dasher or paddle and place it aside for cleaning.
3. Scrape down the sides: Use a spatula or a flat-edge spoon to scrape down the sides of the freezing canister. This helps to collect any ice cream that may have clung to the walls during the churning process. Ensure that all the ice cream is collected and returned to the main portion of the mixture.
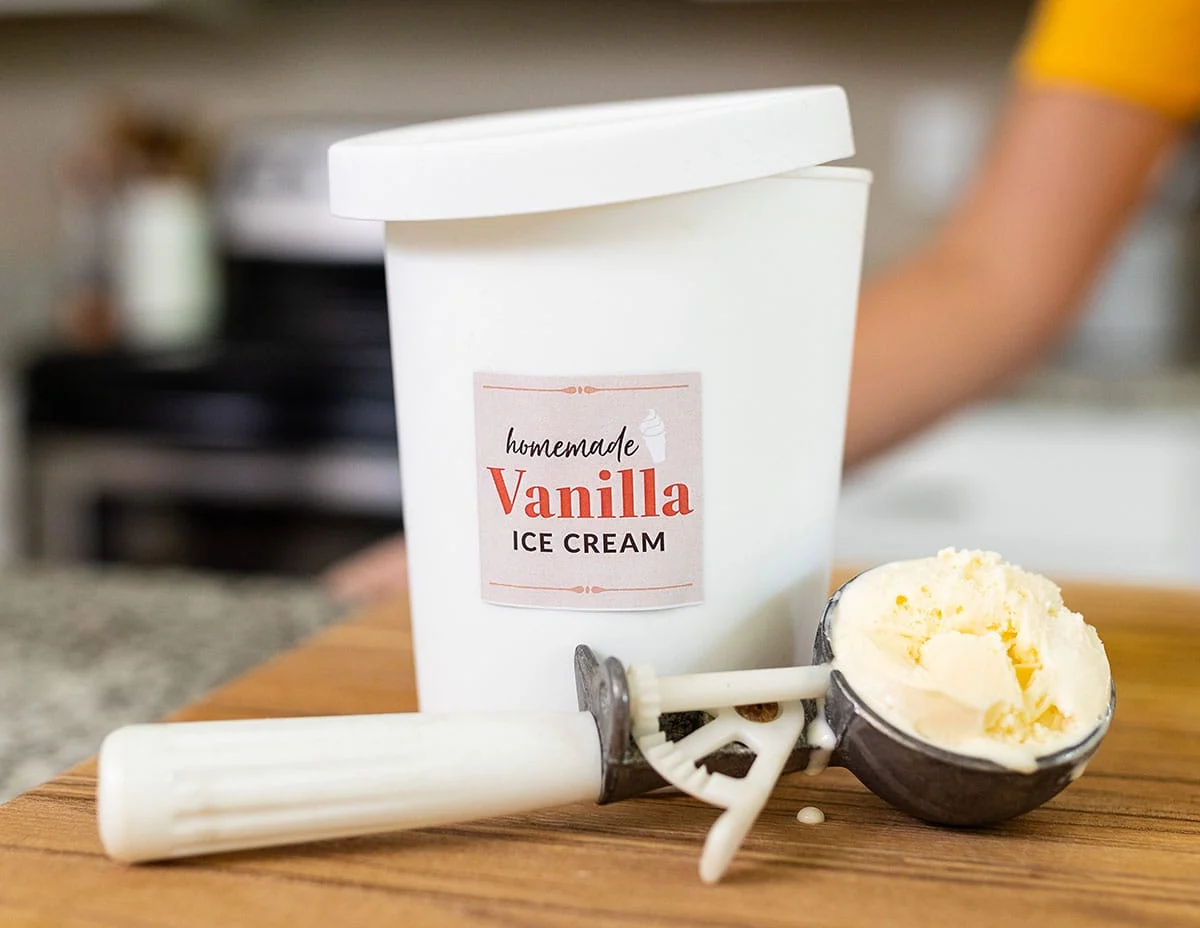
4. Transfer the ice cream to storage containers: With the ice cream collected into one cohesive mass, use a designated ice cream scoop or a large spoon to transfer it to your preferred storage containers. This can be airtight plastic or metal containers, or even freezer-safe glass jars. Fill the containers, leaving a small space at the top to account for possible expansion during freezing.
5. Smooth the surface: Once the ice cream is in the containers, use the back of a spoon or a spatula to smooth the surface. This helps create an even and attractive presentation when serving the ice cream later on.
6. Seal and label the containers: Seal the containers tightly with their respective lids or covers. To avoid any confusion later on, consider labeling the containers with the type of ice cream and the date of preparation.
7. Return to the freezer: Place the containers of freshly made ice cream in the freezer promptly. Ensure that they are placed in an area where they can freeze undisturbed and maintain a consistent temperature.
Pro tip: For optimal flavor and texture, it’s recommended to allow the ice cream to set in the freezer for at least a couple of hours before serving. This will give it time to harden and develop its full richness.
Now that your ice cream is safely stored in the freezer, you’re ready to enjoy it whenever you desire. Whether it’s a scoopful of delight on a hot summer day or a sweet treat to cap off a delicious meal, your homemade ice cream is sure to bring joy to those who indulge.
Storing and serving the ice cream
Now that you’ve successfully extracted your homemade ice cream from the commercial ice cream maker, it’s important to store it properly to maintain its flavor and texture. Additionally, knowing how to serve the ice cream can elevate the overall experience. Follow these guidelines for storing and serving your delicious ice cream.
1. Freezer storage: Place the containers of ice cream in the coldest part of your freezer. This is usually towards the back or bottom of the freezer, where the temperature remains consistently low. Avoid storing the ice cream near the freezer door, as it may be subject to temperature fluctuations when opened frequently.
2. Air-tight containers: Ensure that the containers you use for storing the ice cream are air-tight. This prevents the formation of ice crystals and helps maintain the creamy texture. If you are using reusable containers, make sure they are clean and free from any odors.
3. Freeze for optimal texture: For the best texture and flavor, allow the ice cream to freeze for at least a few hours, or preferably overnight, before serving. This gives the ice cream time to firm up and develop its full richness. Avoid frequent opening of the freezer, as this can lead to temperature fluctuations and affect the quality of the ice cream.
4. Serving technique: When serving the ice cream, use a sturdy ice cream scoop or a warmed ice cream spade to create perfectly round and smooth scoops. Dip the scoop into warm water between each serving to prevent it from sticking to the ice cream.
5. Garnish and toppings: Enhance the presentation and flavor of your ice cream by adding garnishes and toppings. Sprinkle crushed nuts, chocolate shavings, or a drizzle of chocolate or caramel sauce on top. Fresh berries, whipped cream, and a cherry on top can also add a touch of elegance to your serving.
6. Accompanying desserts: Get creative with your ice cream and serve it alongside other desserts. Create indulgent ice cream sundaes by layering different flavors with sauces, nuts, and whipped cream. Stack scoops between warm, homemade cookies for a delicious ice cream sandwich.
7. Enjoy it fresh: While homemade ice cream can last several weeks in the freezer, it is best enjoyed fresh within the first couple of weeks. Over time, ice cream may develop freezer burn or lose its ideal texture, so for optimal enjoyment, consume it within a reasonable time frame.
Pro tip: To scoop ice cream more easily, let it sit at room temperature for a few minutes before serving. This will slightly soften the texture, making scooping smoother and more effortless.
By following proper storage techniques and serving your homemade ice cream with creativity and flair, you can enjoy the fruits of your labor to the fullest. Whether it’s a small indulgence or a festive dessert spread, your homemade ice cream is sure to delight and impress.
Cleaning and maintaining your machine
Proper cleaning and maintenance of your commercial ice cream maker are essential for its longevity and optimal performance. Regular upkeep ensures that your machine operates smoothly and produces delicious frozen treats every time. Follow these guidelines to clean and maintain your machine effectively.
1. Unplug and disassemble: Before cleaning your ice cream maker, always unplug it from the power source to ensure safety. Disassemble the machine by removing the freezing canister, dasher or paddle, and any other detachable parts according to the manufacturer’s instructions.
2. Hand wash components: Hand wash the removable components, such as the freezing canister, dasher or paddle, and lid, using warm soapy water. Scrub gently to remove any ice cream residue or buildup. Avoid using abrasive scrubbers or harsh chemicals, as they may damage the surfaces of the machine.
3. Wipe down the exterior: Use a soft cloth or sponge to wipe down the exterior of the machine, removing any spills or residue. Pay attention to the control panel and other buttons or knobs, ensuring they are clean and free from any debris or moisture.
4. Air dry the components: After washing, allow all the components to air dry thoroughly. Placing them on a clean towel or drying rack can help speed up the drying process. Ensure that each piece is completely dry before reassembling the ice cream maker.
5. Remove stubborn stains or odors: If you encounter stubborn stains or lingering odors, you can employ additional cleaning methods. Baking soda mixed with warm water can help remove stains, while a mixture of vinegar and water can help eliminate odors. Remember to rinse thoroughly and dry well after using these cleaning solutions.
6. Store in a clean, dry place: Once all the components are dry, reassemble the ice cream maker and store it in a clean, dry place. Avoid storing it near moisture or heat sources that can compromise its integrity. Follow any additional recommendations provided by the manufacturer for storing your specific model of ice cream maker.
7. Regular maintenance: In addition to regular cleaning, it’s important to maintain your ice cream maker for optimal performance. Follow the manufacturer’s recommendations for any specific maintenance tasks, such as lubricating moving parts or replacing worn-out components. Check the user manual for guidance on routine maintenance schedules.
8. Use as recommended: Follow the instructions provided by the manufacturer for safe and efficient use of your commercial ice cream maker. Operating the machine outside of the recommended guidelines can lead to damage or subpar results. Take note of any maximum capacity limits, temperature recommendations, and operating times specified for your specific machine.
By cleaning and maintaining your commercial ice cream maker regularly, you can enjoy a smooth and trouble-free operation, ensuring the longevity and reliability of your machine. Now that you’ve learned how to clean and maintain your ice cream maker, you’re ready to try new recipes and create delectable frozen treats with confidence.
Troubleshooting common issues
While using your commercial ice cream maker, you may encounter some common issues that can affect the quality of your frozen treats. Understanding these issues and knowing how to troubleshoot them can help you overcome any challenges and achieve delicious results. Here are some common problems and their solutions:
1. Ice cream not freezing: If your ice cream mixture is not freezing properly, ensure that the freezing canister has been pre-chilled for the recommended amount of time. Check that the freezer temperature is set to the appropriate level, typically around 0°F (-18°C). Additionally, ensure that the mixture is at the right temperature, as too warm of a mixture can hinder the freezing process. Adjusting these factors should help the ice cream freeze as desired.
2. Ice crystals forming: Ice crystals can develop if there are temperature fluctuations or if the mixture is not churned properly. To minimize ice crystal formation, make sure the ice cream mixture is thoroughly chilled before churning. Avoid leaving the ice cream in the machine for too long after it has reached the desired consistency. Properly sealing the containers when storing the ice cream can also help prevent the formation of ice crystals.
3. Soft or runny ice cream: If your ice cream turns out soft or runny, it may not have been churned for long enough. Check the recommended churning time for your specific recipe and machine. Be cautious of over-churning, as this can also result in a softer texture due to excessive air incorporation. Adjust the churning time accordingly to achieve the desired consistency.
4. Machine not starting: If your ice cream maker does not start when powered on, ensure that it is securely plugged into a working outlet. Check that the power switch is in the correct position and that any safety mechanisms, such as the lid or safety lock, are properly engaged. If the machine still doesn’t start, consult the user manual or contact the manufacturer for assistance.
5. Excessive noise or vibrations: Some noise and vibrations are normal during the operation of a commercial ice cream maker. However, if you notice excessive noise or vibrations, check that the machine is placed on a stable surface and that all components are securely attached. If the issue persists, there may be an underlying mechanical problem, and it is advisable to contact the manufacturer or a professional for further diagnosis and repair.
6. Excessive time to freeze: If the freezing time is significantly longer than expected, ensure that the freezing canister is thoroughly pre-chilled. Check that the ice and salt mixture is in the correct proportion and that the temperature of the mixture is appropriate. Prolonged freezing time can also be a sign of a faulty motor or other internal issues, requiring professional attention.
7. Uneven freezing: Inconsistent freezing can result in varying textures in your ice cream. To achieve even freezing, make sure the ice cream mixture is evenly distributed in the freezing canister. Avoid overfilling the canister, as this can hinder proper freezing. If uneven freezing persists, there may be an issue with the internal mechanisms of the machine, and it’s recommended to seek professional assistance.
If you encounter any other issues not mentioned here or if the troubleshooting steps do not resolve the problem, consult the user manual for additional guidance. The manufacturer’s customer support or service department can also provide assistance and further troubleshooting tips tailored to your specific machine.
By understanding and addressing these common issues, you can overcome challenges and continue to enjoy smooth and creamy ice cream with your commercial ice cream maker. With your troubleshooting skills honed, you’re now equipped to handle any obstacles that may arise during the ice cream-making process.
Conclusion
Congratulations! You’ve now become well-versed in the art of using a commercial ice cream maker. By understanding the components of the machine, preparing high-quality ingredients, and following the step-by-step process, you can create delectable and creamy ice cream to satisfy your sweet cravings.
We began by delving into the importance of understanding your commercial ice cream maker, discussing its key components and functionalities. Through proper understanding, you can harness the full potential of your machine and create consistent batches of delicious frozen treats.
We then explored the crucial step of preparing your ingredients, emphasizing the selection of high-quality ingredients and the importance of proper mixing and chilling techniques. By paying attention to these details, you can ensure a robust flavor profile and smooth texture in your homemade ice cream.
Next, we discussed pre-chilling the machine to create optimal freezing conditions and provided guidelines for adding the mixture to the freezing canister. Proper churning techniques, monitoring the freezing process, and adding mix-ins were also covered, allowing you to unleash your creativity and experiment with unique flavor combinations.
To ensure the longevity of your machine, we detailed the importance of cleaning and maintaining it regularly. By following the recommended cleaning procedures and performing routine maintenance, you can extend the lifespan of your machine and continue to enjoy its excellent performance.
Lastly, we covered common troubleshooting tips and techniques to help you address any issues that may arise during the ice cream-making process. By understanding these common problems and their solutions, you can overcome challenges and produce consistently delightful frozen treats with your commercial ice cream maker.
Armed with this knowledge and expertise, you are now ready to embark on a journey of ice cream-making bliss. So, gather your ingredients, unleash your creativity, and enjoy the art of crafting creamy, dreamy, and delicious ice cream with your commercial ice cream maker!